Do you need a scrapbook pattern that lets you to add a variety of photos and embellishments? Or do you just want a layout that says “Fun”? Today’s featured pattern #155 is a great choice! In this post, you will see four page examples and I give you different ideas on where to place photos, journaling, and embellishments. Plus, at the end of this post I placed several patterns you can use to create a two page spread. So keep reading to learn more about Pattern #155!
[/vc_column][/vc_row][vc_row no_margin=”true” padding_top=”0px” padding_bottom=”0px” border=”none”][vc_column width=”1/1″]The Benefits of Using Pattern #155
[/vc_column][/vc_row][vc_row no_margin=”true” padding_top=”0px” padding_bottom=”0px” border=”none”][vc_column width=”1/1″][/vc_column][/vc_row][vc_row no_margin=”true” padding_top=”0px” padding_bottom=”0px” border=”none”][vc_column width=”1/2″]
 [/vc_column][vc_column width=”1/2″]
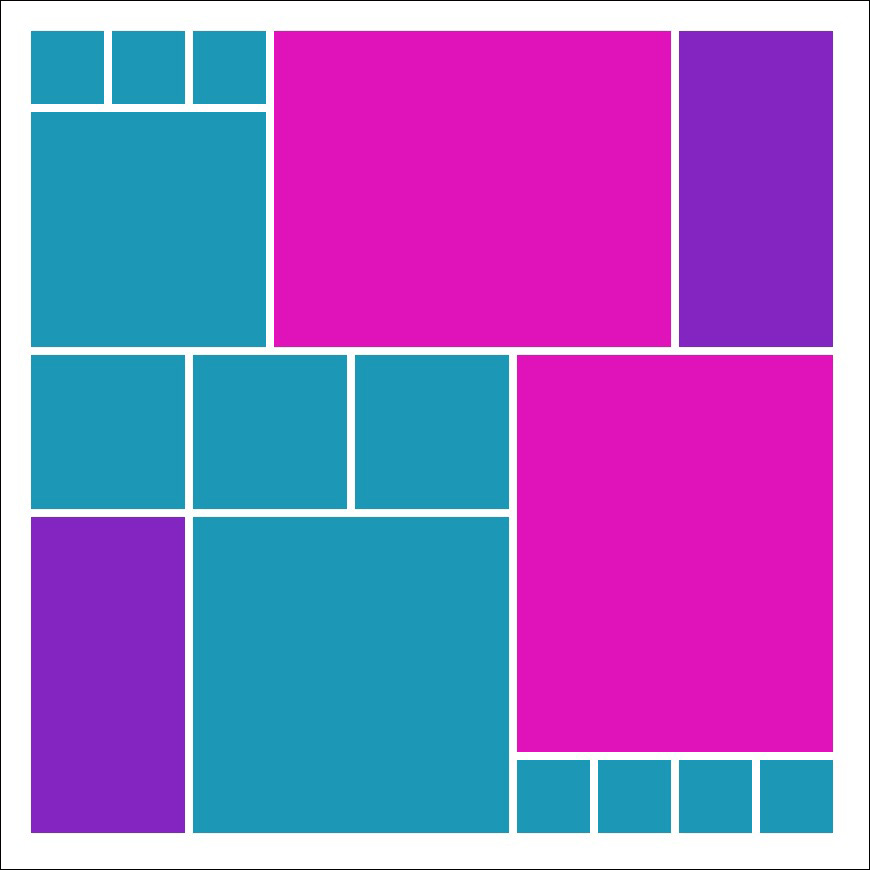
- Lots of Sizes – This patten has a good variety of large and small design spots
- Add Embellishments Easily– You can easily add patterned paper, Cornerstones, or other embellishments into this design
- Two Focal Point Options – Use one or both of the 5×4 blocks for your ‘Stand Out’ photo
- Multiple Photo Orientations – Place square, portrait, and landscape orientated photos
[/vc_column][/vc_row][vc_row no_margin=”true” padding_top=”0px” padding_bottom=”0px” border=”none”][vc_column width=”1/1″]
Page Ideas – See how different this scrapbook pattern can Look!
[/vc_column][/vc_row][vc_row no_margin=”true” padding_top=”0px” padding_bottom=”0px” border=”none”][vc_column width=”1/1″][/vc_column][/vc_row][vc_row no_margin=”true” padding_top=”0px” padding_bottom=”0px” border=”none”][vc_column width=”1/2″]
“New Fantasyland”
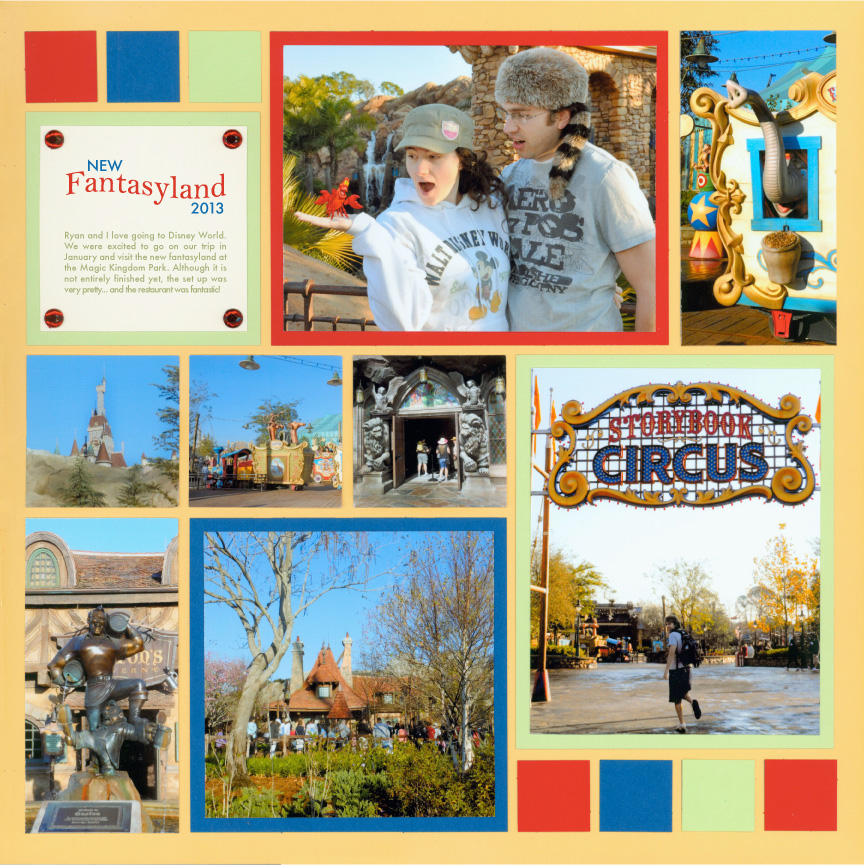
[/vc_column][vc_column width=”1/2″]You can’t go wrong with a page about Disney World! I got the idea for this pattern while creating this page. I wanted my layout to say “FUN”, and a Puzzle Pattern certainly says that!
Here I placed photos in most of the design spots. I needed room for some journaling so I could remember my first time at the New Fantasyland area. The 3×3 square was the right amount of space. Quick Tip: if you don’t have a pattern paper or photo to fill the 1 in. squares – Just grab some Paper Tiles. It’s simple, yet colorful!
[/vc_column][/vc_row][vc_row padding_top=”0px” padding_bottom=”0px” border=”none”][vc_column width=”1/1″][/vc_column][/vc_row][vc_row][vc_column width=”1/2″]
Another theme park page! Here I displayed a trip to Busch Gardens on St. Patrick’s Day, so of course I needed lots of colors! I used less photos so I could place more embellishments. I really wanted to incorporate the Clover Cornerstone. Since this pattern has three 2×2 squares – you can easily add 1-3 Cornerstones. Plus I made my own ‘pattern paper’ with one of my stamps and the Paper Tiles. I wanted some of my design spots to off the texture from it.
I also added journaling on this page as a decorative element. Make sure you balance the two 2×4 blocks in each corner by using the same patterned paper or use 2 photos. Since the block on the bottom left had the journaling, I balanced it with the top right one by adding the colorful butterflies and metal piece.
[/vc_column][vc_column width=”1/2″]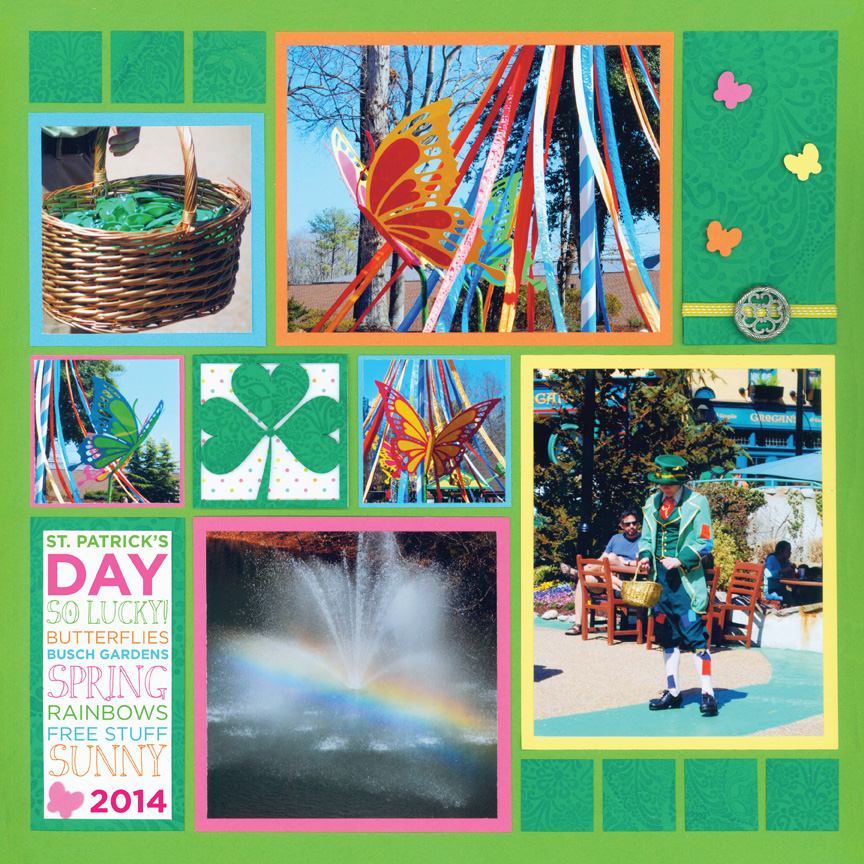
“St. Patrick’s At Busch Gardens”
[/vc_column][/vc_row][vc_row][vc_column width=”1/2″]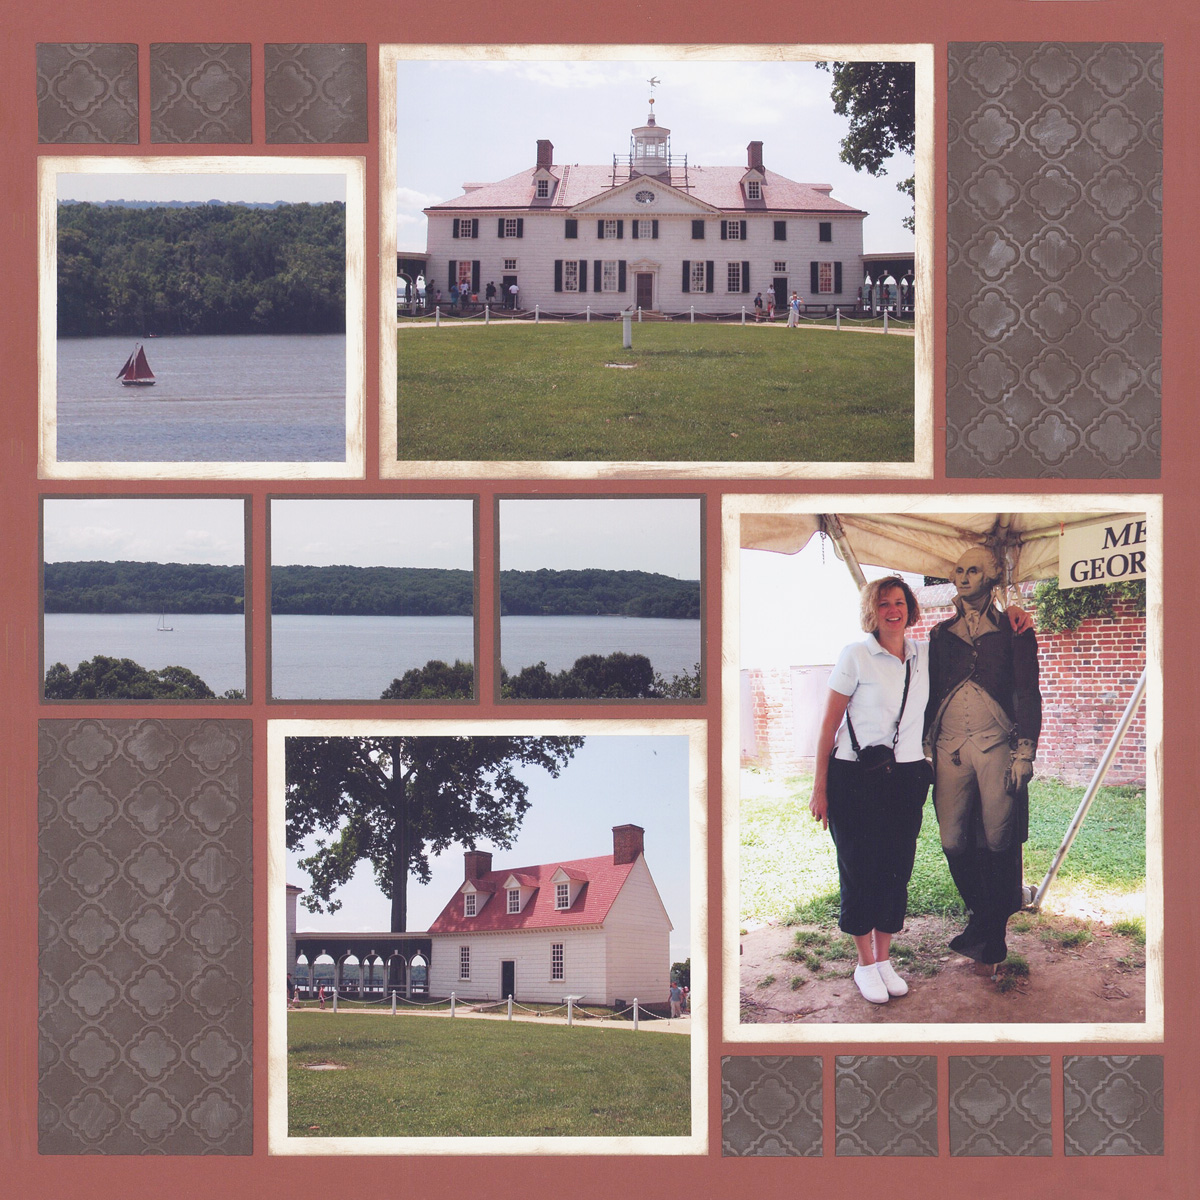
“Mt. Vernon”
[/vc_column][vc_column width=”1/2″]Here is a new spin on this pattern! Instead of bright colors, I created a historical page with a neutral color scheme. Here I didn’t have any patterned papers that would match the photos, so I embossed the dark brown Paper Tiles.
Look at the three 2×2 squares – I created this border with the same photo. This is a great spot to place a landscape photograph. It’s unique in comparison to the usual mosaic or strip landscape pages.
[/vc_column][/vc_row][vc_row][vc_column width=”1/2″]Have a little fun and experiment with your patterns. I love this page! Not only does it show the beautiful landscape of Mexico, but I added some fun sharpie drawings. Be sure to use a light pencil, and then cover it with a marker. You don’t need an extravagant illustration, just a simple drawing can make the entire page fun and colorful. Also, on this page I used photographs for the 1 in. spaces instead of patterned paper.
The three 2×2 squares are so versatile! Place three separate photos or embellishments, mix them up, display a photo (as shown on page above), or show off a little illustration or title.
[/vc_column][vc_column width=”1/2″]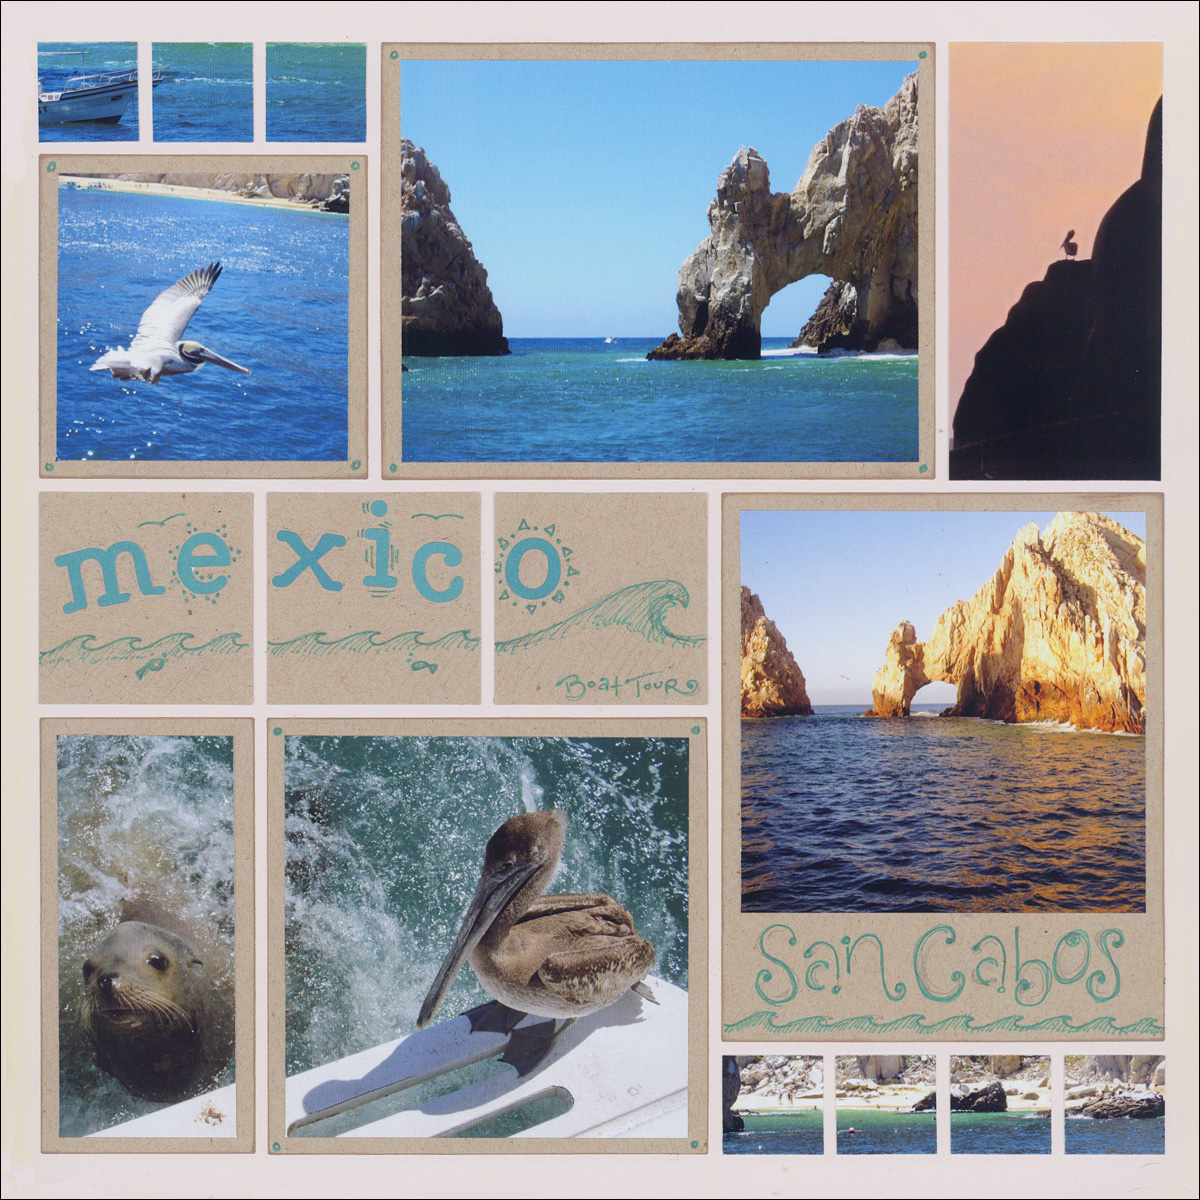
“Cabo San Lucas, Mexico”
[/vc_column][/vc_row][vc_row no_margin=”true” padding_top=”0px” padding_bottom=”0px” border=”none”][vc_column width=”1/1″]Scrapbook Patterns to Make a Two Page Spread
Having trouble looking for another pattern to make a two page spread? Here are the top four layouts that fit with pattern #155:
[/vc_column][/vc_row][vc_row no_margin=”true” padding_top=”0px” padding_bottom=”0px” border=”none”][vc_column width=”1/1″][/vc_column][/vc_row][vc_row no_margin=”true” padding_top=”0px” padding_bottom=”0px” border=”none”][vc_column width=”1/4″]
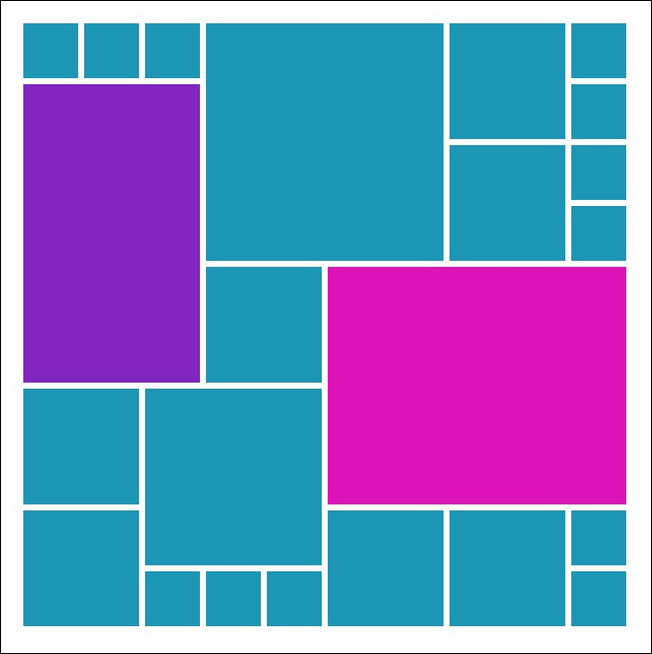
Pattern #178
[/vc_column][vc_column width=”1/4″]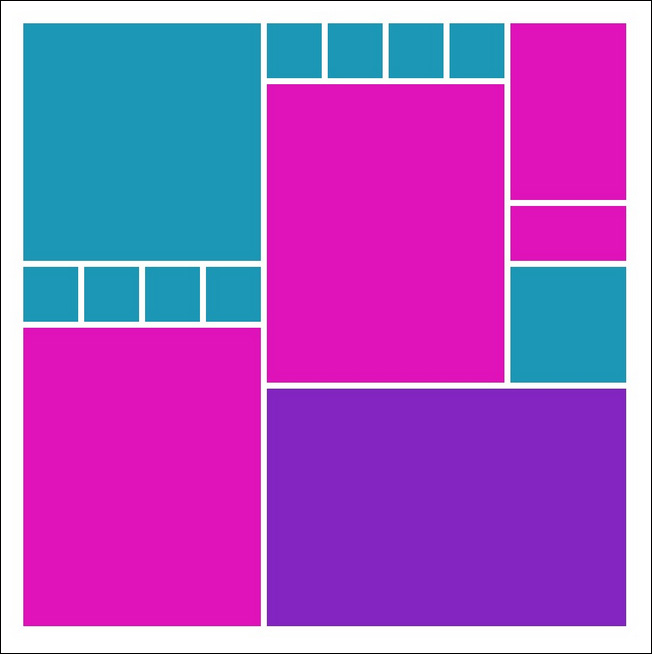
Pattern #179
[/vc_column][vc_column width=”1/4″]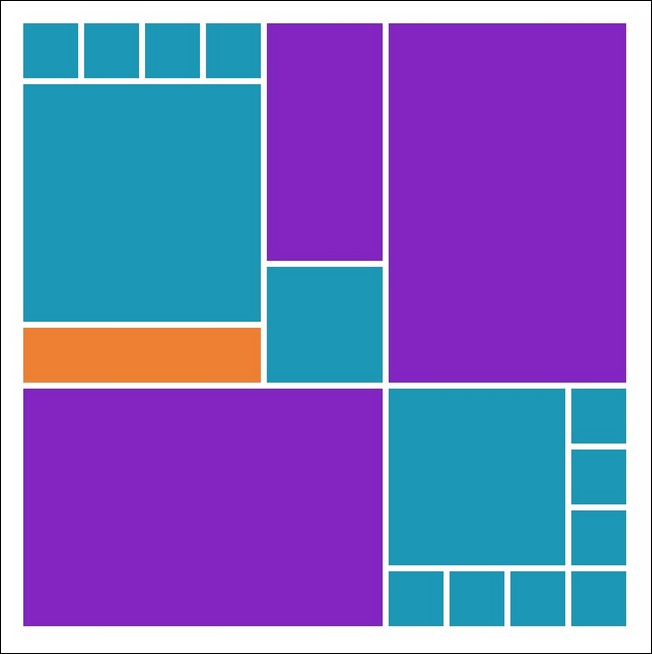
Pattern #190
[/vc_column][vc_column width=”1/4″]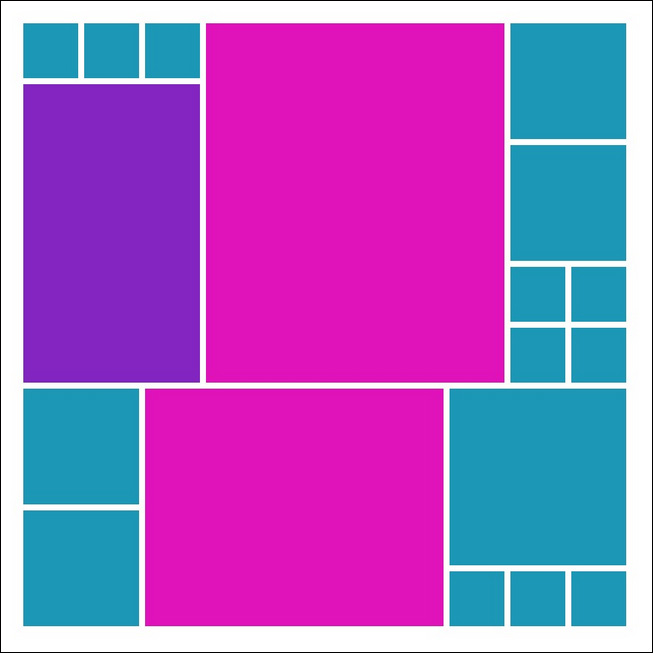
Pattern #199
[/vc_column][/vc_row][vc_row no_margin=”true” padding_top=”0px” padding_bottom=”0px” border=”none”][vc_column width=”1/1″][/vc_column][/vc_row][vc_row no_margin=”true” padding_top=”0px” padding_bottom=”0px” border=”none”][vc_column width=”1/1″]
[/vc_column][/vc_row][vc_row no_margin=”true” padding_top=”0px” padding_bottom=”0px” border=”none”][vc_column width=”1/1″]
I hope you are able to use today’s featured pattern #155 for one of your future pages. We also love seeing your scrapbook pages, so be sure to share your layout on Mosaic Moment’s Facebook page or share it on Instagram by using #mosaicmoments or #mosaicscrapbooking. Also, don’t Forget to sign up on the Page Pattern Gallery so you can easily print this pattern, plus you can share it with your friends on Facebook.
Happy Scrapping!
[/vc_column][/vc_row]
