Featuring the Scallop Frame Die and the new Pink Grid Paper
Miz Scarlett’s Debut
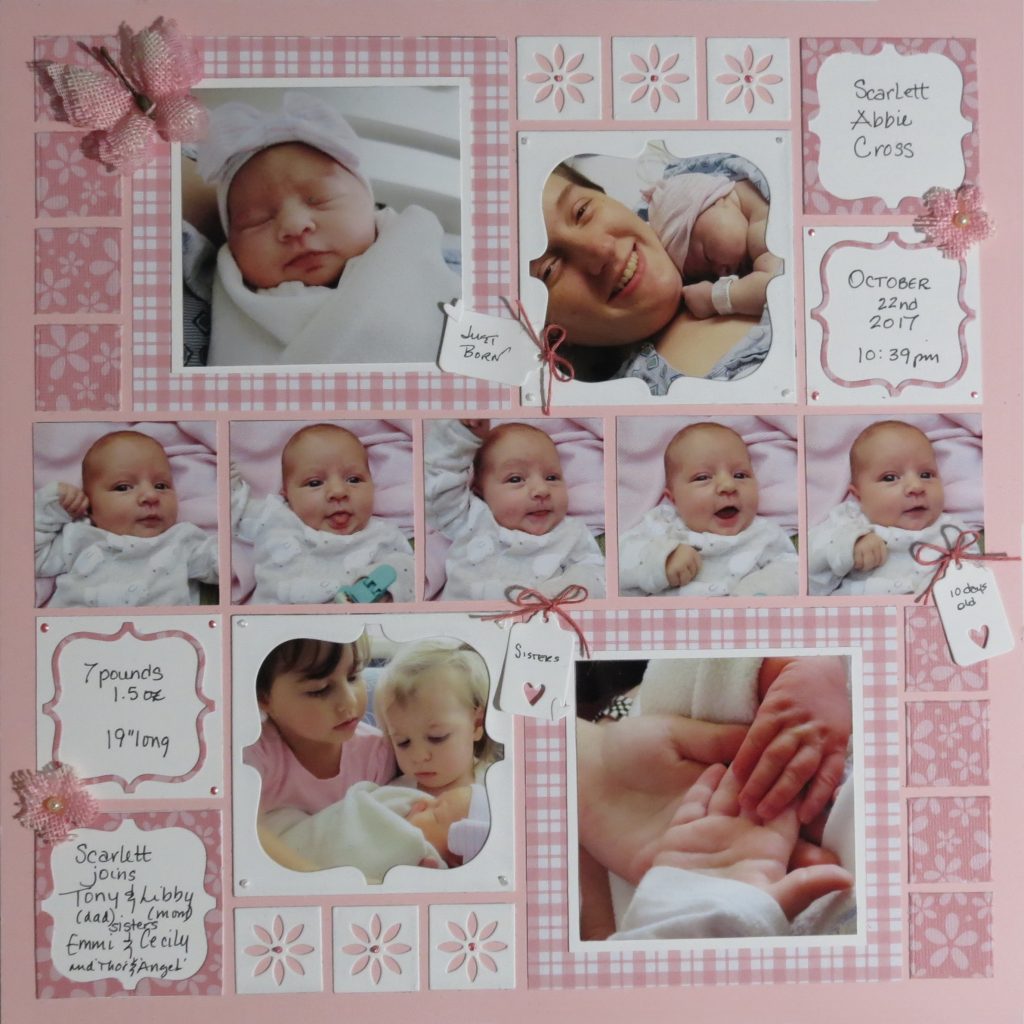
The new Pink Grid paper, the Scallop Frame Plus Die and Circle and Scallop Frames build a girly page to welcome our precious baby girl.
 This week my story is short. It’s a new beginning. It’s day one of the newest addition to our family. There isn’t much of a story to tell at this point, but all the details ARE the story.
Mosaic Moments Pink Grid Paper, the Scallop Frame Plus Die, the Circle & Frame set dies and 1″ squares grid die
When you are putting a baby page together you want to get the vitals listed correctly. You want that first photo taken and photos that introduce the newest little person to siblings and all the family members.
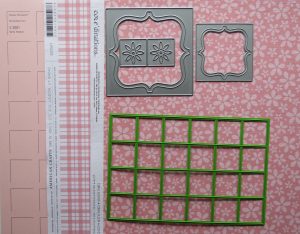
Mosaic Moments Pink Grid Paper, the Scallop Frame Plus Die, the Circle & Frame set dies and 1″ squares grid die
This layout I will use our new Scallop Frame Plus Die 3×3 to draw attention to two special photos. The “plus” with this die are a pair of 1” flower dies I’ll fill some of the 1” spots in my pattern. Another die that matches is the 2×2 scallop frame from the Circle and Scallop Frame die set. It will be featured in my 4 journal spots.
The grid paper for this page is the new Pink grid that was added to our line recently. It’s a nice warm pink and compliments my choices of pattern papers, one a pink plaid from American Crafts and the other a floral from Core’dinations. White cardstock for photo mats, tags and spots round out our colors. Bits of Rosebud hemp twine from American Crafts add some texture and interest in bows for my tags (from Papertrey Ink).
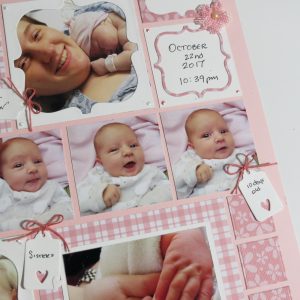
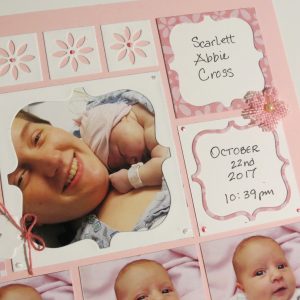
I’m using Pattern # 175 a mostly square pattern to feature my photos. The photos are from three different times. On the top of the page are the photos taken right after she was born, and then cleaned up. On the bottom it’s about 12 hours later when she meets her sisters. The photo series in the center she is now 10 days old.
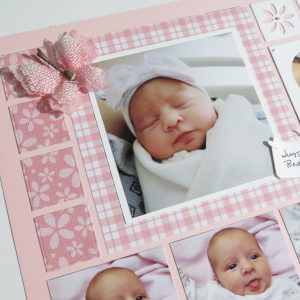
Mosaic Moments Pink Grid Paper, the Scallop Frame Plus Die, the Circle & Frame set dies and 1″ squares grid die
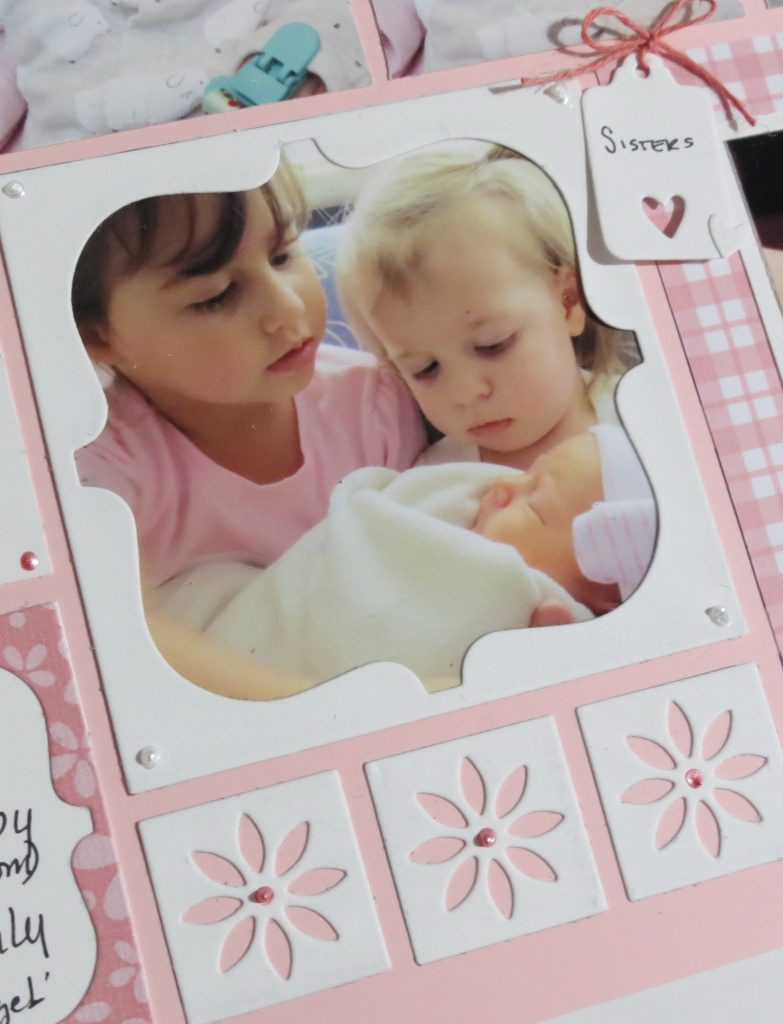
I have more photos with her great-gran, auntie, cousins, uncles and me meeting her, but that’s for the next layouts! This one lets me focus on a few precious shots we took of the girls holding their new sister and one of all their hands together.
Mosaic Moments Pink Grid Paper, the Scallop Frame Plus Die, the Circle & Frame set dies and 1″ squares grid die
TIP:
Something I love to do with babies is to get a series of photos to capture some of their earliest movements and looks. You really get a sense of their personality. My opportunity came when she was in need of a diaper change and my usual changing table was not available. I brought her to my room and once changed took advantage of a camera within reach and a now happy and content baby to get a group of pictures. I just kept shooting while she took it all in. Although they are a selection of what I took, I’ve kept them in order they were taken.
Mosaic Moments Pink Grid Paper, the Scallop Frame Plus Die, the Circle & Frame set dies and 1″ squares grid die
To focus on two of the larger photos I cut 2 Scallop Frame 3×3 sections in white. I only used the outer section saving the inner sections for another application. In each corner I added a single liquid pearl to add just a touch of glam. Both of these spots have a row of 1” squares above or below that are filled with the flowers from the sets in white. Adding pearls with Liquid Pearls petal pink for each center adds color and texture.
Mosaic Moments Pink Grid Paper, the Scallop Frame Plus Die, the Circle & Frame set dies and 1″ squares grid die
Mosaic Moments Pink Grid Paper, the Scallop Frame Plus Die, the Circle & Frame set dies and 1″ squares grid die
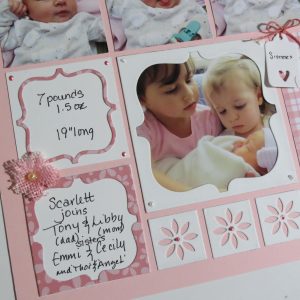
I cut two of the 2×2 frames in the floral cardstock. I placed the outer frames on 2 white 2×2 squares. Then taking the narrow inner frame and centering it on the white 2×2 a small framed area is created. On these two tiles I added petal pink pearls in the corners. These four frames will tell her name, when she was born, what she weighed and length and her family. Those are the basics, the essentials for a first day of your life page.
A few tiny tags add a comment or two for further information. The outtake hearts from the tags are added to the tag tops. Final touches include a butterfly and a few flowers in peachy-pink burlap.
Whatever story you may be telling be sure to look for fun ways to include the details. Whether it’s the vital statistics or highlighting special photos, you might like to try these great scallop frames. As a new year approaches there will be lots of new firsts in your life to scrap. Enjoy!
Andrea Fisher

