
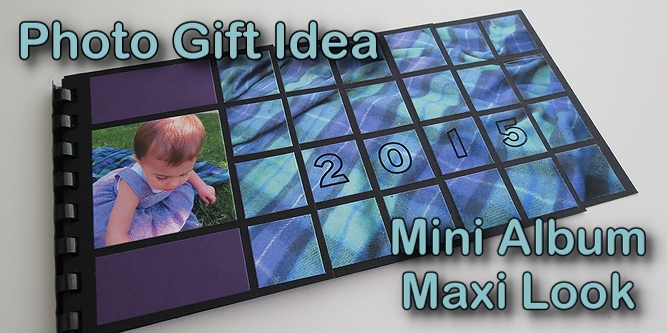
Mini Album Maxi Look a photo gift that packs a lot of punch!
A Mini Album is a quick and easy gift and a format for displaying multiple photos. It makes a wonderful way to keep in touch with family far away at Christmas or other special occasions. They will love a glimpse into your family.
For this layered mini album I relied on the directions in these posts (HERE and HERE), but I have added to it and will try to cover everything here.
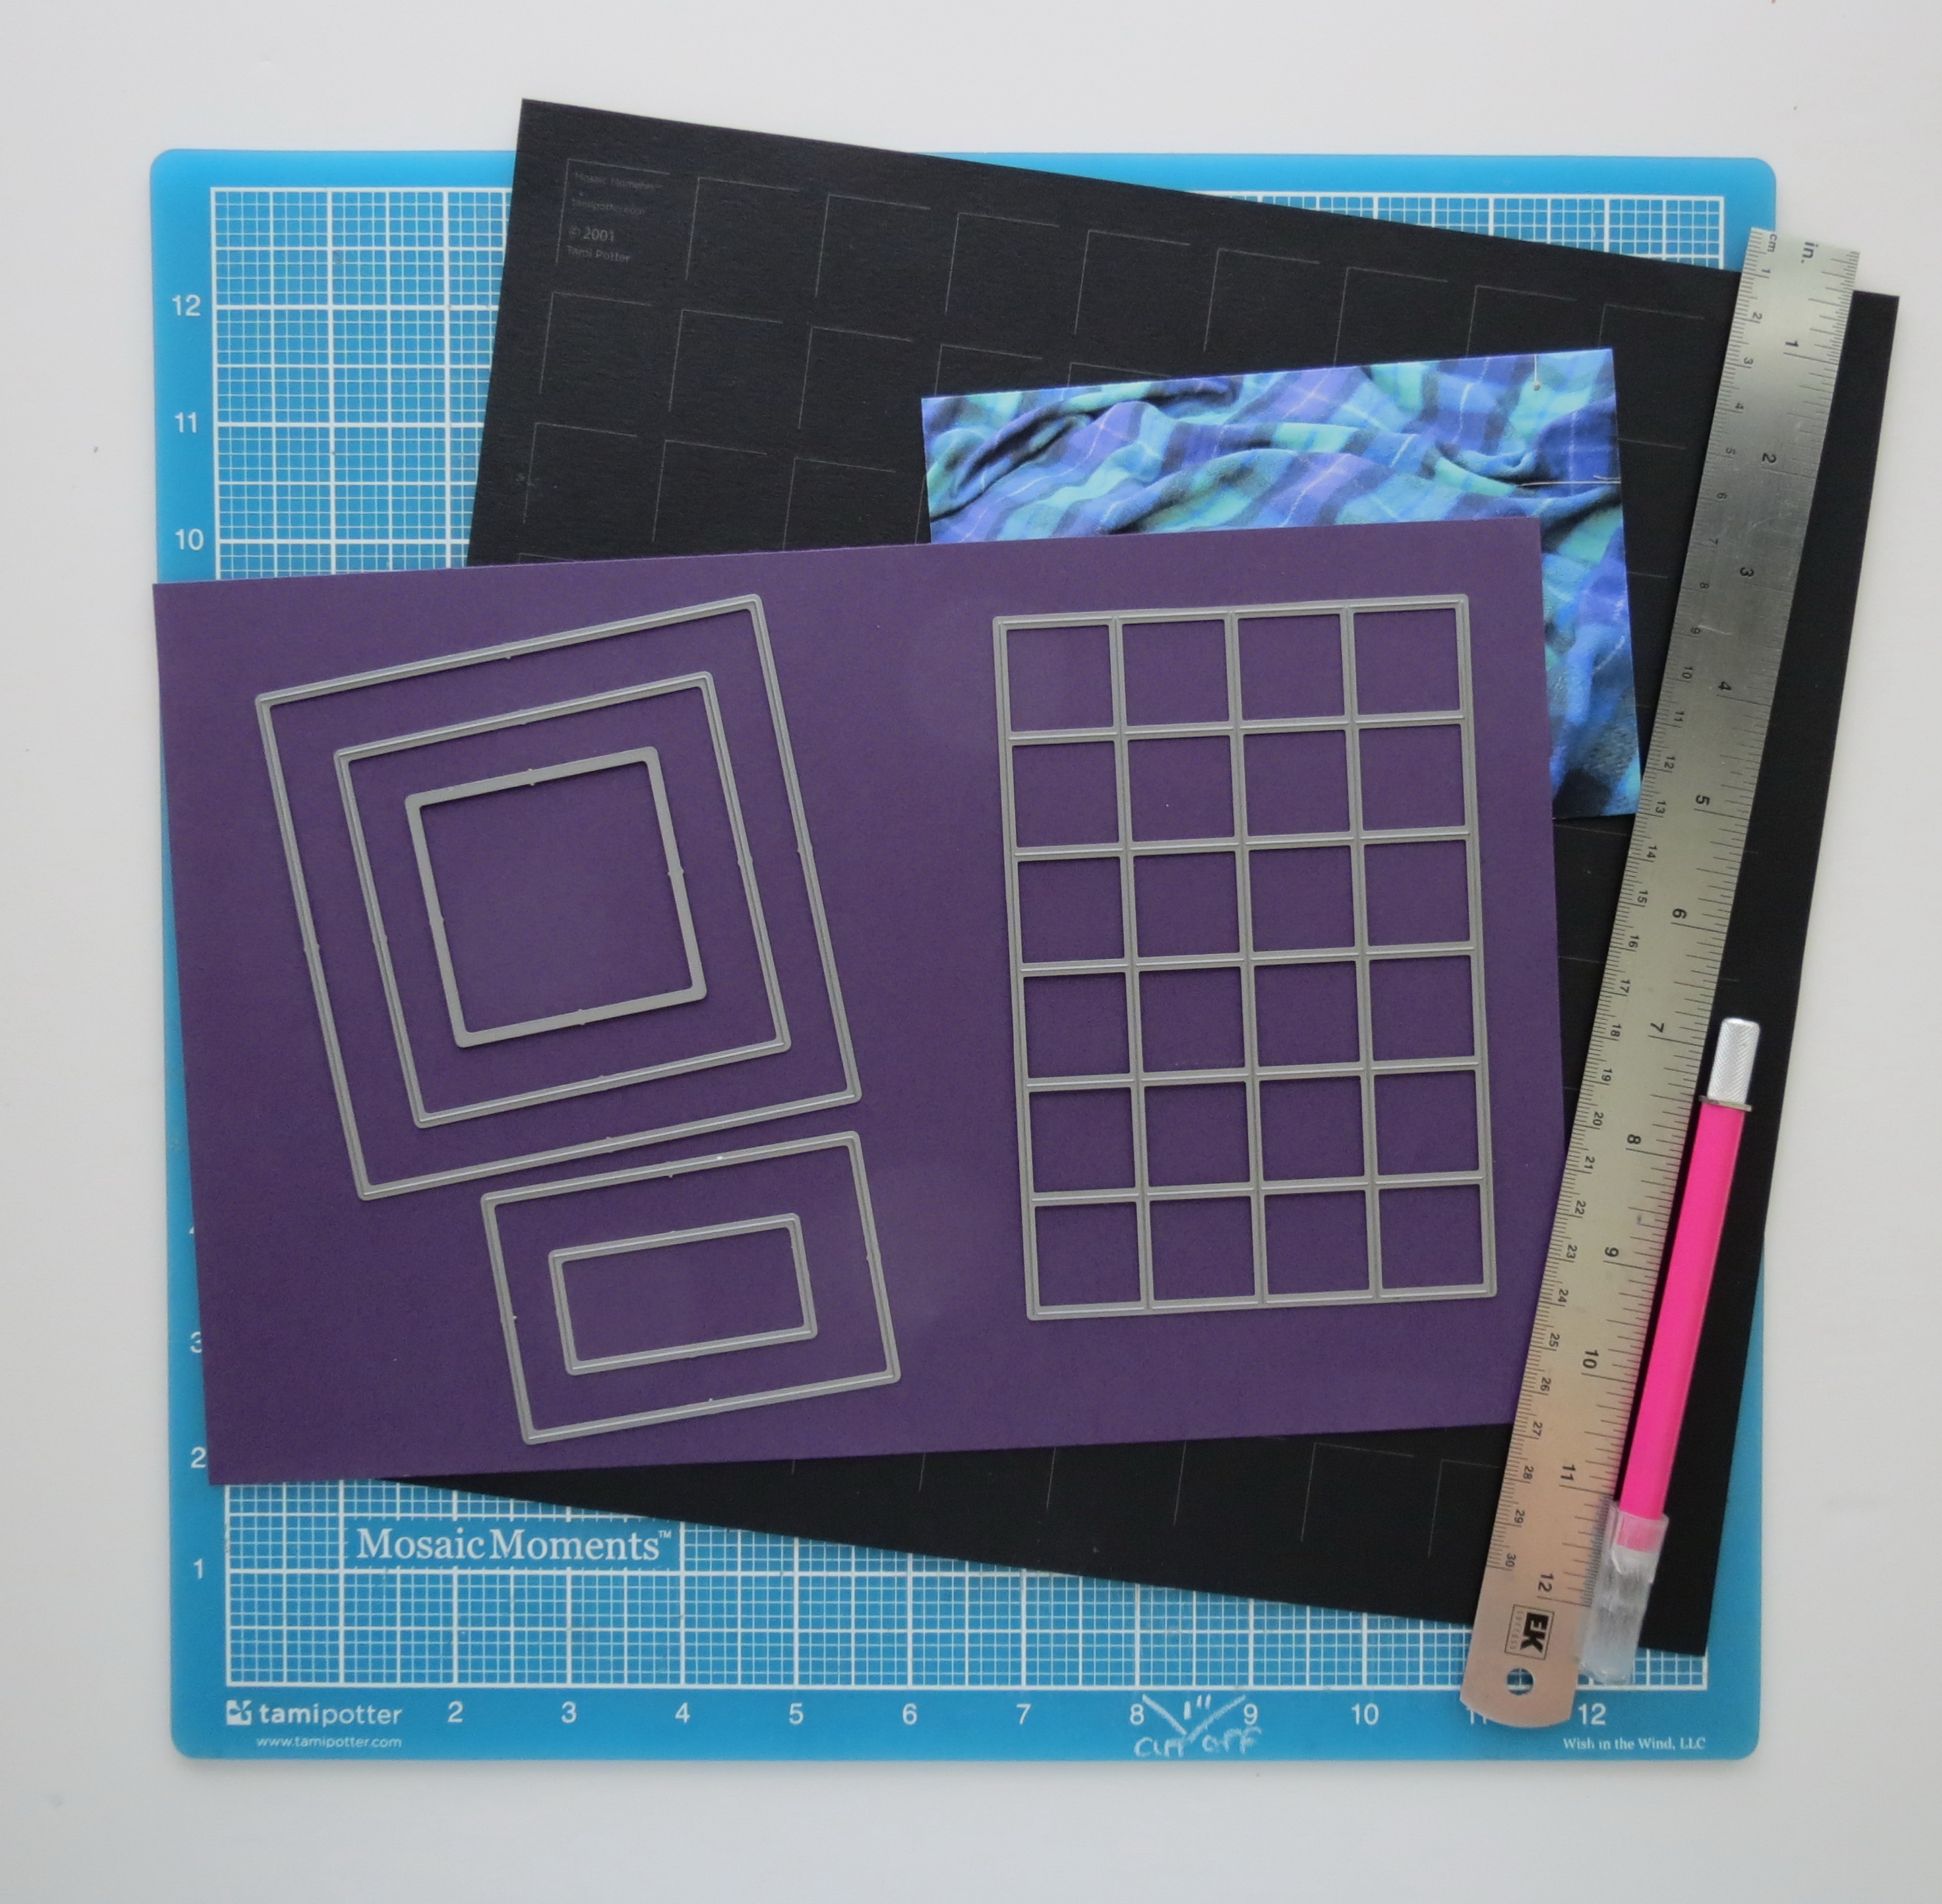
Mini Album Maxi Look Die Sets A, C and 1″ grid tiles Craft mat, X-Acto knife, ruler, Grids, Cardstock and photos
You will need:
• 2-12×12 Mosaic Moments Grids in your own color choices
• Self-healing craft mat
• Metal ruler
• X-acto knife, make sure your blade is sharp
• Die Sets A, C and 4×6-1” squares
• Cardstock or patterned paper
• Cover photo to feature
• Photos
• Binding: plastic coil or ribbons of choice
After cutting according to the directions in the post, I found a couple of steps to streamline things. Two cuts we will be doing:
1. on a grid line or
2. trimming from the raw edge
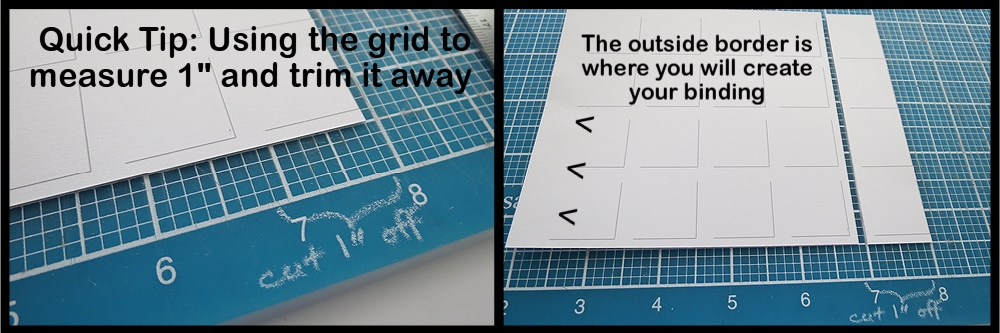
Each of the 12×12 Grids will be cut into two strips. On the top of the sixth row of squares align your ruler and cut.
The grid side borders will be where you make holes to join the sections. The grid borders top and bottom will be trimmed to fit.
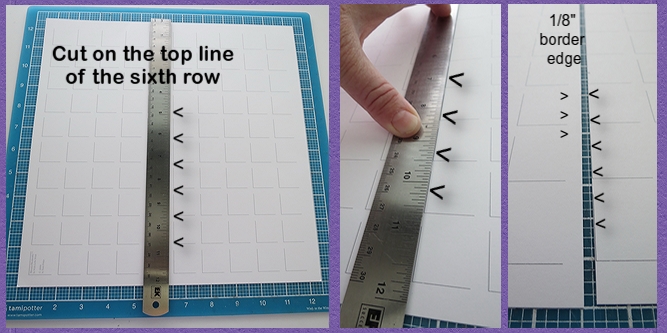
First cuts Cut 12×12 Grid into two strips along top of grid line of 6th row.
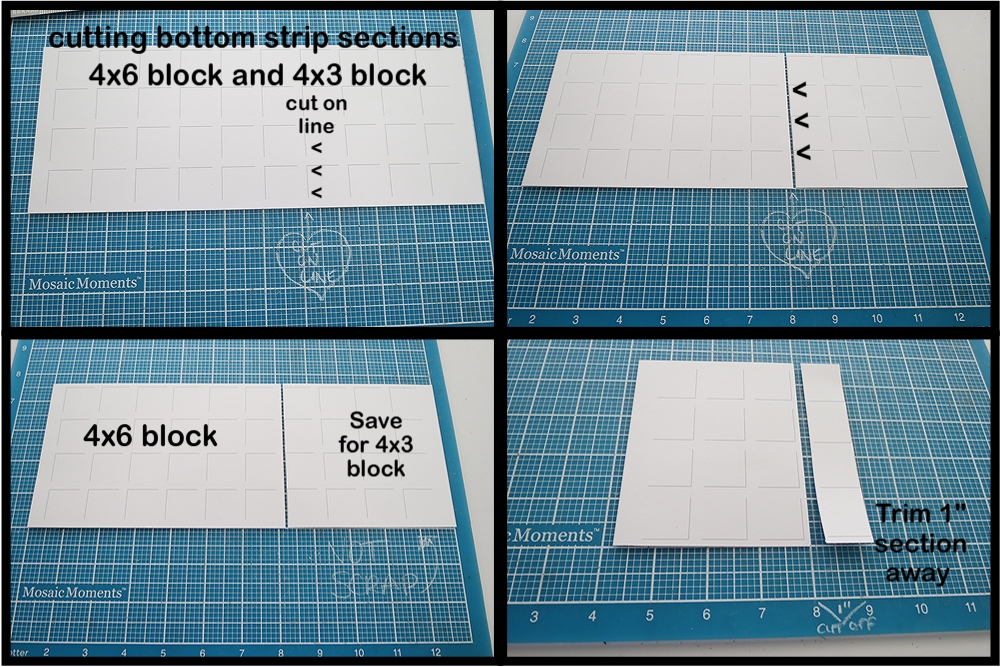
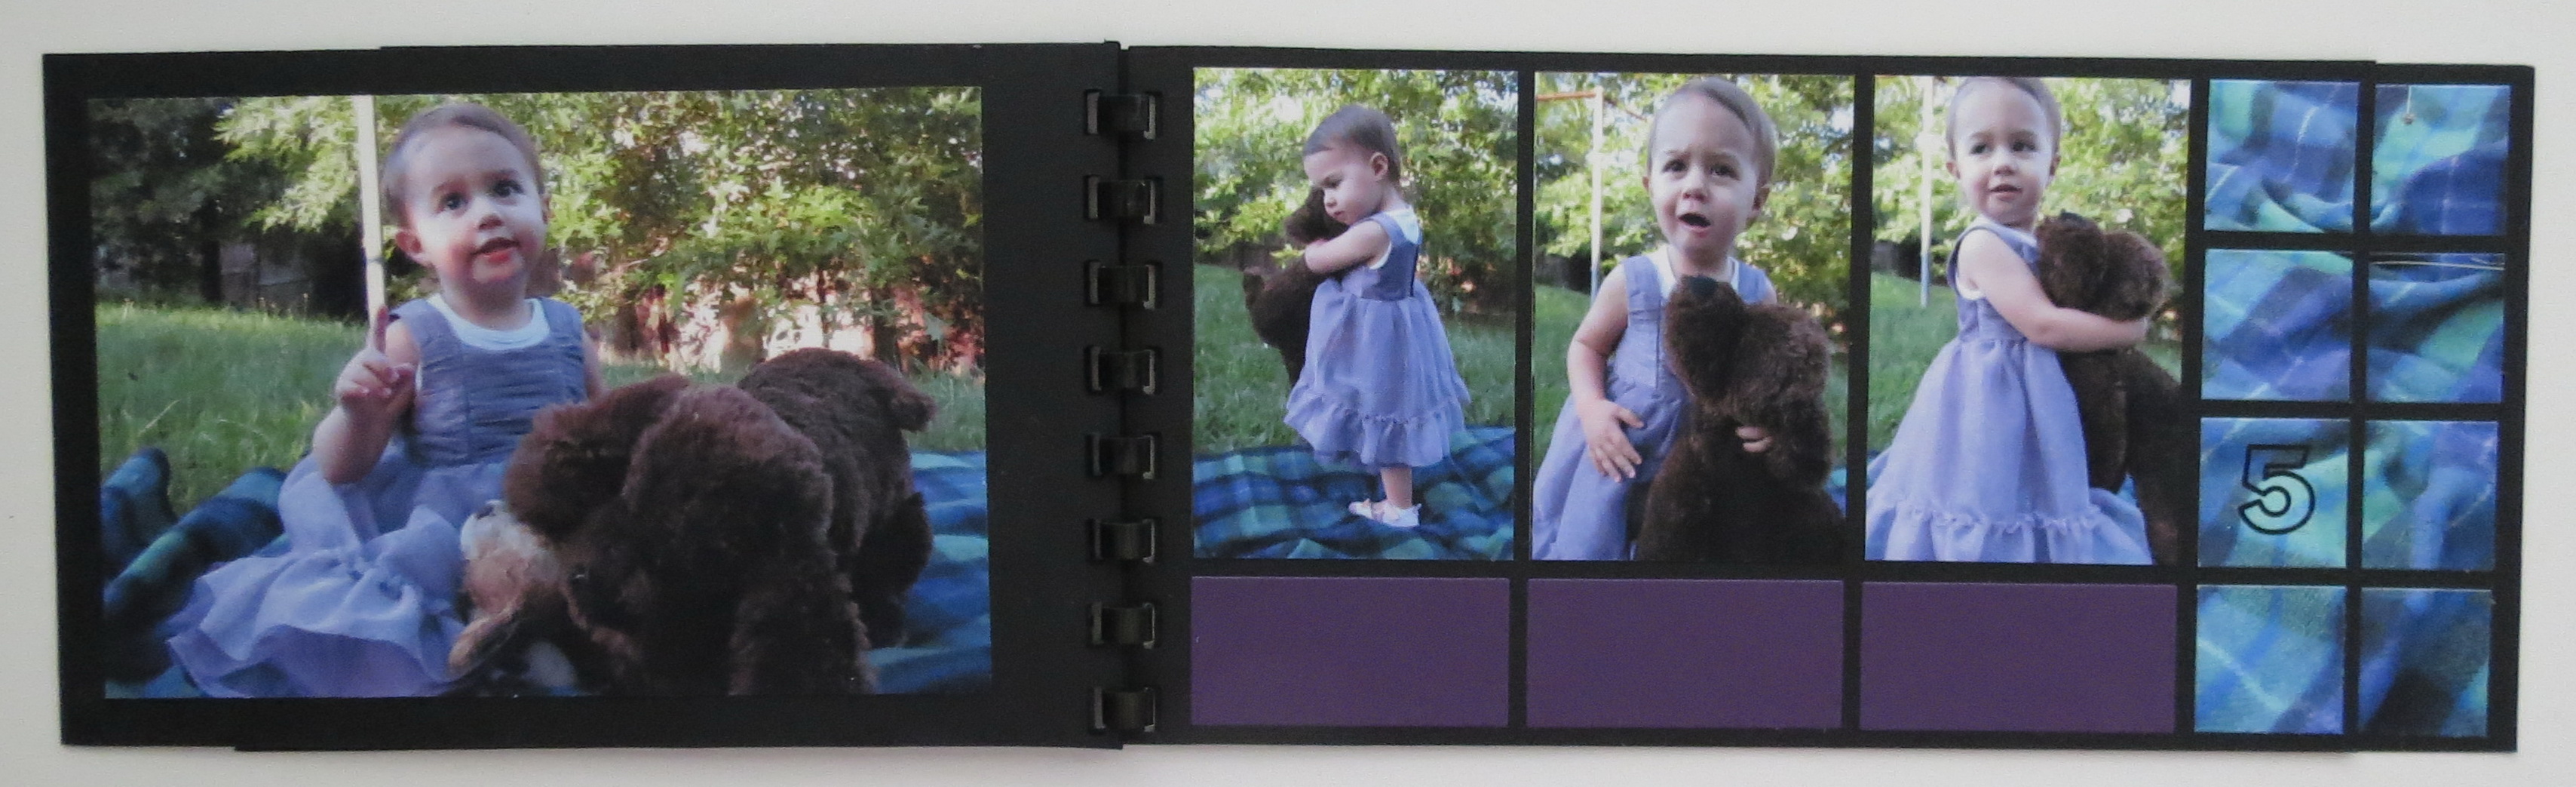
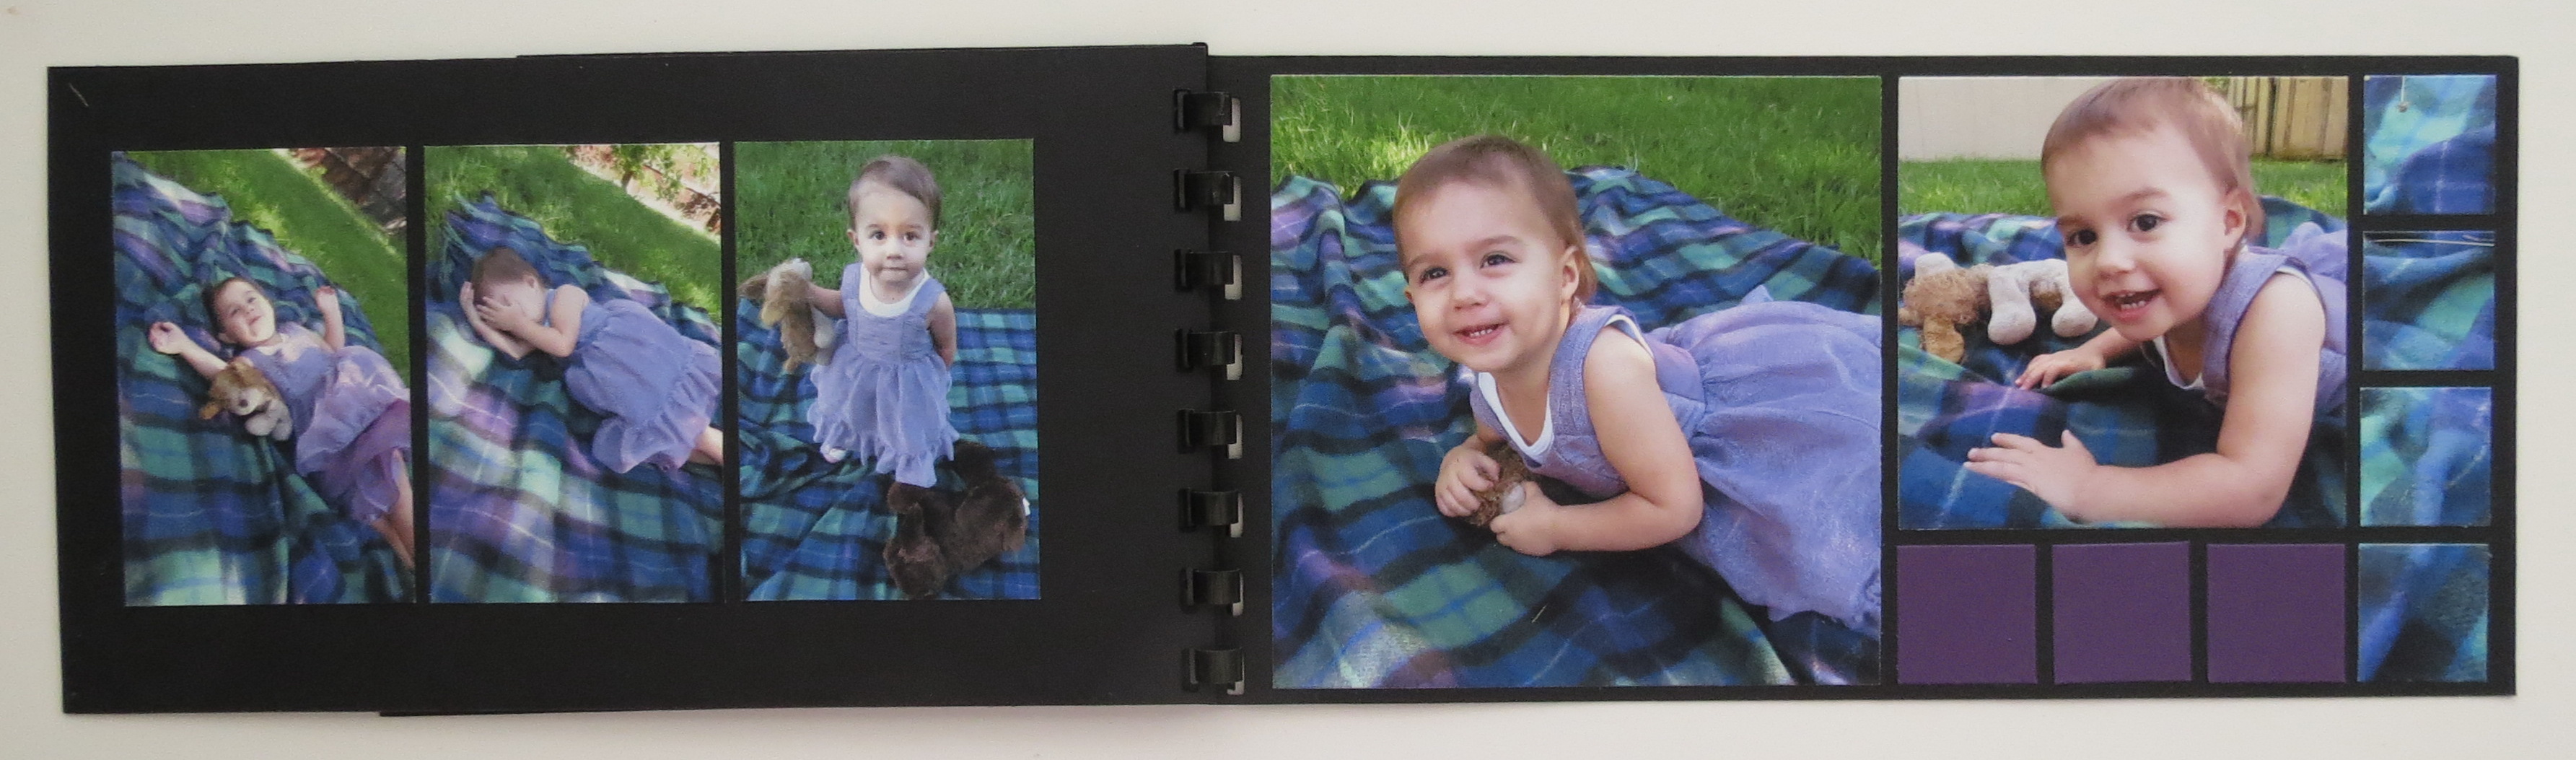
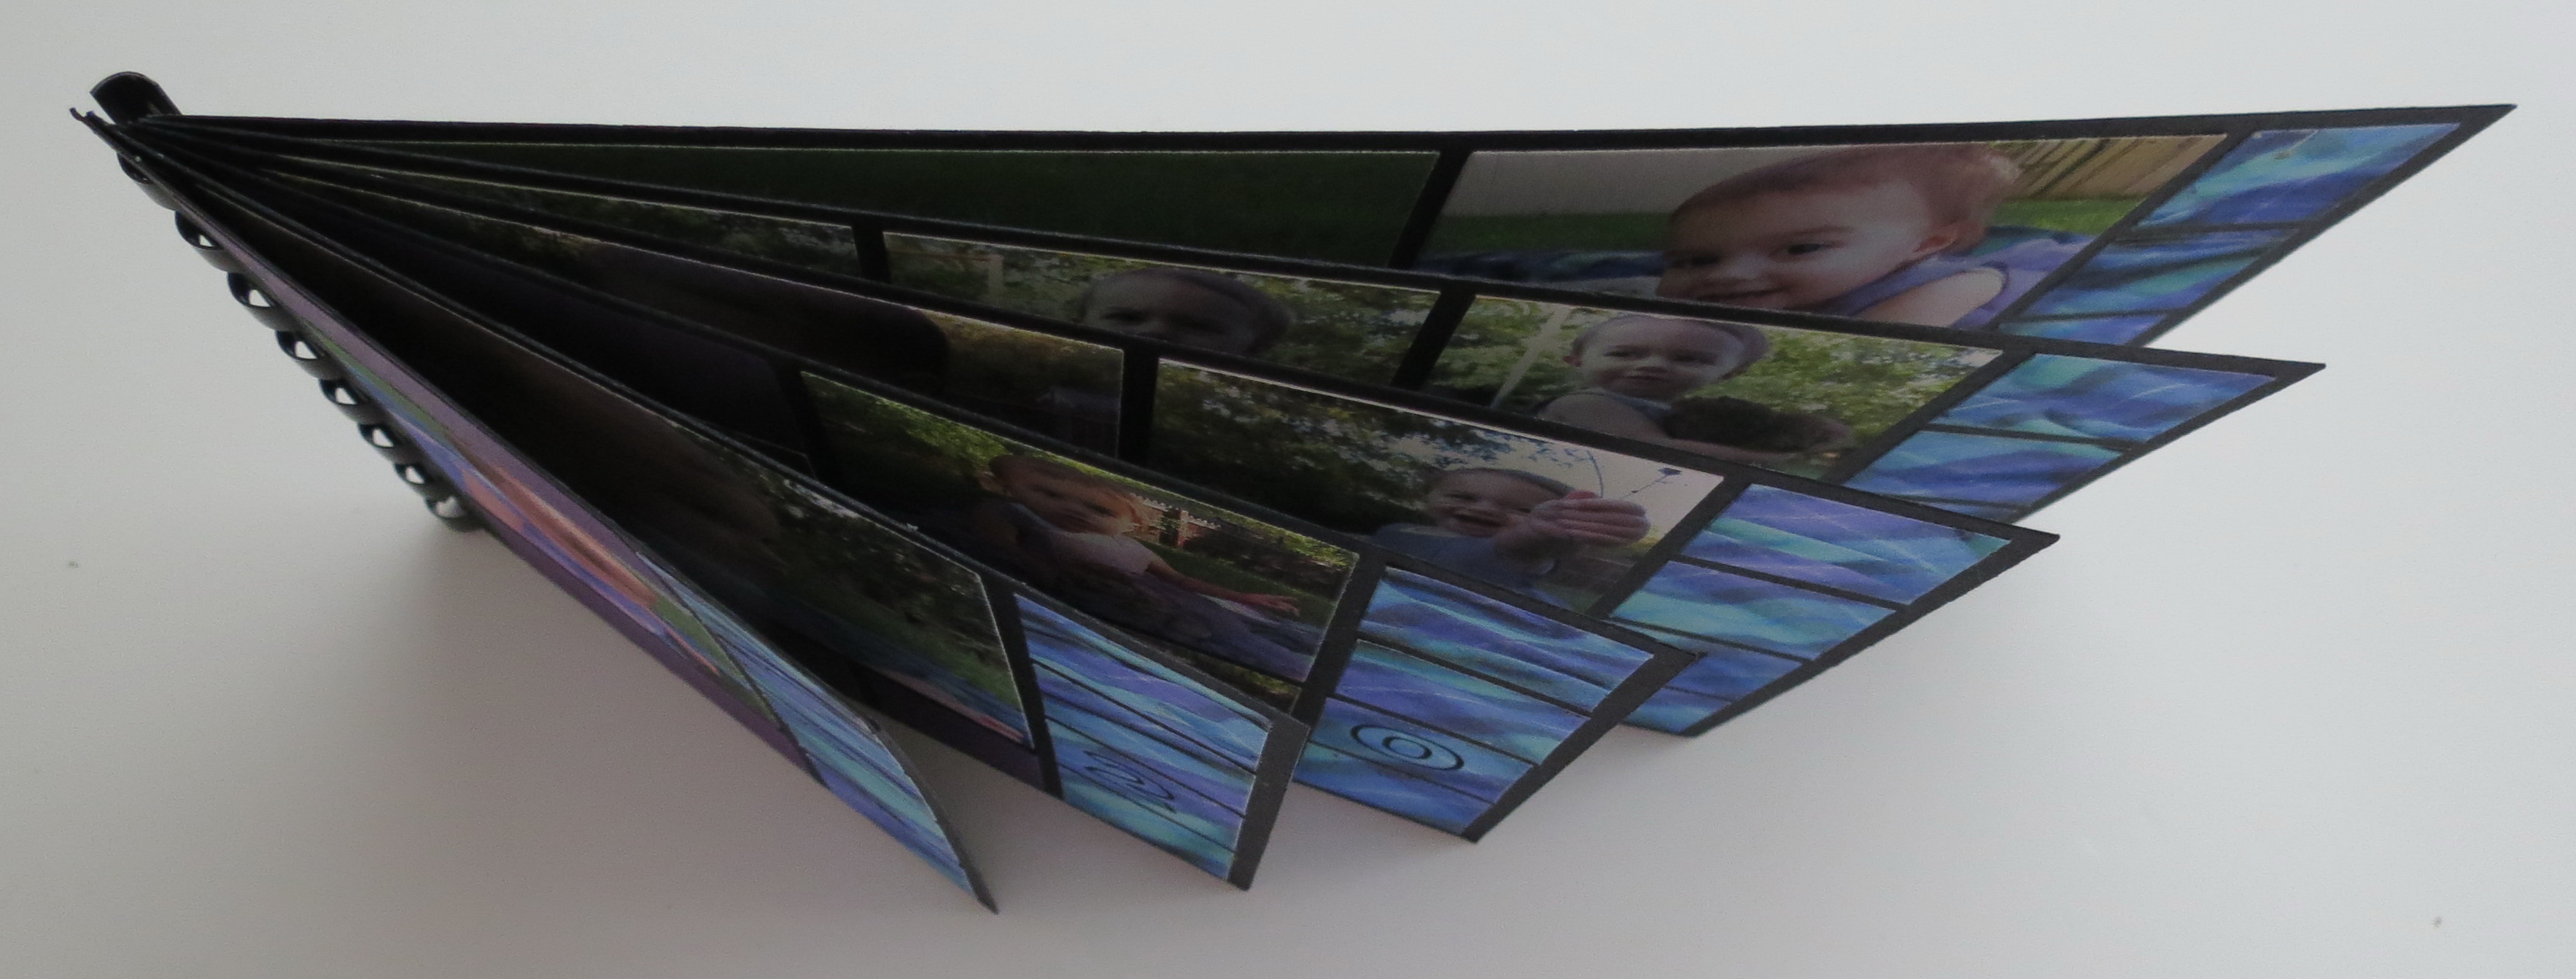
The pages of the mini album will be 4 5/8” high and as wide as 3, 4, 5, 6, 7 or 8 blocks. Some of the sections will be “upside down” but it still works the same.
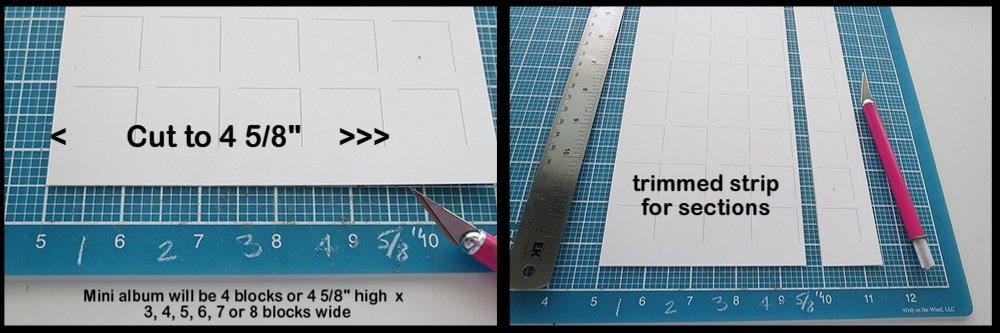
cutting strips to the size for the pages (4 5/8″) see the numbers marked on the grid.
From the top strip cut two pages 4×5 and 4×4

Cutting two pages from the bottom strip 4×6 and 4×3
Instead of a lot of measuring to get the correct size for each page, all you need to do here is on the raw edge from cutting along the grid line, is to cut away 1”.
To trim the top border away you will line up the cut edge and trim to 4 5/8”.
In the original directions 3 pages were created, however as I cut I saw there was still another section that could be used.
Mini Album Maxi Look
On page two of the Grid you will cut two pages 7 and 8 blocks wide using the same directions as above.
Here’s what it looks like when you are done:
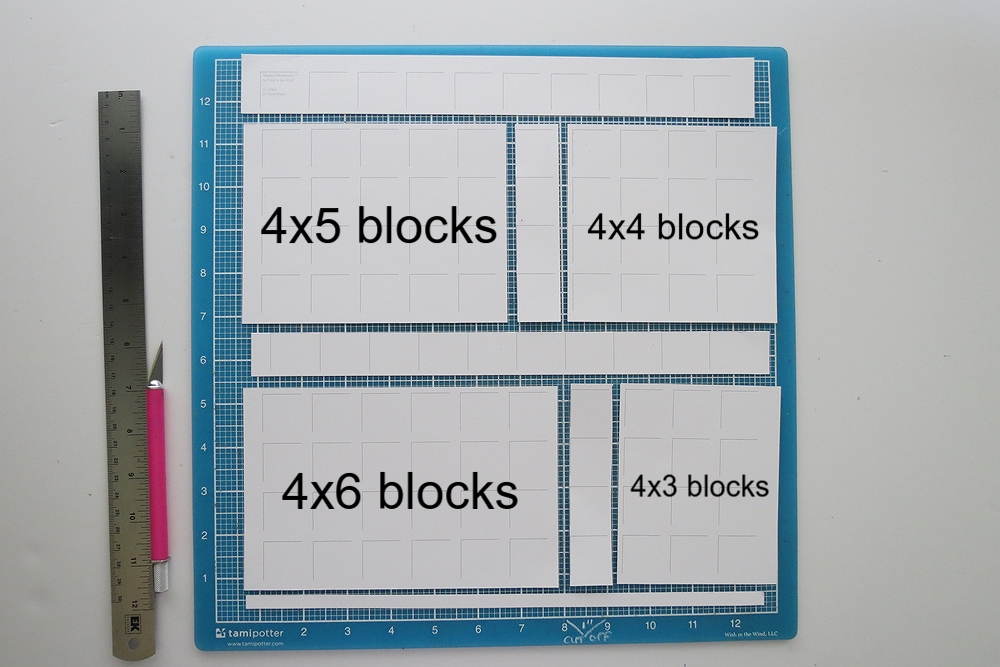
Mini Album Maxi Look These are the cuts you will make and the pages you will get from one 12×12 Grid.
Mini Album Maxi Look all the pages stacked
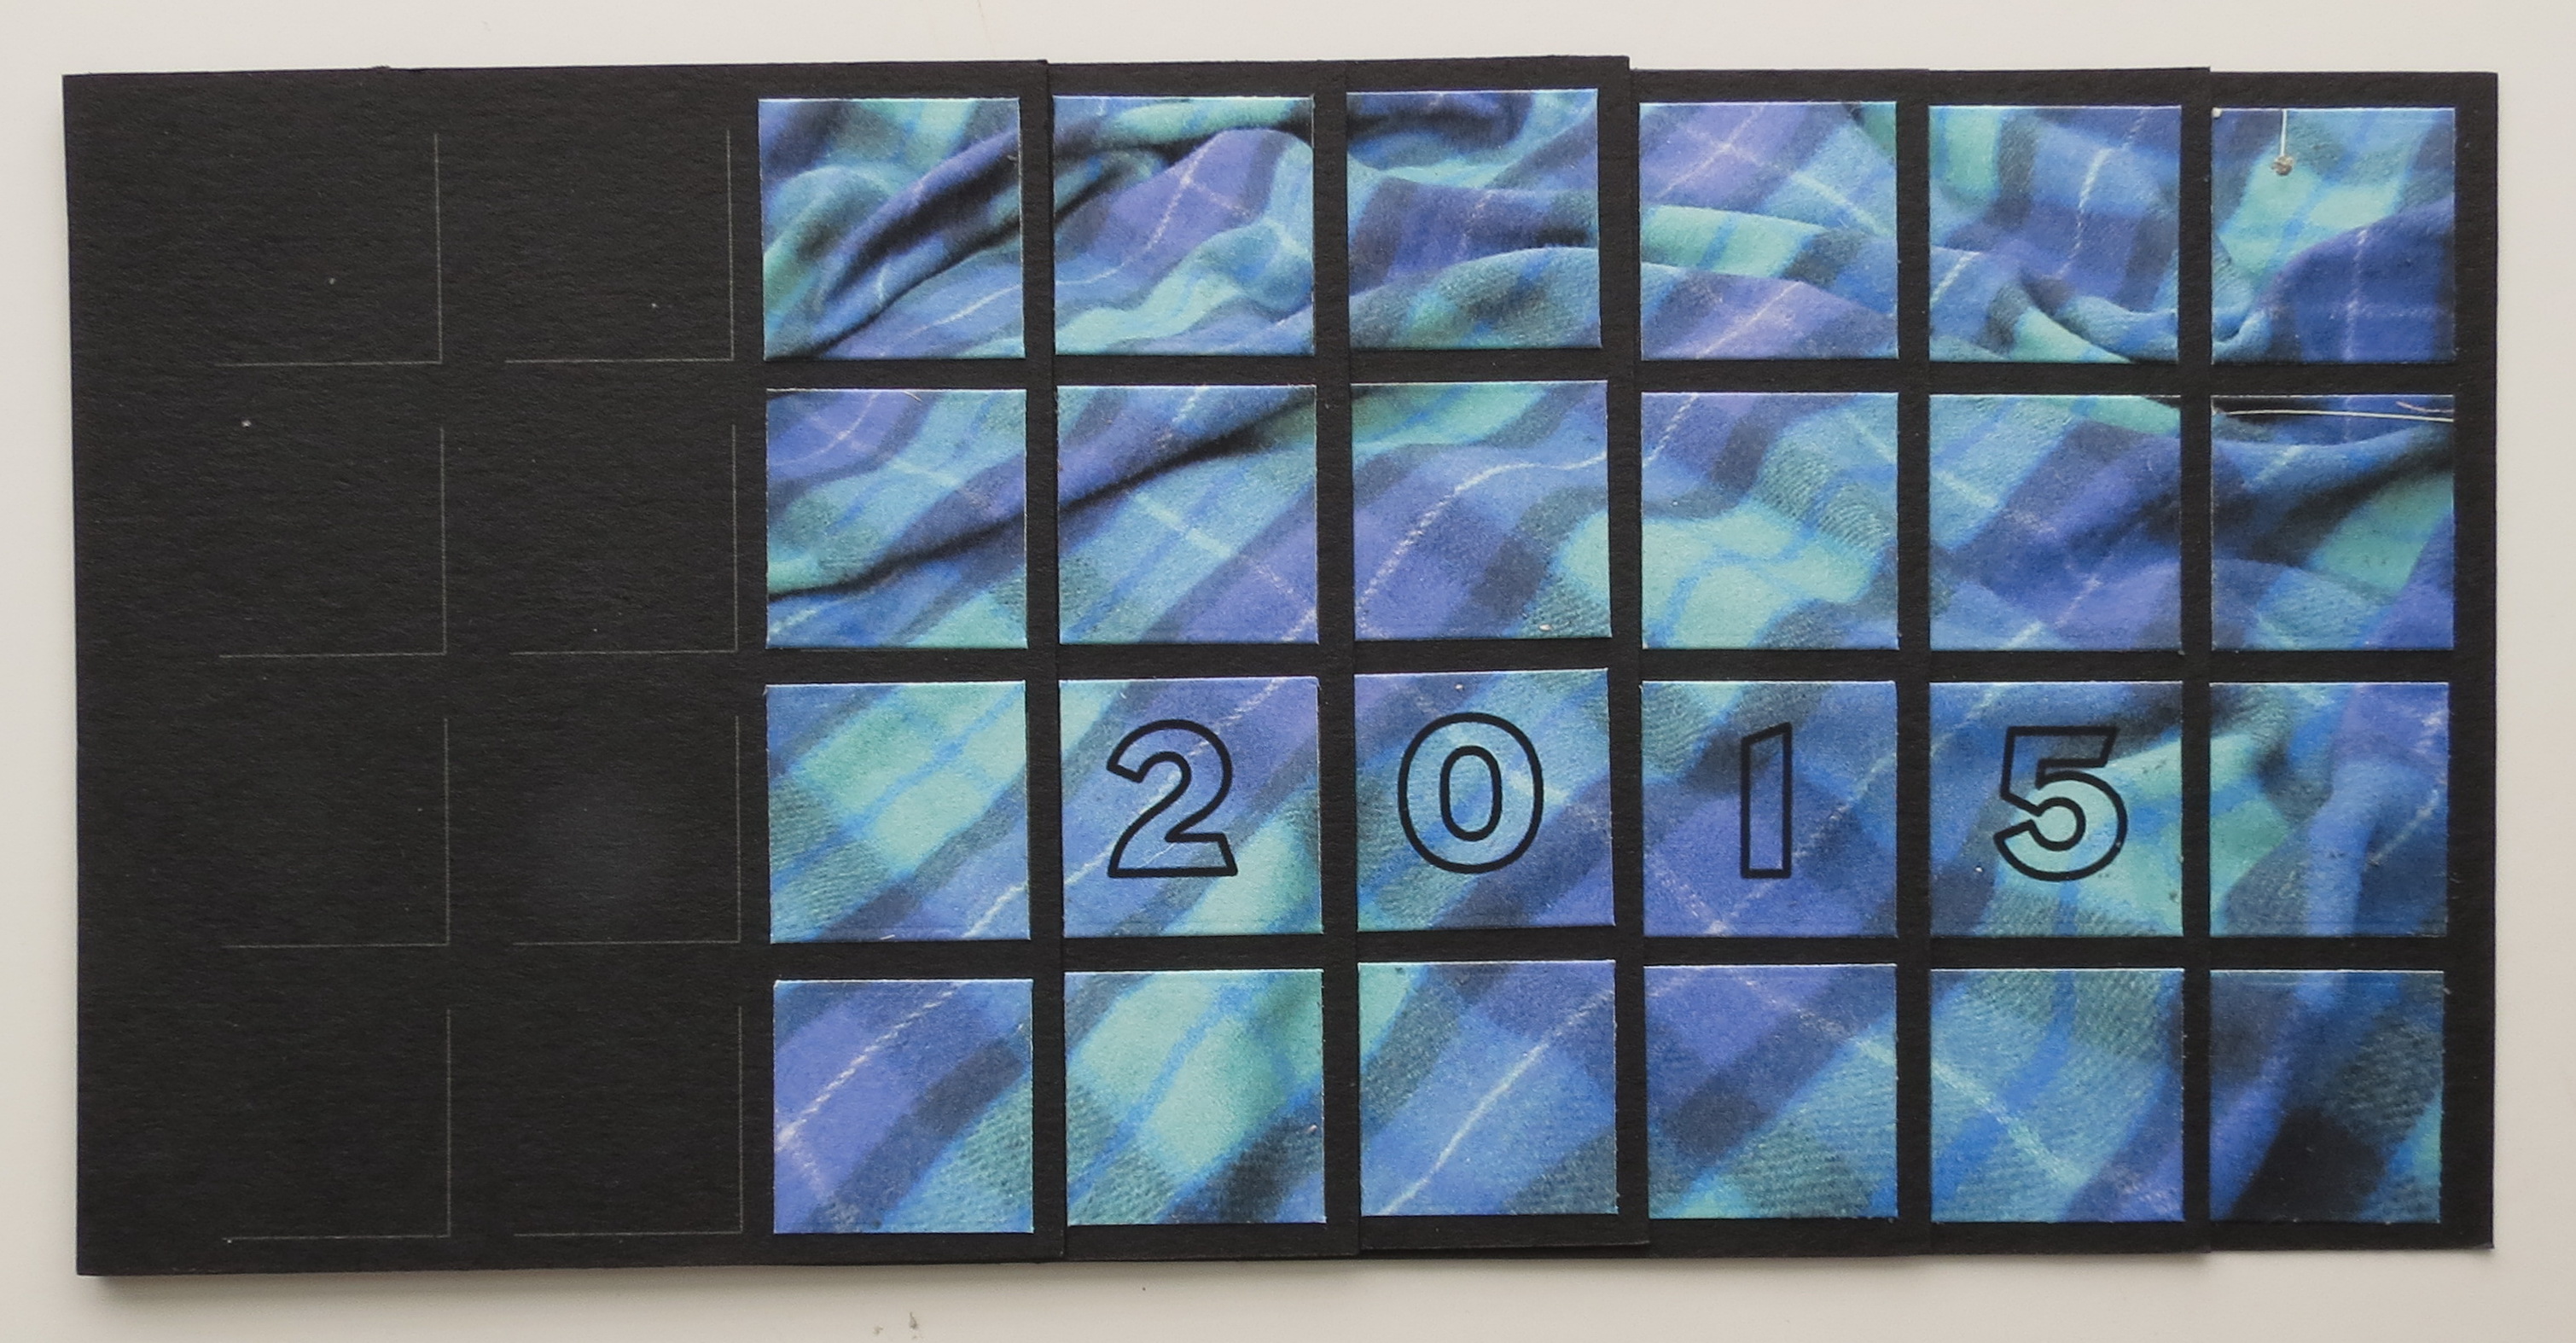
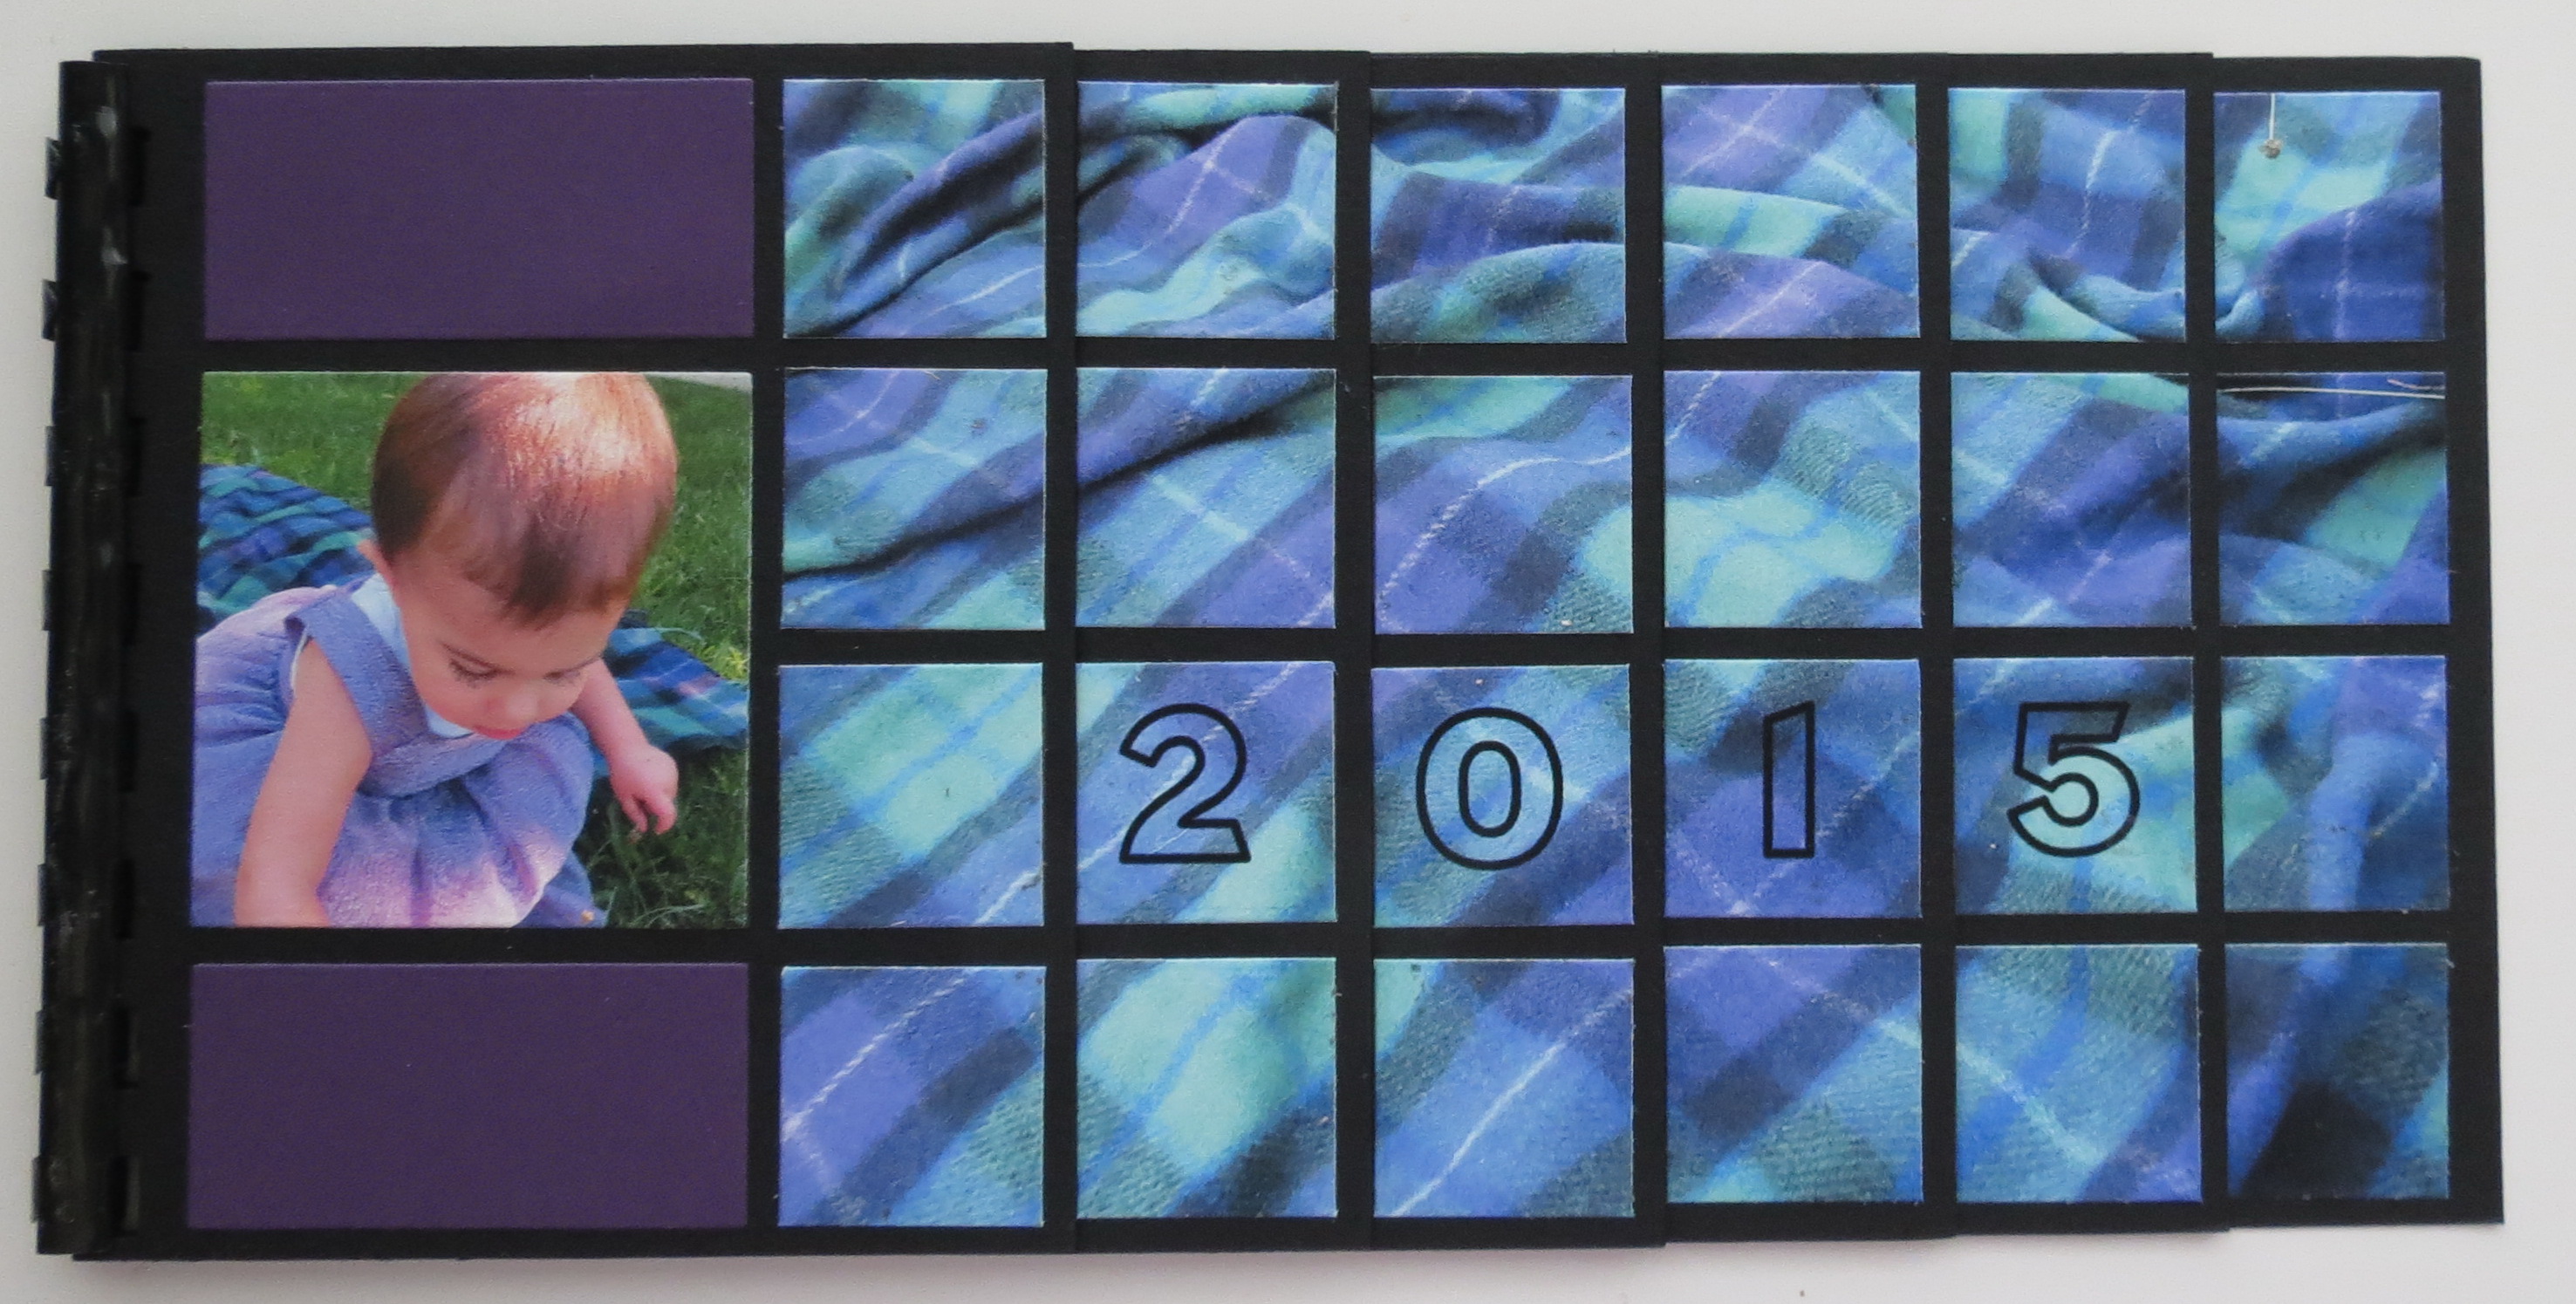
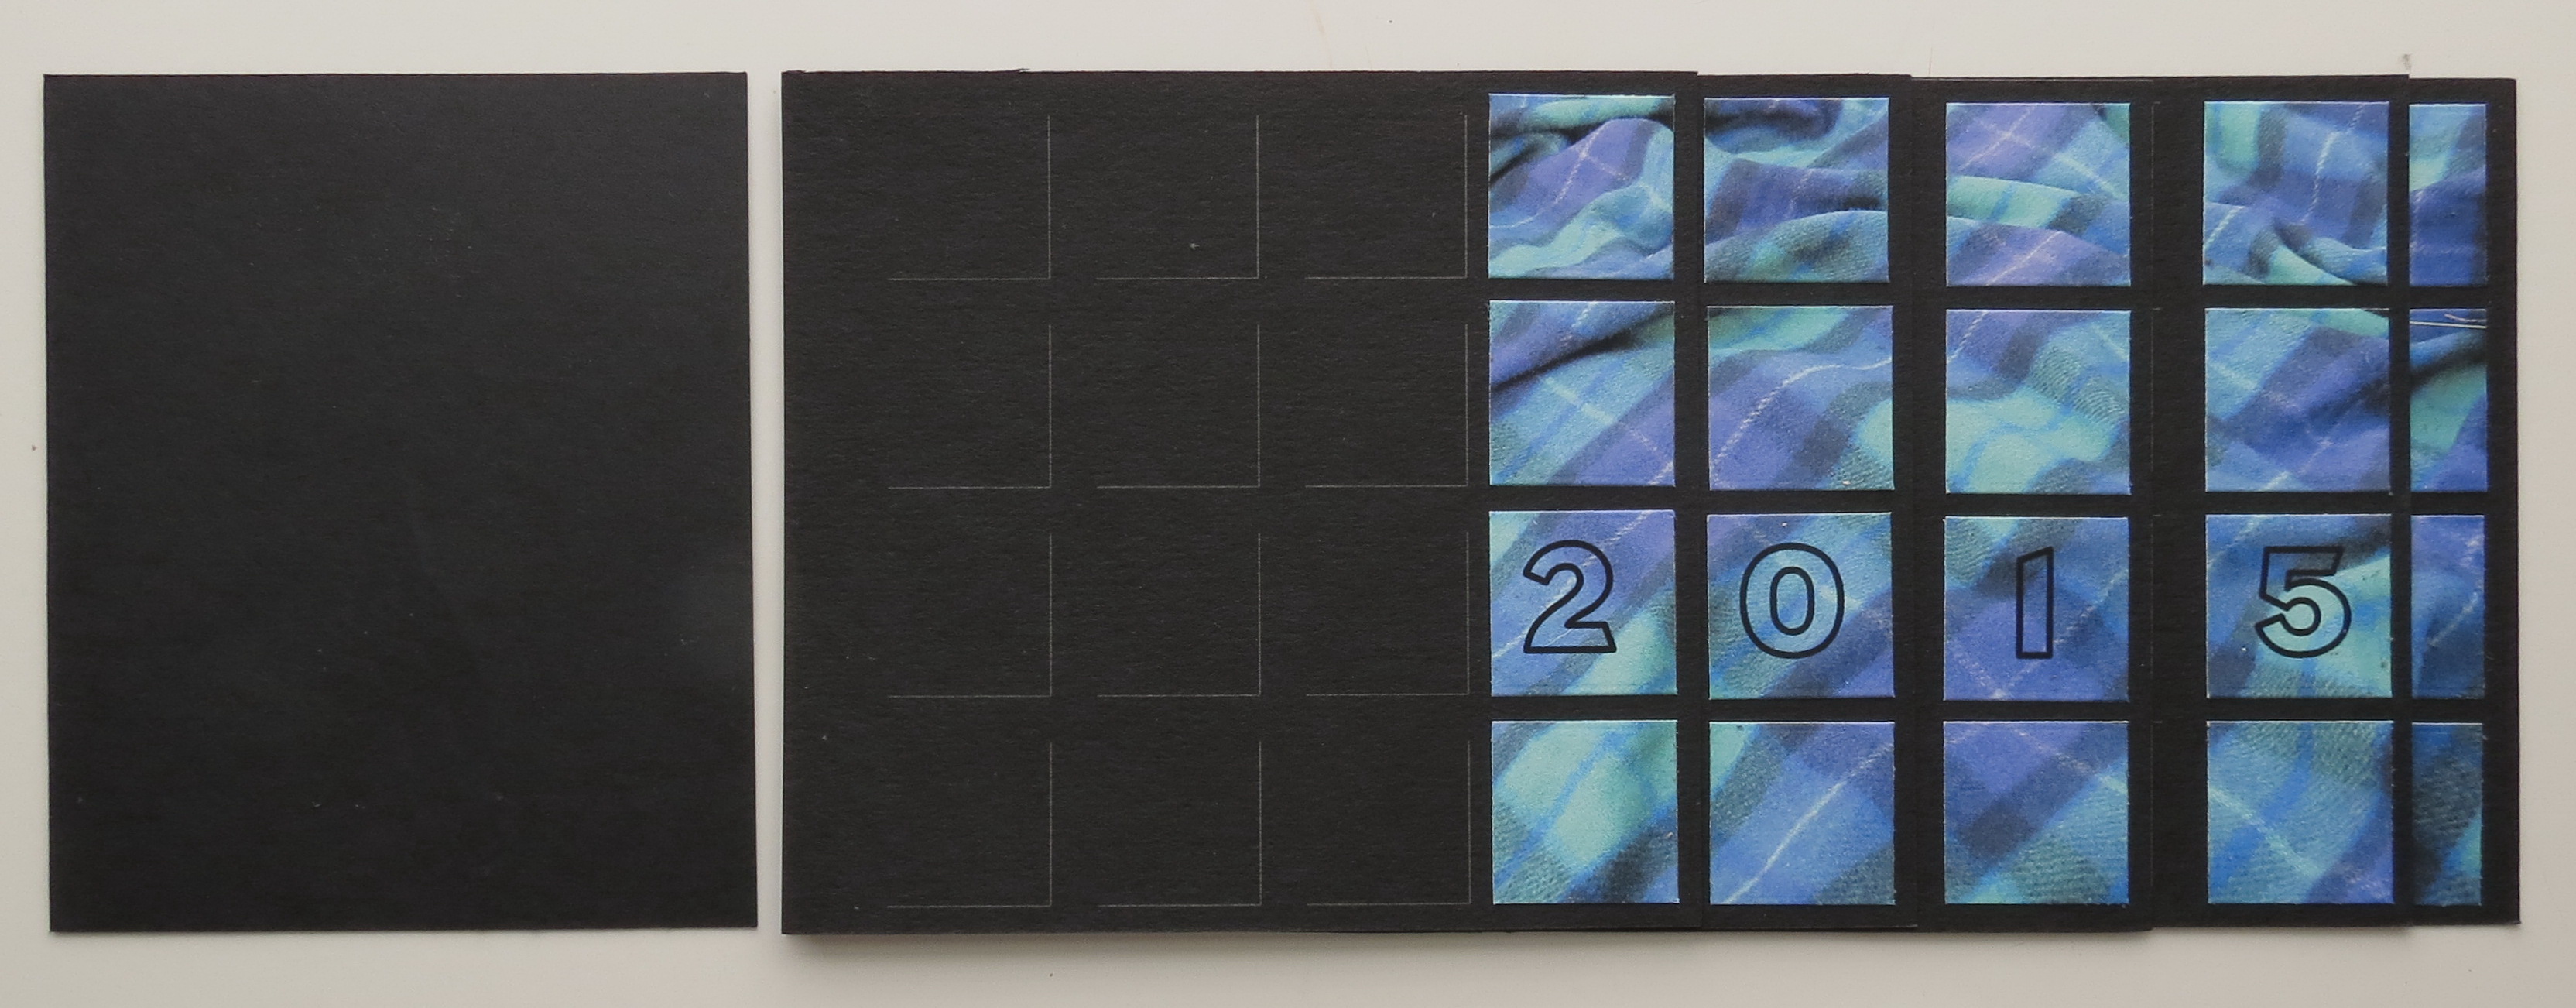
Cutting the cover photo
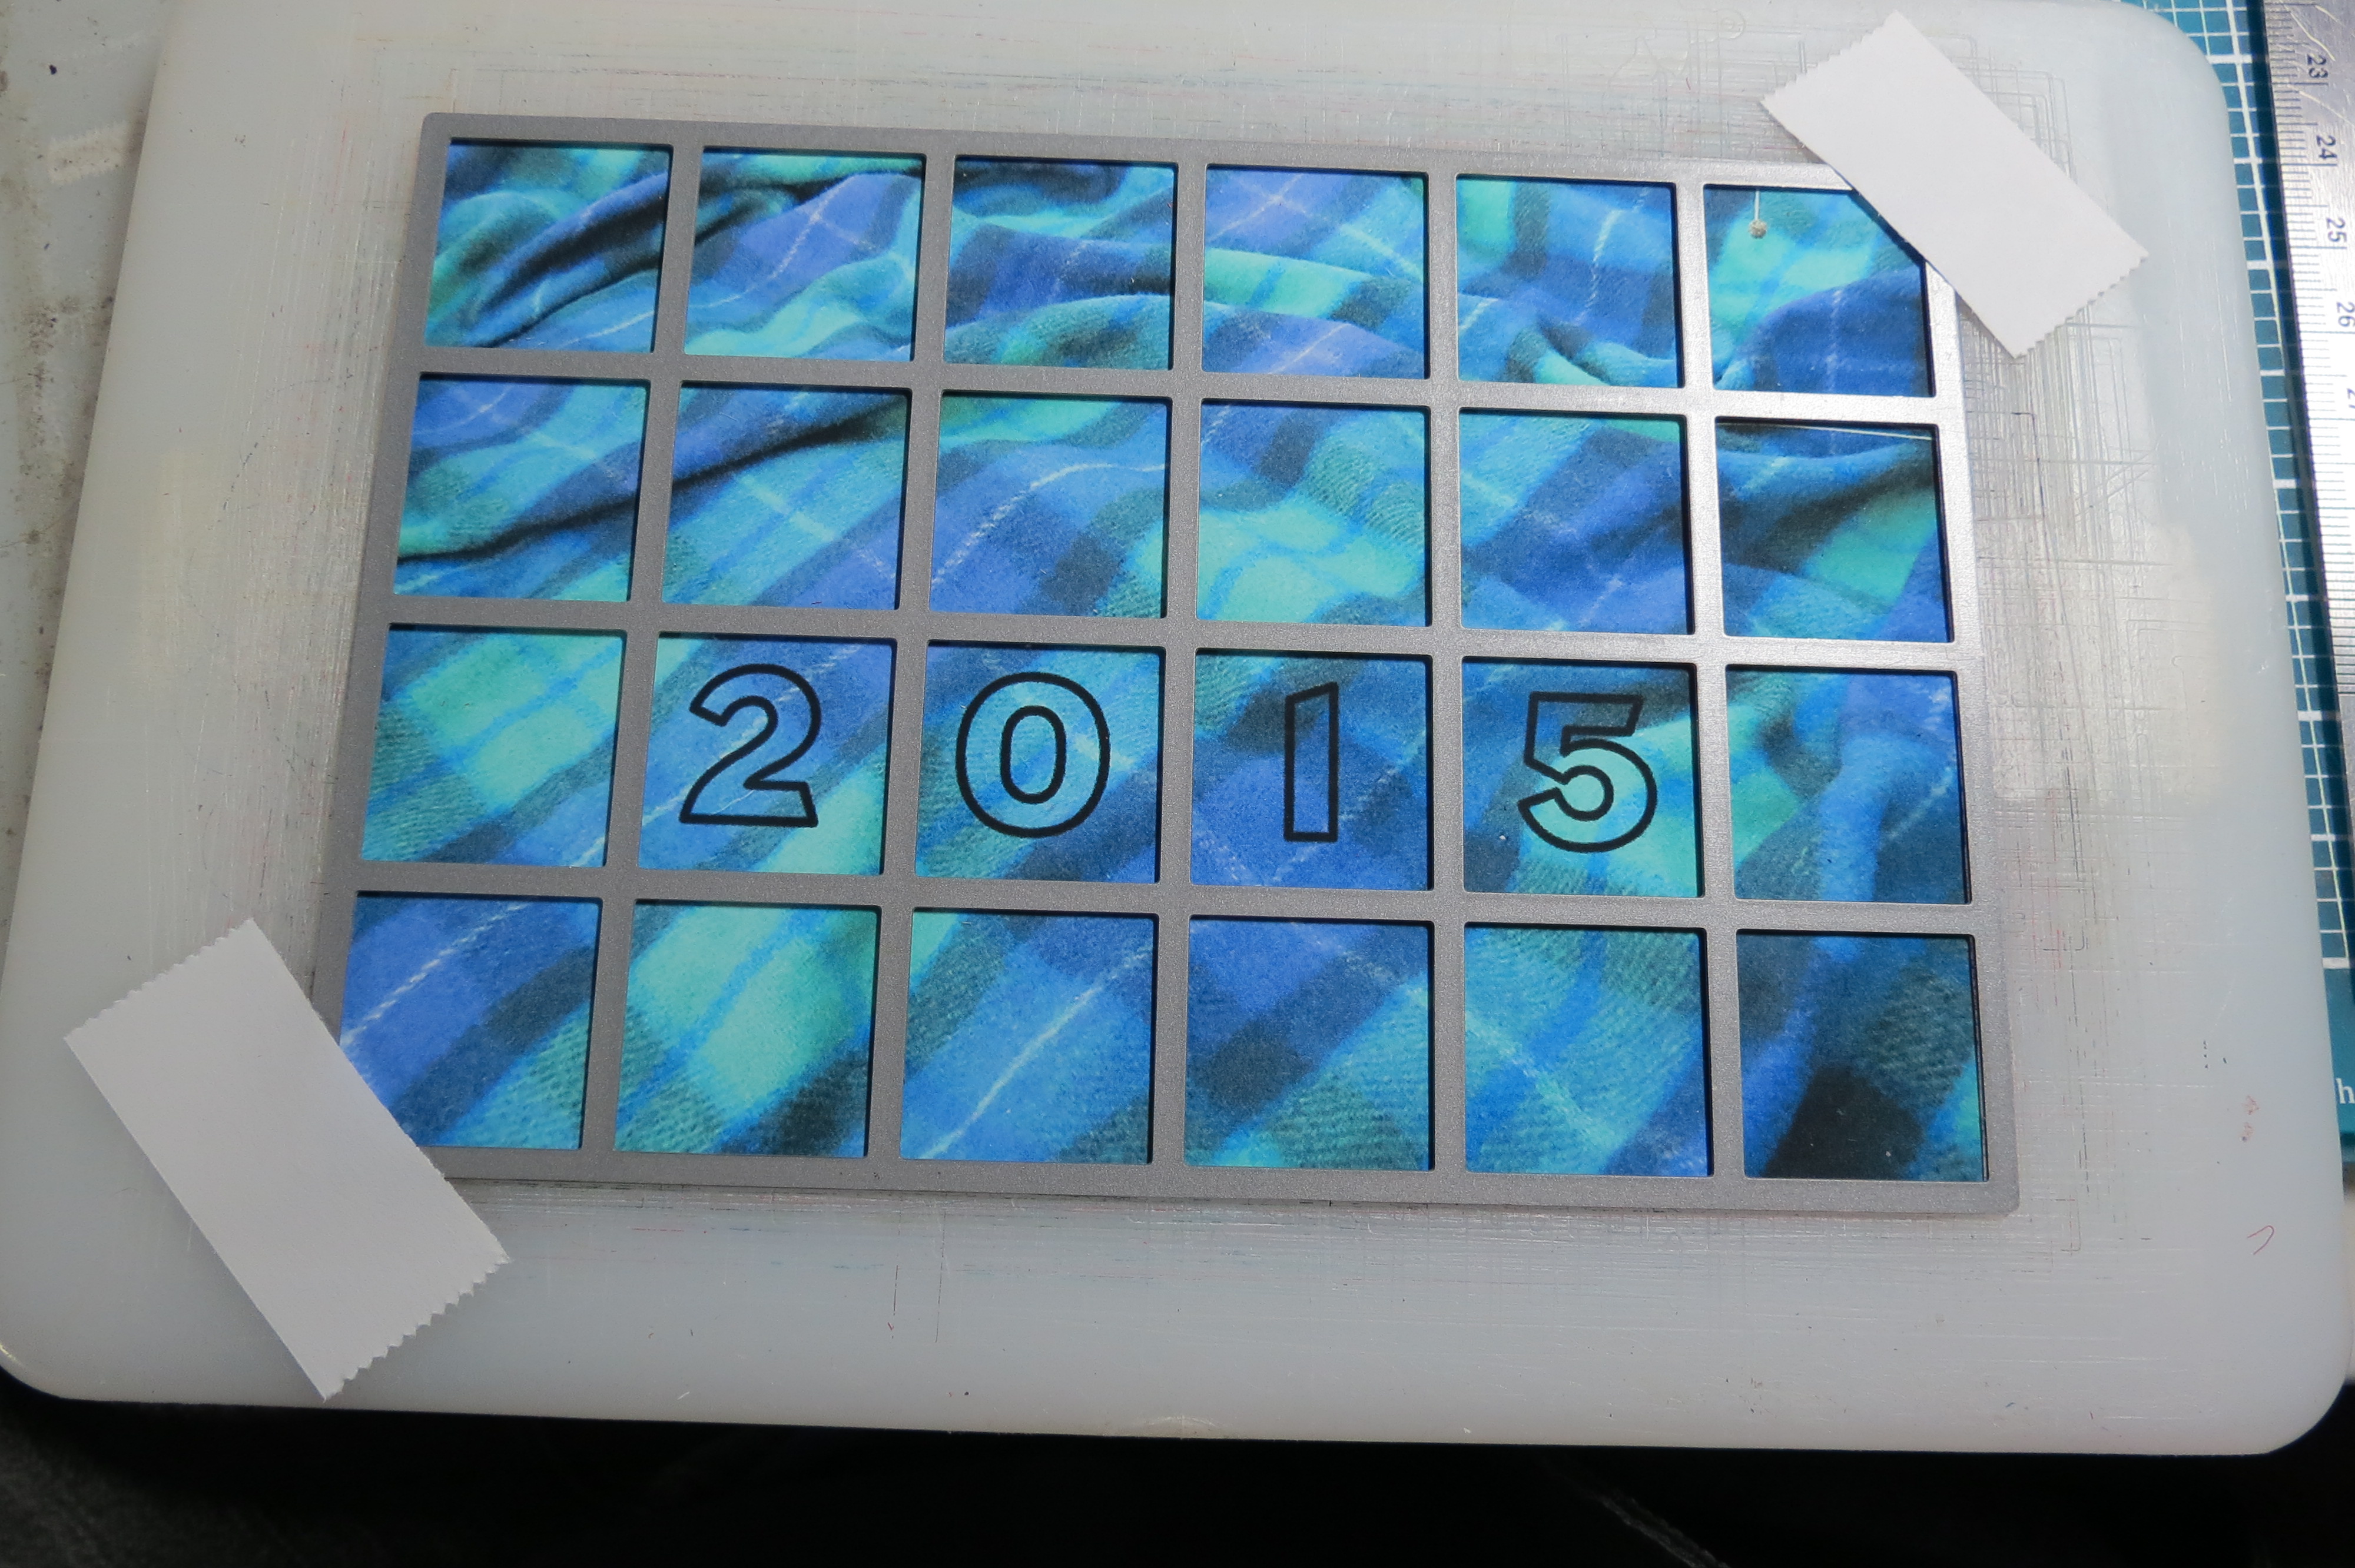
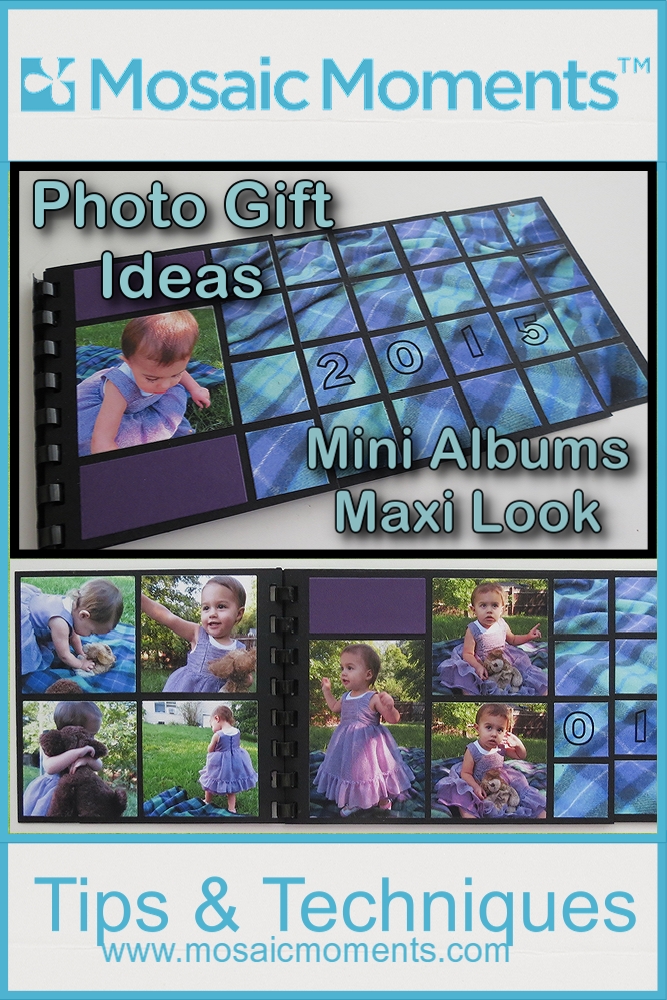
Mini Album Maxi Look cutting the cover photo
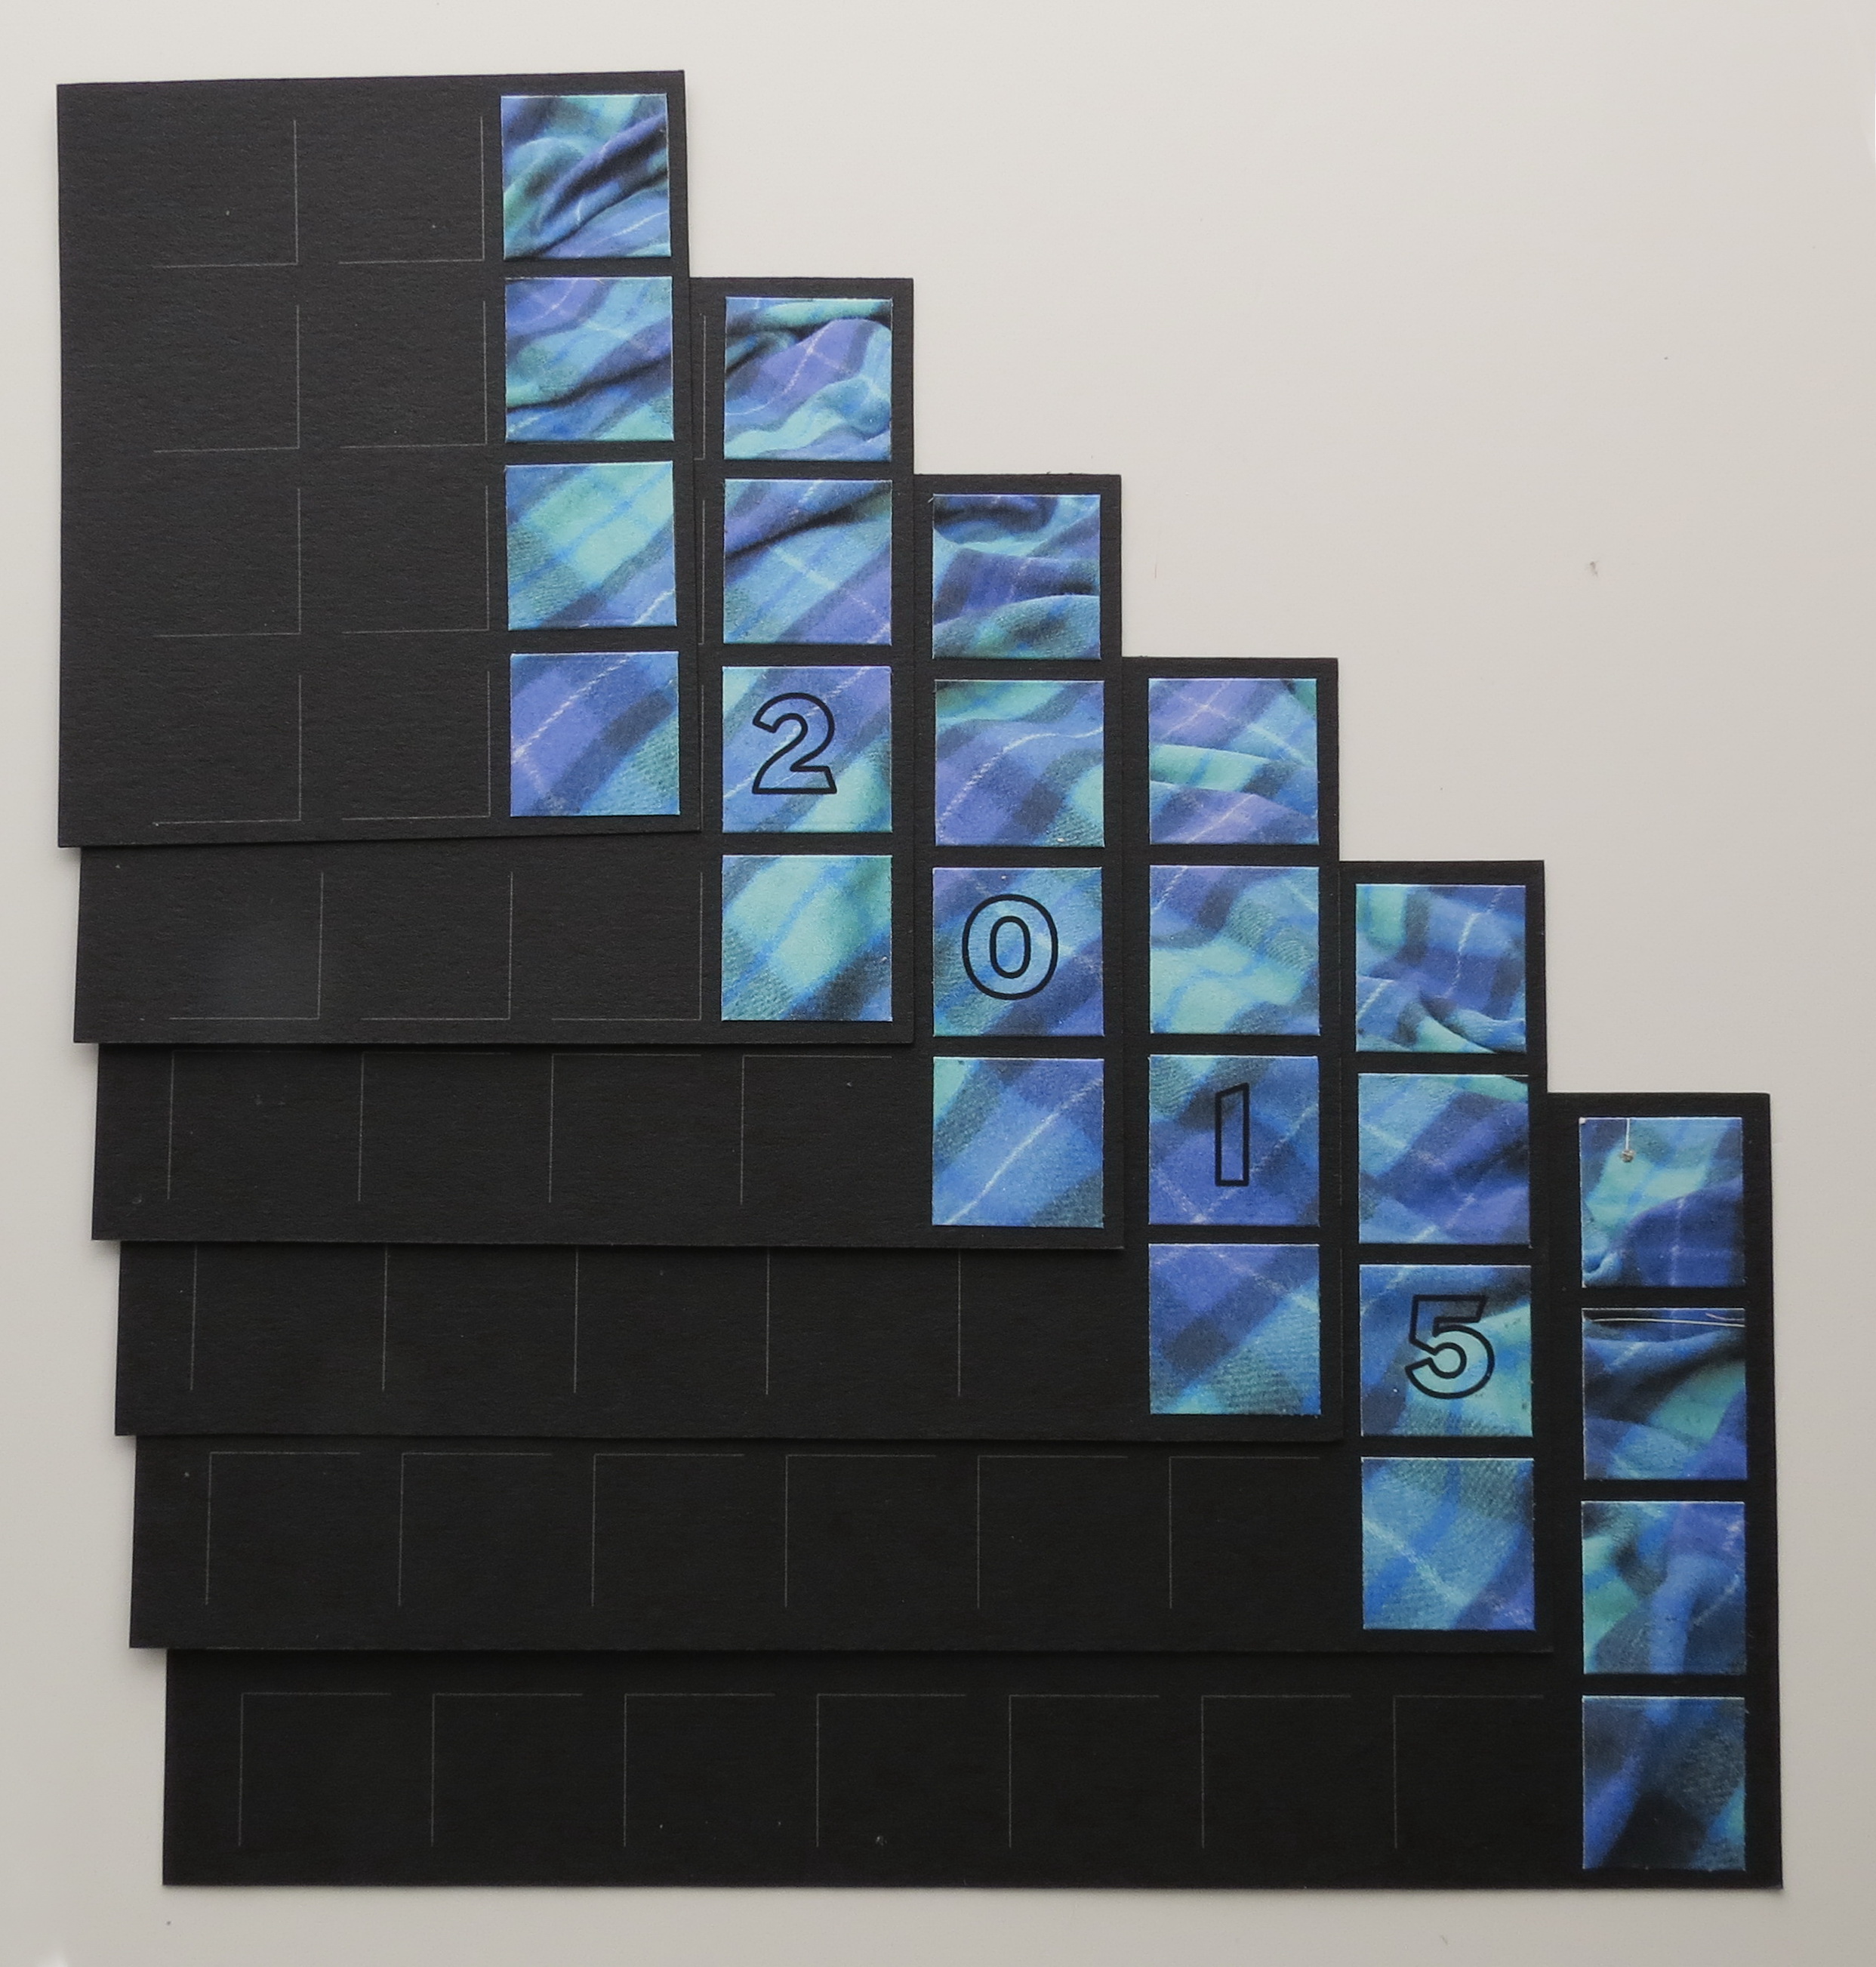
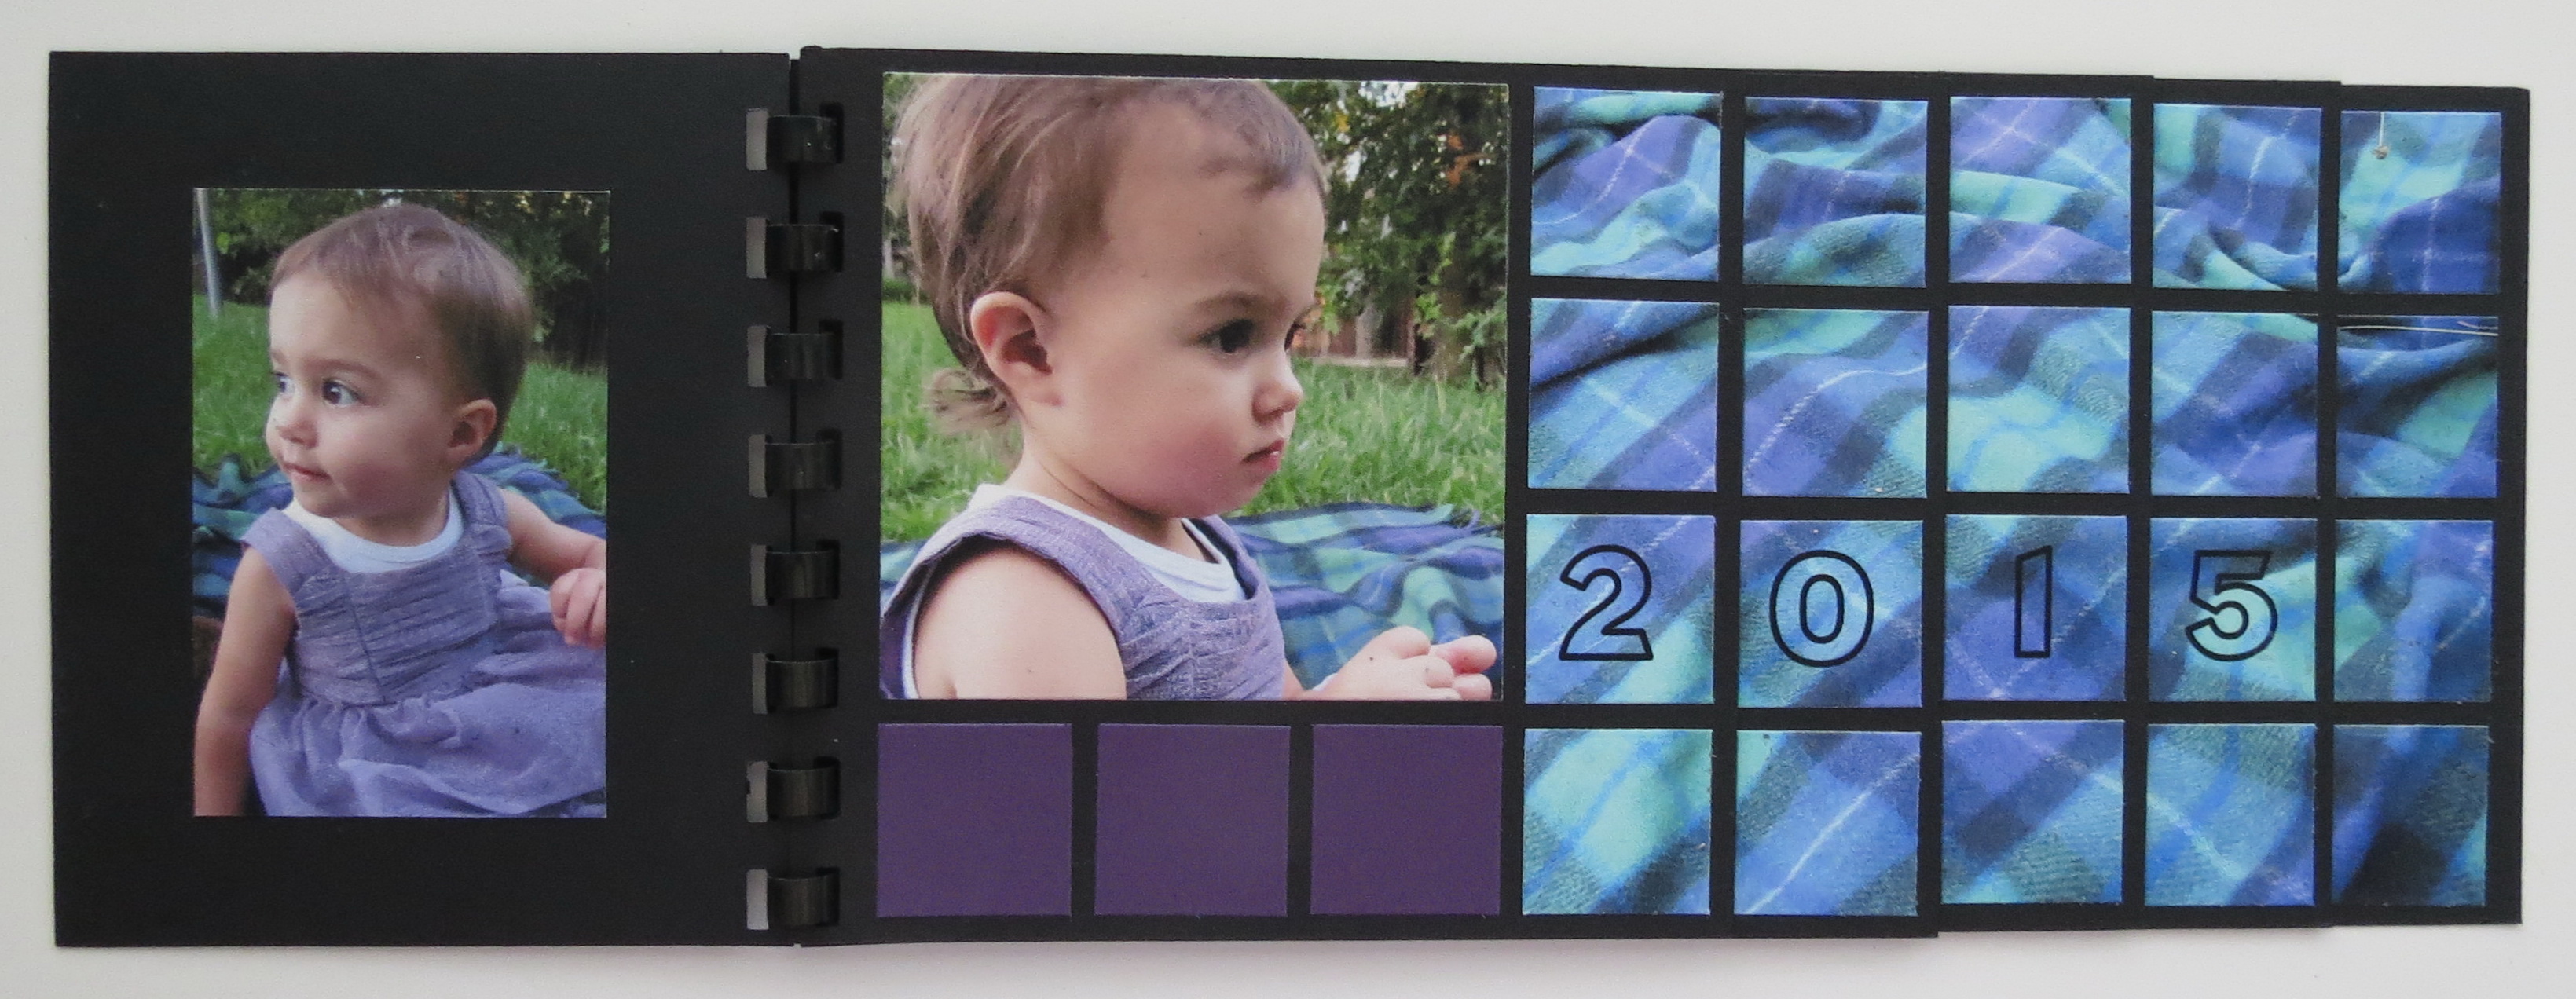
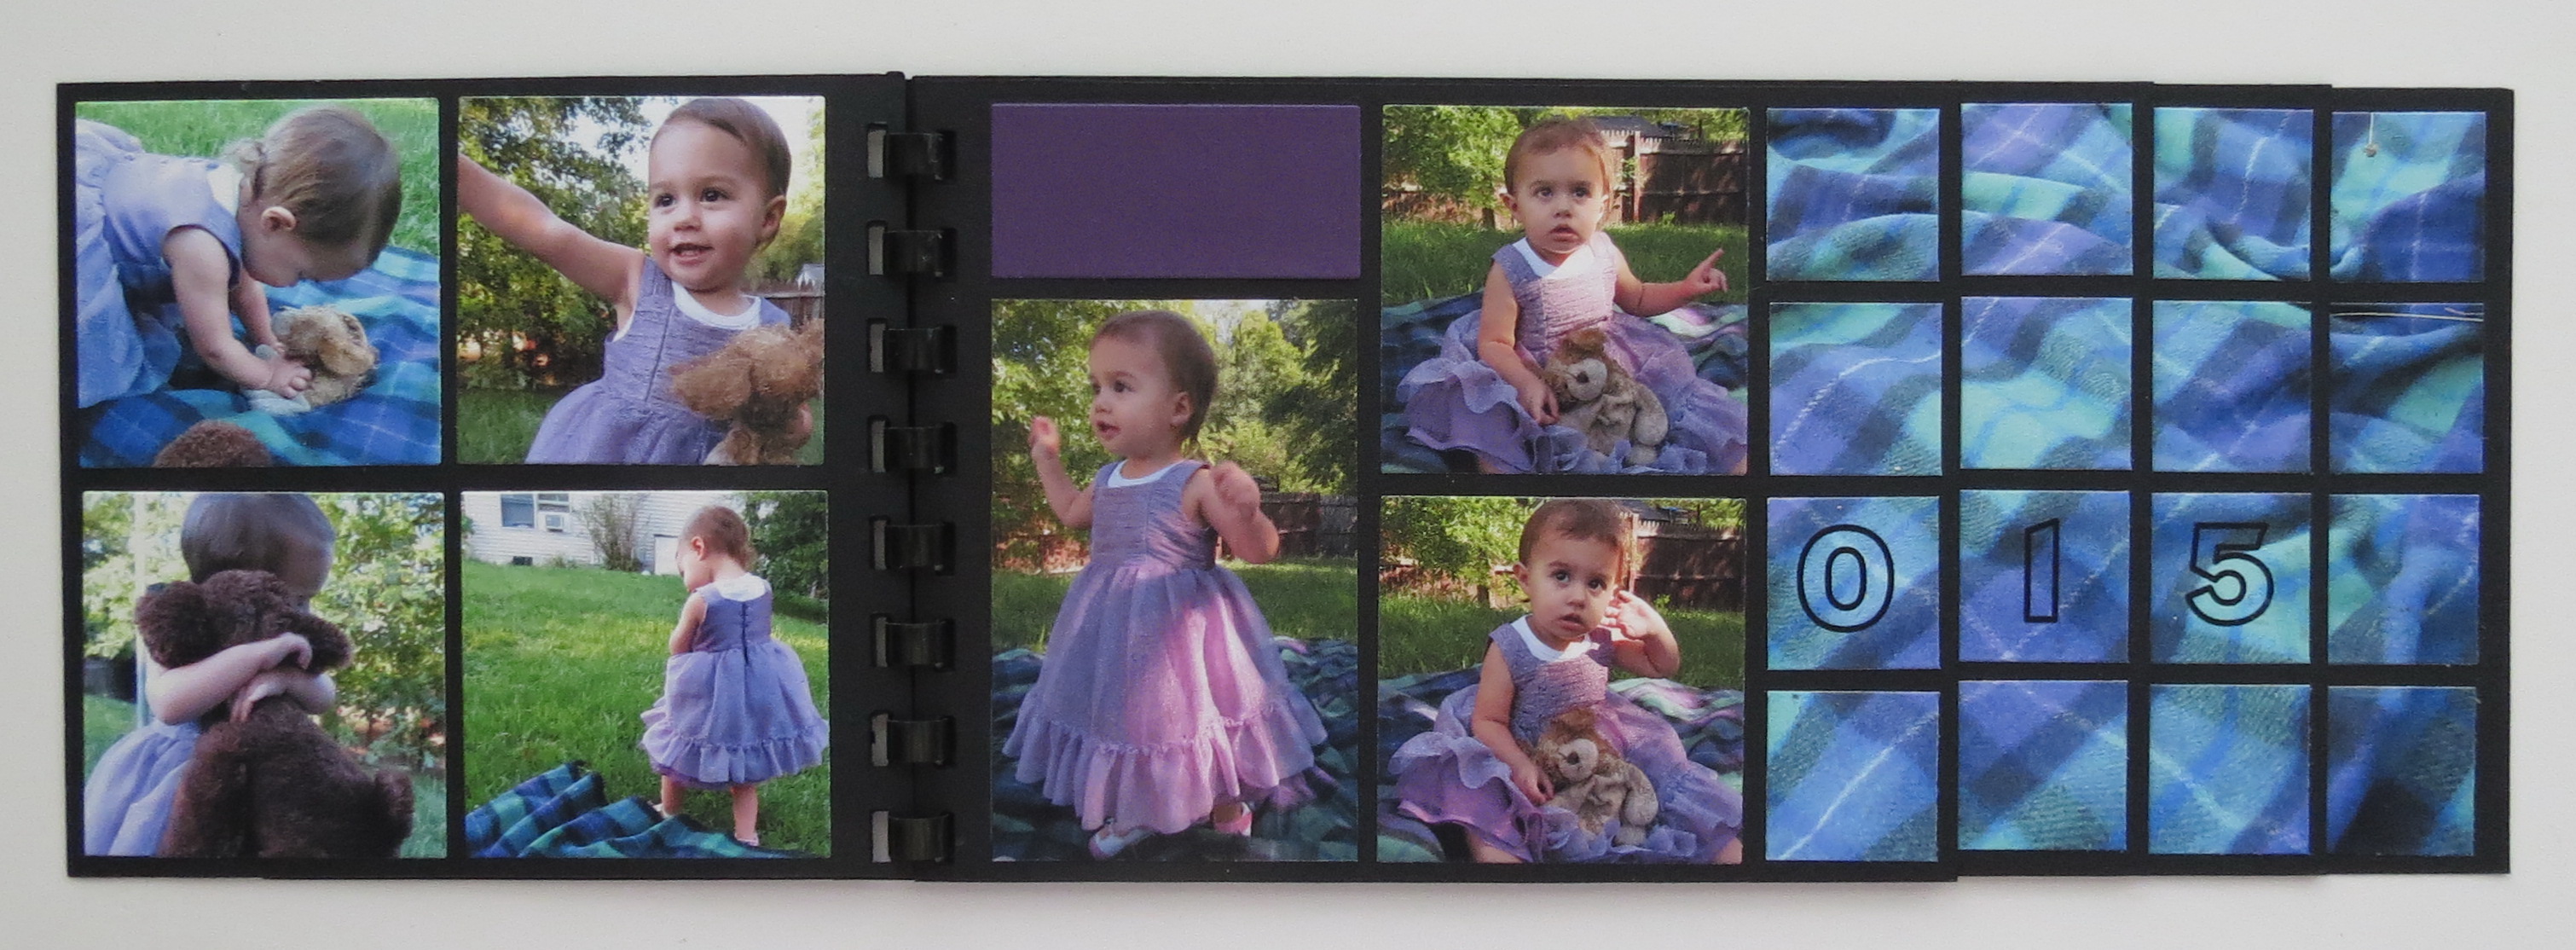
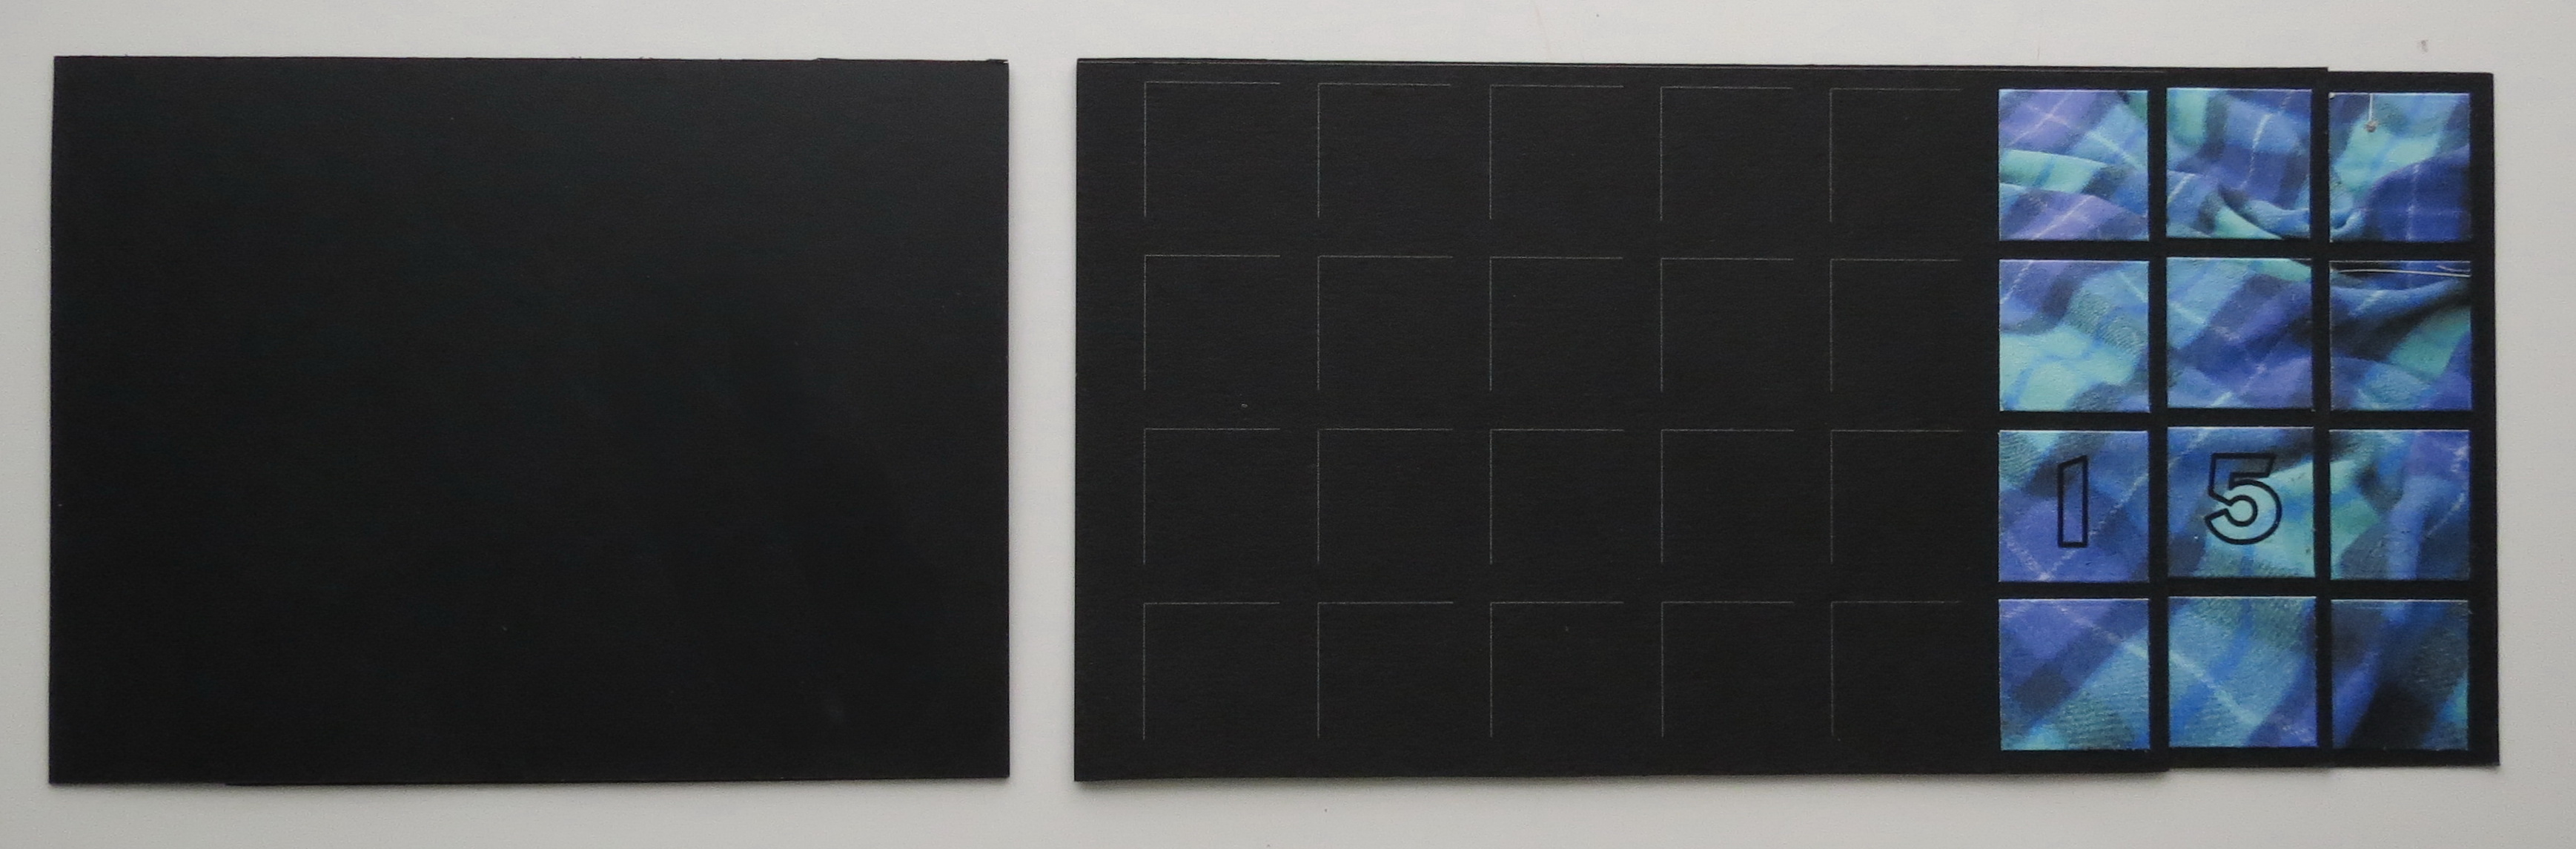
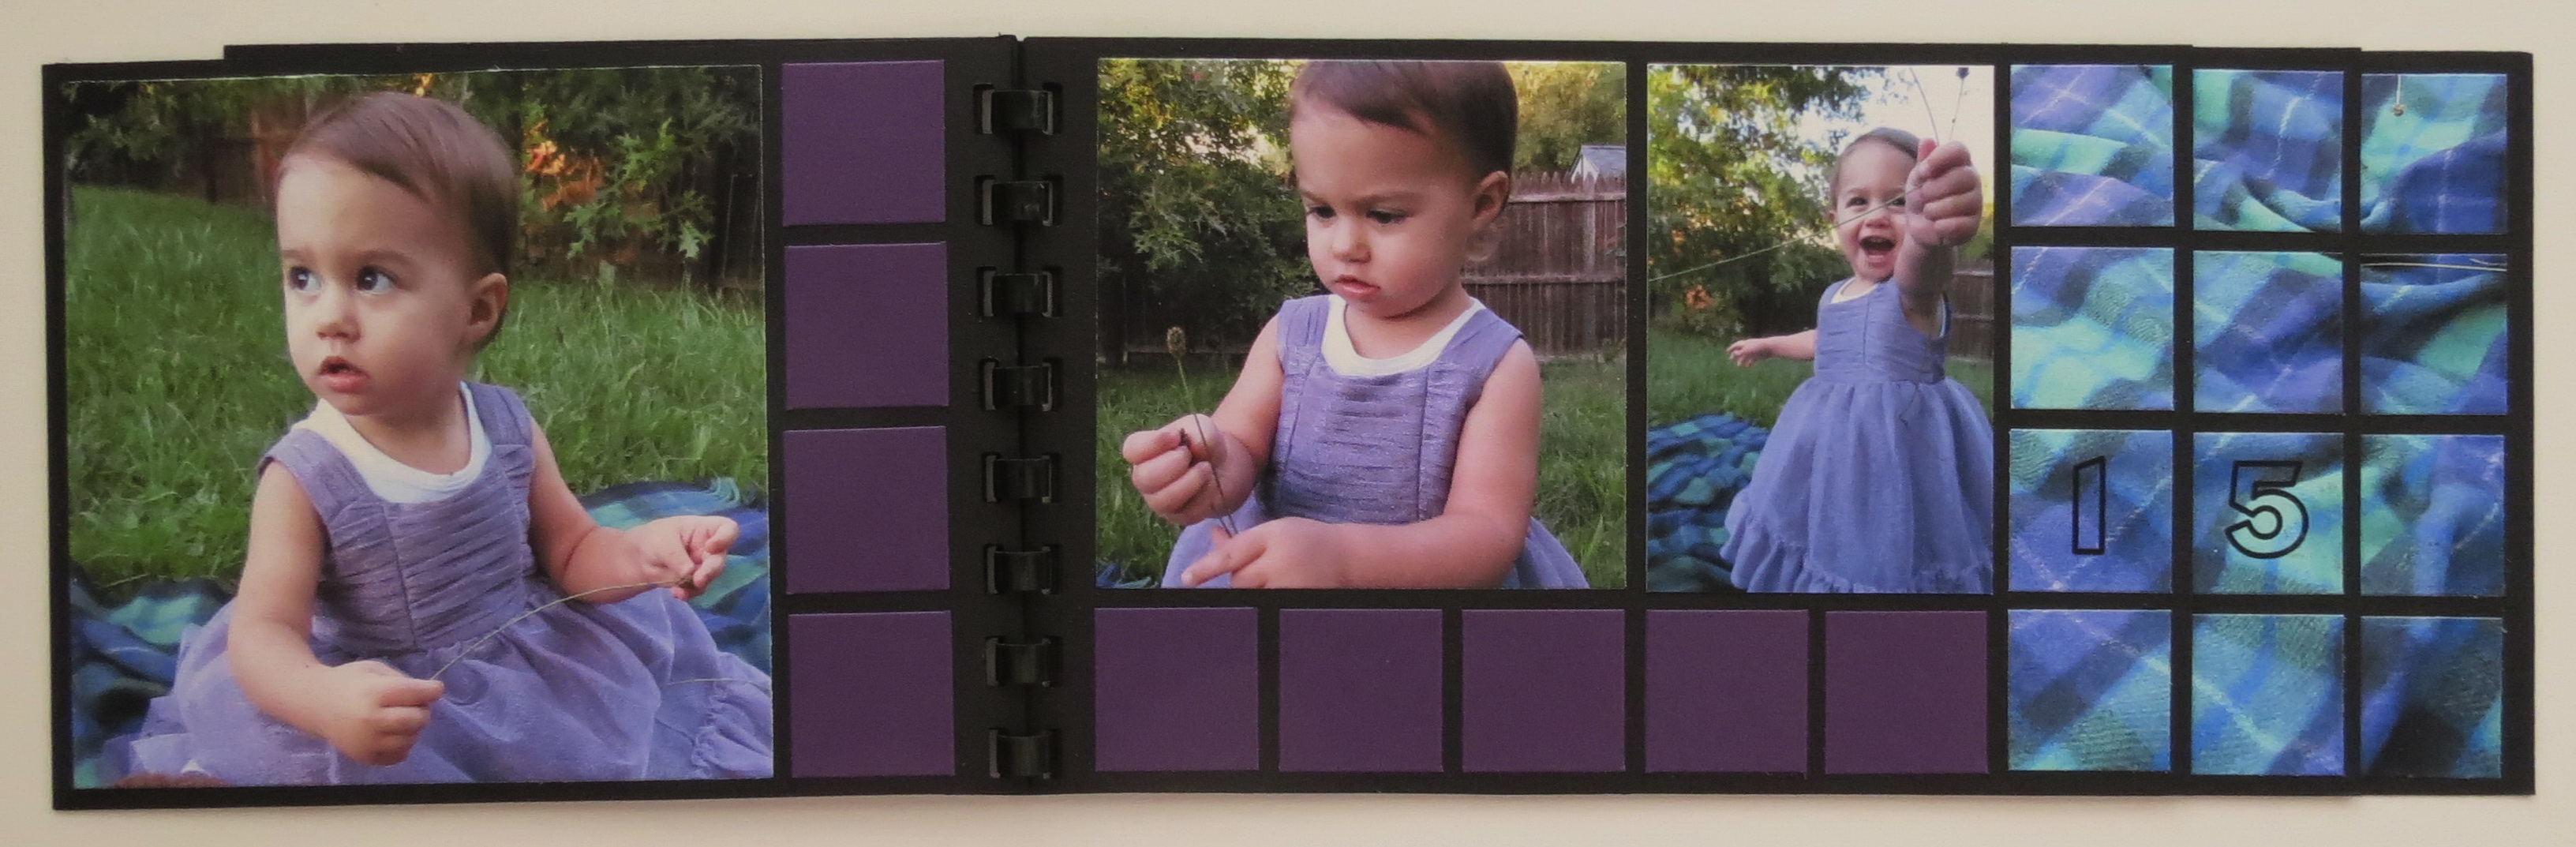
For the layered photo effect on the cover I took a photo of the traveling rug she posed on. Before printing I positioned the date so that I could cut the photo into squares using the 1” tile grid die. Because I added the 4×3 block page I was able to use the full 4”x 6” photo on the front cover.
Photo Tips: Working with Toddlers
My 20 month old granddaughter is my model for this album. Roaming around allowed me to capture some of her personality in the photos I was shooting. Letting her have a few of her beloved puppies as props kept her content and in character! Even allowing her to pick and play with some of the weeds…what was handy, let some of her curious nature shine. They certainly kept her occupied. The goal is to have photos that reflect her, not perfection! In the end I think I caught a few perfect shots too!!
Assembly:
Here’s how each page looks and then the photo sizes I used. Journal spots can be sized for the backside of each grid page using the dies, or use the dies to cut more photos to fill in. I liked being able to get more photos in the mini album for a maxi look!
Mini Album Maxi Look
Mini Album Maxi Look
Mini Album Maxi Look
Mini Album Maxi Look

Mini Album Maxi Look
Mini Album Maxi Look
Mini Album Maxi Look
Mini Album Maxi Look

Mini Album Maxi Look
Mini Album Maxi Look
Mini Album Maxi Look
Mini Album Maxi Look
From the topside
The paper tiles added in the open spots can be used for journaling or just as decorative. I’ll probably add my granddaughter’s name and age to the front tiles before it is given as a gift.
A mini album with maxi looks can be a quick gift for one or many. It’s time to start thinking about that gift gifting season around the corner and how you can make it special!!
Andrea Fisher
Be sure to share your projects with us on our Facebook page and keep up with the latest ideas on our Pinterest board too!
Mini Album Maxi Look this layered album with multiple mosaic style photos