
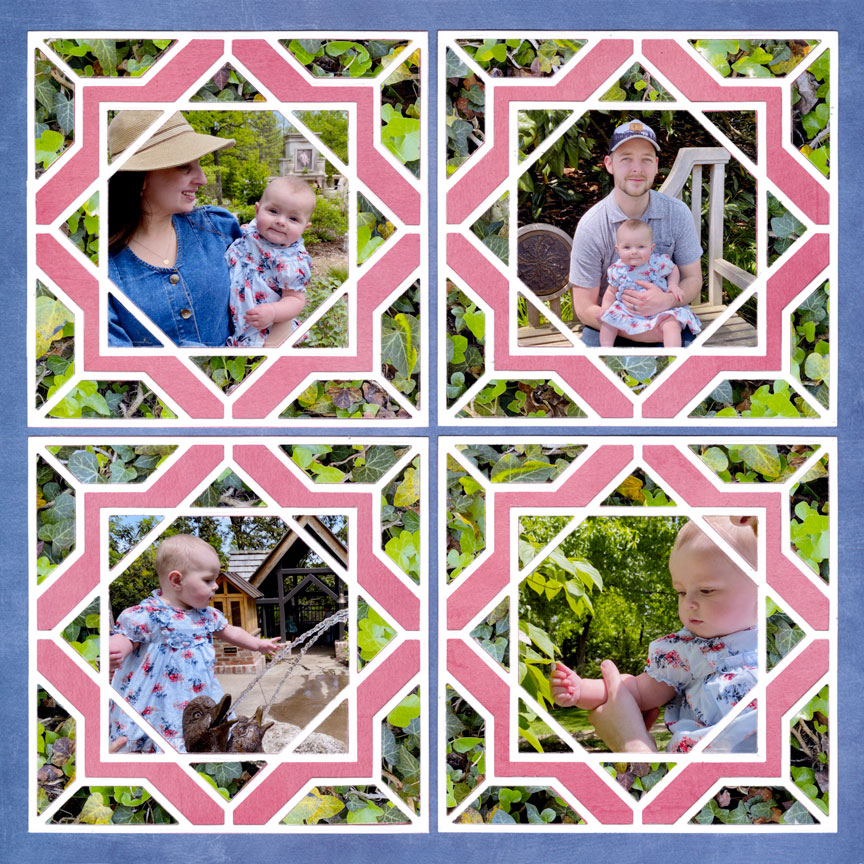
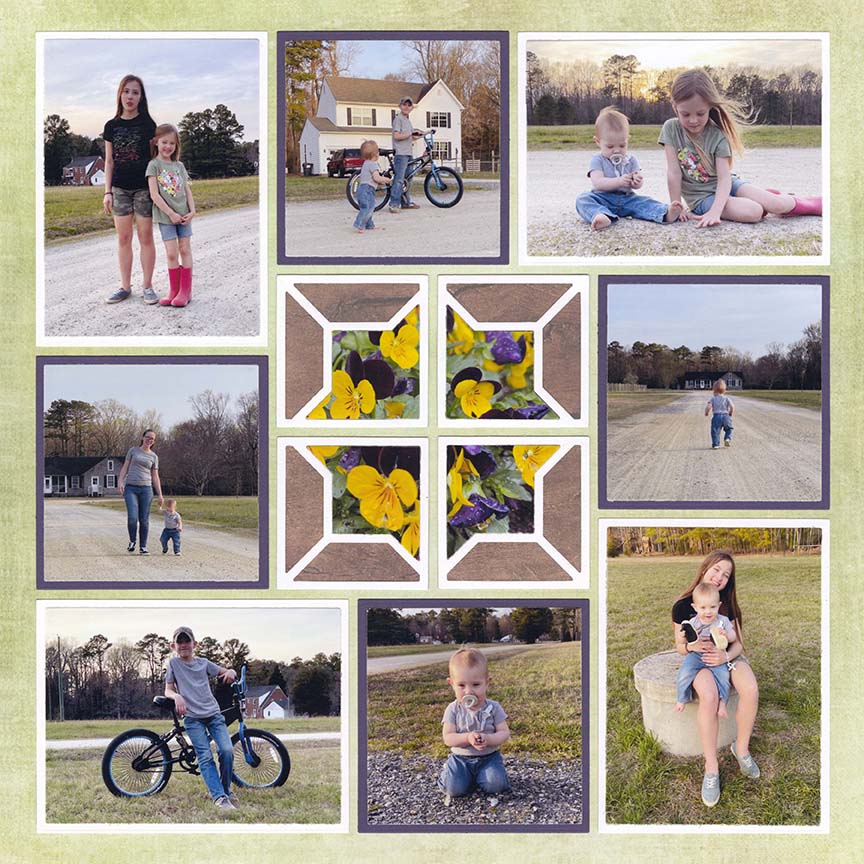
Unexpected Love
Four simple squares become one fabulous page with the Serendipity Dies.
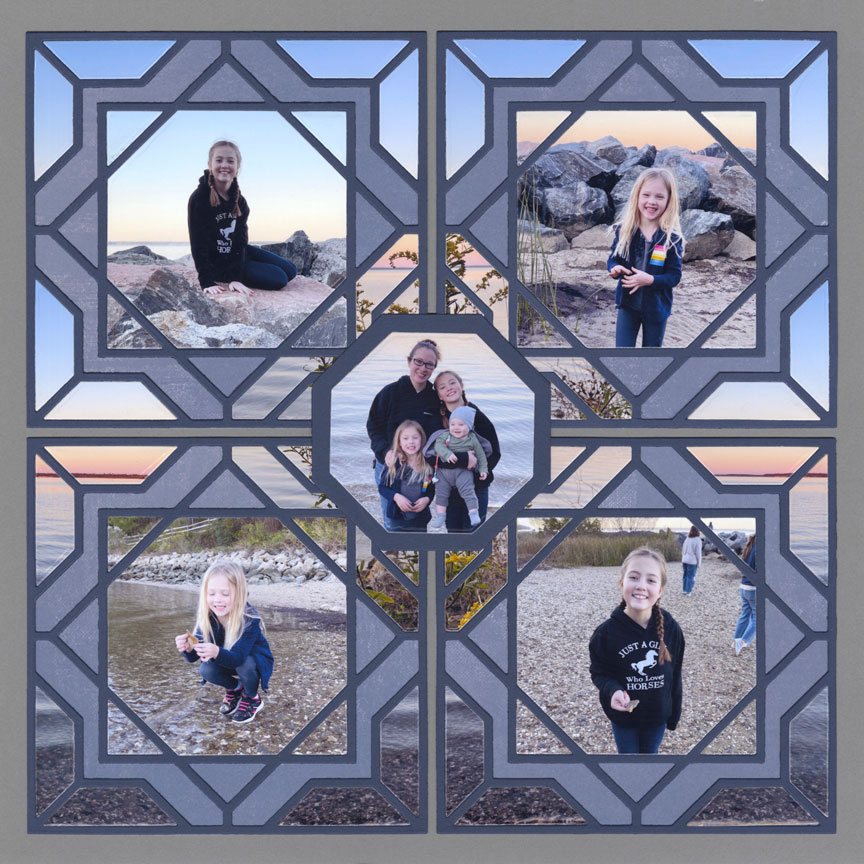
There is little doubt that pages made with the Serendipity dies are show stoppers, but you won't expect how simple the process is. You are just three simple steps away from gorgeous!
Step 1. Use cardstock to Cut 4 outlines, with the Serendipity Die and attach to Mosaic Moments Grid Paper. (The grid lines will keep it all straight!)
Step 2. Cut photos with the Serendipity pieces.
Step 3. Add adhesive and pop the pieces into place.
You can see the process in action in our video.
See Serendipity in Action:
In this Video you will learn:
- How to cut and glue the Serendipity Dies
- How to fill in the center section of the page with a photo
Layout Design Ideas with Serendipity
Different Ways to Fill in the Serendipity Die Cuts
Add the Companion Dies
Make Two Page Spreads
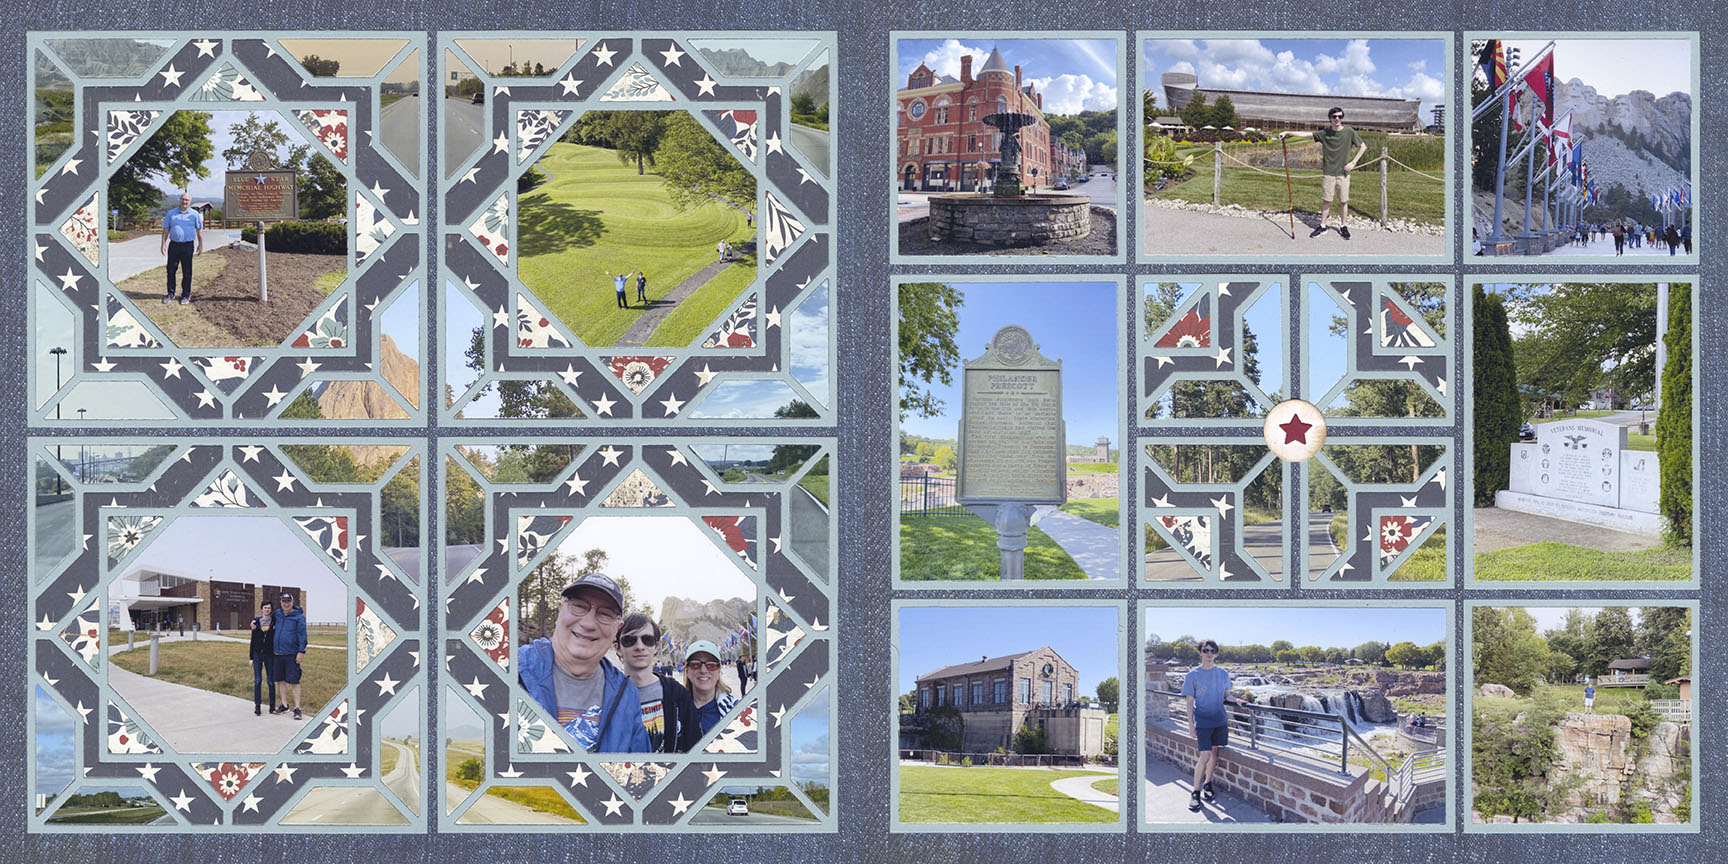
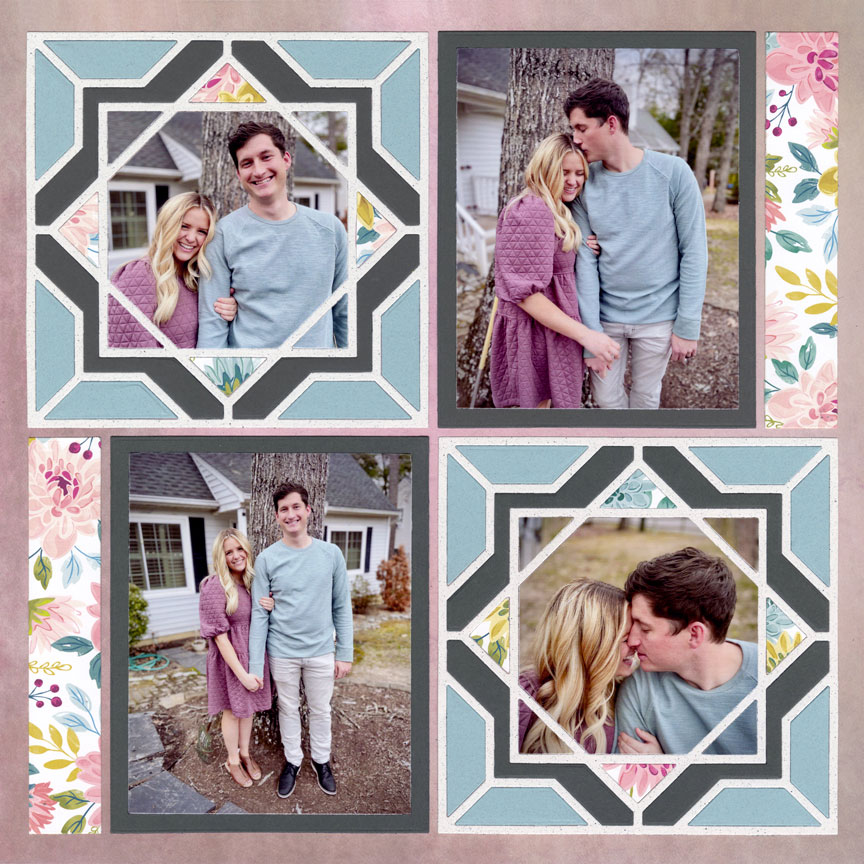
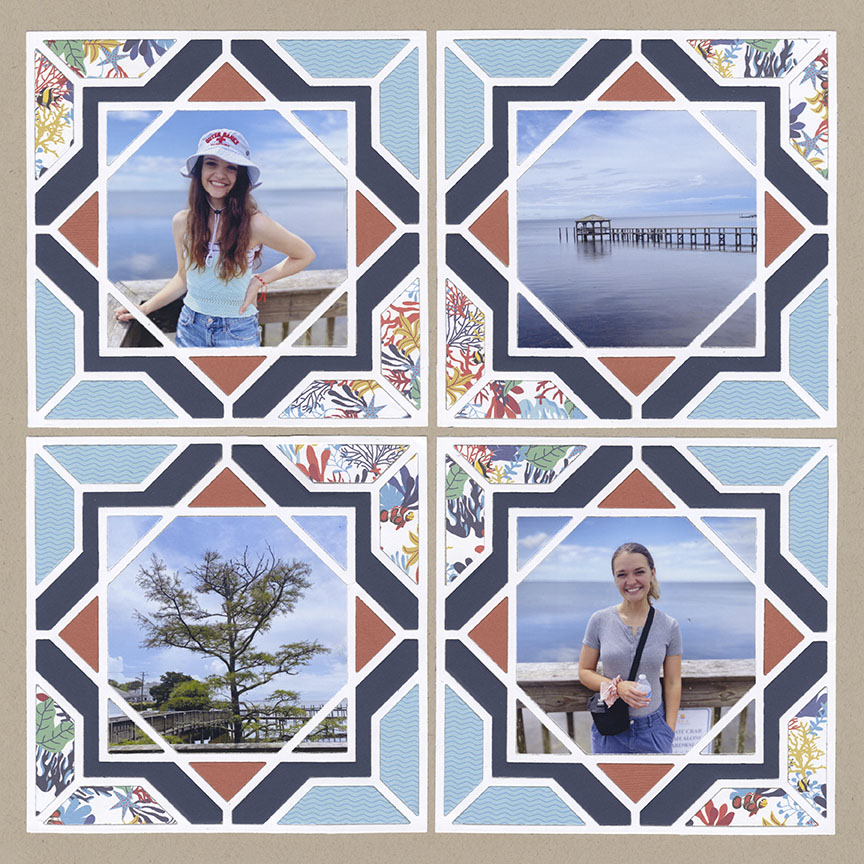
Patterns Used: No. 431 & 438
The layout on the right shows one of the 2x2 dies from the Sequel set. Notice that the design looks the same as the center of the left page.
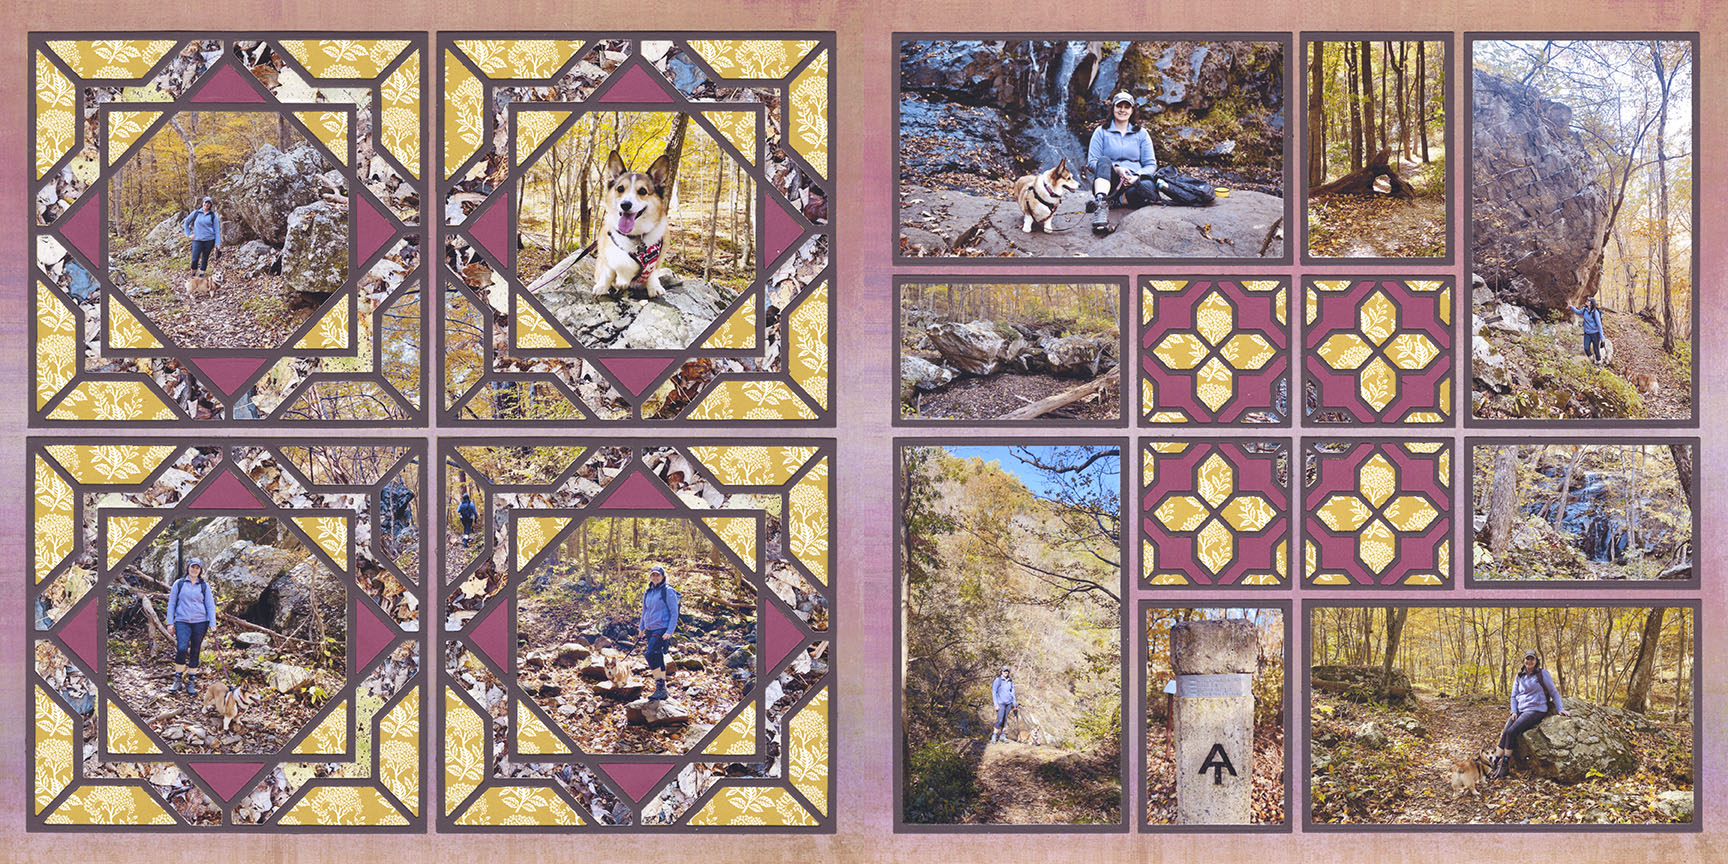
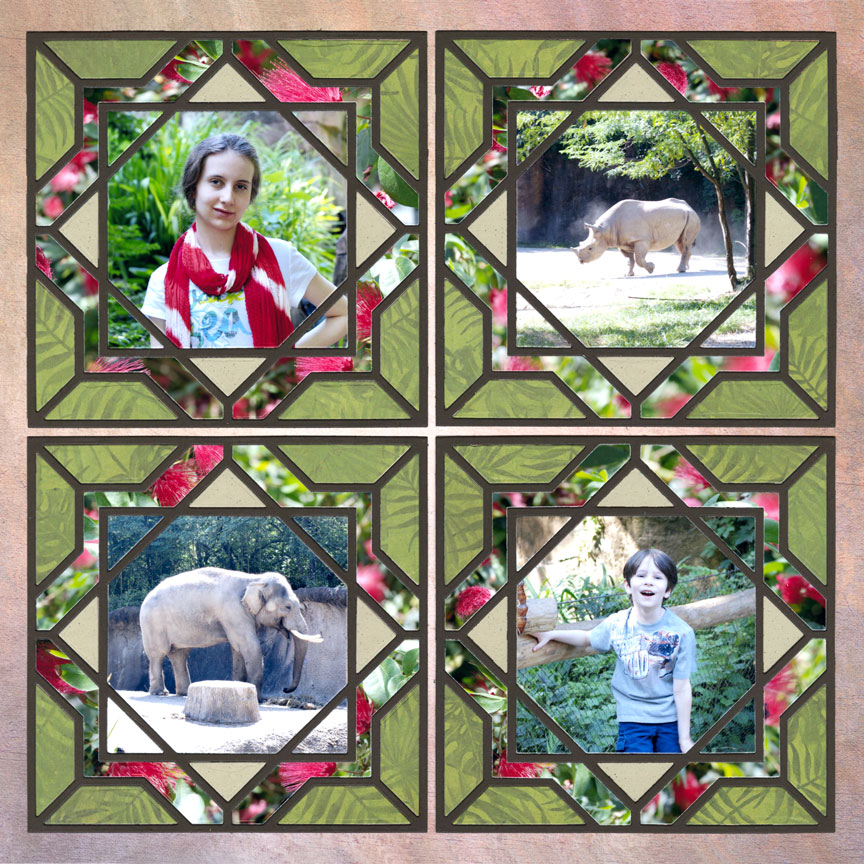
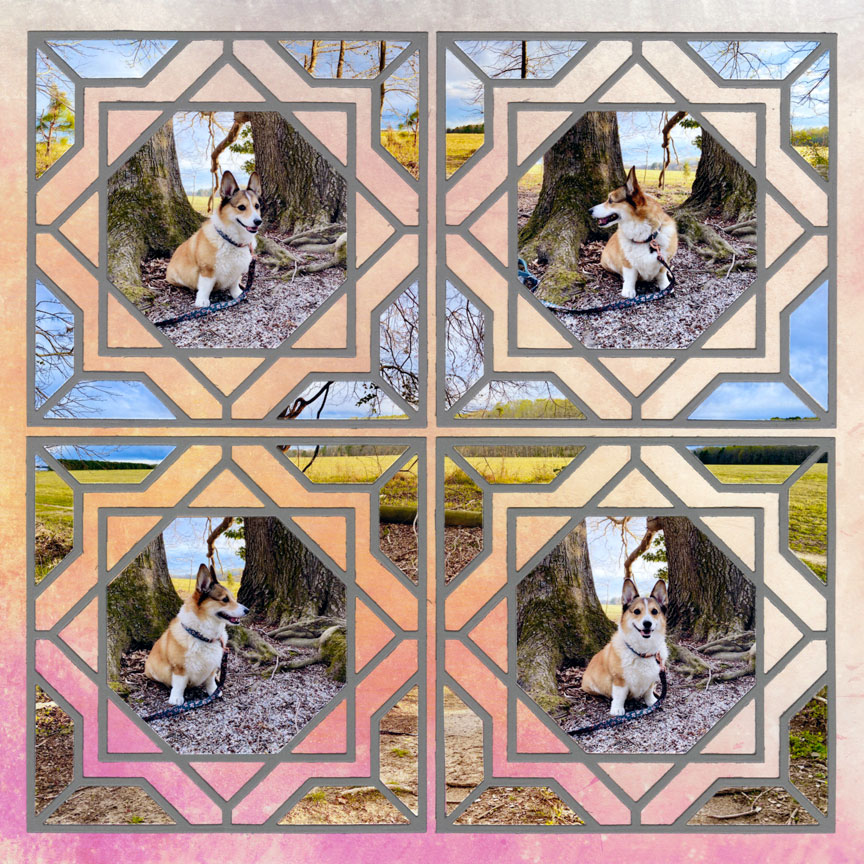
Patterns Used: No. 431 & 691
The layout on the right shows the 2x2 Crossed Die. Four of these die cuts were placed on the layout, creating a mini Serendipity looking design.
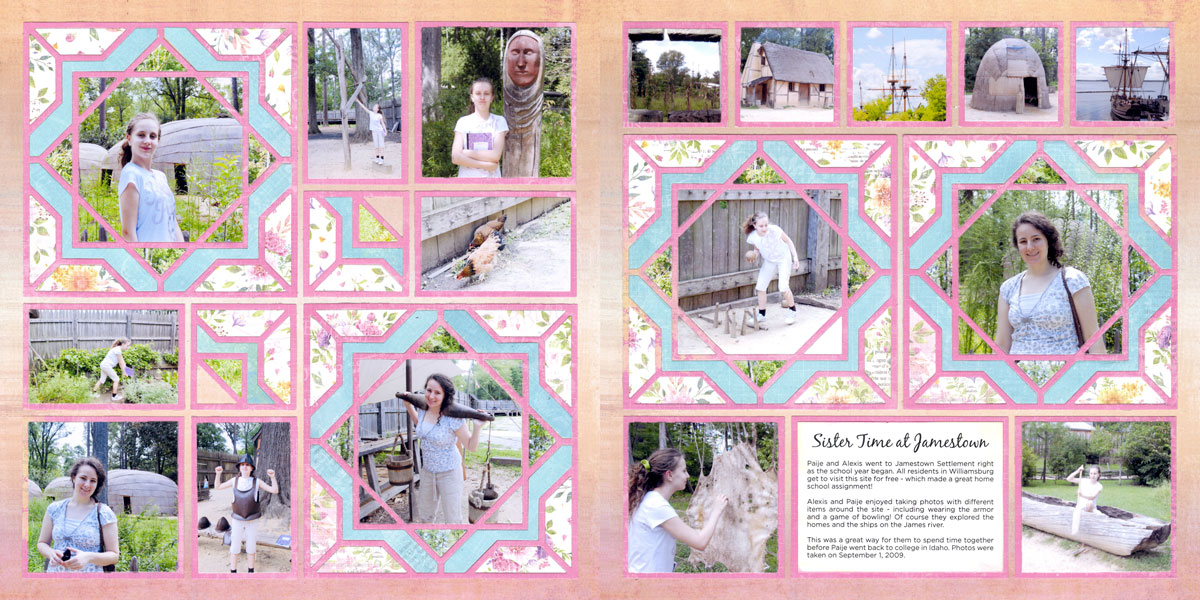
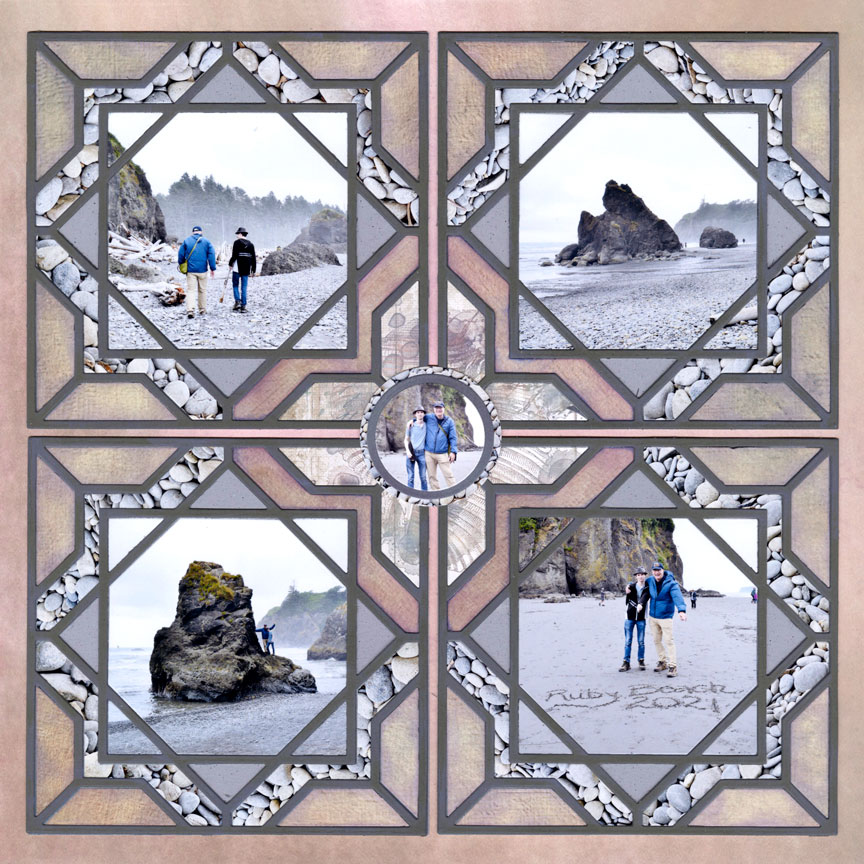
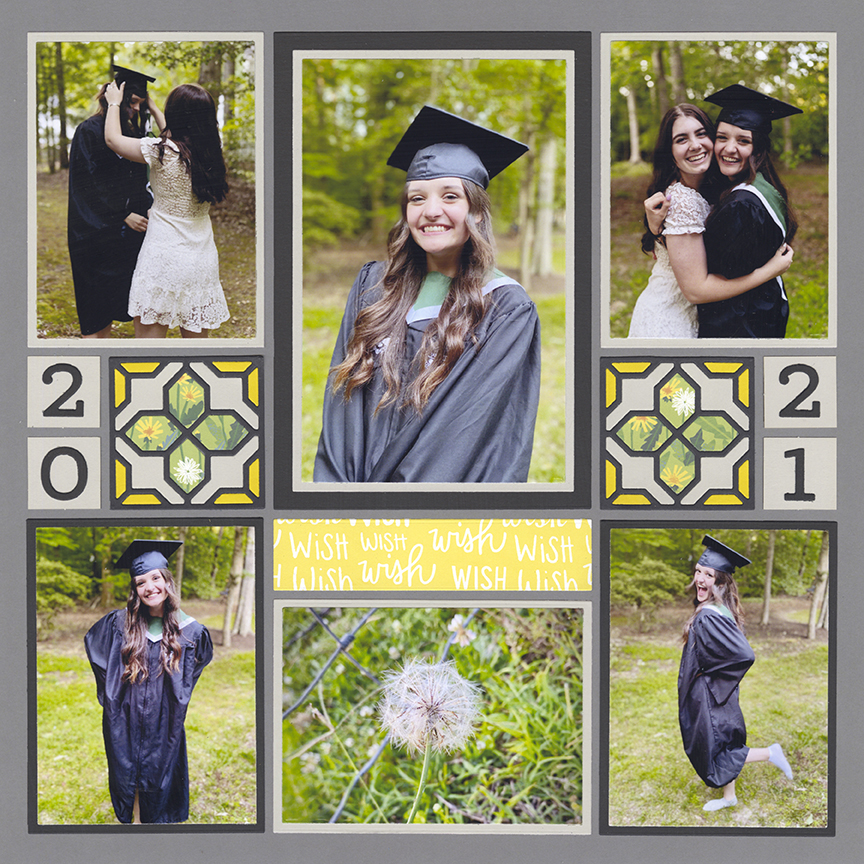
Patterns Used: No. 896 & 903
The layout on the left shows how you can place the 5x5 Serendipity die cuts next to the 2x2 Sequel die cuts. This allows you to add extra photos on the layout.