
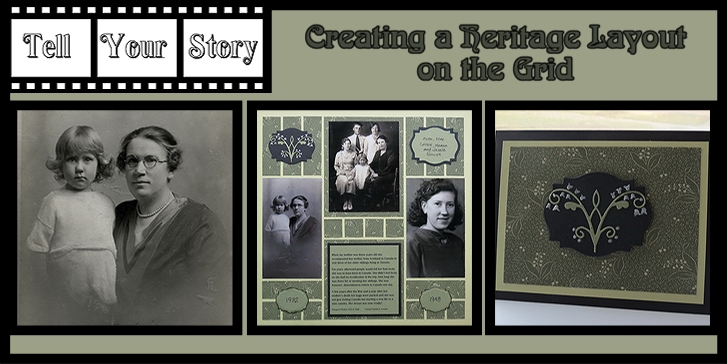
Tell Your Story
Begin with a photo and tell the story.
This month my mum will turn 88. Today I’ll tell you a part of her story, why she left Scotland and came to Canada, in this layout.
The Photos:
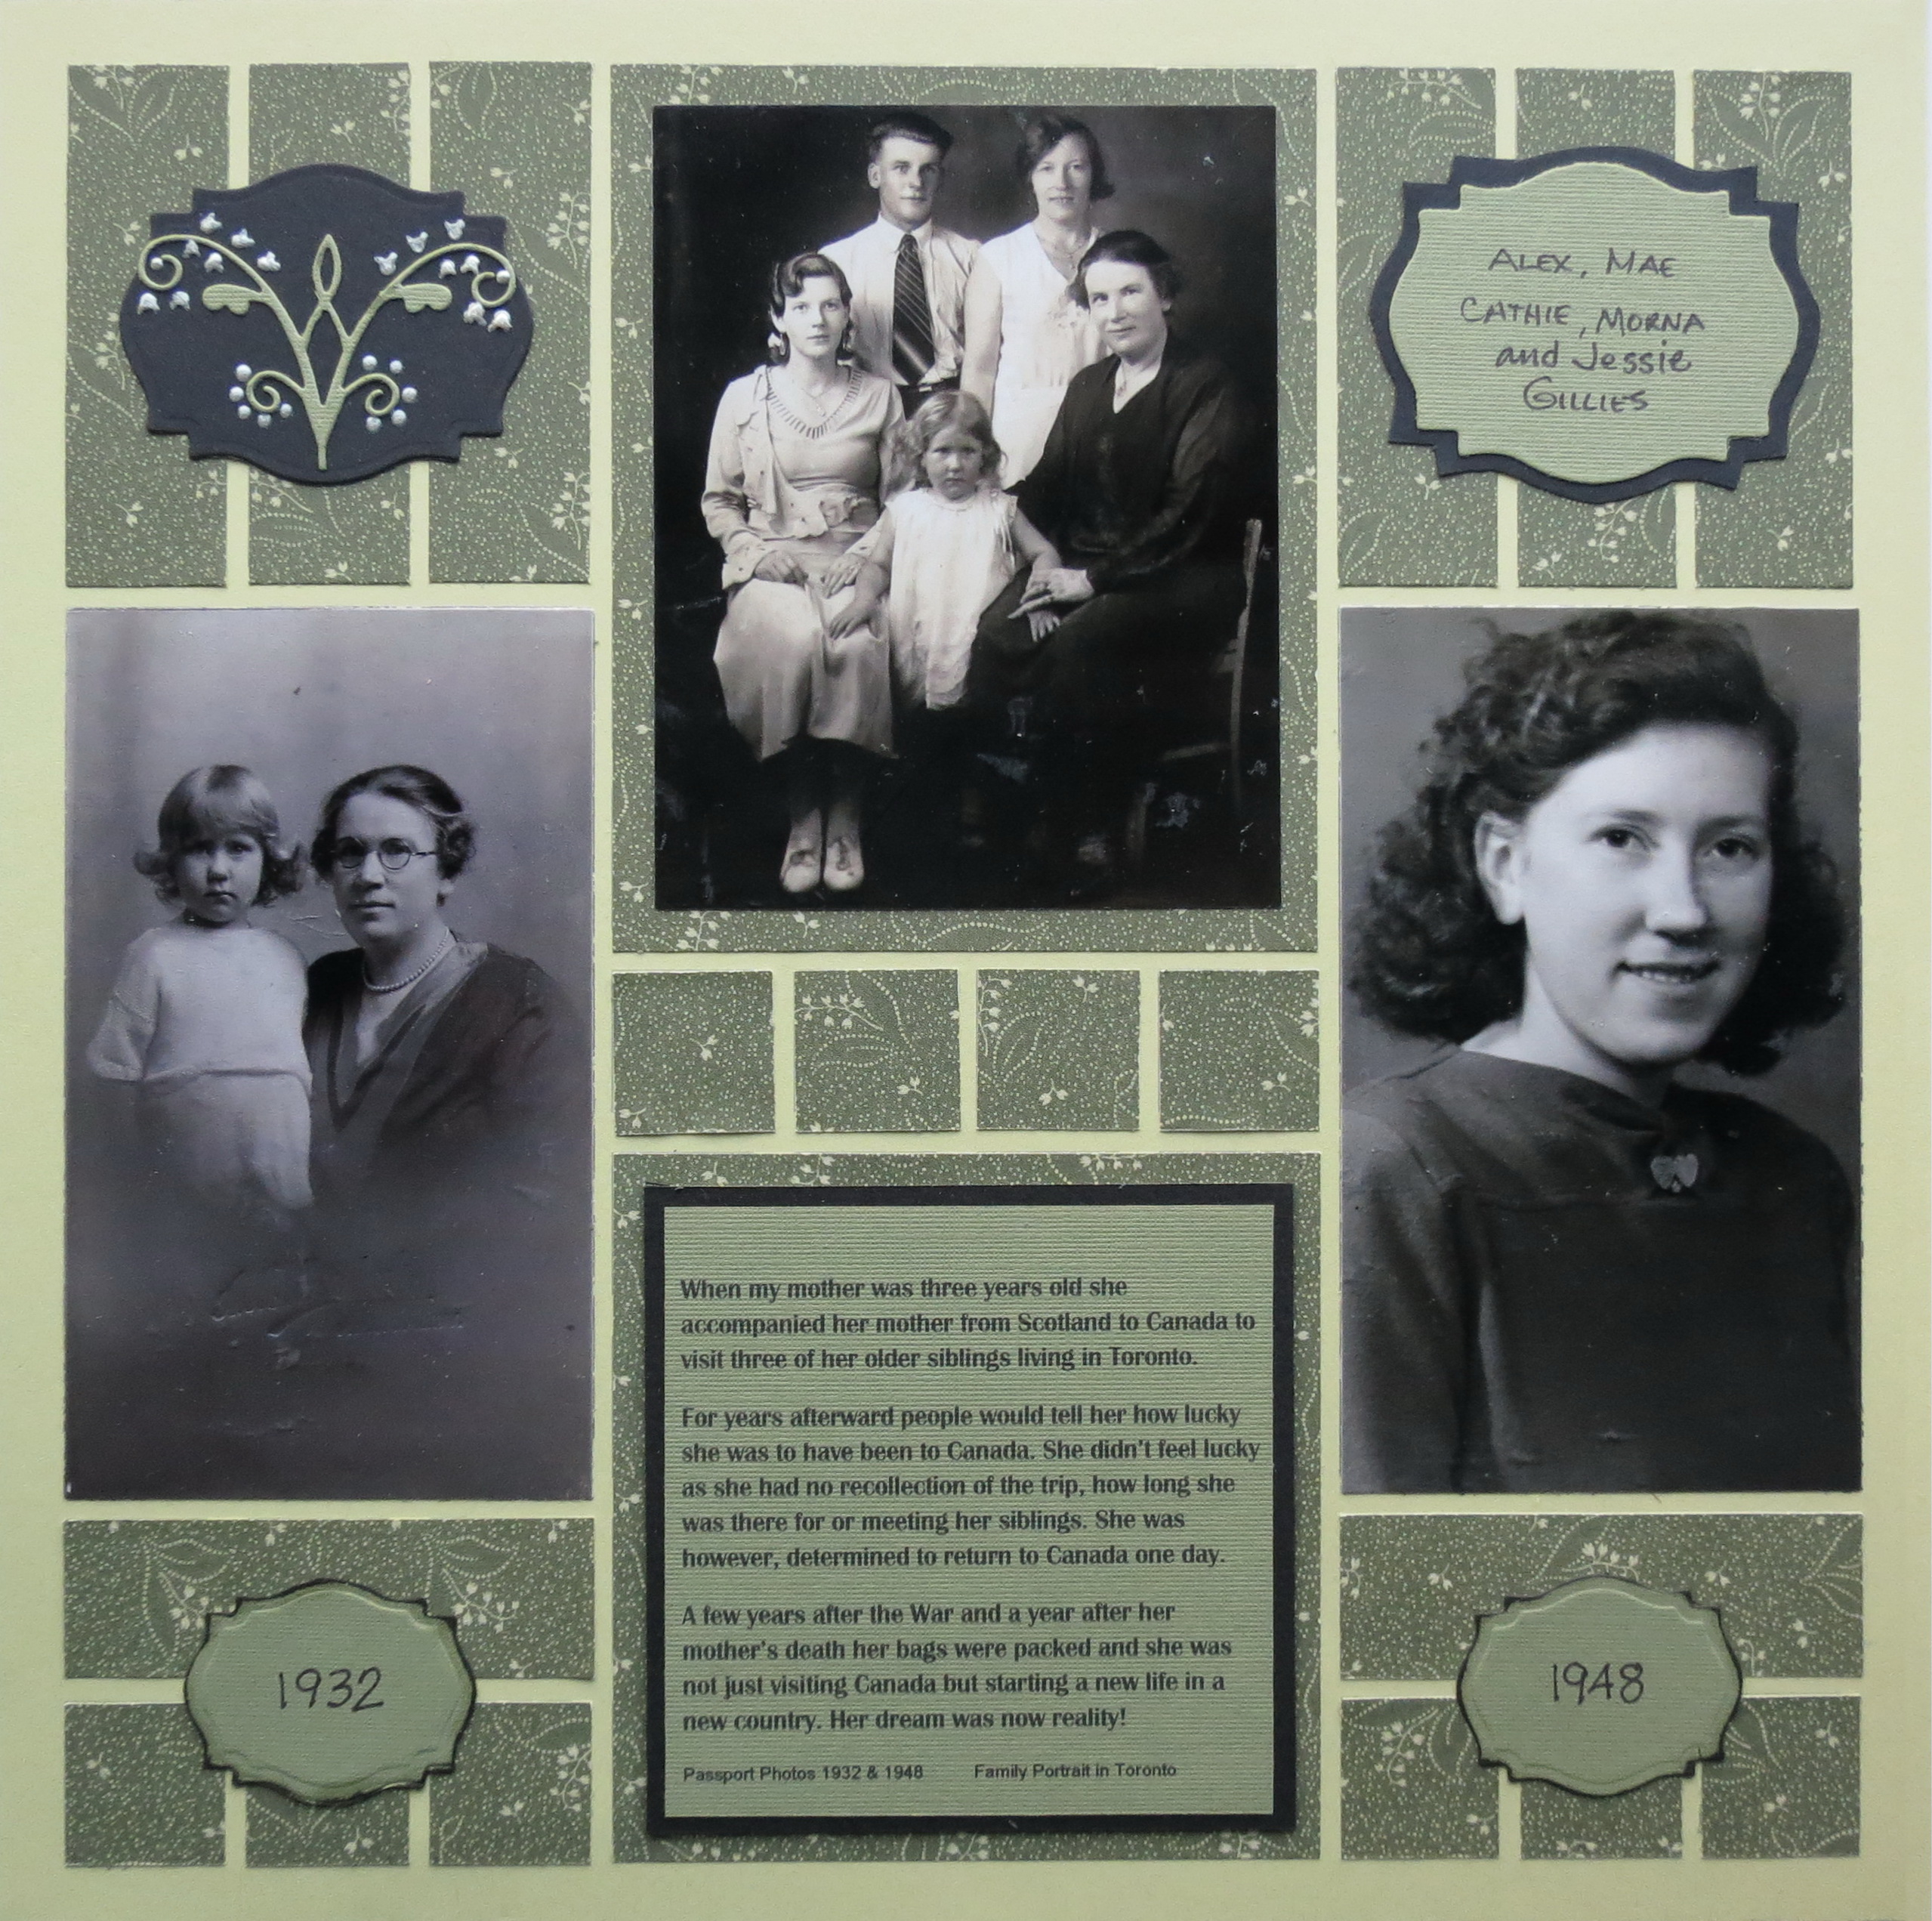
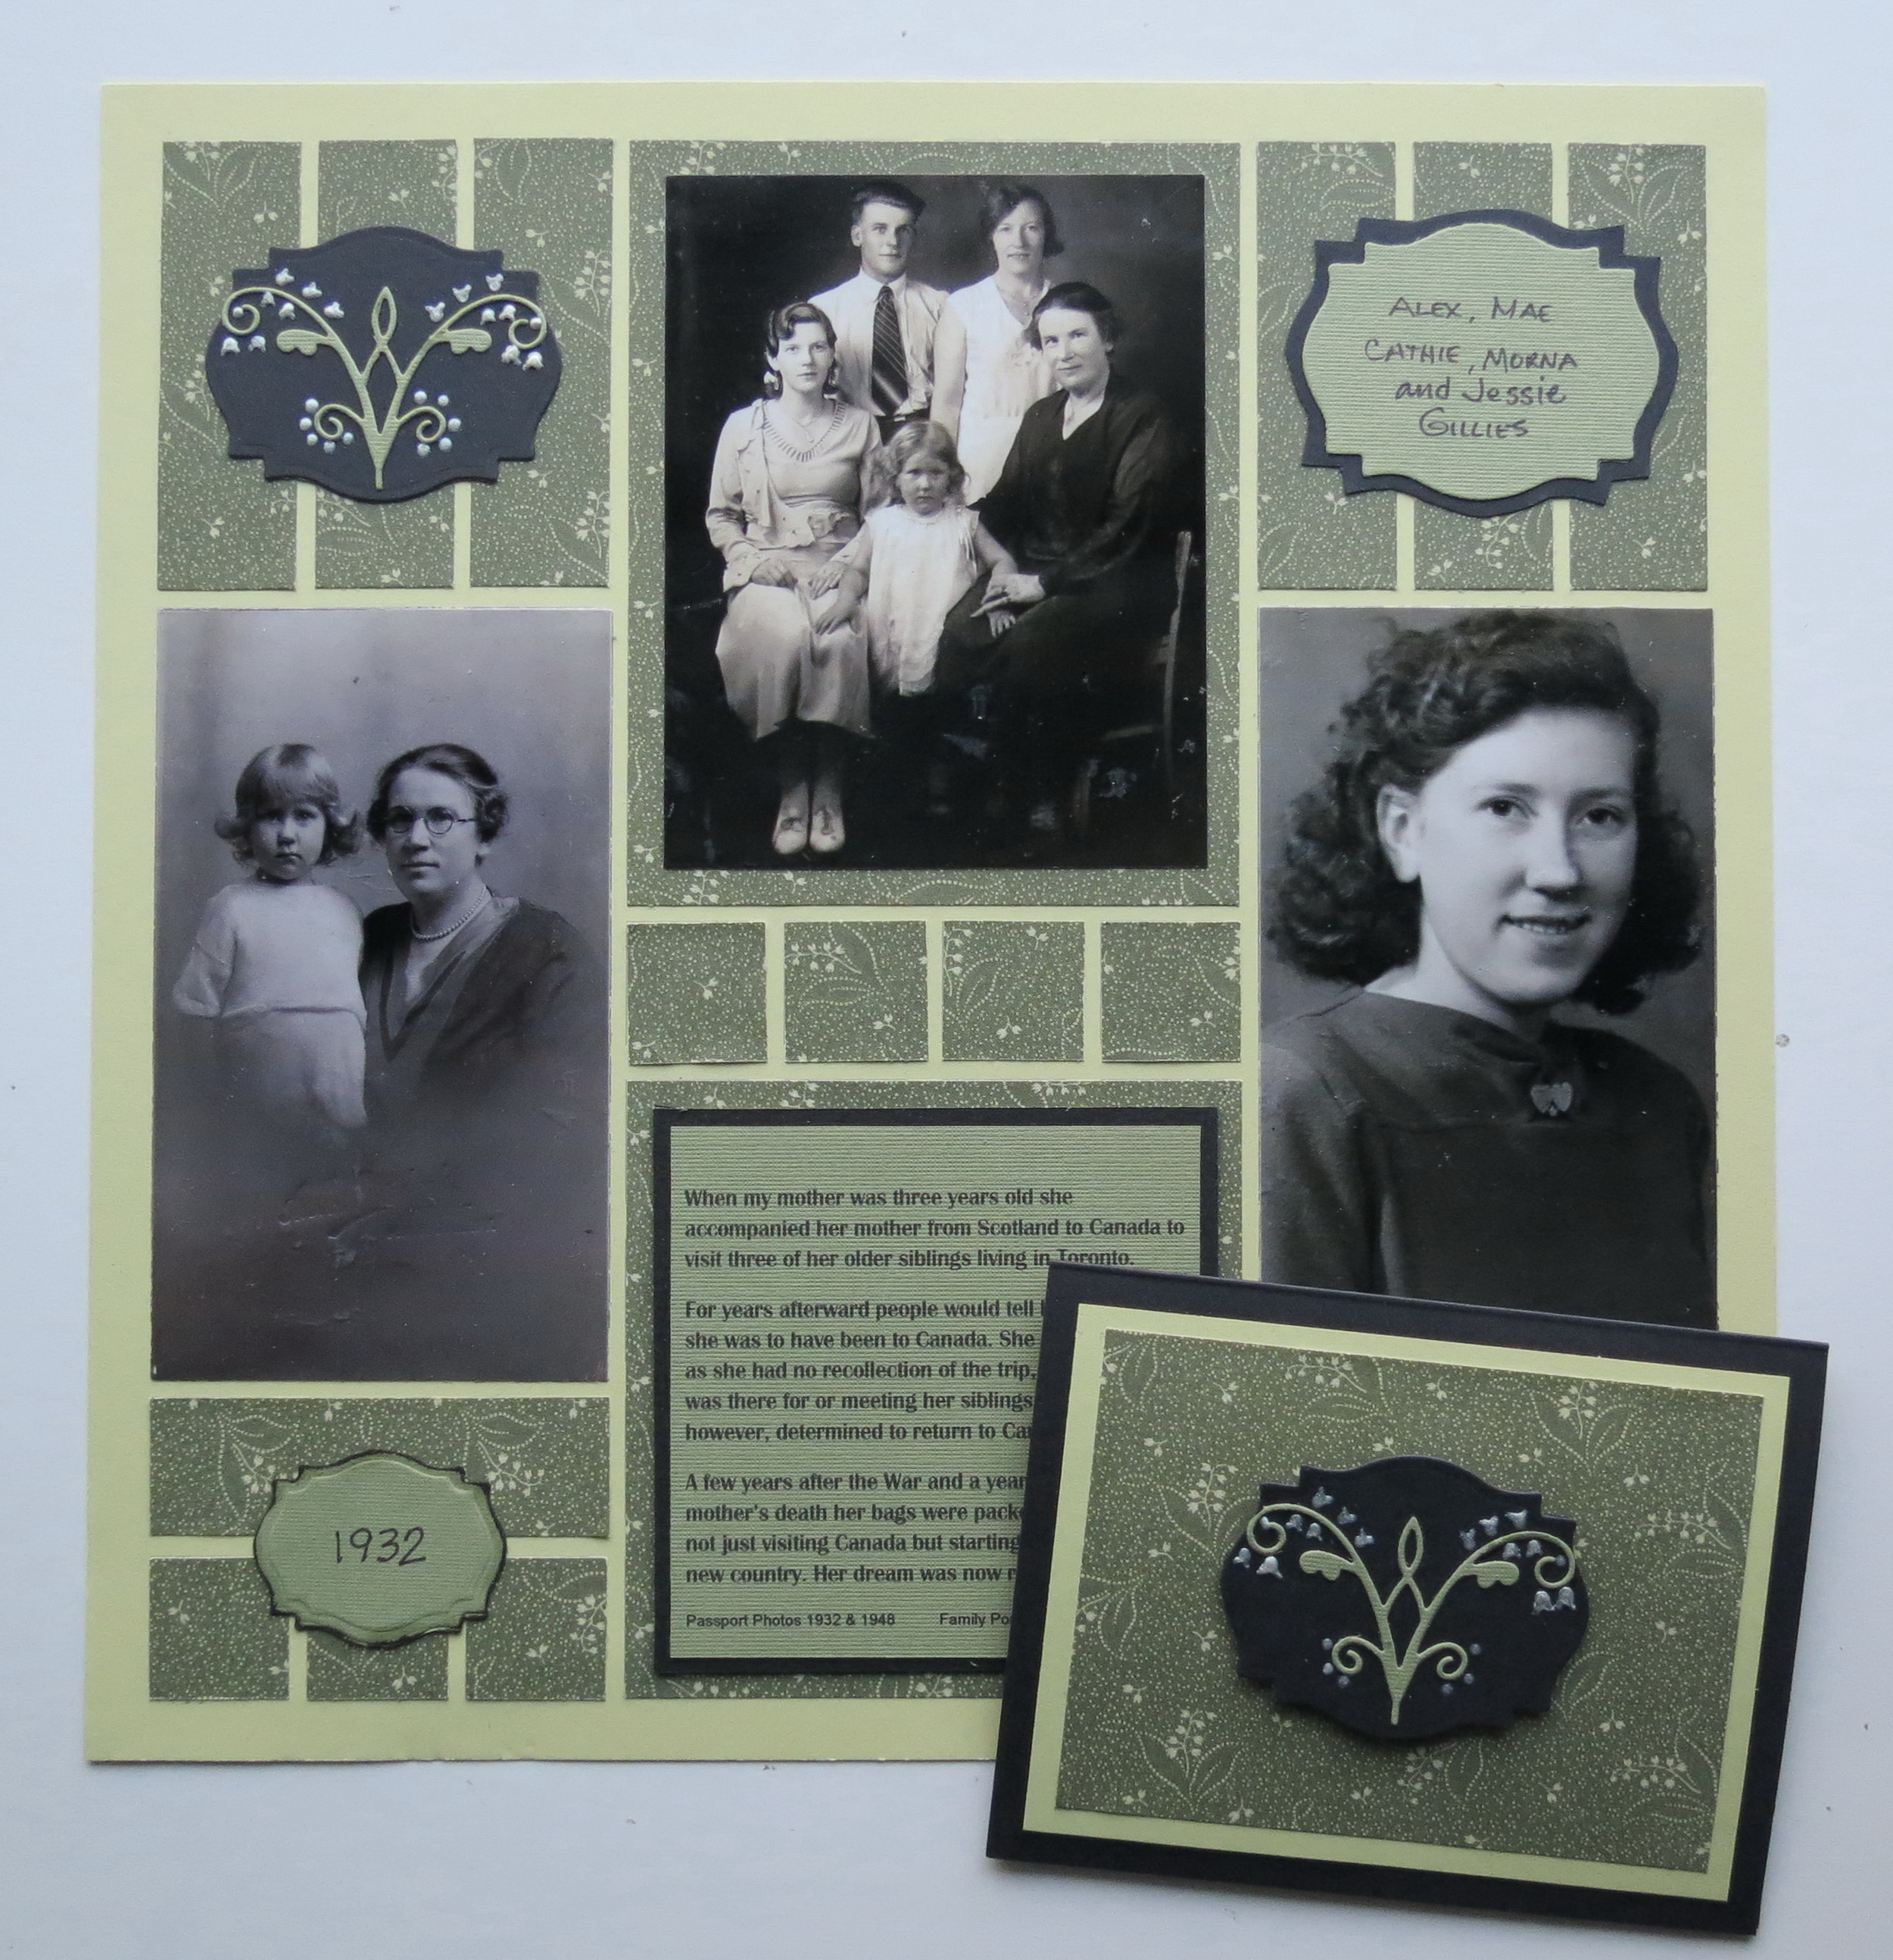
I begin it with this first photo of her at three with her mother, Jessie Watson Gillies. It was taken as a passport photo in 1932. At the time my mum was the youngest of 14 children (a few years later a brother would round out the family) and the plans were to go to Canada from their home in Scotland to visit three older siblings who were living in Toronto.
Enter the second photo, and the focus of this story.
In this photo is my grandmother, my mum Morna, Aunt Mae, Aunt Cathie and Uncle Alex. This photo is the only thing that reminds mum that she was on this trip. She would say that for years everyone would say how lucky she was to have been to Canada, yet she couldn’t remember anything of it. As she grew up she became determined to make that trip to Canada one day for herself.
The third photo is Mum’s passport when she was leaving Scotland in 1948 to immigrate to Canada. Her dream was in sight. A new life in a new country was about to begin.
PHOTO TIPS for Heritage Photos:
• It’s important that when you are working with older photos to handle with care. You should always consider using copies for all your scrapbooking keeping the originals intact.
• Copies can be cropped, enlarged or reduced.
• With copies you can adjust the color and clean up scratches and imperfections.
• You may find that older photos have writing on the back with names or details you want to save. You can use it in a layout or just preserve that relative’s handwriting.
Colors: If you search Pinterest for ideas on making a heritage page, you will likely find a nearly universal palate of subdued colors to enhance the sepia and B&W photos of the early photographic era. Small prints, stripes and aged papers often look best for this topic.
The first part of my adult scrapbooking years was work I did to preserve and tell the story of my parent’s families with what I first considered to be “a handful of photos.” So I consider I have a bit of experience in this area when it comes to choosing papers and embellishments and adding the stories I gathered from several family members. Bringing those stories and photos into the Grid format will be our challenge today.
MM TYS Heritage Layouts Pattern #235
I have chosen to use Mosaic Moments Bamboo 12 x 12 Grid Paper to compliment the Deja Views Vintage Pattern Paper, Lily of the Valley in Green. Strips Pattern #235 allows me to accommodate the three vertical photos that I’m using to tell this story, two passport photos and a group photo. There is also a spot to tell the story for the photos. Green and black cardstock for journal spots and mats will finish out the page. The paper I chose fits with the era of the photos giving an historic fit and the lily of the valley is a favorite of my Mum so it was a perfect choice to make.

MM_Pattern #235 strips

MM_Die Strip-DS
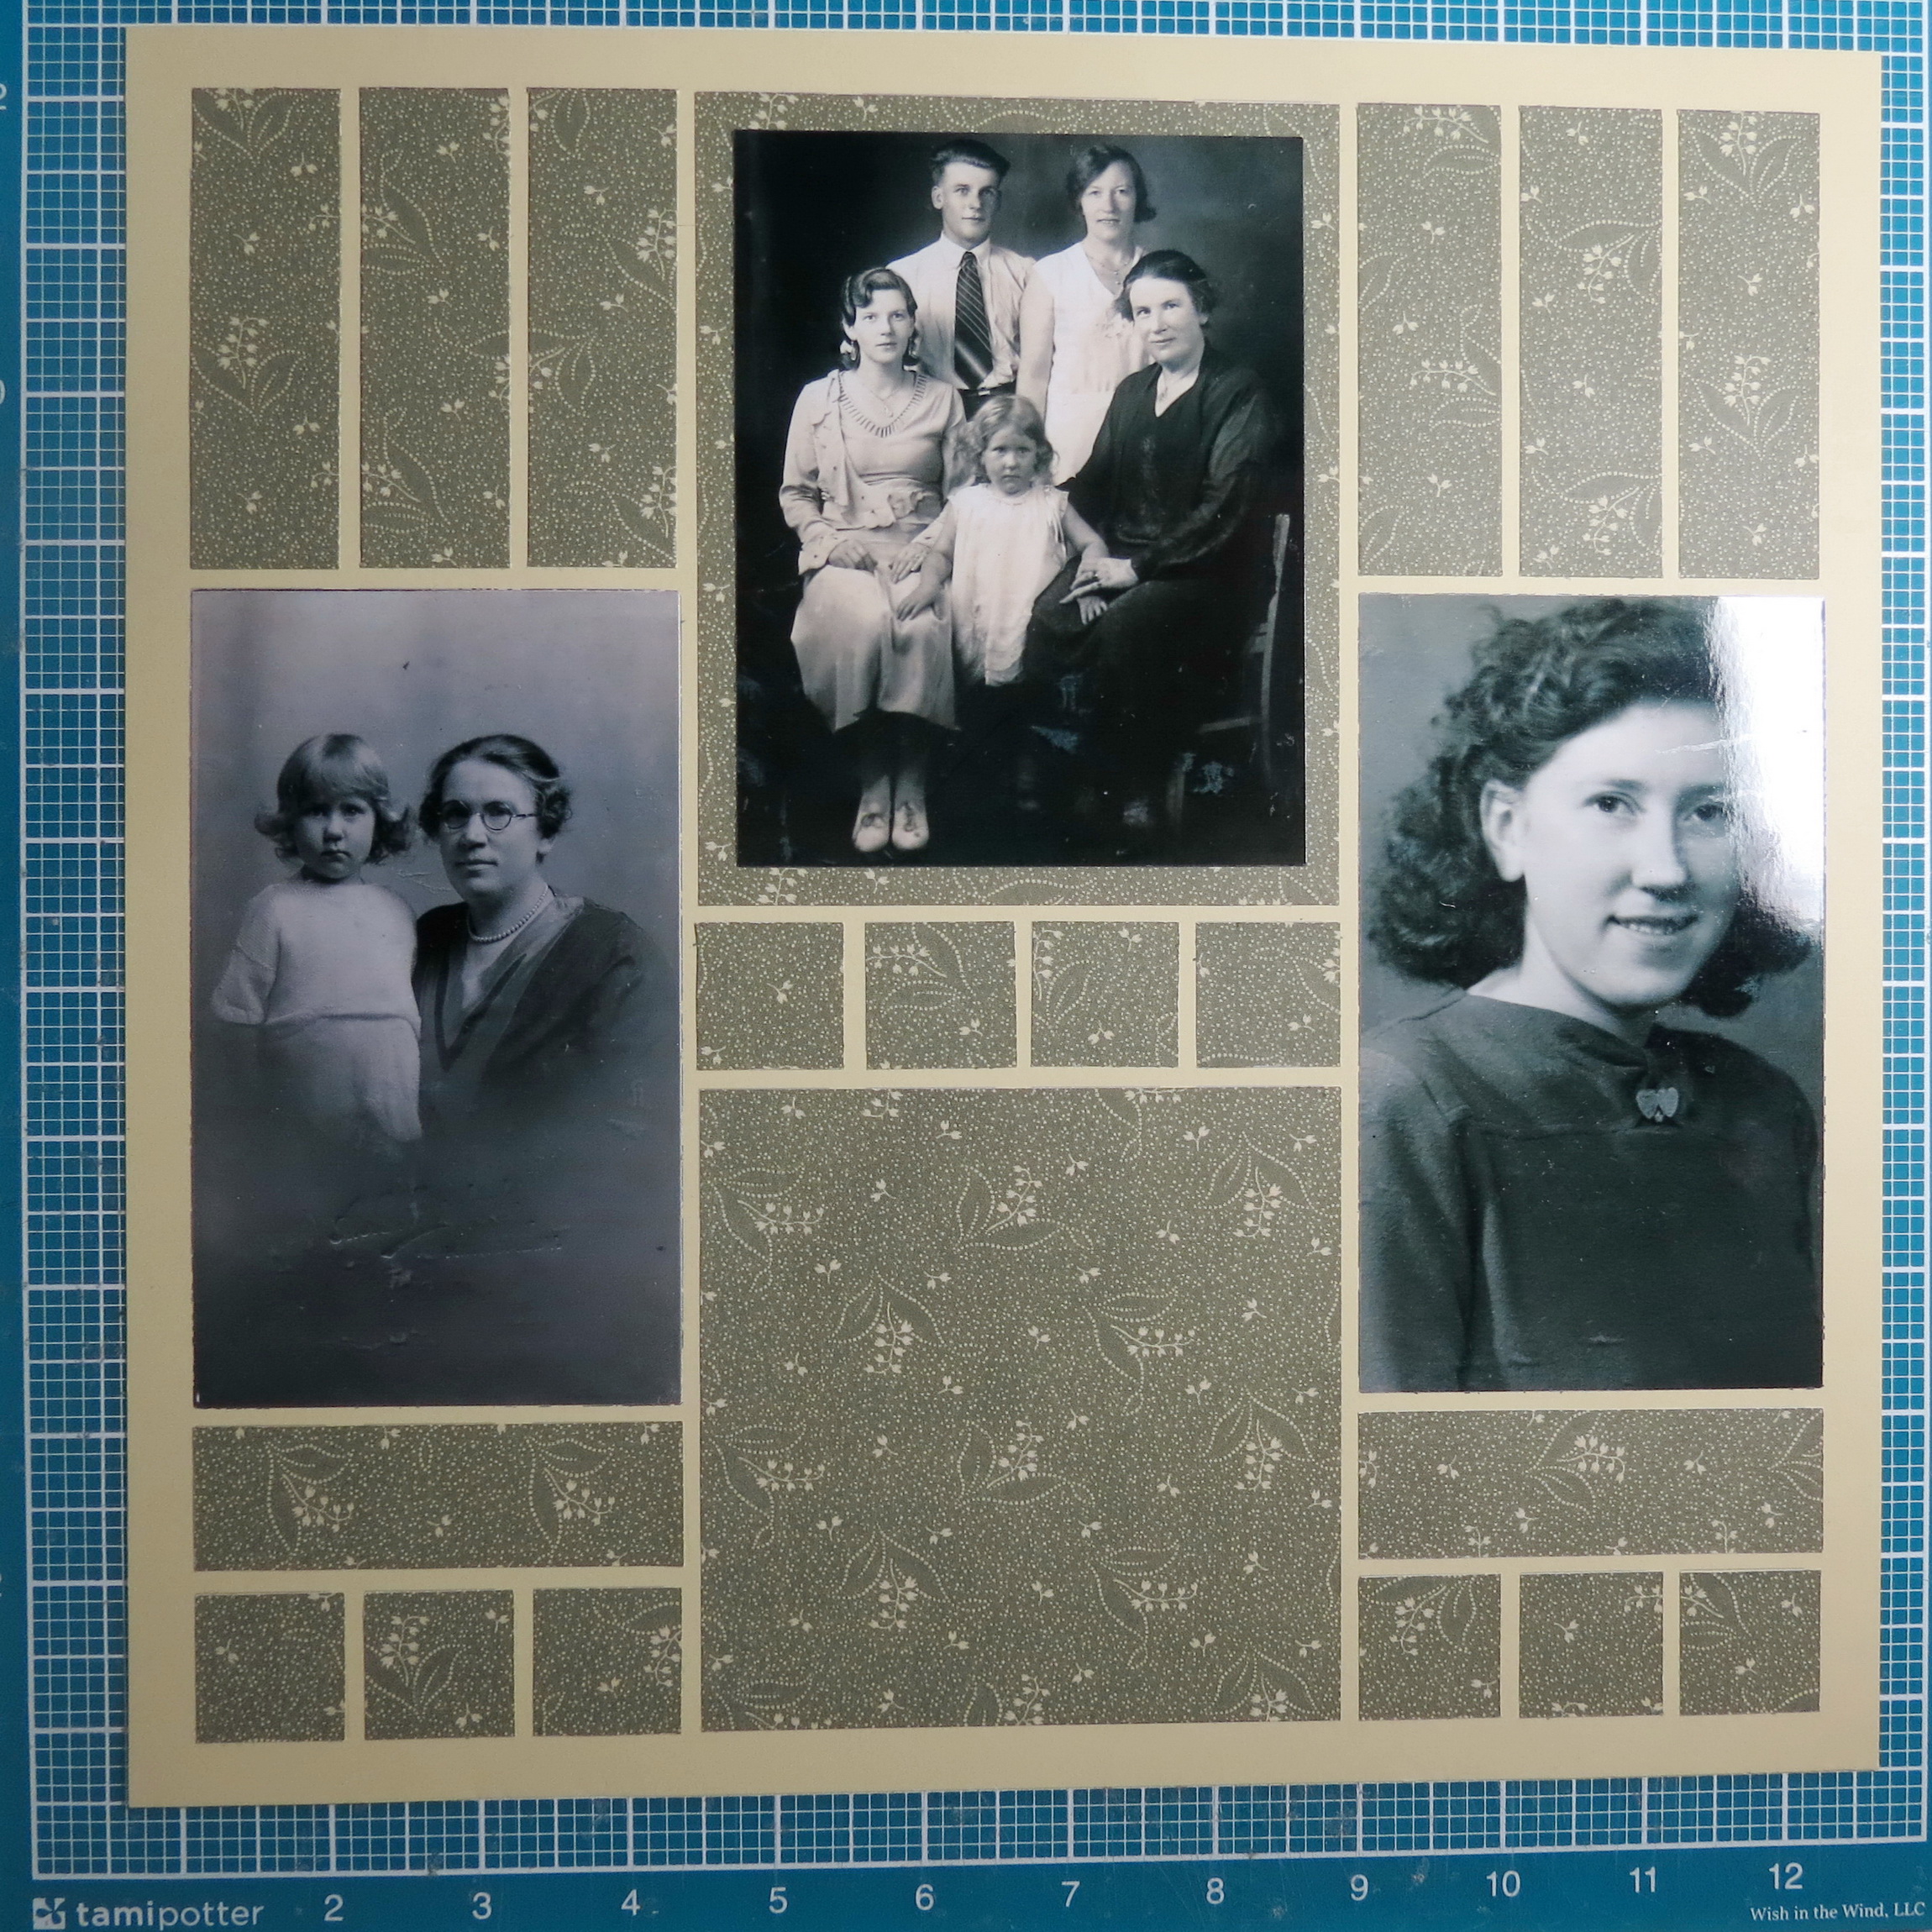
MM TYS Heritage Layouts Simplicity of the page before the embellishments and journaling.
Journaling: I have labels for the photos on tags made using Spellbinders Labels Eighteen. The smaller labels are inked in black to give an edge that helps to balance the page.
MM TYS Heritage Layouts embellishment element of the layout.
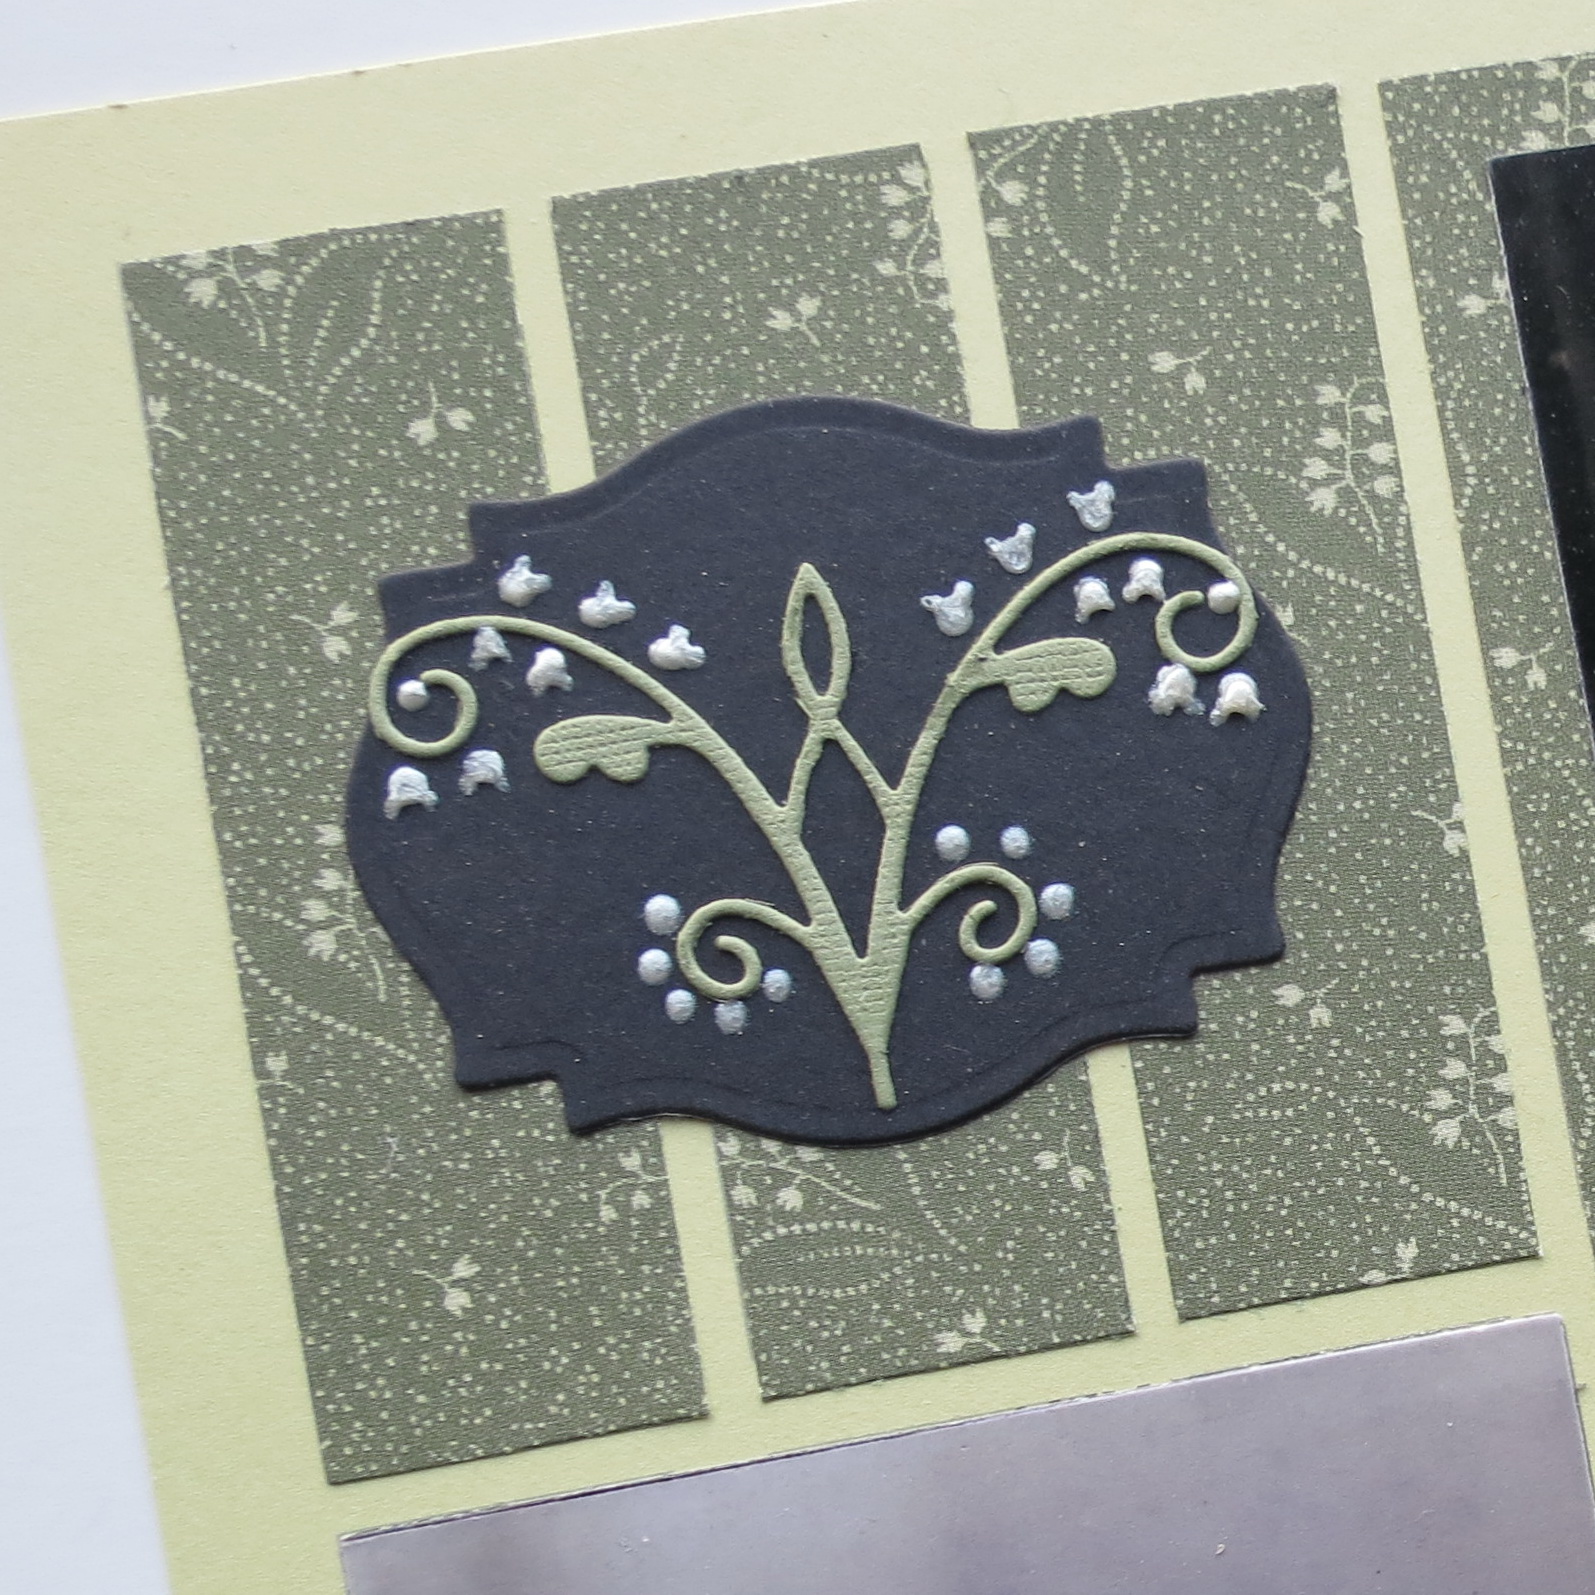
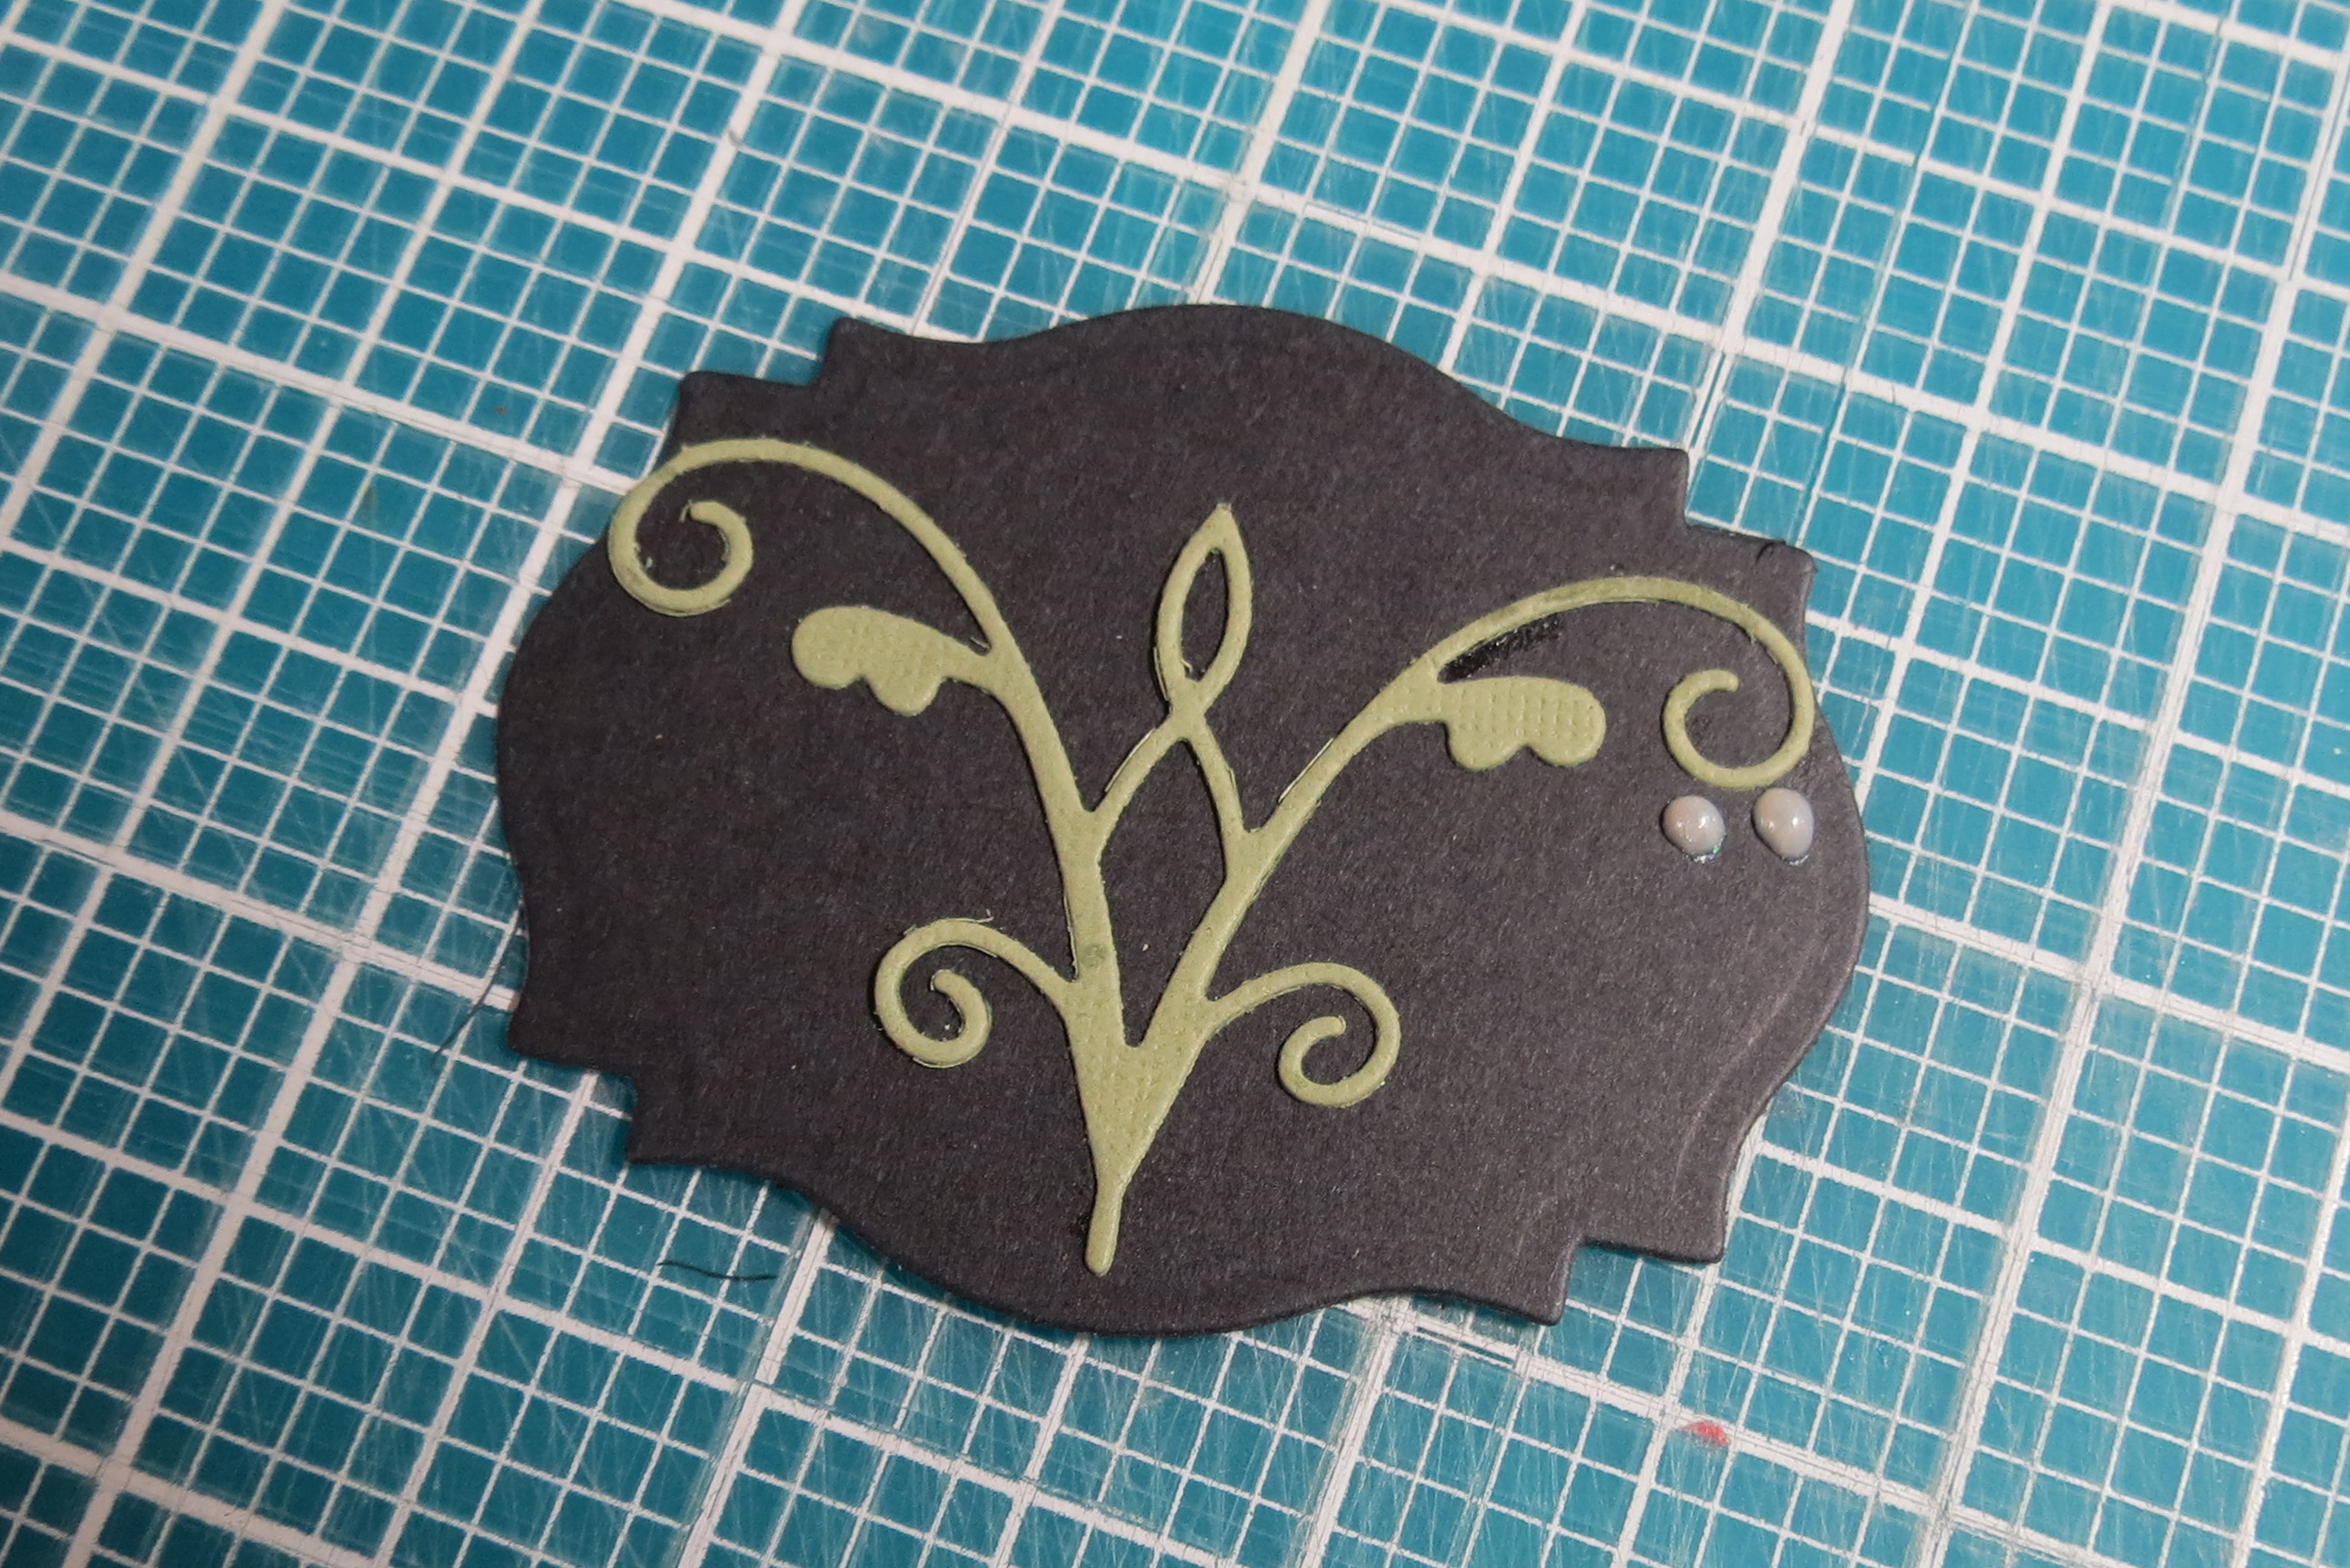
Embellishments: kept to a minimum I have used a flourish die (Memory Box: Macarena Corner) and liquid pearls to create an embellishment of a spray of Lily-of-the-Valley.
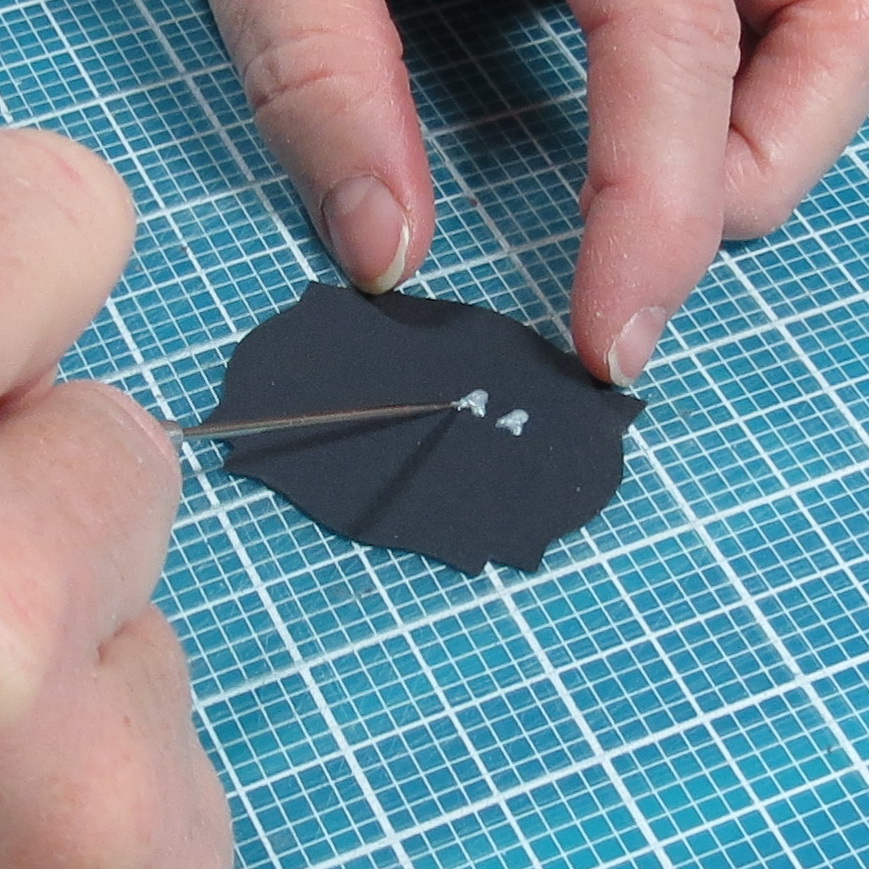
To create the bell like shape I began with a dot of pearls and then using a sharp pointed tool (I used a piercing tool, but in a pinch a pin would do!) pull liquid away into two points. I made two one for the layout the other for the matching card.
MM TYS Heritage Layouts Begin with Liquid Pearls dots
MM TYS Heritage Layouts Liquids pearls used to create lily-of-the-Valley embellishment
Story block: Printed on green cardstock mounted on a pattern paper tile.

MM TYS Heritage Layout The Story.
These are simple steps to put together a heritage layout on the grid. The results you get will be as varied as the patterns and papers you use.
The Card: Creating a card to go along with the layout is the next task. A black cardstock base is topped with another Bamboo Paper Tile is a nice contrast to the black. A portion of the patterned paper at ¼” is smaller for the top. Cutting a label in black to create a centerpiece with lily-of-the-valley made from a green corner flourish and cream liquid pearls. Another bamboo tile on the inside will give a spot for the sentiment and signature.
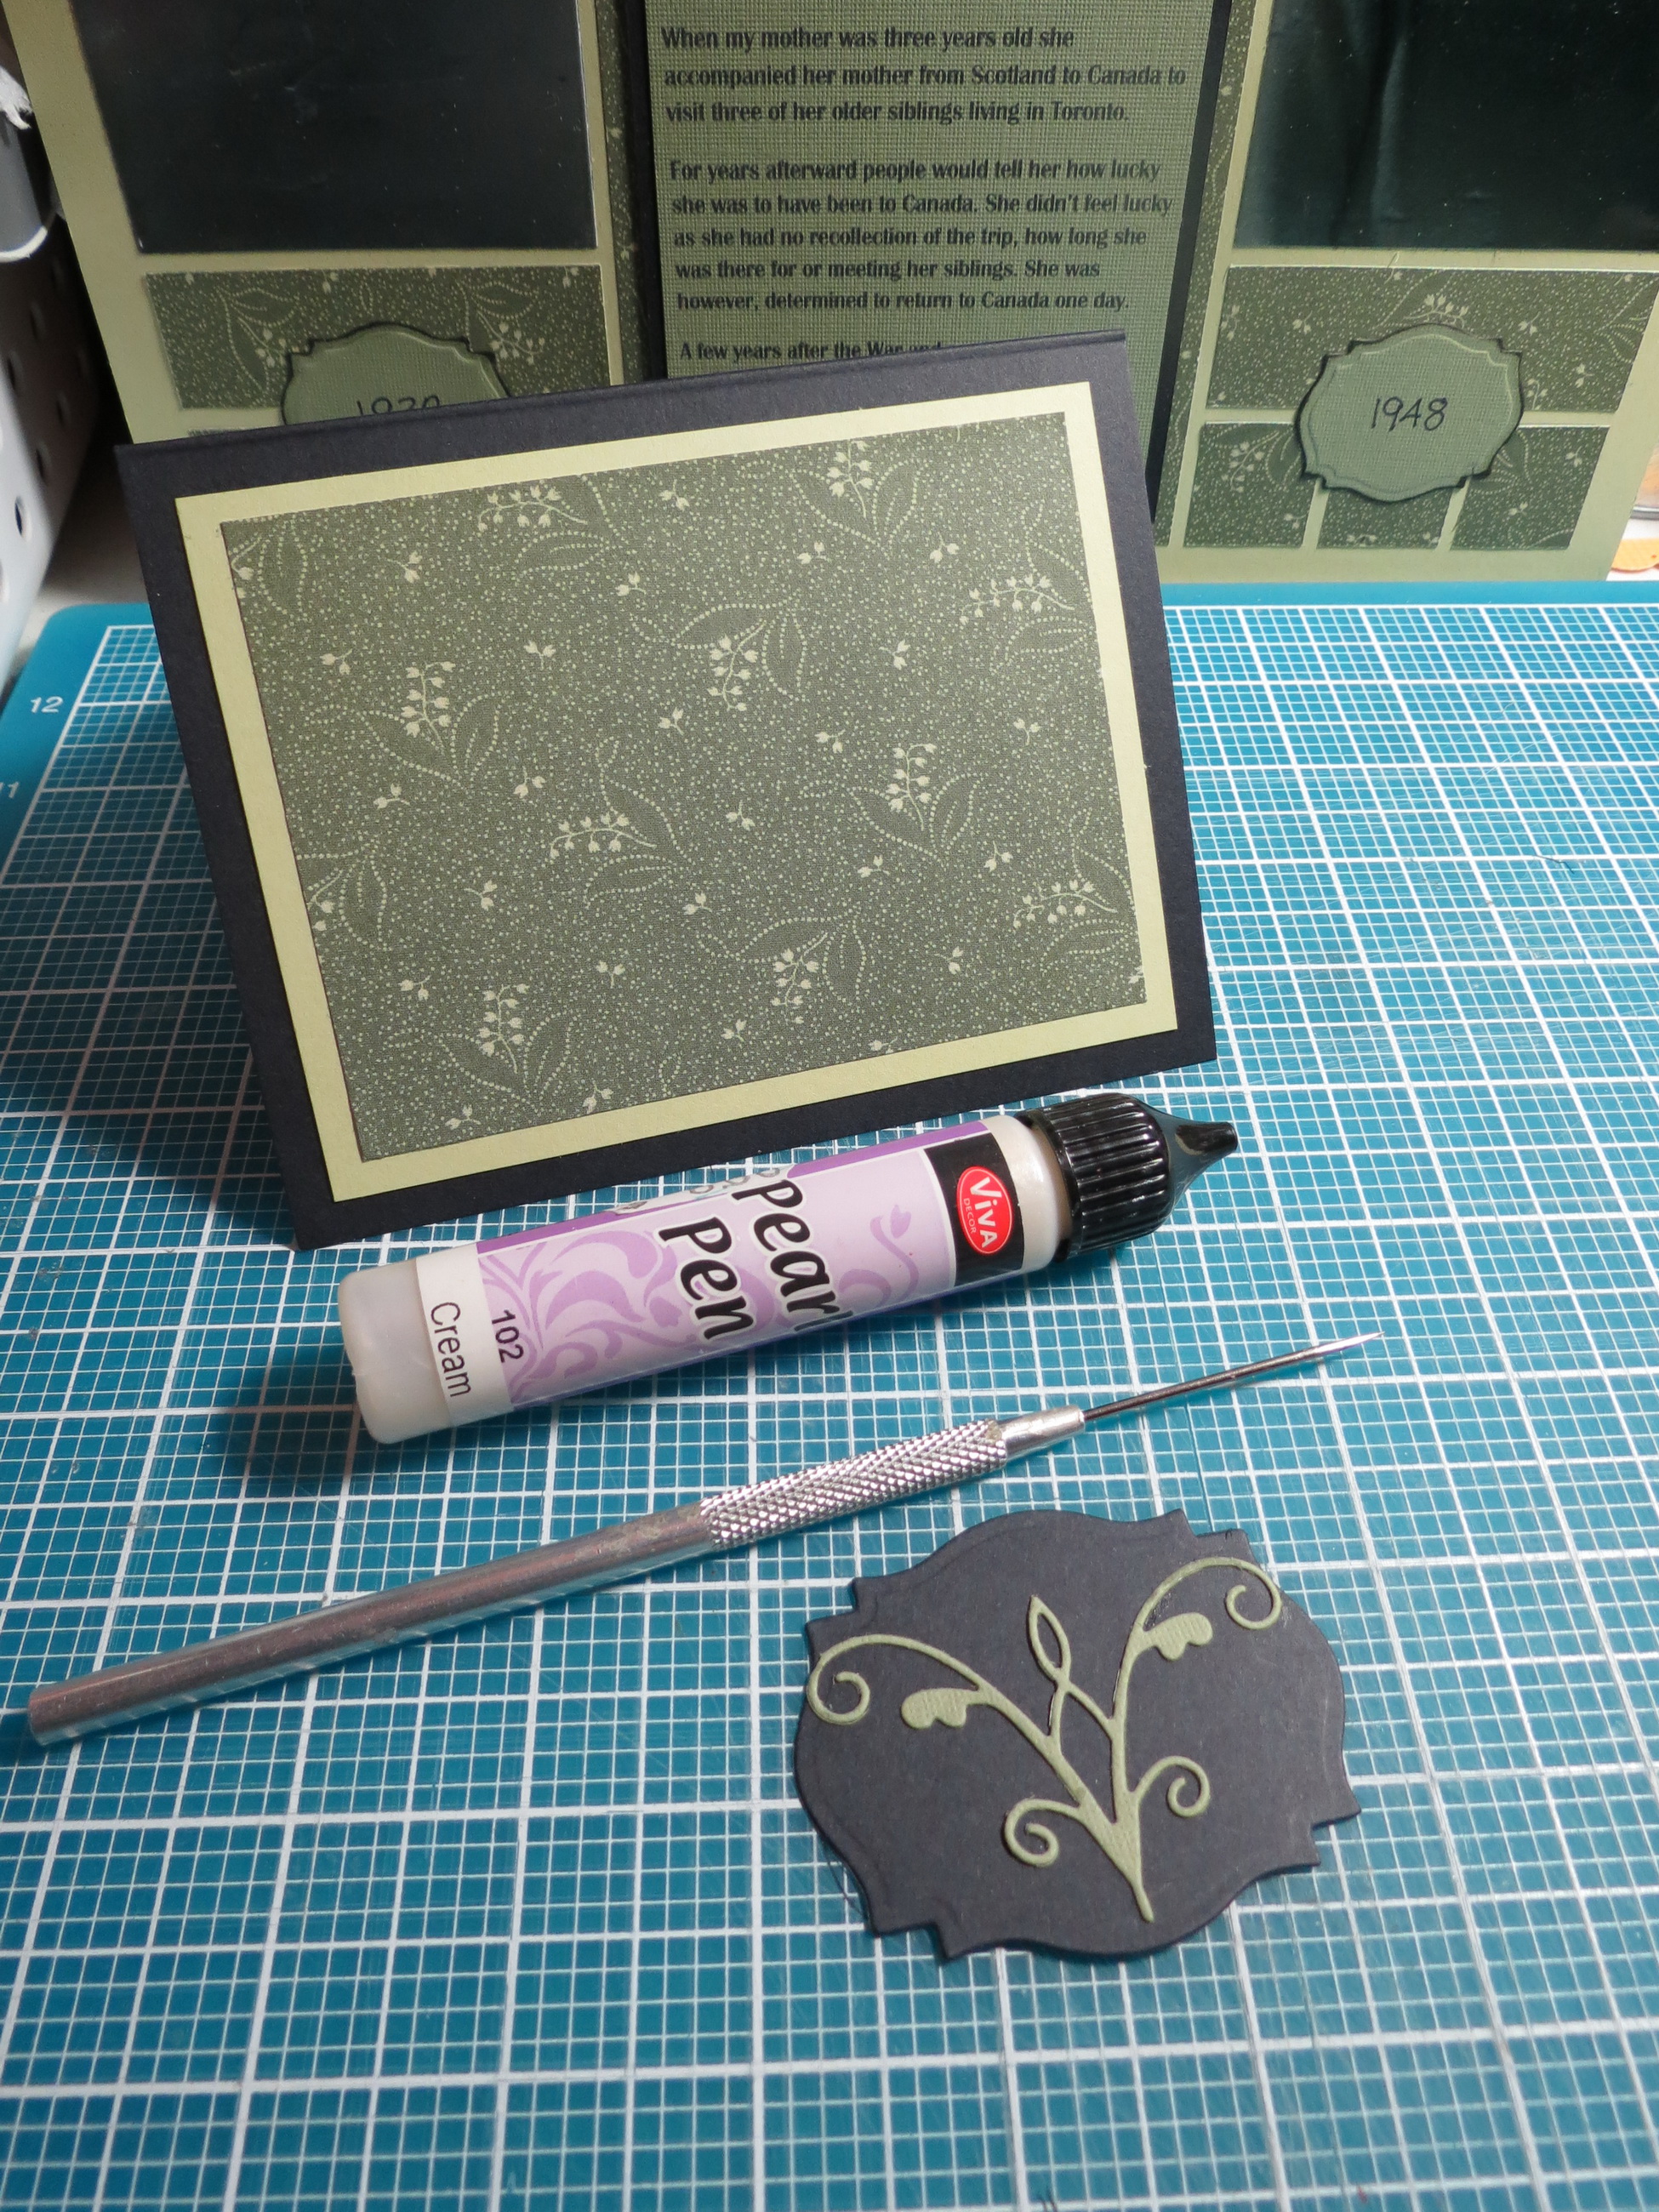
MM TYS Heritage Layouts creating the card
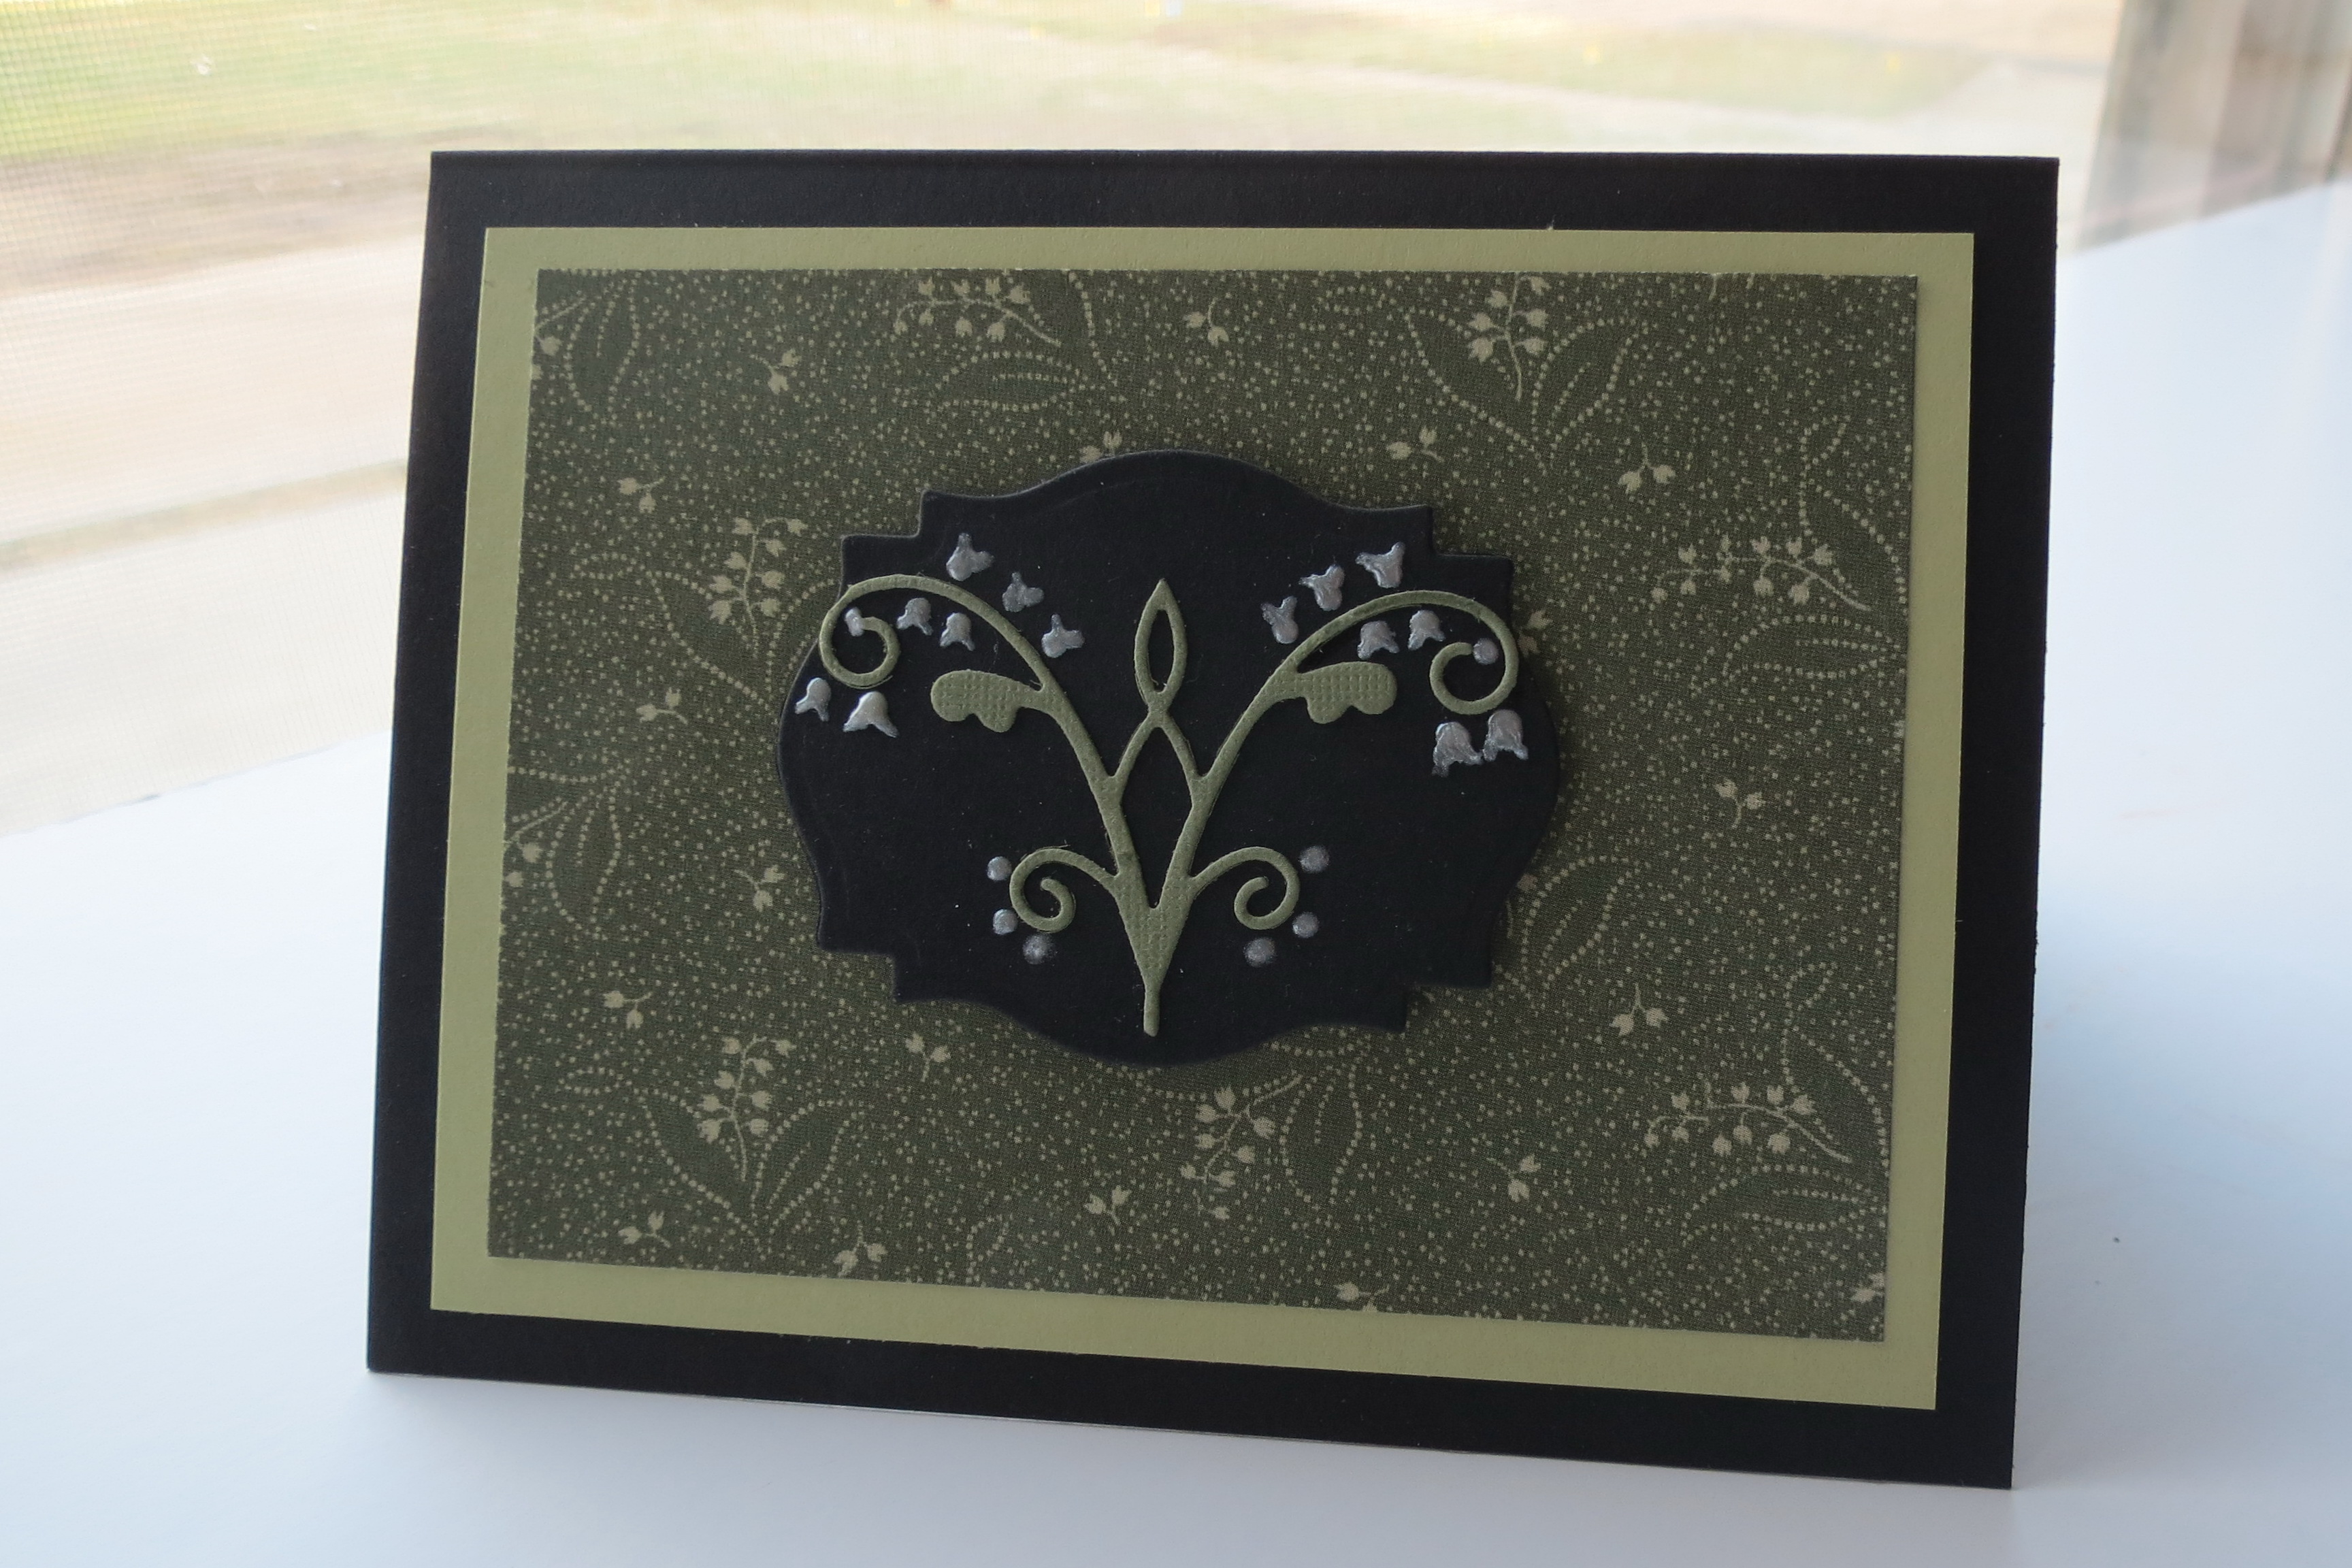
MM TYS Heritage Layouts “The Card”
It’s time to get started with that box of old photos, so how will you Tell Your Story? Find the people who can tell you the stories behind the photos and get it all written down. Then take it all and Tell Your Story in a Heritage Layout on the Grid.
MM TYS Heritage Layouts Tell Your Story
Join us on Facebook and Pinterest for all the latest news and ideas.
Andrea Fisher
MM Tell Your Story Creating Heritage Layouts on the Grid