It’s Throwback Tuesday!
The Layout today will be a redo of a 2013 Design Team layout. The original challenge was to add to the pattern layout with a Large Title, Tags and/or Patterned Paper to Page Pattern #141.
This layout features a Birthday Party that was inspired by a Victorian Tea Room theme, the birthday girl’s favorite place to eat, her fascination with hats and also drew its inspiration from a photo of a table full of fancy tea cakes! To see the original layout you can find all the details on Journella. Click HERE.
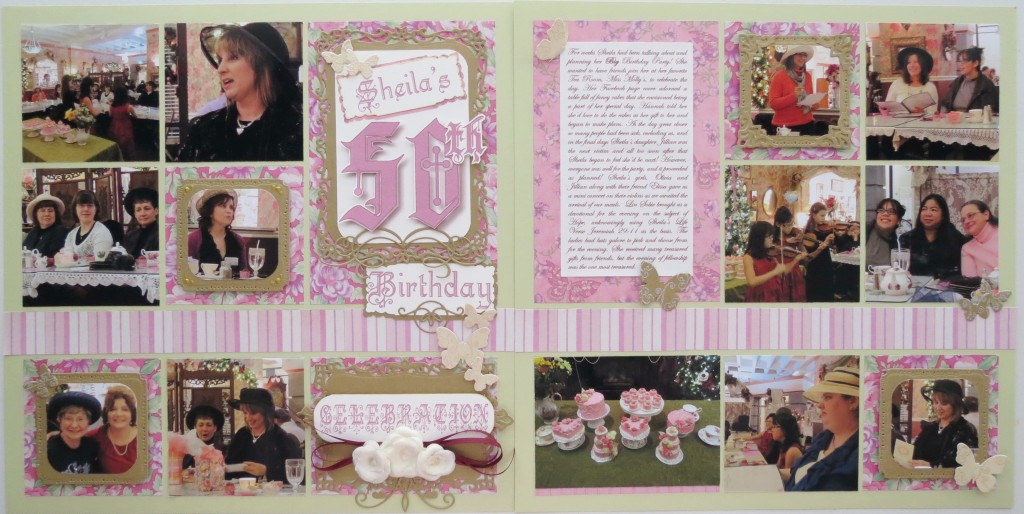
I used a Large Title and Patterned Paper that reflected the décor of the Tea Room that also worked with the party’s overall Victoriana theme.
The pattern has six squares a hand cut strip and two rectangle spots that accommodate a large title. In the original I used this spot for my large title, and have repeated that element for this page.
What I used:
- 12 x 12 Mosaic Moments Grid Paper: Limeade
- American Crafts Cardstock for mats and embellishments
- EK Success paper punch: Swiss Cheese border
- Spellbinders Scallop Circle, Small Circles Dies
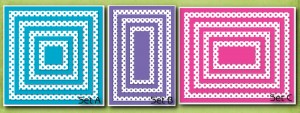
- Mosaic Moments Die Sets A, B and C
- Doodlebug Designs Paper Doilies: Polka Dot Limeade
- Doodlebug Designs Twines
- Darice Cording
- Martha Stewart Scoring Tool
- Glue Dots
- Tombow dot adhesive runner
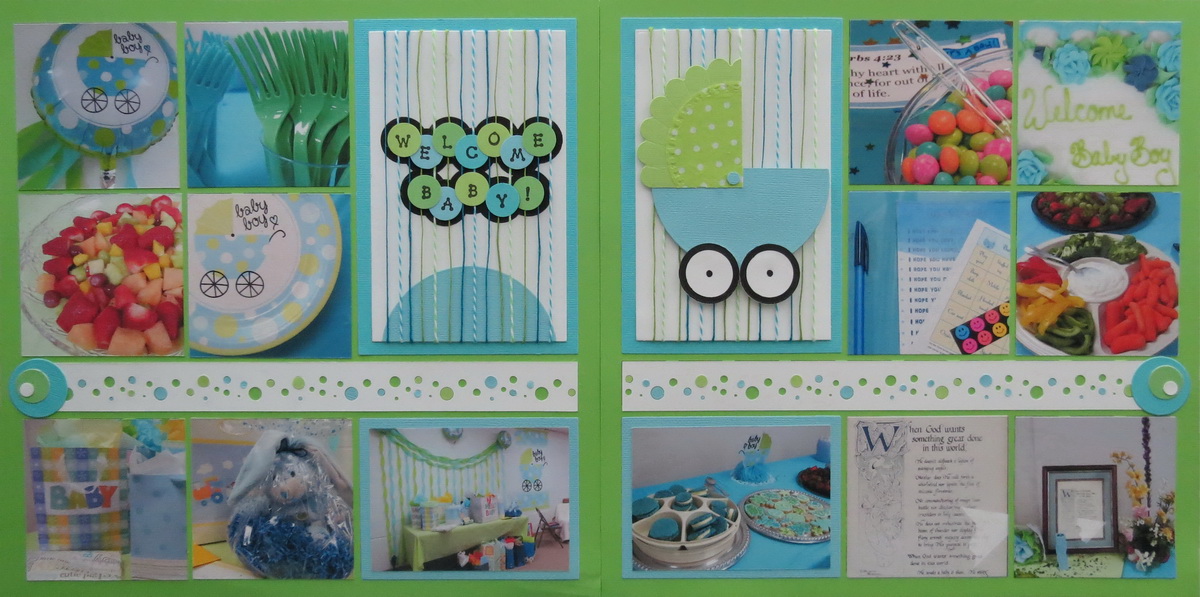
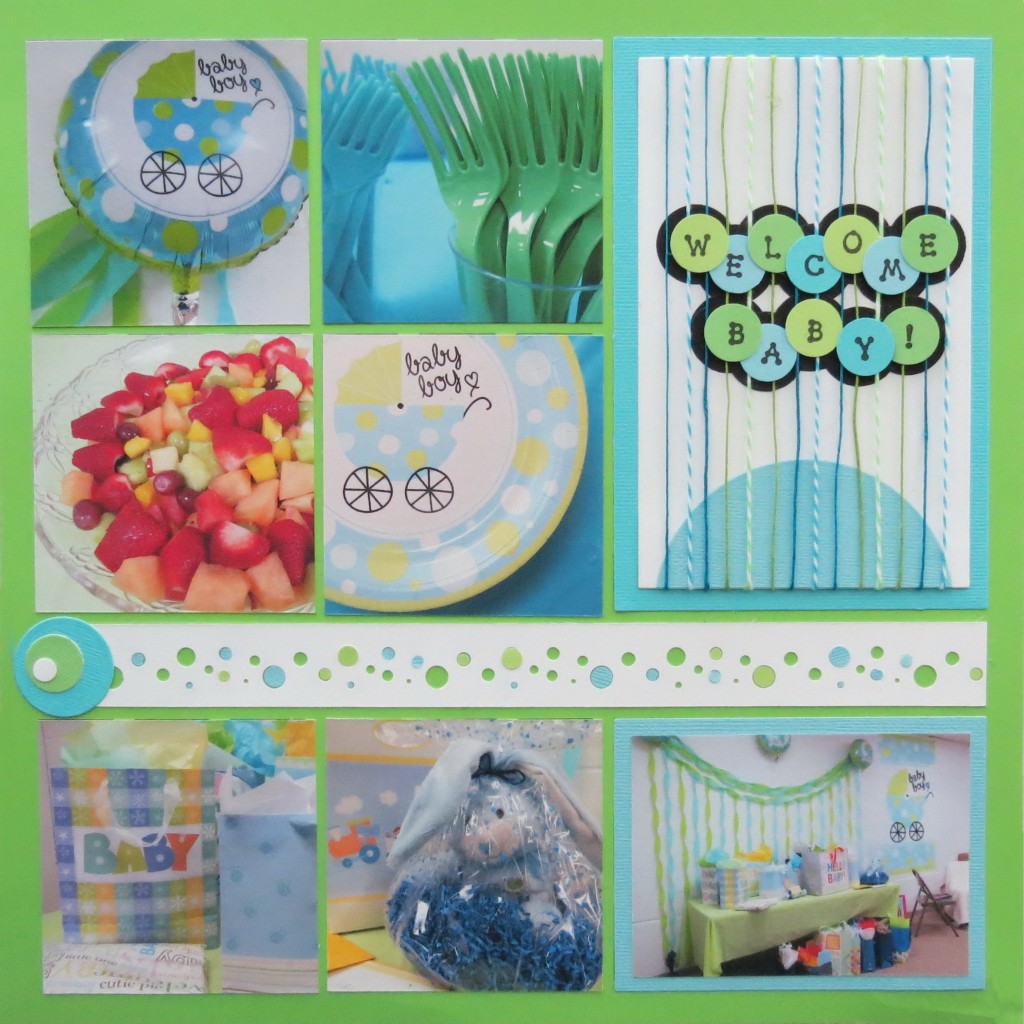
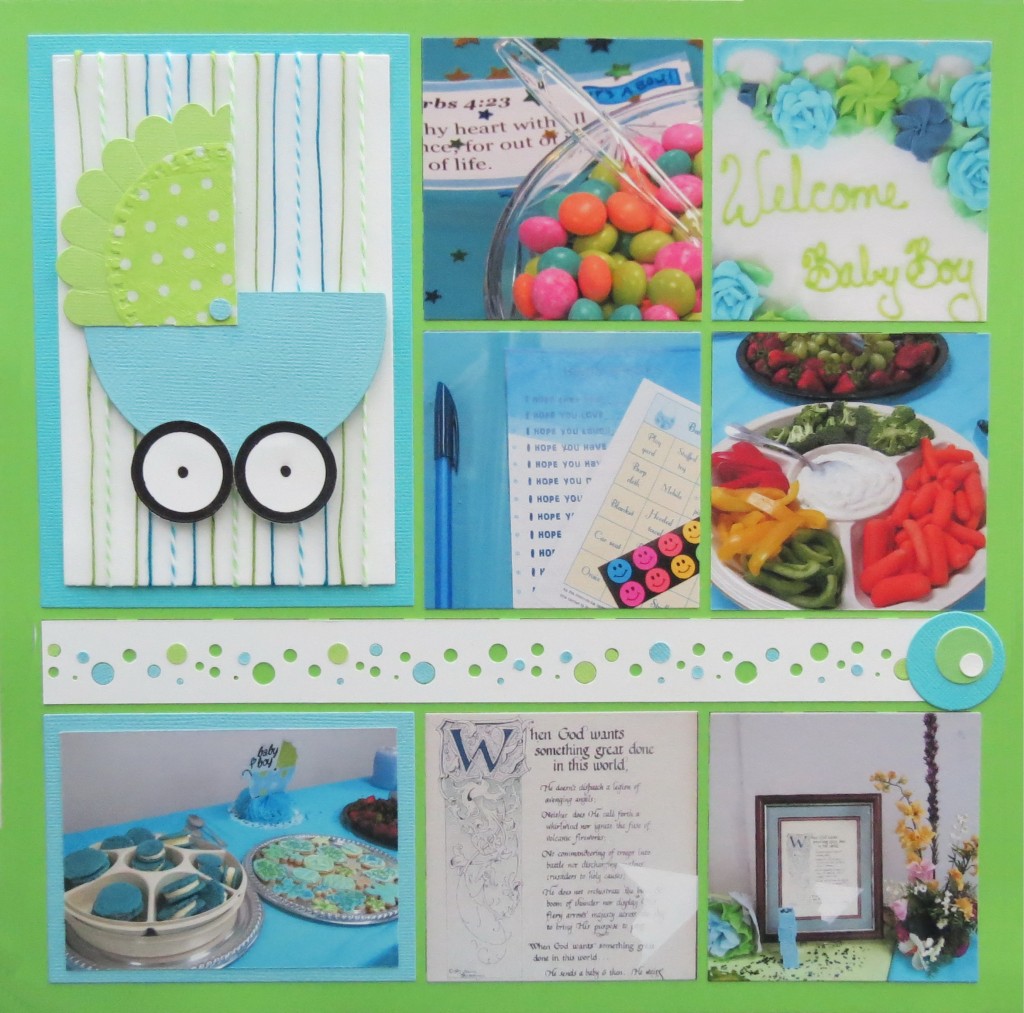
This time around I’m using the same page pattern and using the decorations from the party…this time a baby shower…to determine the colors I’d use for grid paper and mats and embellishments.
This time Die Sets A, B, C were used to complete this layout.
I did not use patterned paper, but did create a strip for the hand cut 1×10 sections using an EK Success Swiss cheese punch for a bubble effect that reflects the party décor. This dot pattern is repeated in the Title and the pattern on the carriage. The white strip of cardstock with the punched holes is applied directly to the limeade green grid. Several of the holes are filled with other colors of cardstock. Each end of the strip is finished off with a trio of stacked circles.
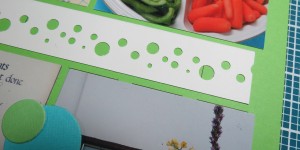
Baby Shower Scrapbook Ideas notice that when laid directly on the grid paper some of the grid marks show through the punched areas… notice that the strip doesn’t go all wth way to the end. I used a 1″ x 11″ strip just 1/8″ short of the need size…
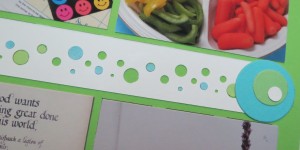
Baby Shower Scrapbook Ideas: creating a border to match theme. …Filling in some the holes randomly and over those lines with punched holes in matching colors. Notice how the stacked circles cover up the short end just right.
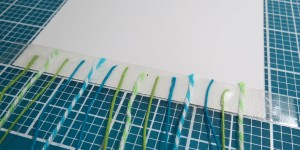
The two large rectangle spaces are where I wanted to feature my title and a large hand cut carriage embellishment. On each of these sections I strung twine and cording in ¼” intervals to mimic the strands of crepe paper streamers at the party. I anchored them on the backside with double-sided tape. Using my craft mat I was easily able to mark off the intervals for securing the twine.
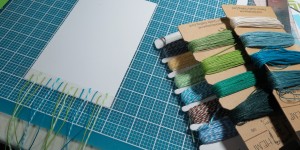
Baby Shower Scrapbook Ideas: Using twine and cording to create a unique backdrop for this block tile.
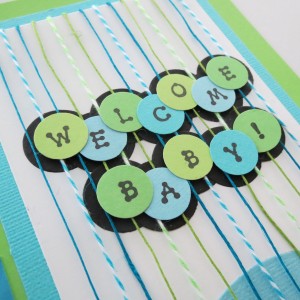
The title was created with a series of circles on which the letters were stamped. Using a glue dot they were arranged on the twine and remain suspended above the white cardstock. A larger black circle was adhered to the white base and centered behind each letter while they continue to float above. The bottom half circle below is the left over portion of the circle used for the carriage.
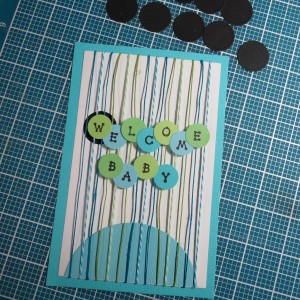
Baby Shower Scrapbook Ideas Arranging circles with letters for title on the block…testing the idea of a black circle behind each letter.
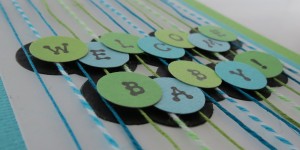
Baby Shower Scrapbook Ideas Notice how the letters float above the base. Glue Dots on each letter attach them to the twines.
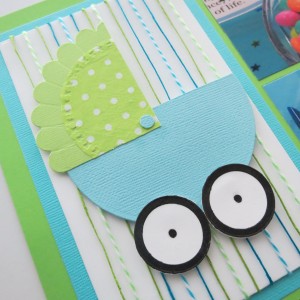
The carriage was made out of two Spellbinders circles, one being a scallop circle trimmed to be the canopy. I added a portion of a limeade polka dot Doodlebug Design paper doily to the canopy for a few more dots.
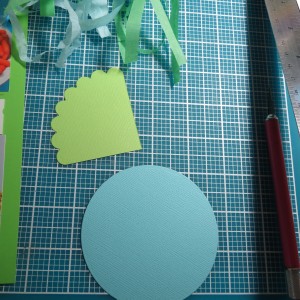
Baby Shower Scrapbook Ideas: Begin with Spellbinders Scallop and Small Circles Dies to create the baby carriage.
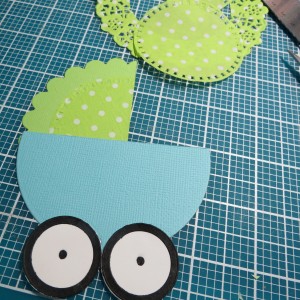
Baby Shower Scrapbook Ideas: Scored the canopy from the outside scallops, added a dotted doily for color and interest and attached wheels.
As I took pictures there were a lot of circles in them and I looked for different ways to crop them to keep it interesting. The colors from foods and gifts are the real stars here and the work that the hosts put into it will be remembered.
This layout is unique in that I did not include any of the photos of the gift opening and guests. I wanted this to feature all the details that often get forgotten, but are what often makes the day so very special. Someone is always putting a lot of effort into these events and I wanted to show off some of those elements and how you can include them, or actually feature them. You may not do a full page like this, but maybe I’ve given you some Baby Shower Scrapbook Ideas on what photos to include to add a bit more interest when you are shooting an event whether a baby shower, graduation or the season’s first picnic!
Andrea Fisher
Remember you can find this pin on our Pinterest Board!

