For years we have been cutting nearly everything into squares and rectangles to fit the Grid. Now, the Corner Cut Out Dies allow us to cut the corners -- opening the Grid to a whole new Mosaic world. Take a look ...
1. On Center
"Cole at Nagshead" by Paije
This design allows for a center square with the photos, and their mats, cut around it.
2. Add Faux Corners
Take your layout to the next level by adding faux corners to the background. Use the smallest die in the set to cut extra squares out of patterned paper. Tuck them behind your photos and it looks like you've added another layer of corners!
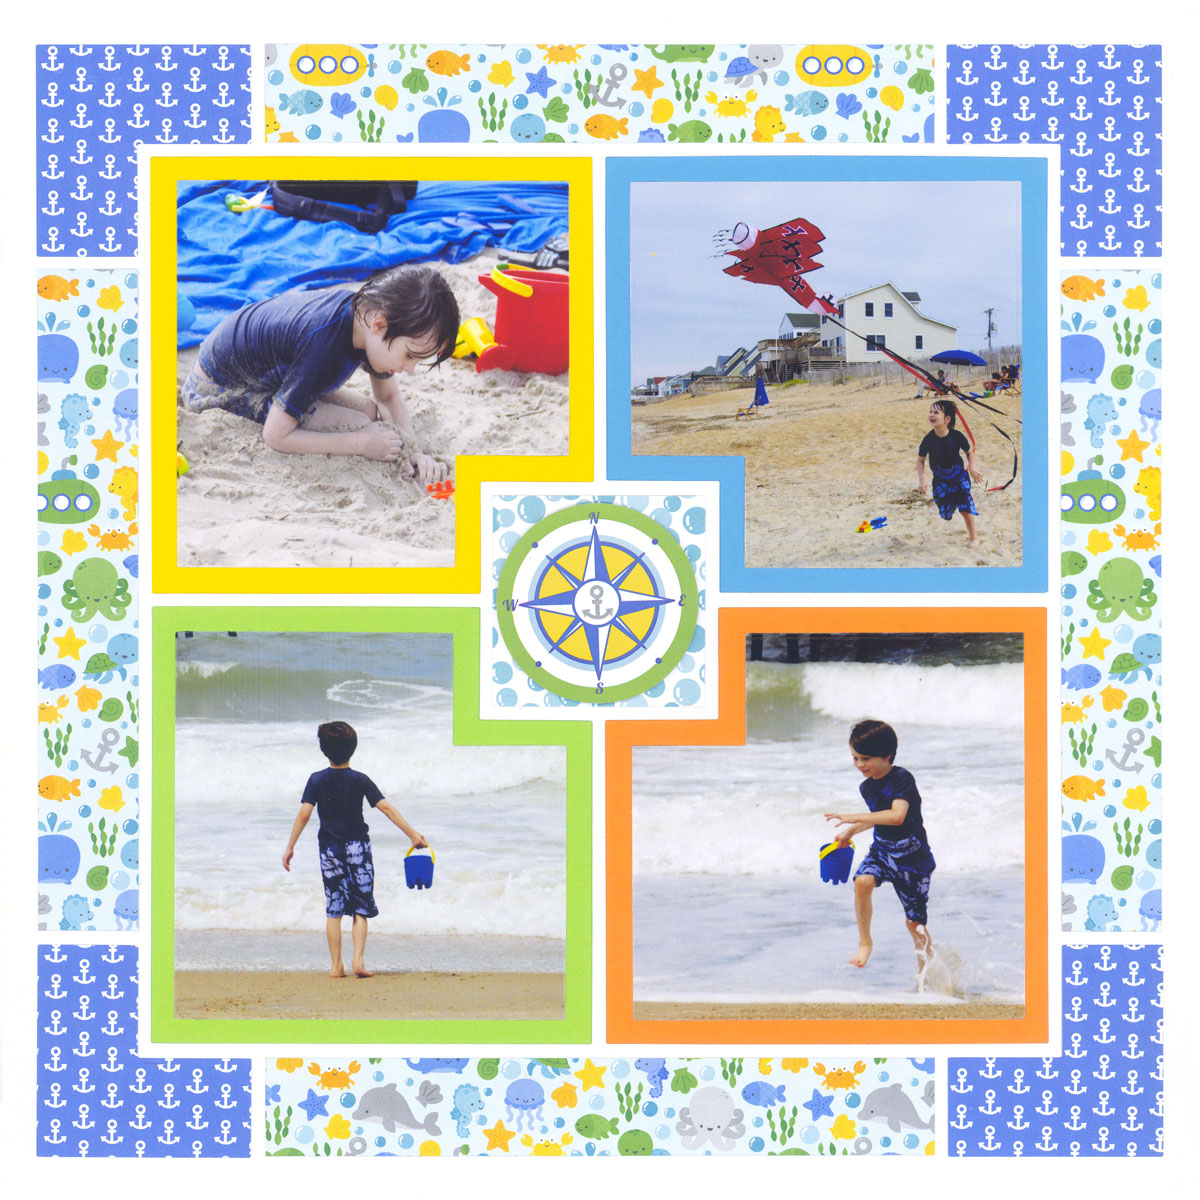
"Under the Sea" by Paije
3. Add Additional Photos
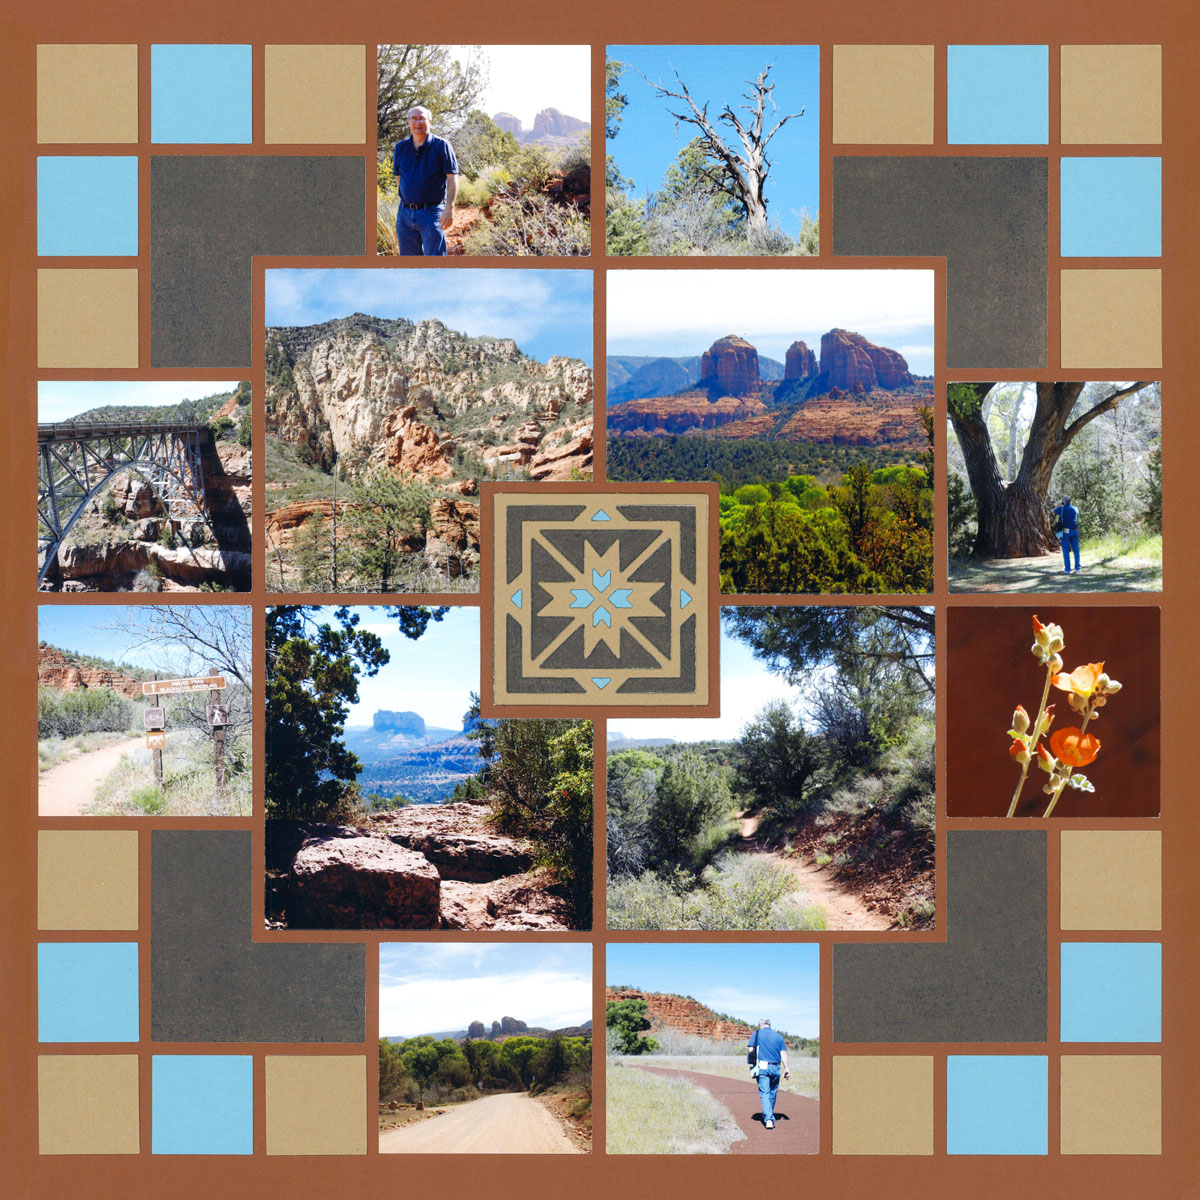
"Sedona" by Paije
By using a smaller die to cut the main four photos, you can fit additional 2x2 photos around the edges.
4. Make It Beautiful
This layout calls for Corner Cut Outs around the top of the main photo.
Additionally, two Corner Cut Outs on each side make a beautiful decorative element.
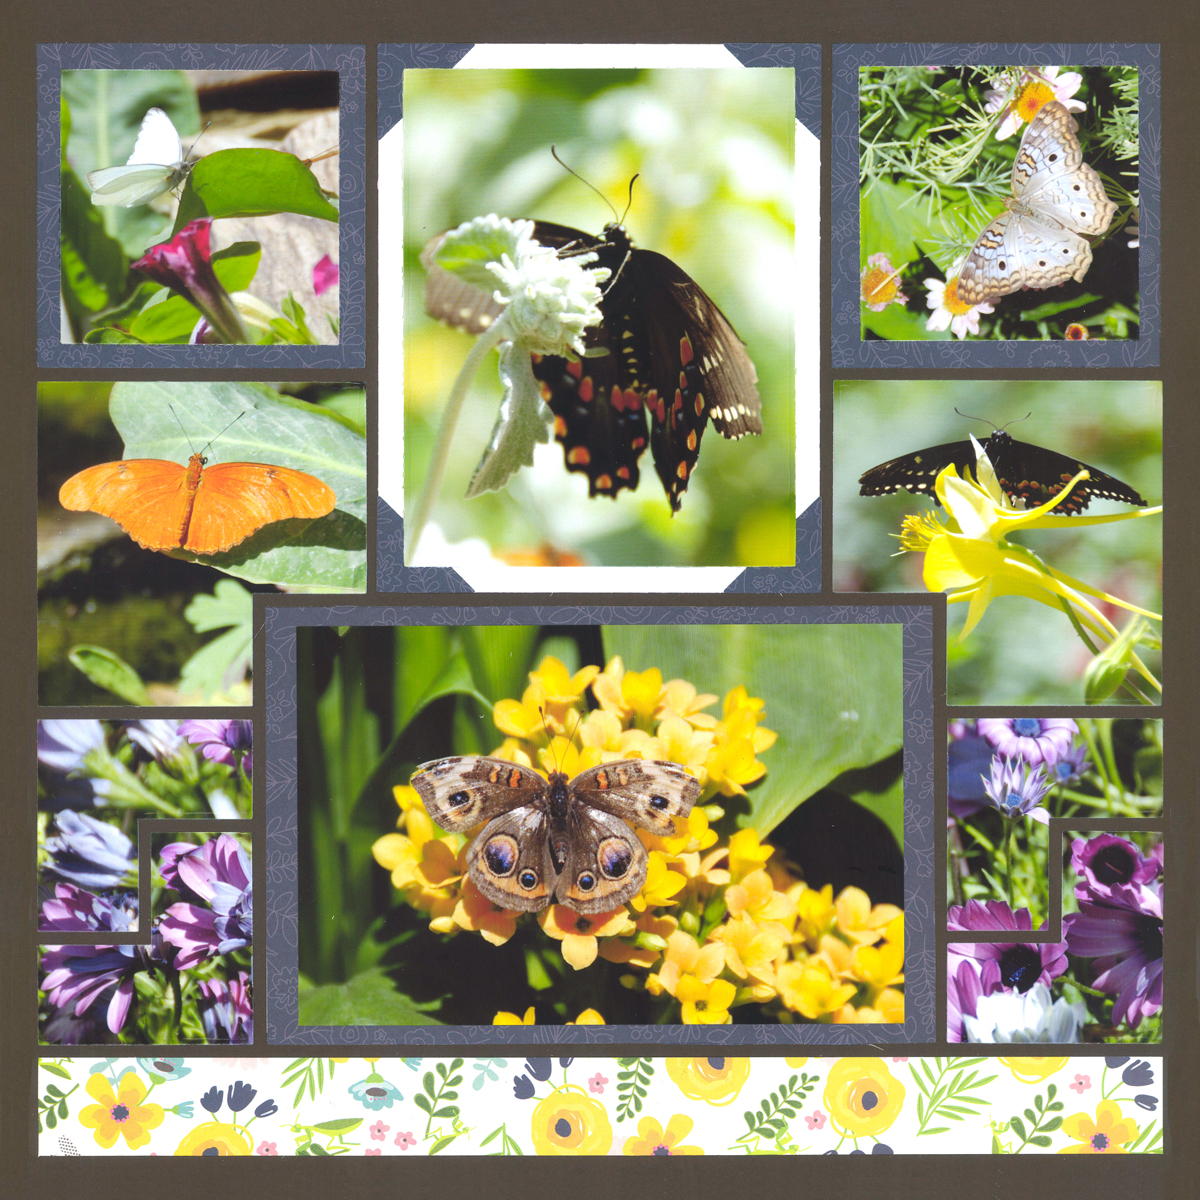
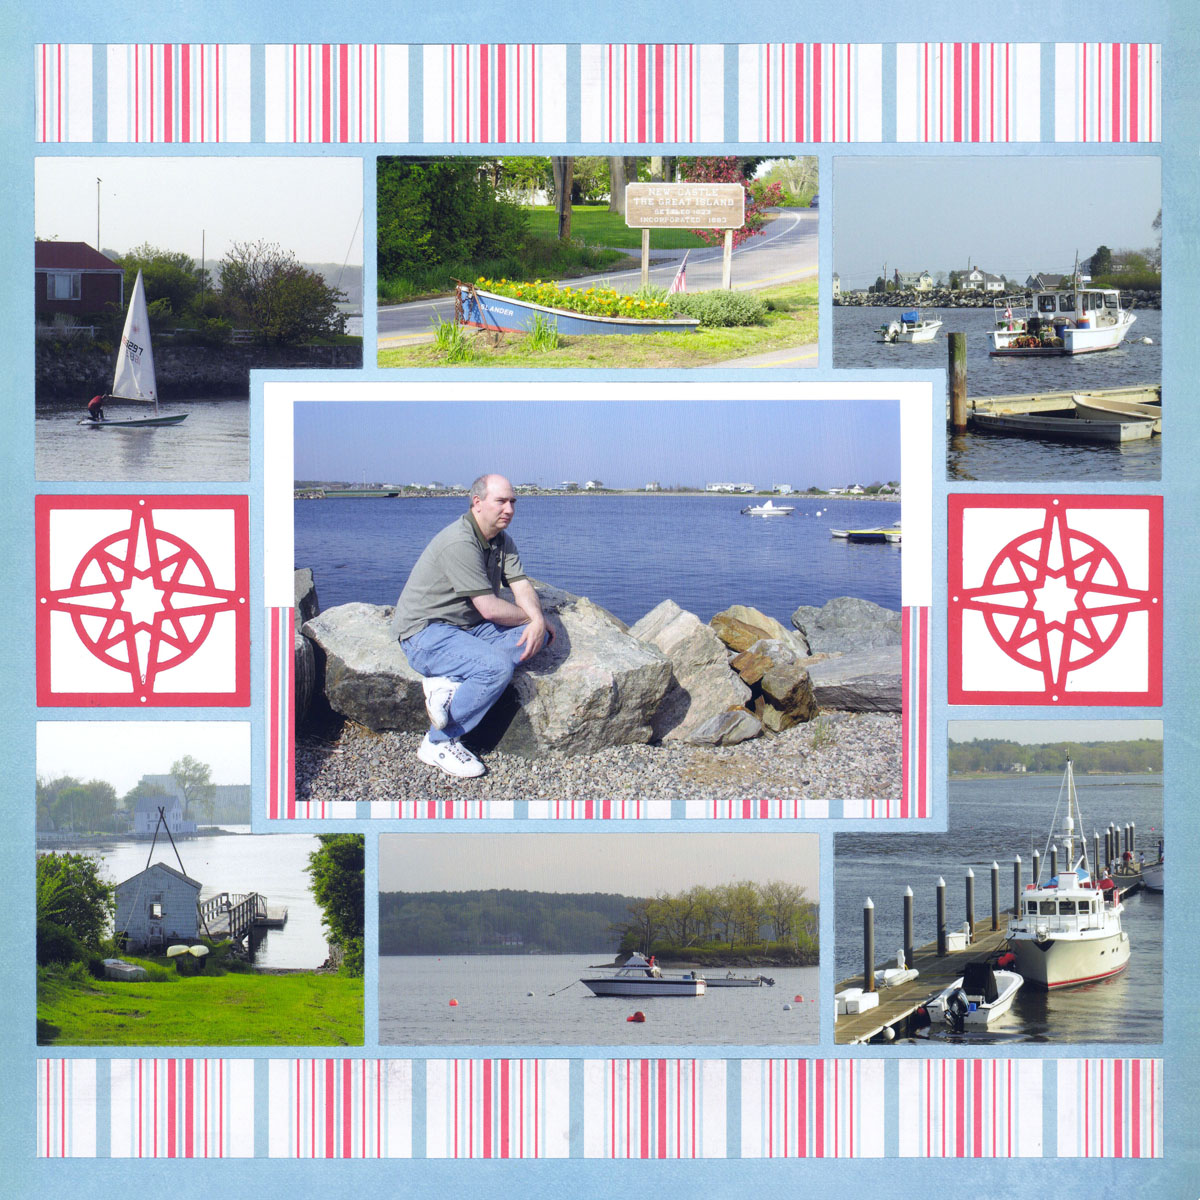
"Butterfly House" by Paije
5. Make It Stand Out
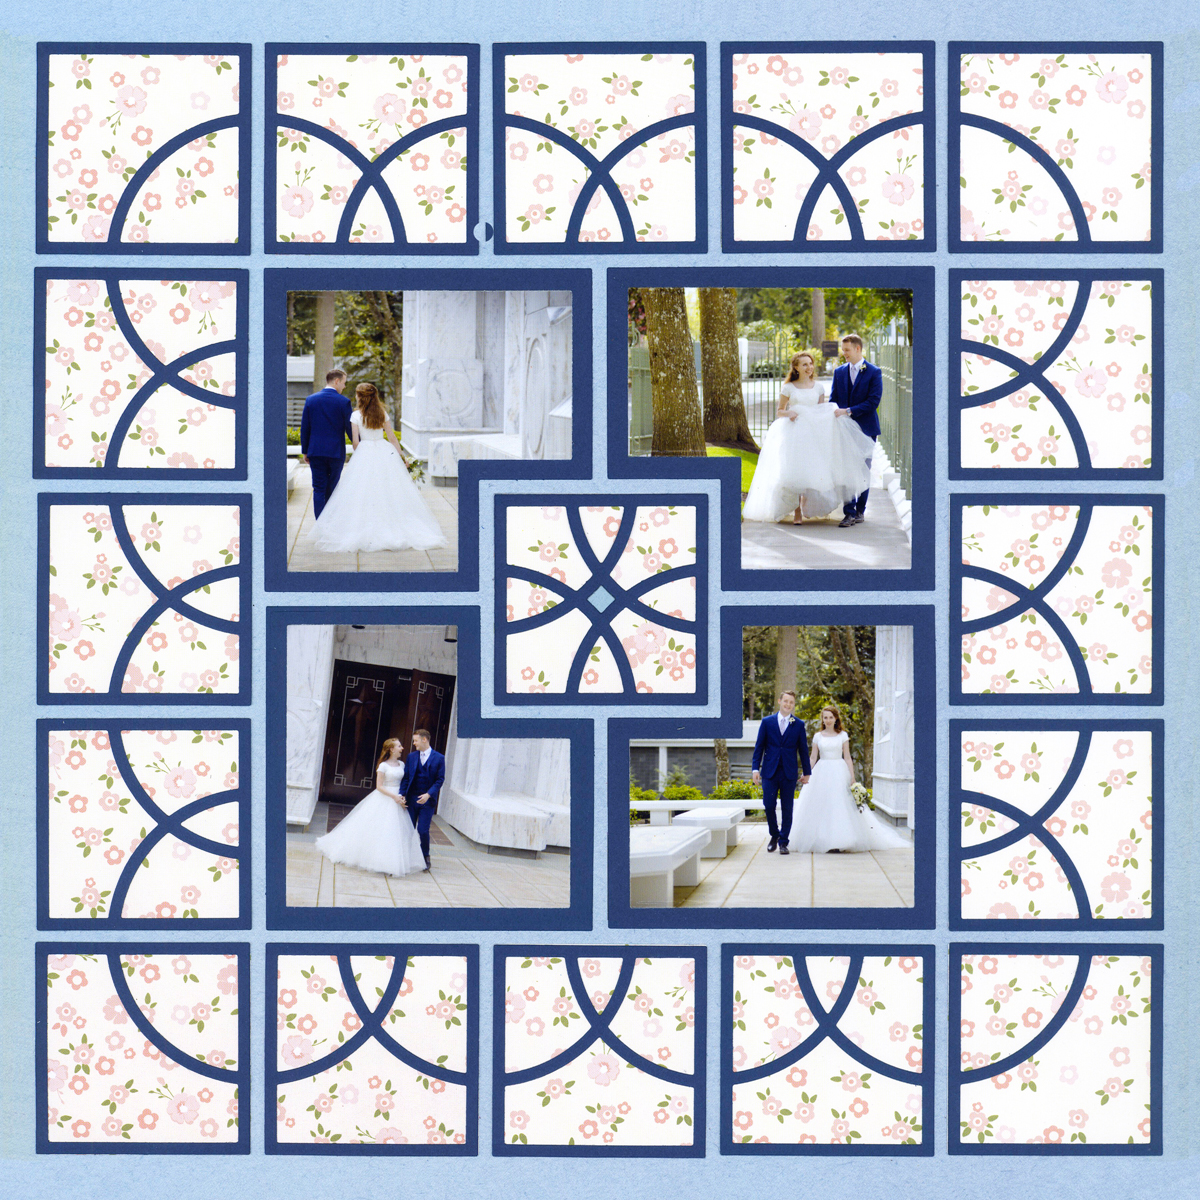
"Bride & Groom" by Paije
This one uses smaller photos in the center, so you can have a full loopy border around the edges. The colors on the Corner Cut Outs really make those photos pop!
6. Around the Title
You can use the Corner Cut Outs to go around anything -- even this decorative border. It would be the perfect place to put the title or a journaling block.
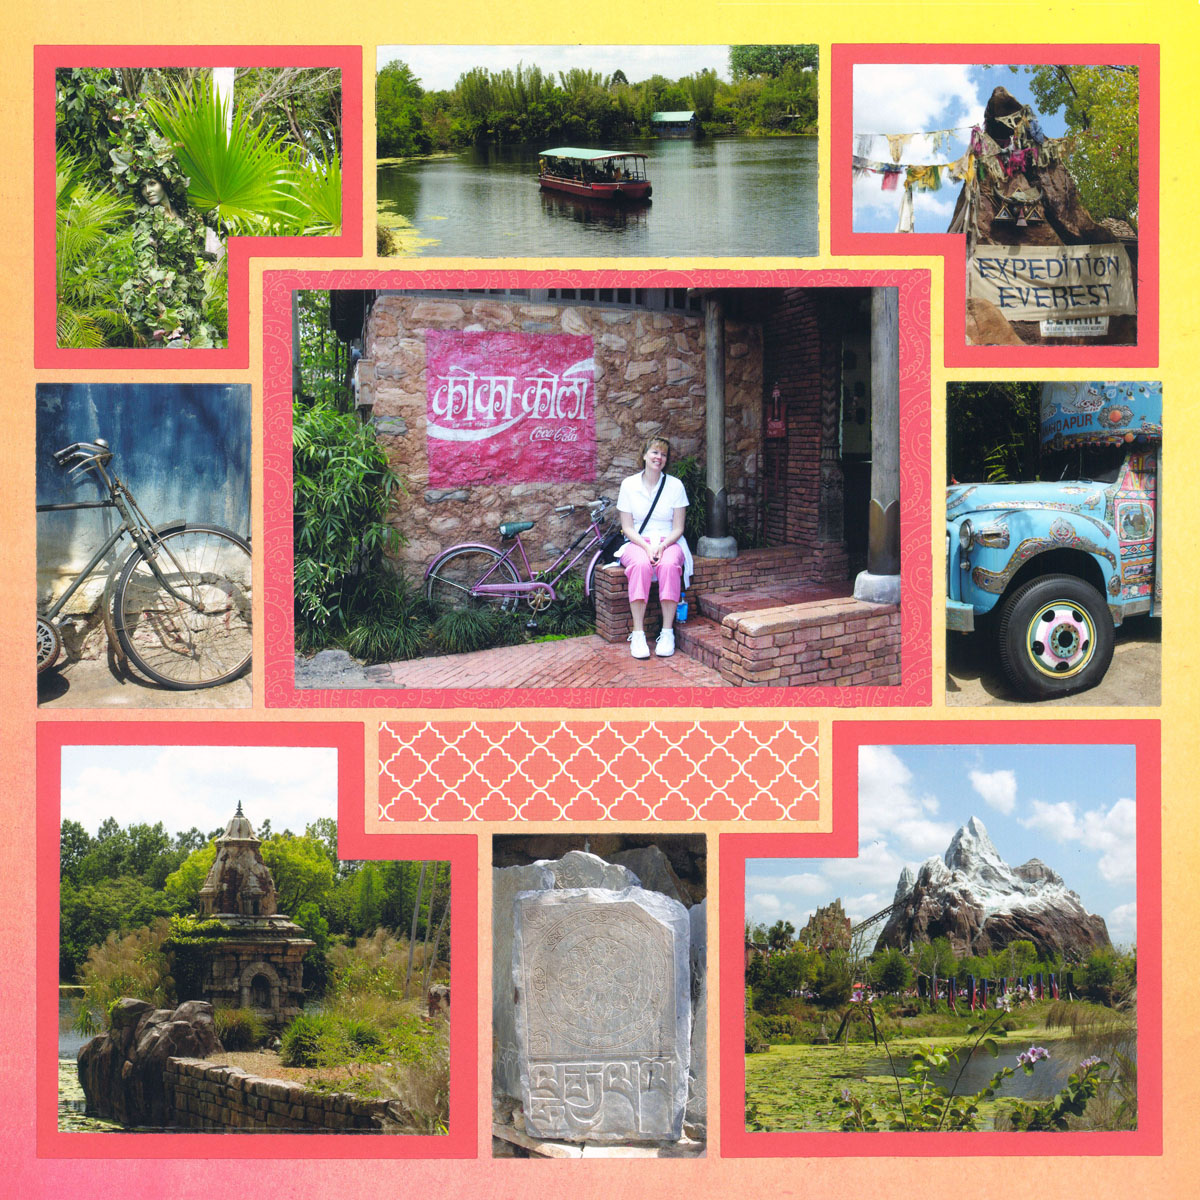
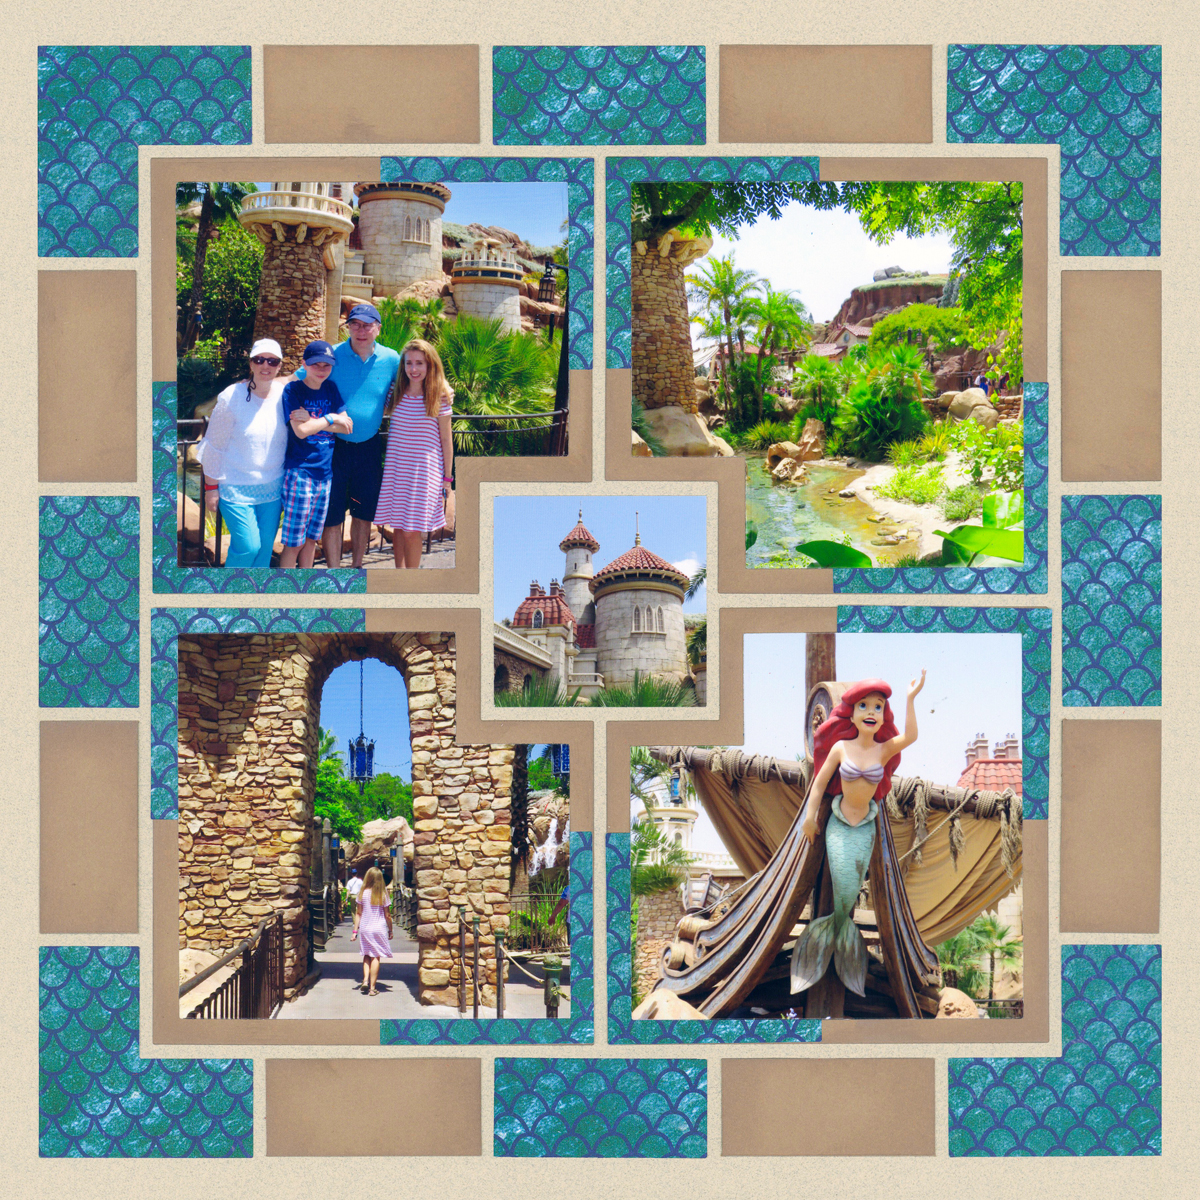
"Disney's Asia" by Paije
7. Point Toward the Center
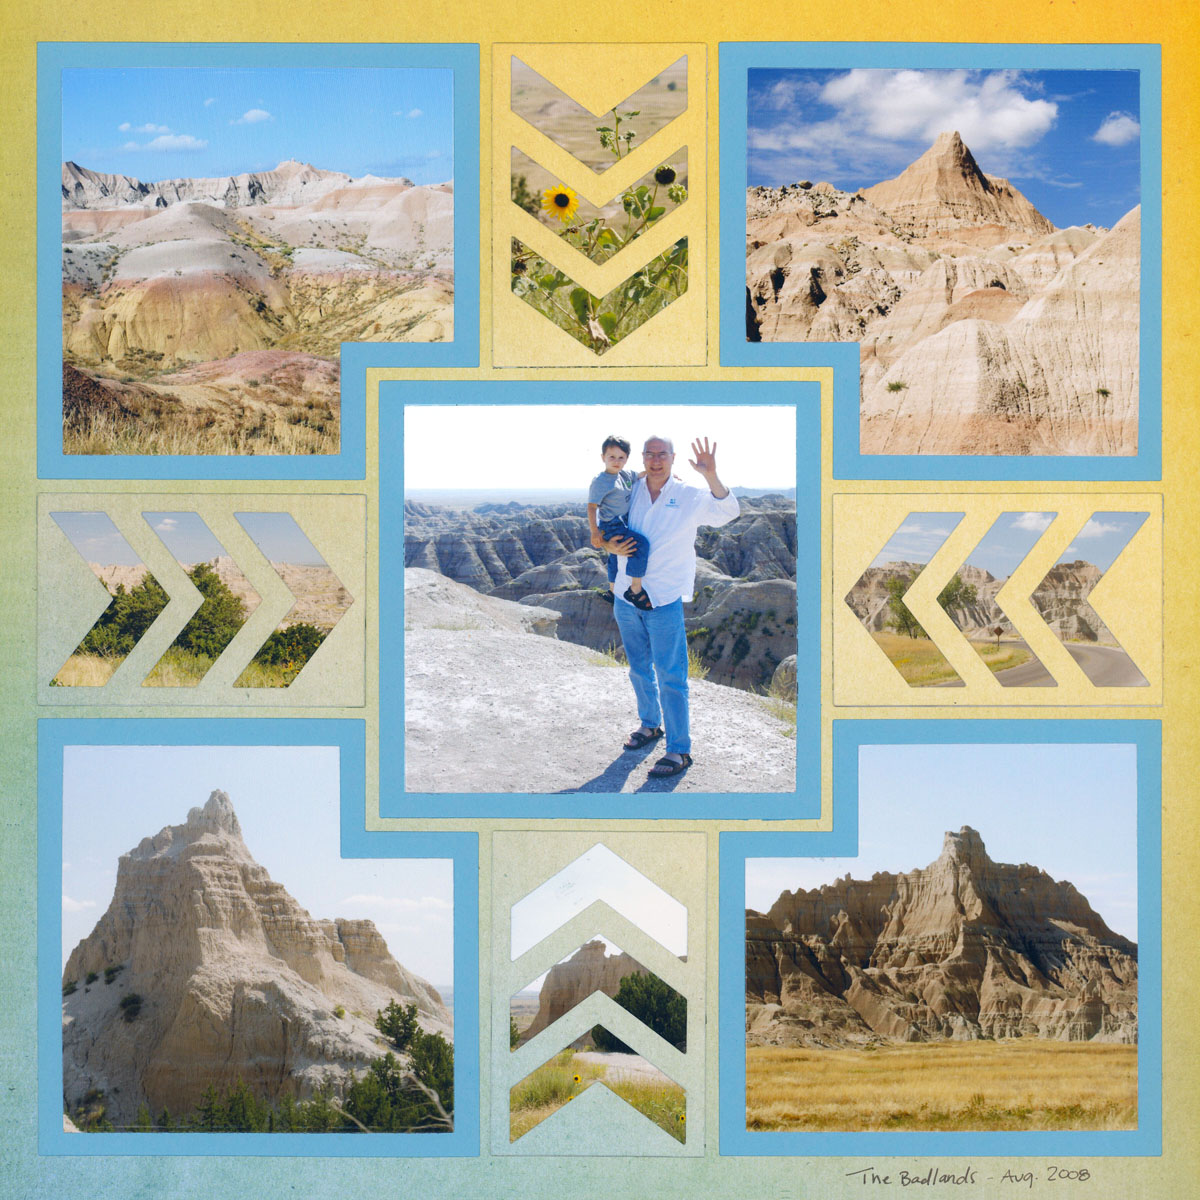
"The Badlands" by Paije
When you need a large photo at the center, use the Corner Cut Outs on the four corner photos. Fill in the middle with a decorative die or photo, like the arrows, here.
8. Around the Edges
In this design, by Lori Mazzeo from the Crop & Share Group on Facebook, the center photo is a full 4x6 and the Corner Cut Outs are placed in the corners around it. This still leaves space for decorative elements and patterned paper.
Thanks for the idea, Lori!