
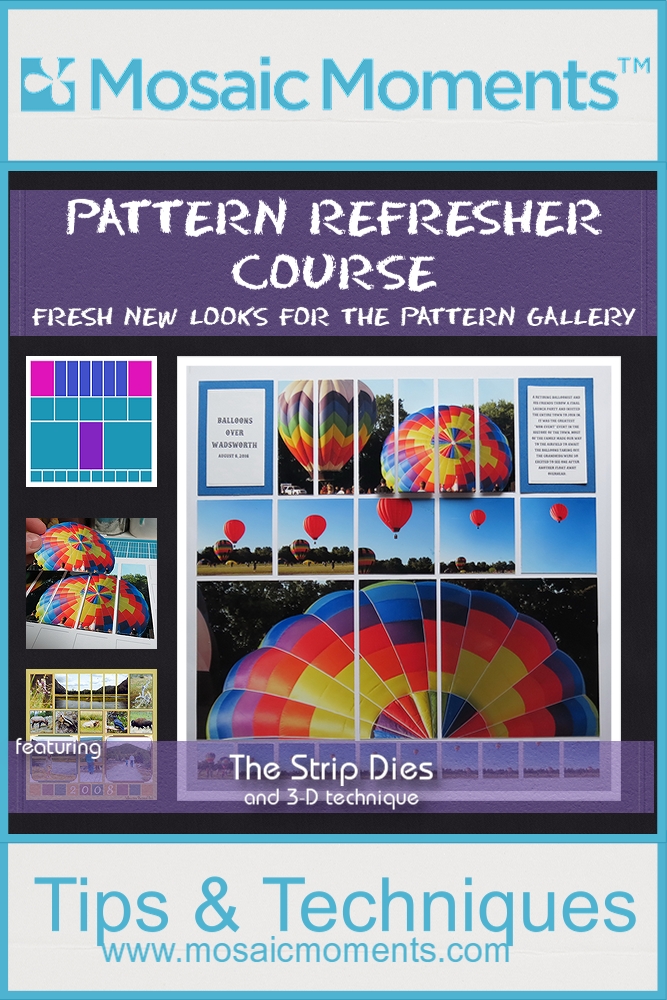
Pattern Gallery Pattern Refresher Course
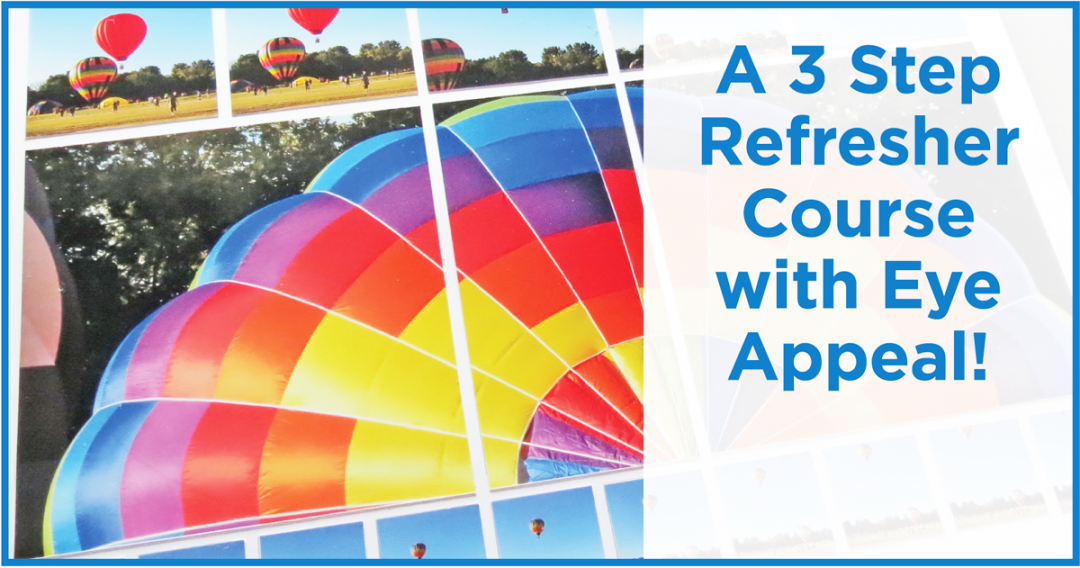
Up, Up and Away!
The Refresher Course challenge this week takes a pattern from the Pattern Gallery and gives it a fresh new look. To accomplish that we’ll begin with Pattern #195, our featured strip die and a white, yes, white Mosaic Moments Grid paper.
This is the original layout and pattern along with the new:
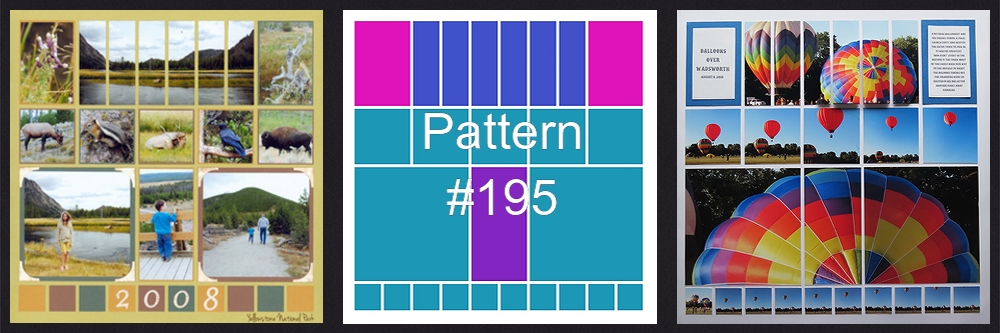
Mosaic Moments Pattern Refresher Course Pattern #195 old and new designs
I had a teacher who told us that the purpose of a frame is to draw attention to the picture. A good frame doesn’t call attention to itself or compete with the picture. It’s the same thing with our grid paper. It is our frame to call attention the photos within its frame.
I love that there are so many wonderful colors to choose from in our grid papers, but I am a real fan of the basic black and white grids. People often ask what to do with them as they may seem to be boring and uninspiring to them. For this pattern refresher I have chosen to use white because it will allow the multiple colors in my photos to pop on the page. I didn’t want a competing color, maybe one picked from the balloons; I wanted one that would really let the photos take you beyond the page edges and to the sky with the hot air balloons.
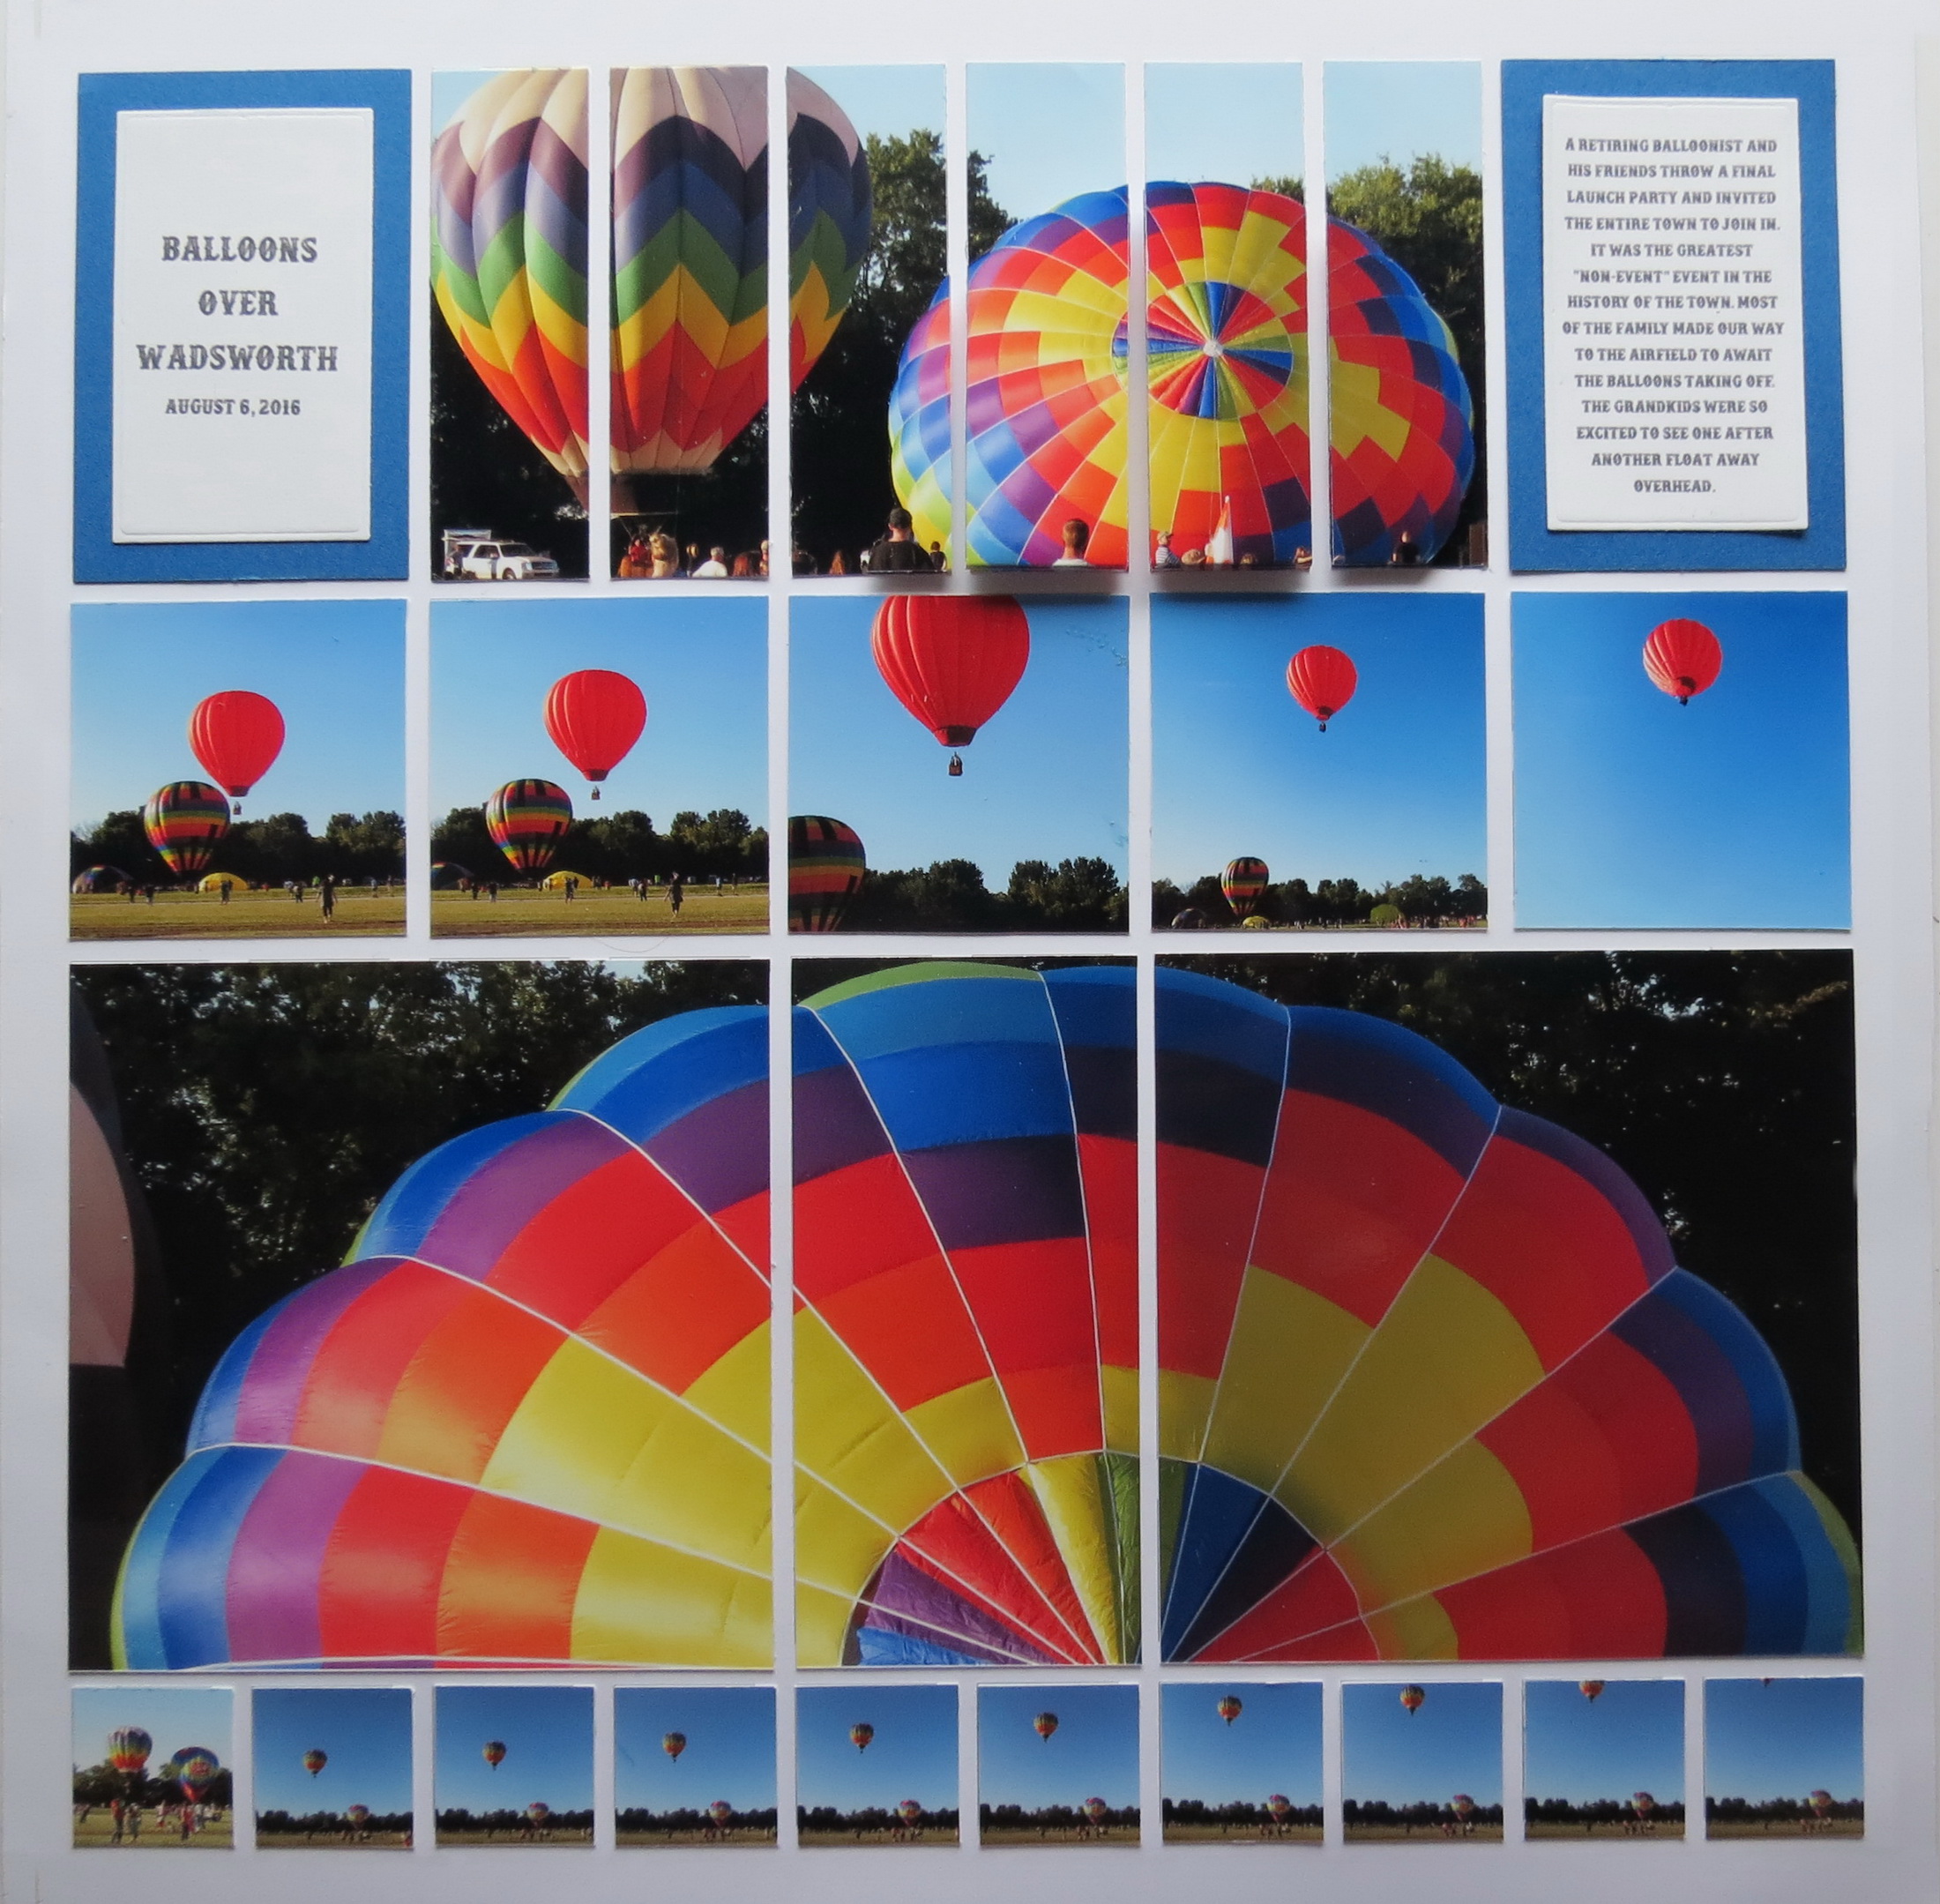
Mosaic Moments Pattern Refresher Course Pattern #195 and featuring the Strip Die
In this pattern with these photos I have several ways that will refresh the layout. The first is with a Technique.
TECHNIQUE:
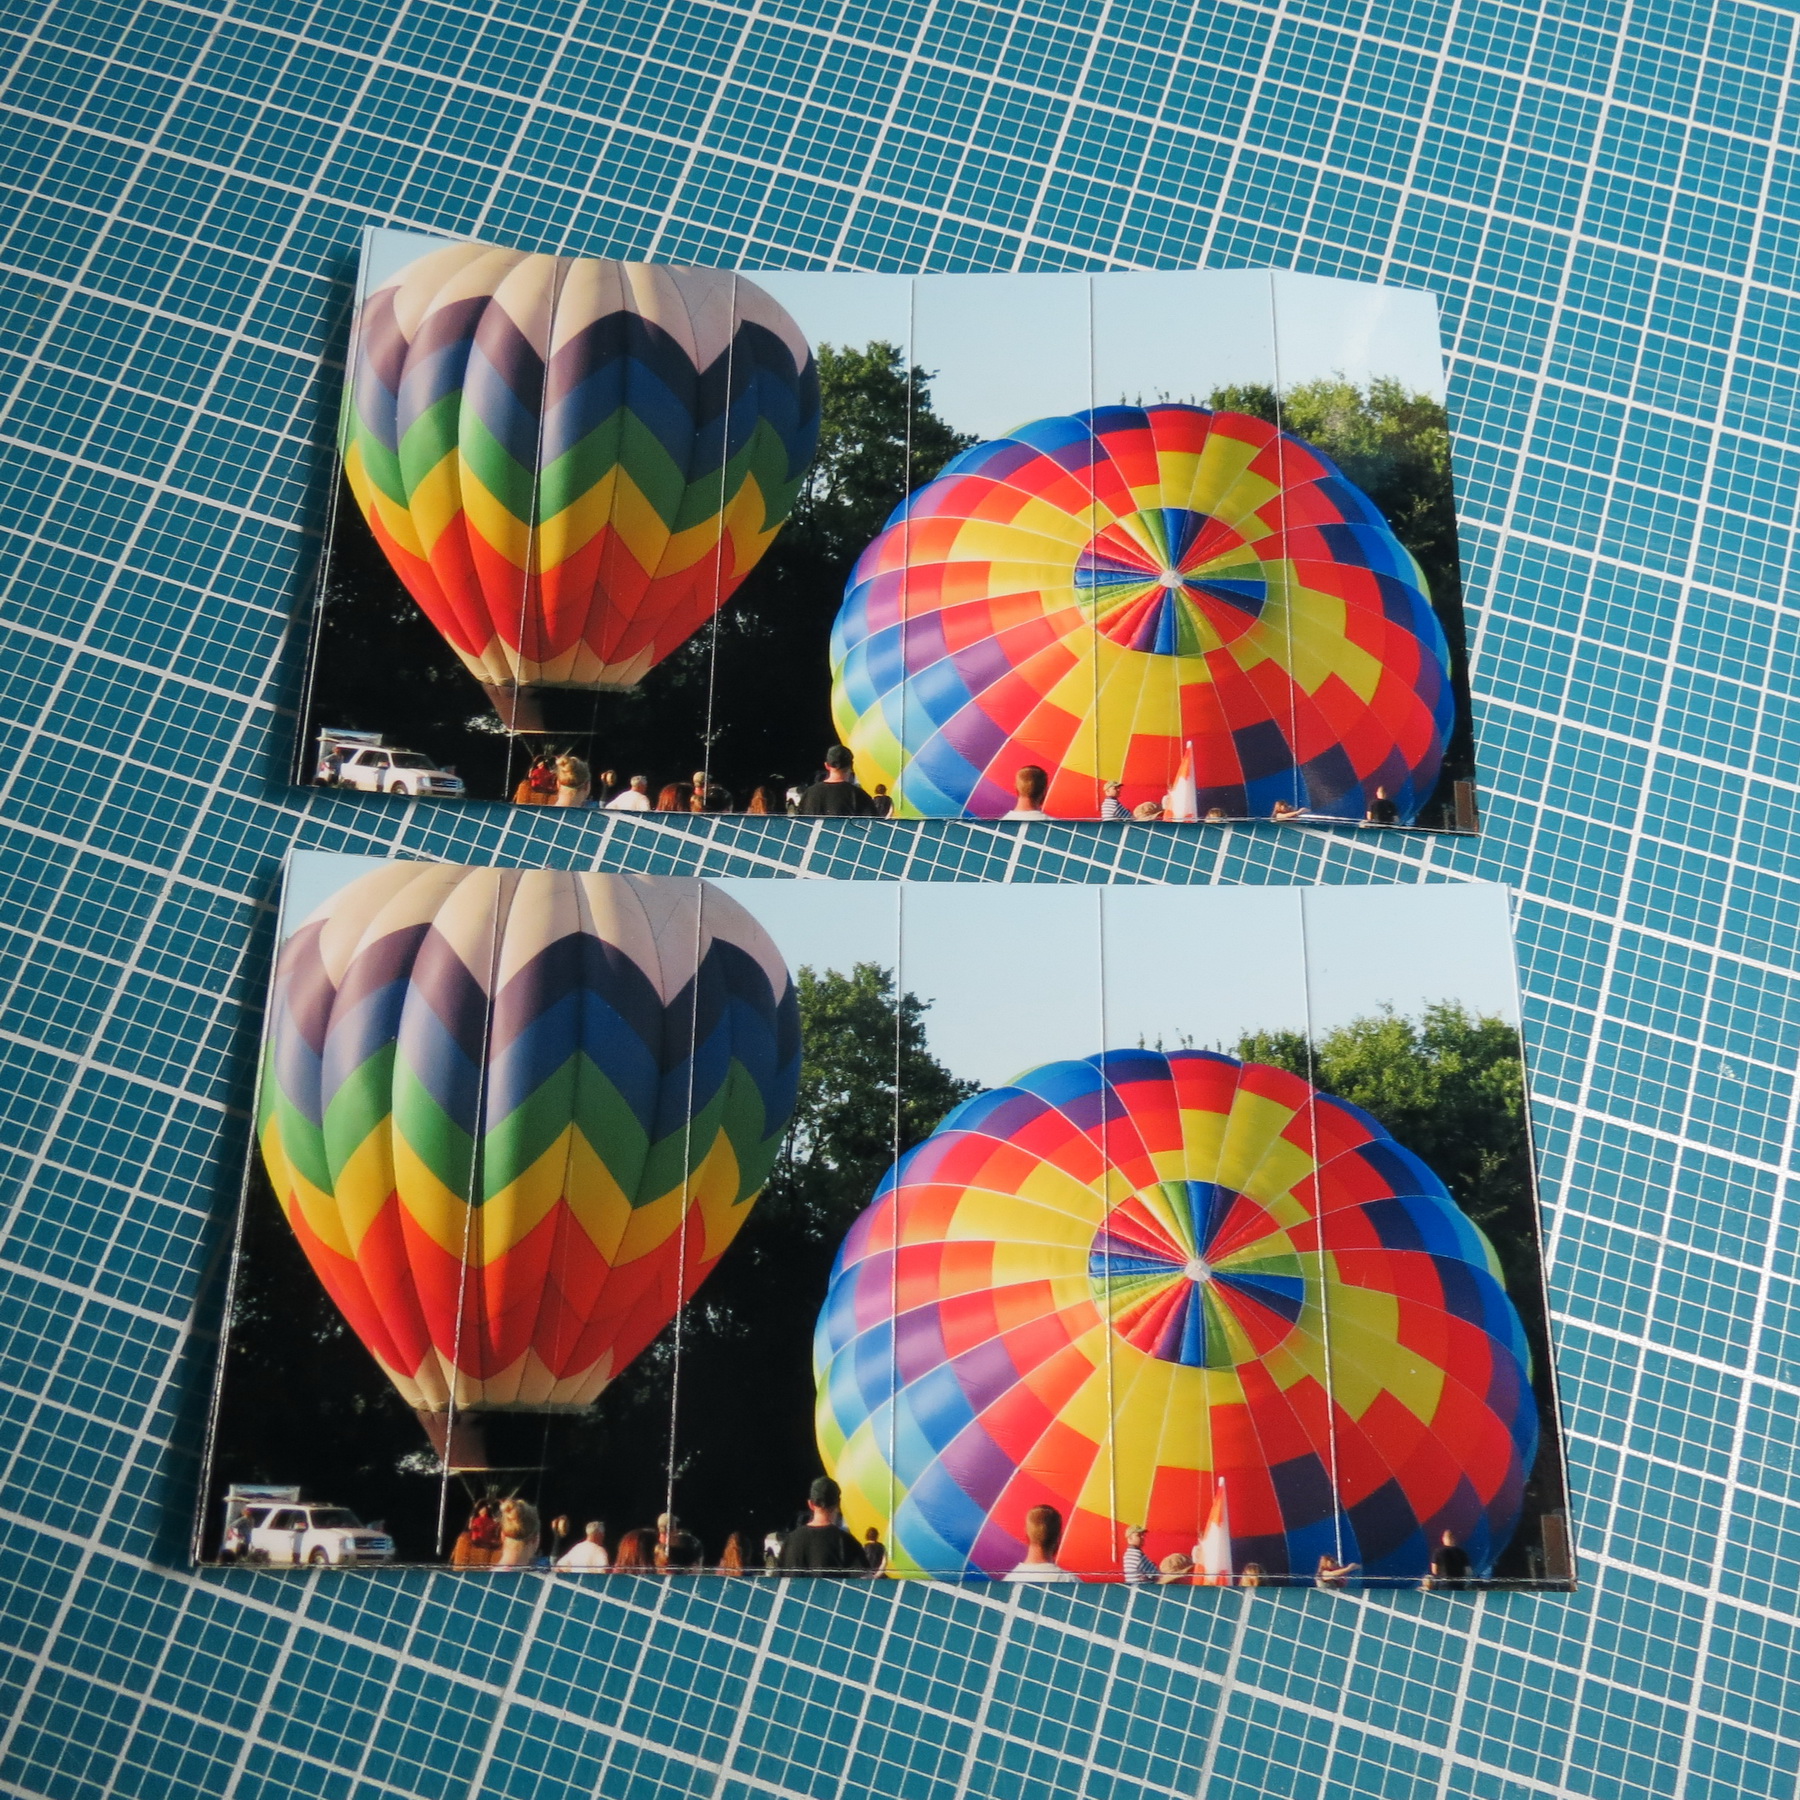
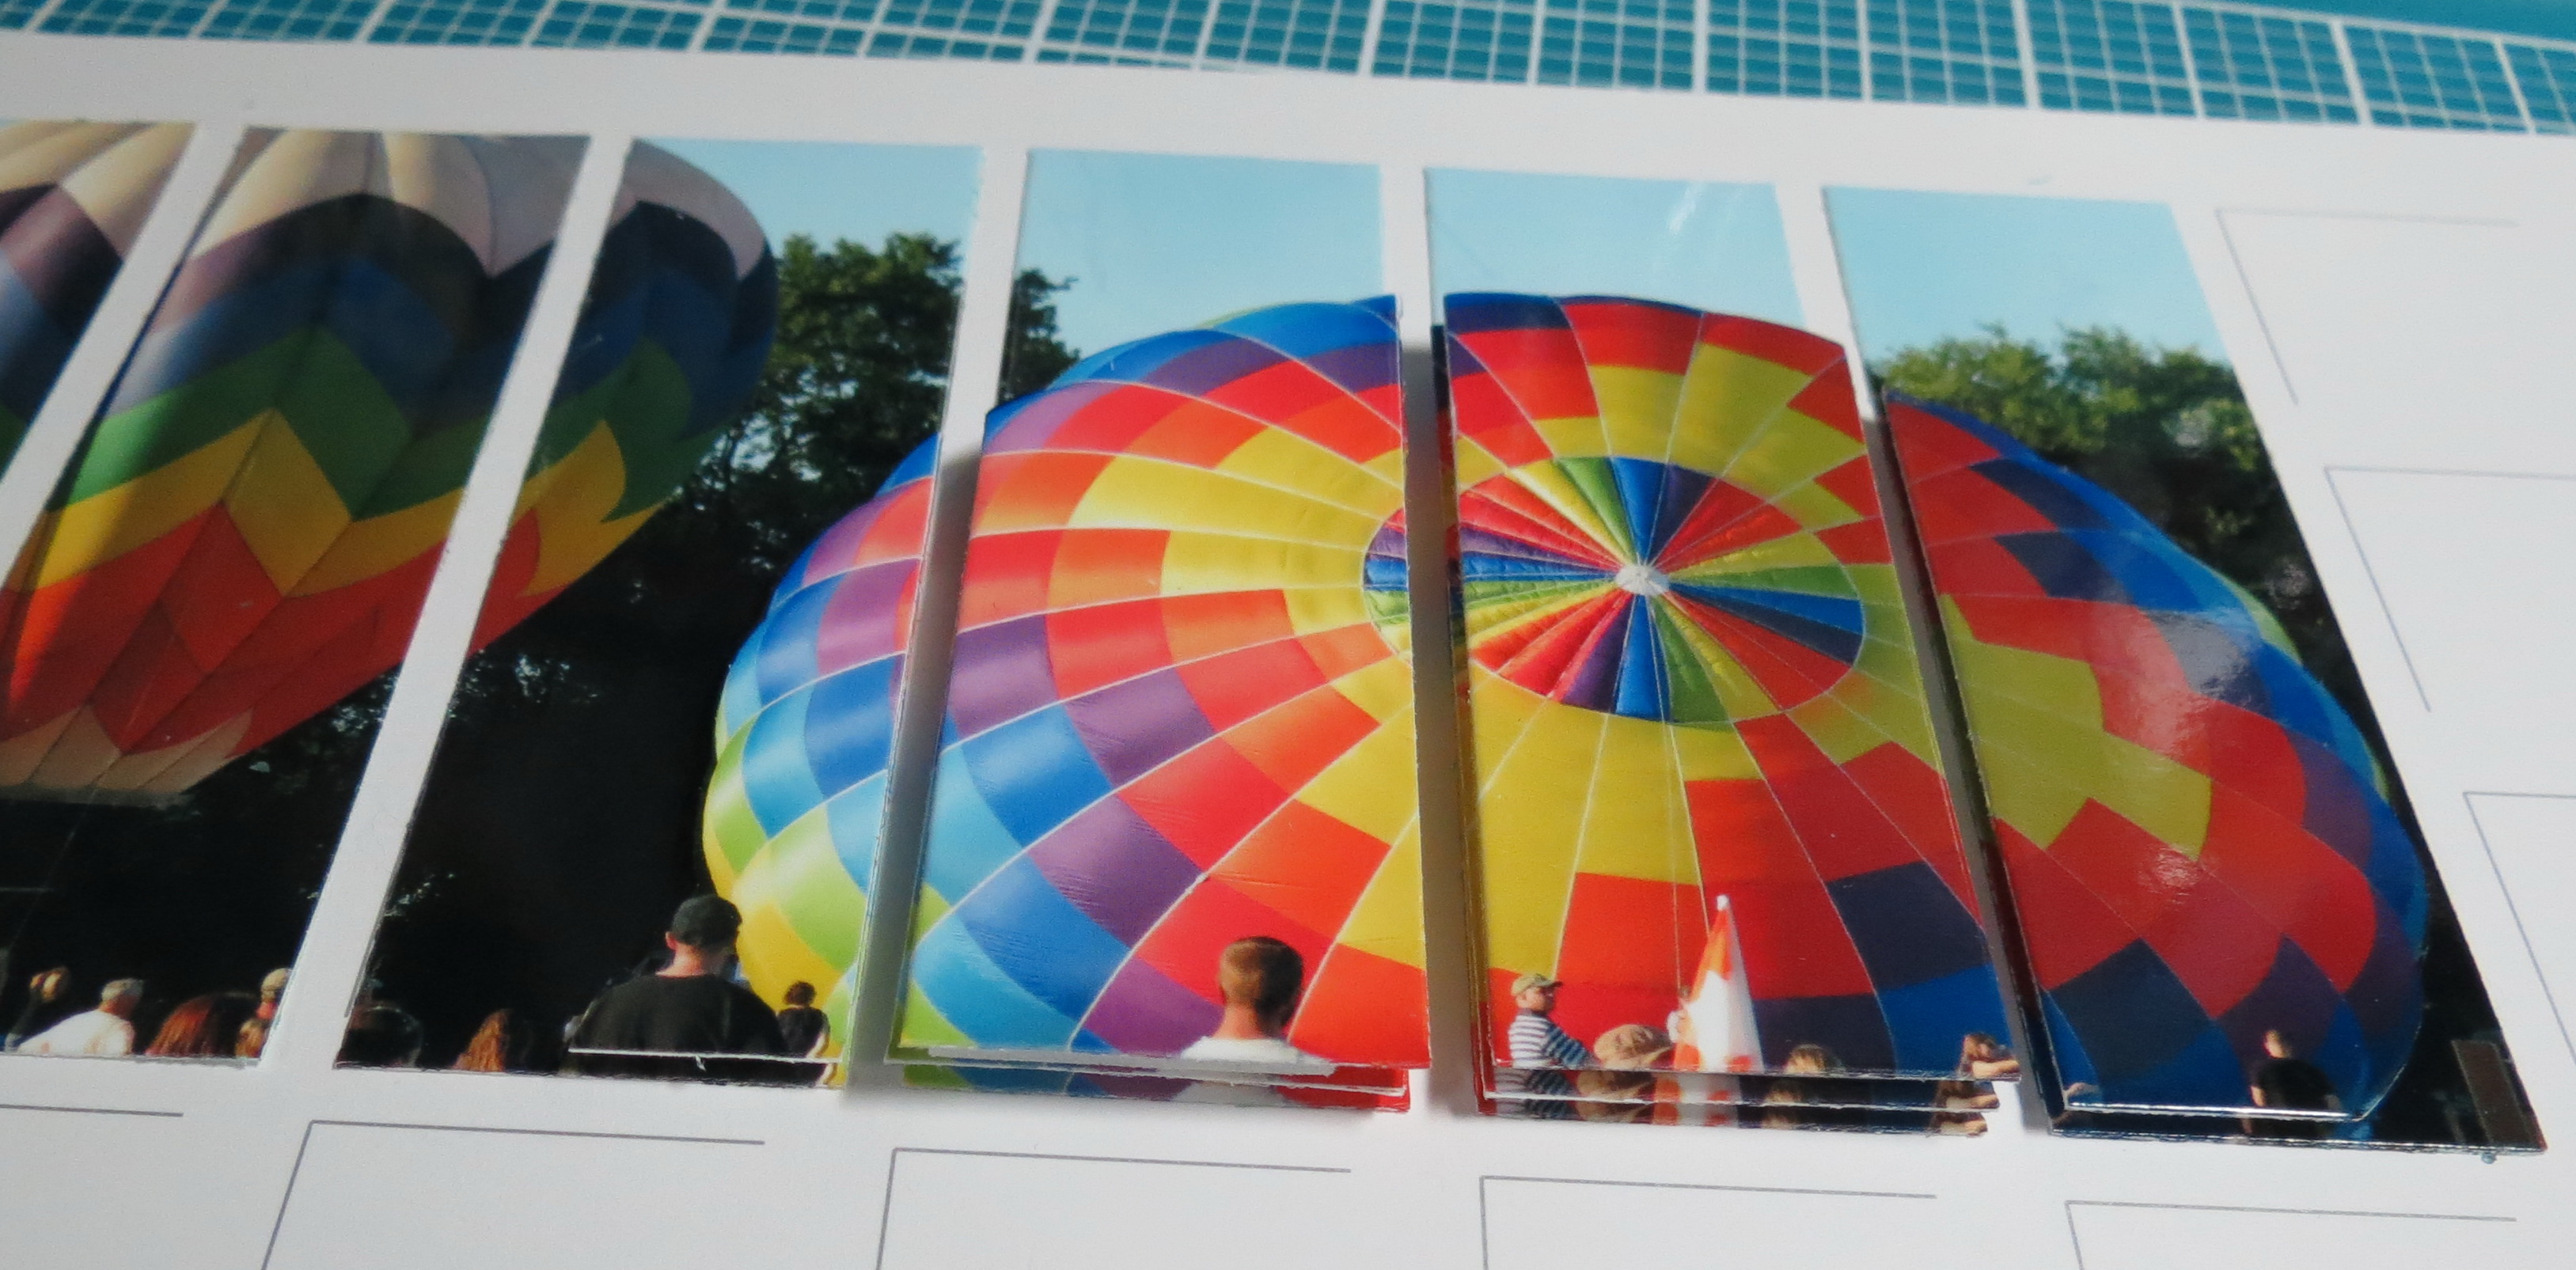
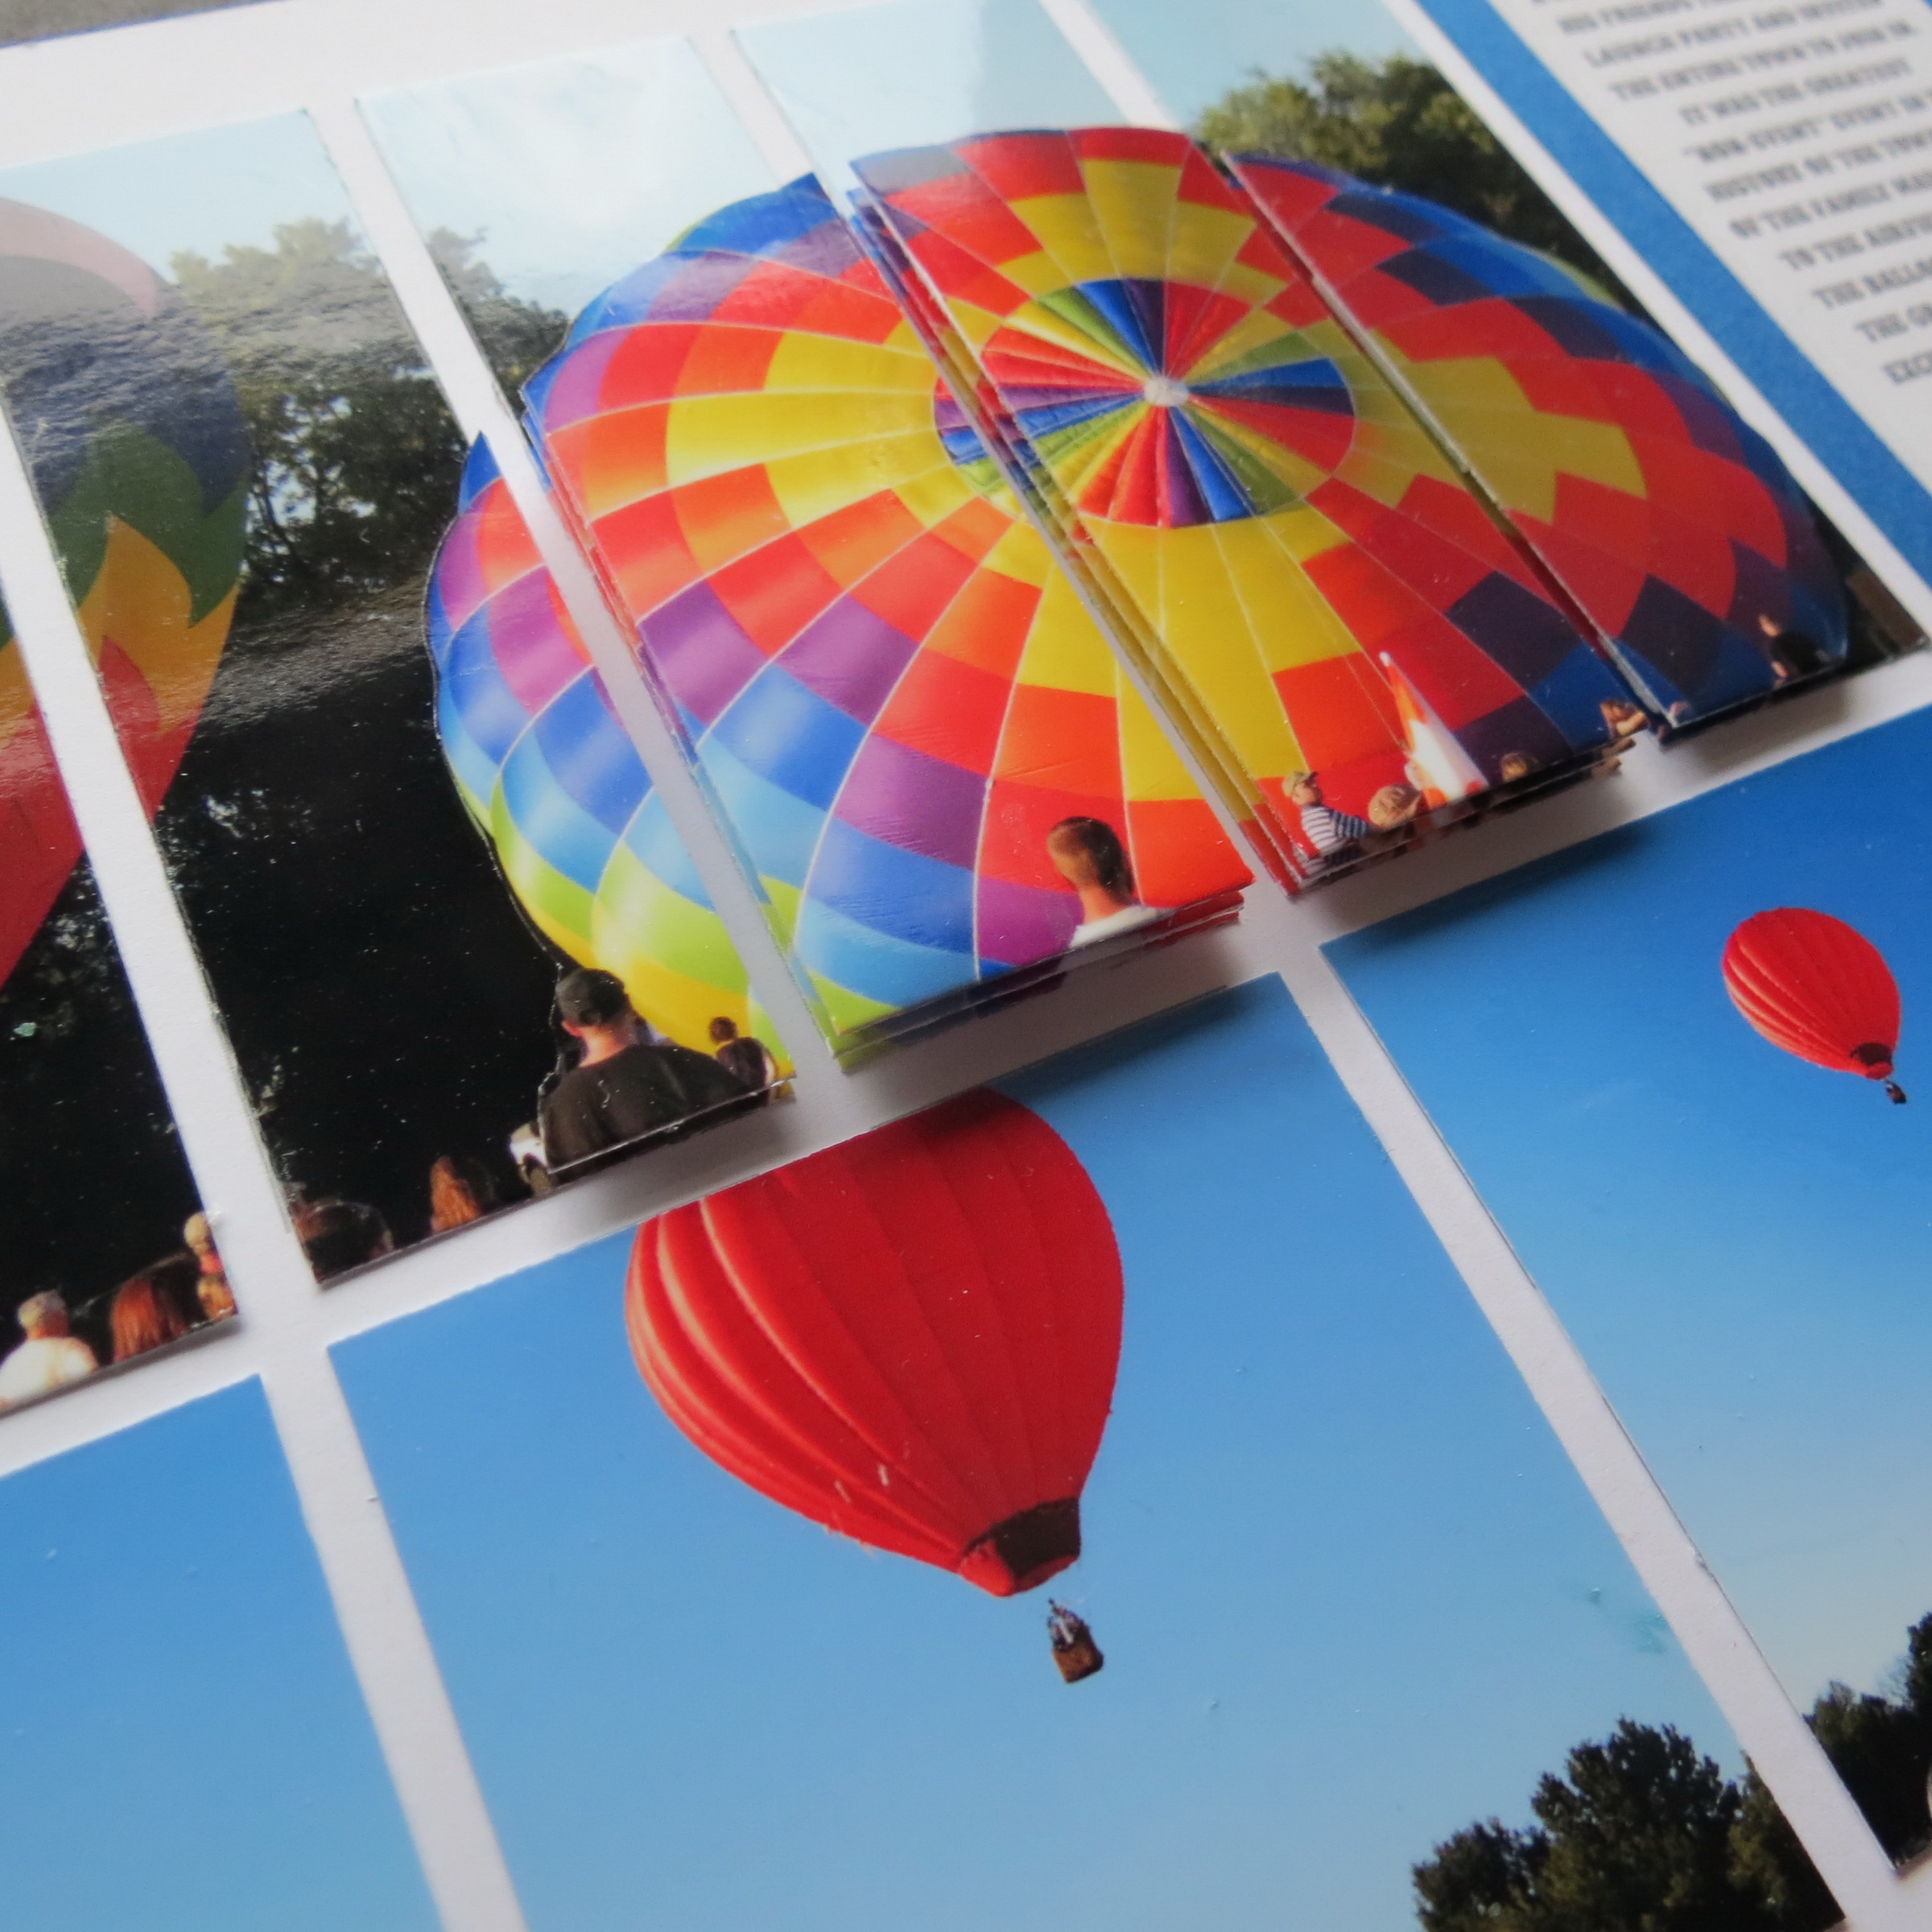
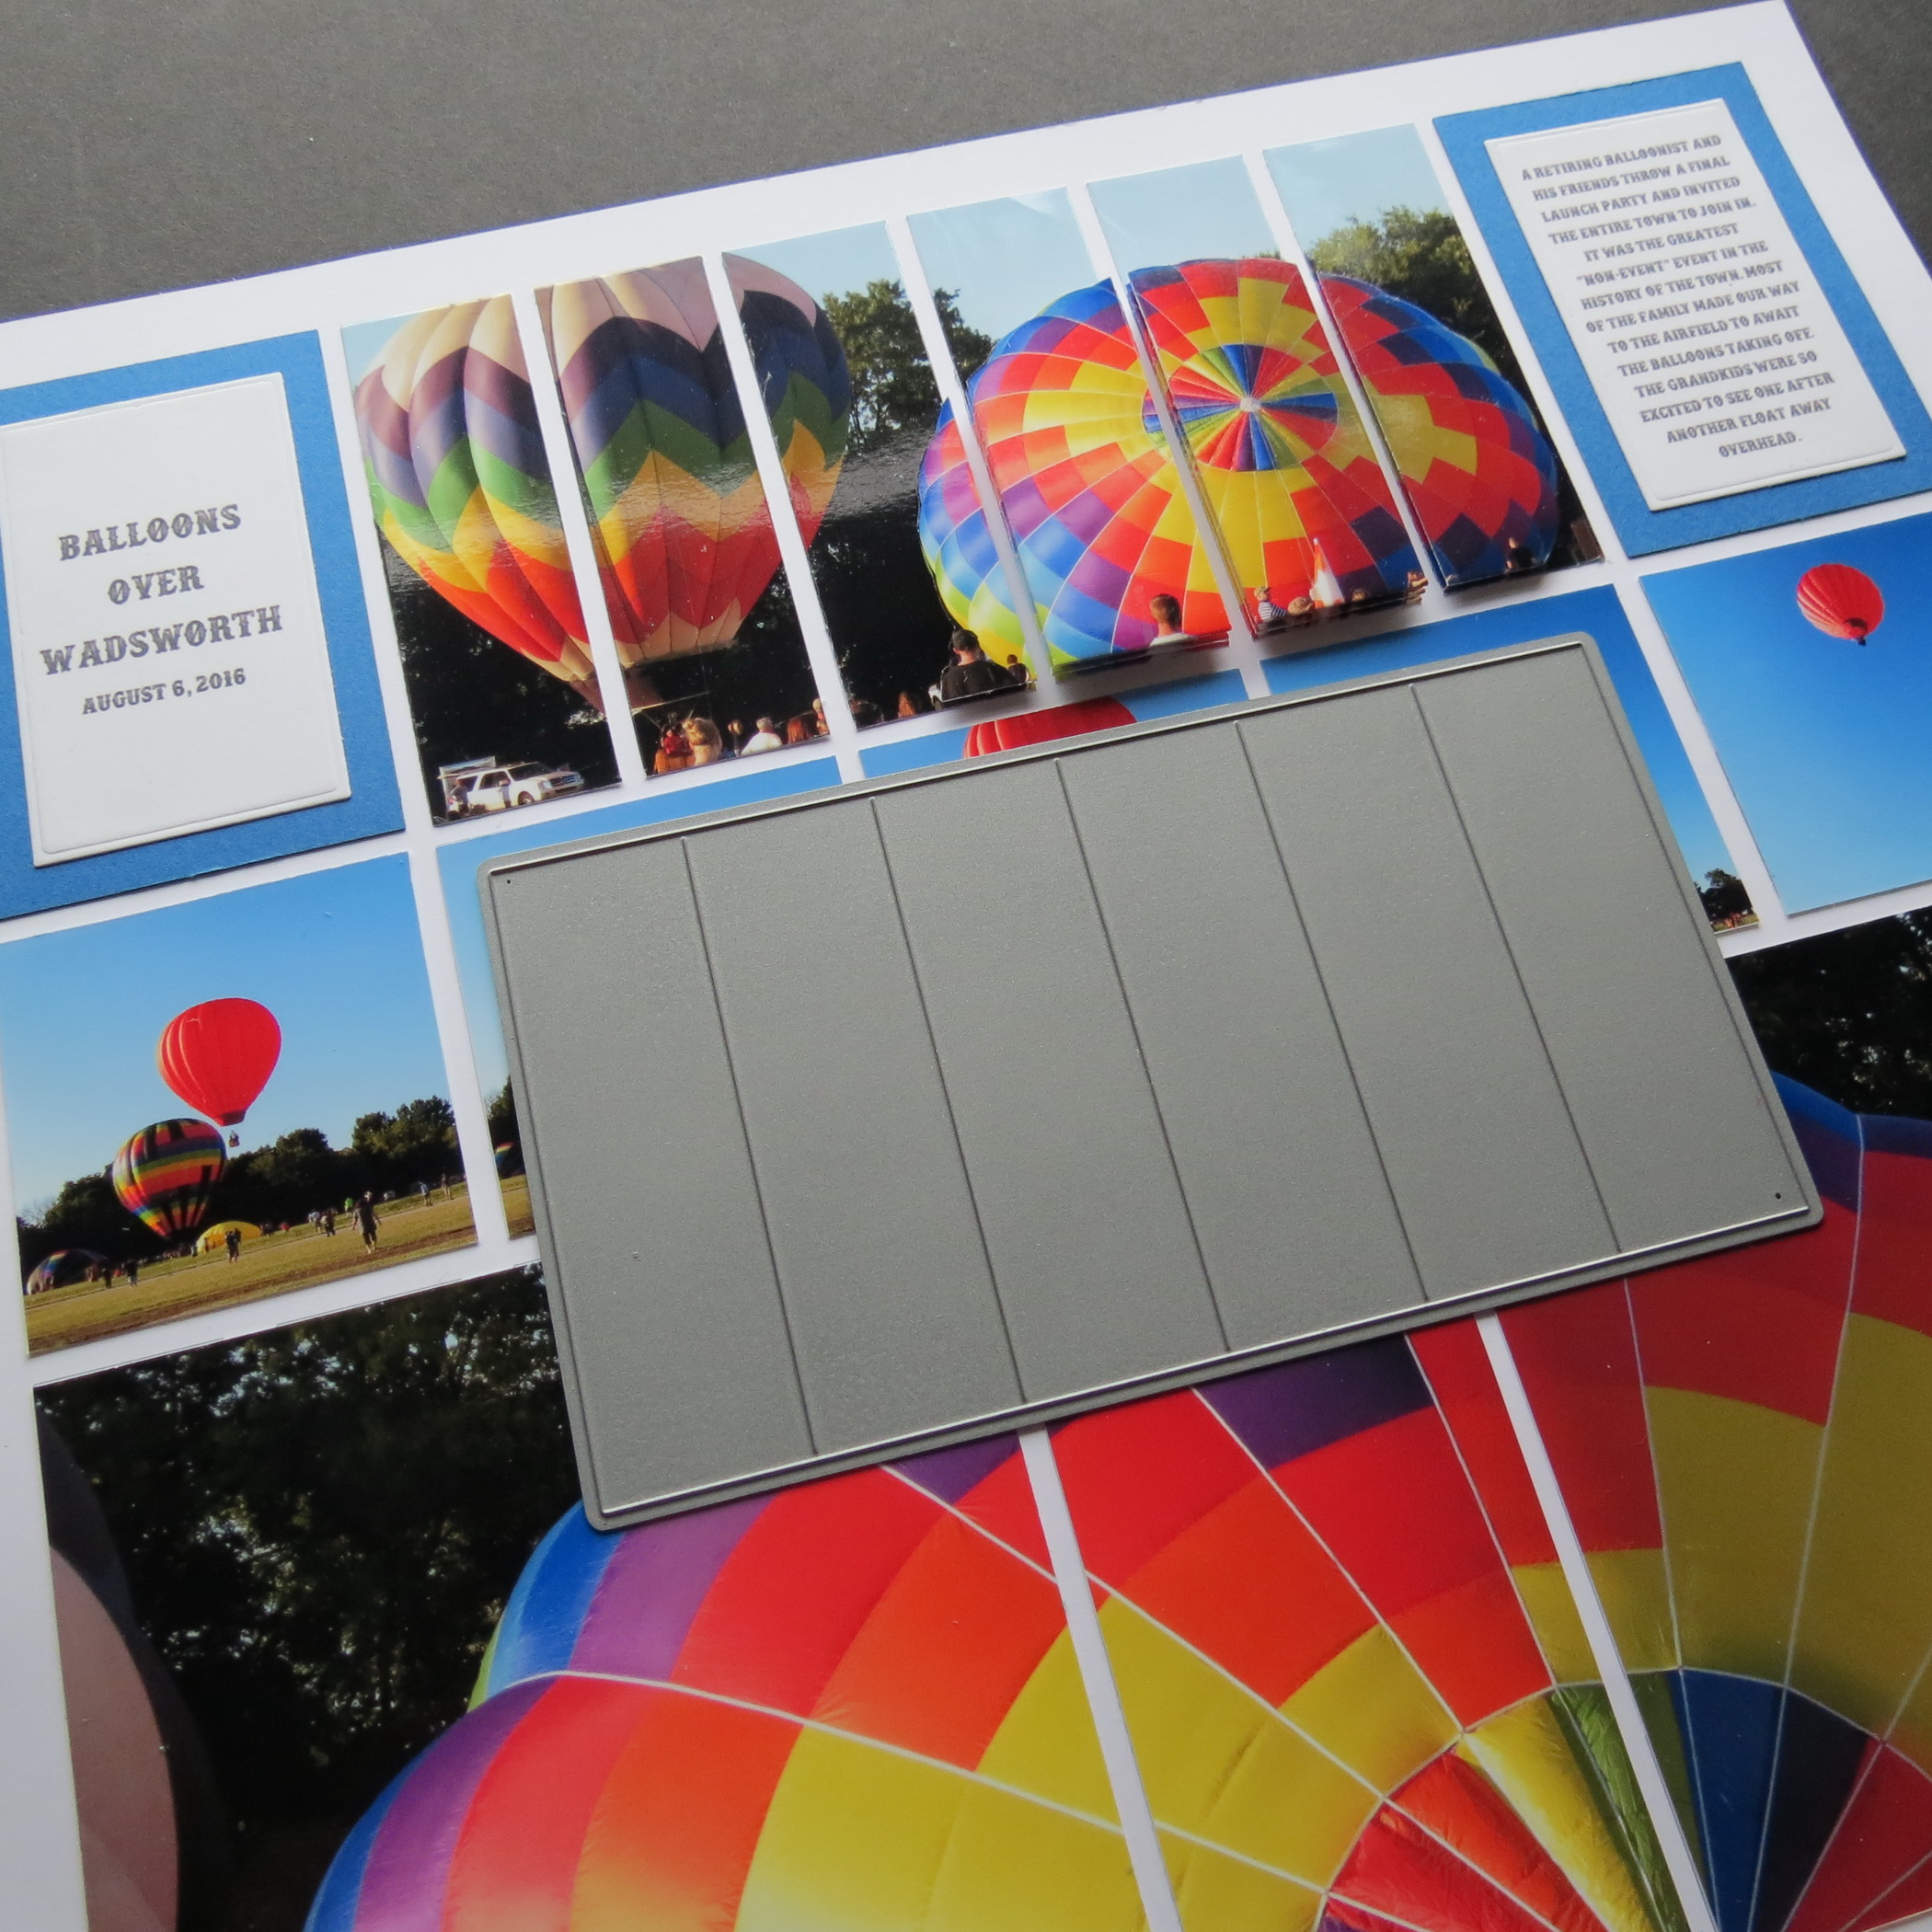
The strip dies are quick tools to cut your photos into varying strip sizes to place on the grid. This week I’m going to transform a 4×6 photo using the 3.25” x 1” strip die into a 3-D feature on the page.

Mosaic Moments Pattern Refresher Course Pattern #195 and featuring the Strip Die
To accomplish this I’ll start with 3 prints of the same photo, foam mounting tape and scissors. (I began by only printing as much of the photo as I was going to use. I try to conserve my ink when possible)
Mosaic Moments Pattern Refresher Course Pattern #195 and featuring the Strip Die
• I ran each photo through the die cutter using the 1”x 3.25” strip die. I did not separate the strips on two of the photos at this point; the third photo was separated and attached to the grid.

Mosaic Moments Pattern Refresher Course Pattern #195 and featuring the Strip Die
• Taking the remaining photos and trimming around the hot air balloons was the next step. I am only going to use the larger balloon. Once trimmed I separate the pieces.
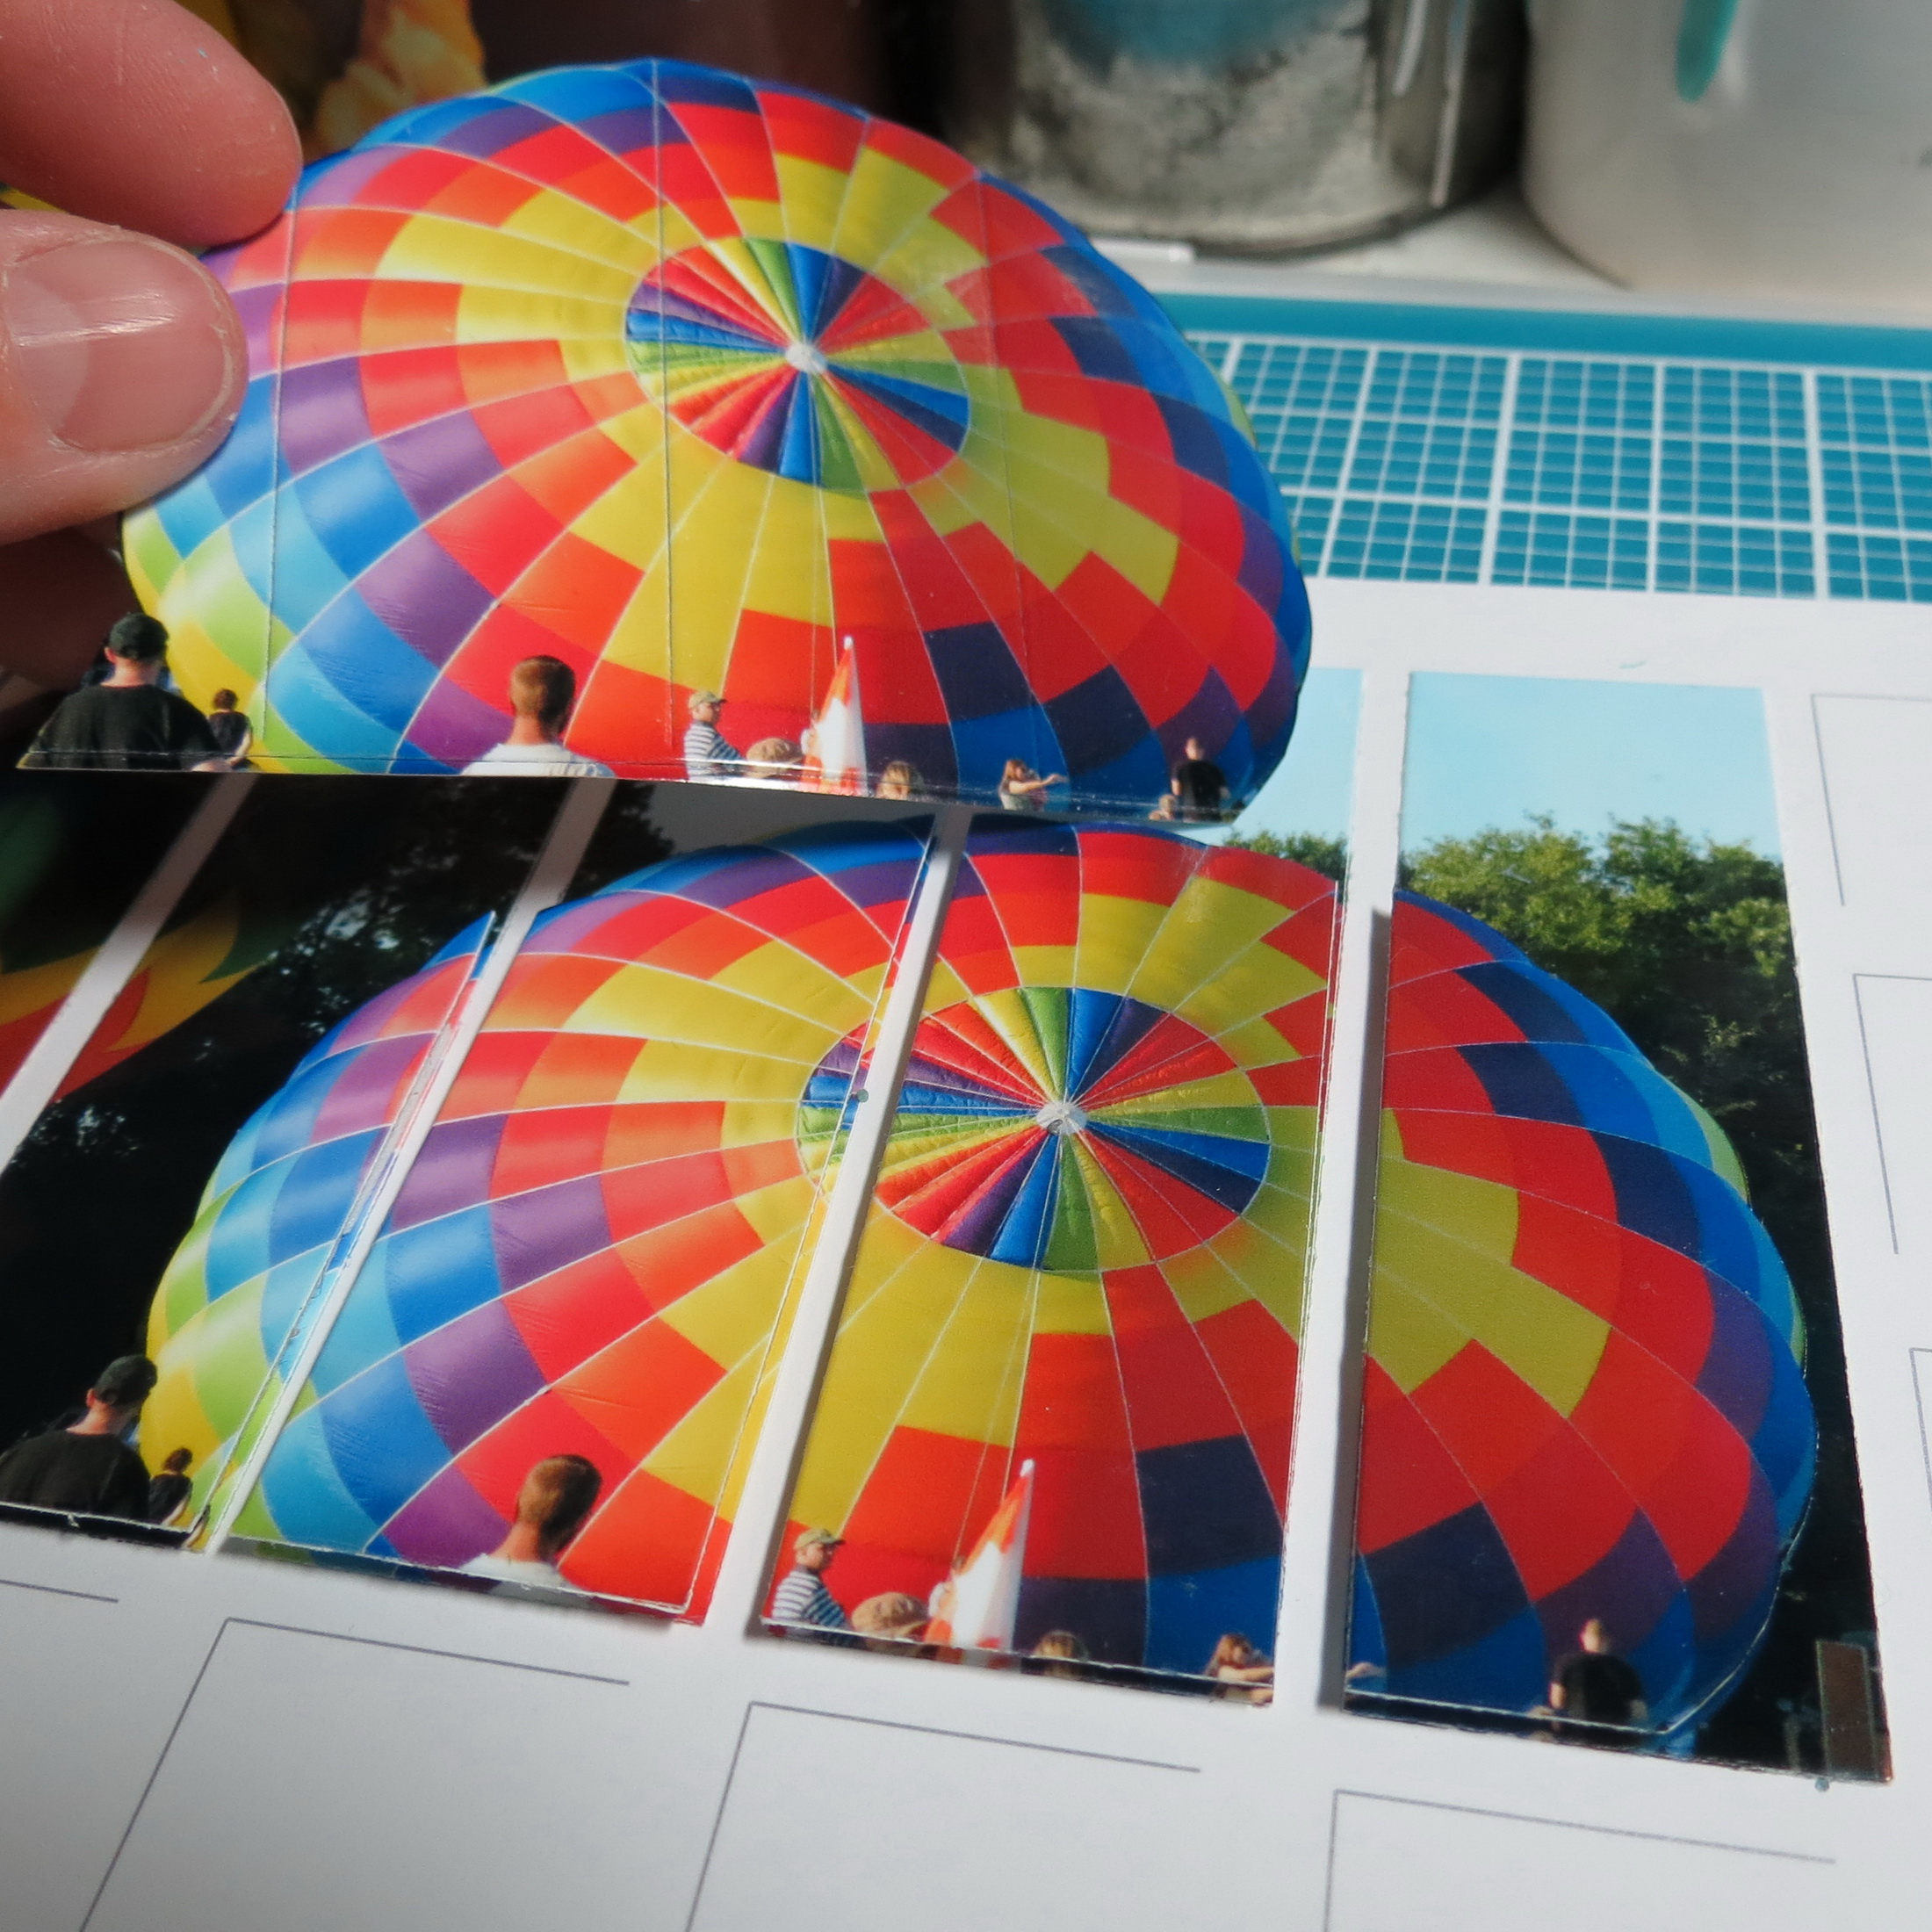
Mosaic Moments Pattern Refresher Course Pattern #195 and featuring the Strip Die
Mosaic Moments Pattern Refresher Course Pattern #195 and featuring the Strip Die
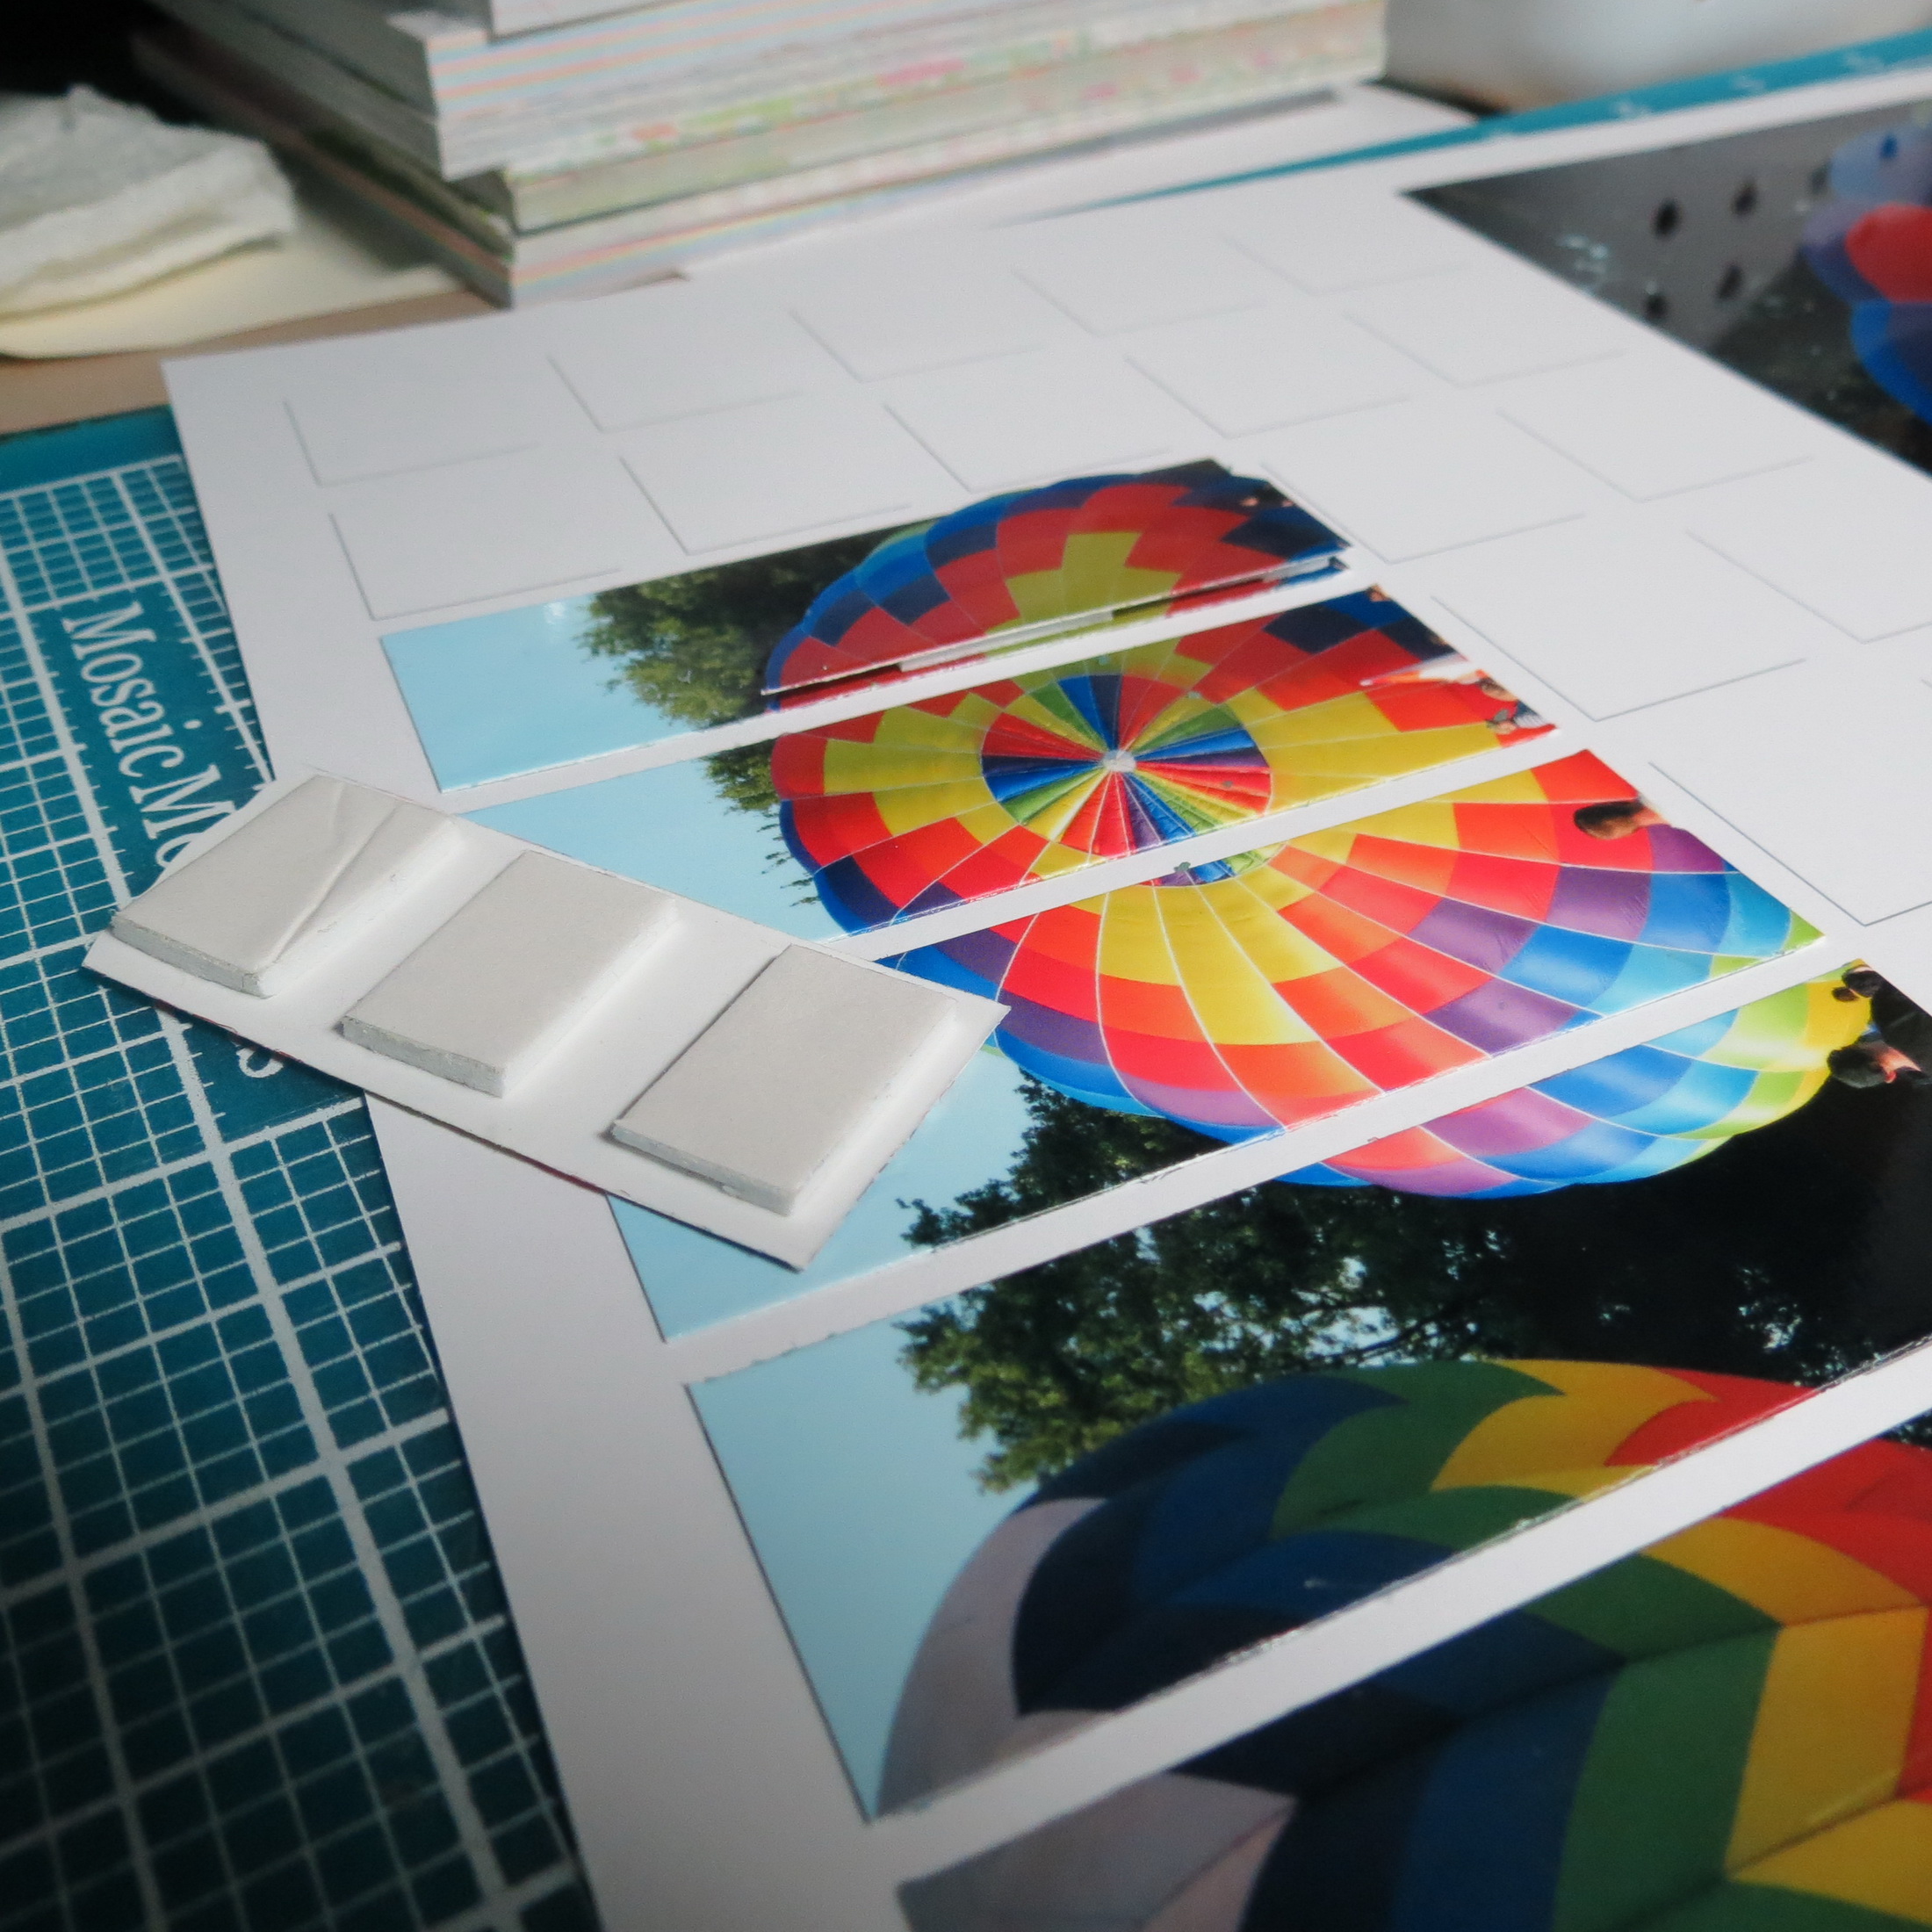
• Next, the mounting tape is adhered to the backs and carefully placed directly on top of the matching photos strip on the paper.
At this point while I liked the effect, I thought I could increase that 3-D effect with another partial layer.
Mosaic Moments Pattern Refresher Course Pattern #195 and featuring the Strip Die
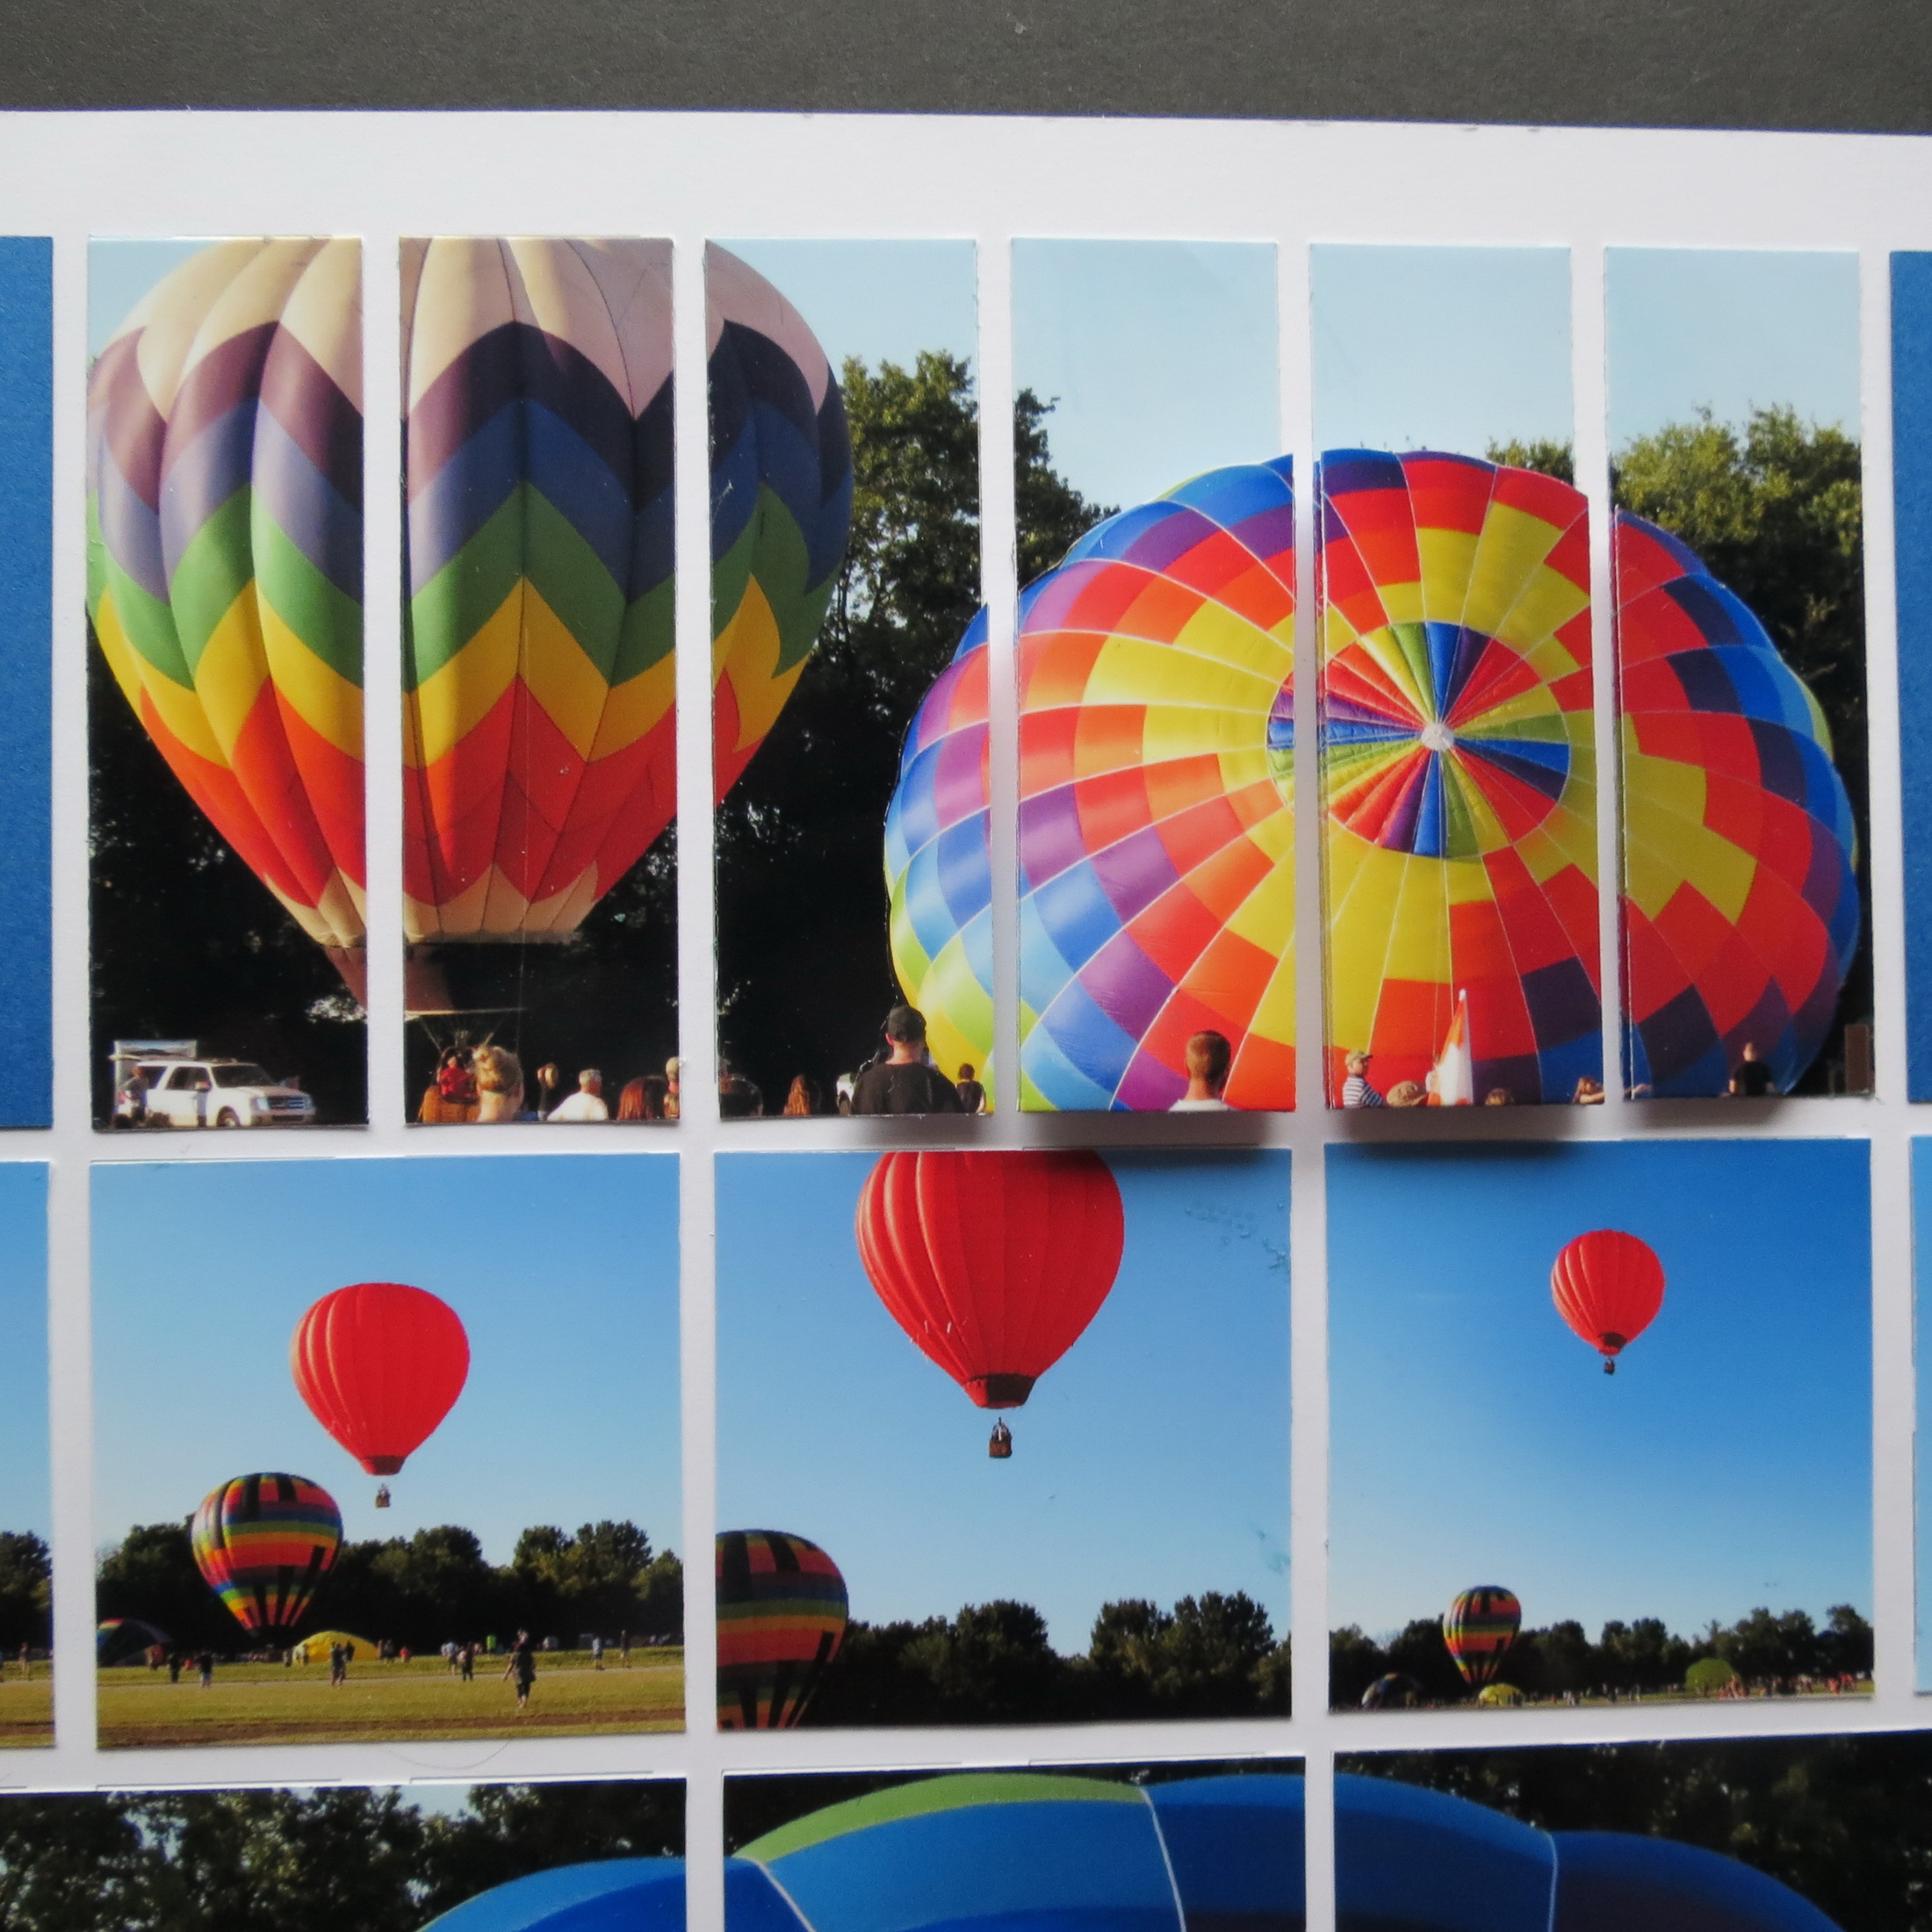
• I took only the center two sections and repeated the process adding foam tape and mounting the third layer.
PHOTO SIZE:
A second way to refresh the pattern is with an oversized photo. I don’t know if you have ever taken photos of something spectacular and then when you see your prints you are a bit disappointed that they just don’t seem to convey the same feeling of wonder when you took the photo. Sometimes you just need to do something BIG like enlarge them! Pattern #195 provides a perfect spot to go big!

Mosaic Moments Pattern Refresher Course Pattern #195 and featuring the Strip Die Tip 2 Photo Size
This time I’ve cropped my photo a bit before printing so that it will stretch across an 11” photo paper and about 4.5” wide. Once printed I’ve trimmed the photo into three sections (2-4×4 blocks and 1-2×4 block) with my X-Acto knife, cork backed metal ruler and Mosaic Moments craft mat and transformed the individual photo spots to one bold banner of color photo interest across the page.
PHOTO SERIES:
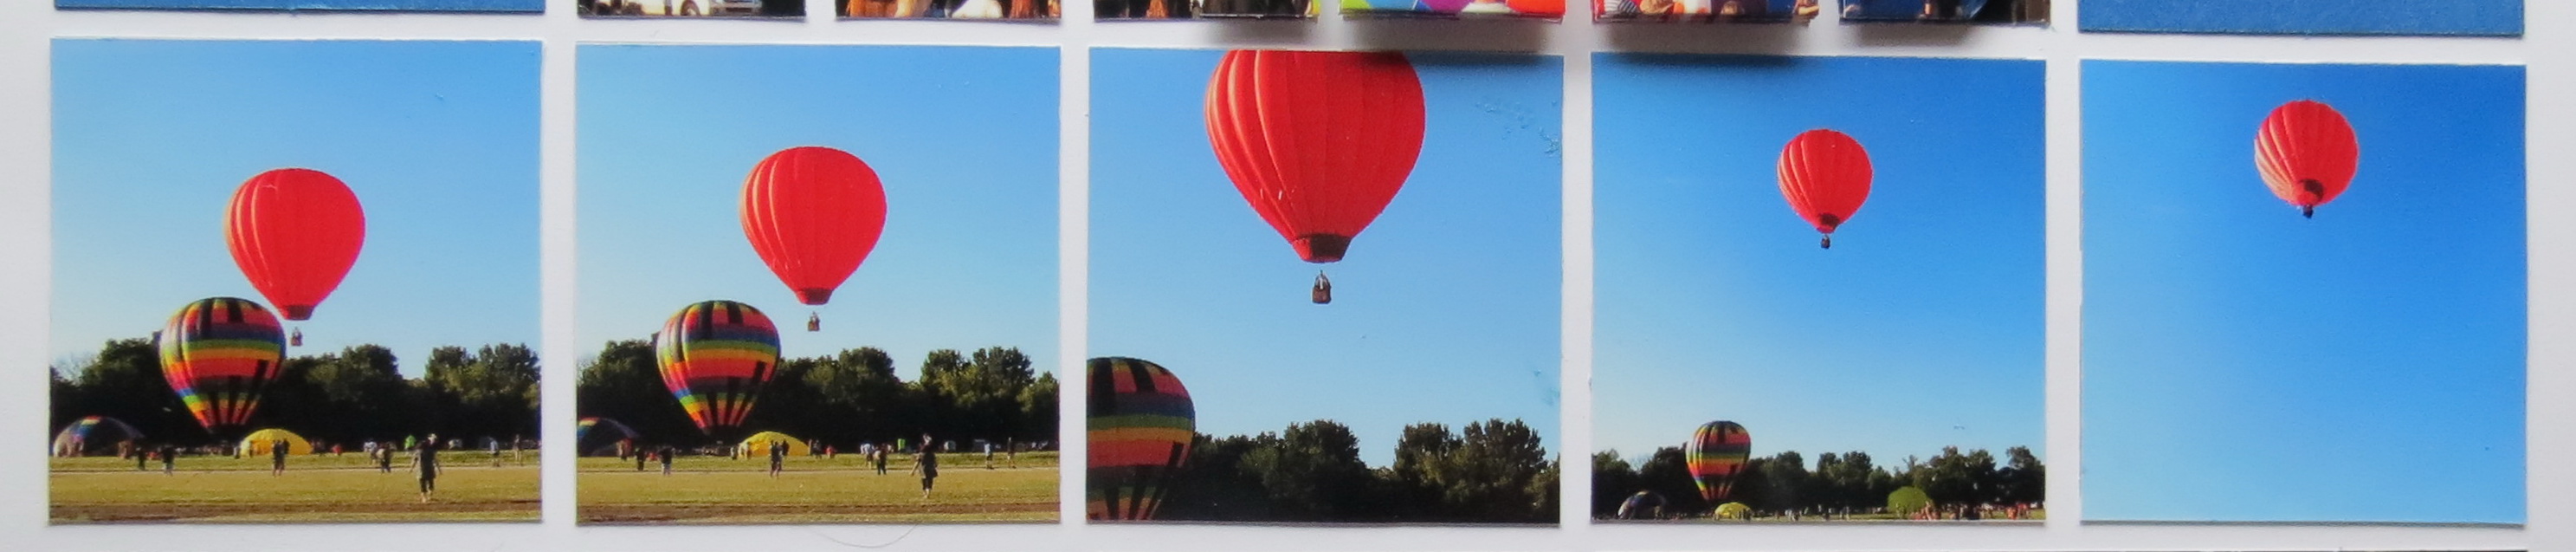
The third tip, a series of photos often can create interest and tell a story and this subject is a perfect place to put that to work. There are two areas where this is accomplished in this pattern.
Mosaic Moments Pattern Refresher Course Pattern #195 and featuring the Strip Die Tip 3: PHOTO SERIES

Mosaic Moments Pattern Refresher Course Pattern #195 Tip 3: Photo Series
The first is the row of five 2.125” squares and the second is the bottom row of ten 1” squares. Both series are able to convey the lift off and flight of different hot air balloons. For both series of photos when cropping I tried to keep the same horizon line to see the movement. I printed them both to nearly the size I need and then hand trimmed to get exactly what I needed.
Mosaic Moments Pattern Refresher Course Pattern #195 Die Set C used for these blocks
Mosaic Moments Pattern Refresher Course Pattern #195 Die Set C
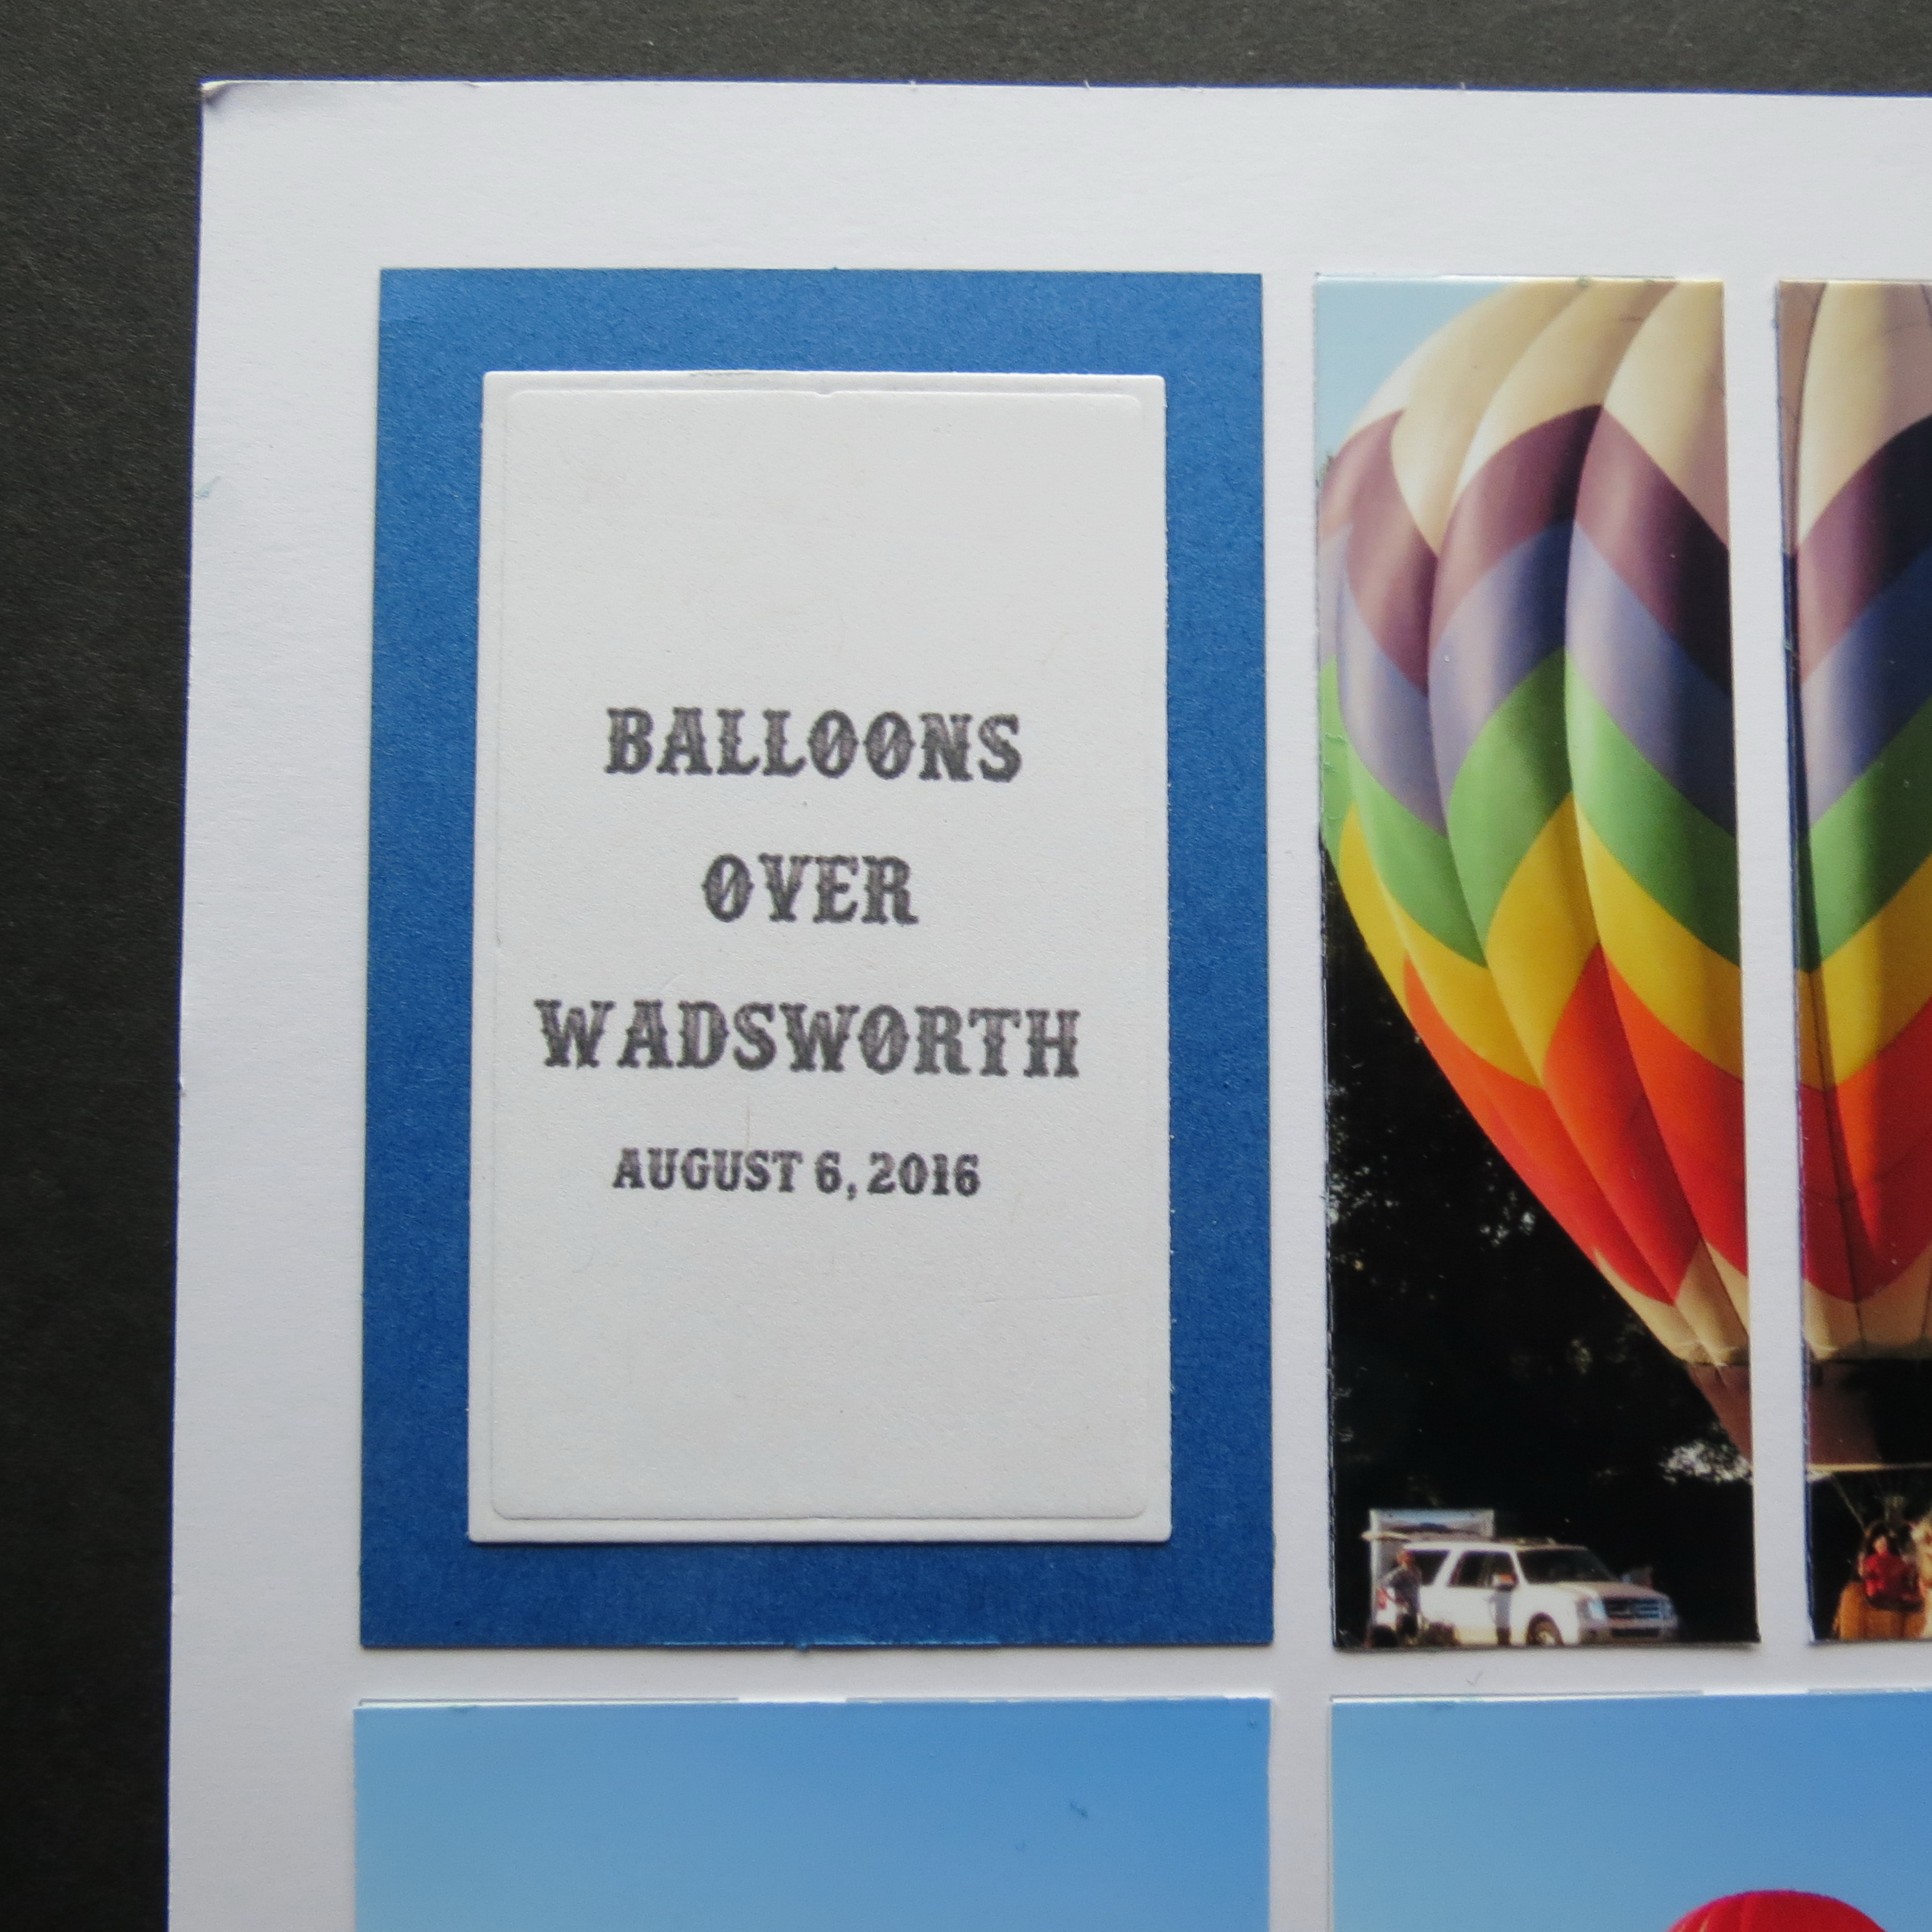
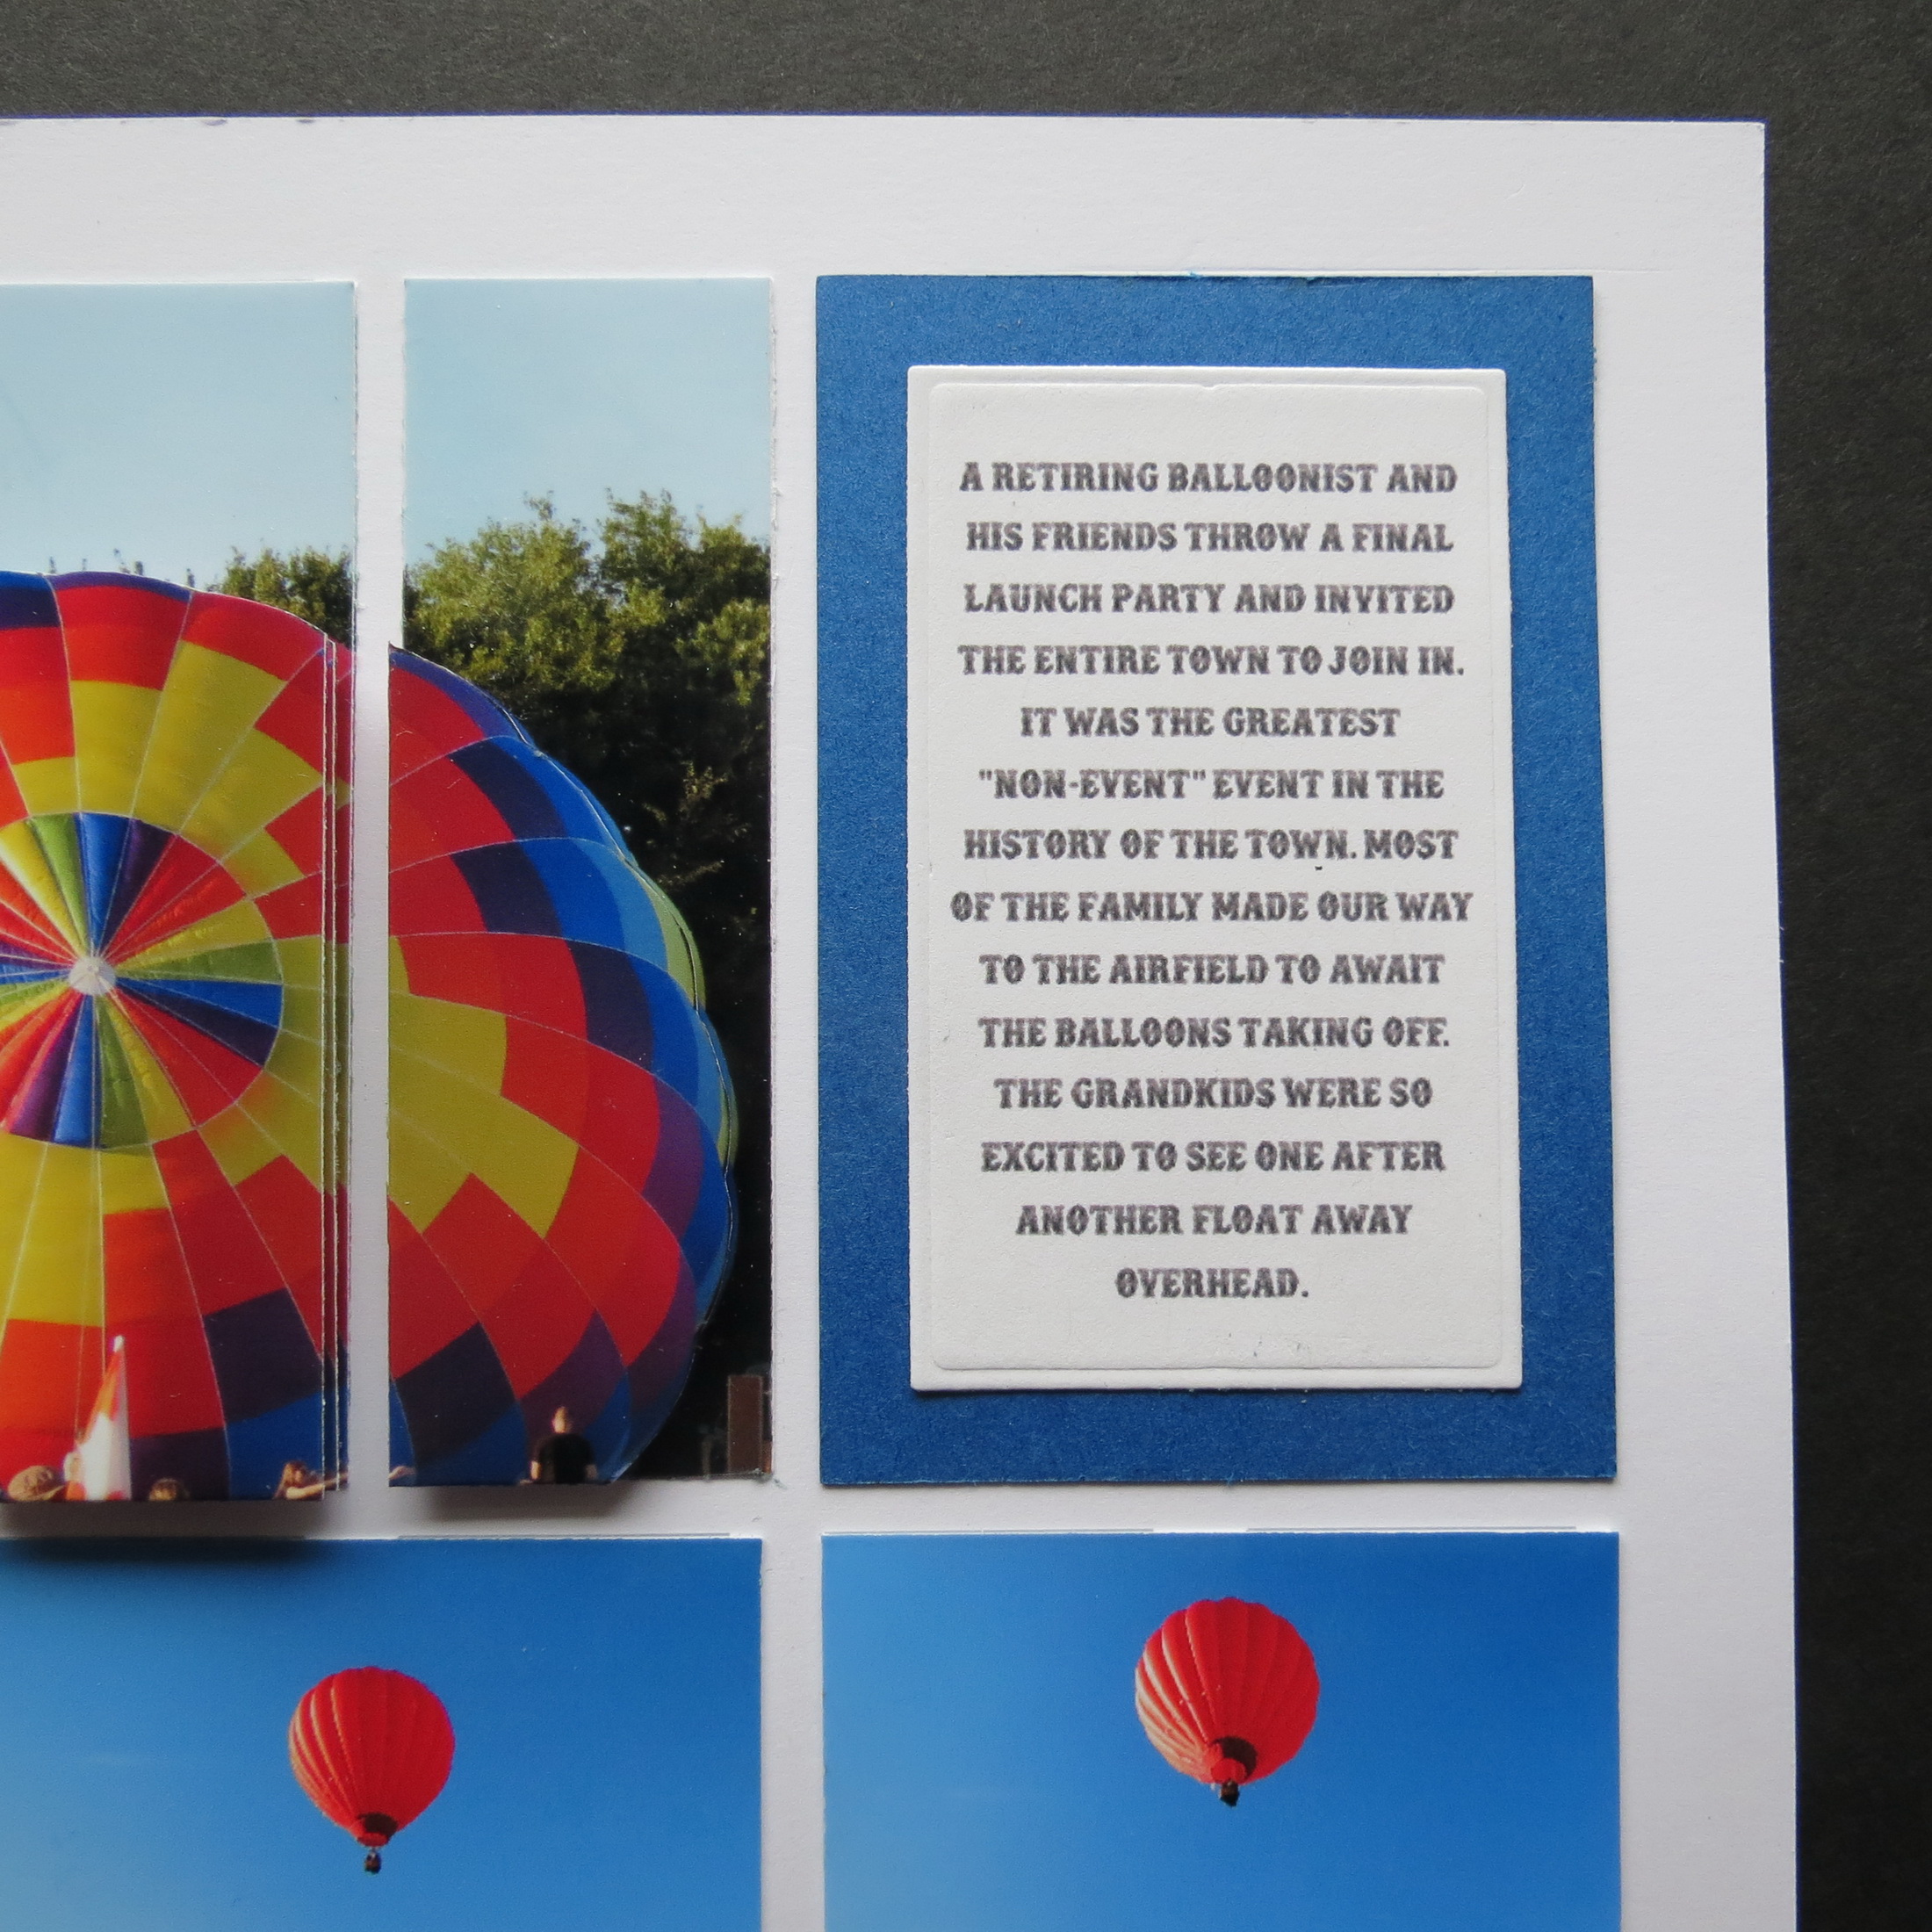
A small title and a journaling block are placed on either side of the 3-D photo, mounted on Huckleberry pie paper tiles, finishing off the top row of spaces for an additional change up from the original.
Mosaic Moments Pattern Refresher Course Pattern #195 and featuring the Strip Die
Overall, I think we’ve accomplished our goal of refreshing Pattern #195, don’t you? Next time you need a little sprucing up on your favorite pattern maybe you’ll try one of these ideas!
Andrea Fisher
Mosaic Moments Pattern Refresher Course Pattern #195 and featuring the Strip Die