We scrapbook to preserve our experiences. While much of the story is told with photos, some details require words and numbers.
Fitting journaling on a Mosaic Moments® layout is easy. Check out the examples below.
1. Print it Out
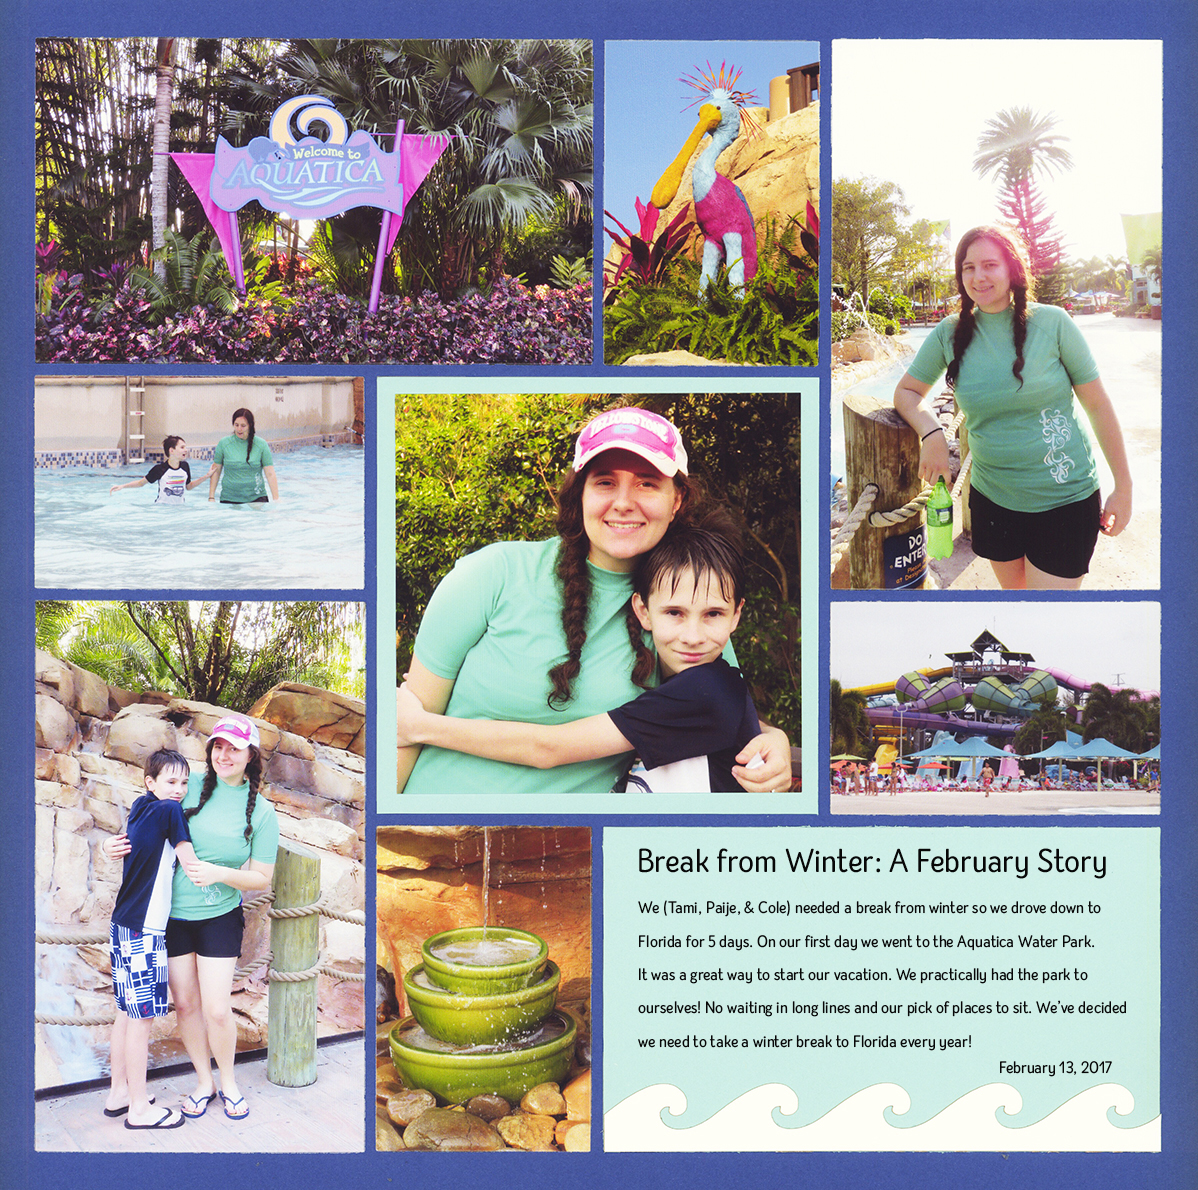
"Break from Winter" by Tami Potter - Pattern #103
When you have a lot to say, type it on your computer and print it out on cardstock. Use the rulers on your text editing program as a guide to make it the right size. Then, cut it out and place it on the page.
2. Trim it with Dies
Use your dies, like the brackets here, to cut out the journaling and title blocks and place them on the page.
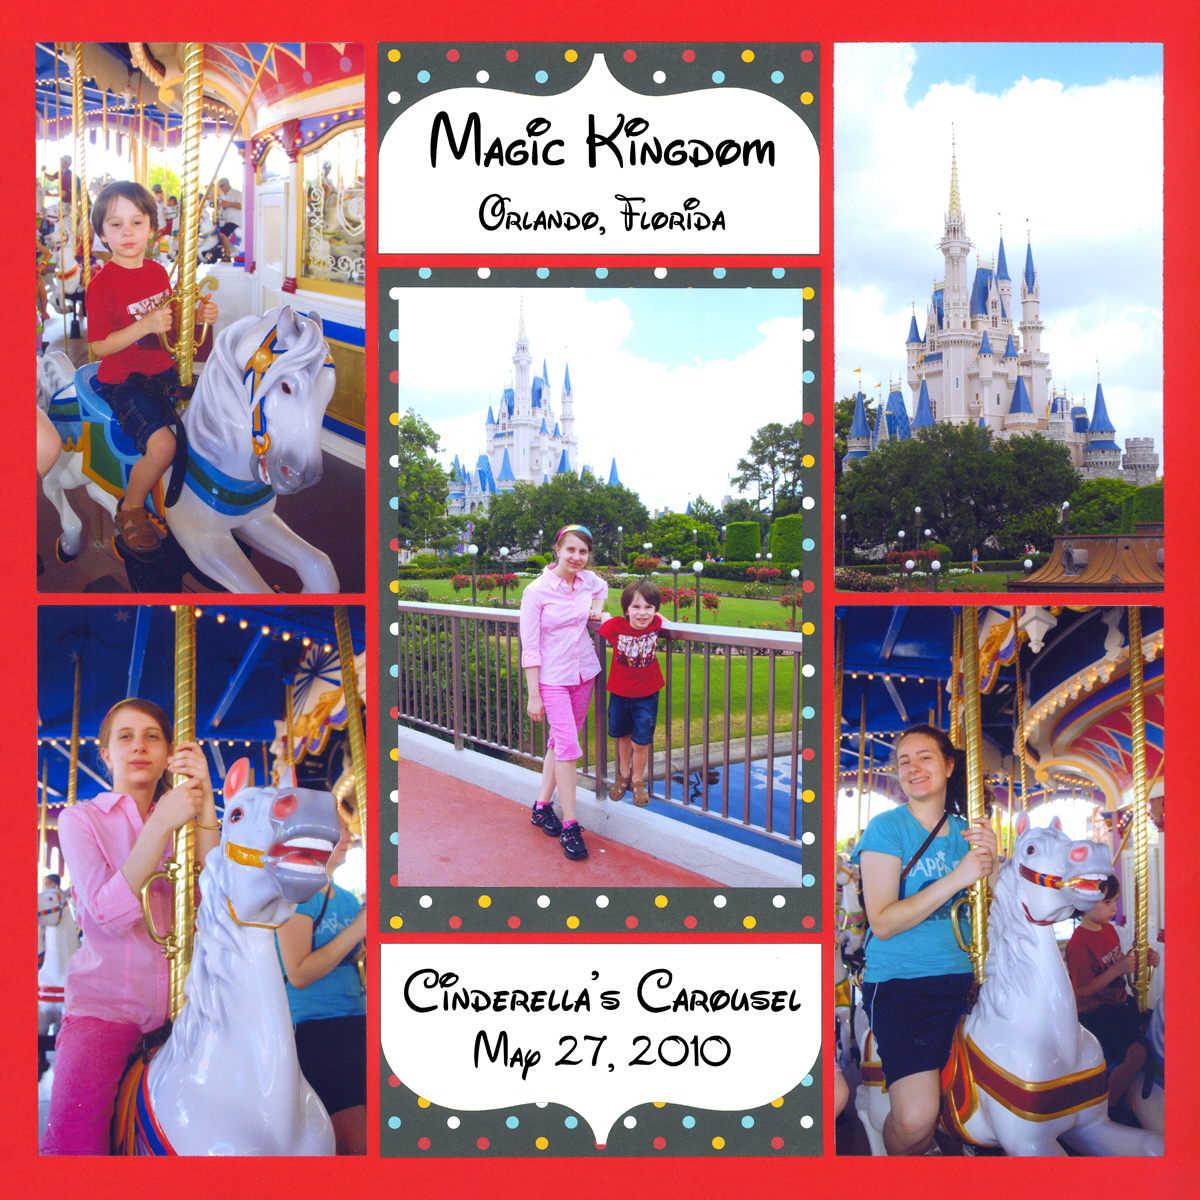
"Magic Kingdom Carousel" by Tami Potter - Pattern #335
3. Add a Mat
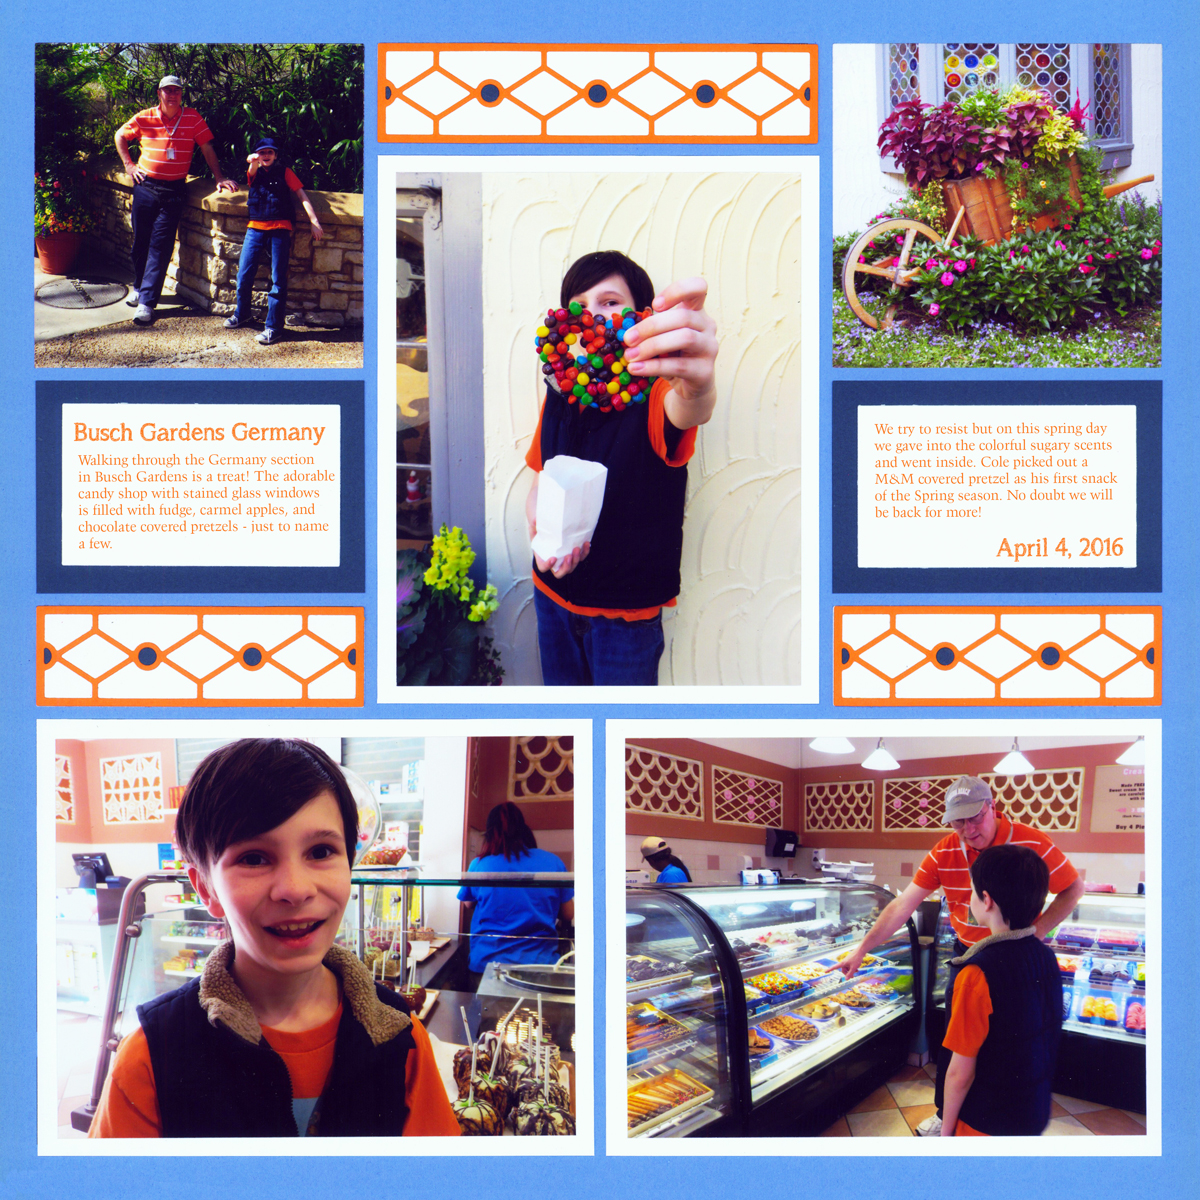
"Candy Store" by Tami Potter - Pattern #436
Here, the journaling is treated just like a photo. It is printed, cut and matted on the layout.
5. Dress it up with Stamps
After printing it out, add a few stamped images for additional fun.
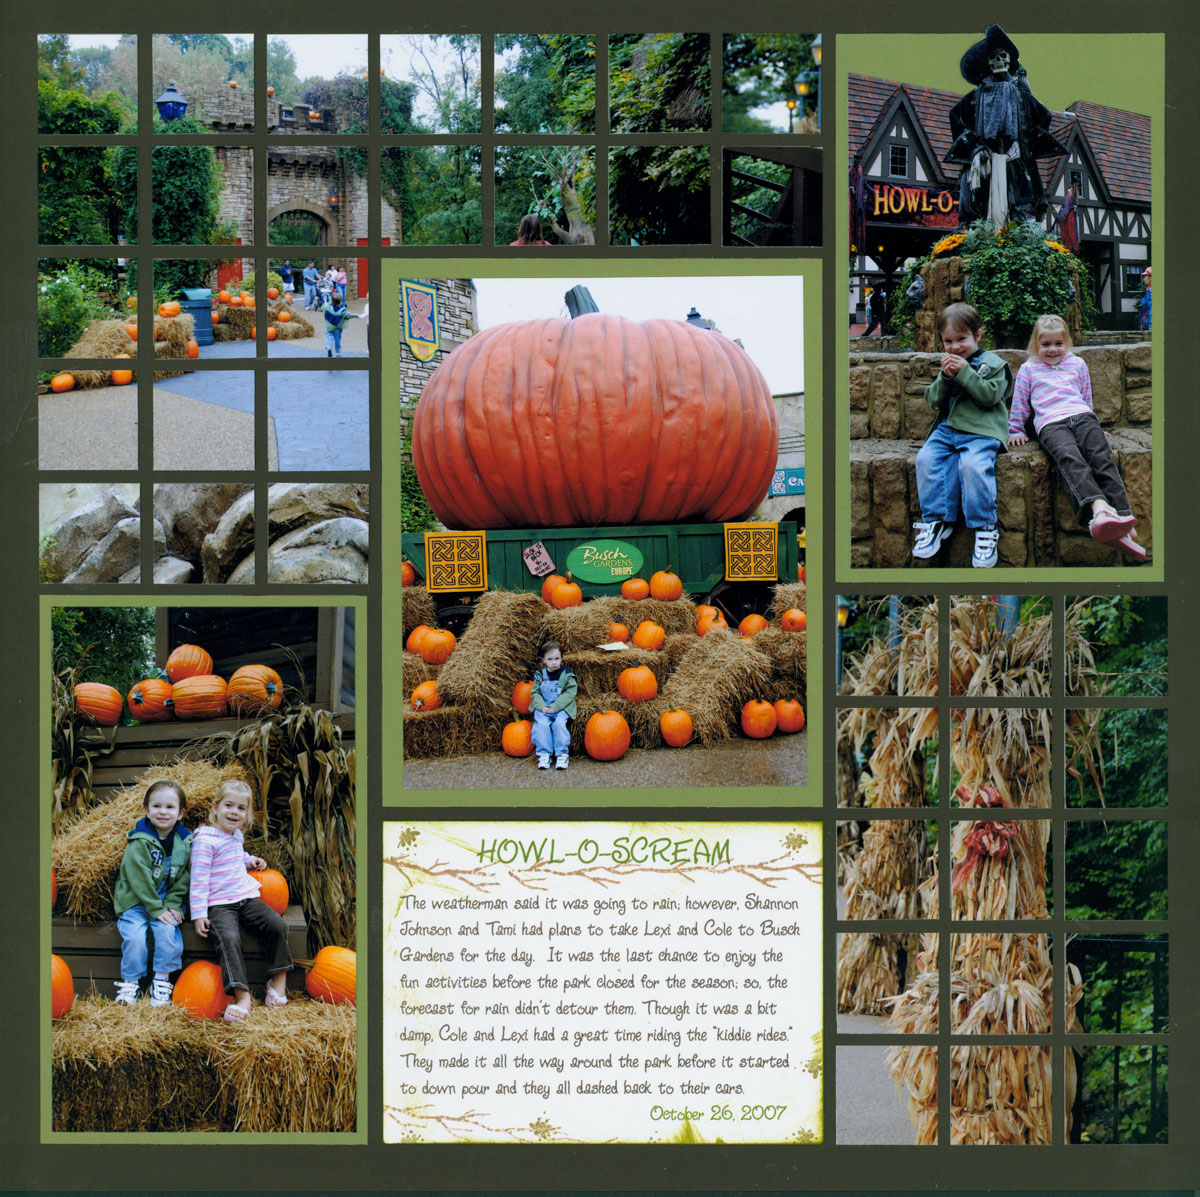
"Howl-O-Scream" by Tami Potter - Pattern #167
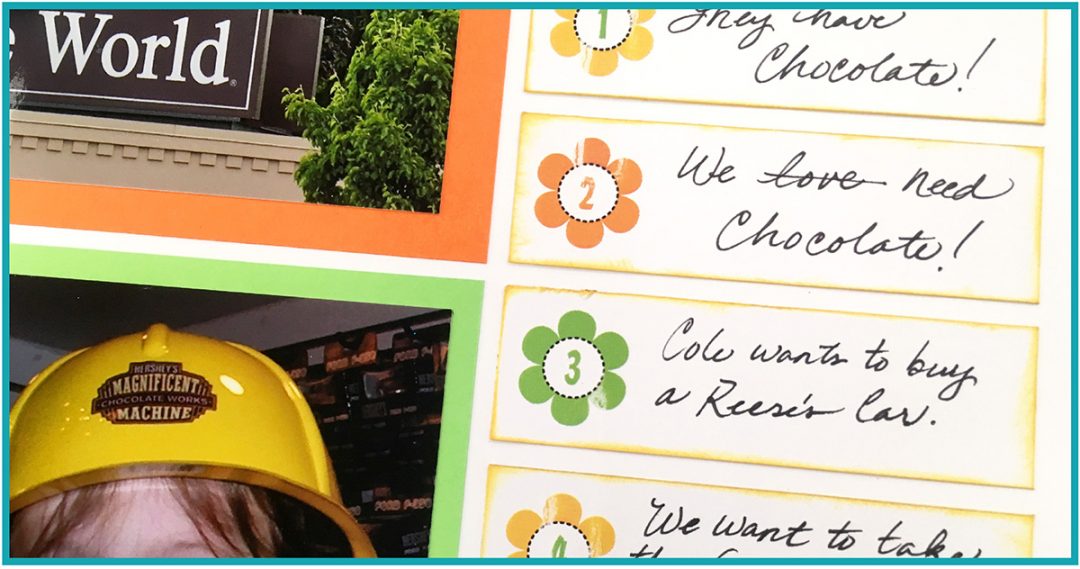
6. Try Bullet Journaling

"Candy Store" by Tami Potter - Pattern #436
Bullet journaling uses short thoughts. They can be numbered or listed. Complete sentences are not required. Give it a try.
7. Incorporate it in the Design
Journaling doesn't have to be an afterthought. Here, the words were printed out to fit inside the arrow die where they become to first thing you see when you look at the page.
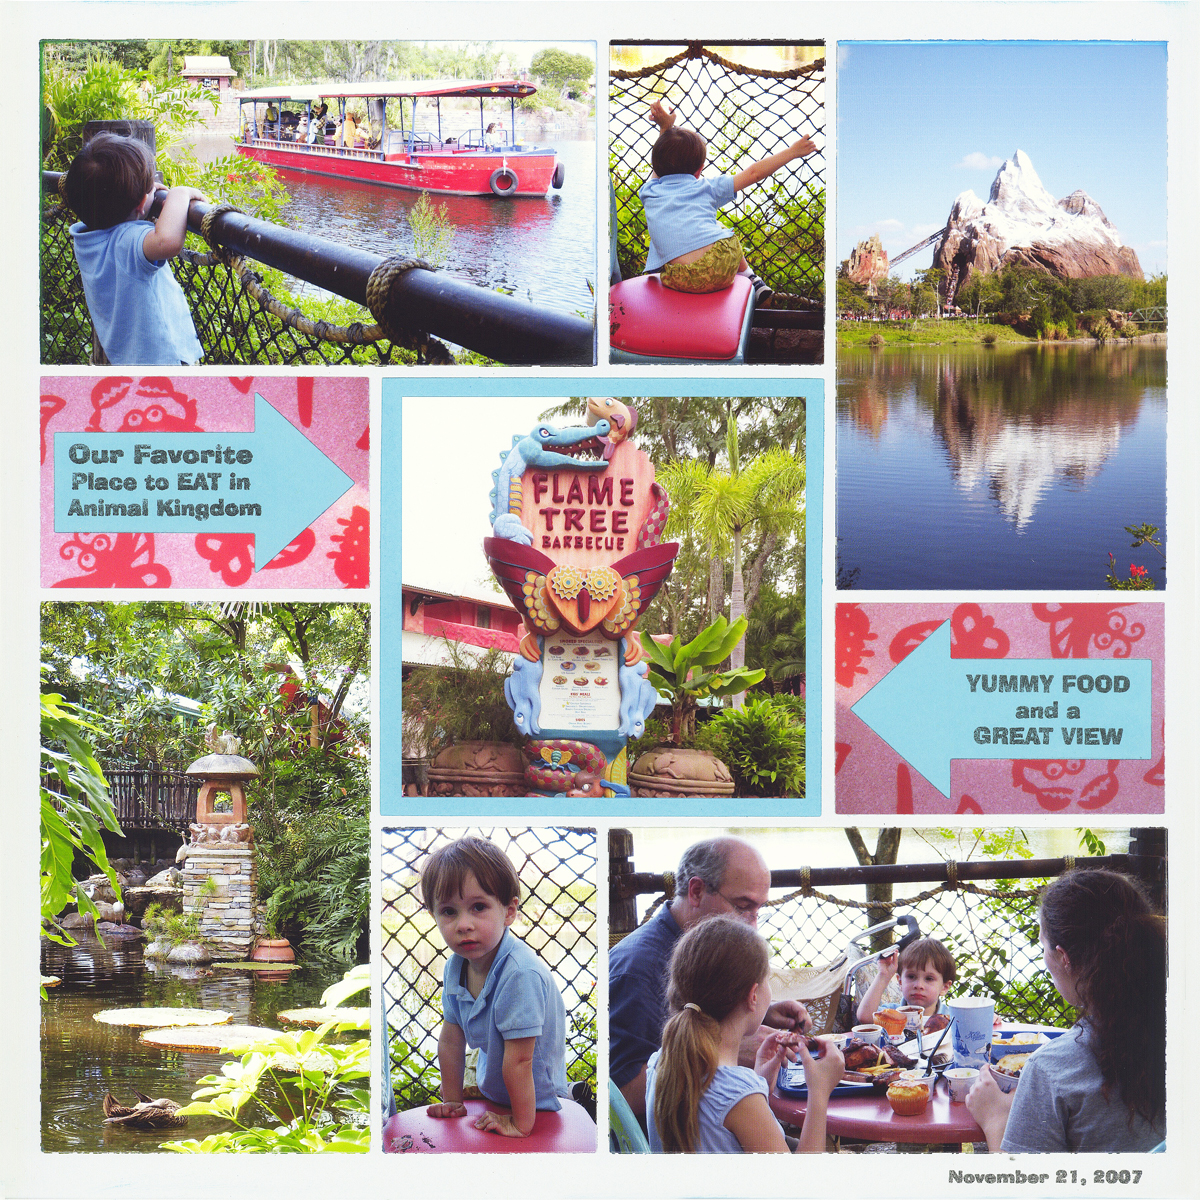
"Flame Tree BBQ" by Tami Potter - Pattern #103
8. Include the Title
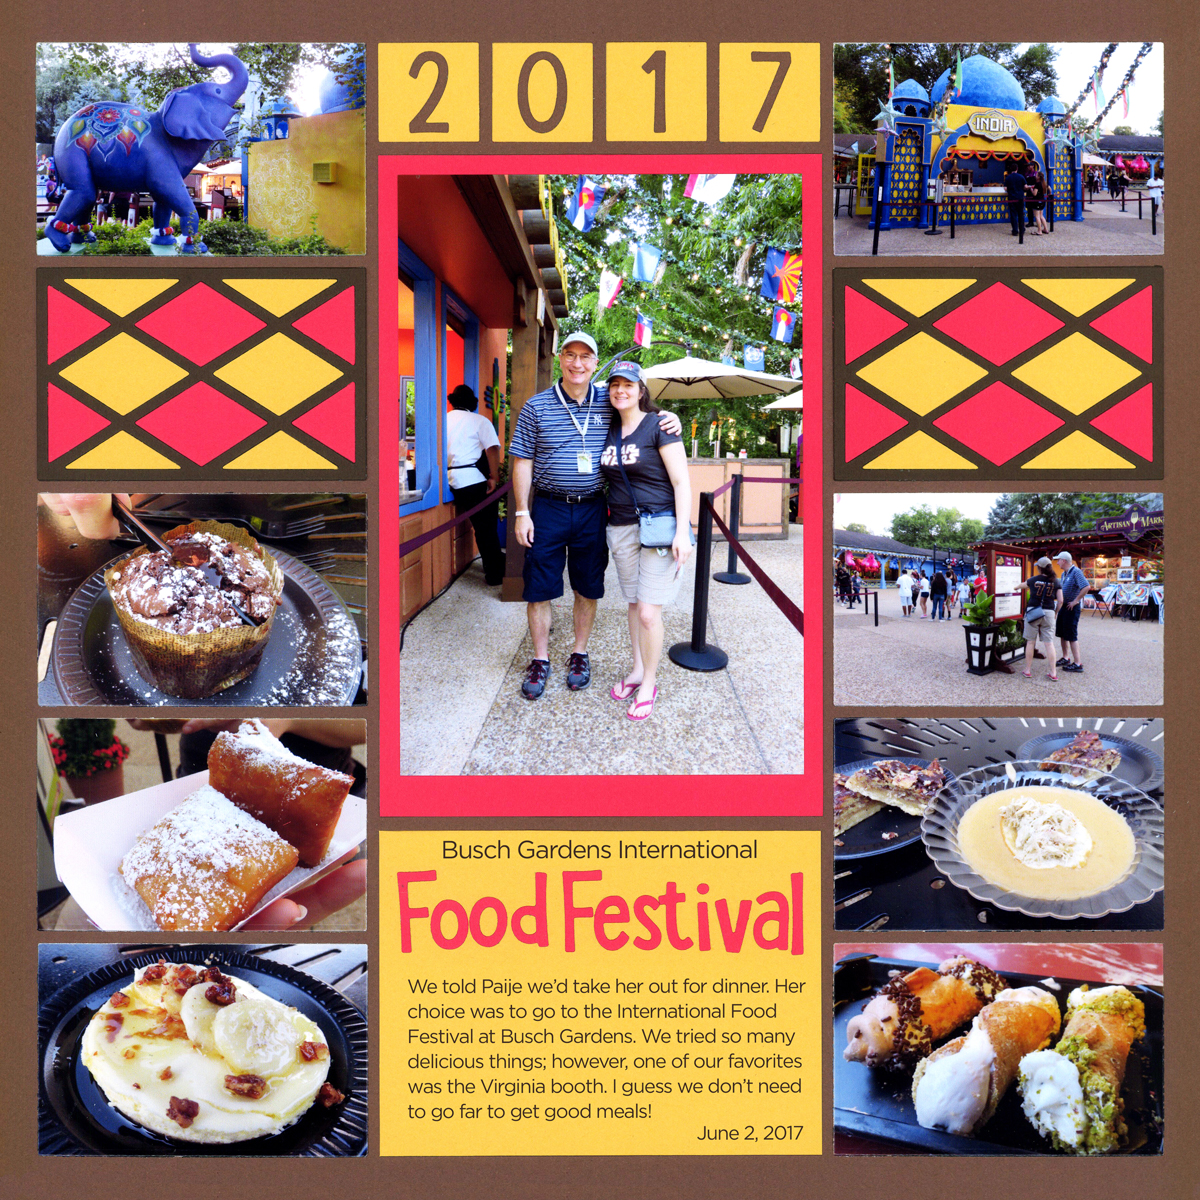
"Food Festival" by Tami Potter - Pattern #364
In this design, the title and journaling are all included on one block. This creates a cleaner, modern look.
8. Replace a Block
For this design, one of the photo blocks on the page pattern was used for journaling instead.
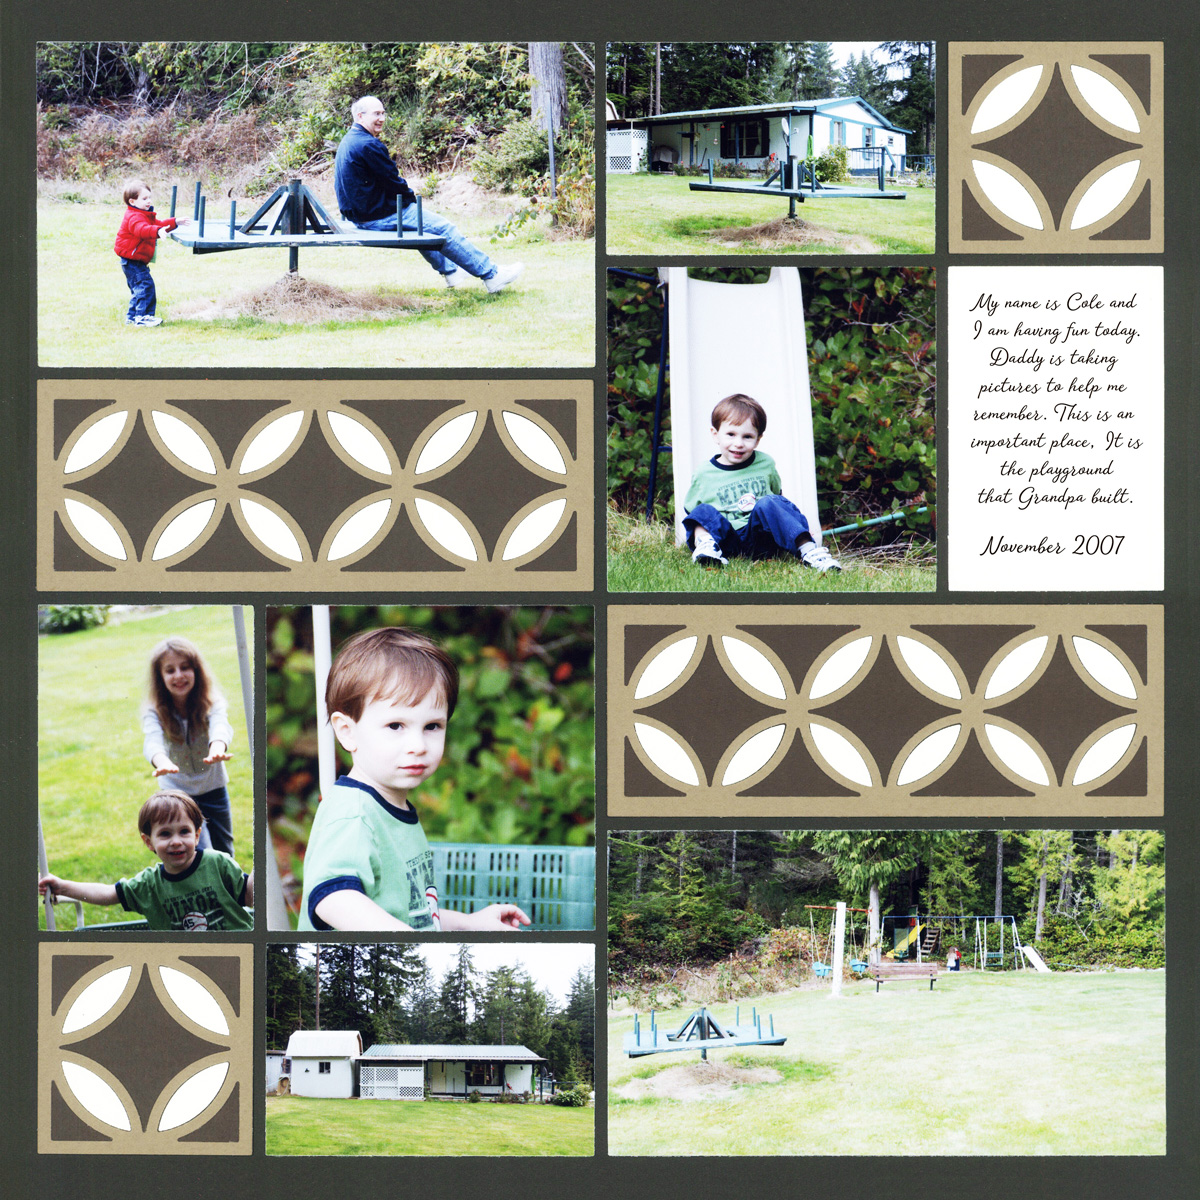
"Grandpa's Playground" by Tami Potter - Pattern #366
9. Write It
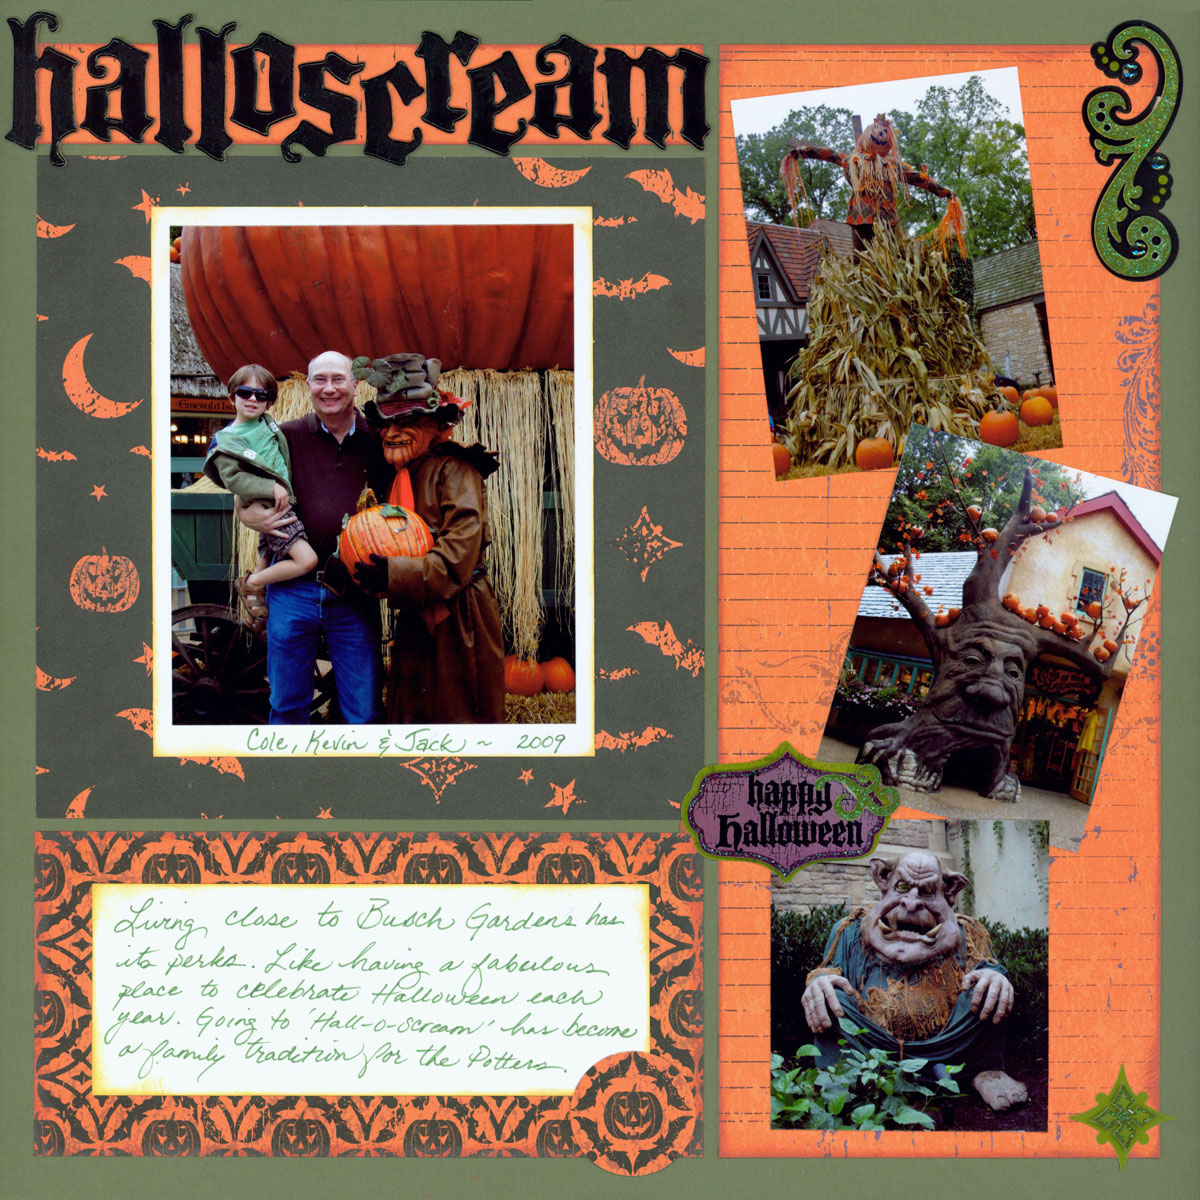
"Busch Gardens Halloscream" by Tami Potter
Journaling doesn't have to be done on the computer. Writing it by hand is sometimes quicker and easier. And, years from now, others will love to see your handwriting.
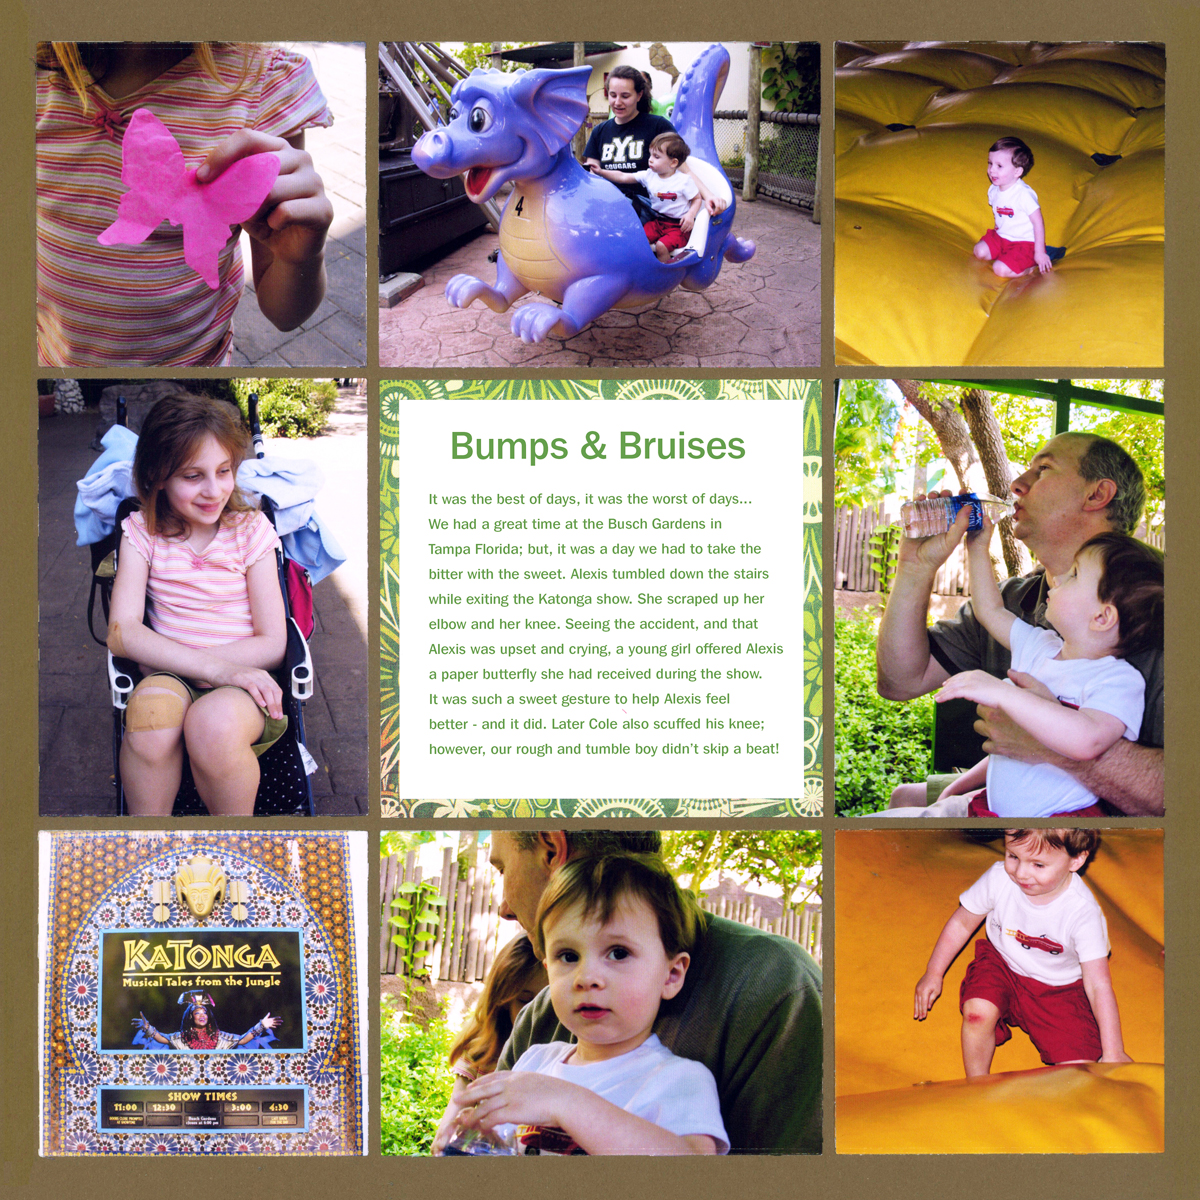
10. Make it the Focal Point
These photos needed explanation, so Tami Potter decided to make the words the focal point of the layout. She added a photo mat and placed the journaling prominently in the center of the layout.