
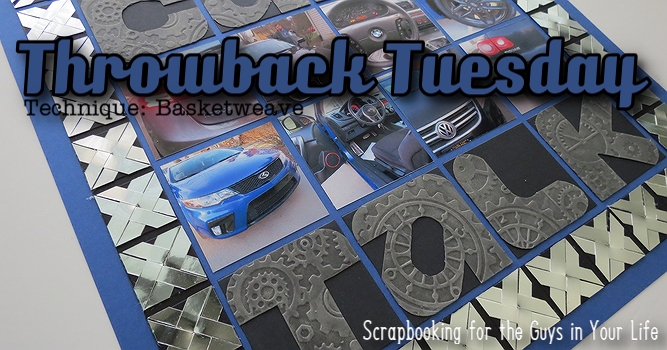
It is Throwback Tuesday once again and our inspiration piece takes us back to a Design Team basketweave challenge.
Wedding Basketweave
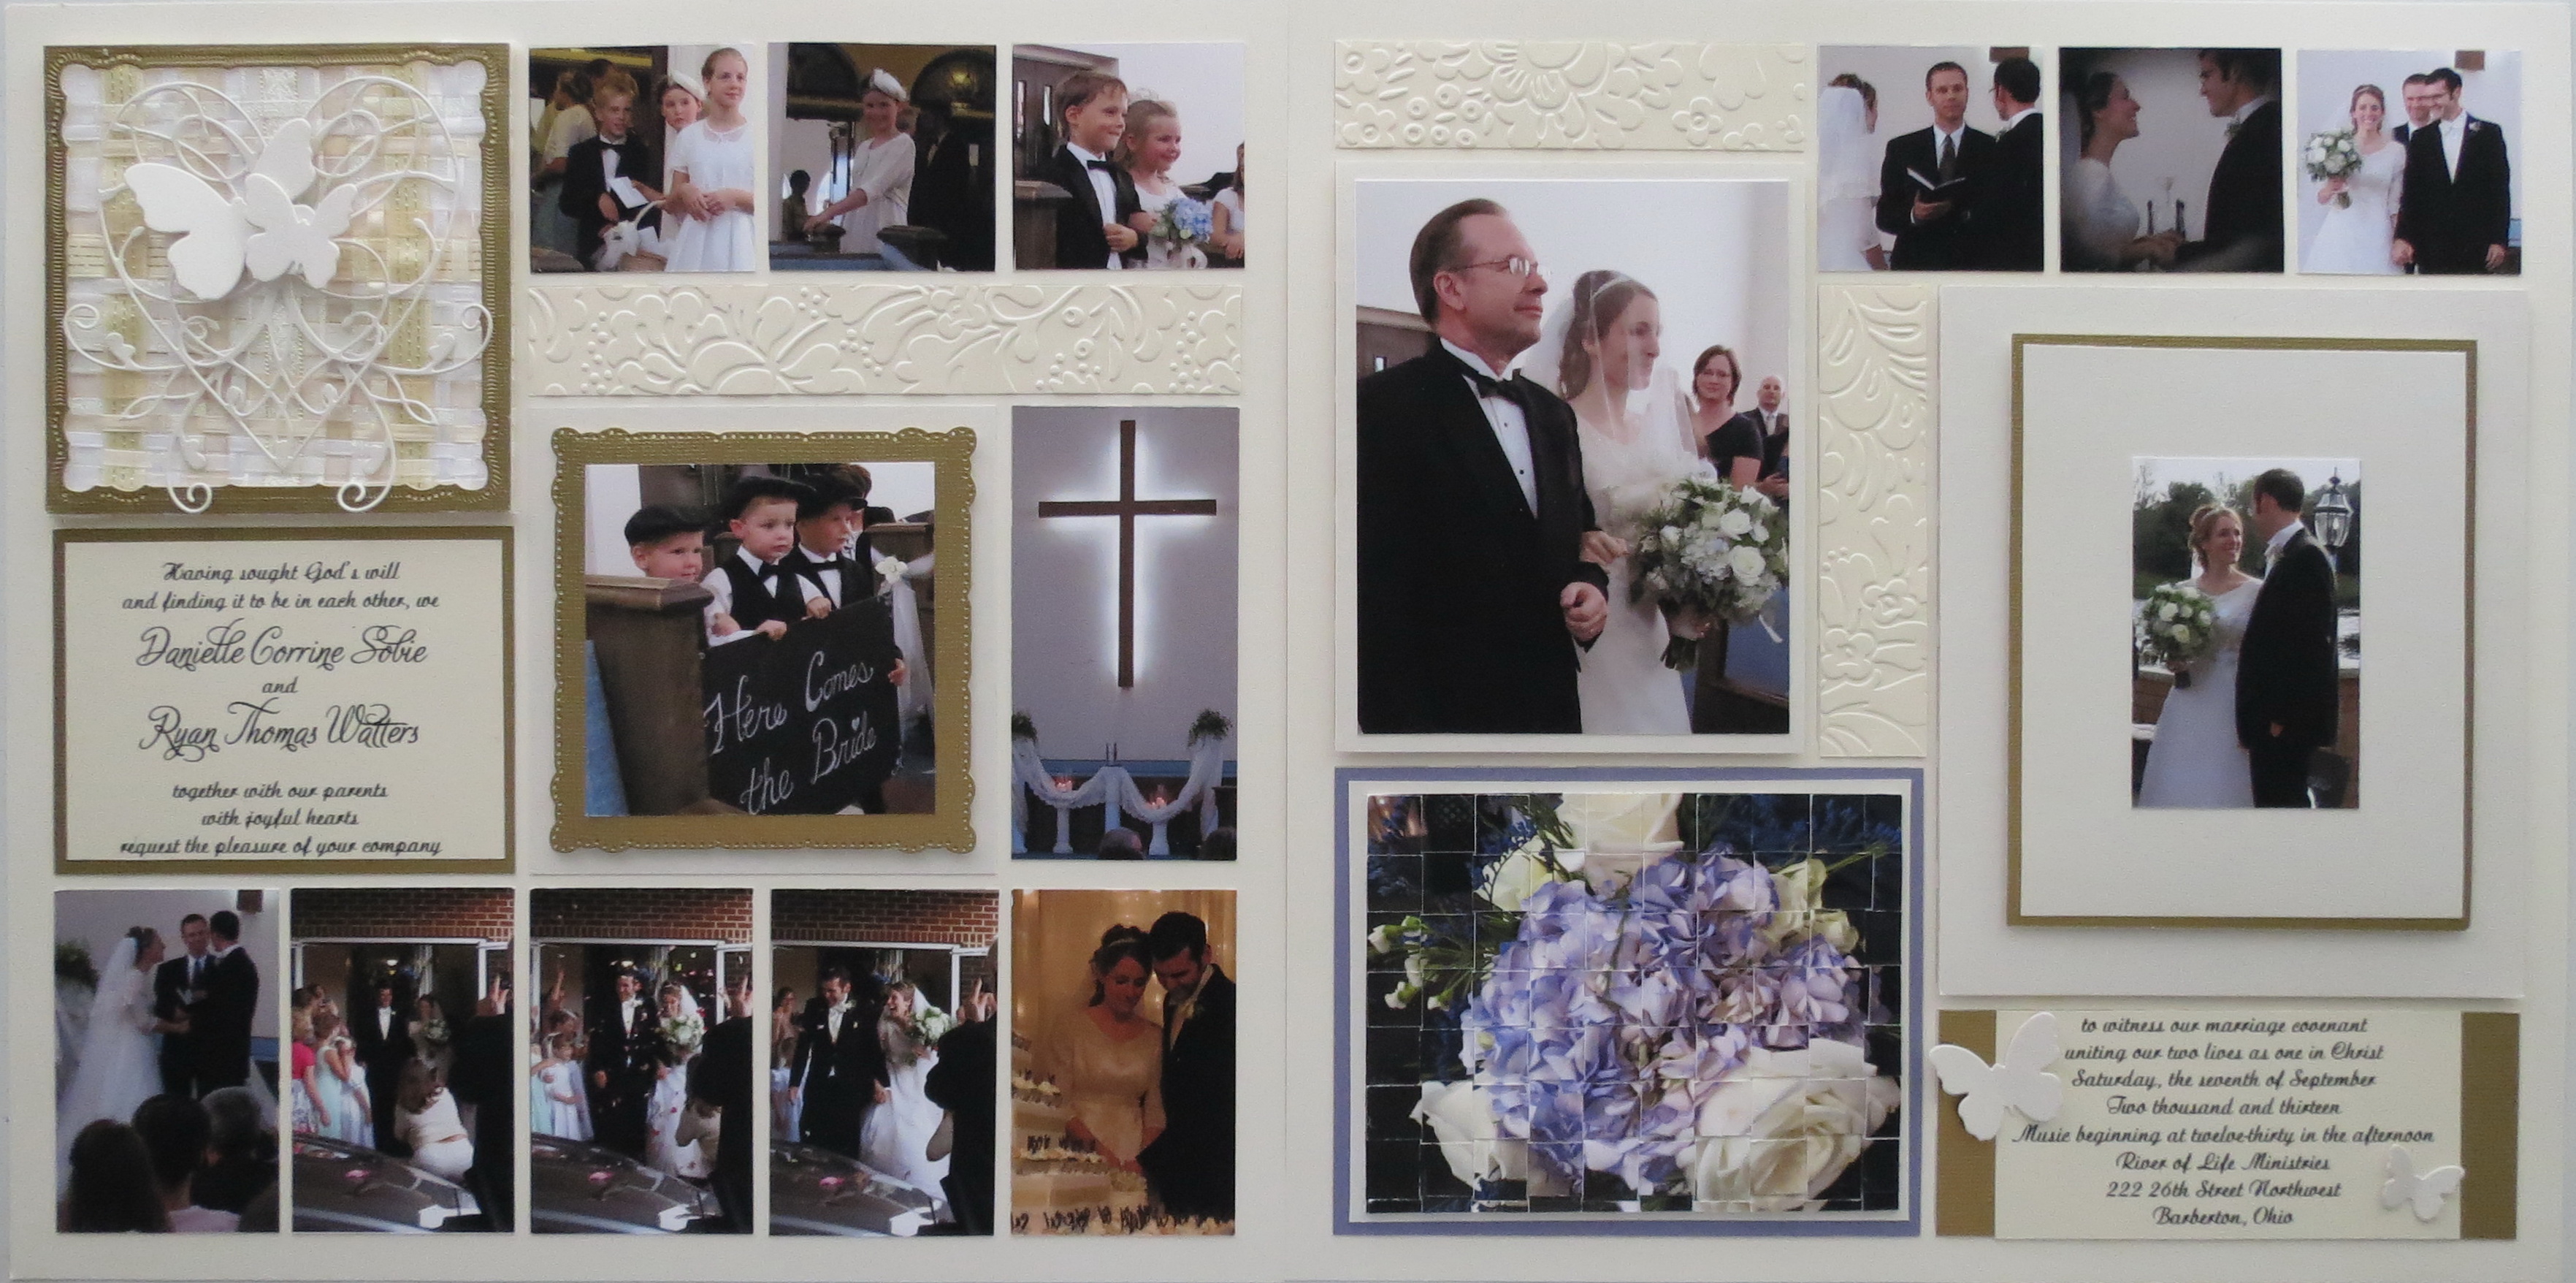
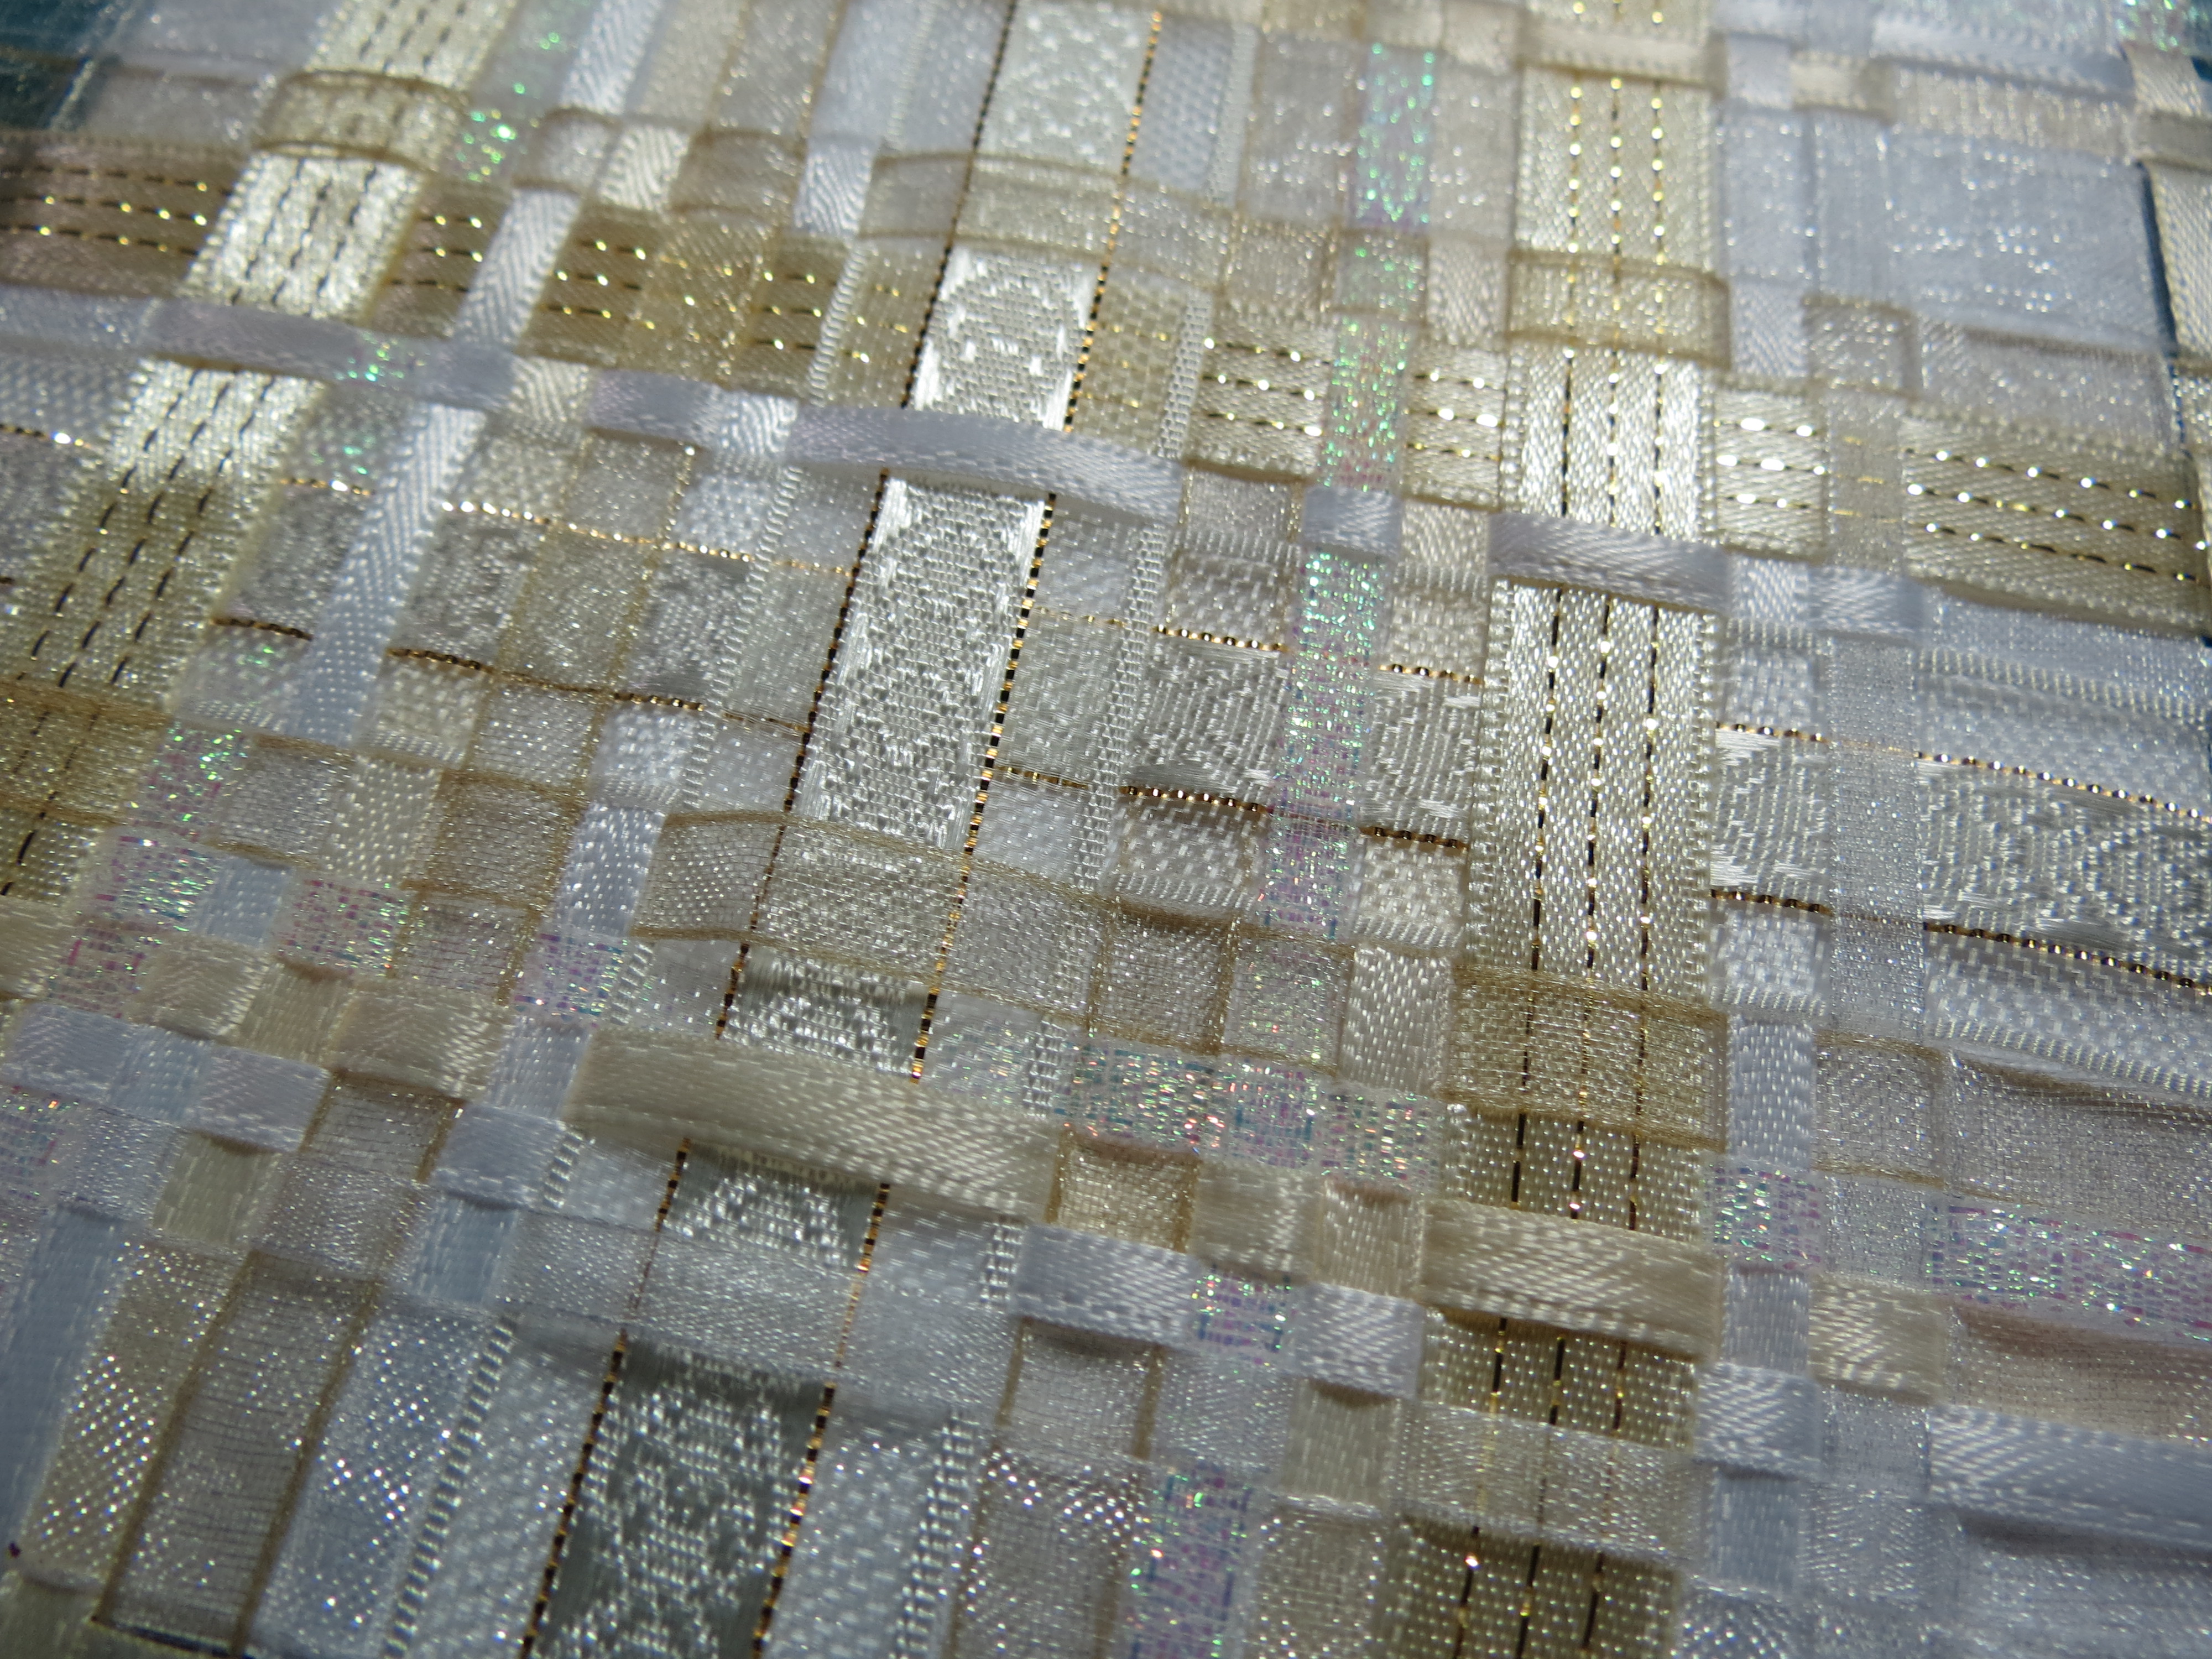
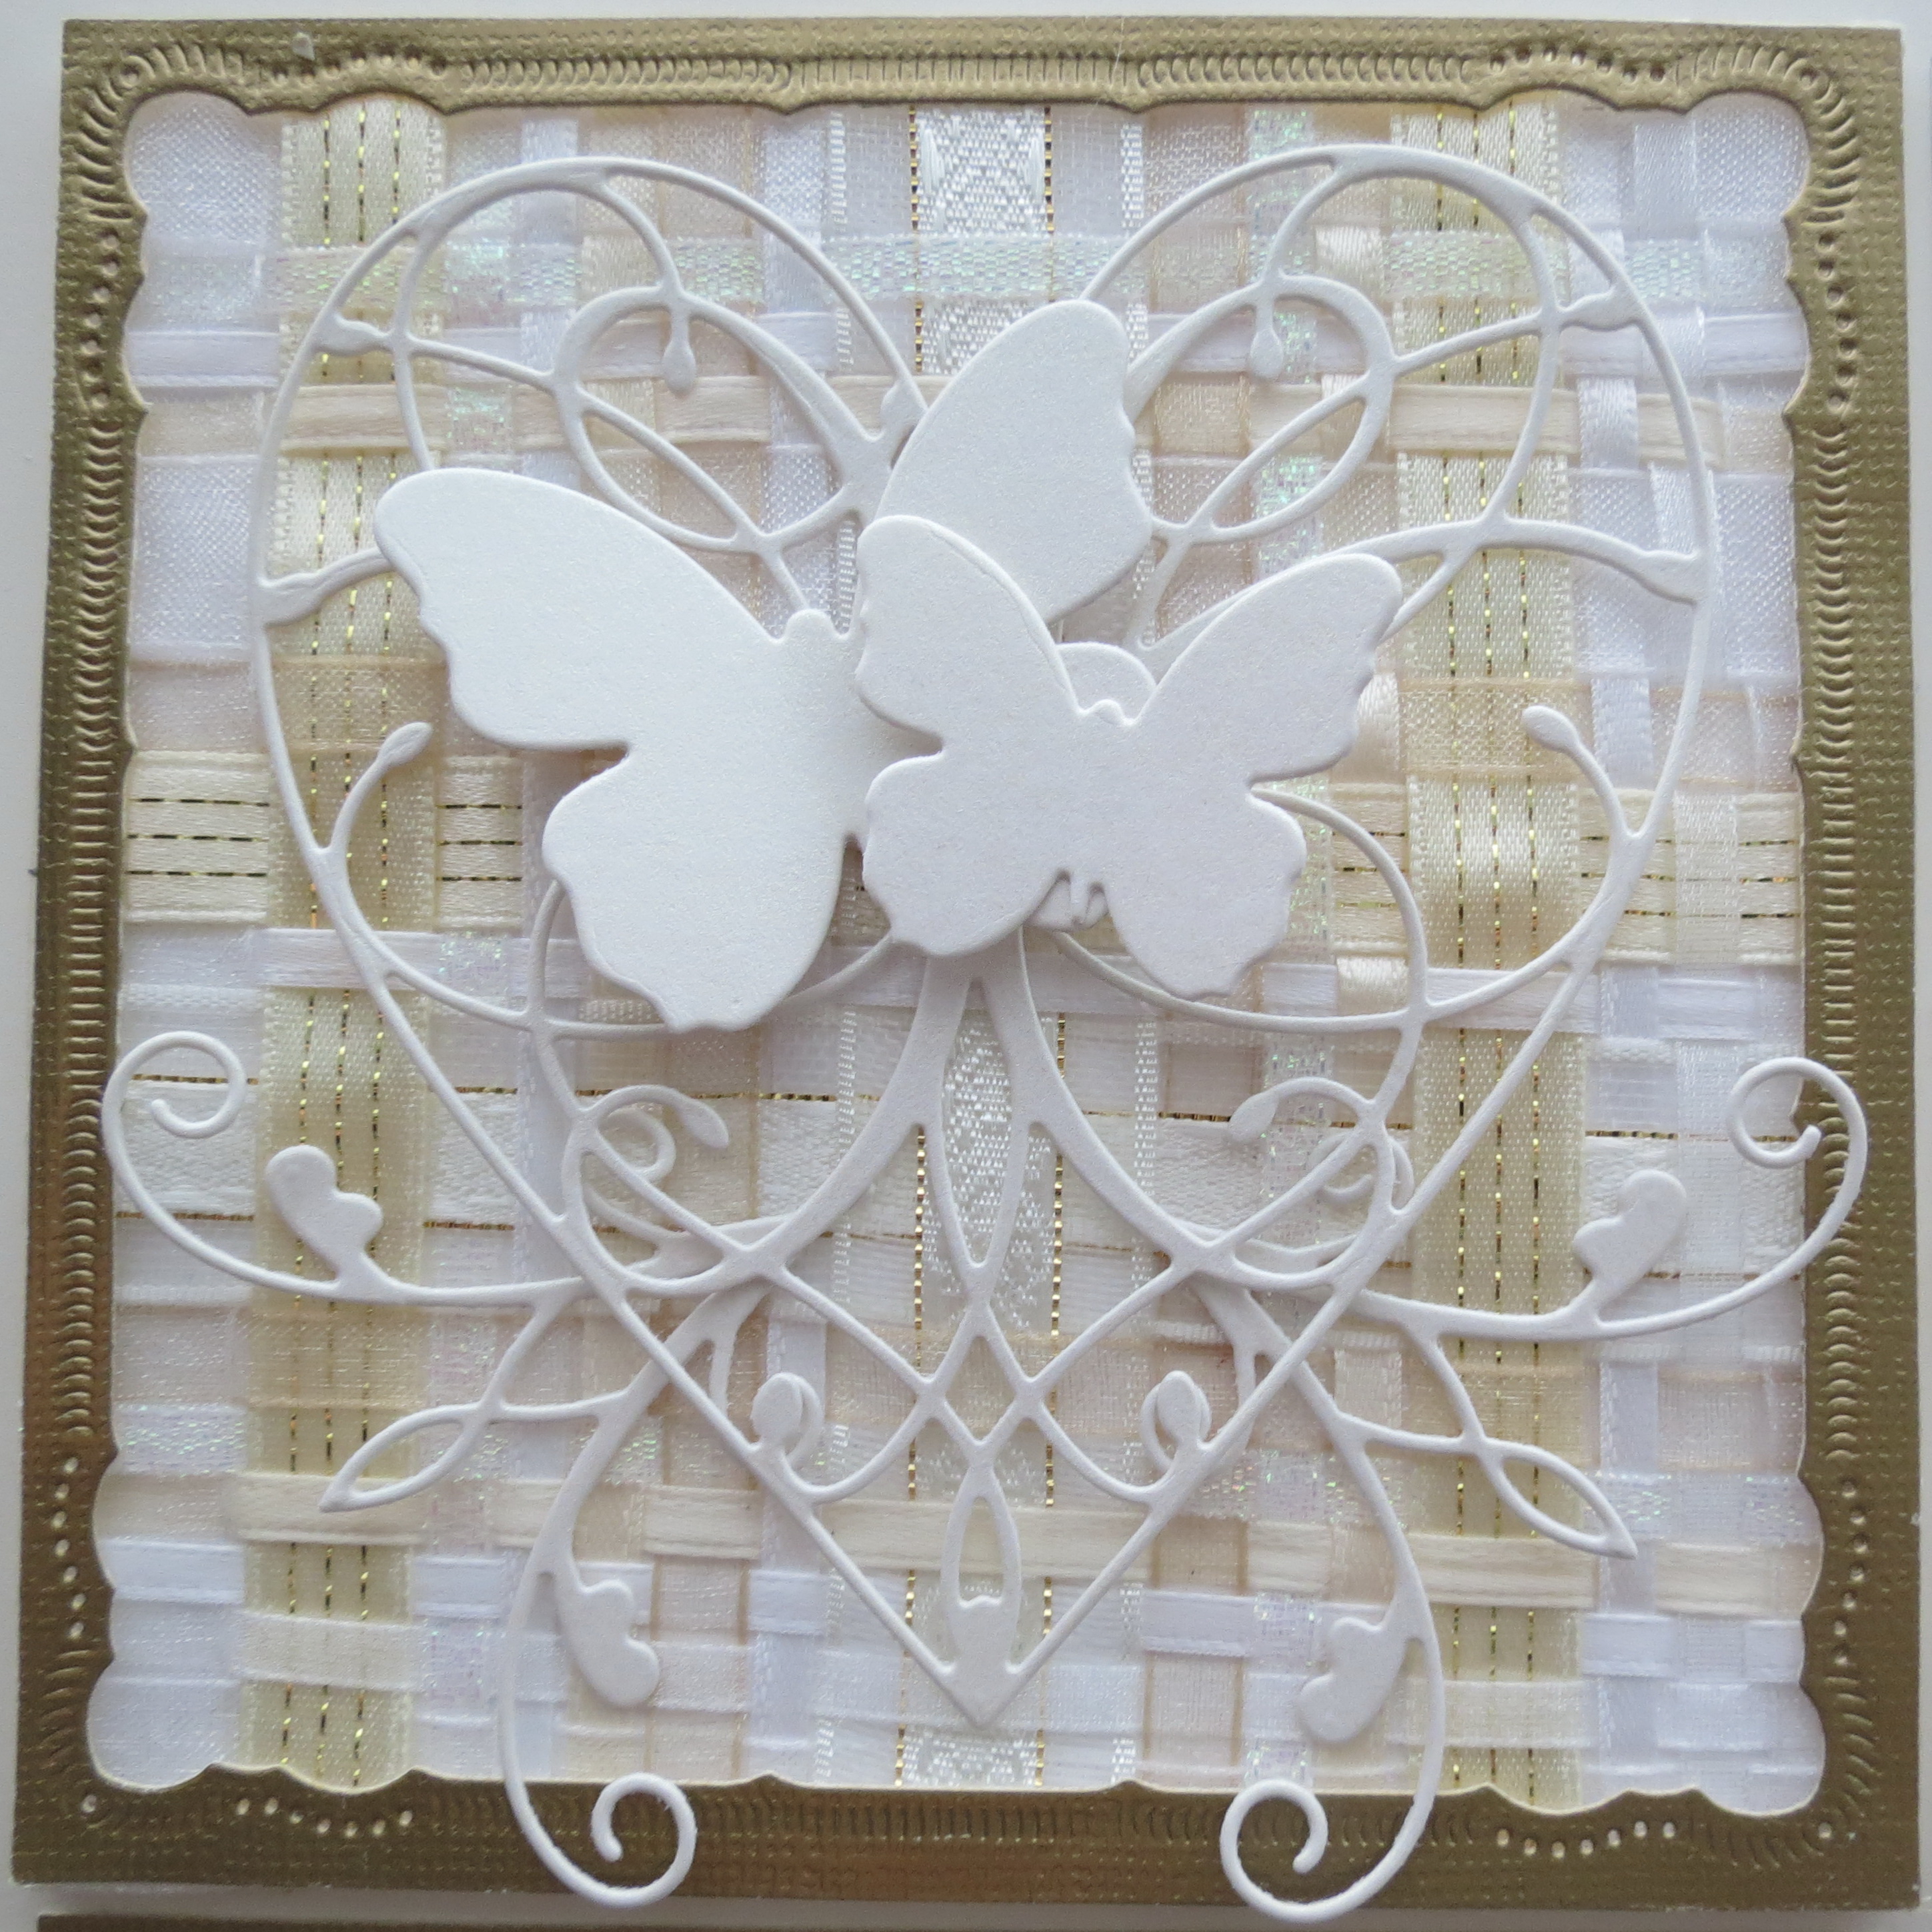
In the original layout I featured a wedding and wove multiple types of ribbons into a backdrop for my key embellishment. It was a very elegant basketweave effect.
Wedding Basketweave
Wedding basketweave
I also used a photo for another type of basketweave technique.
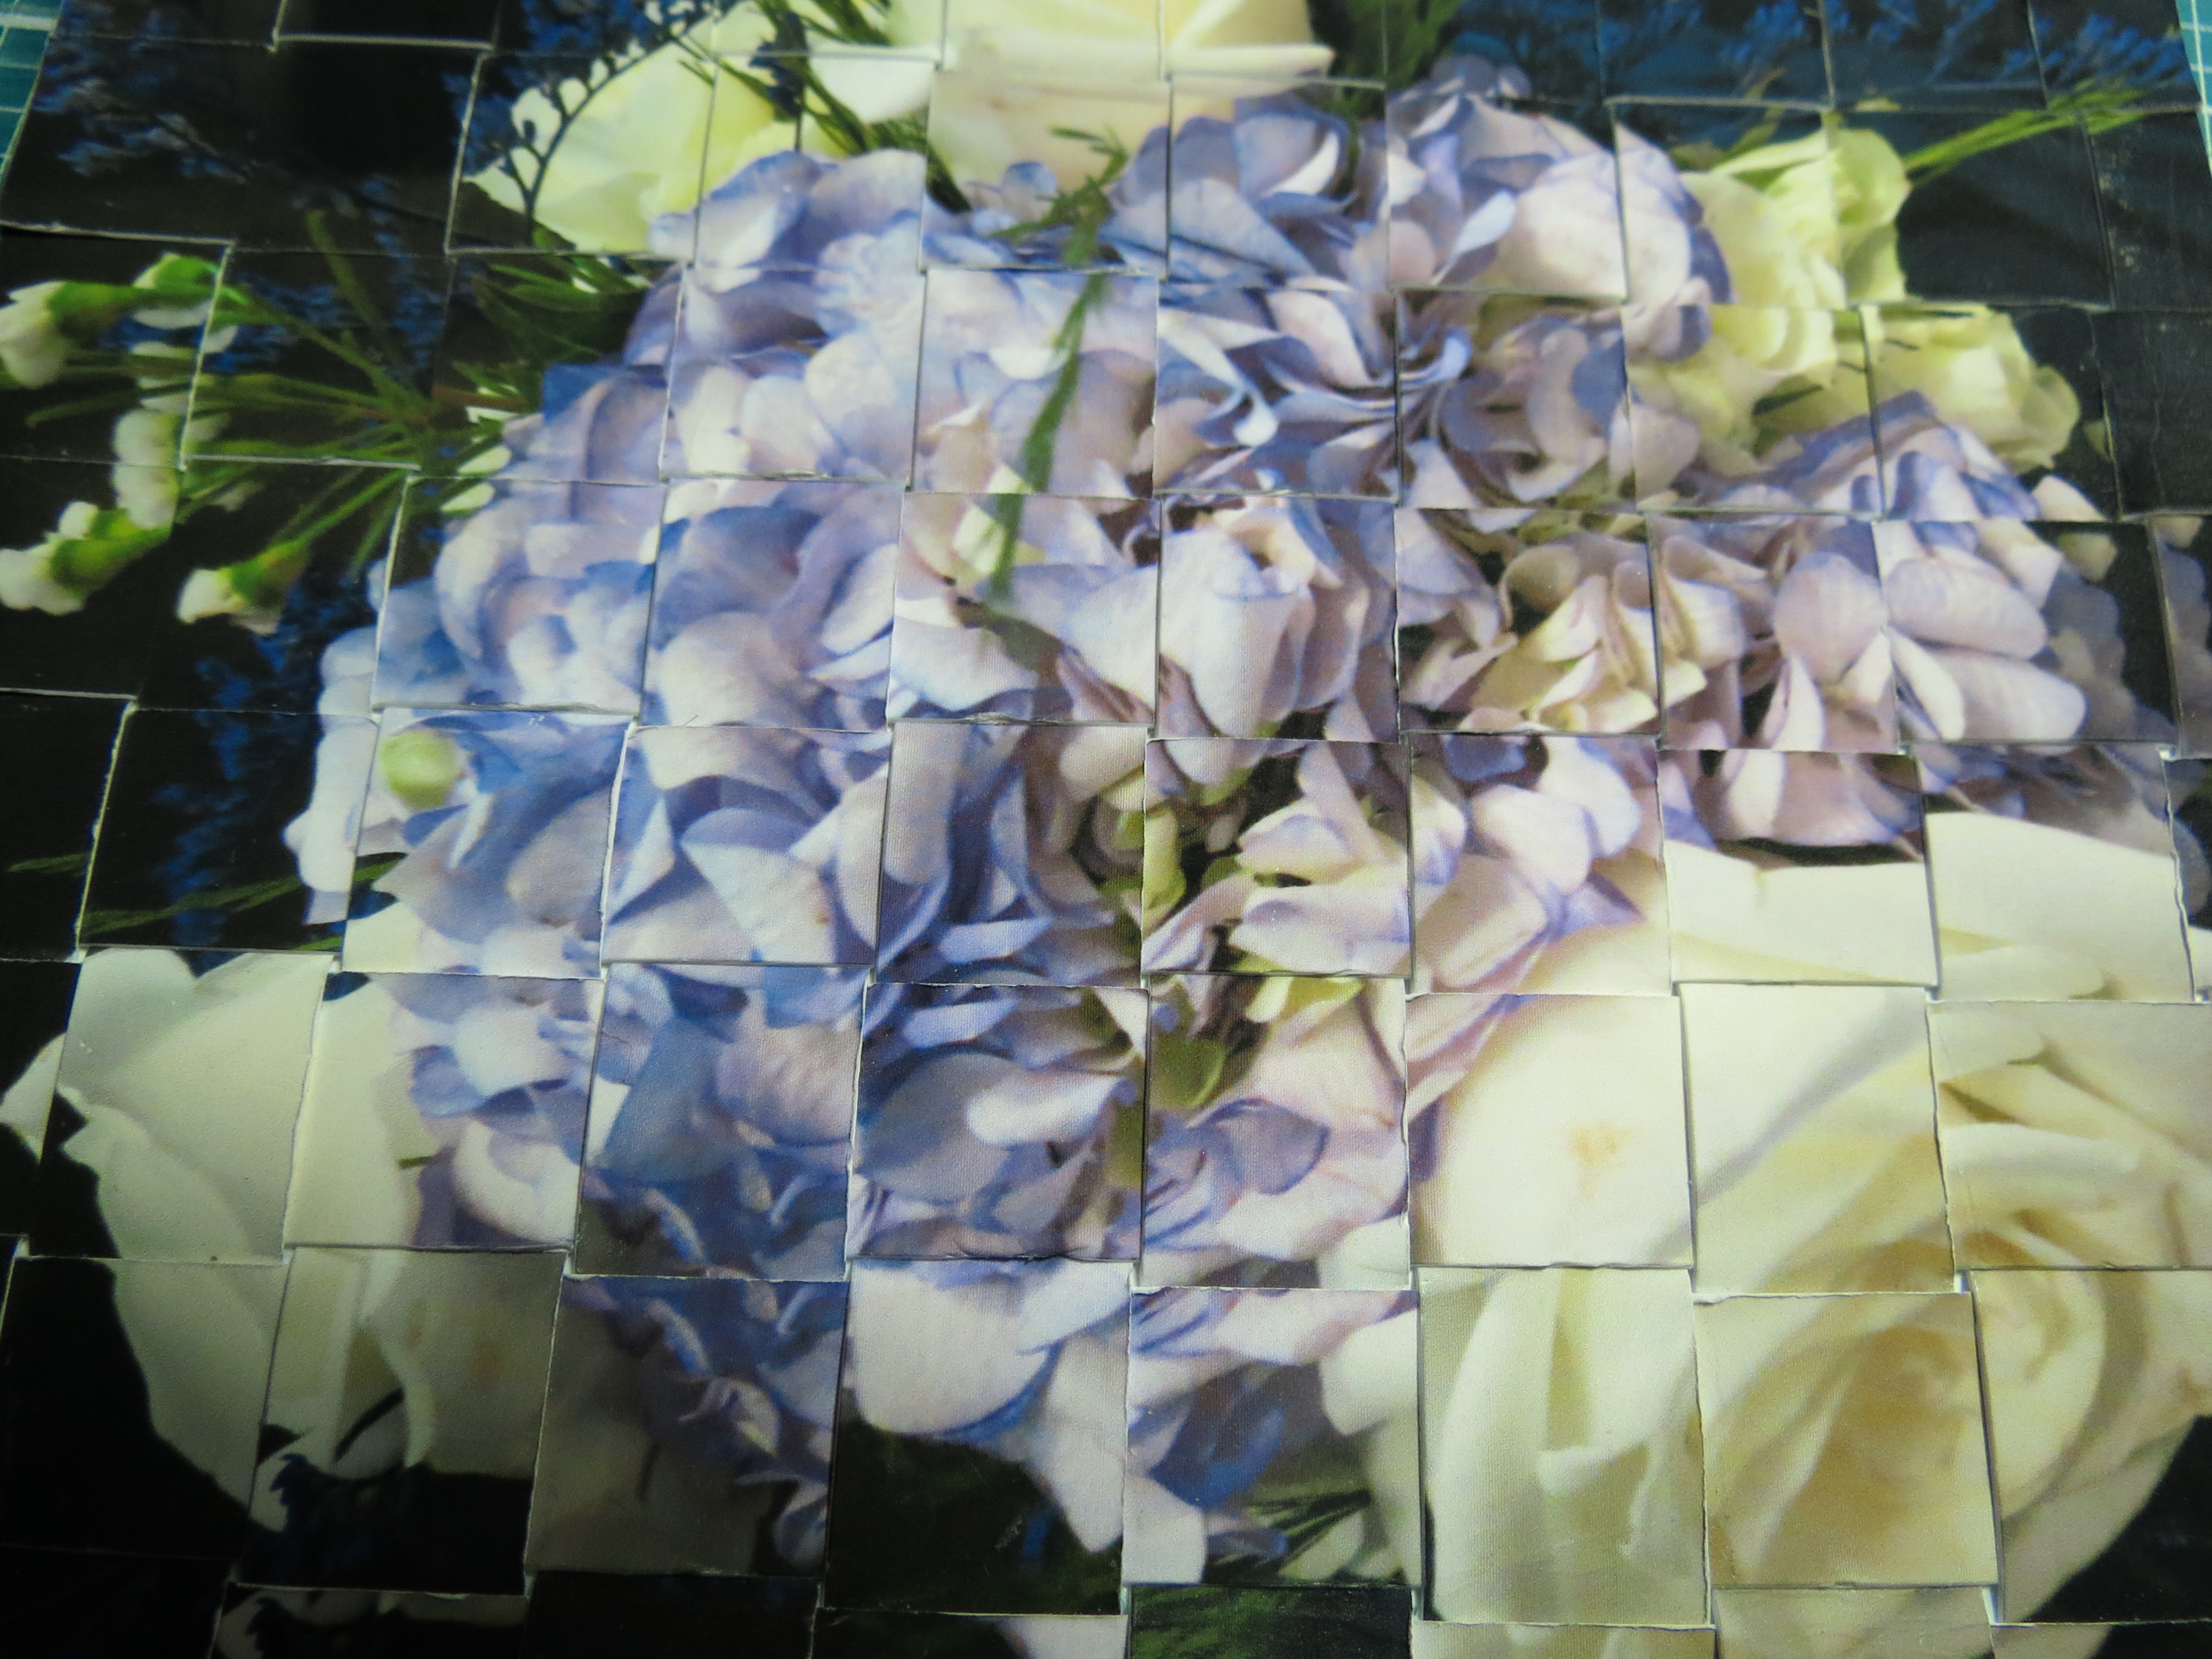
Wedding basketweave
You can see all the details for the how-to here: Wedding Basketweave
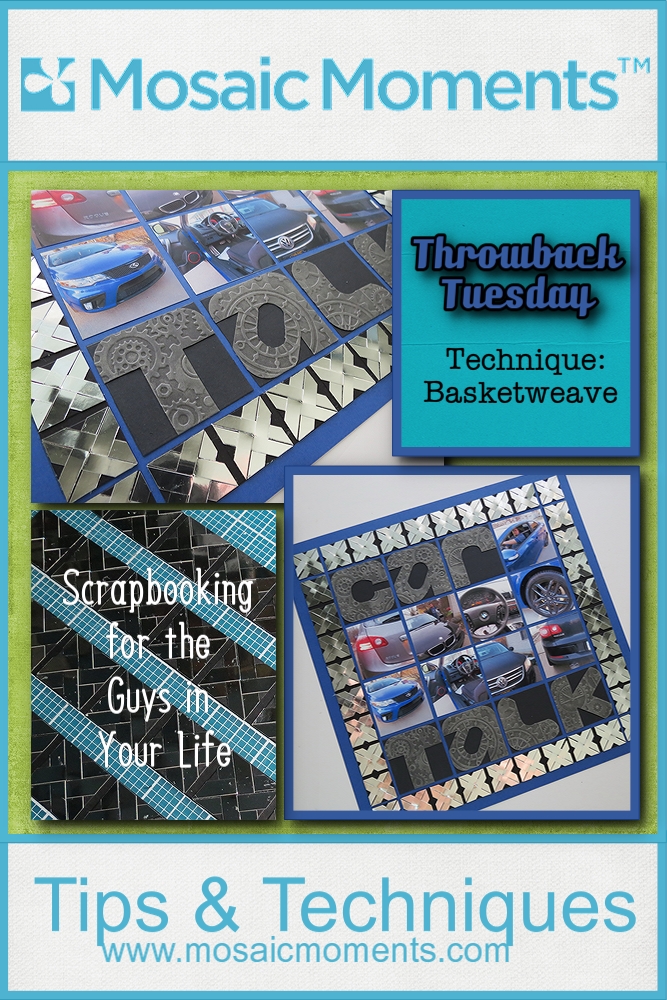
For this Throwback Tuesday the technique is going to be applied to a page for all the guys in your life. It really is a bit more versatile, but today it’s all for the guys because of the colors and materials!
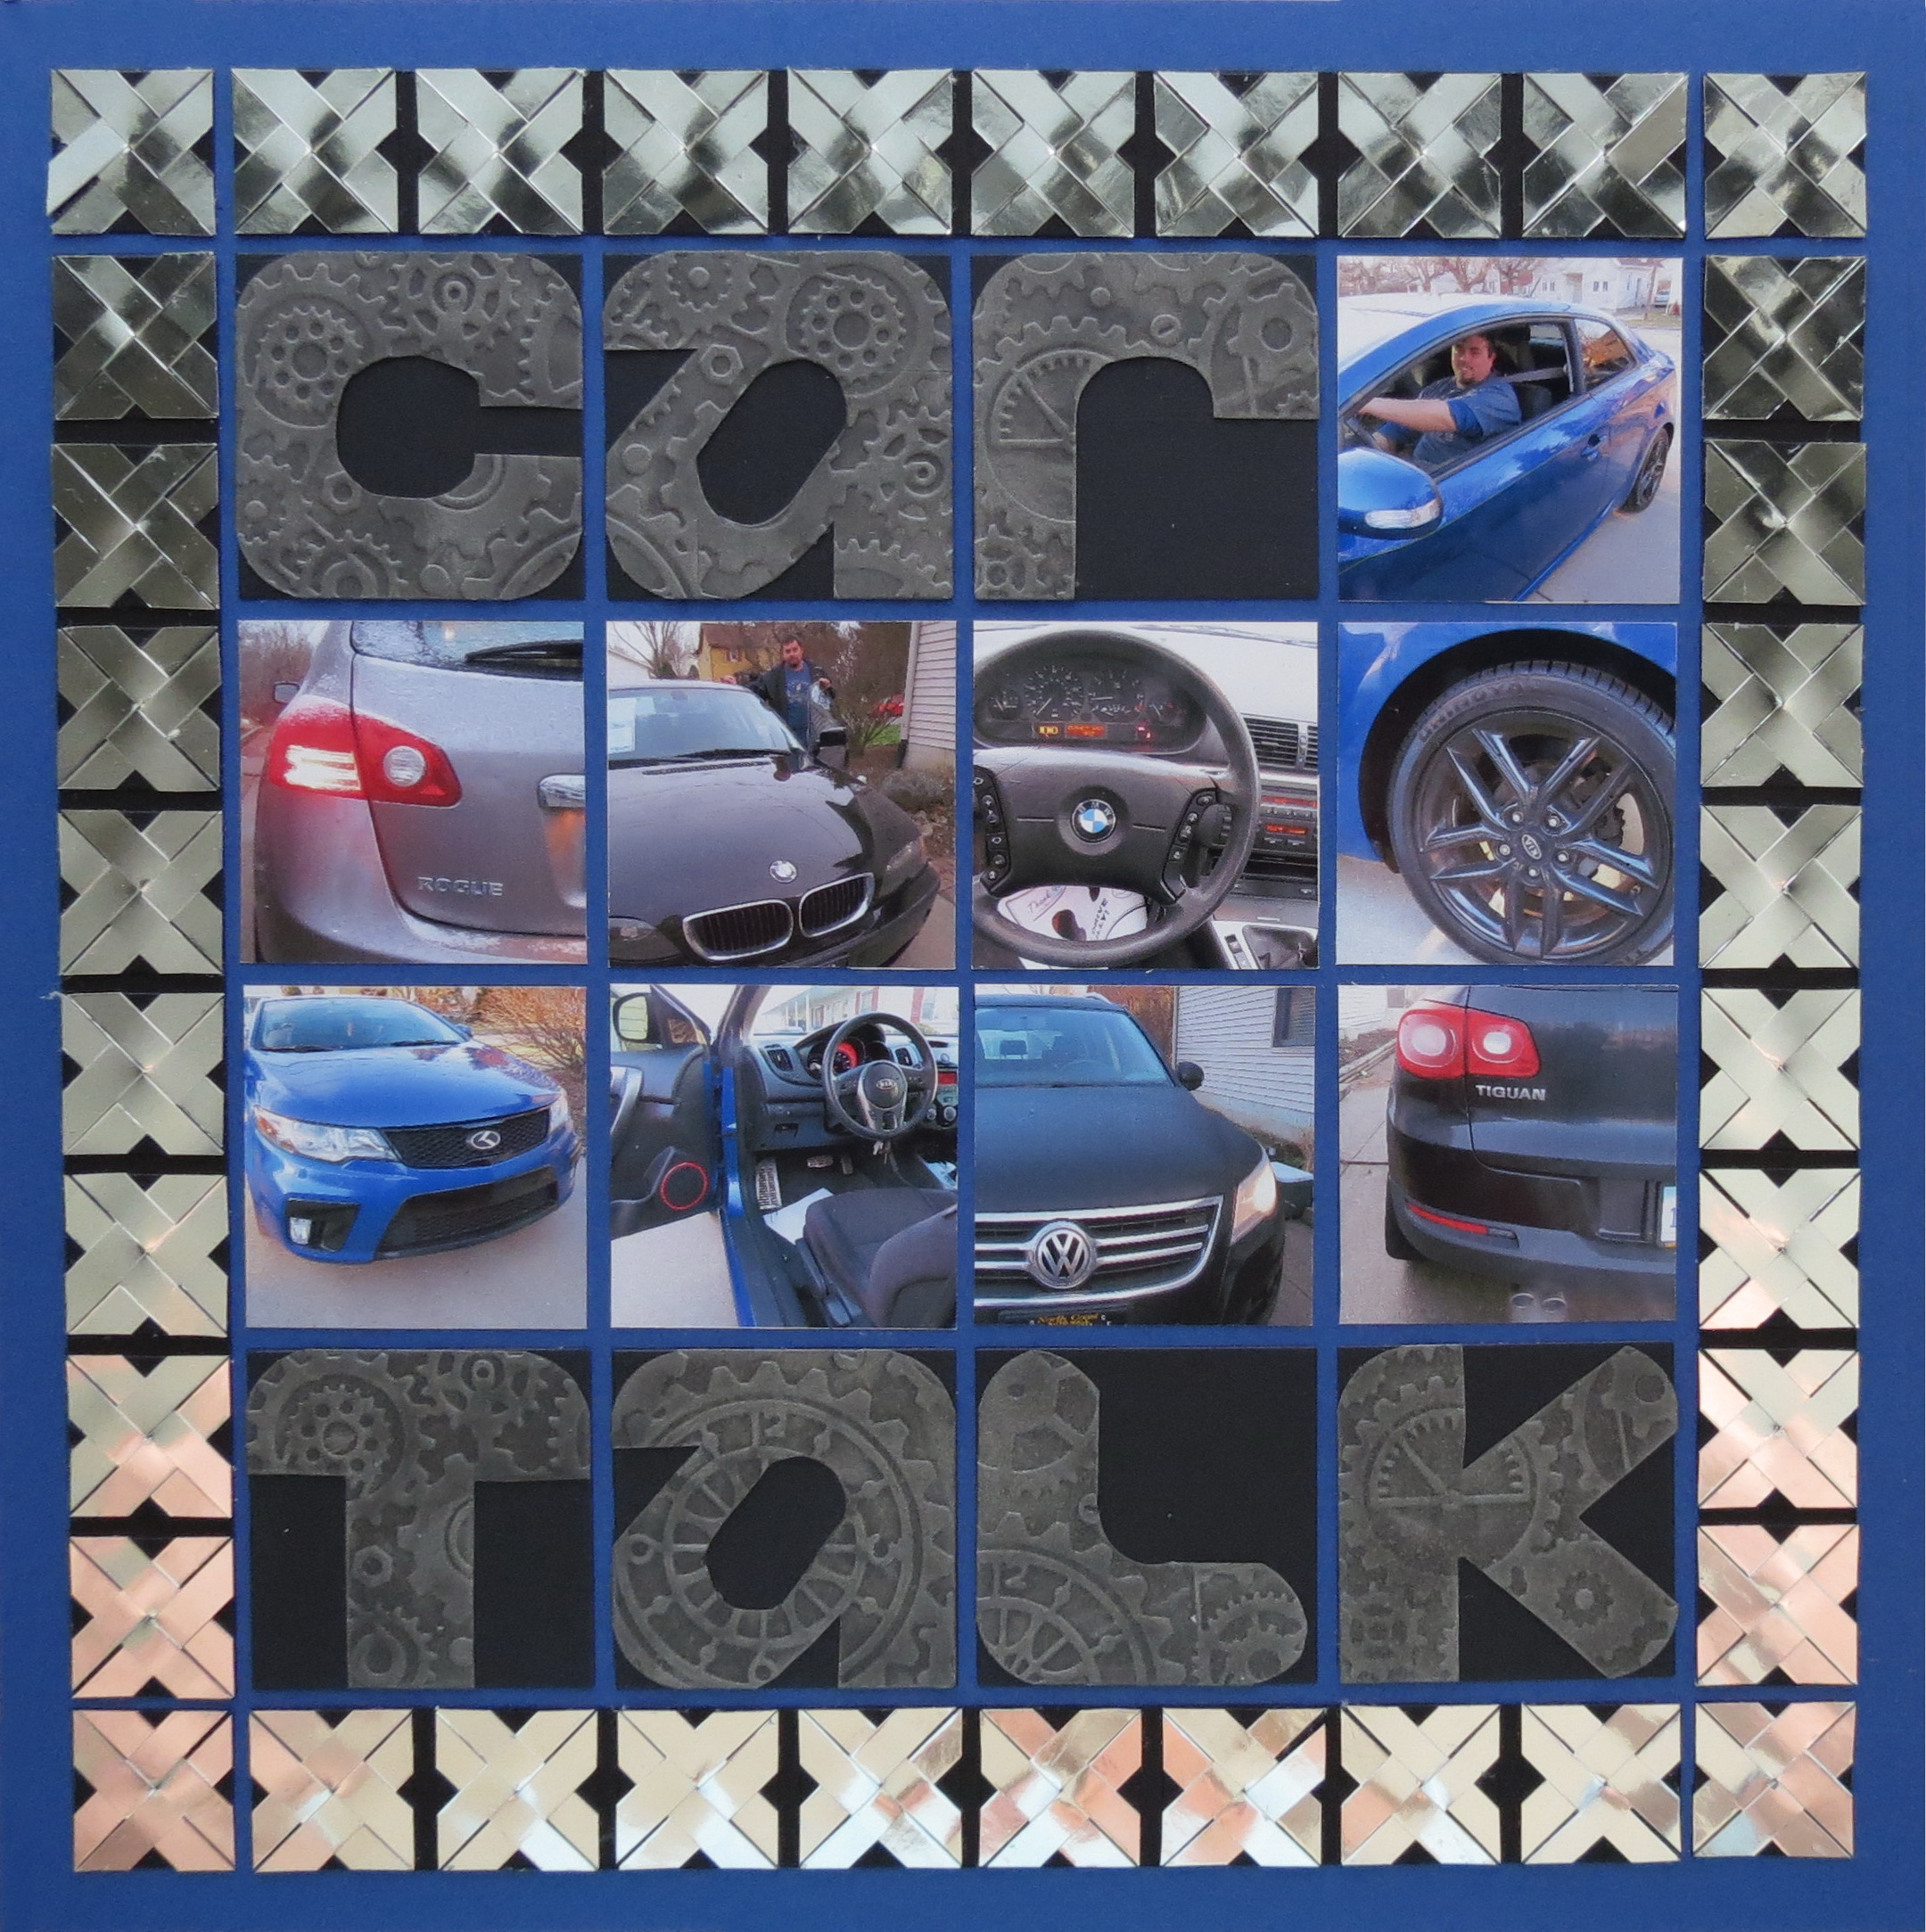
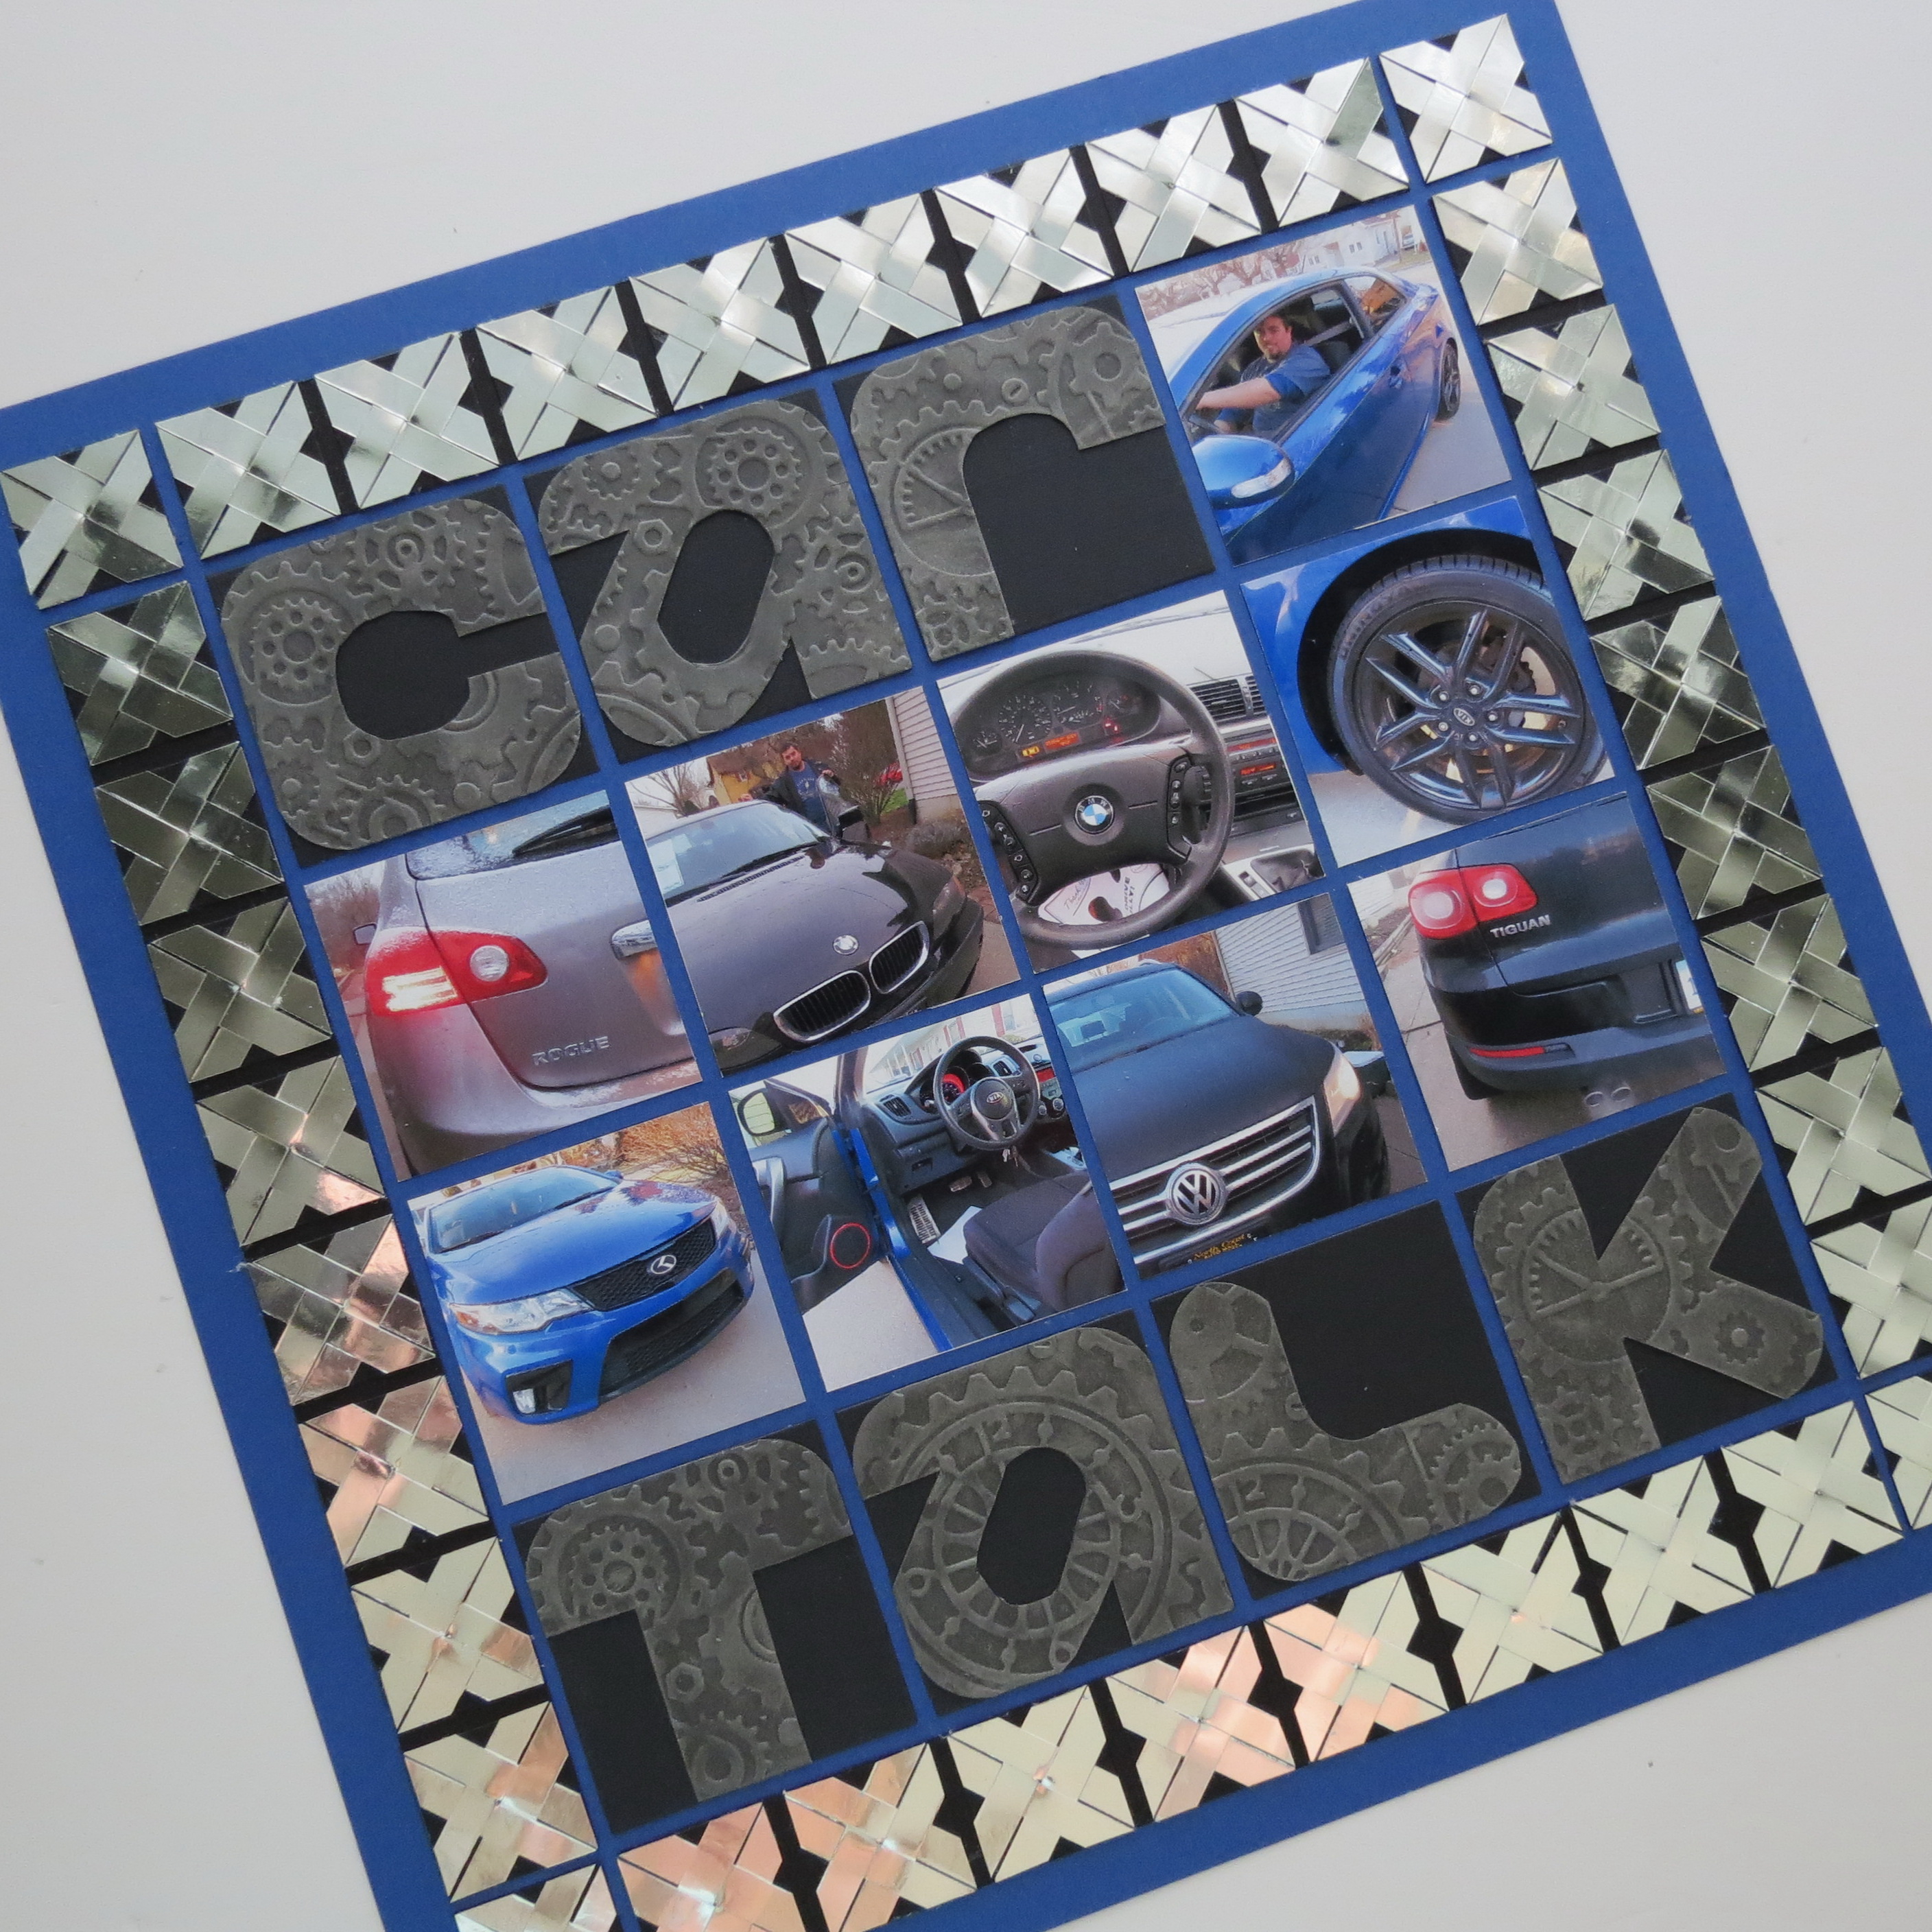
Basketweave: For the guys in your life.
To begin with, this layout is the first of what I hope will be a series about my son-in-law. One of the perks of this hard working young man’s job is driving many different cars. I began taking a few photos of some of them late last fall, but the chill of winter dampened my enthusiasm. Picking up again a few weeks ago I have added a few more. I envision this being four pages, with journaling when it’s done. It should be fun for him to look back someday and remember all the cars he has driven!
Sometimes when you are scrapbooking you are working with an ongoing story. I think it’s important to begin with what you have, especially if you are inspired, instead of putting off until you have all you think you may want to include. After all, life is an ongoing story with many chapters. It’s important to begin.

Pattern #110 squares
Featuring pattern # 110, a squares pattern you will find in our Pattern Gallery.
Featuring our newest blue…Prussian Blue 12×12 Mosaic Moments Grid Paper.
Additional Supplies:
• Silver paper
• black and gray cardstock
• Cuttlebug Clockworks Embossing Folder
• X-Acto knife
• Self-Healing Cutting Mat
• MM 1” Grid Die (4×6 photo or paper) Die Set A
• corner rounder punch
• Starlite Silver DewDrop Brilliance Pigment Ink
• Shimmer Spritz Pewter Pearl Mists
The square format was good for showcasing portions of the cars for the layout, and was easily cut using MM Set A Dies-squares.
The title is oversized and uses 7 squares, one for each letter. Round out the letters using the corner punch but keep them looking blocky, then emboss with the clockworks embossing folder. Lightly brush the silver ink on sections of the raised gears to stand out a bit and a very light spritz of the pewter glimmer mist will give it an added layer of color.
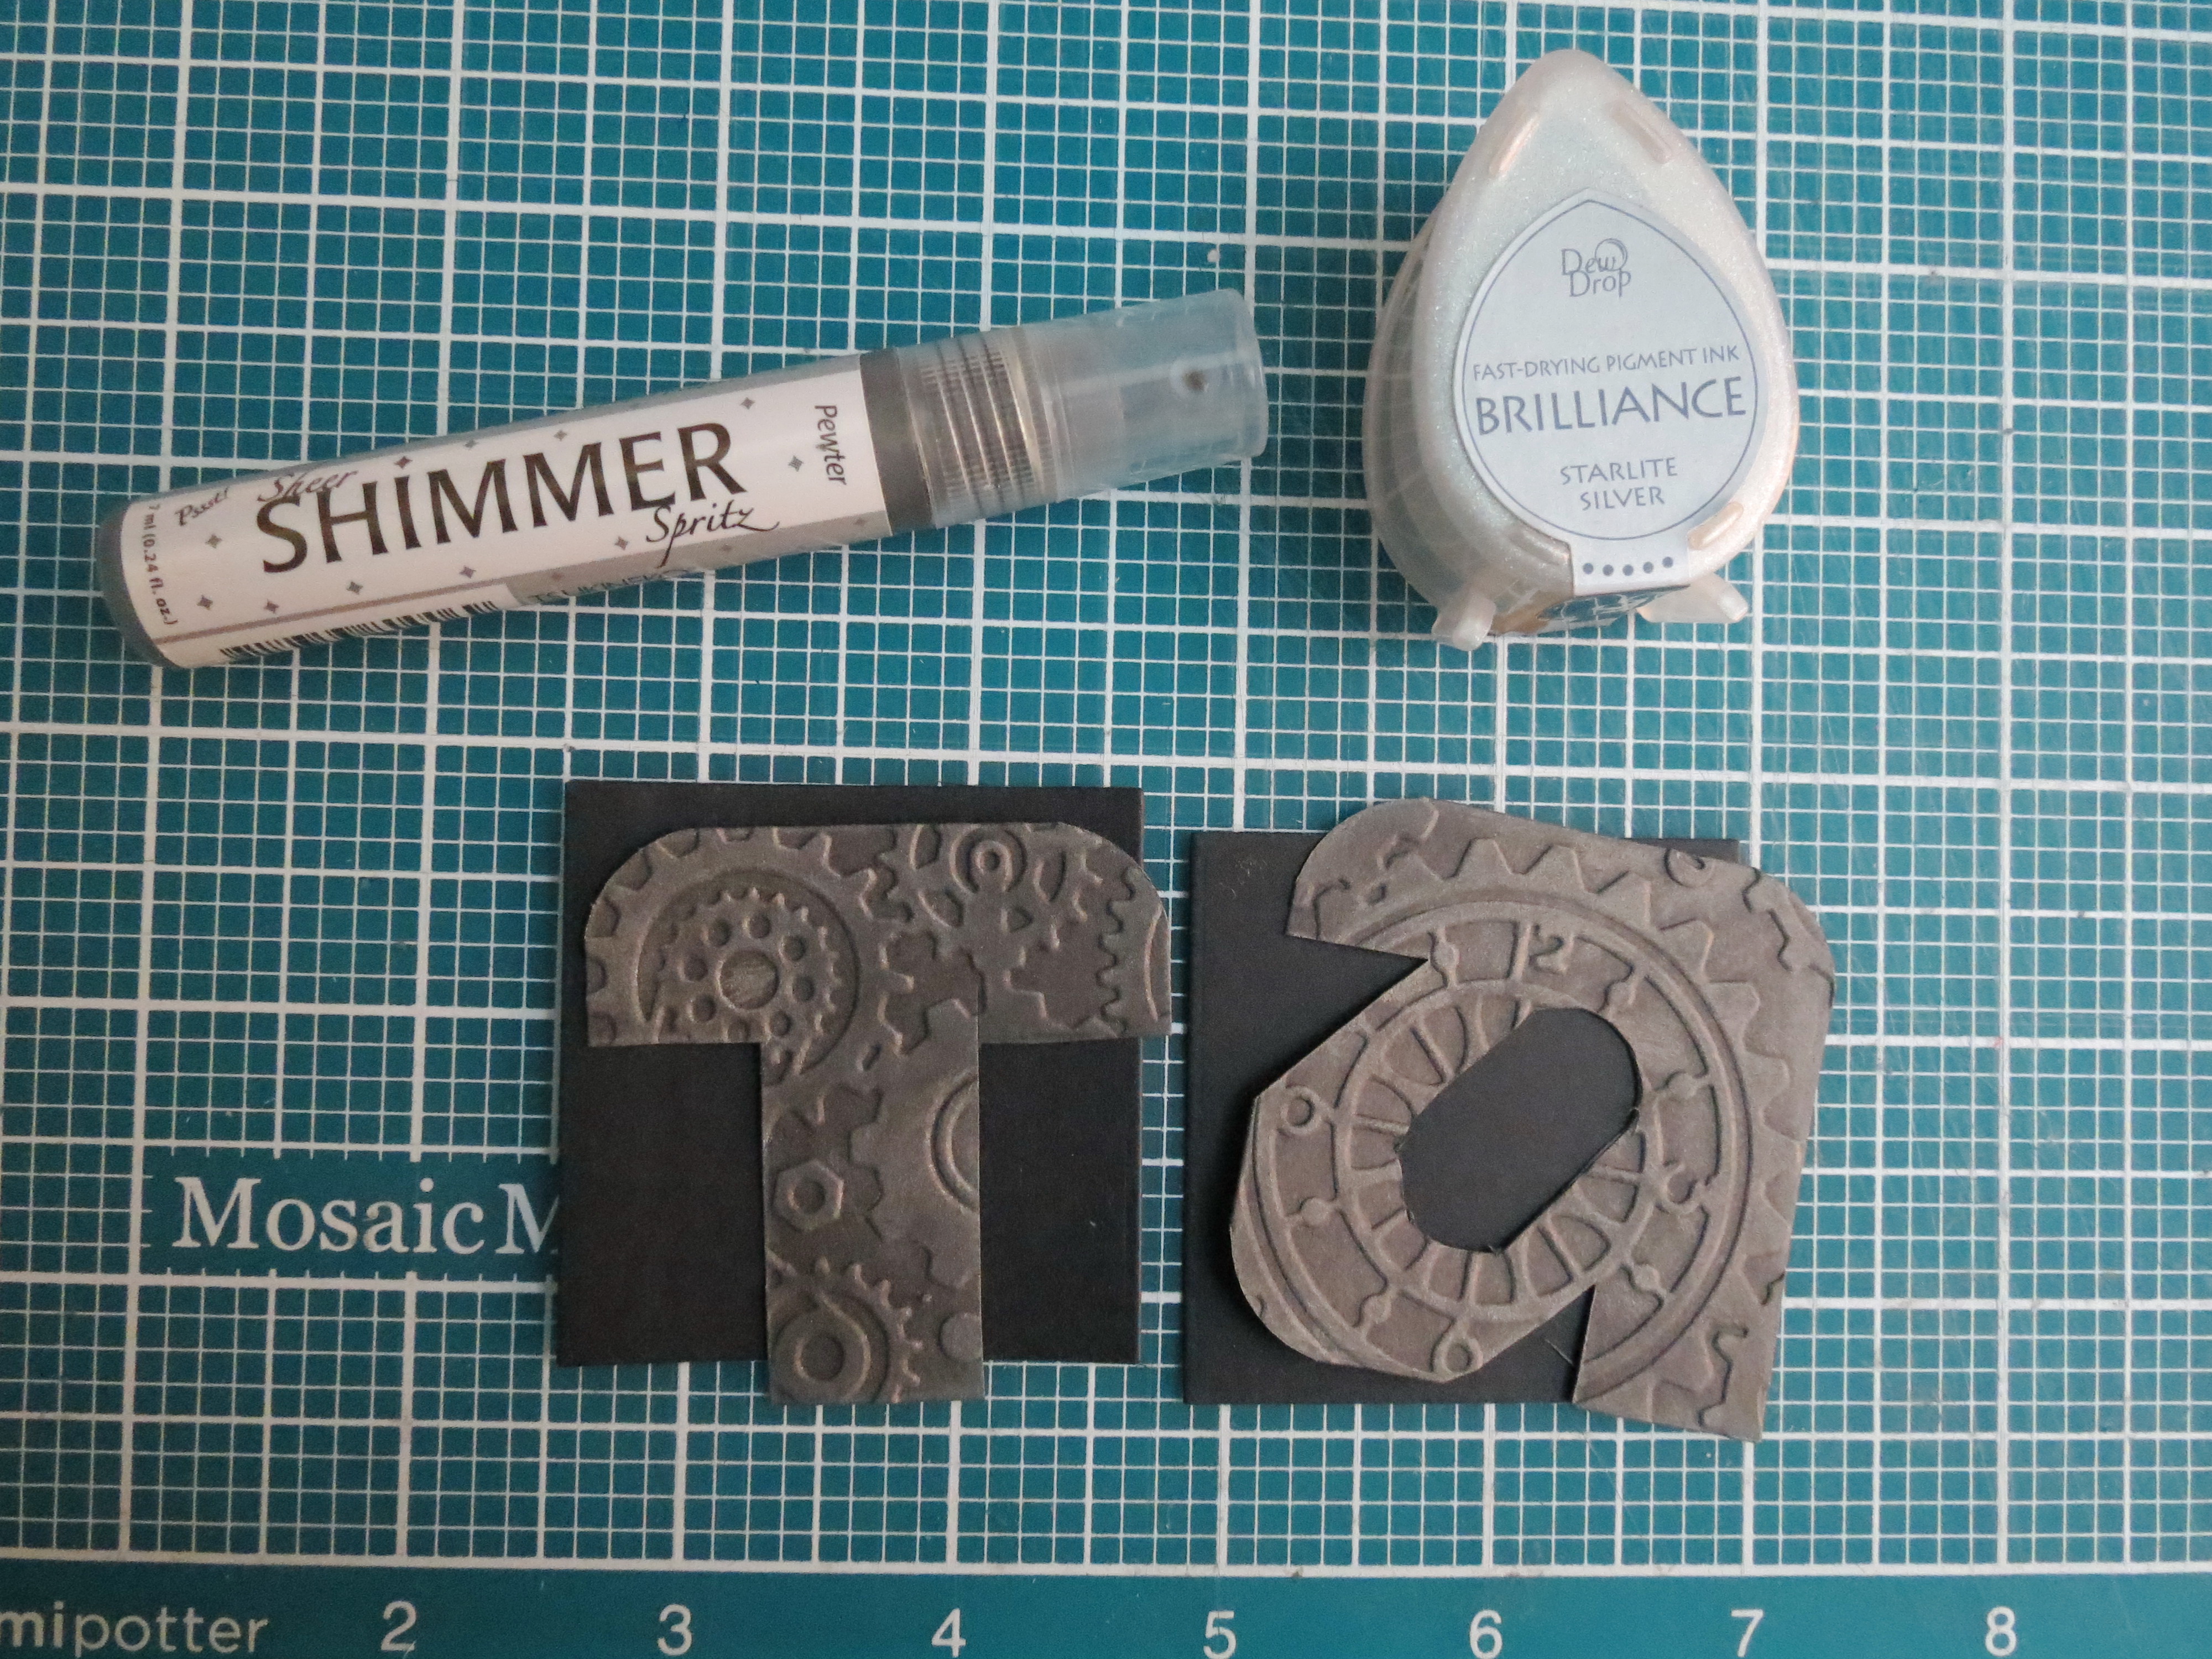
Basketweave: scrapbooking for the guys in your life Title cut, embossed, inked and misted
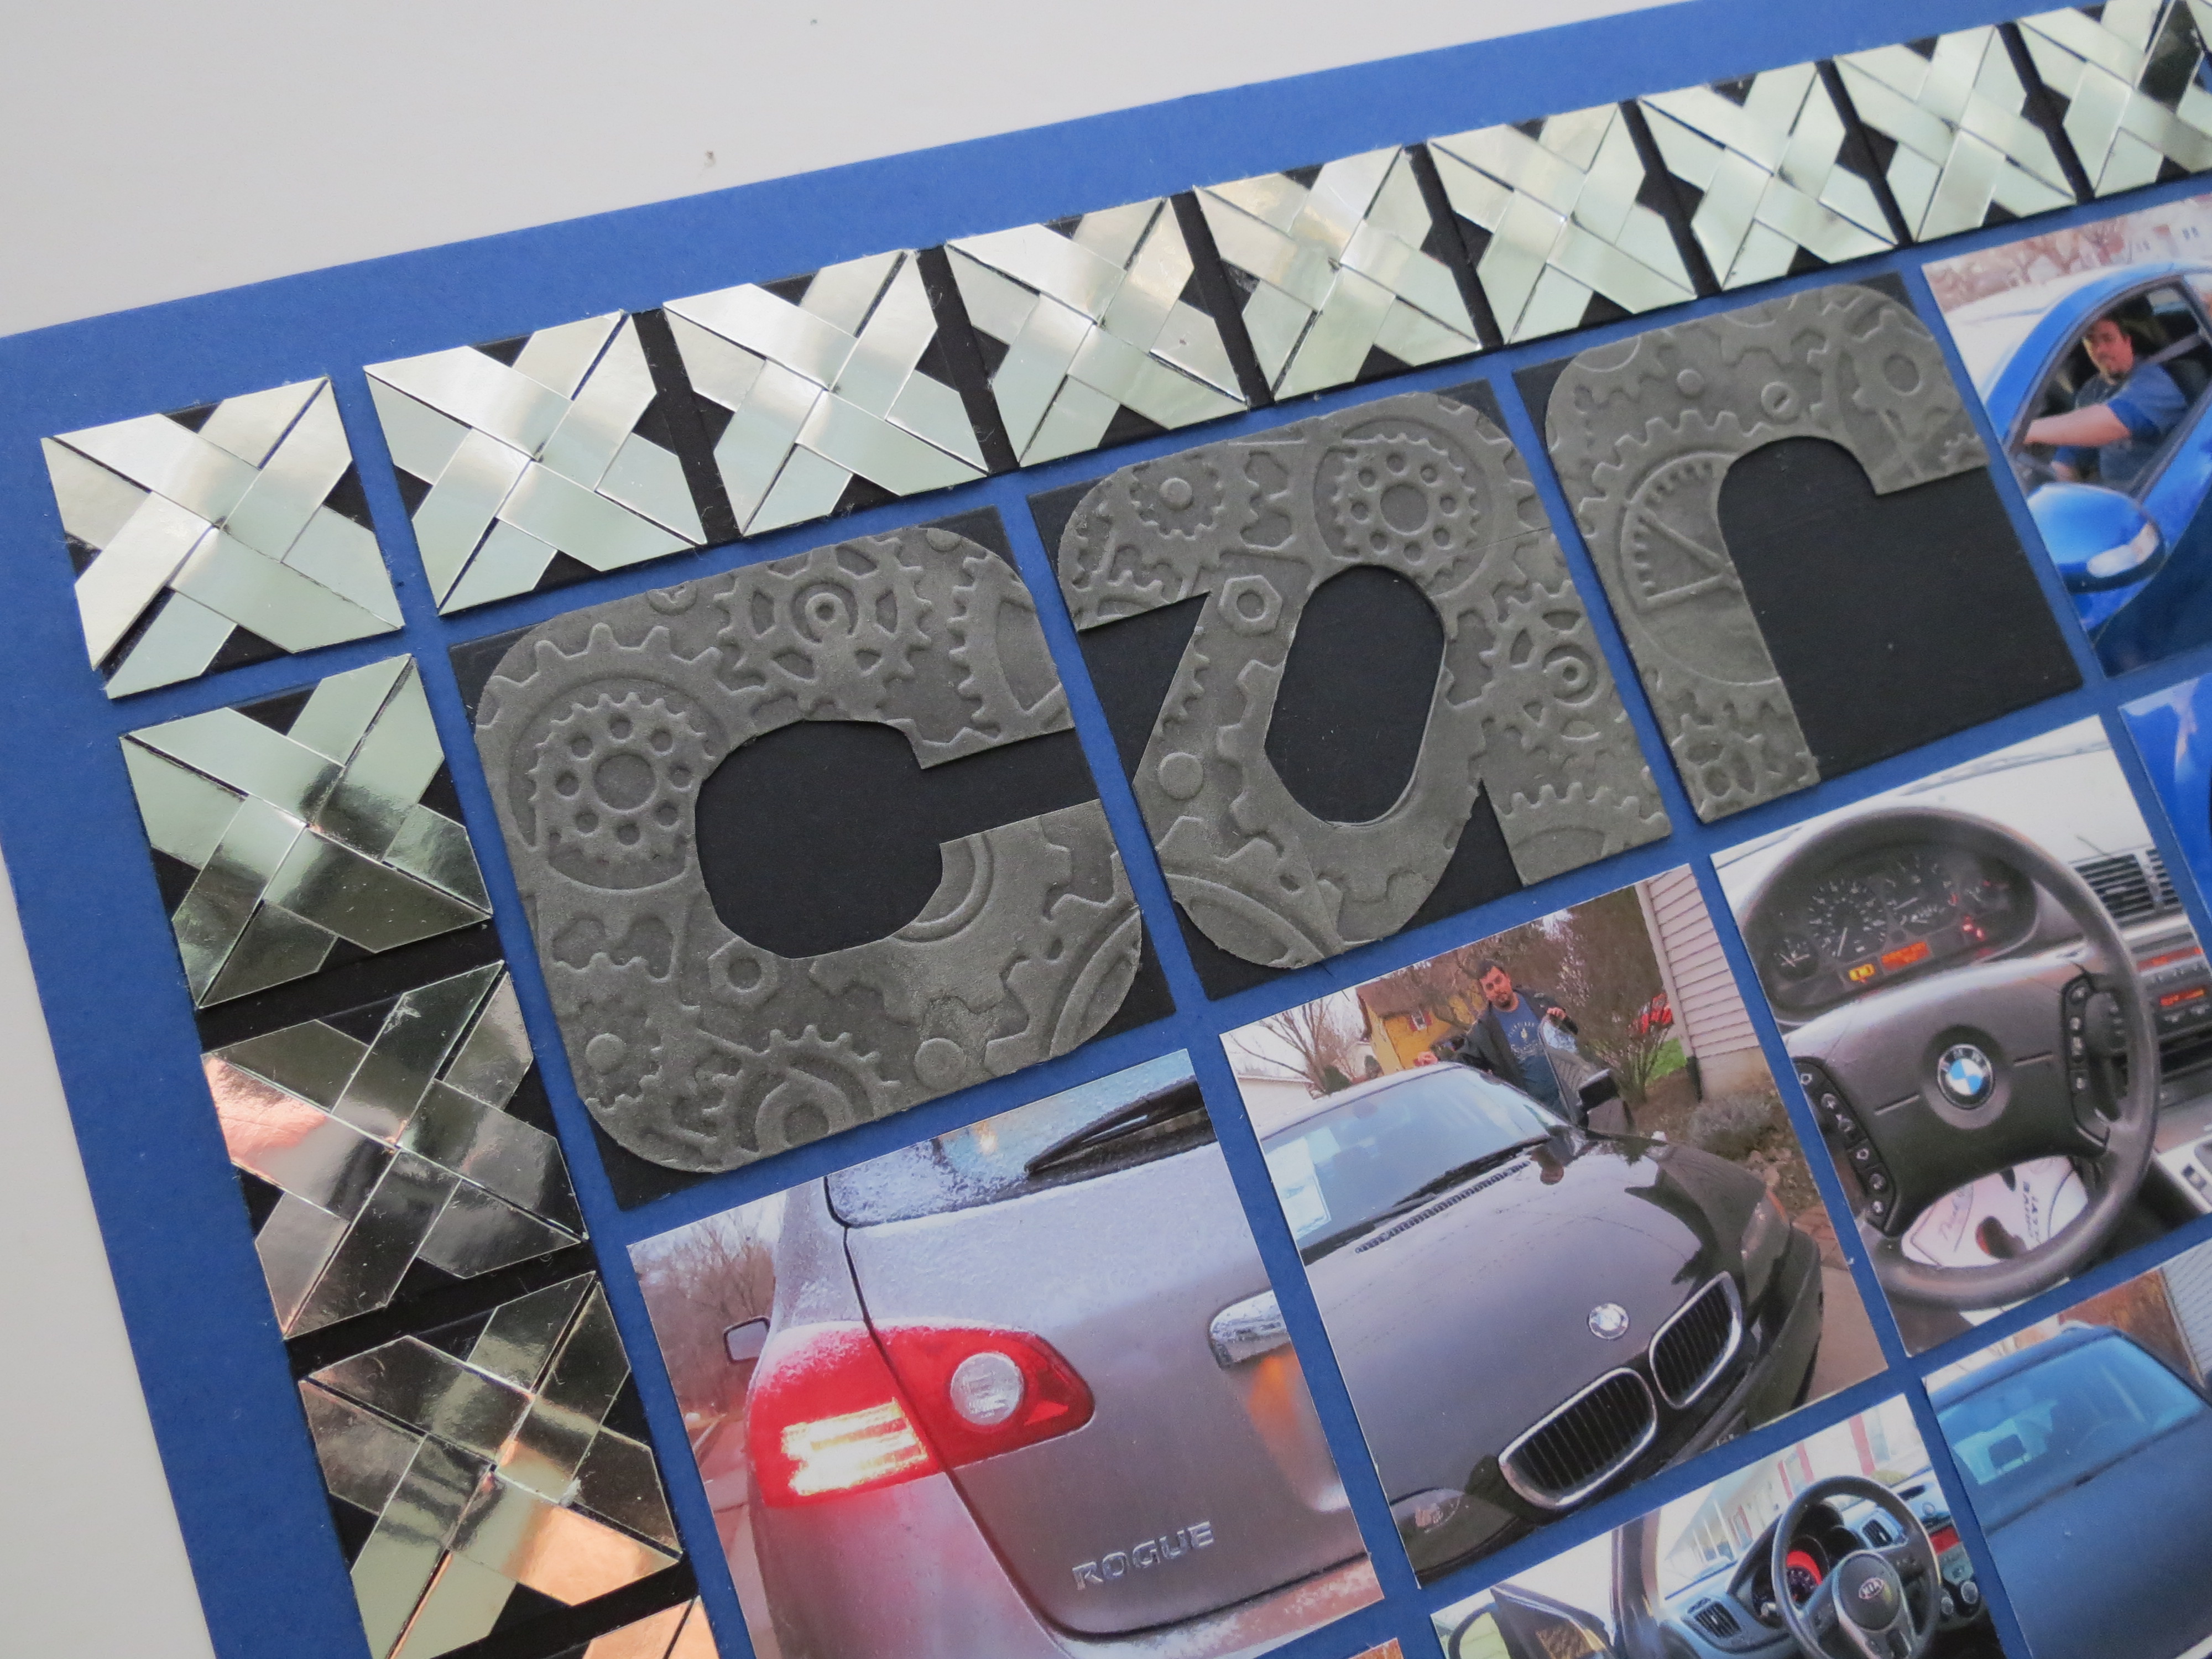
Basketweave: scrapbooking for the guys in your life. Border details and Title details.
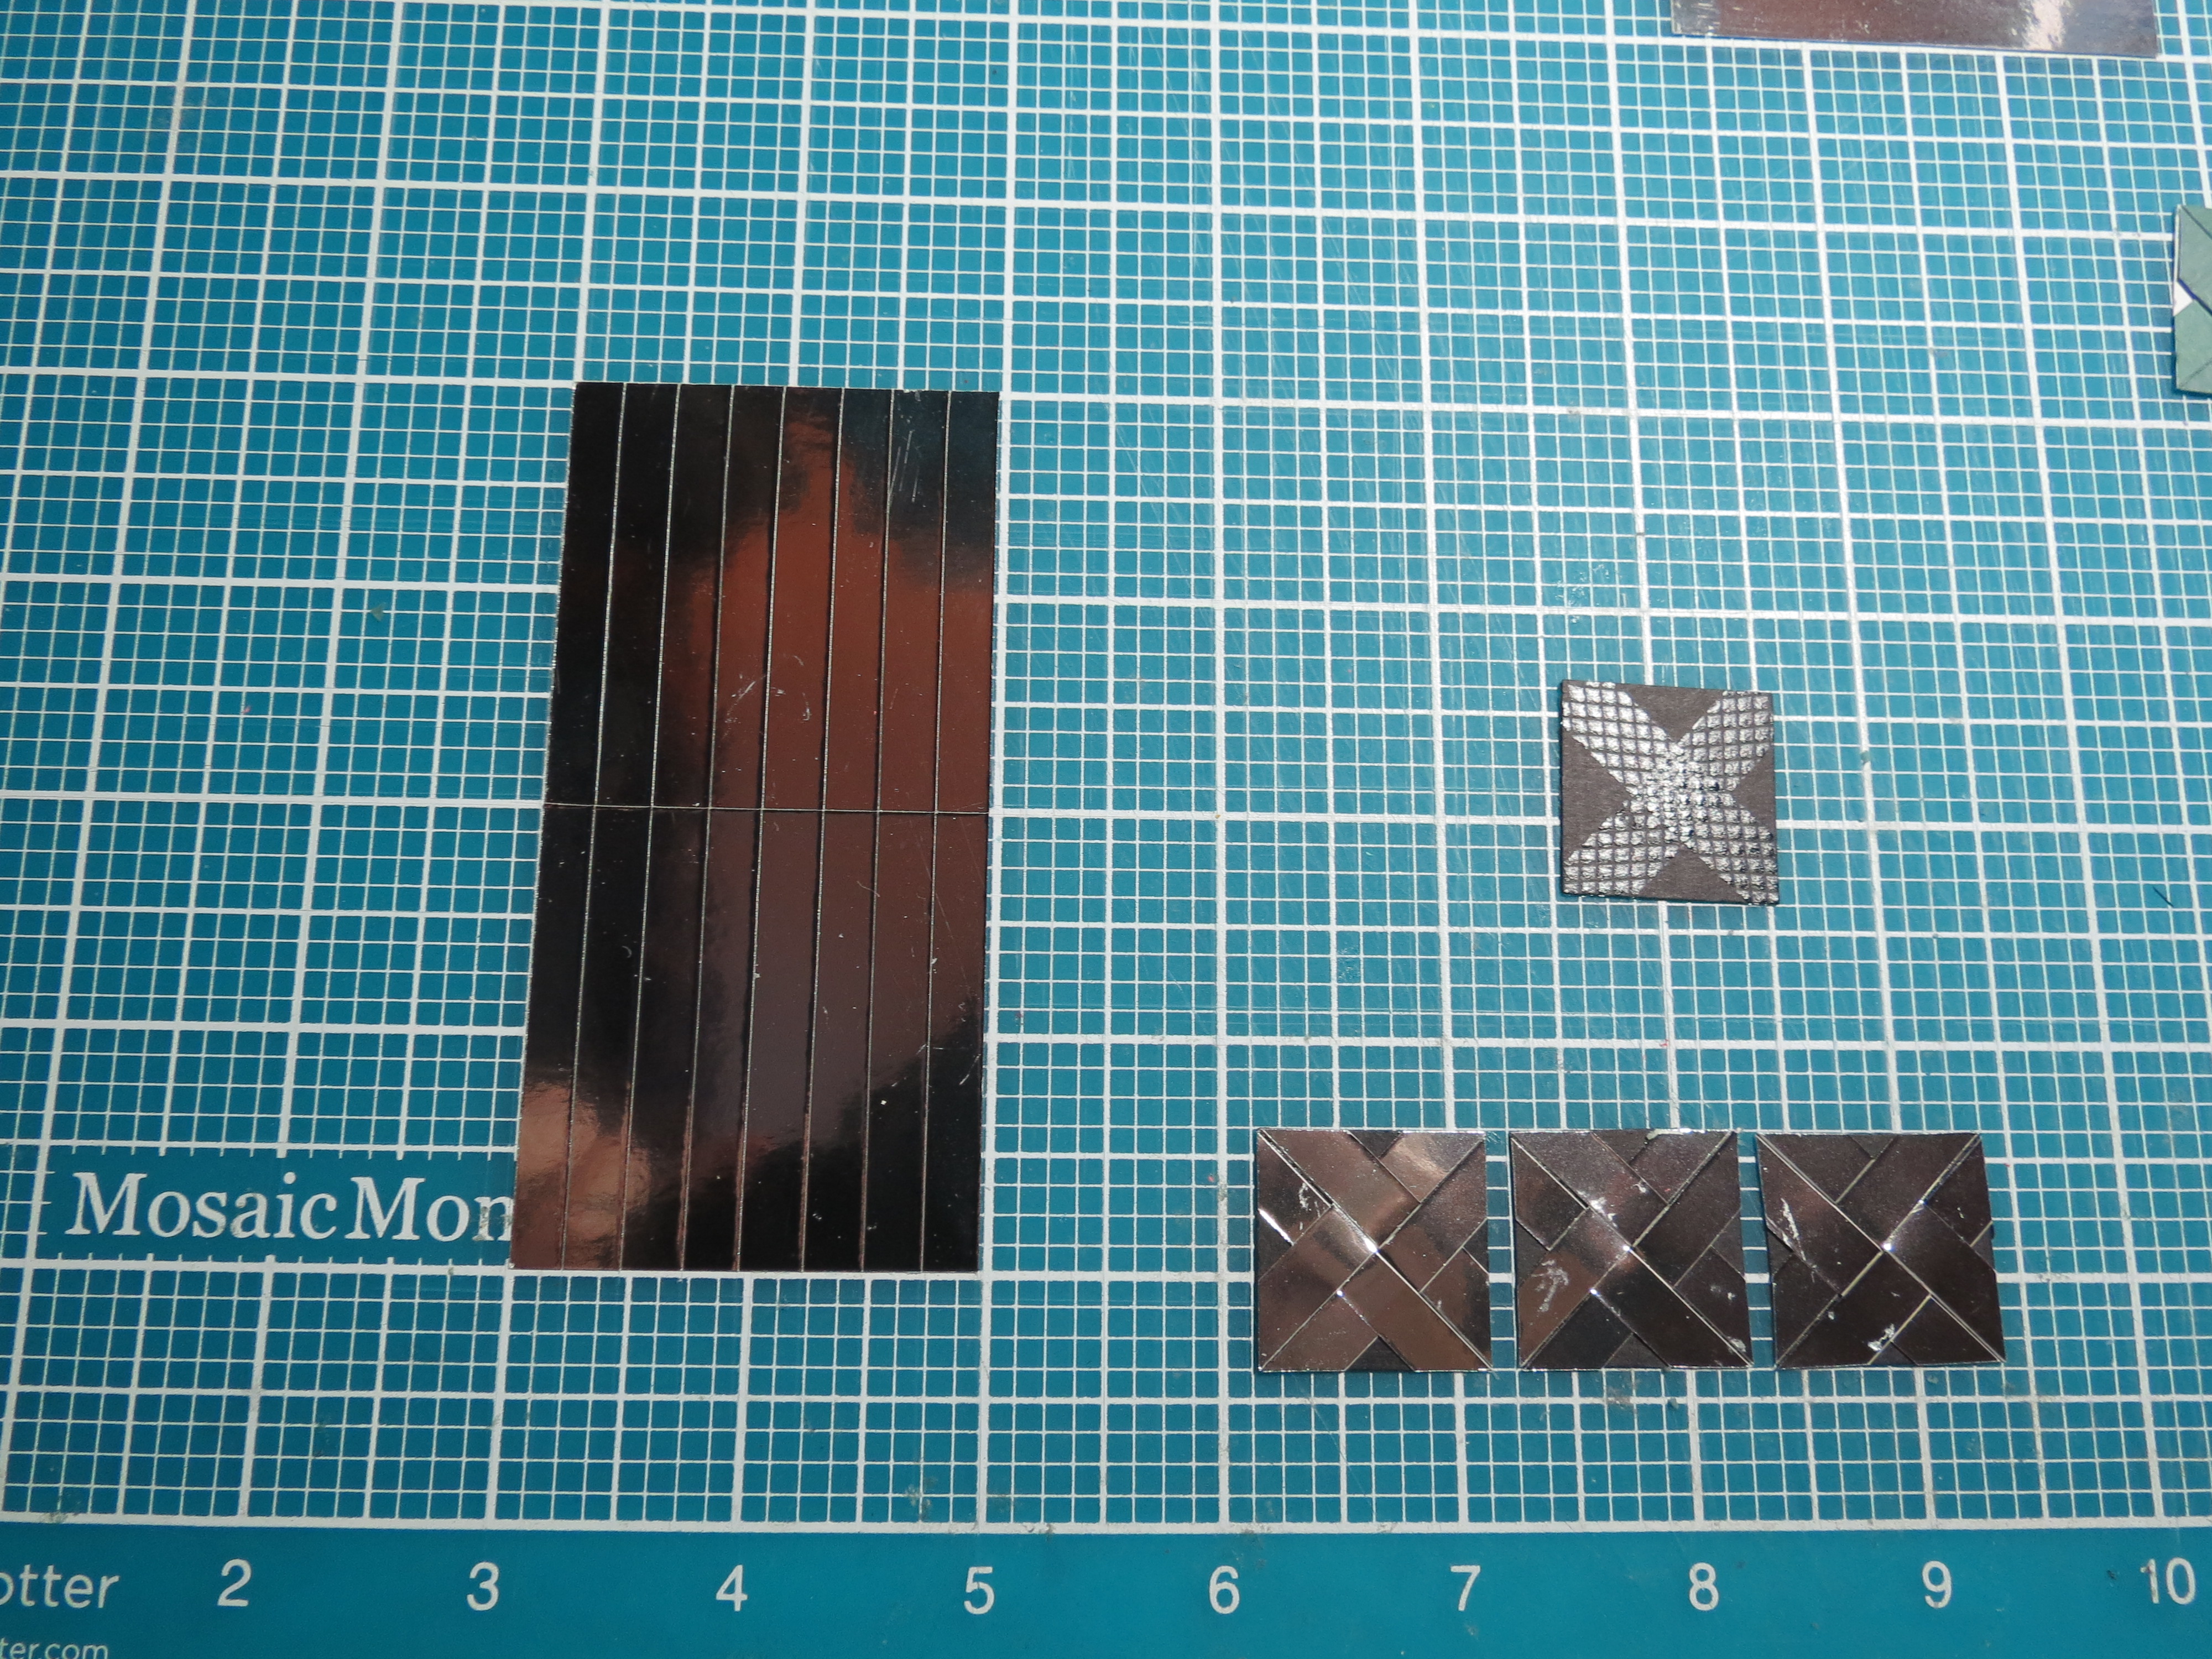
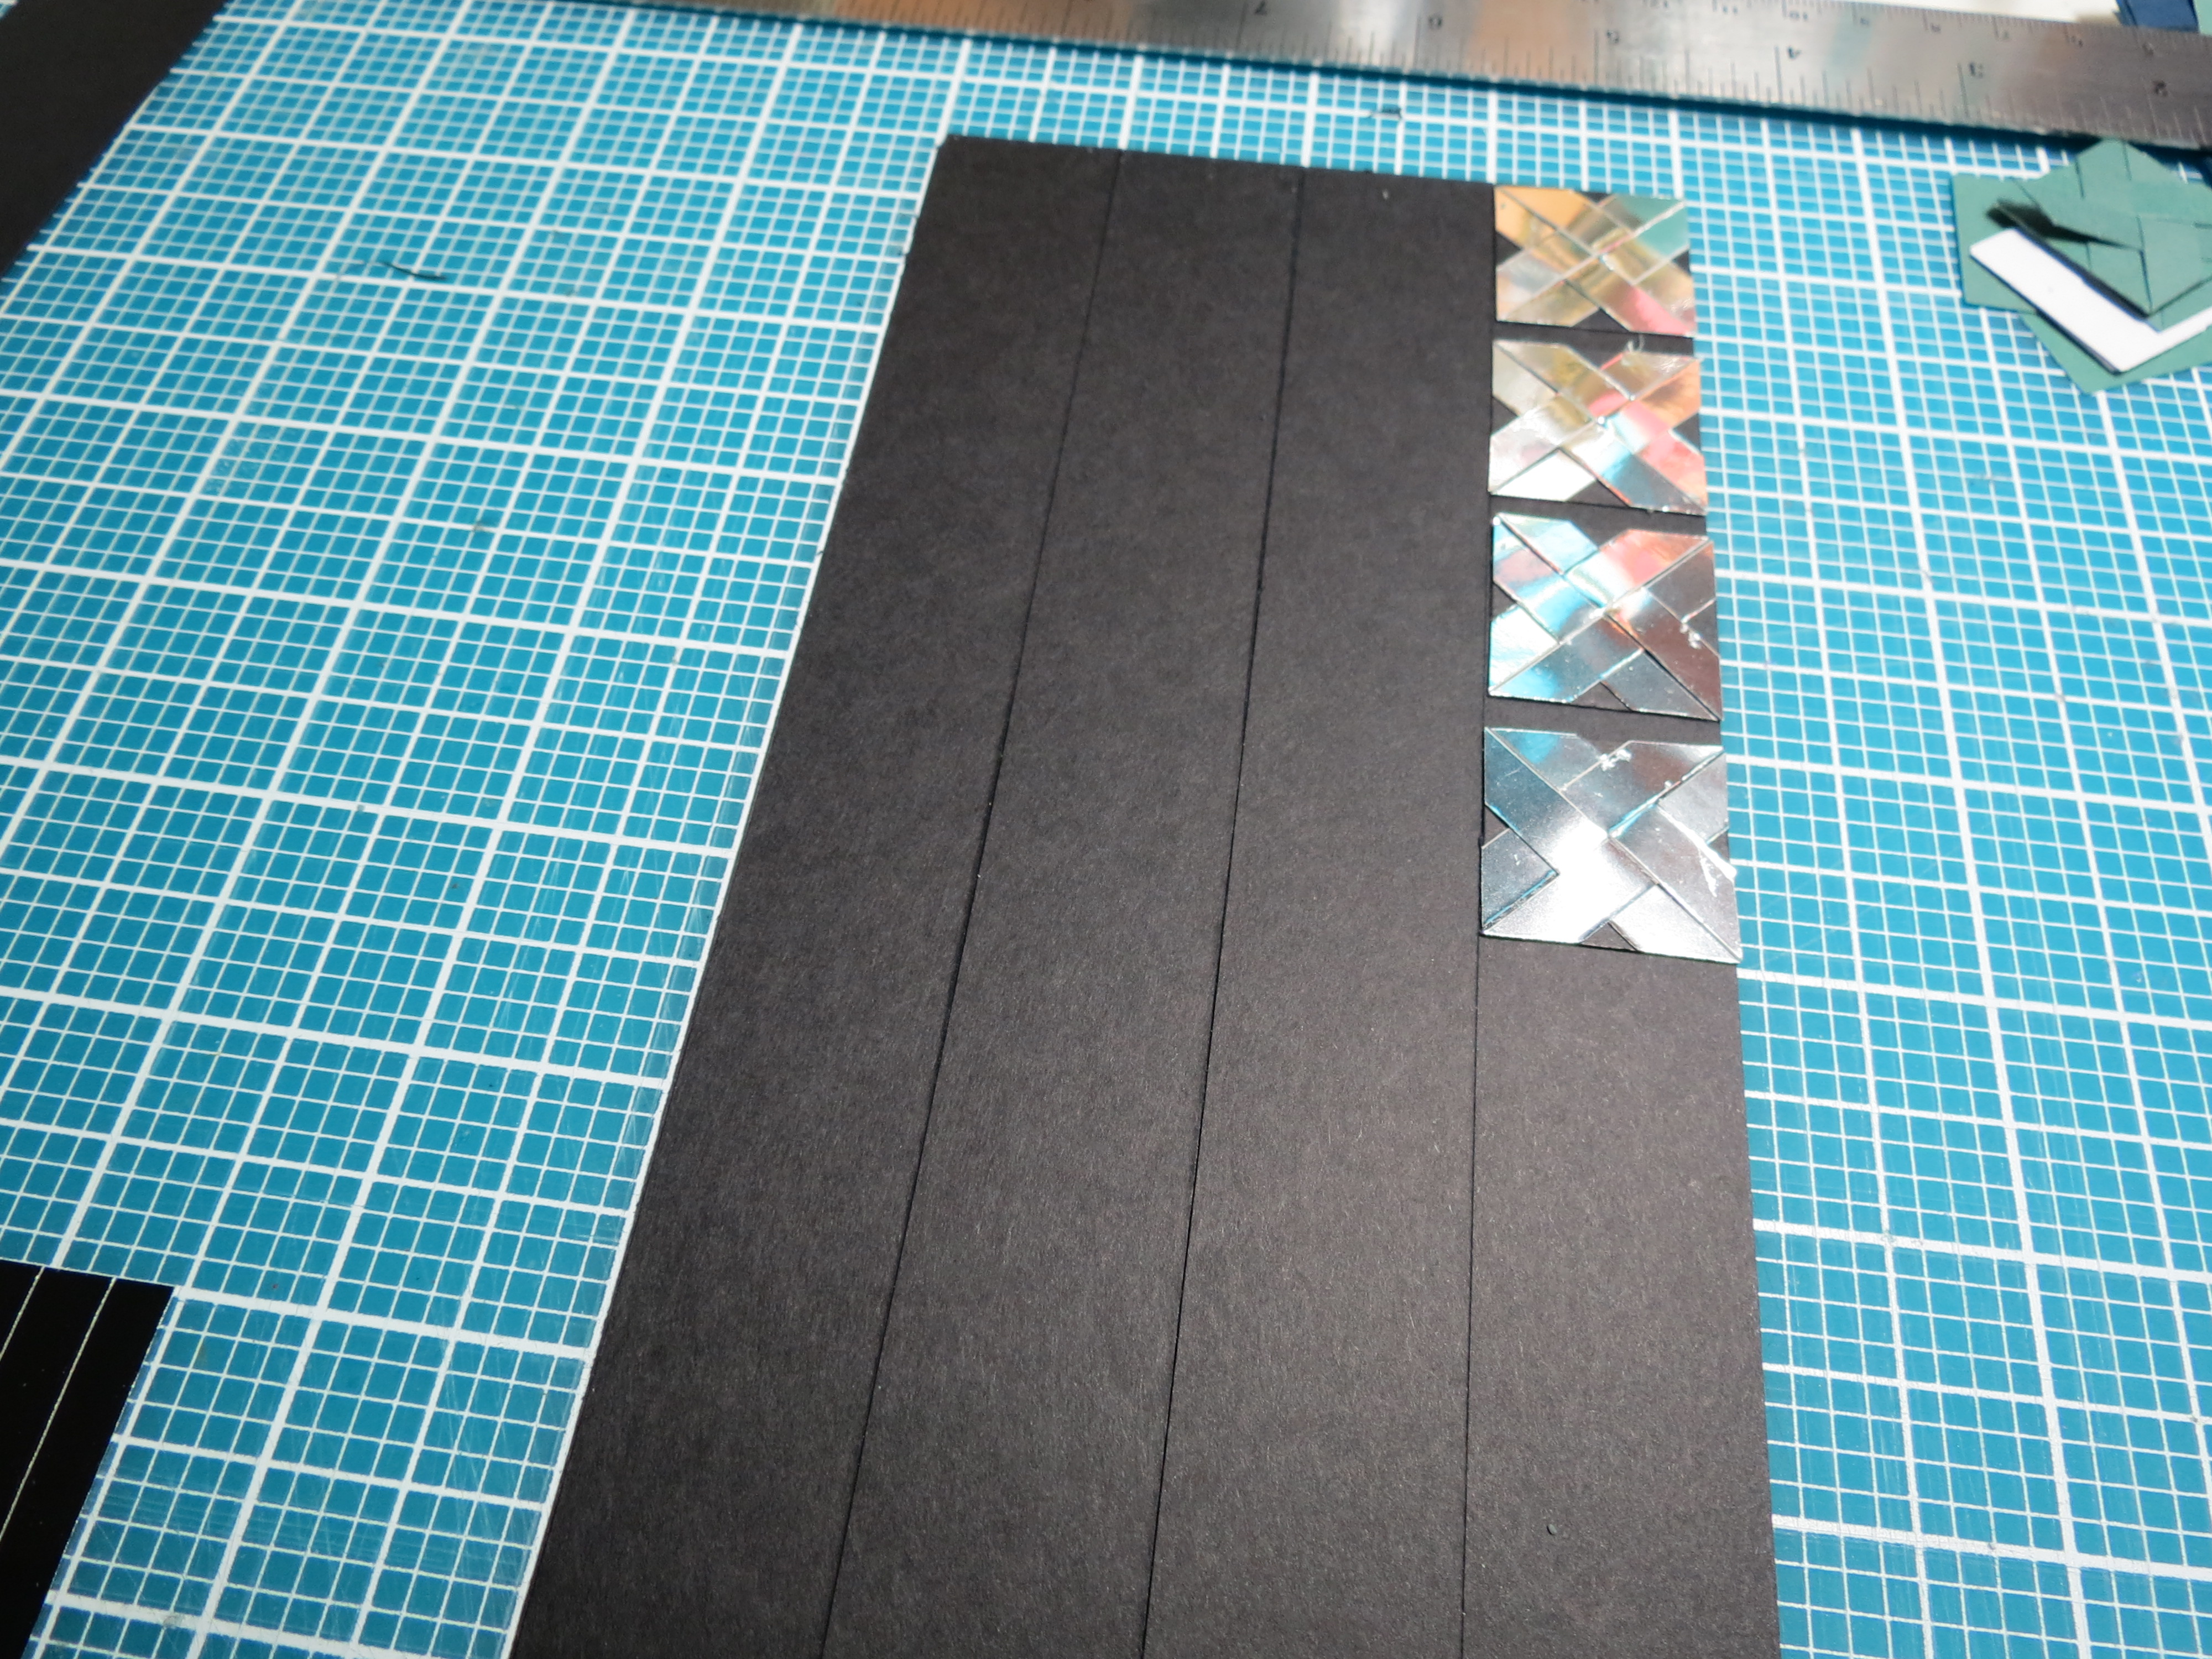
The featured basketweave technique for this layout will be applied to the four 1×8 sections of each border. The bottom layer is black cardstock and the basketweave will be built on 1” black squares using ¼” x 2” silver paper strips. If you use the corners to line up your strips as you build the pattern, this will help to keep things square. A crisscross of adhesive will help to hold things firmly in place. I’ve shown you the step by step placement to make this a speedy process. I thought it had a look of a diamond plate pattern you might find on a truck step or running board for a very masculine look.
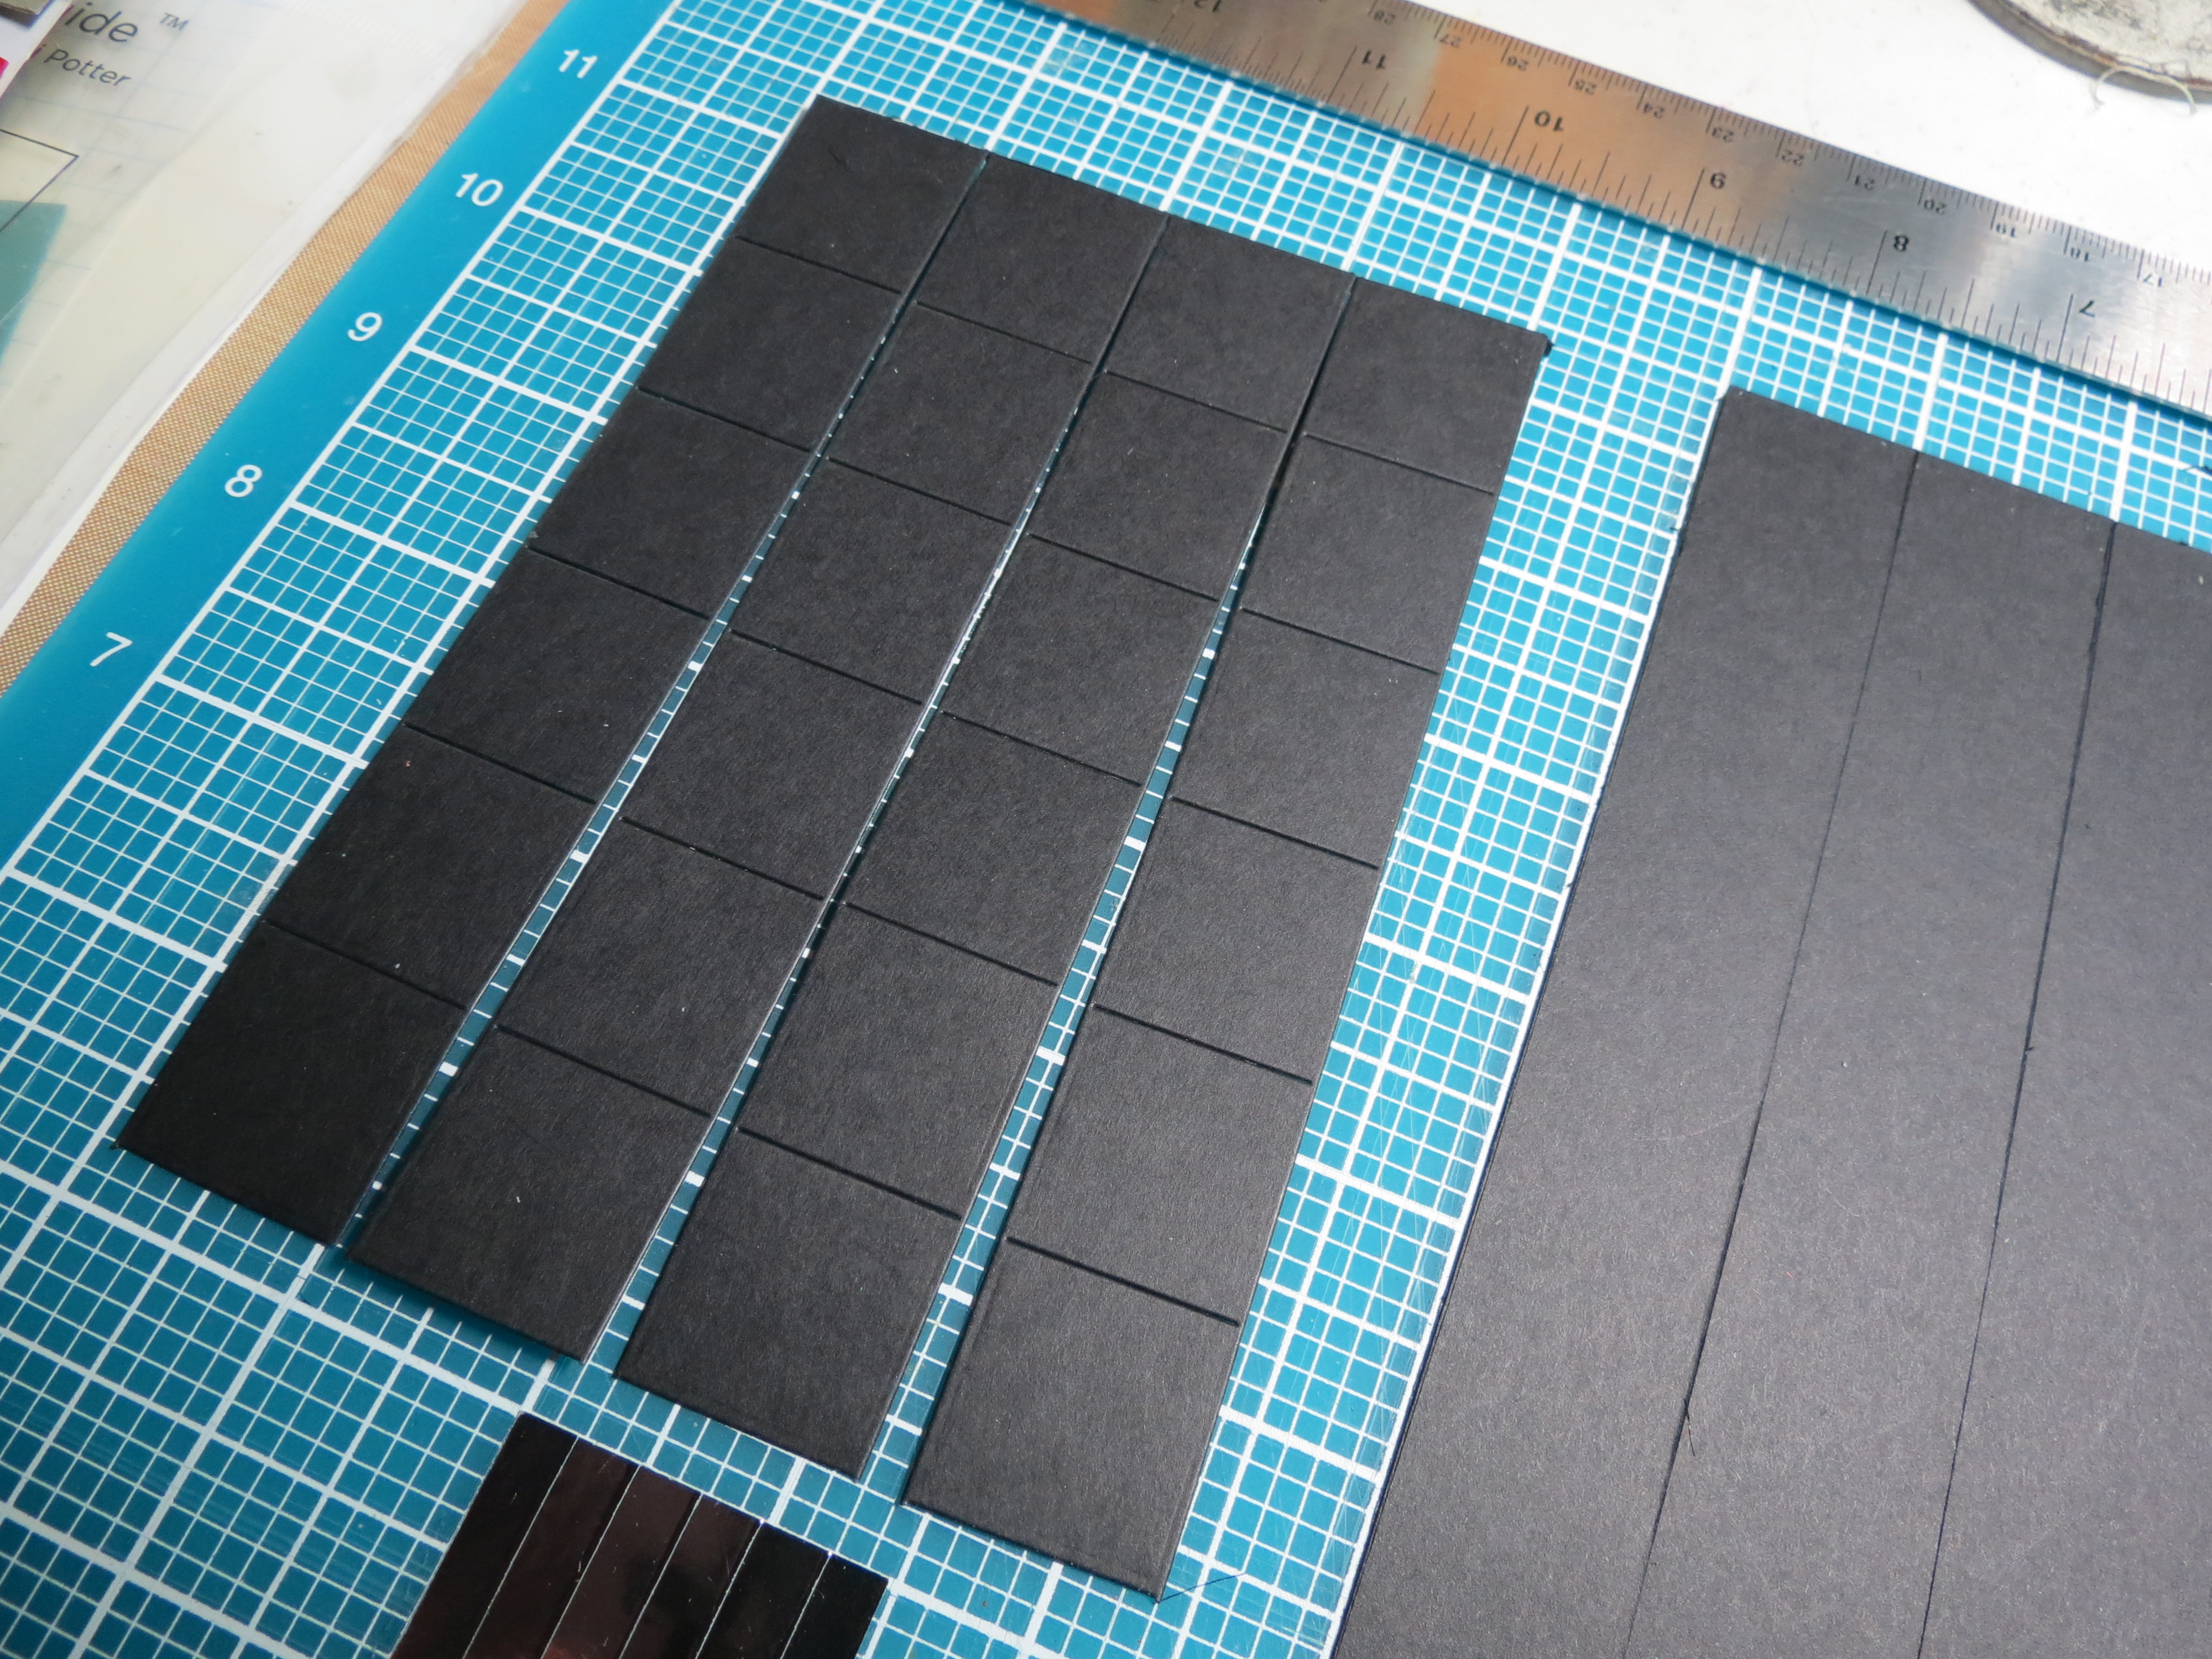
Basketweave: scrapbooking for the guys in your life. Cut your 1″ tiles using the die. Cut strips of ‘ black cardstock.
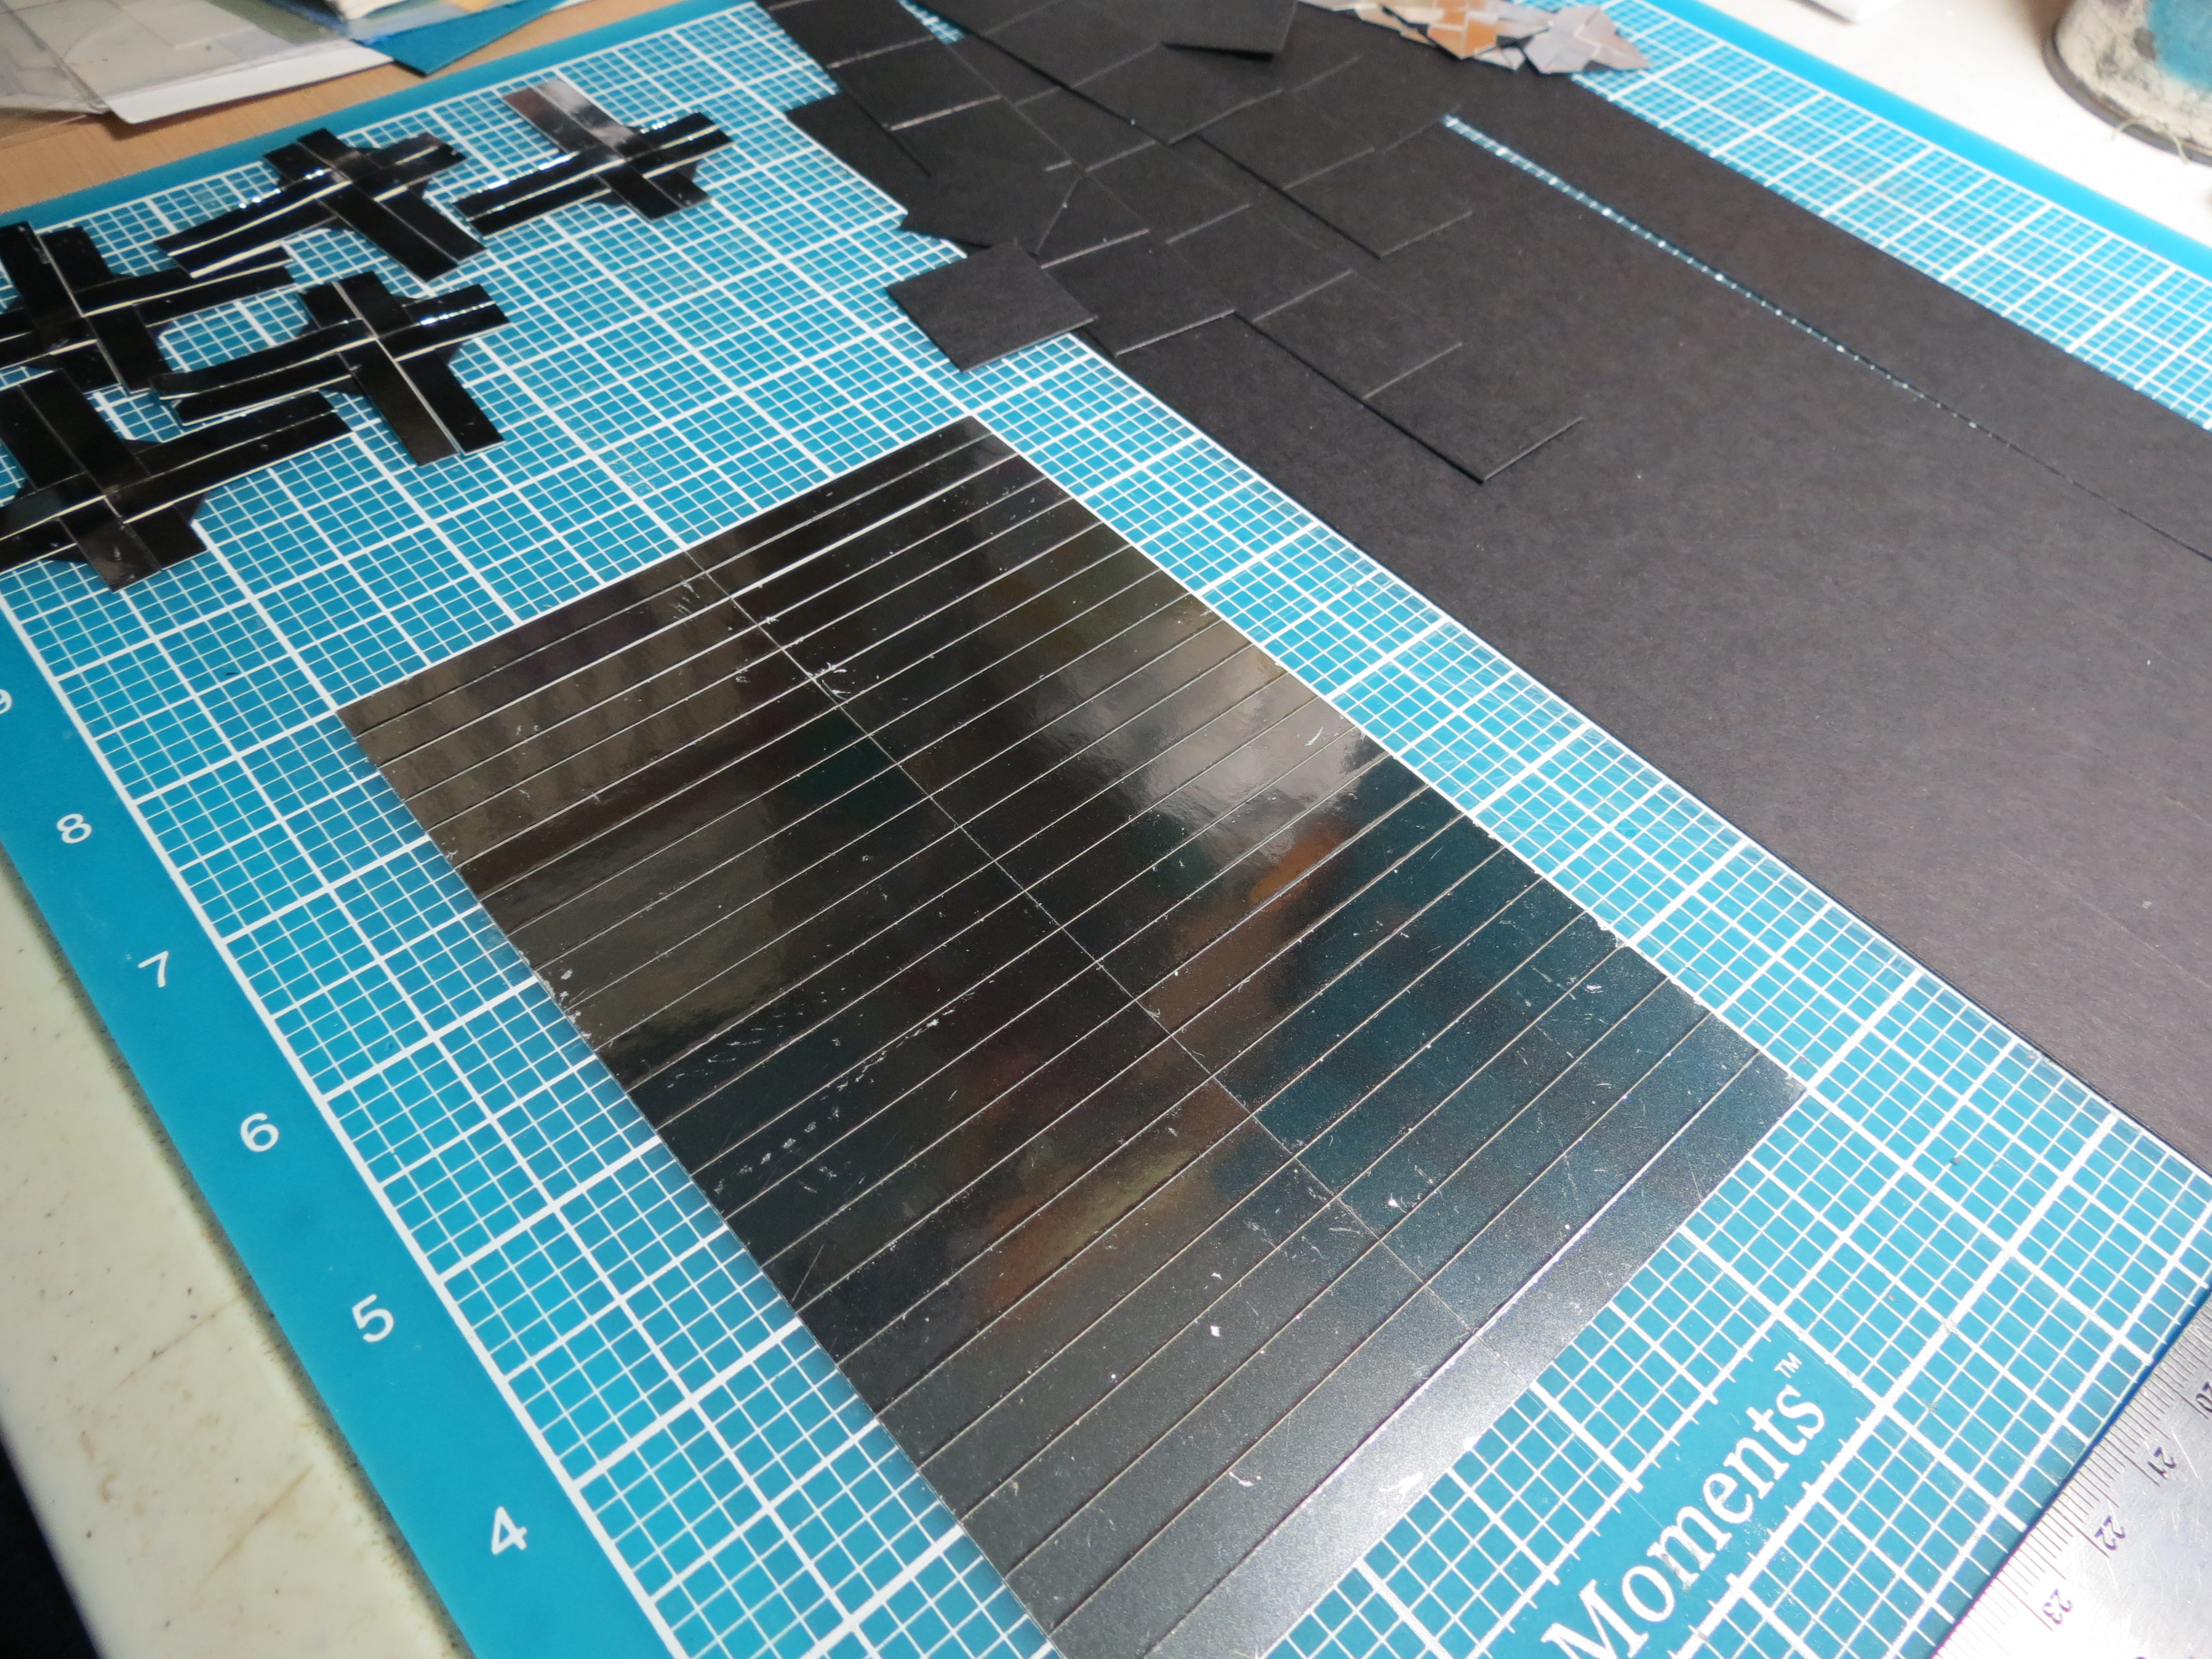
Basketweave: scrapbooking for the guys in your life. Cut silver paper into 1/4″x 4″ strips, divide in half for 2″ pieces.
Basketweave: scrapbooking for the guys in your life. Crisscross adhesive to adhere silver strips.
Basketweave: scrapbooking for the guys in your life. Match strips to corner points.
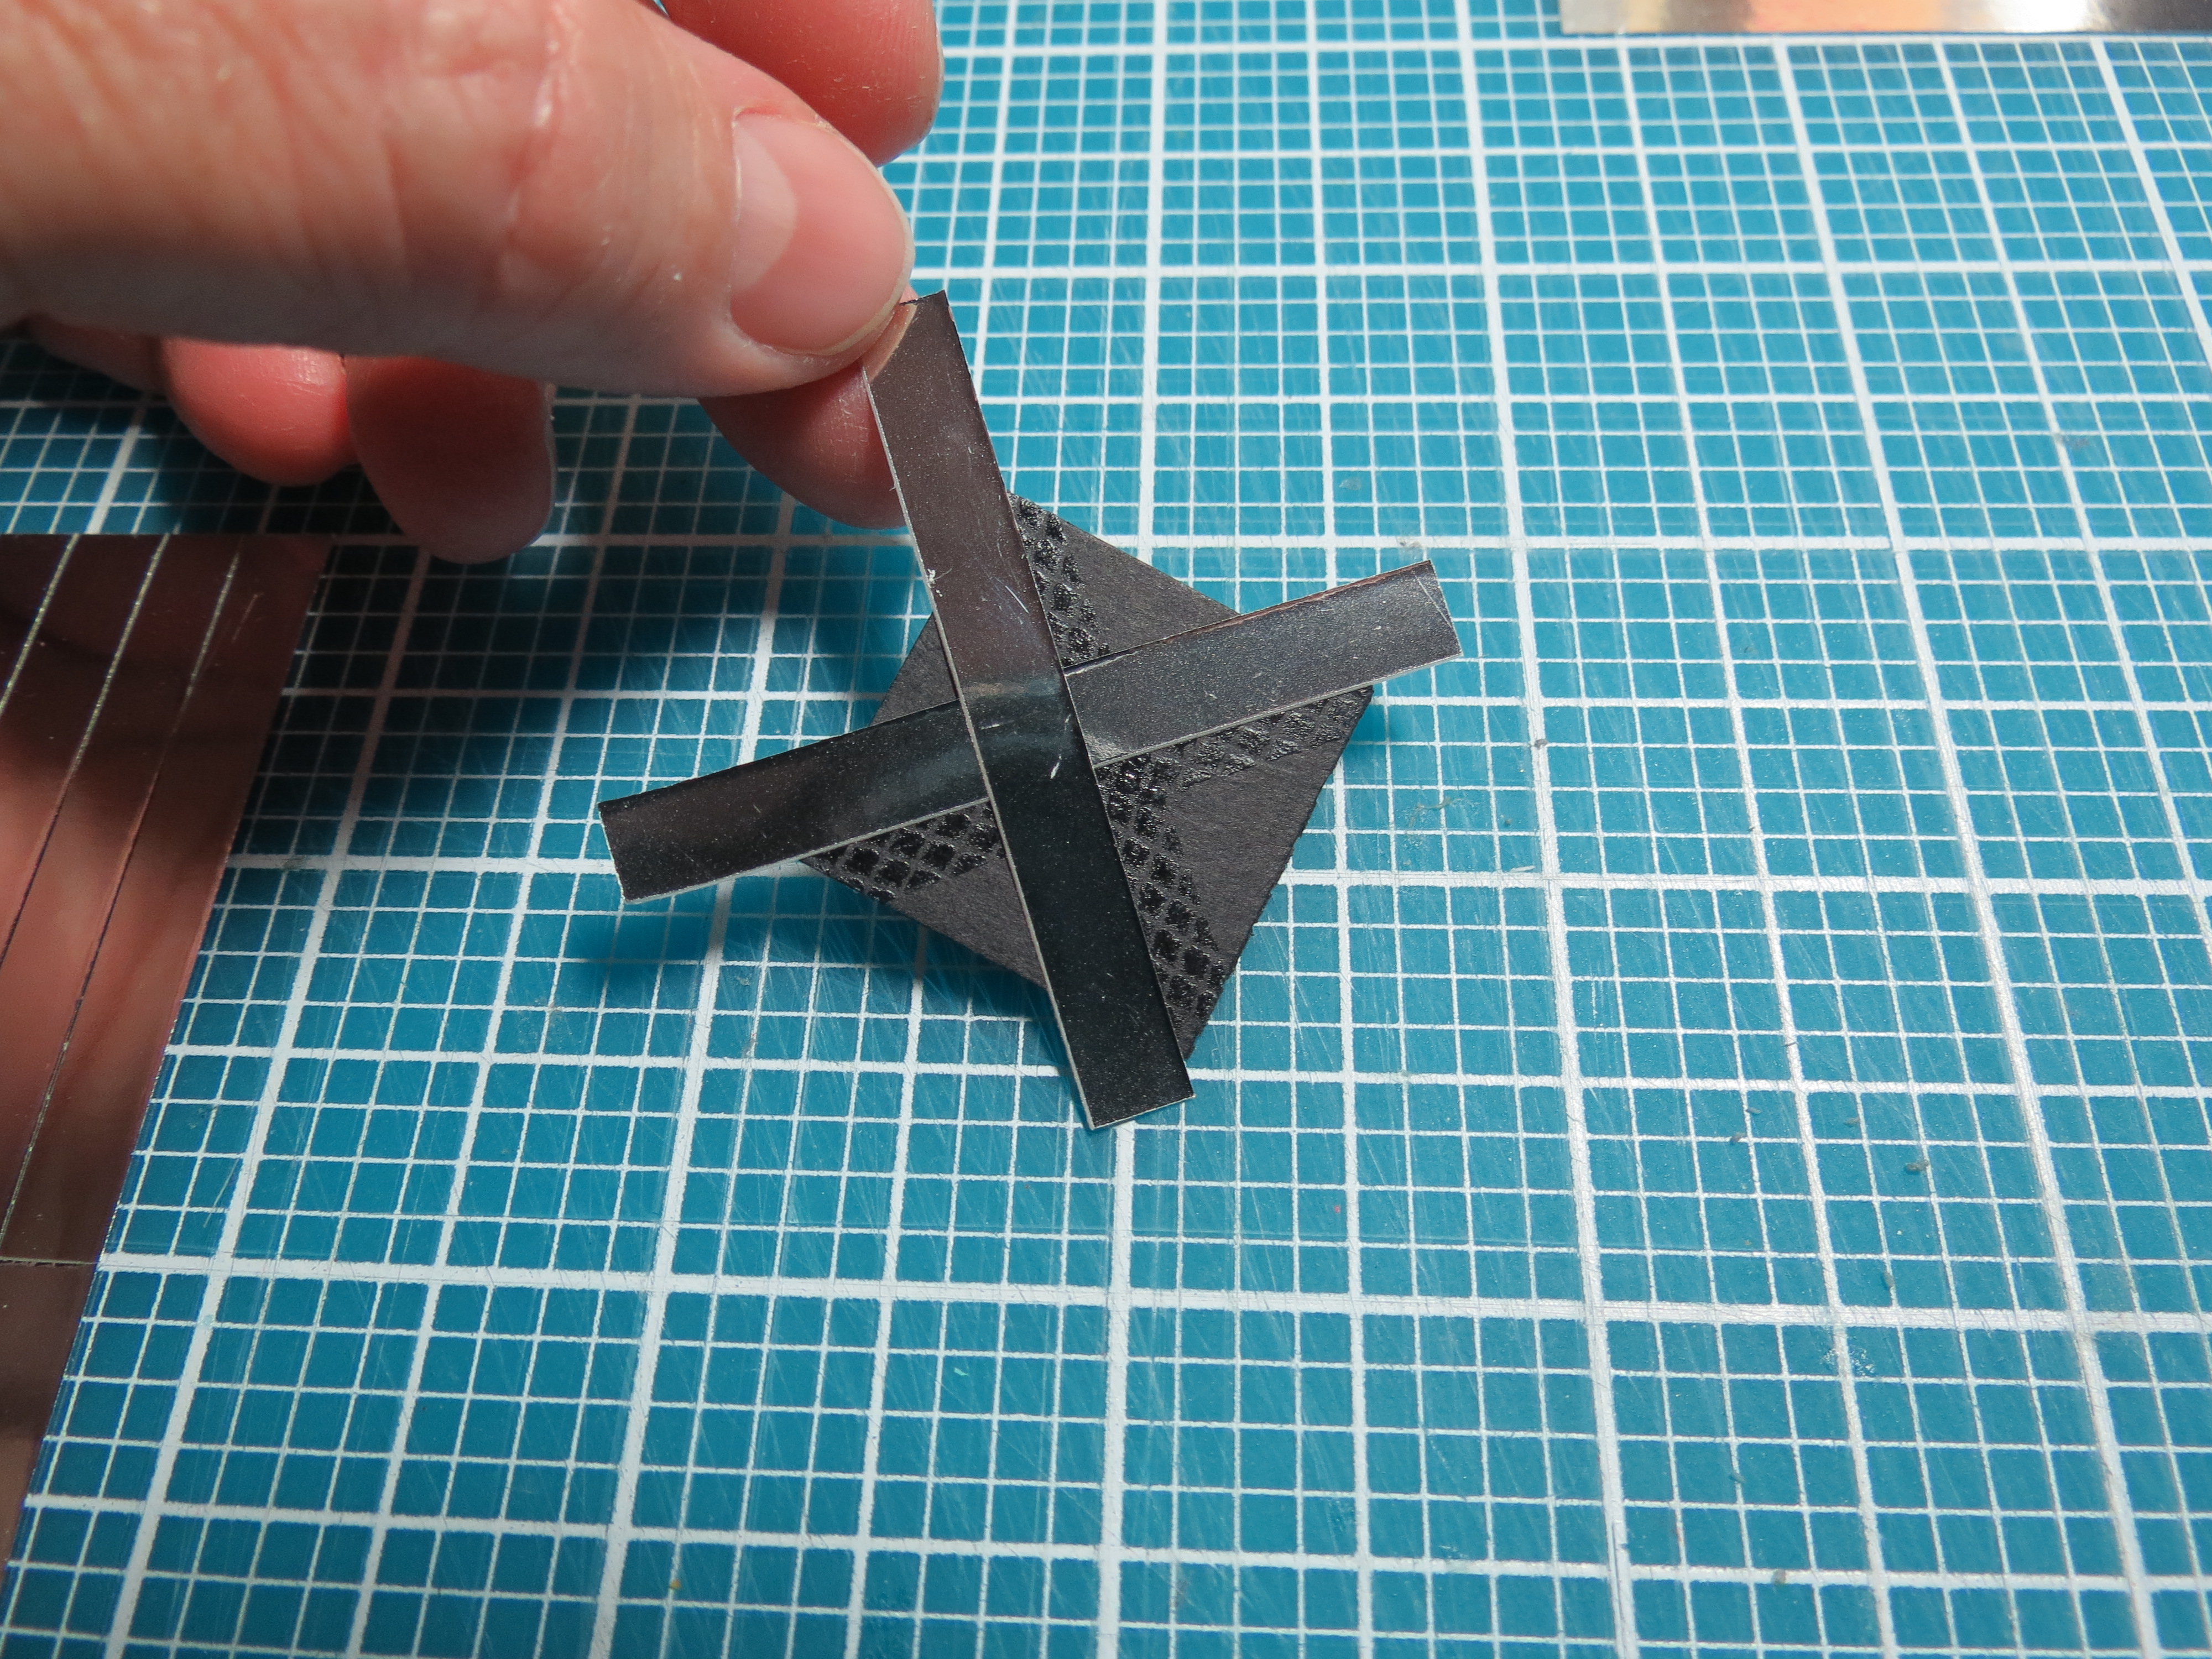
Basketweave: scrapbooking for the guys in your life. Second strip is placed at right angles.
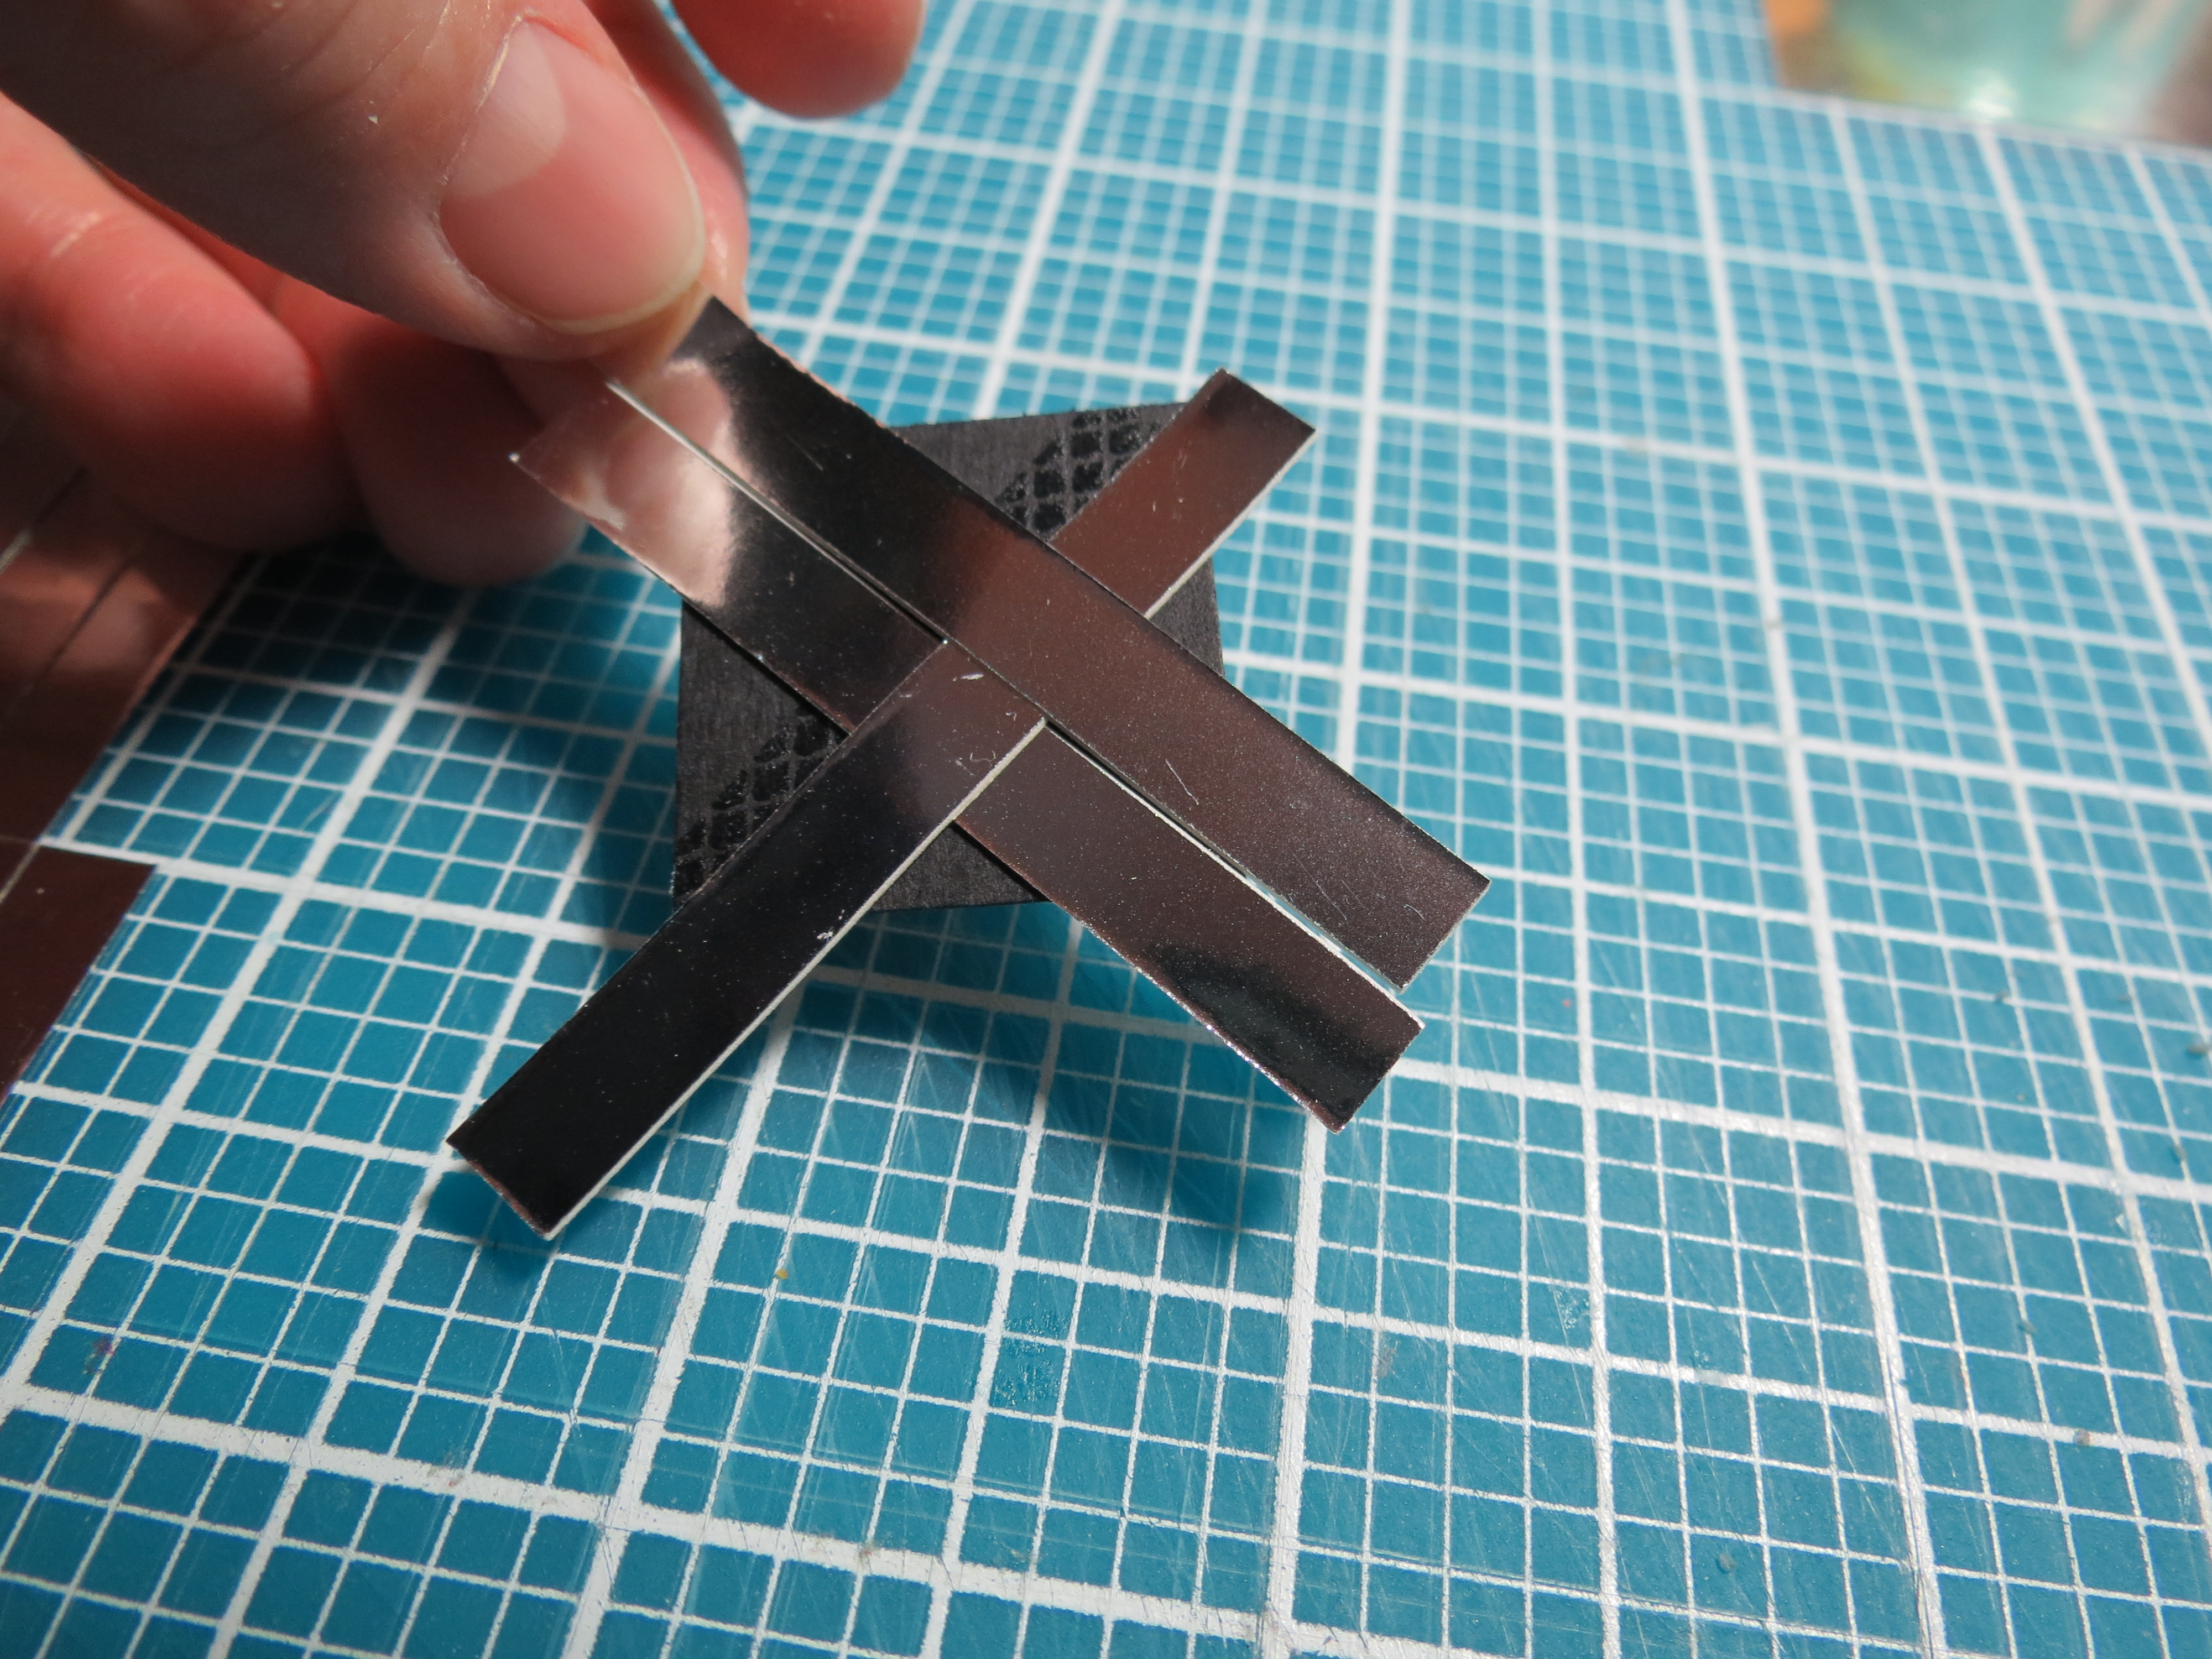
Basketweave: scrapbooking for the guys in your life. Third strip is placed.
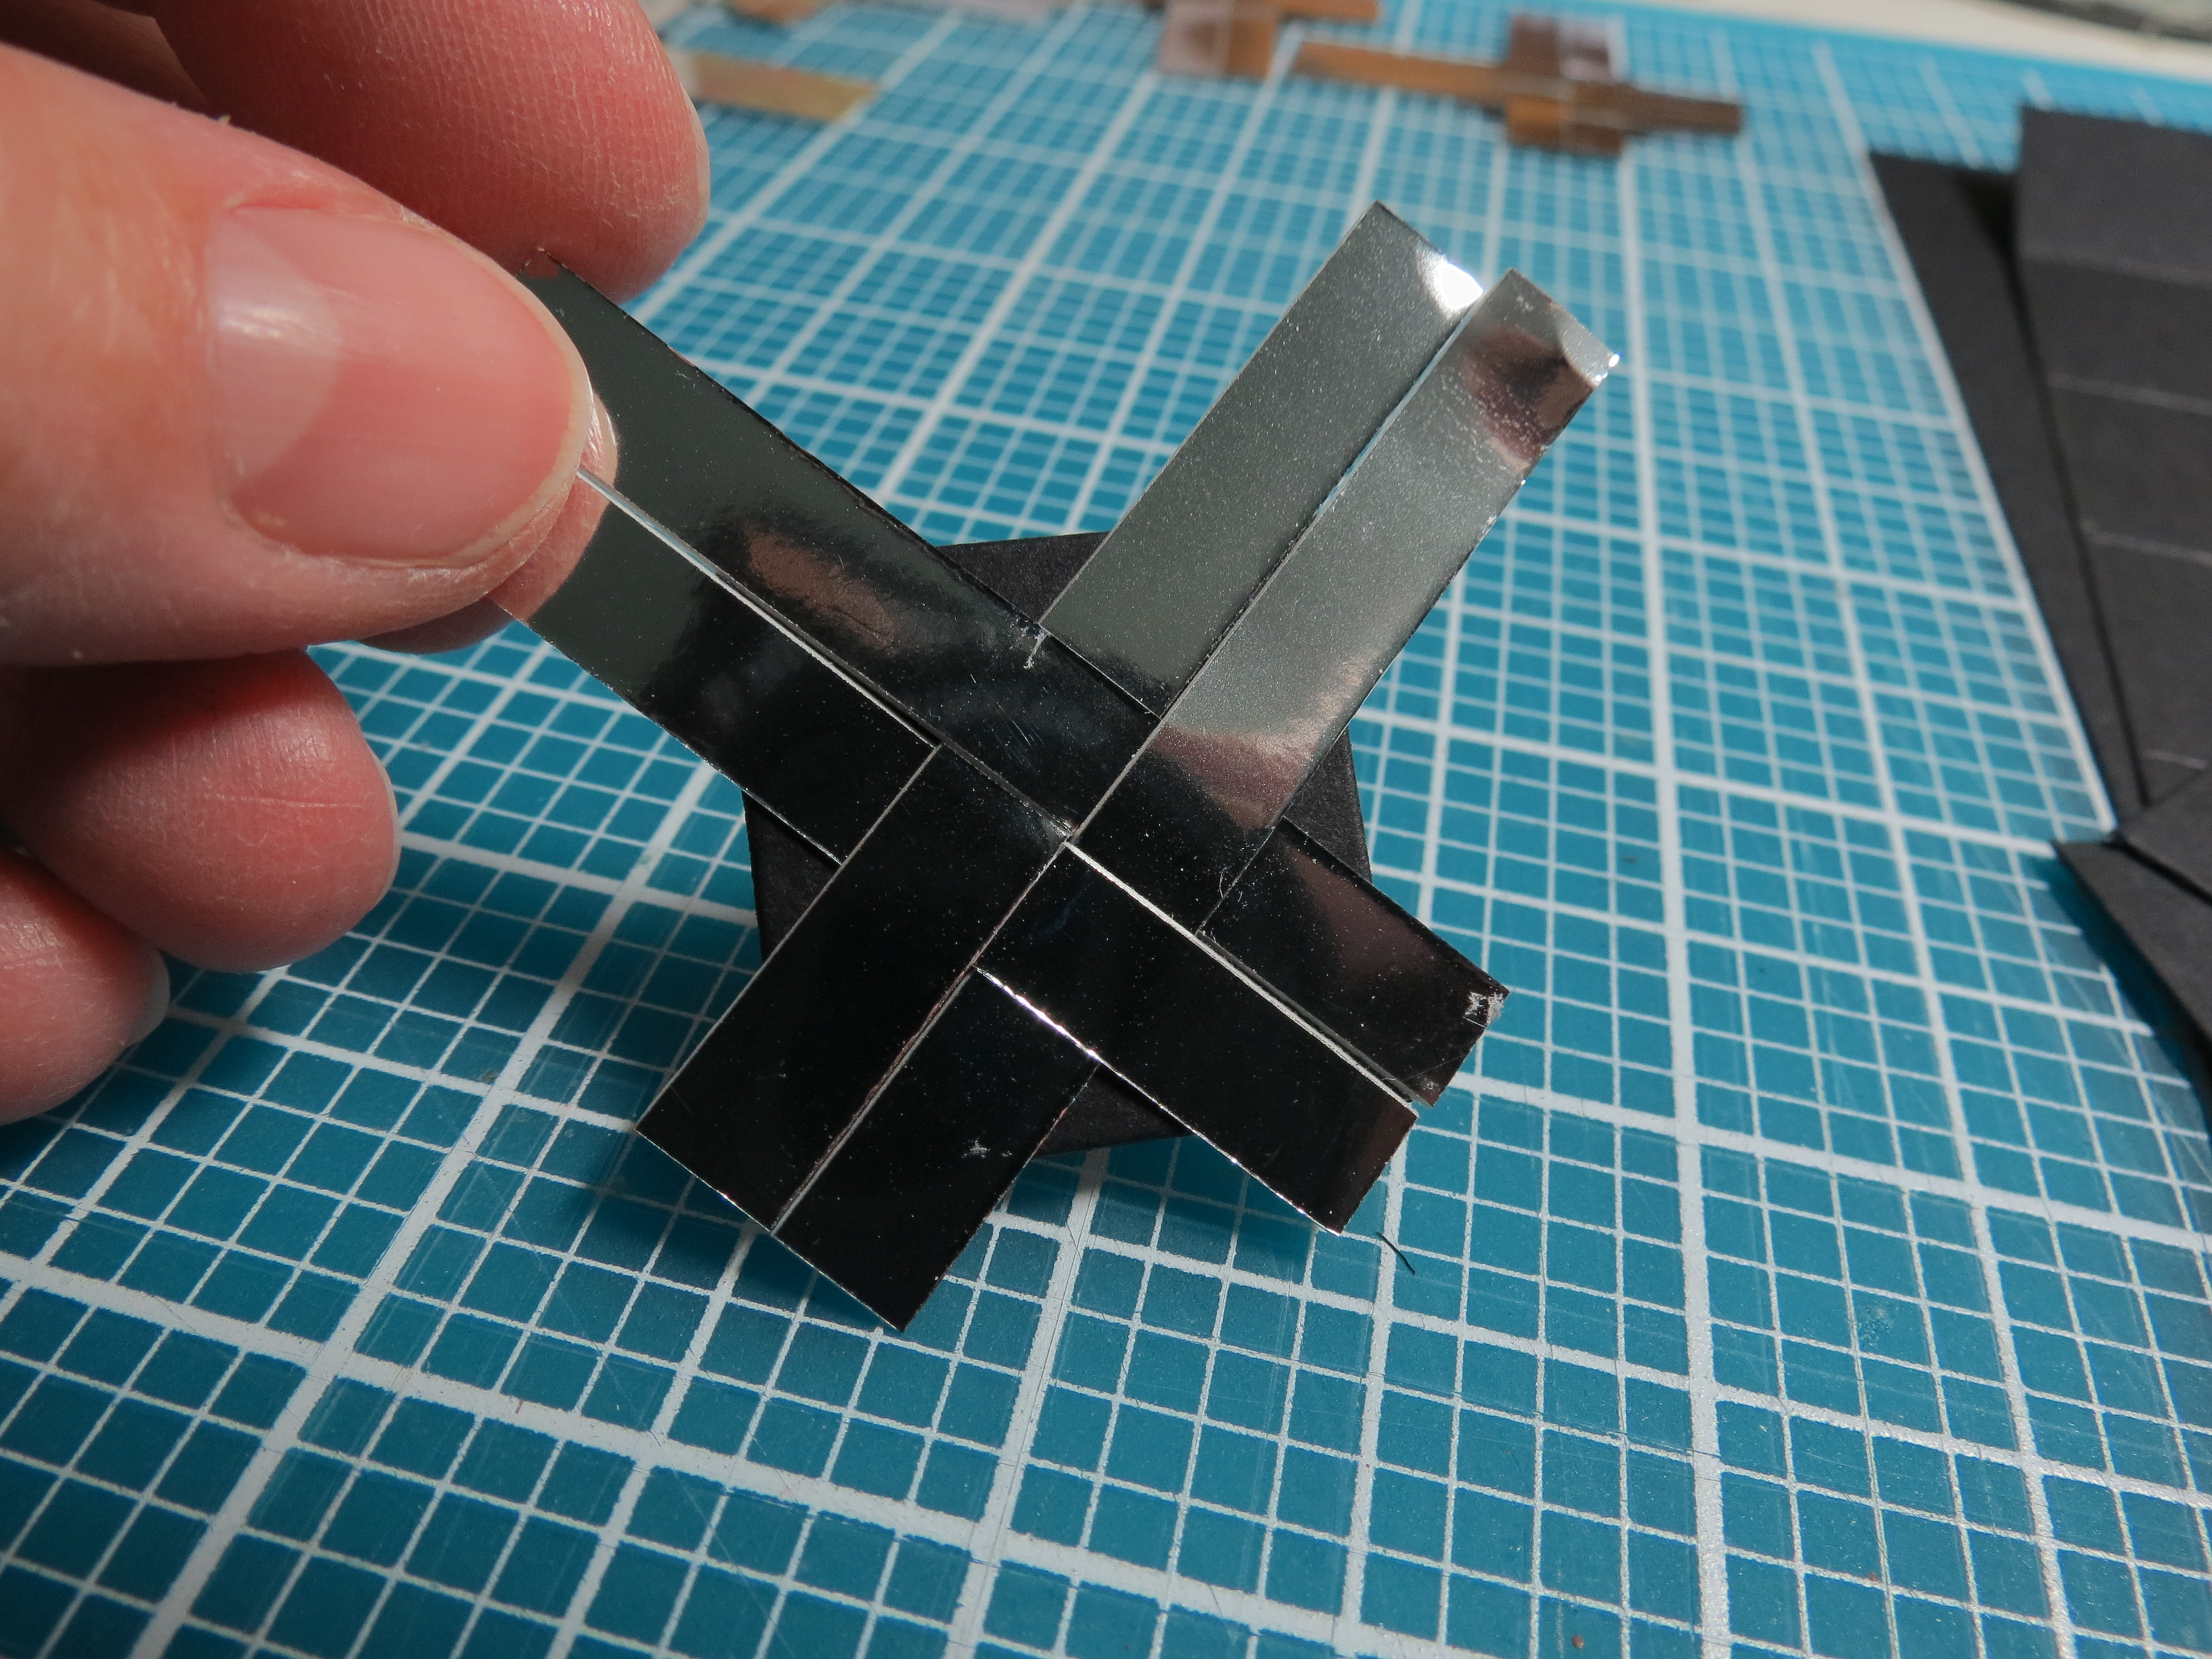
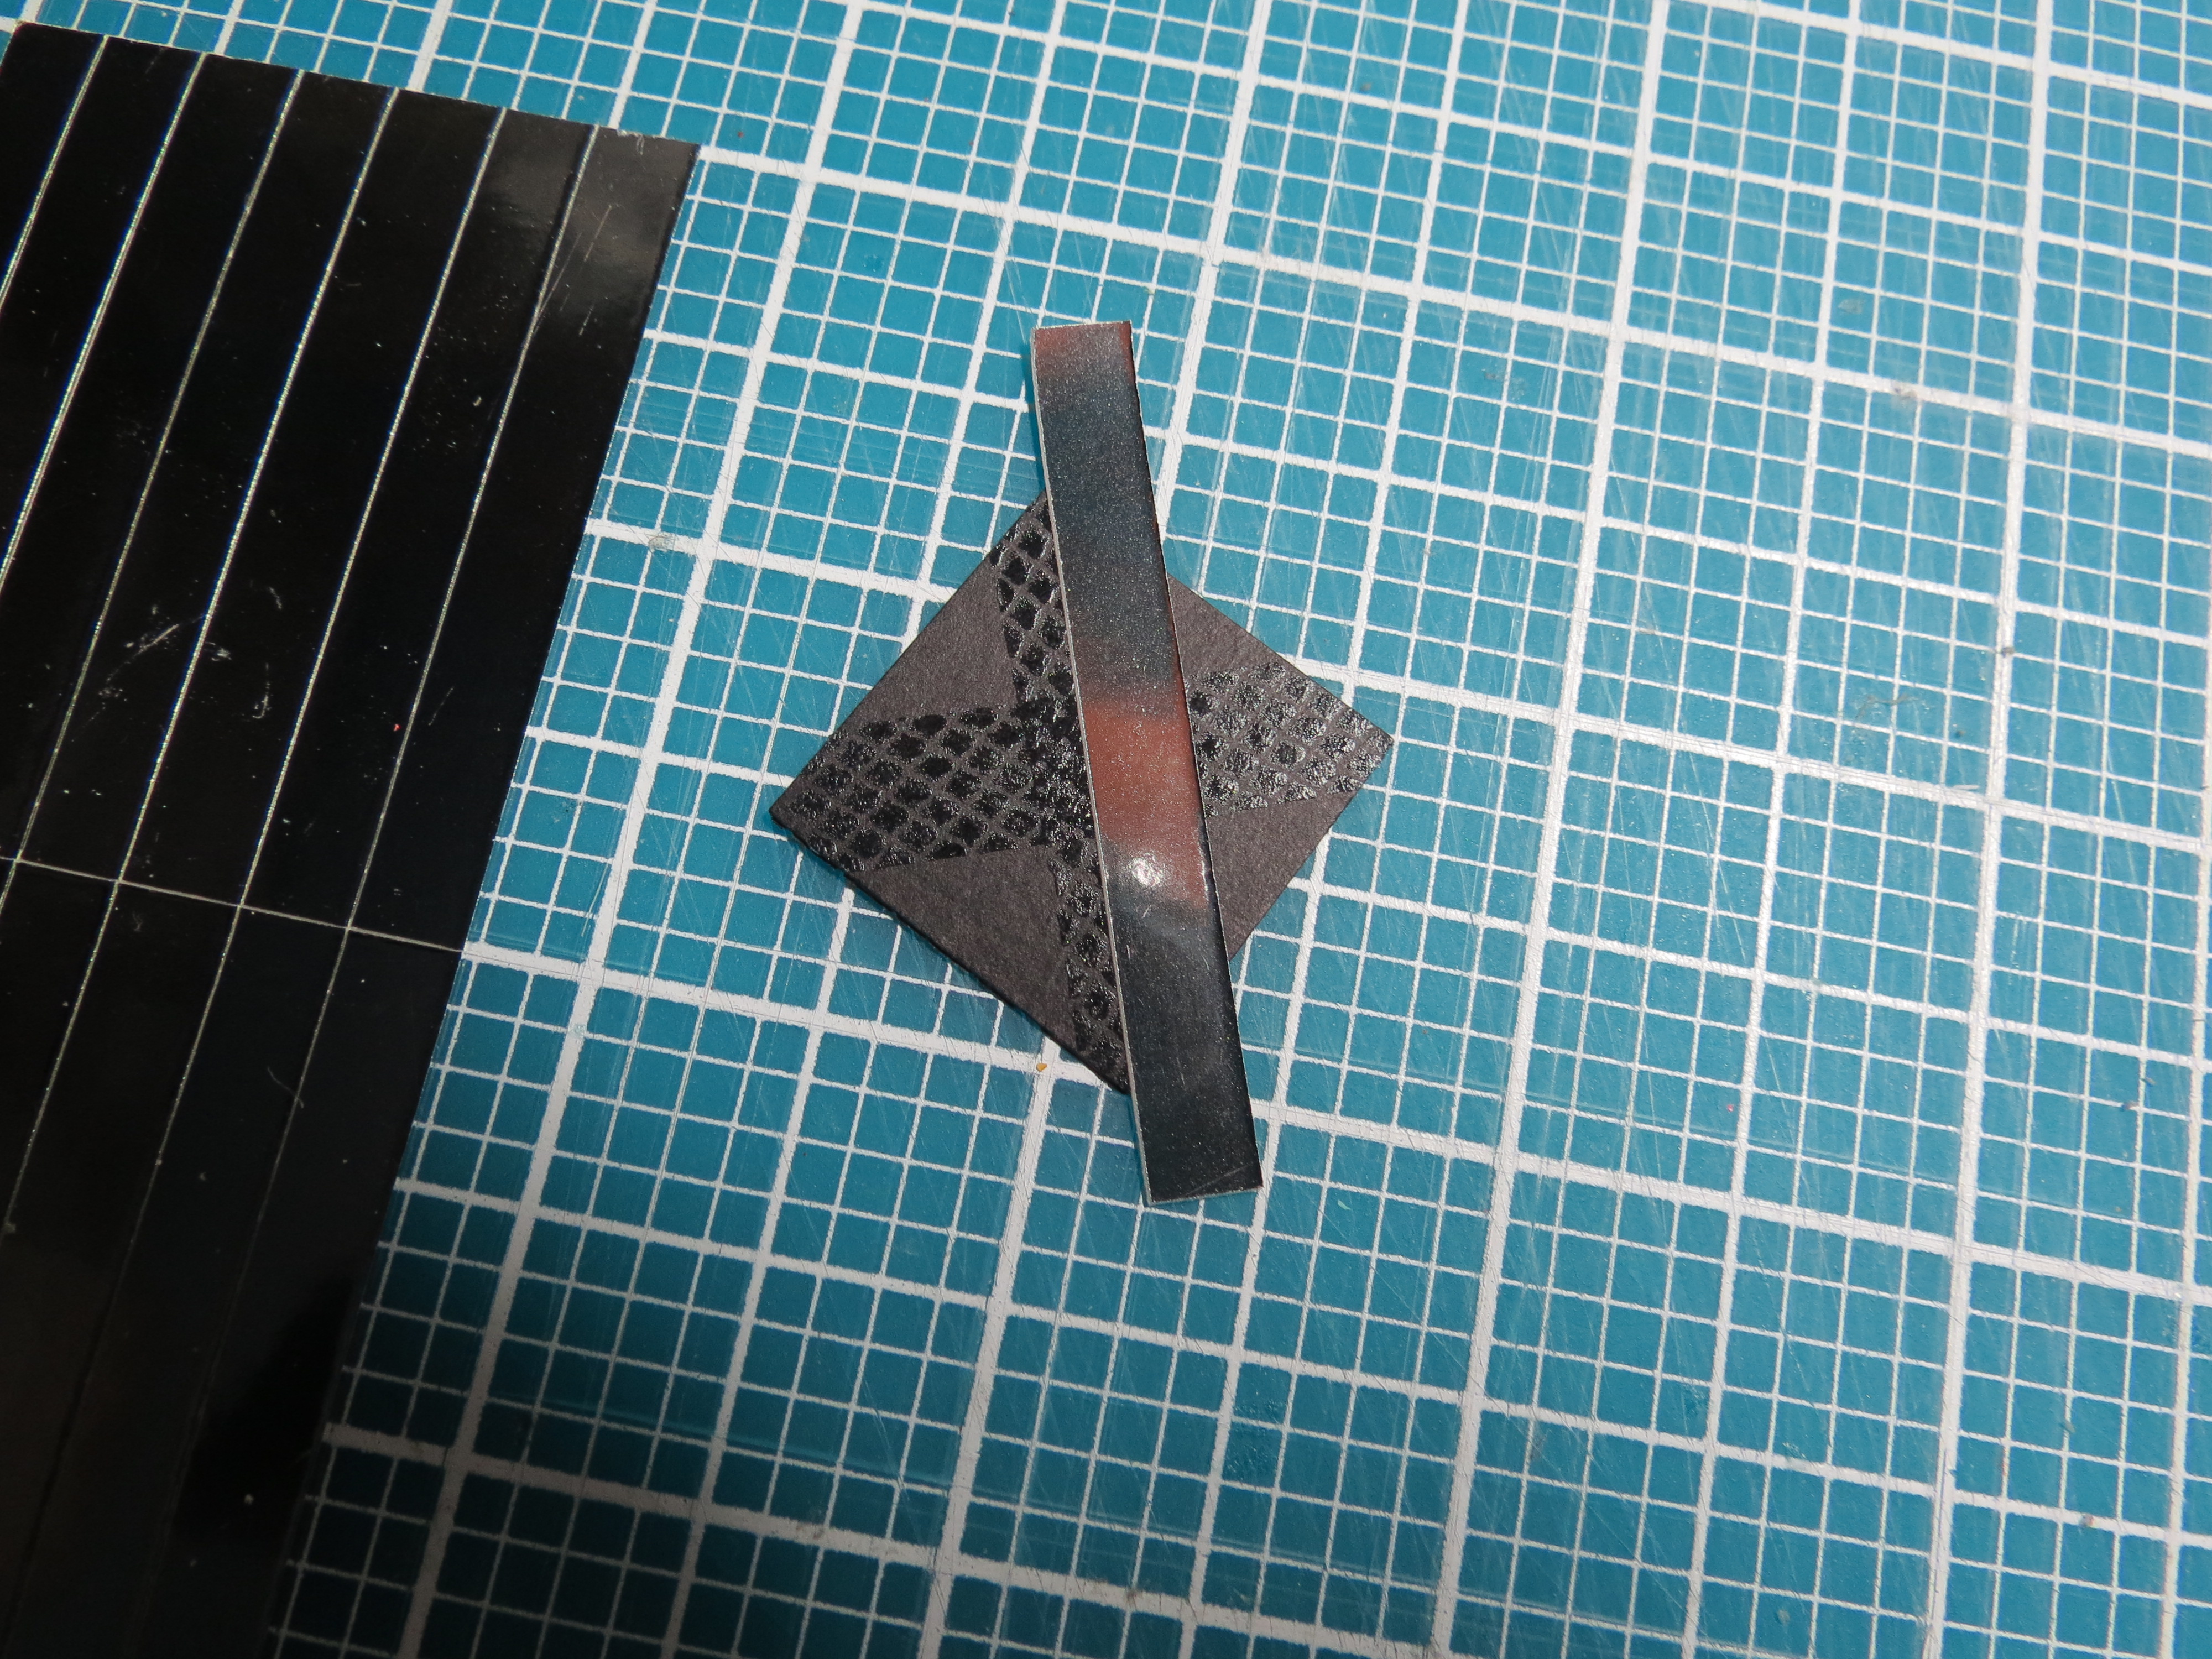
Basketweave: scrapbooking for the guys in your life. Final strip is placed, ease into under, over spot.
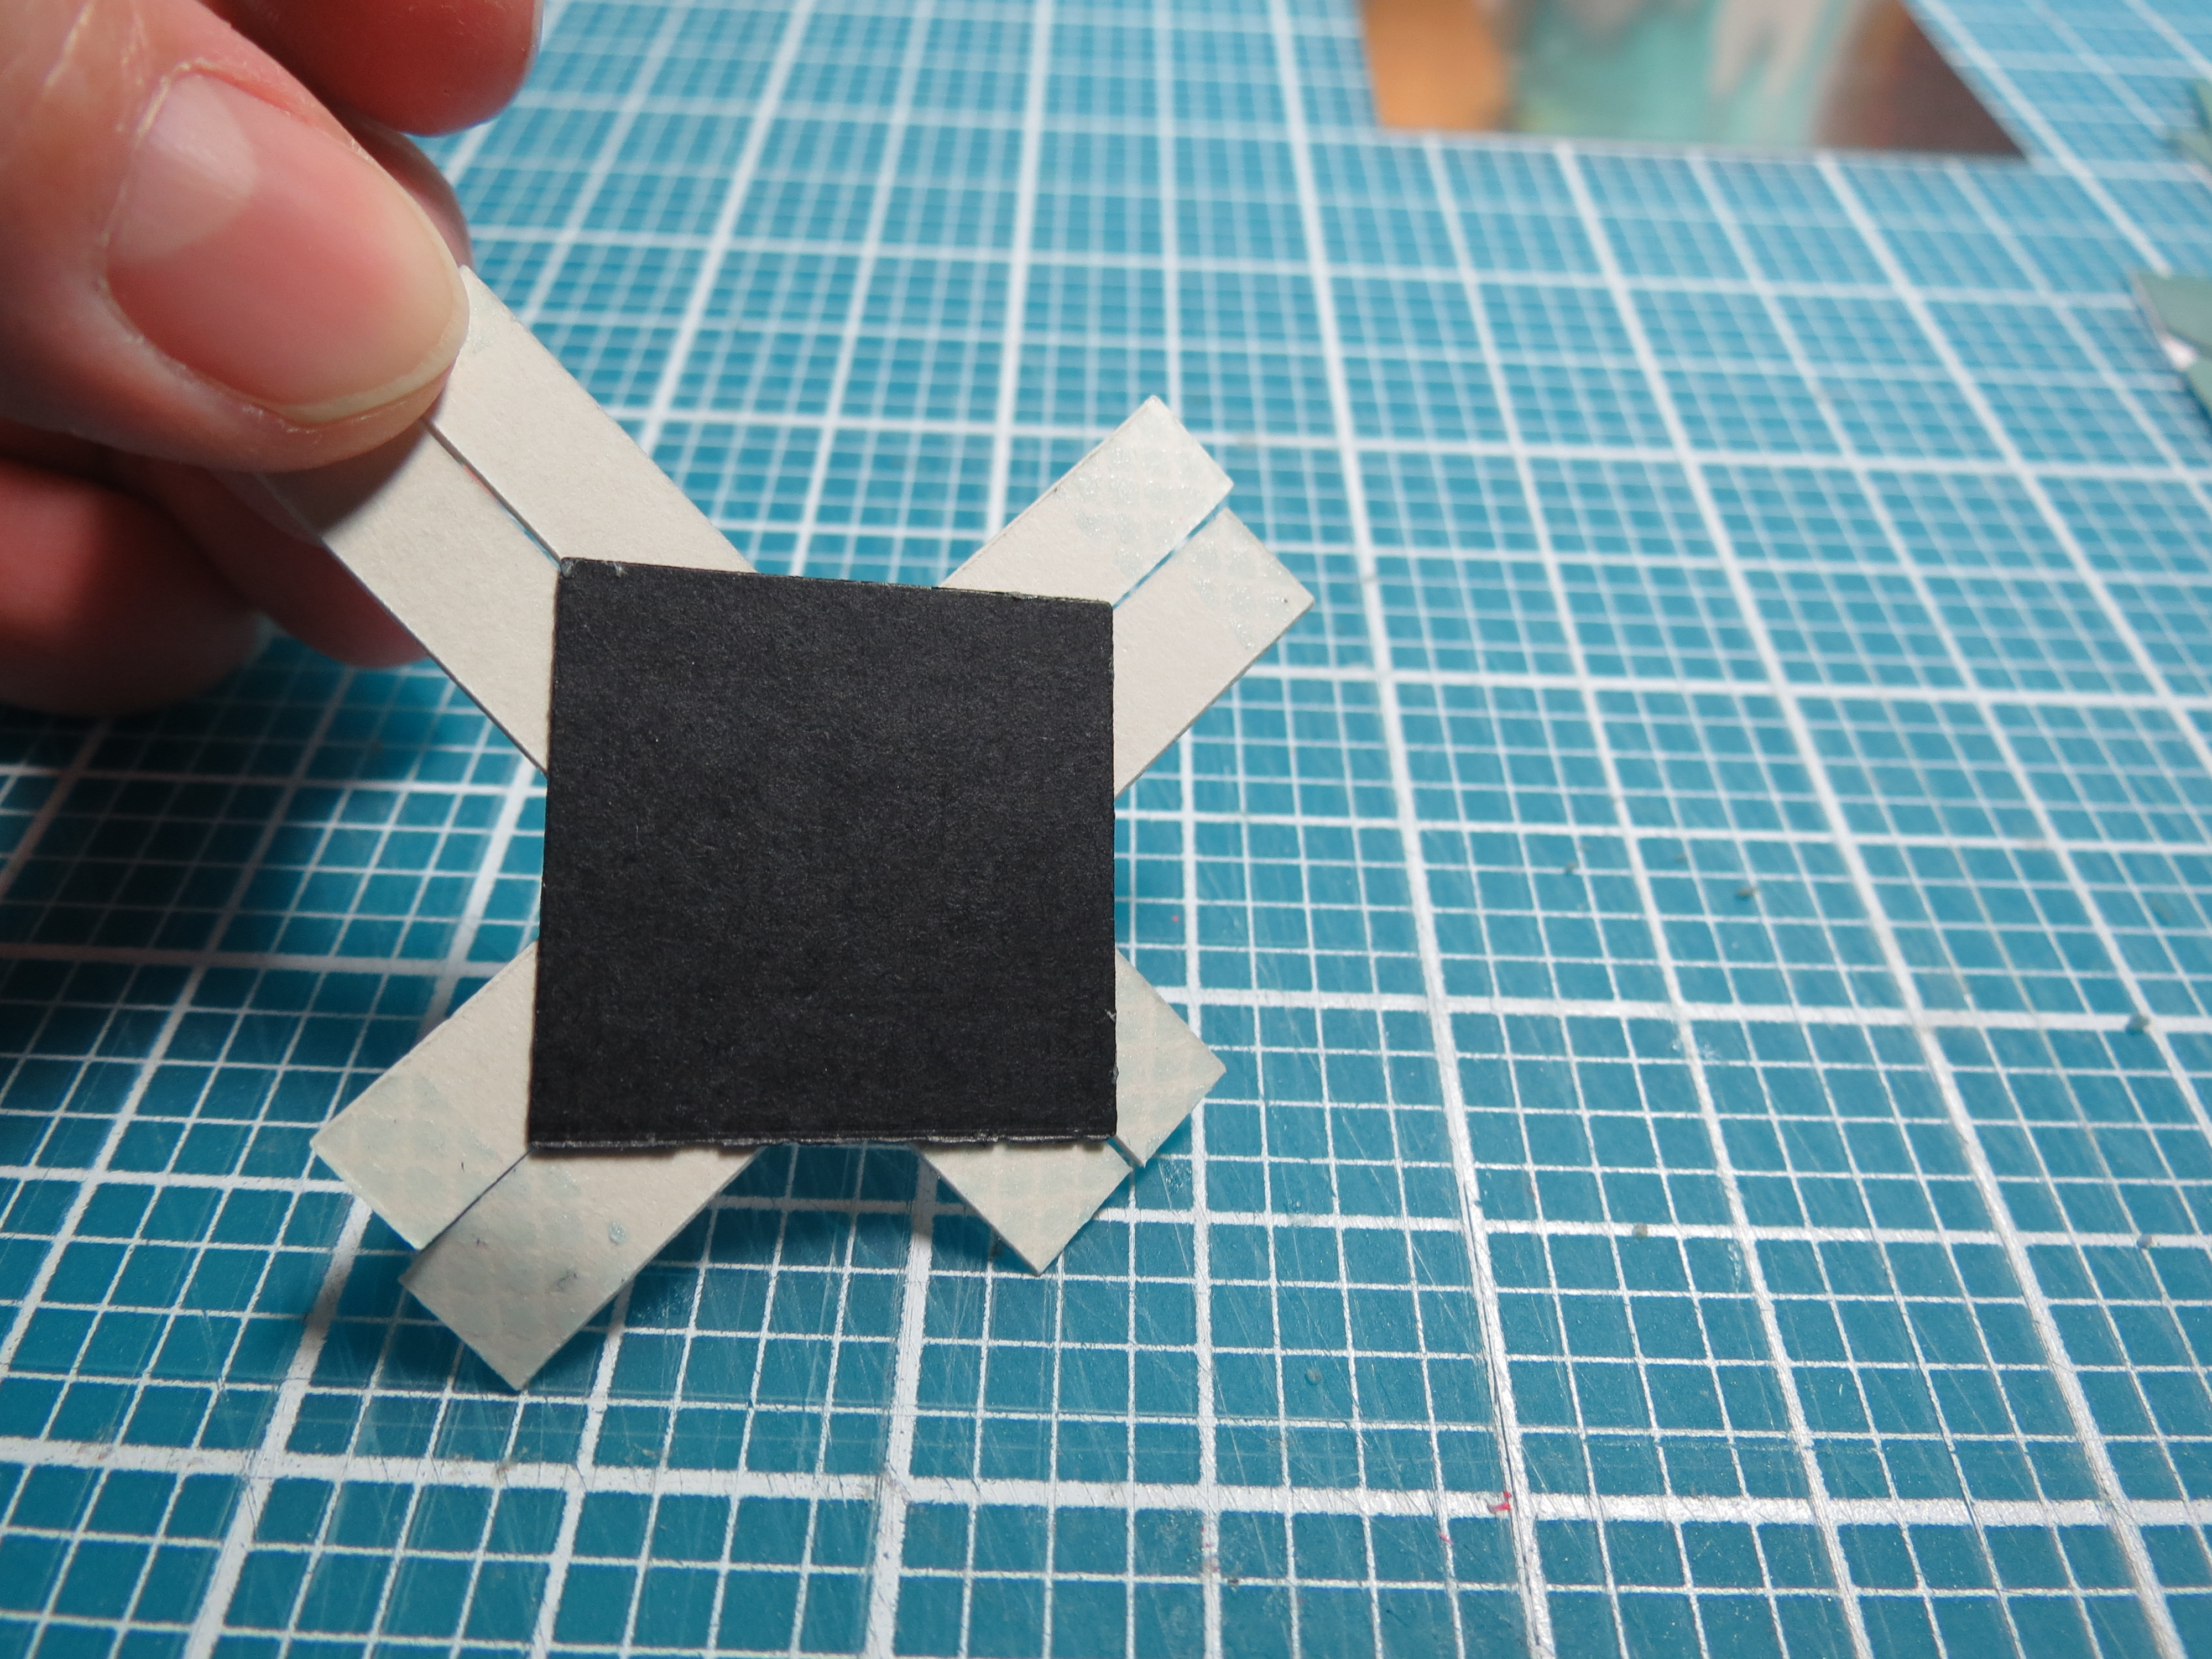
Basketweave: scrapbooking for the guys in your life. Backside of tile shows corners in the centers of strips ease until you have snug fitting.
Basketweave: scrapbooking for the guys in your life. Strips of cardstock with squares spaced
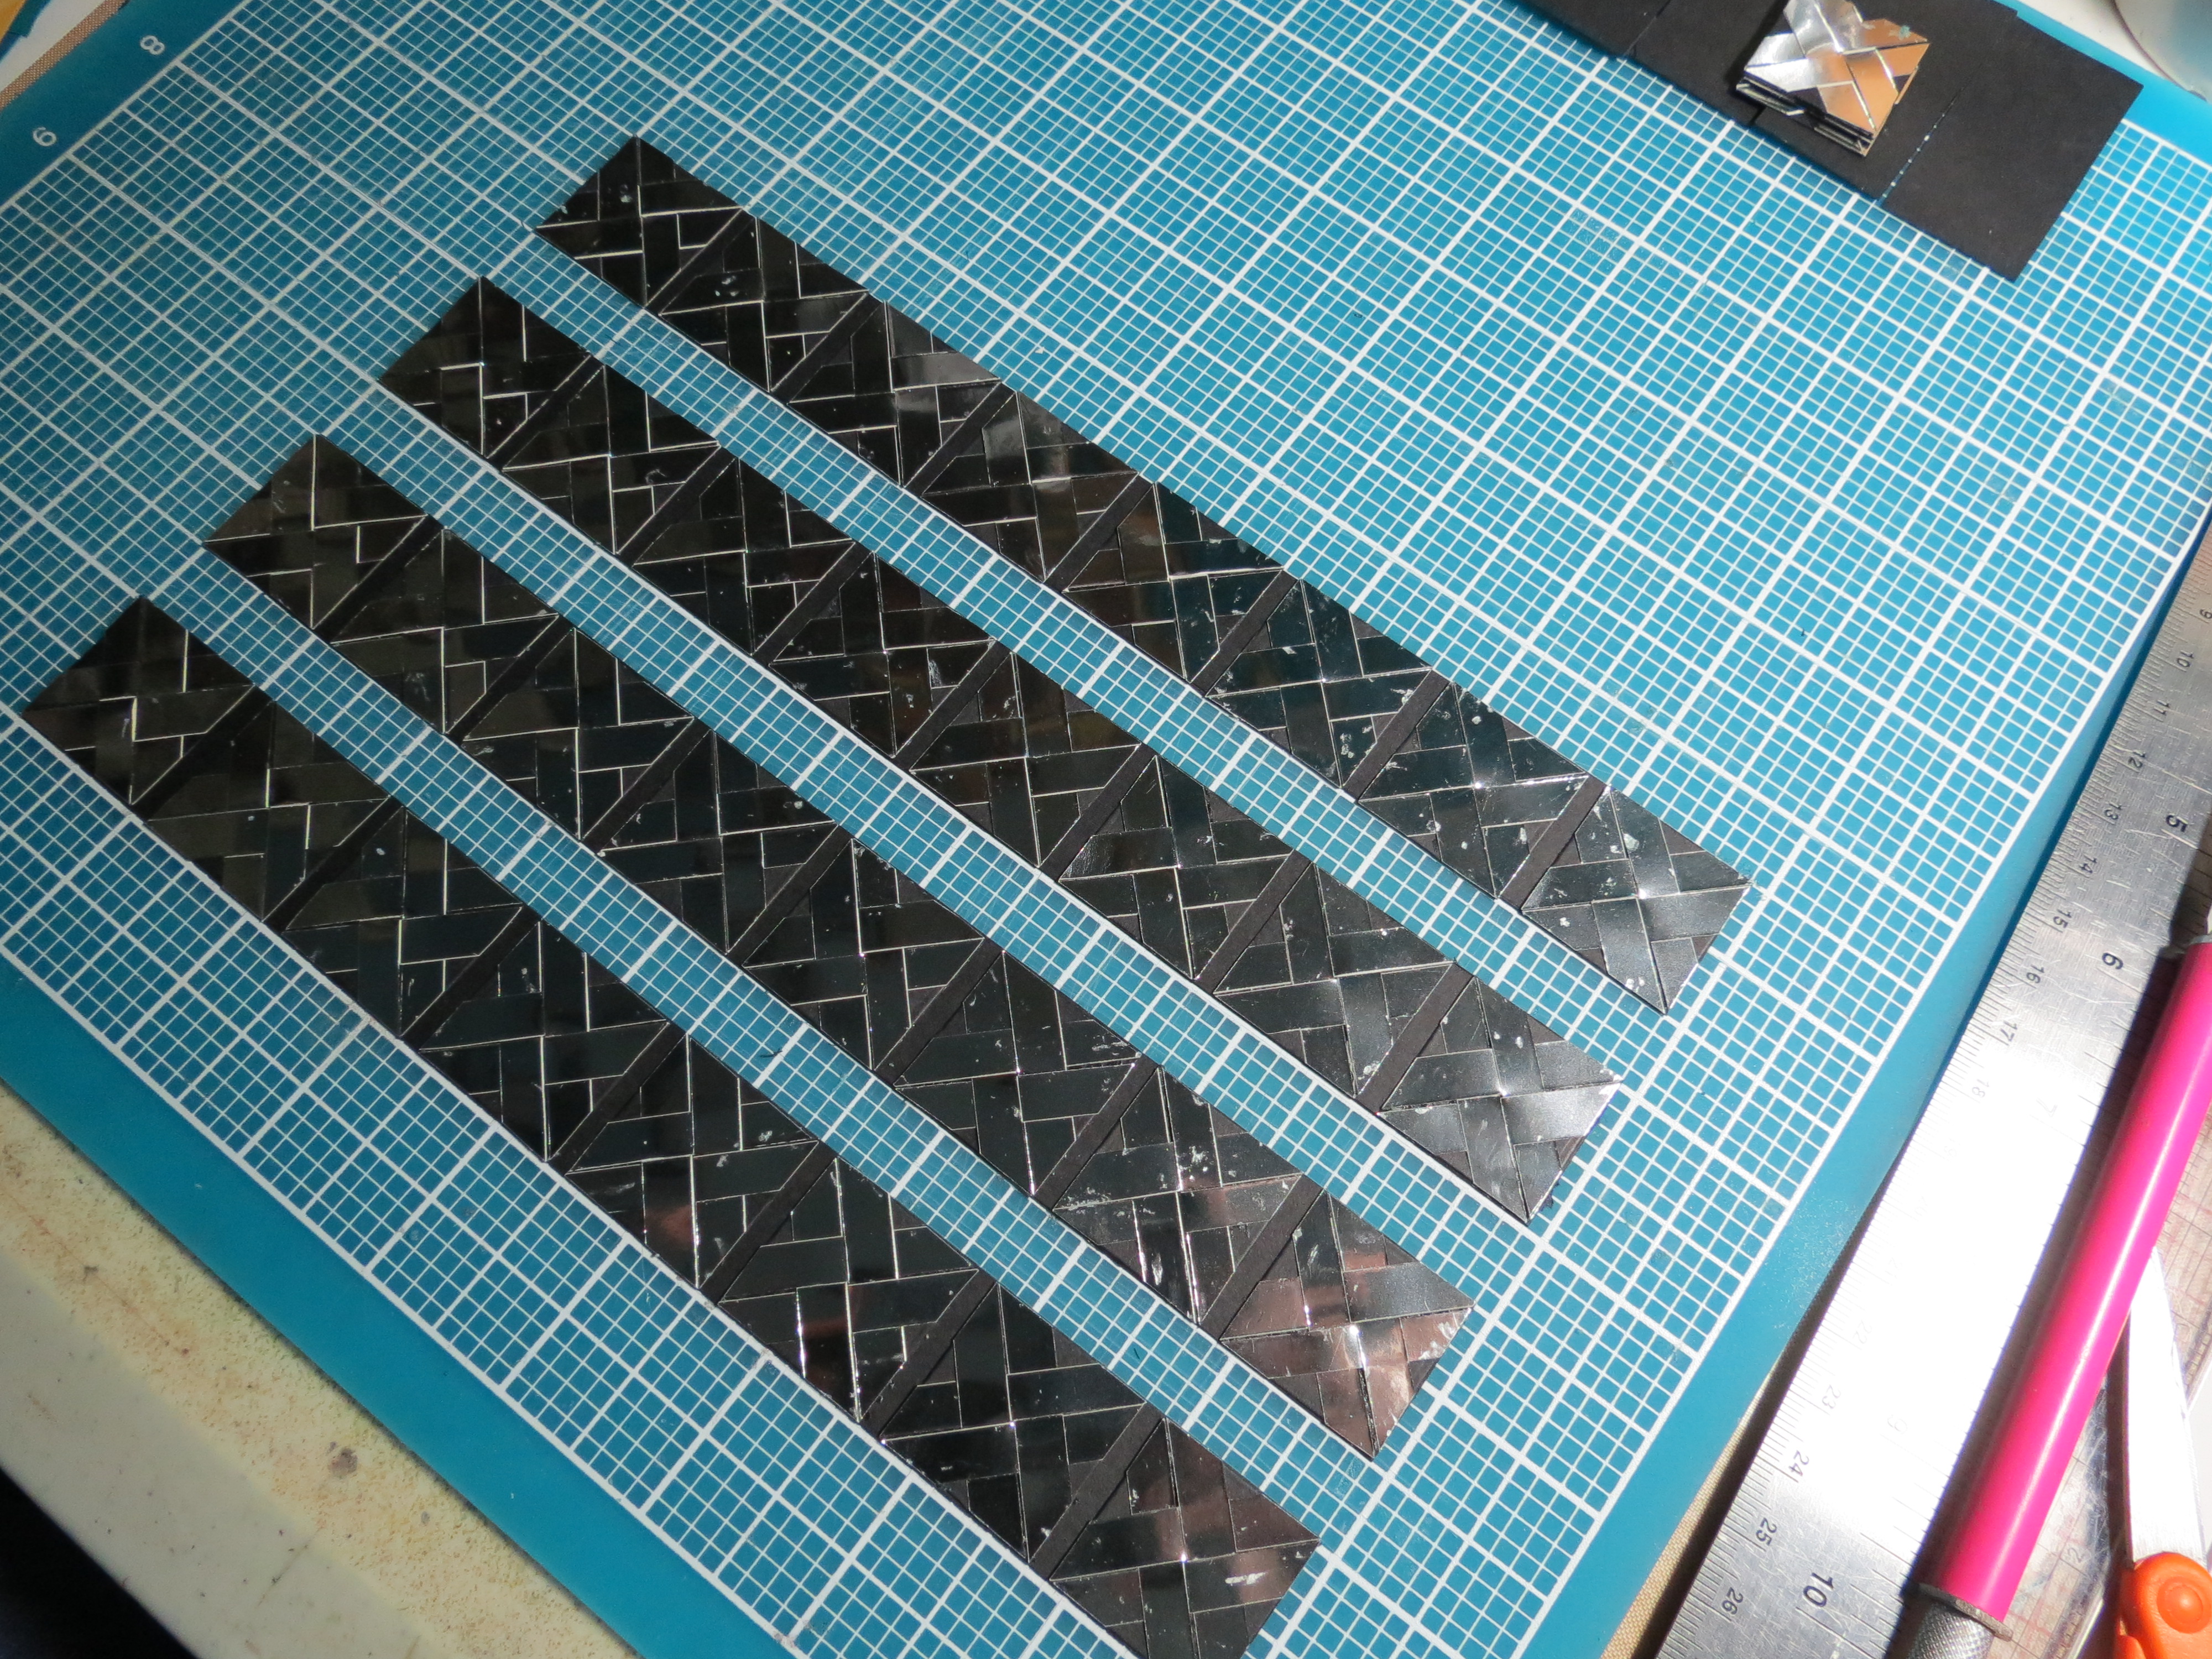
Basketweave: scrapbooking for the guys in your life. Strips of cardstock aligned to grid to space the squares evenly.
After all the squares are made use the Cutting Mat to apply each square to the long strip of black cardstock by lining each square up to match the grid, leaving 1/8” spaces between each square. To fit the feature basketweave technique and Pattern #110 each corner also has one square.
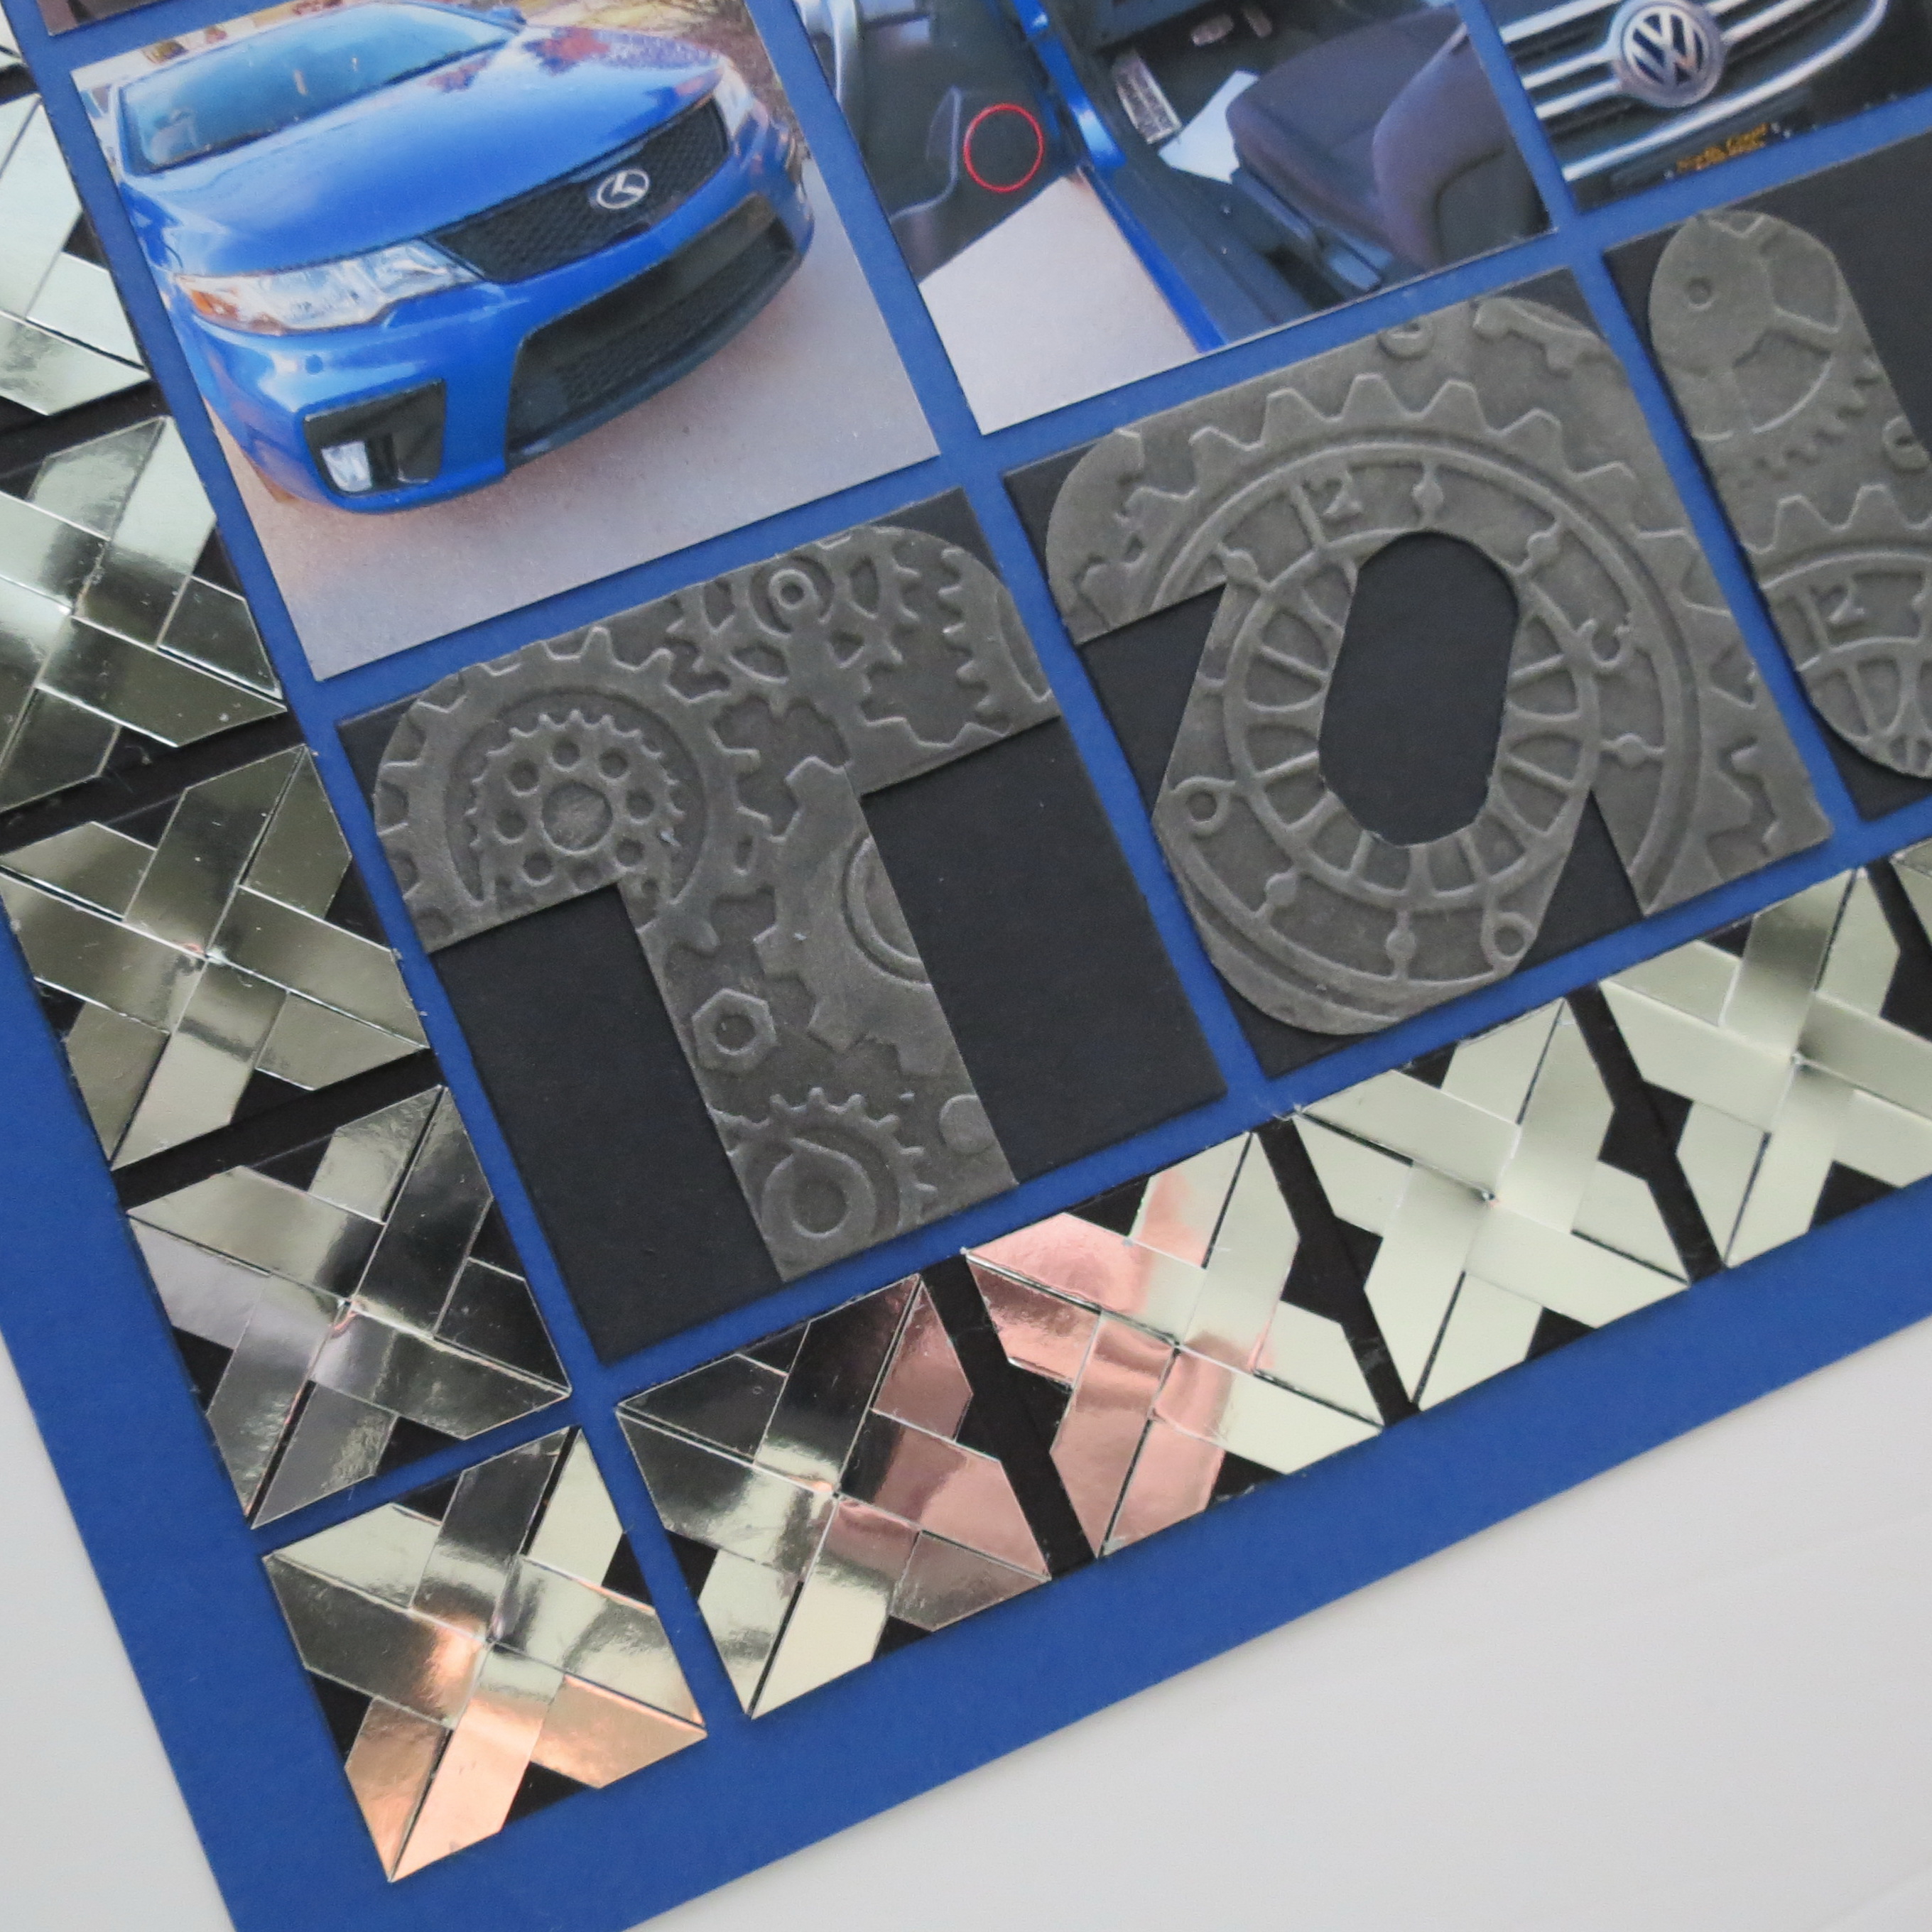
Basketweave: scrapbooking for the guys in your life.
Alternate pattern option:
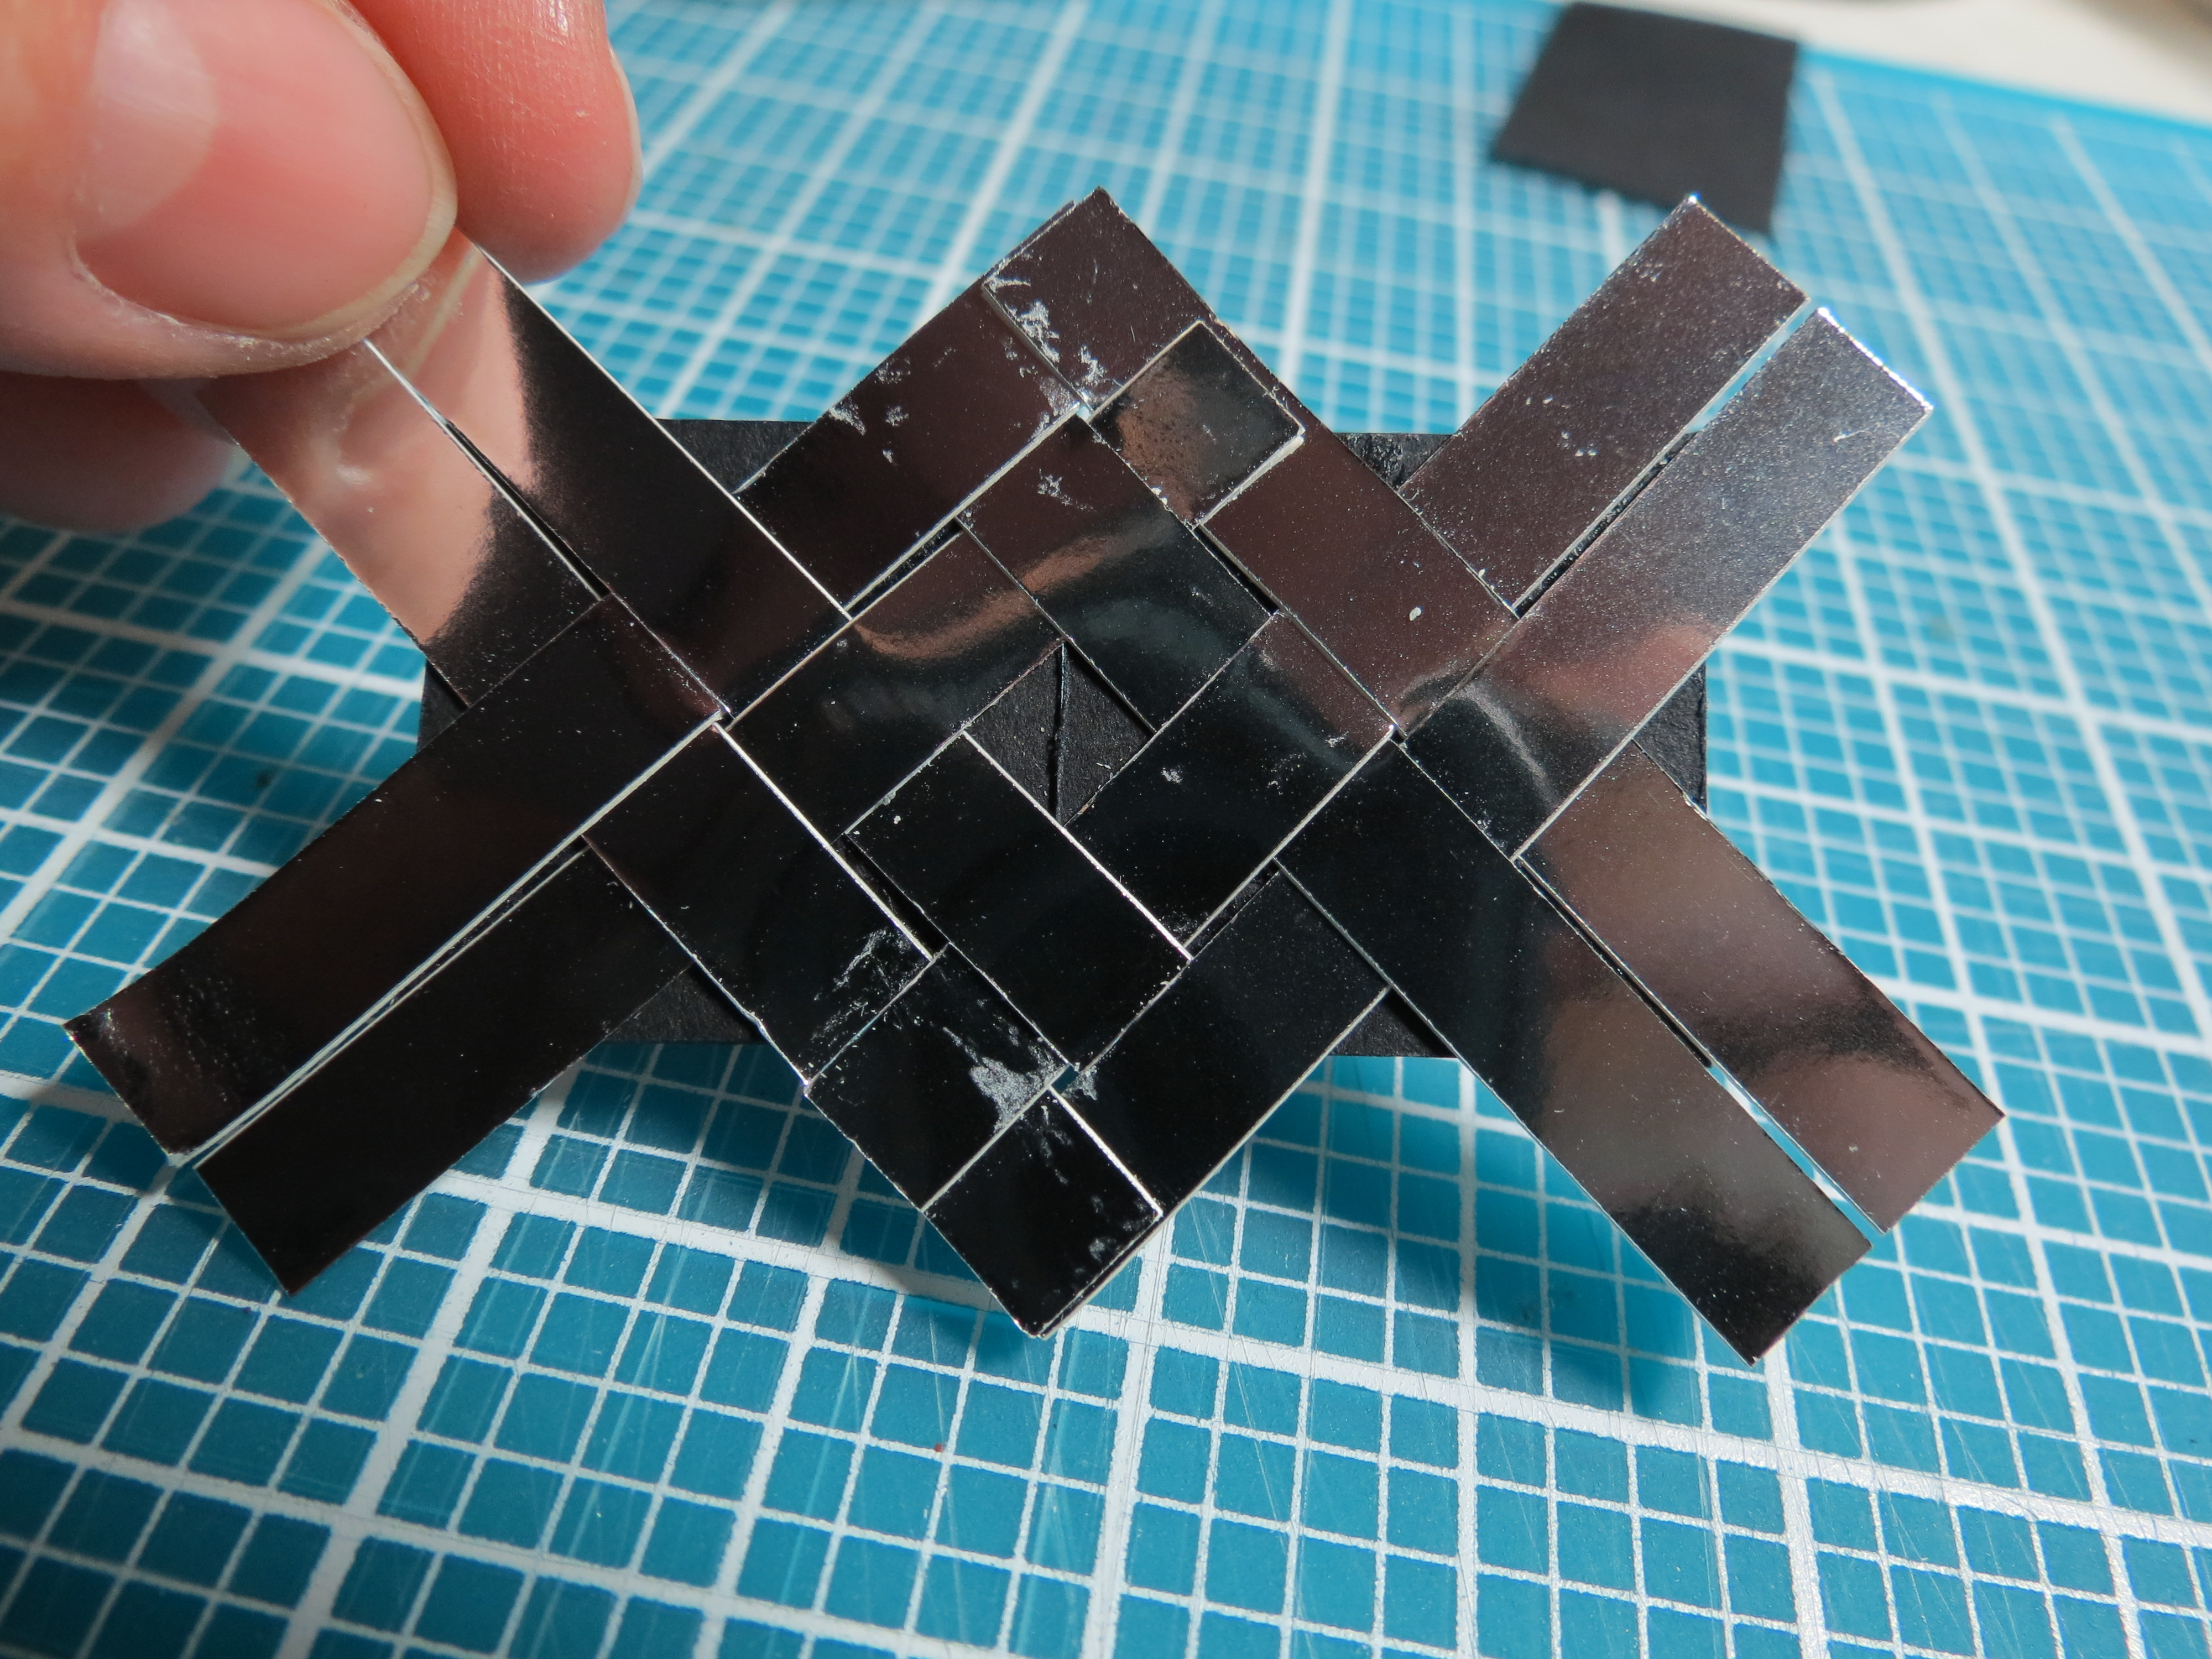
Using the same strip method to cover 1” squares position the strips in the center of each square so that there is equal overhang on each corner. Next you will line up another square to the edge of your square and weave the overhang ends of each square so that the weave pattern continues on the outer edges. When you have the length you need for your space, trim the excess off the sides and a 1” strip with this integrated basketweave will be ready to use.
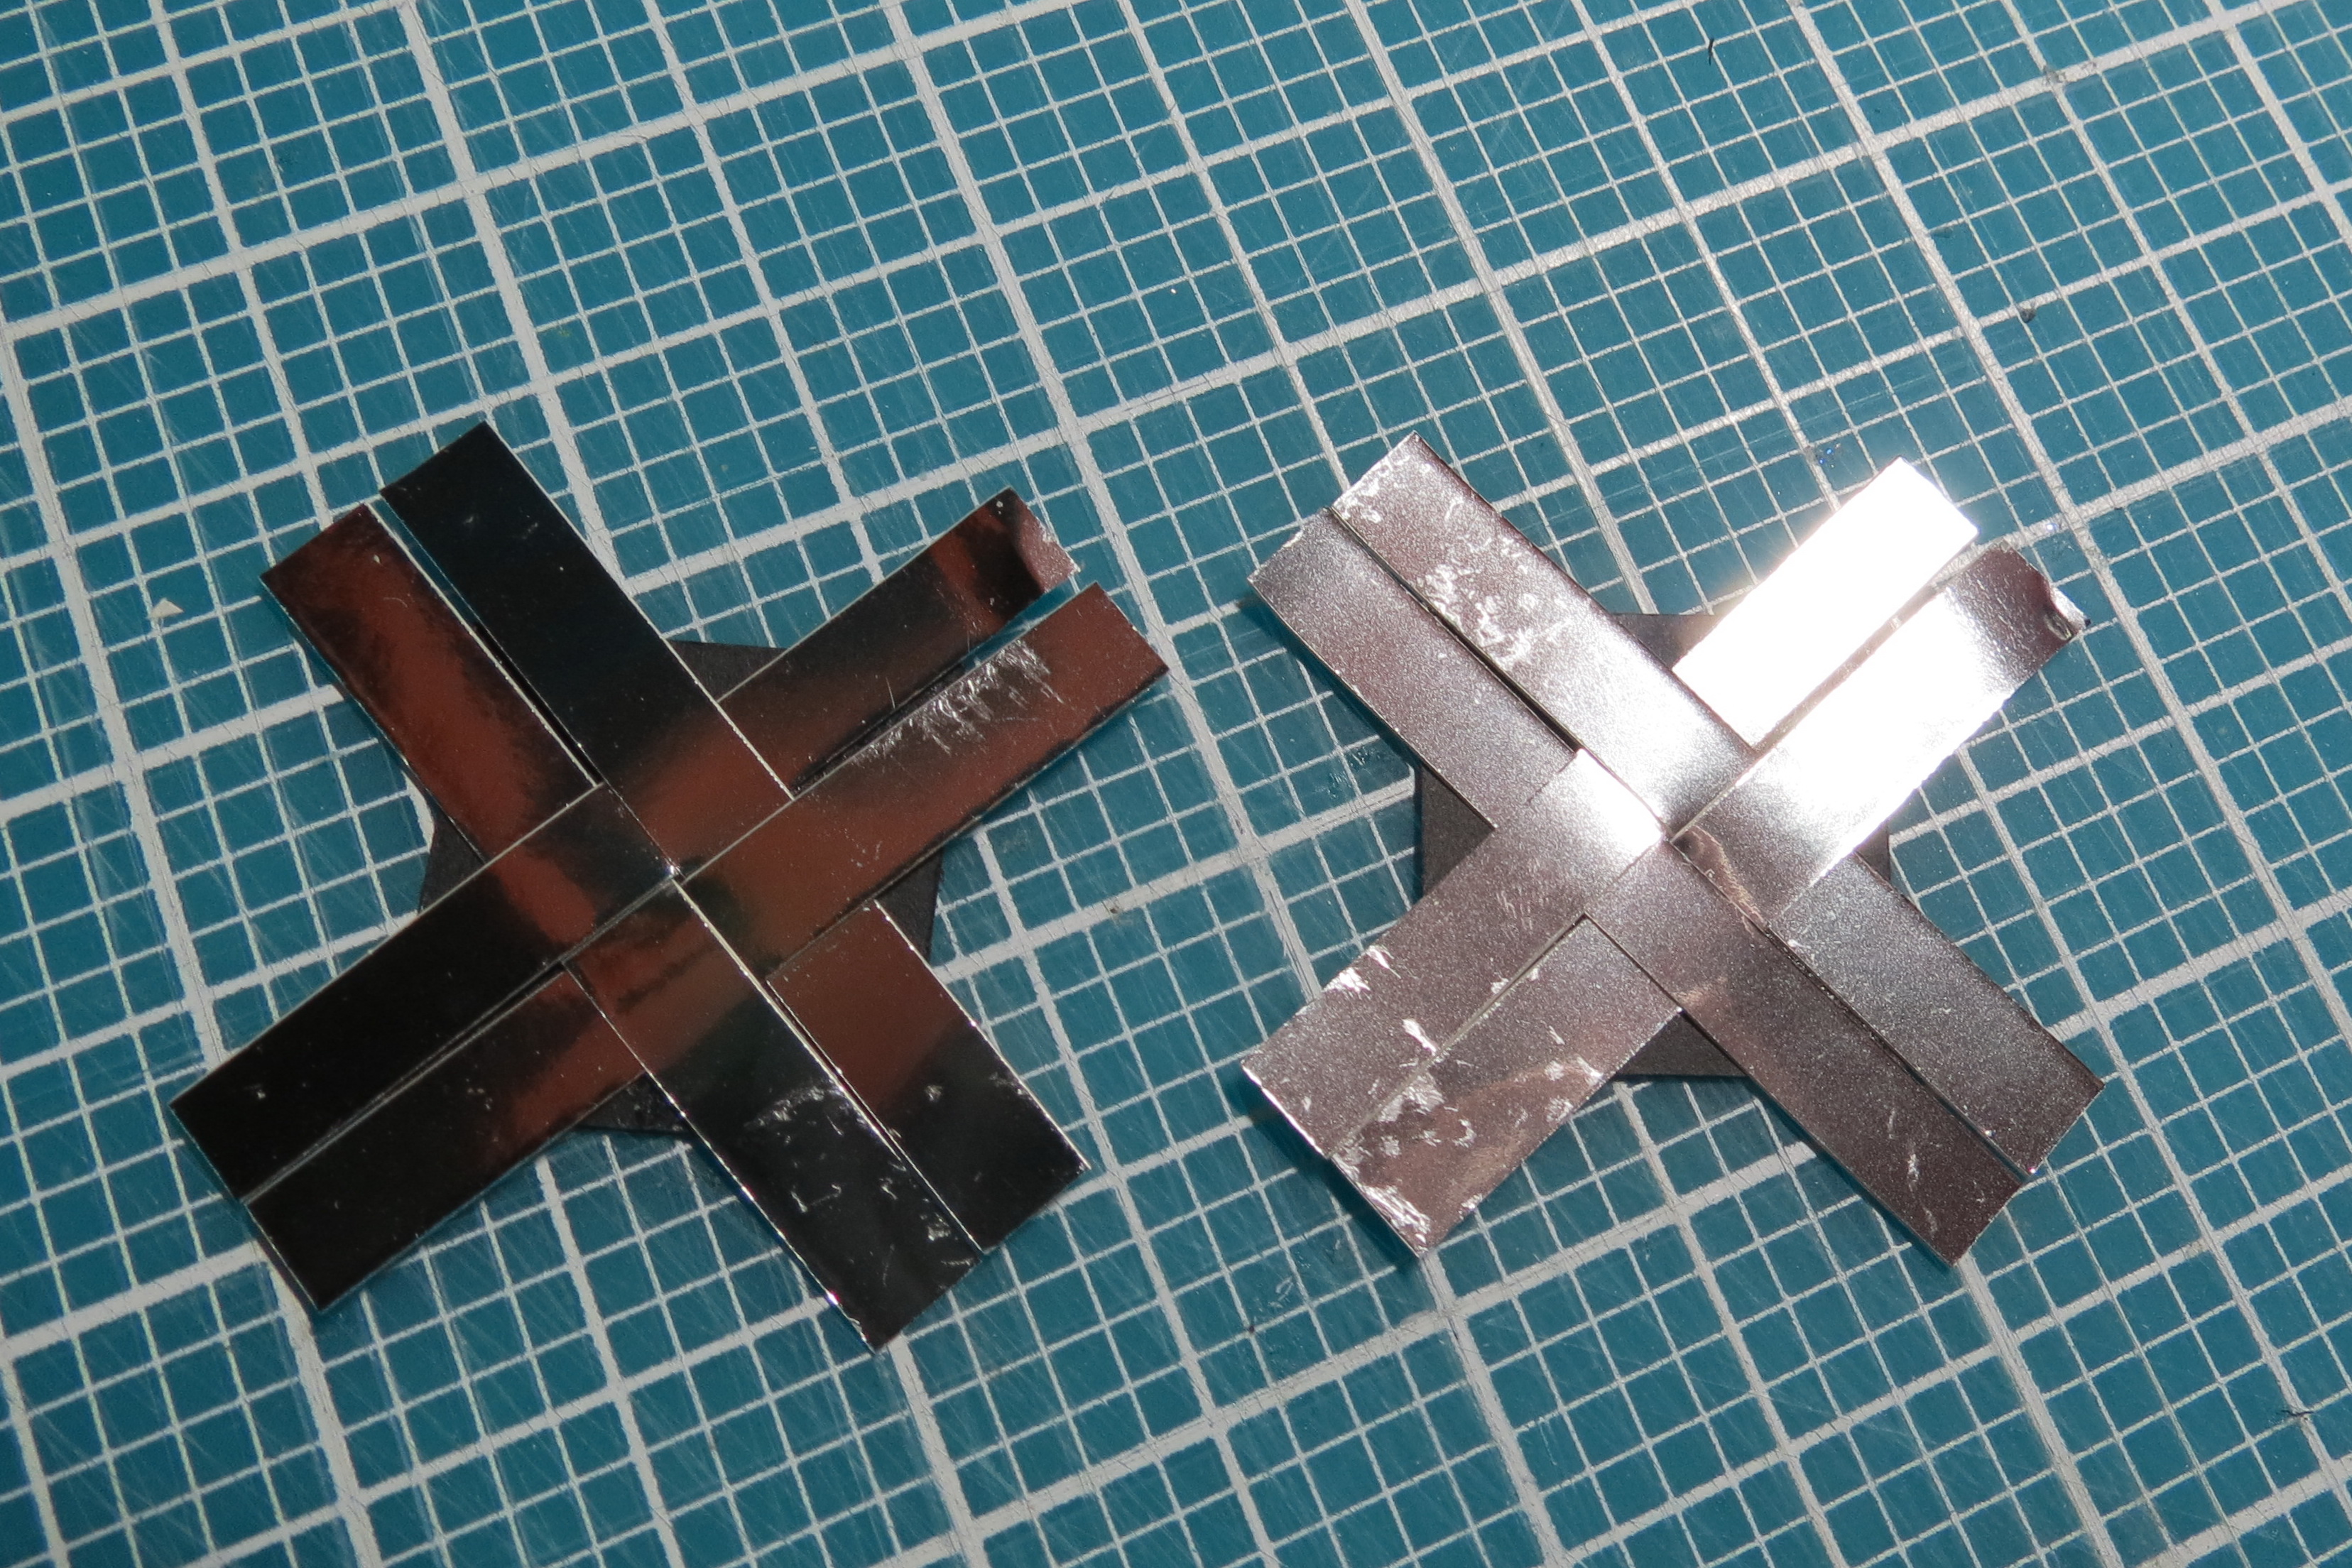
Basketweave: scrapbooking for the guys in your life. Alternate basketweave pattern
Basketweave: scrapbooking for the guys in your life. Weave outside strips of silver on both sides.
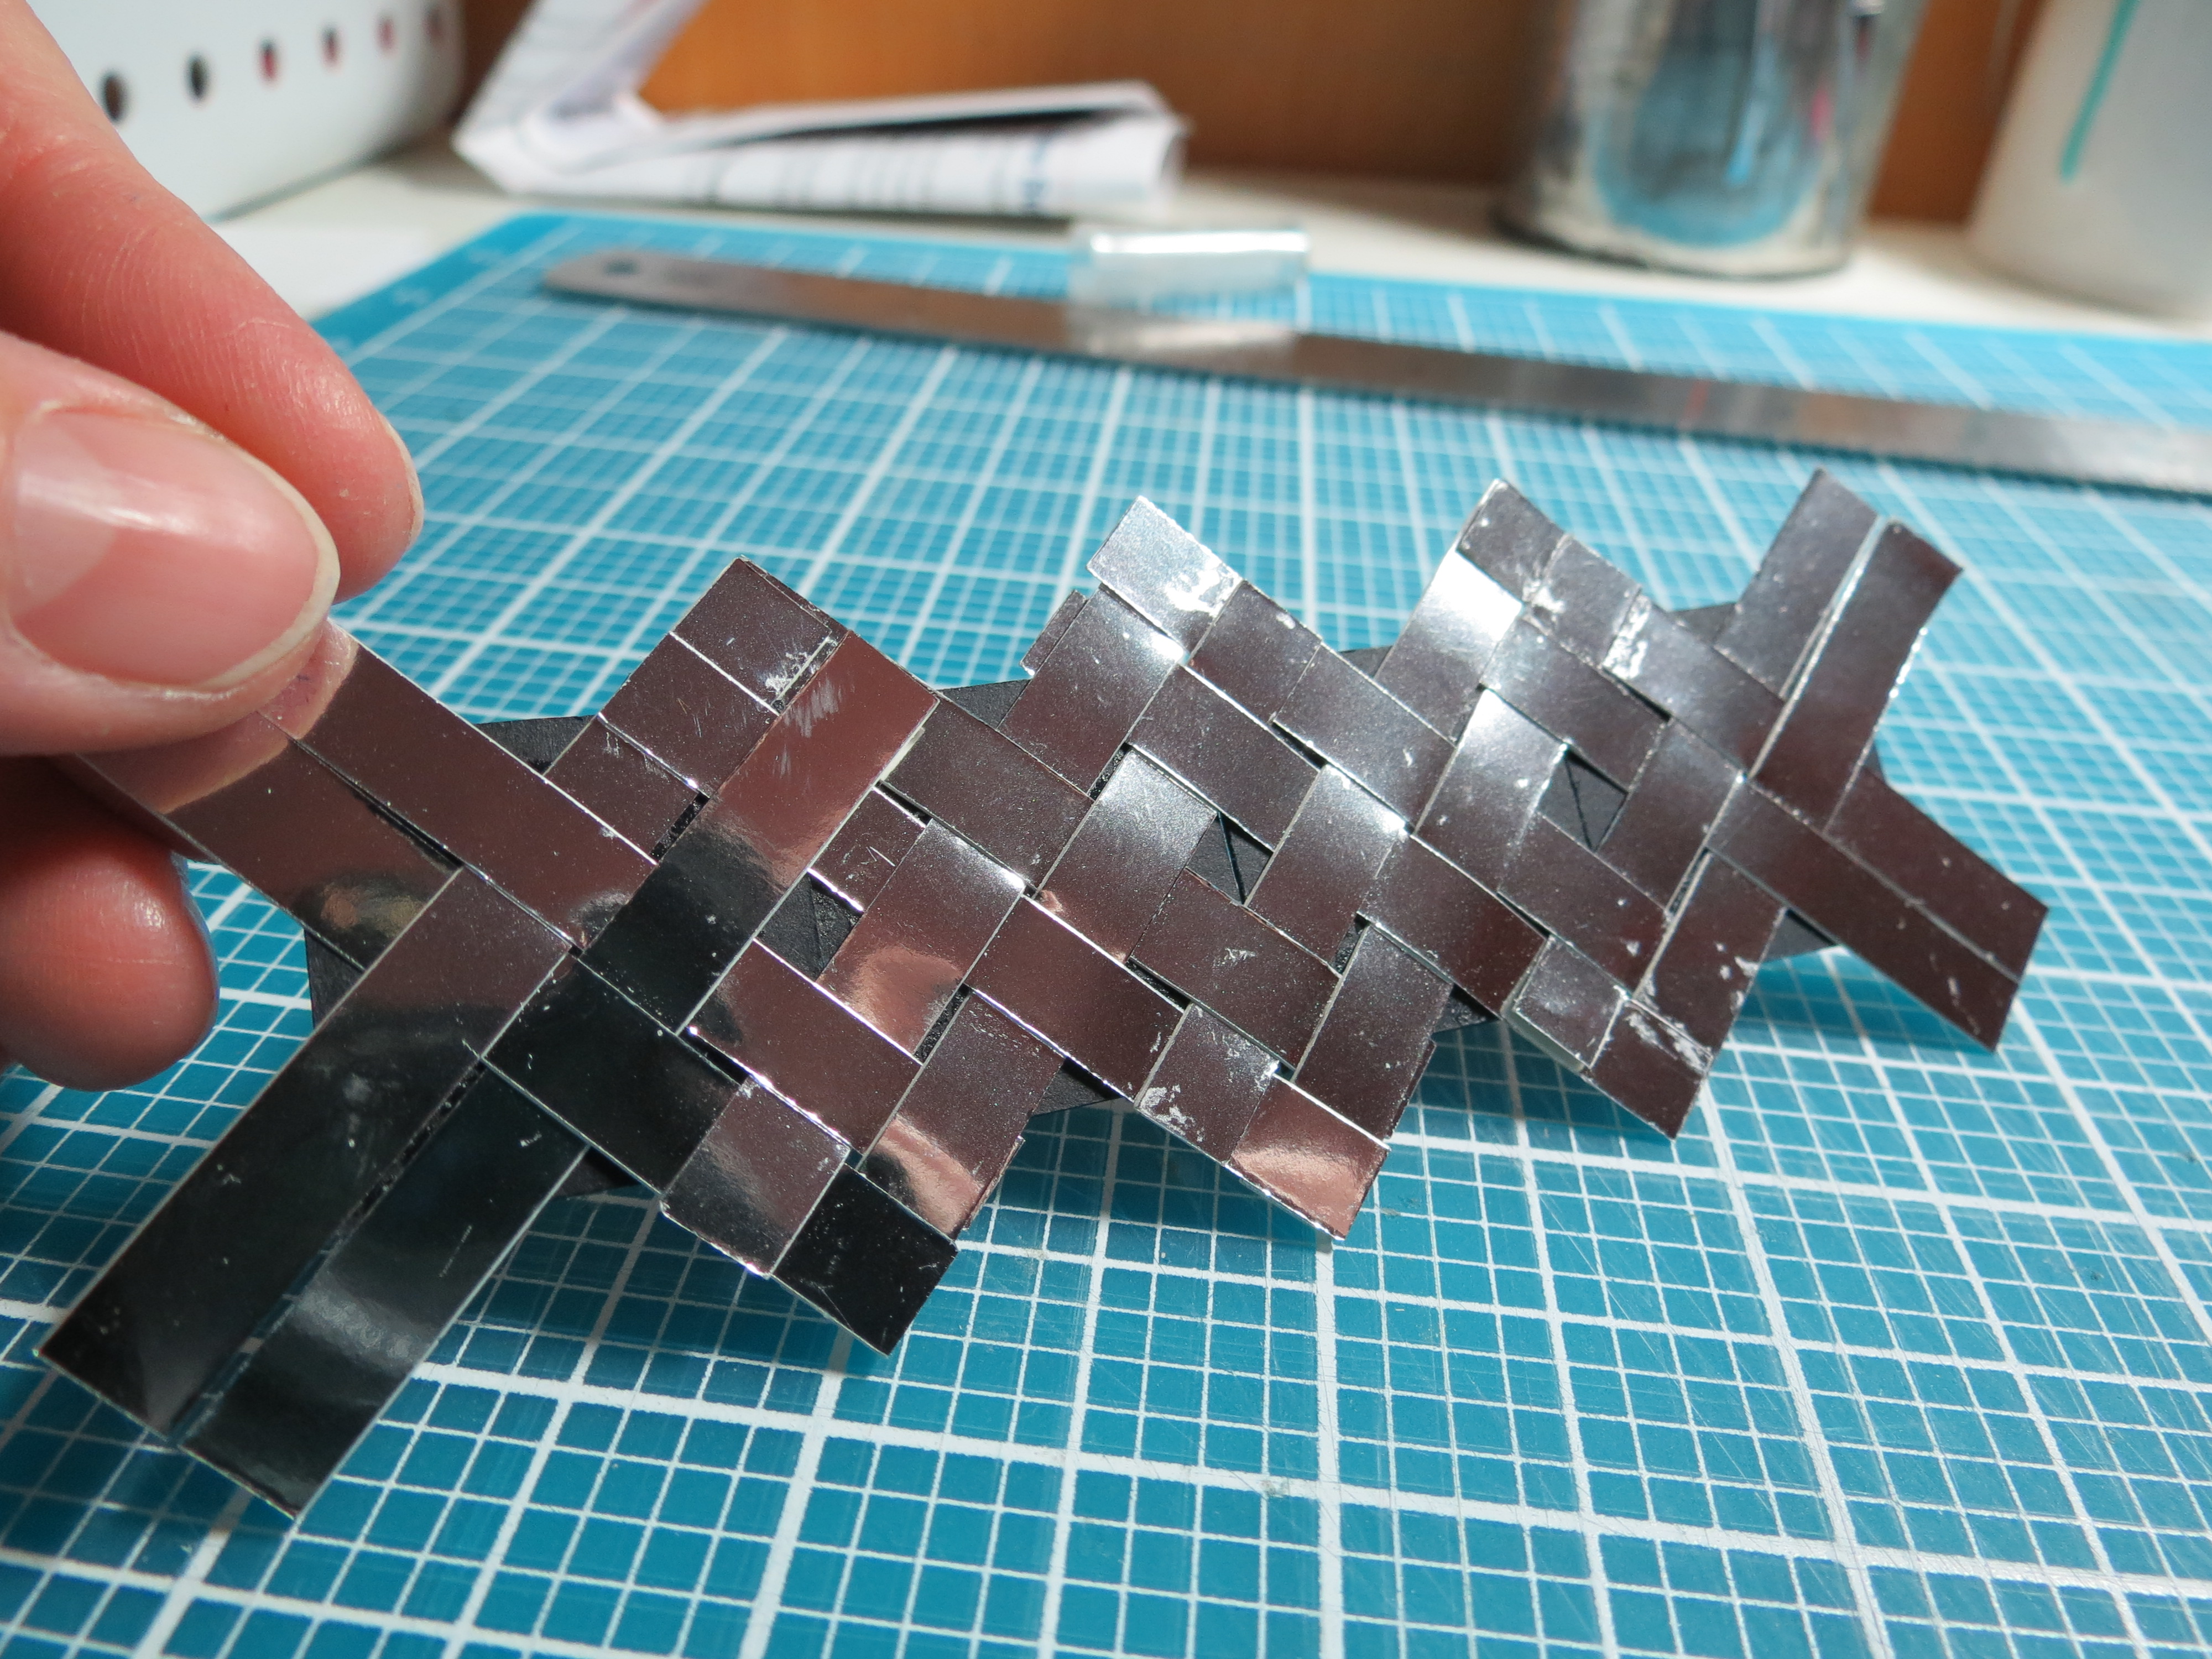
Basketweave: scrapbooking for the guys in your life. Continue to add squares end to end weaving outside strips for the needed length.
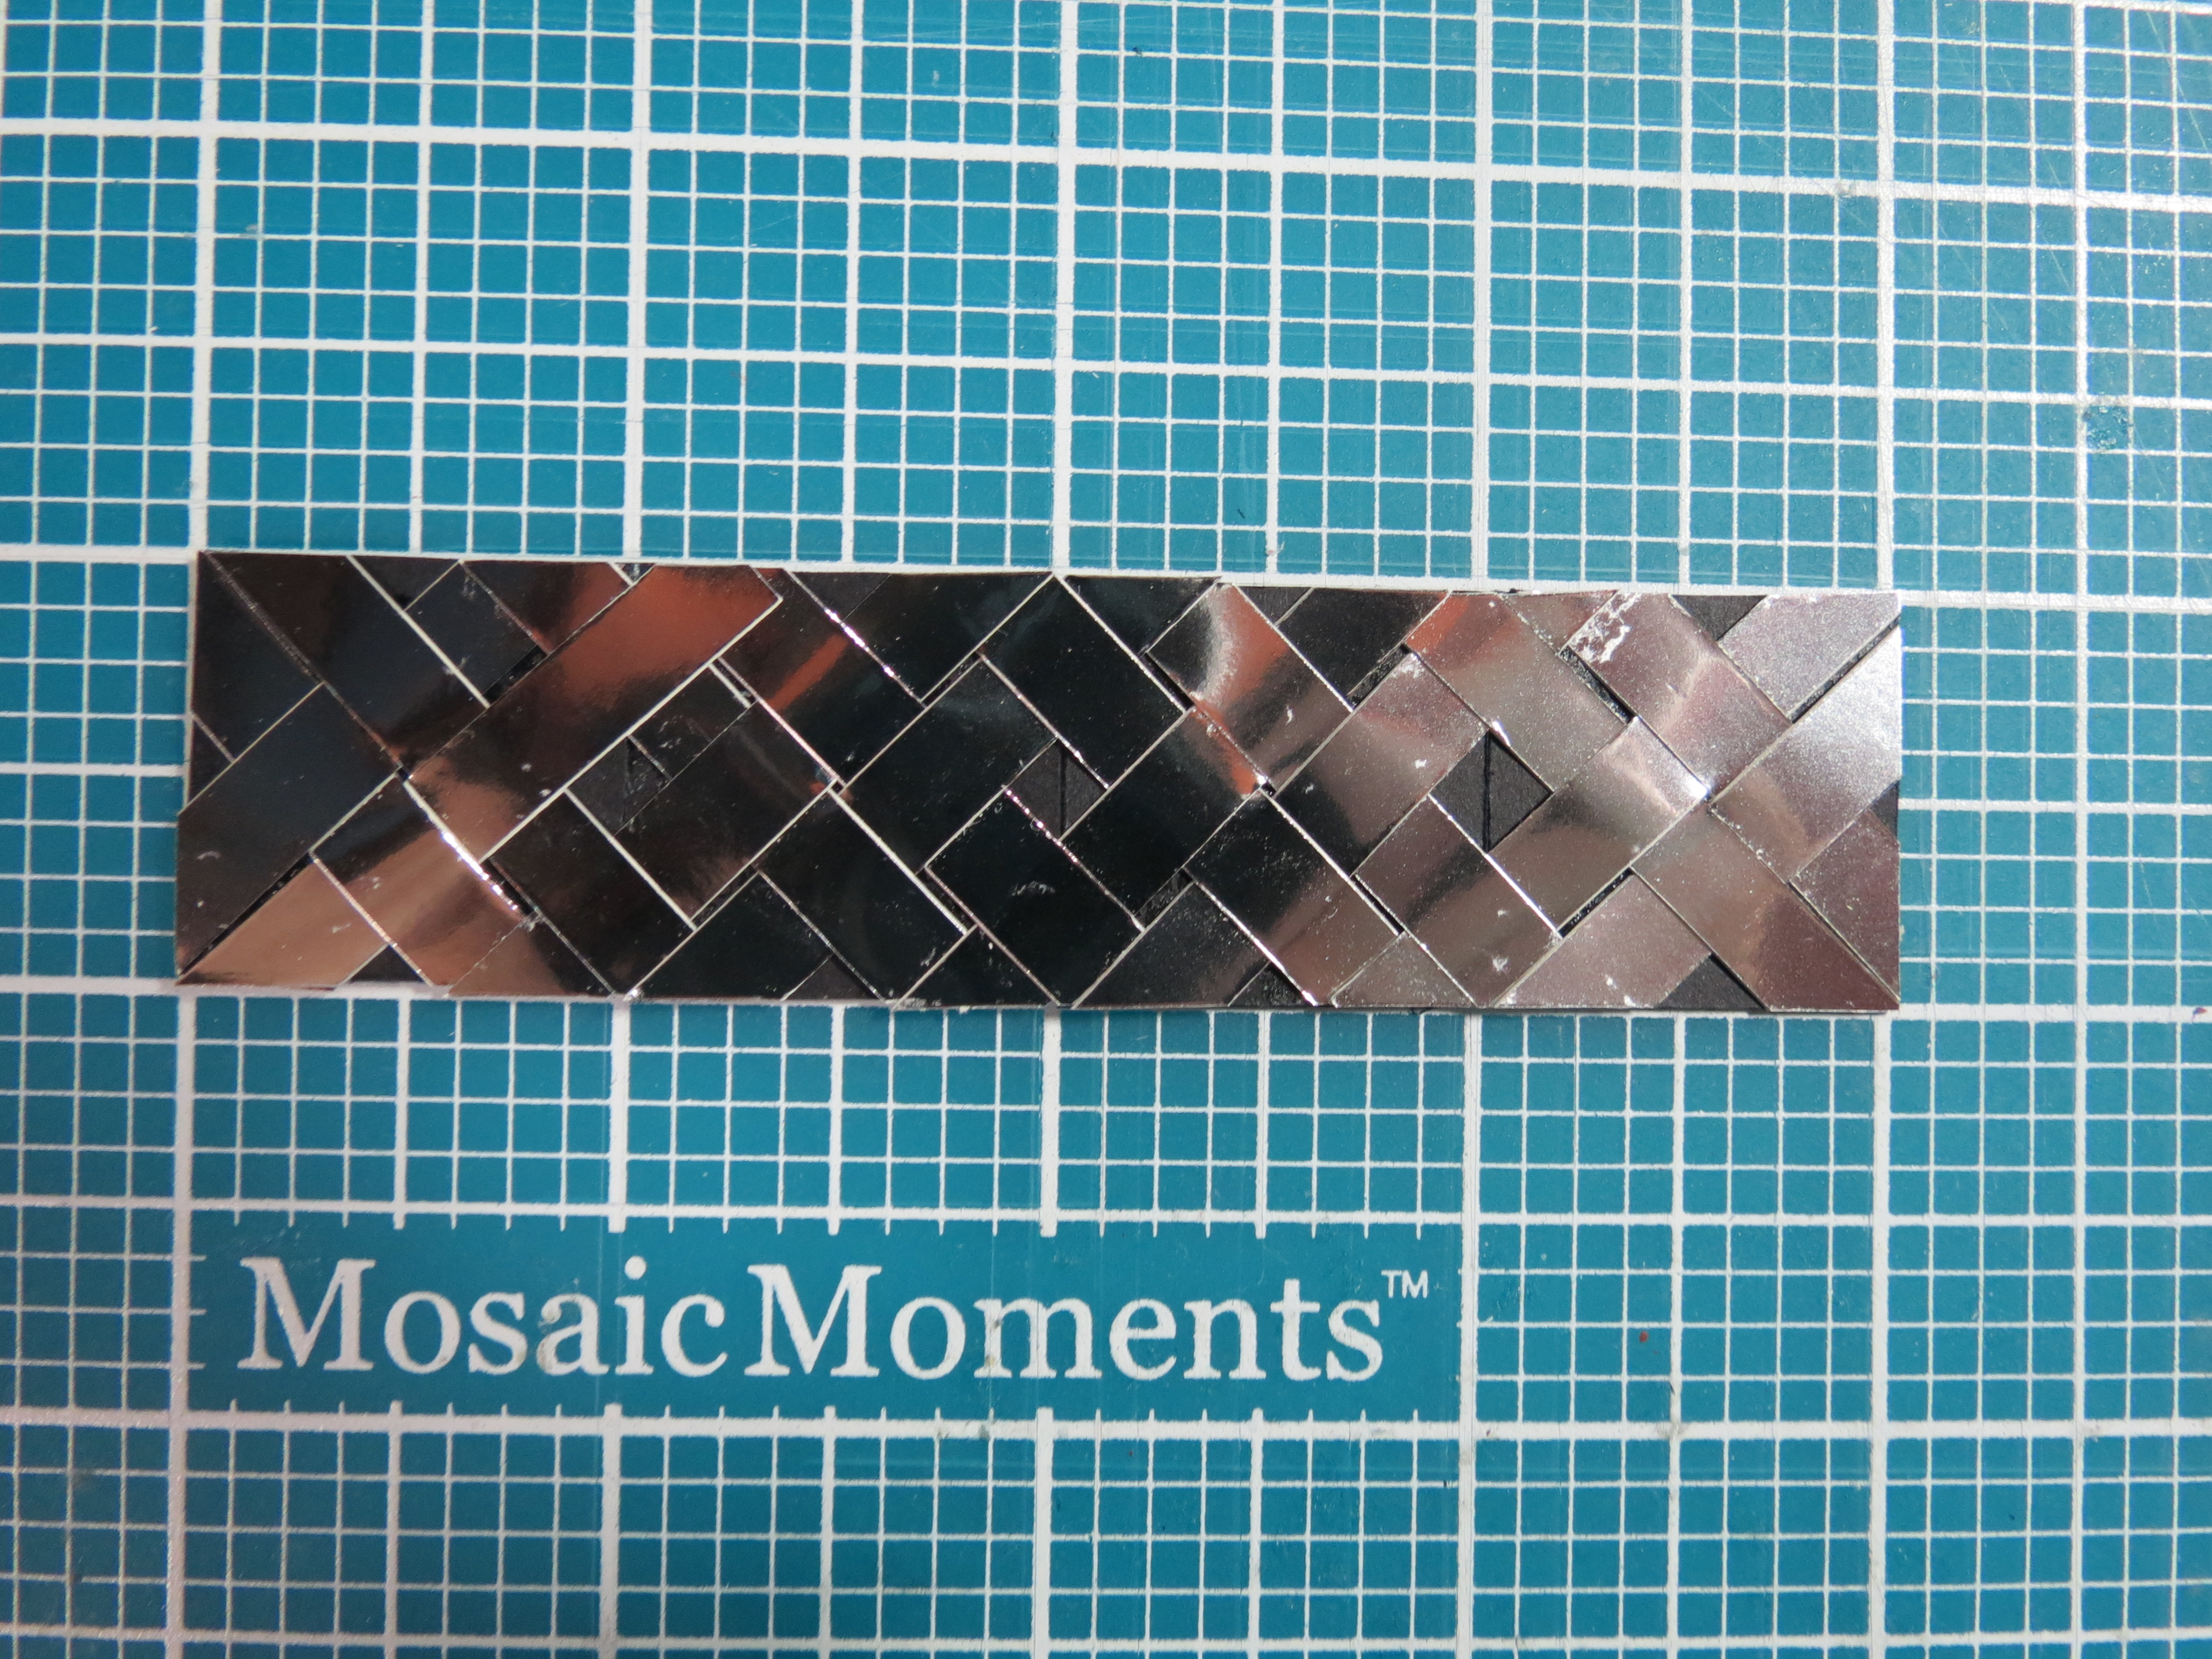
Basketweave: scrapbooking for the guys in your life. Trim off outside excess.
Although I’ve presented this technique to cover a long section, if your pattern has smaller spots this will work out well.
Basketweave: scrapbooking for the guys in your life
Why not try it out and let us see what you’ve created? Post your layouts on Journella or our Facebook page and share with us!
Andrea Fisher
Be sure to visit our Pinterest Board and pin this and more!
Basketweave: scrapbooking for the guys in your life