
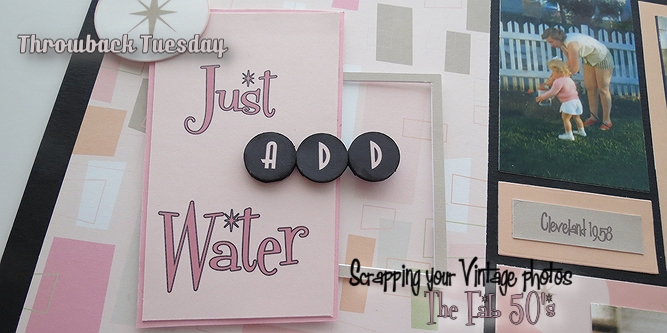
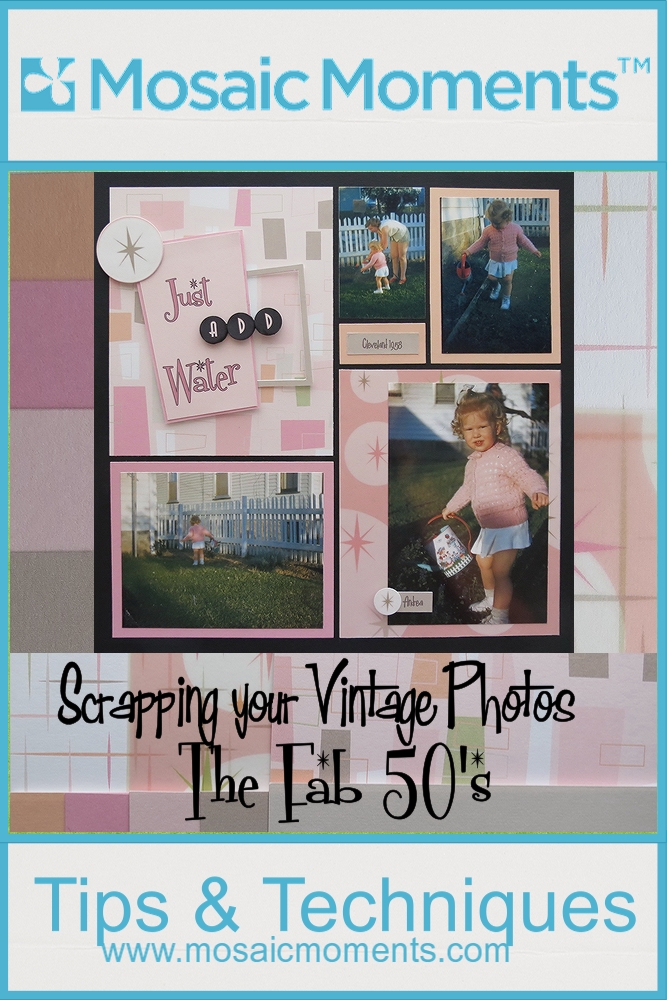
Throwback Tuesday: The Fab 50’s again
Tips and Techniques for Scrapping Your Vintage Photos
It’s Throwback Tuesday and today we’ll draw some inspiration from The Fab 50’s with a look back at a challenge Tami gave to the Design Team. The original challenge was “to scrap about the pop culture of the decade you were born in and create a page that is inspired by the events, entertainment, or fashion, etc. of that decade.” Being the old geezer of the team mine stretched back into the Fifties. It was fun searching for info and pictures to represent that era and incorporate into a layout. To see all the details you’ll find them HERE.

Scrapping Your Vintage Photos: The Fab 50’s The original challenge layout.
You will notice I began with a red grid and added Black & White in a checkerboard pattern and “chrome” as my color scheme. My sign/Title was done in Robins Egg to in keep with the prevailing color scheme of the Fab 50’s and one of the trending shapes from that era. My journal spots fill the label on old 45’s and 78’s styled tags. The photos I used included a few personal shots of me and my Mum in the late 50’s (and one in the 60’s) and the others were current of items from that time.
This layout gives an overview of the time, so how should I scrap-lift this layout? In the end I thought I’d take the approach to see how to scrap vintage photos for my own album. There are several photos from my childhood I’ve been hoping to include in my “All About Me” album, so why not take that on? These are prints made from slides. Most people were taking photos and making black and white prints; my Dad was shooting in full color. The pages for these photos would have to ring true for the time and work for the photos too.
Scrapping Your Vintage Photos: The Fab 50’s
For the Fab 50’s there were a number of approaches to take. Color schemes were one. While the one I used in the original would be fine, I thought I’d try to incorporate patterned paper that I came across in a recent overhaul of my scrapbook supplies that I’d purchased several years ago to do this very thing.
Here are the choices I had:
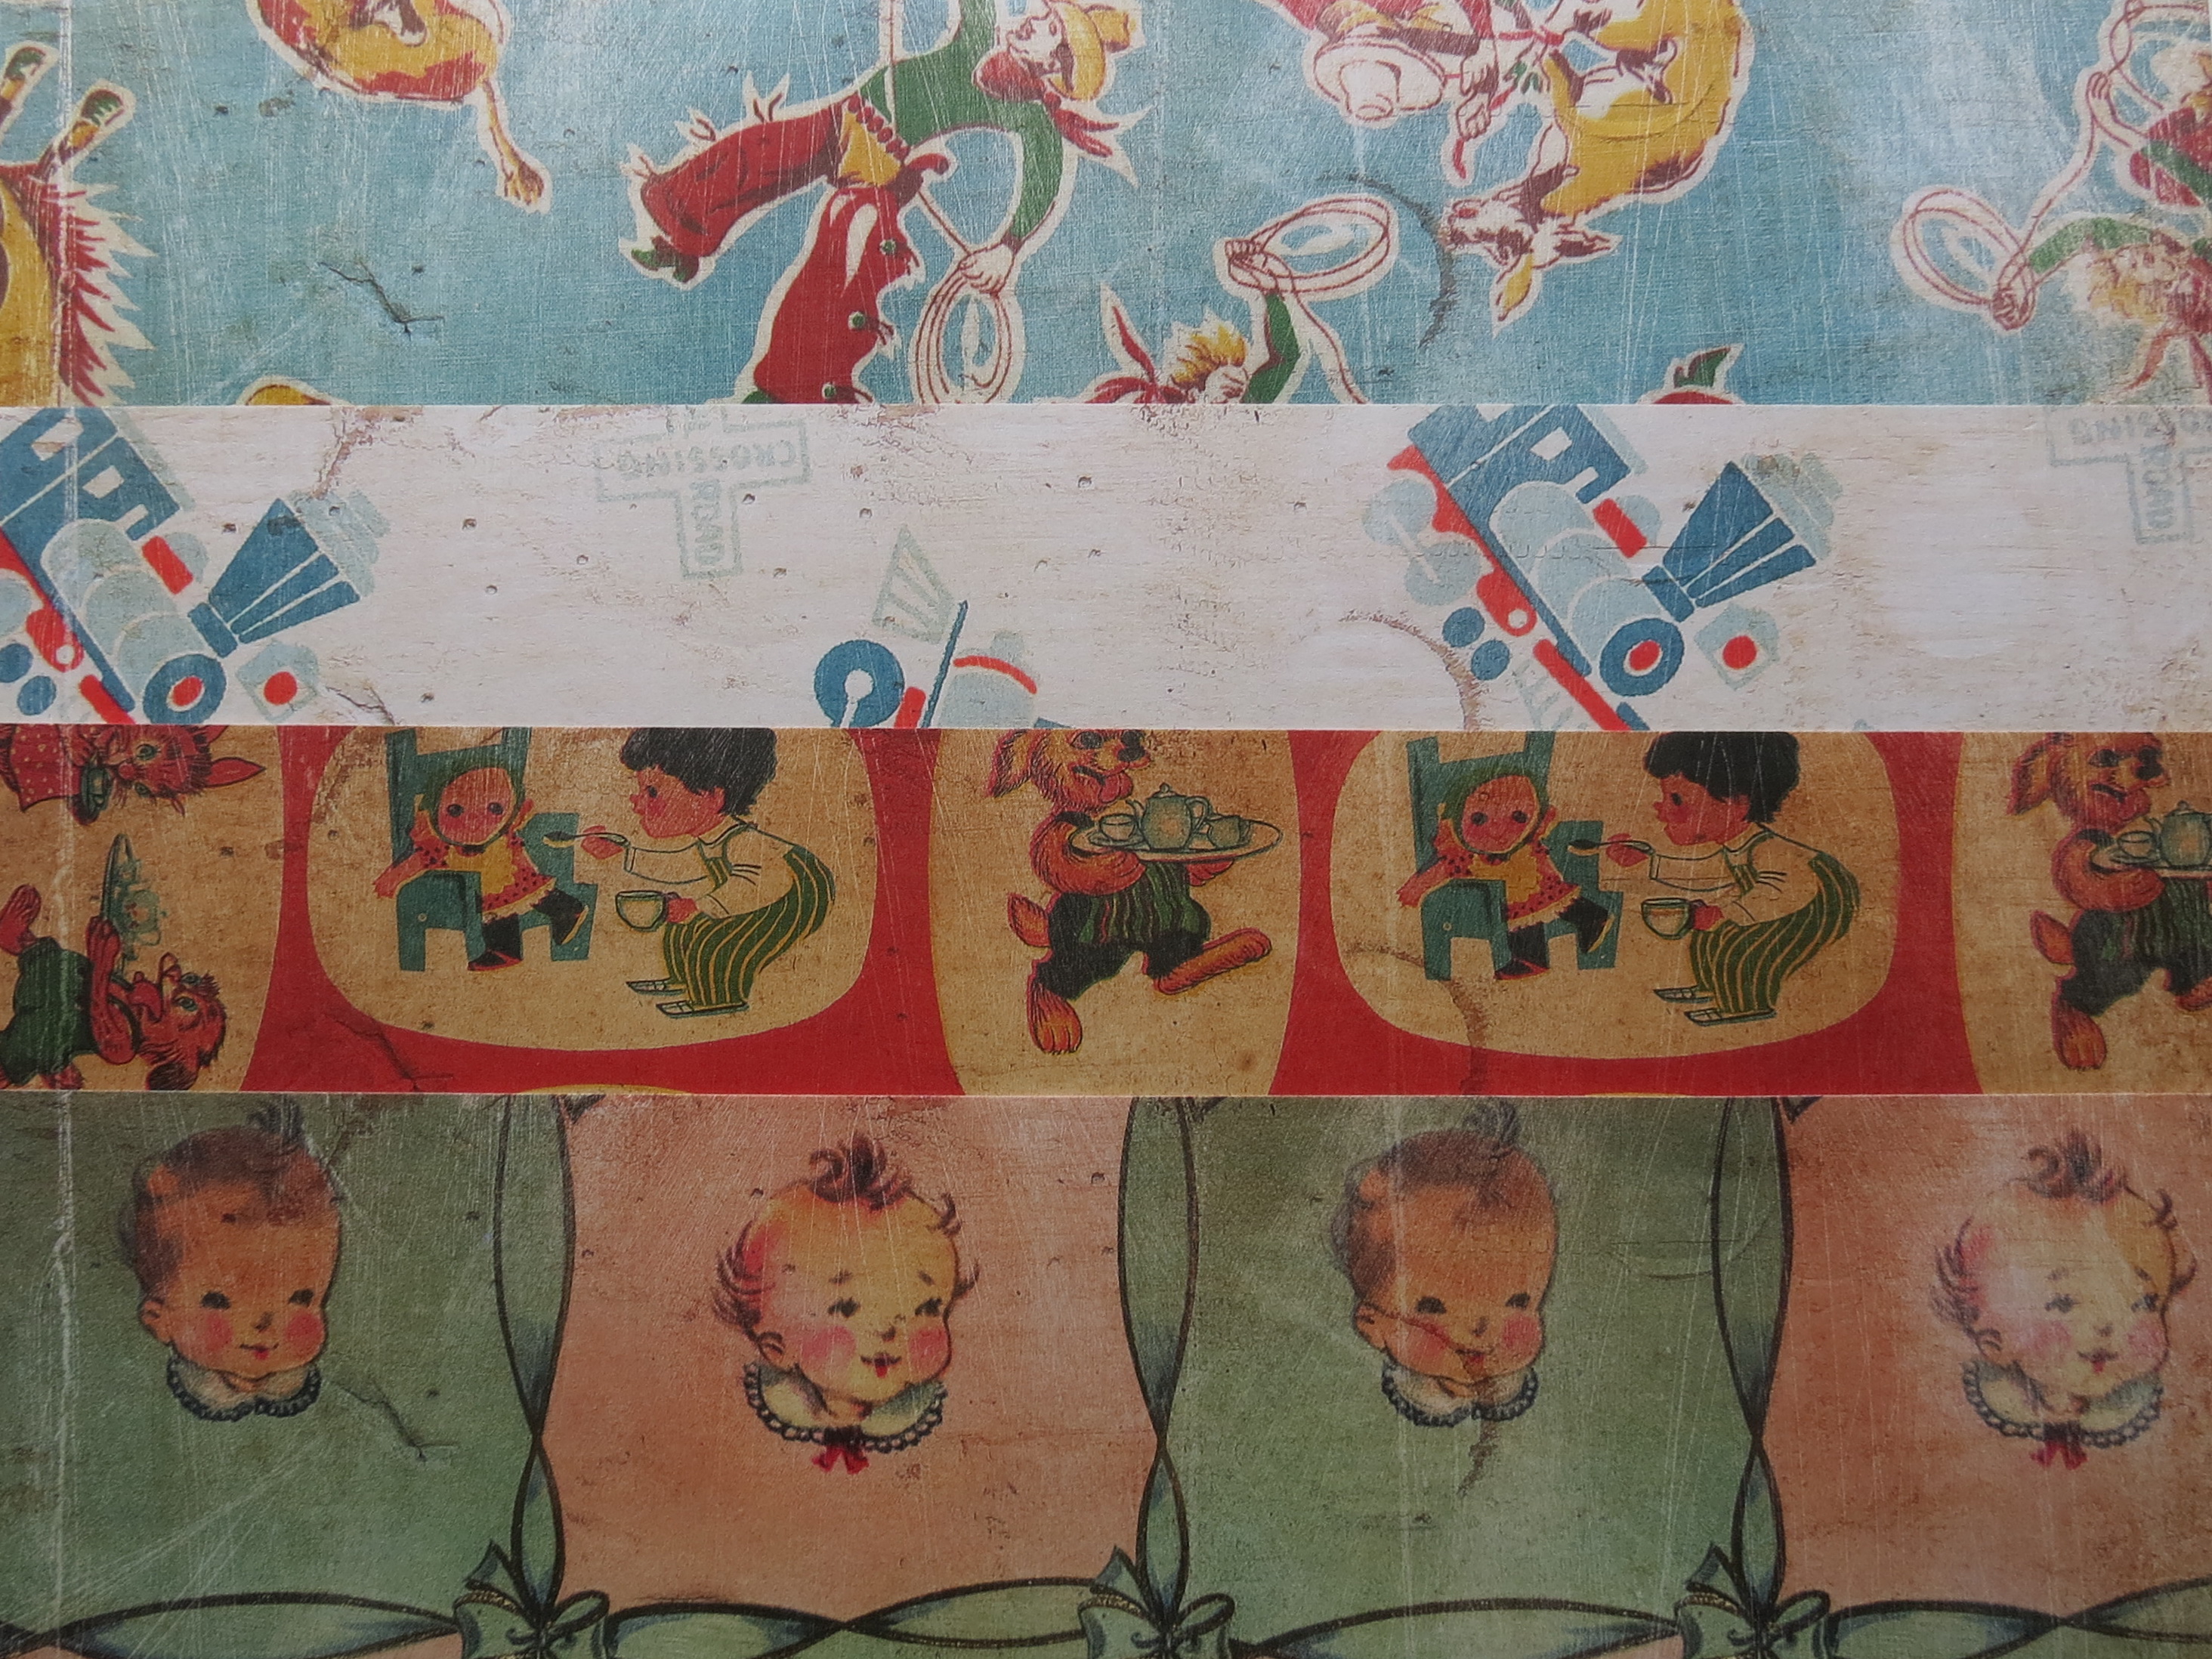
- Photo One: These patterns are originals. These I remember seeing as a child in our house…although that grunge and level of “dirt” would not have been in my Mum’s home! Dirt was afraid of my Mum!!
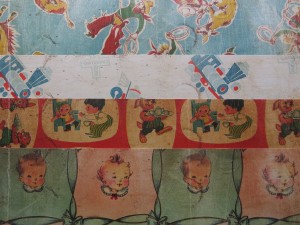
Scrapping Your Vintage Photos: The Fab 50’s choosing vintage prints
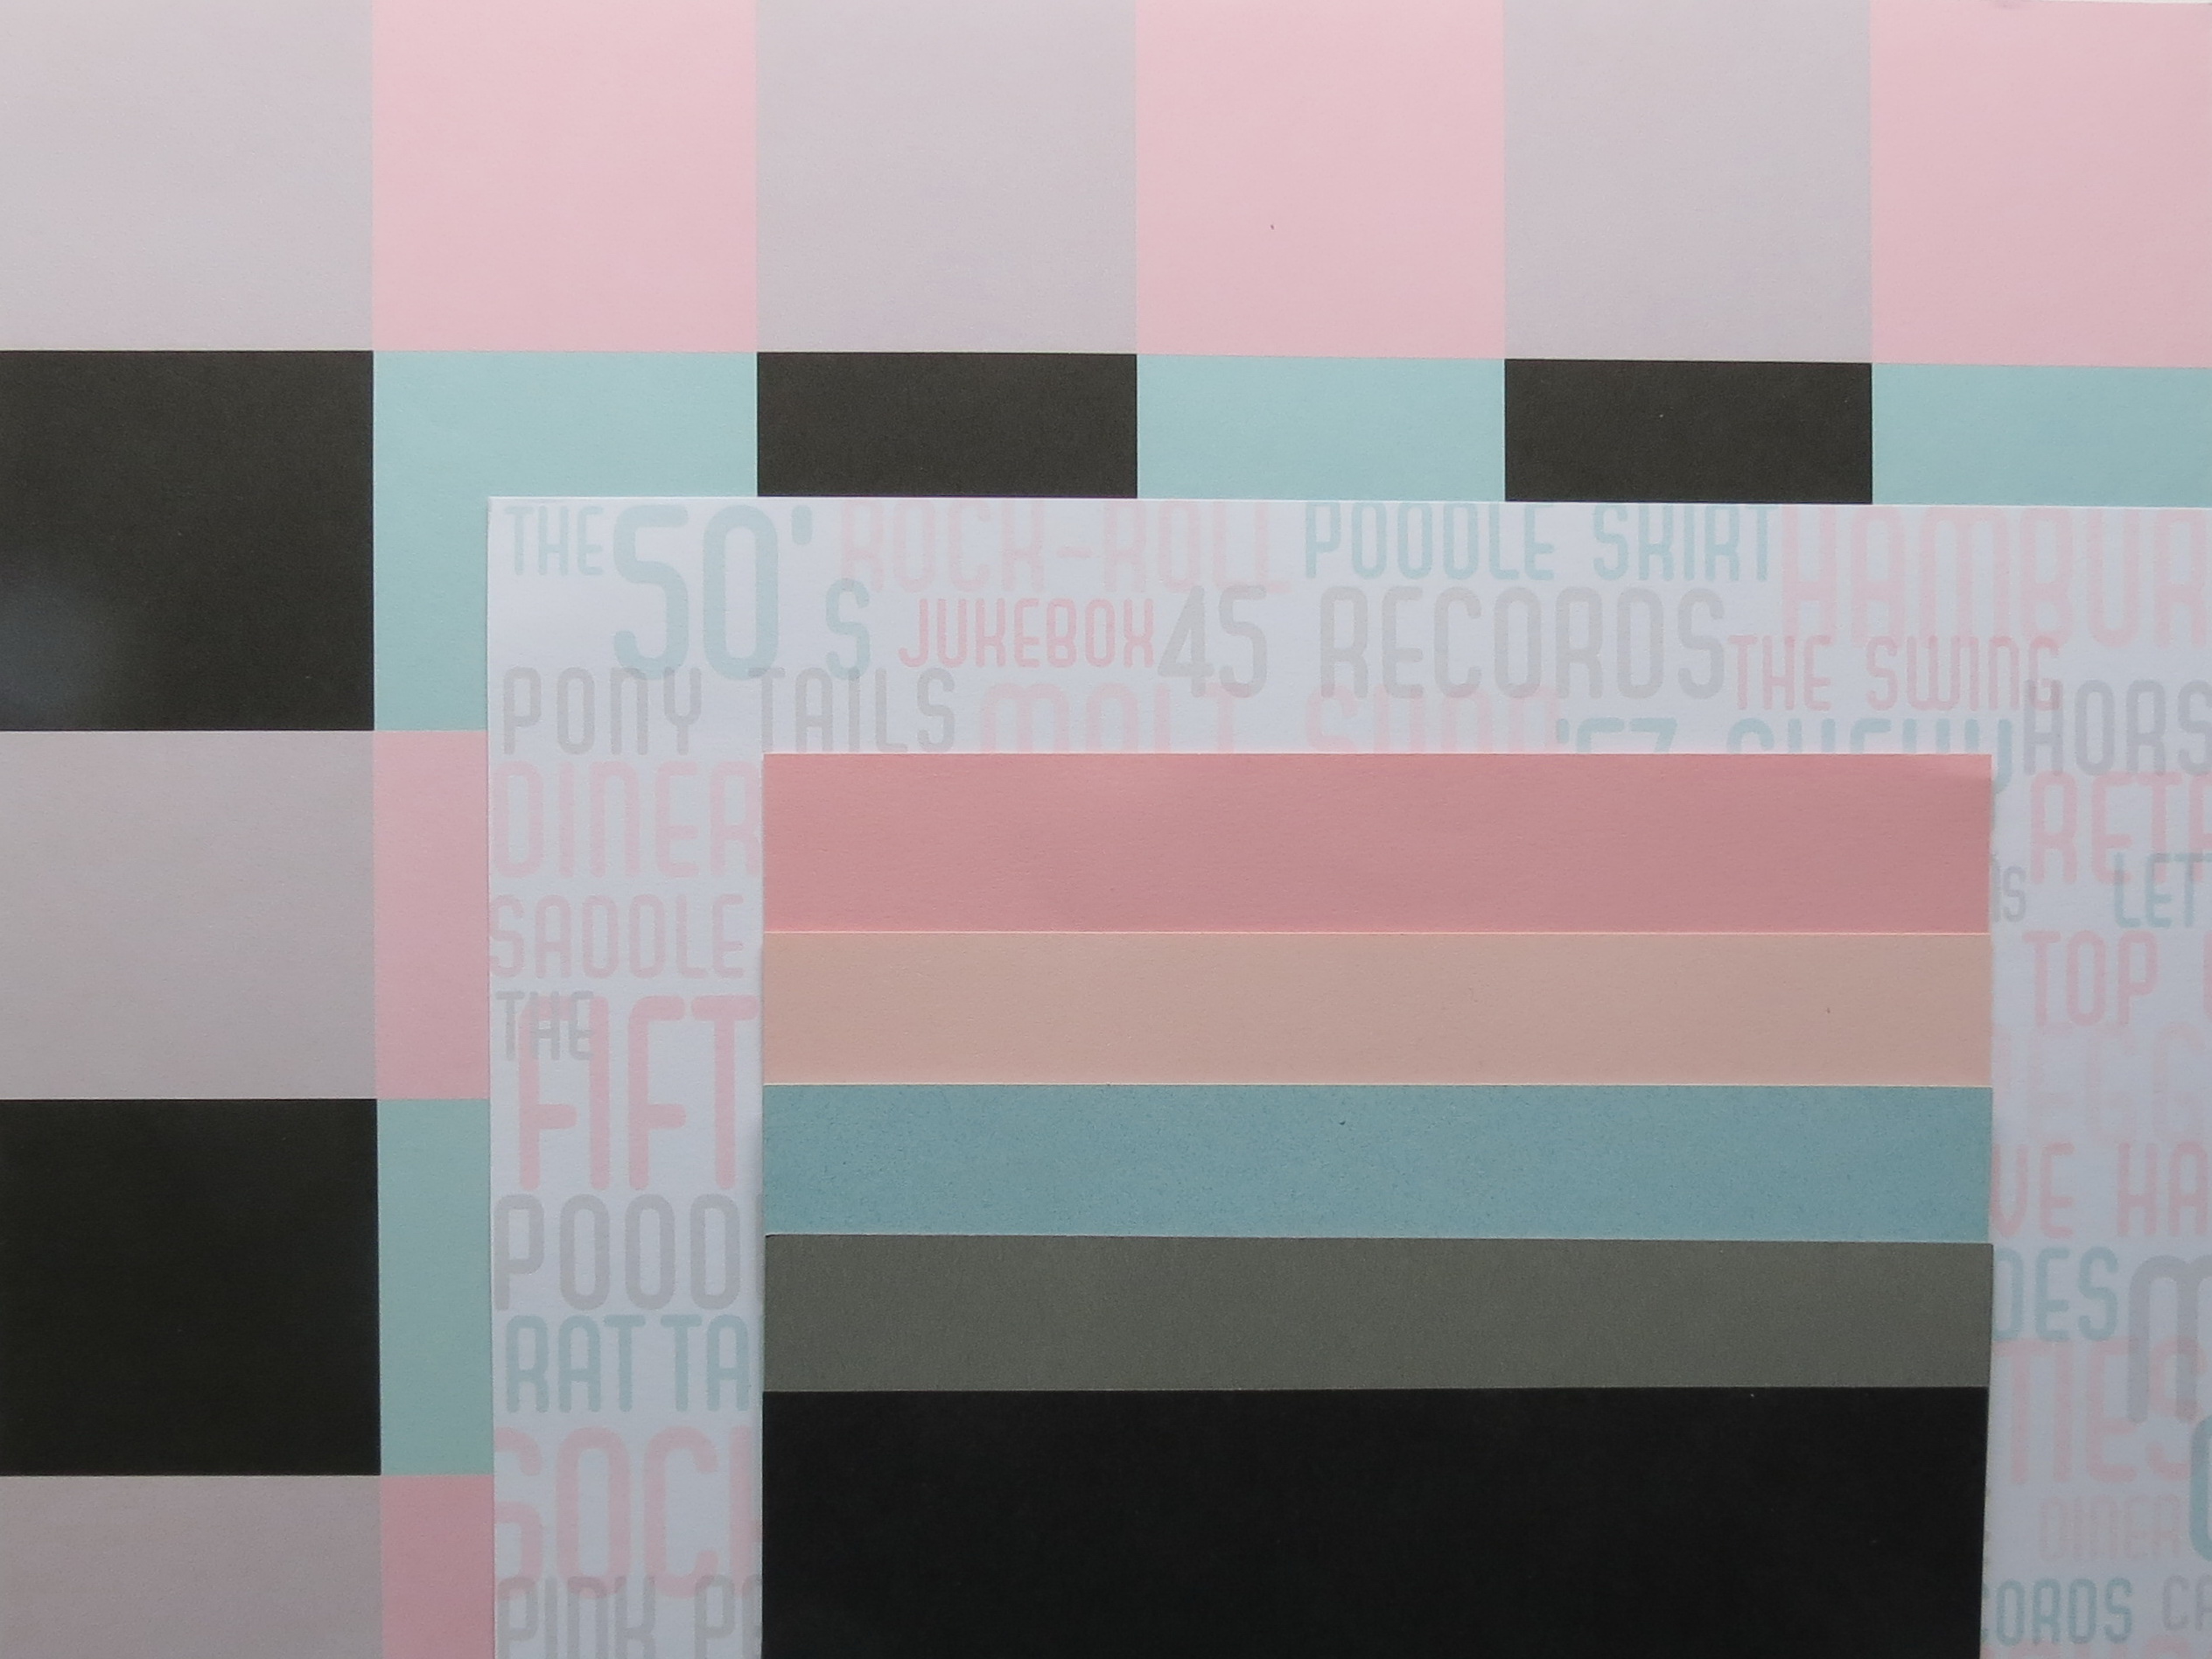
- Photo Two: The B&W, gray, pink and aqua with pattern paper that has words describing the Fab 50’s. Karen Foster Designs MM Paper Tiles to match
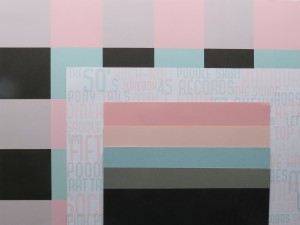
Scrapping Your Vintage Photos: The Fab 50’s choosing a color scheme #2
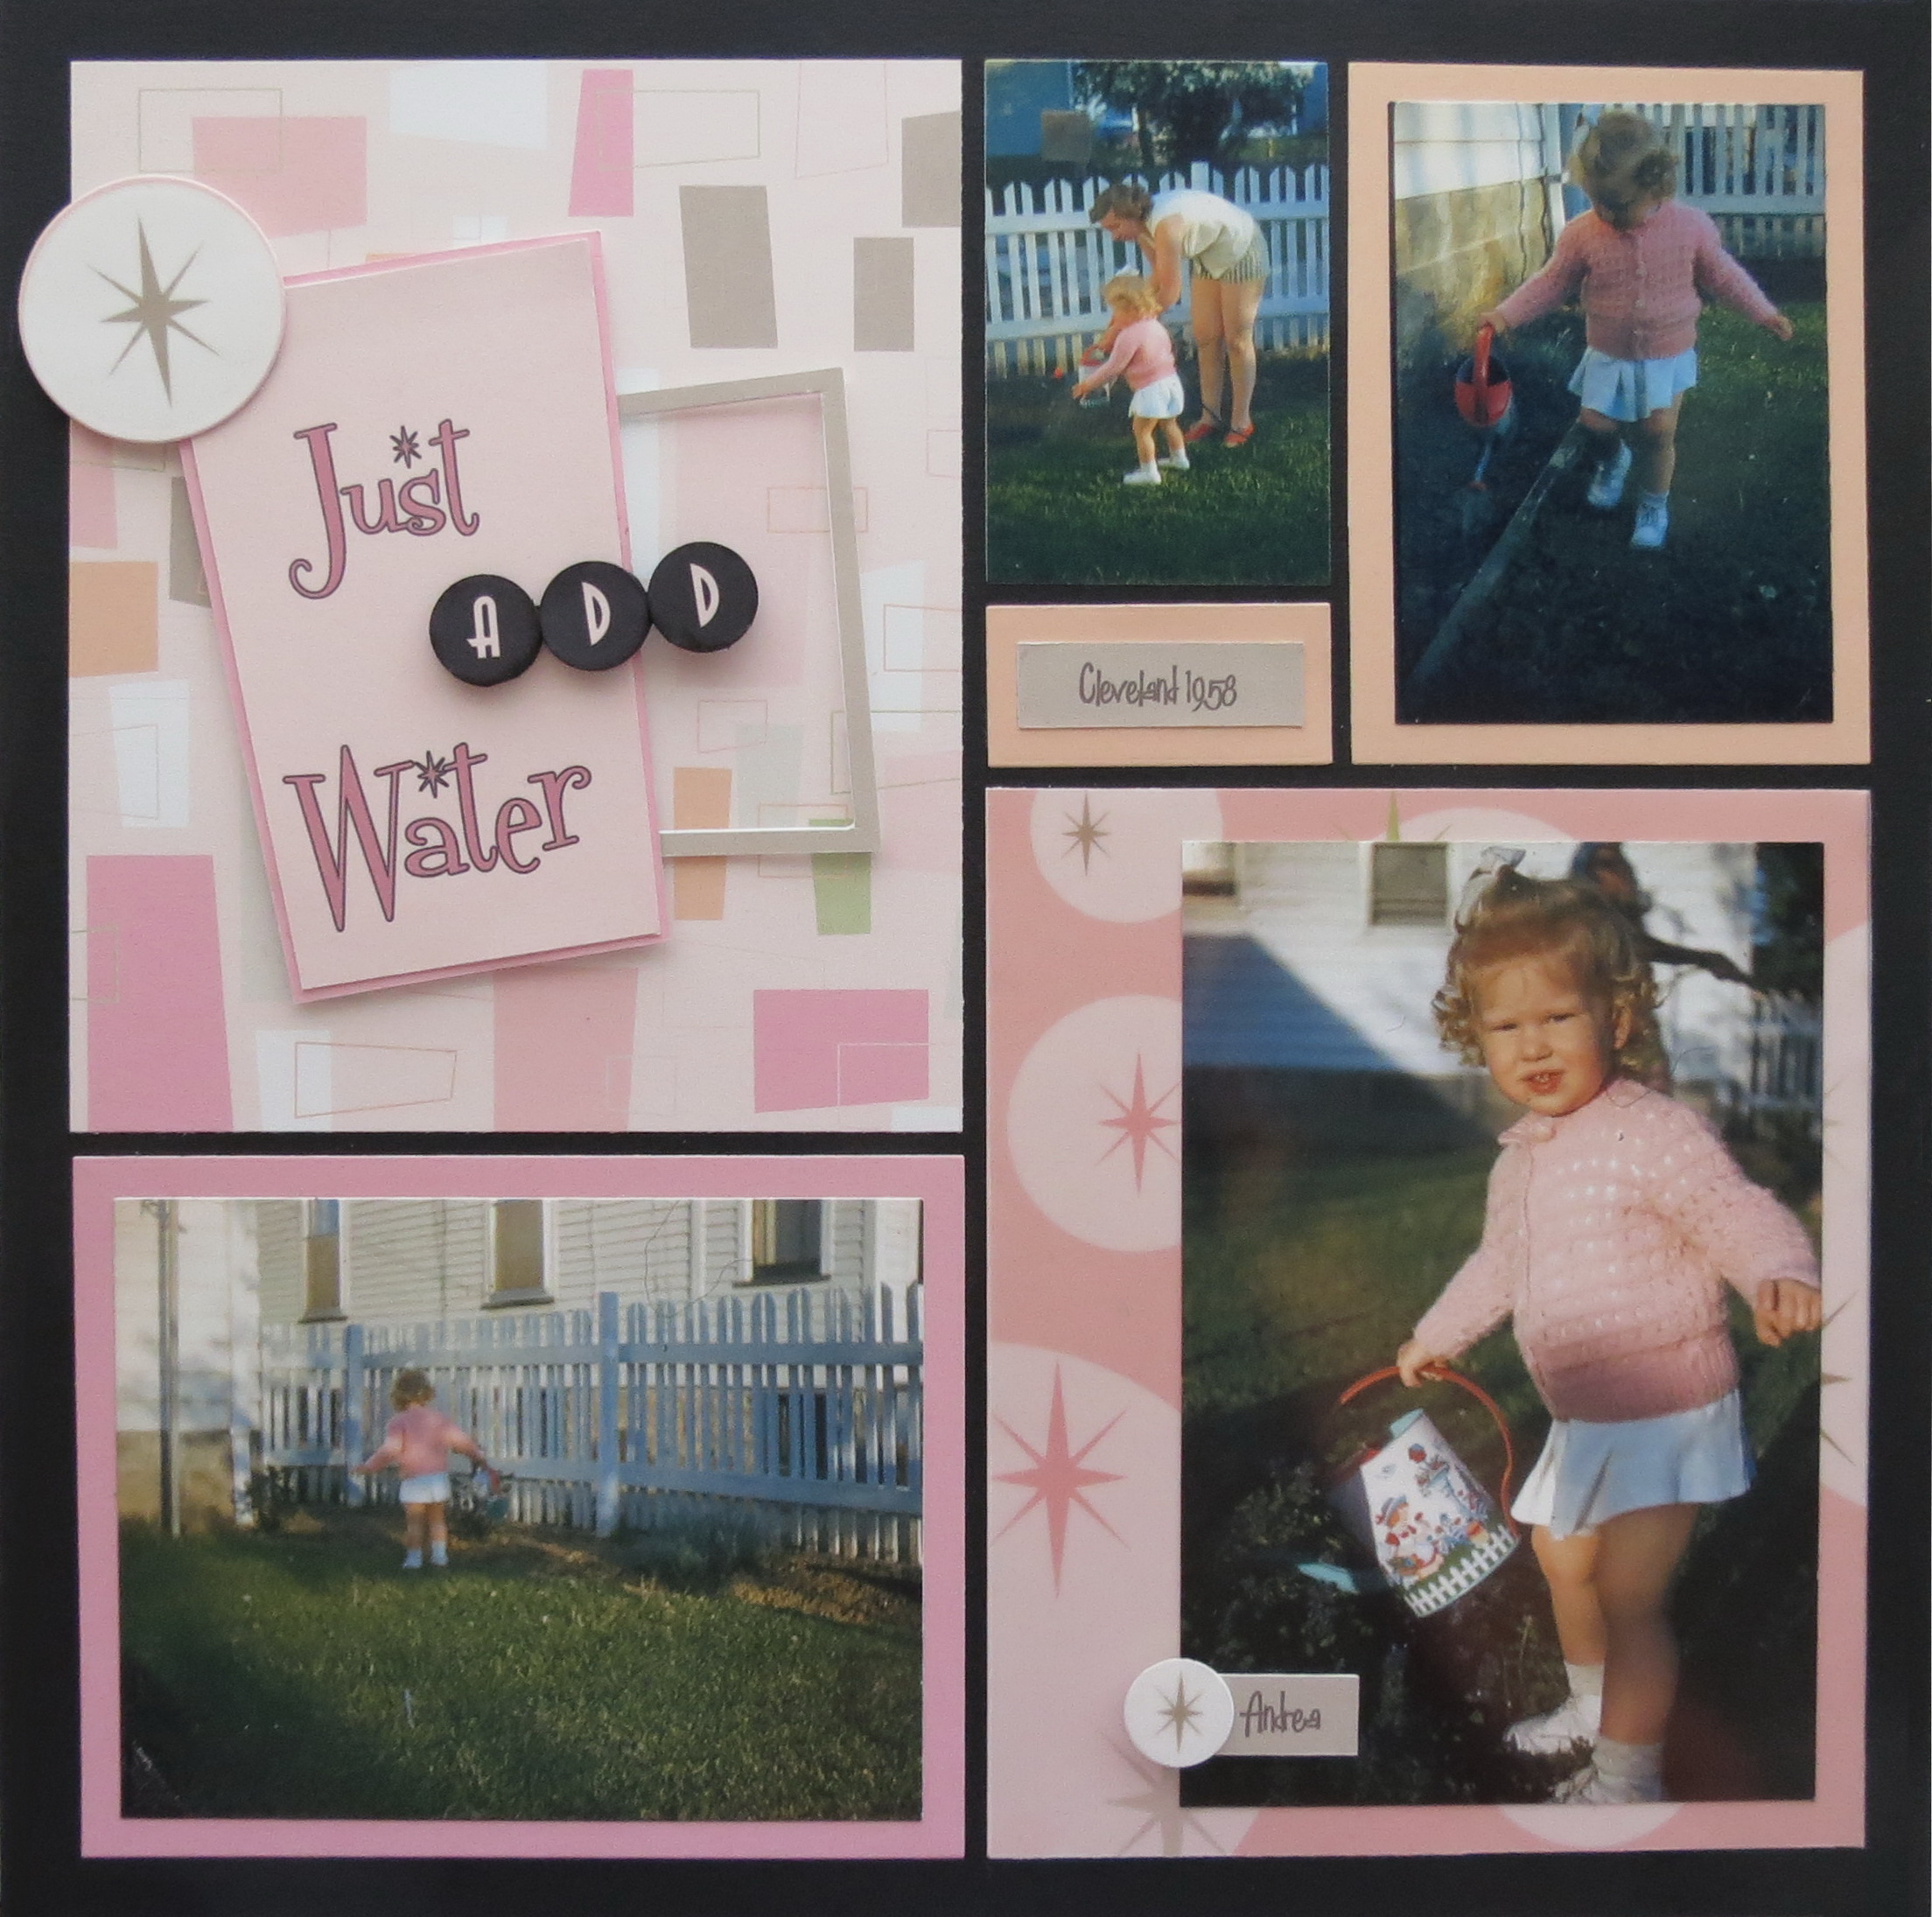
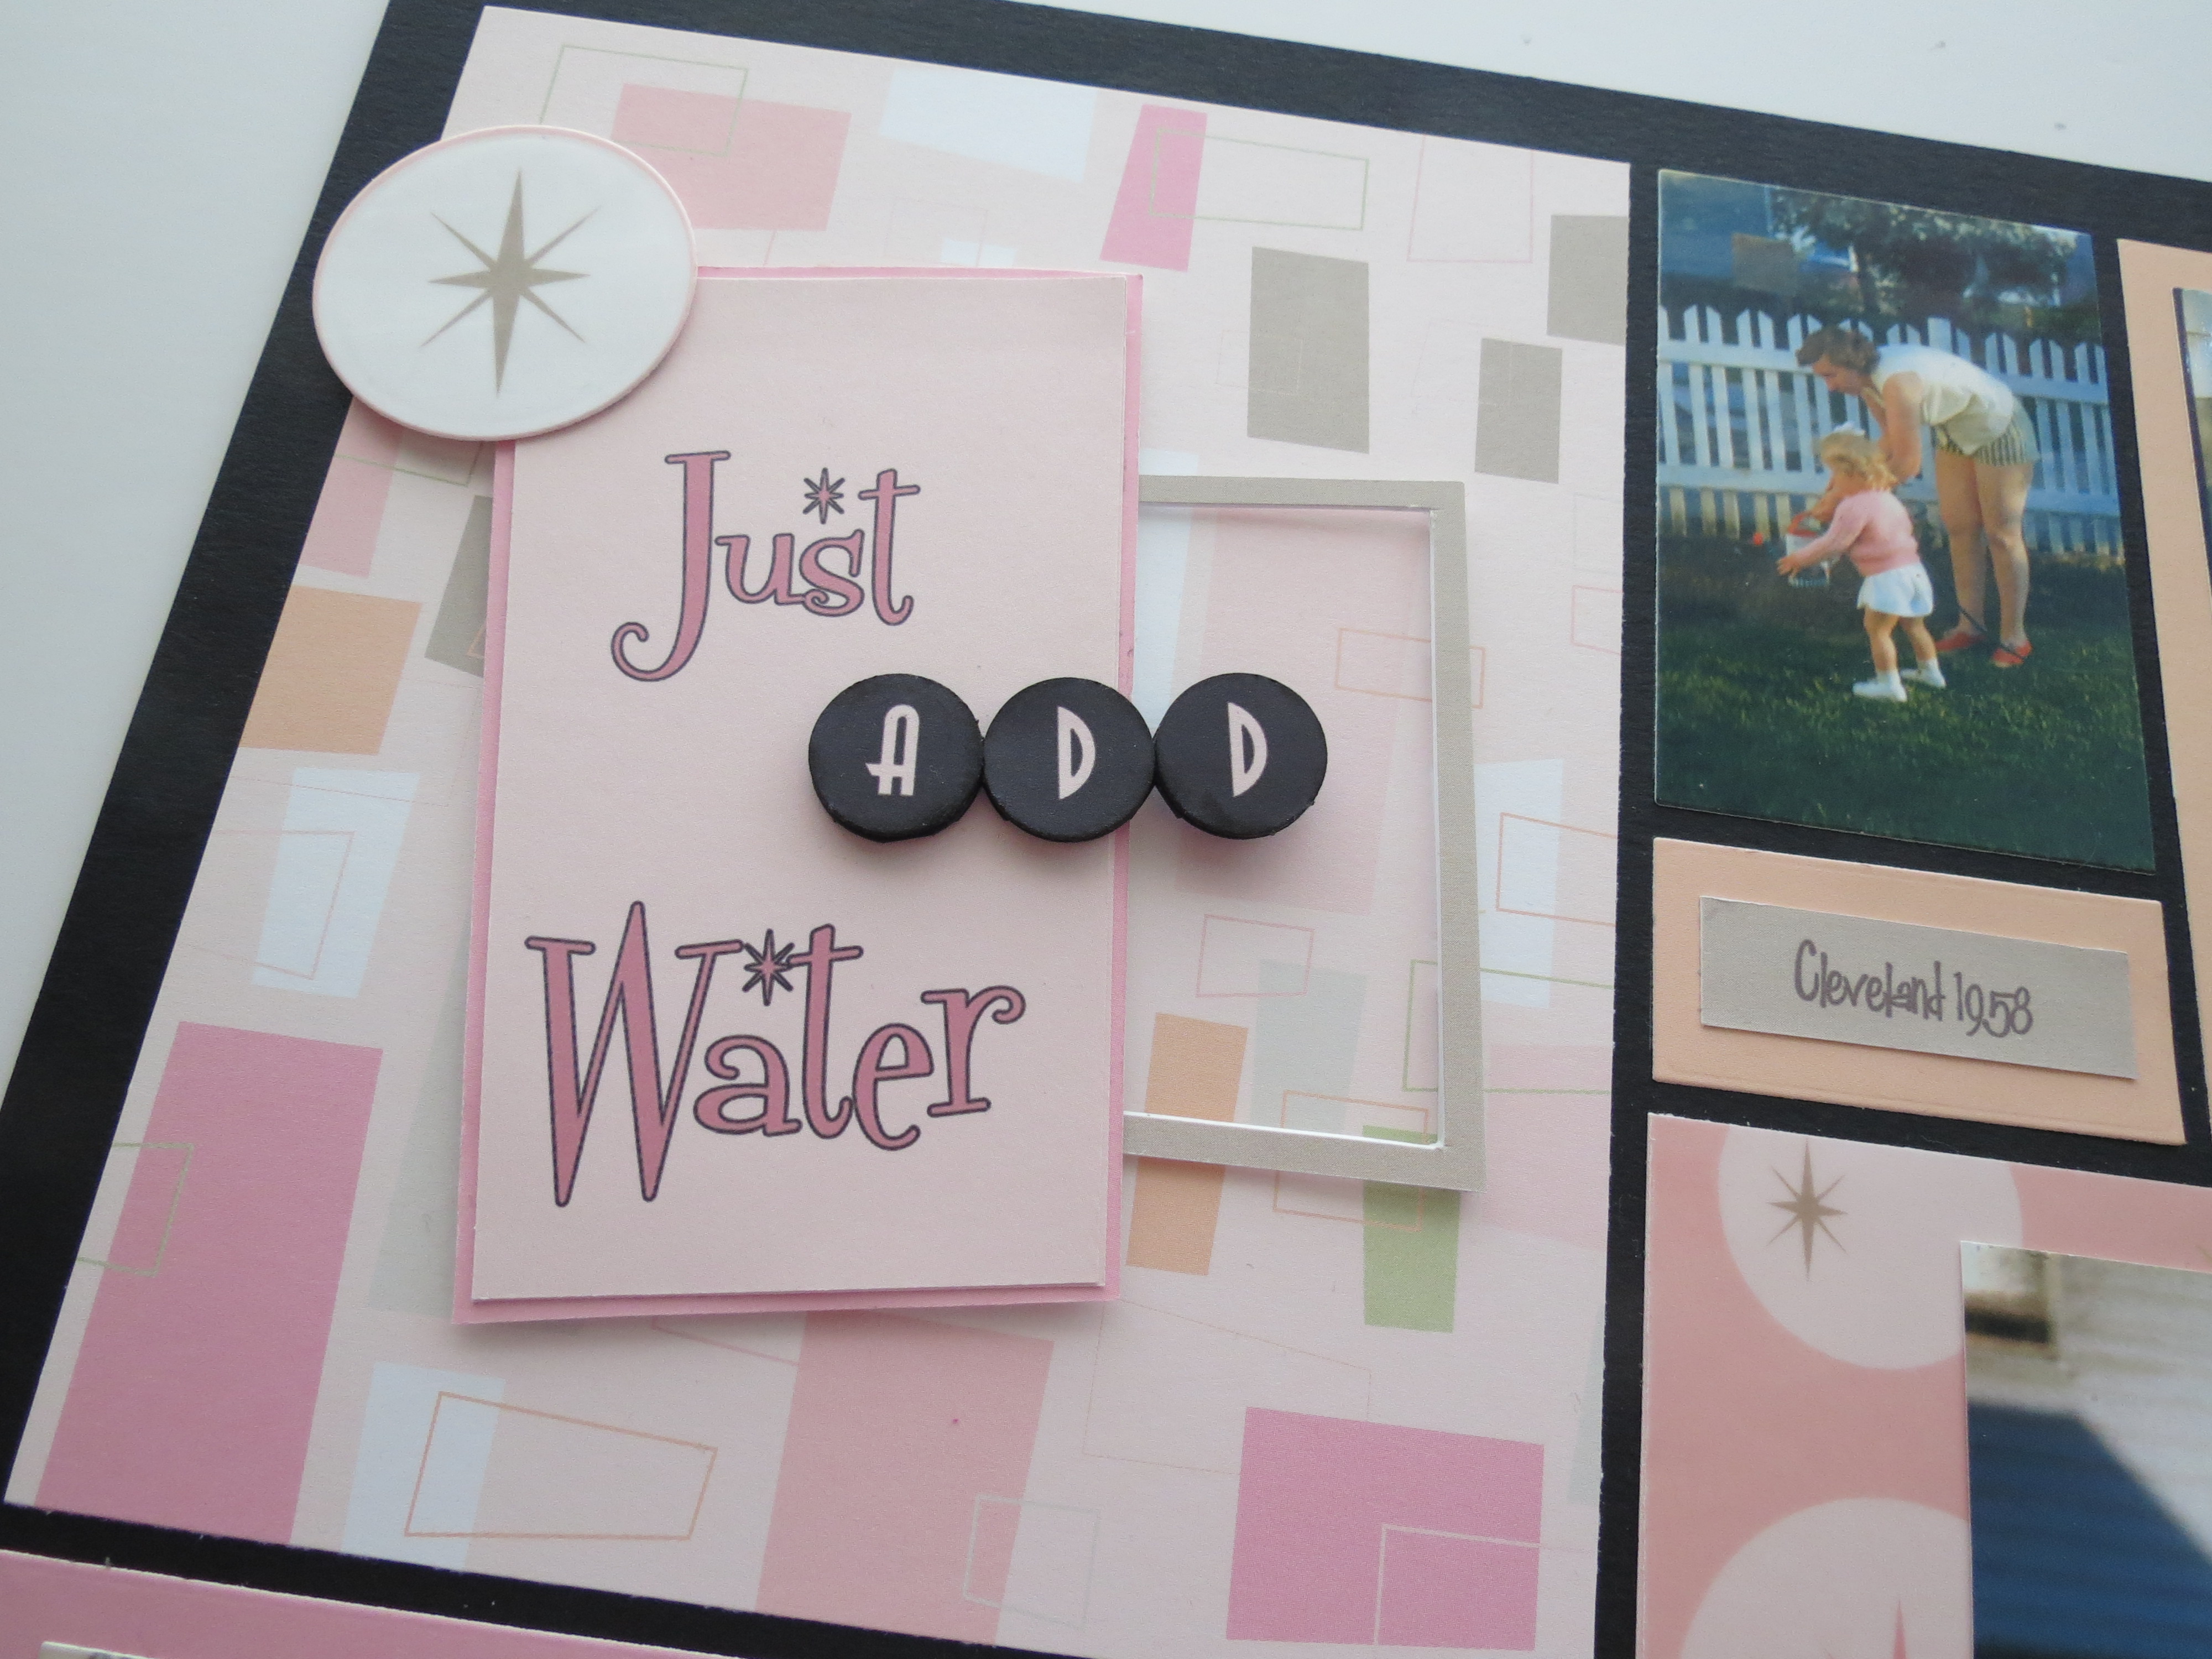
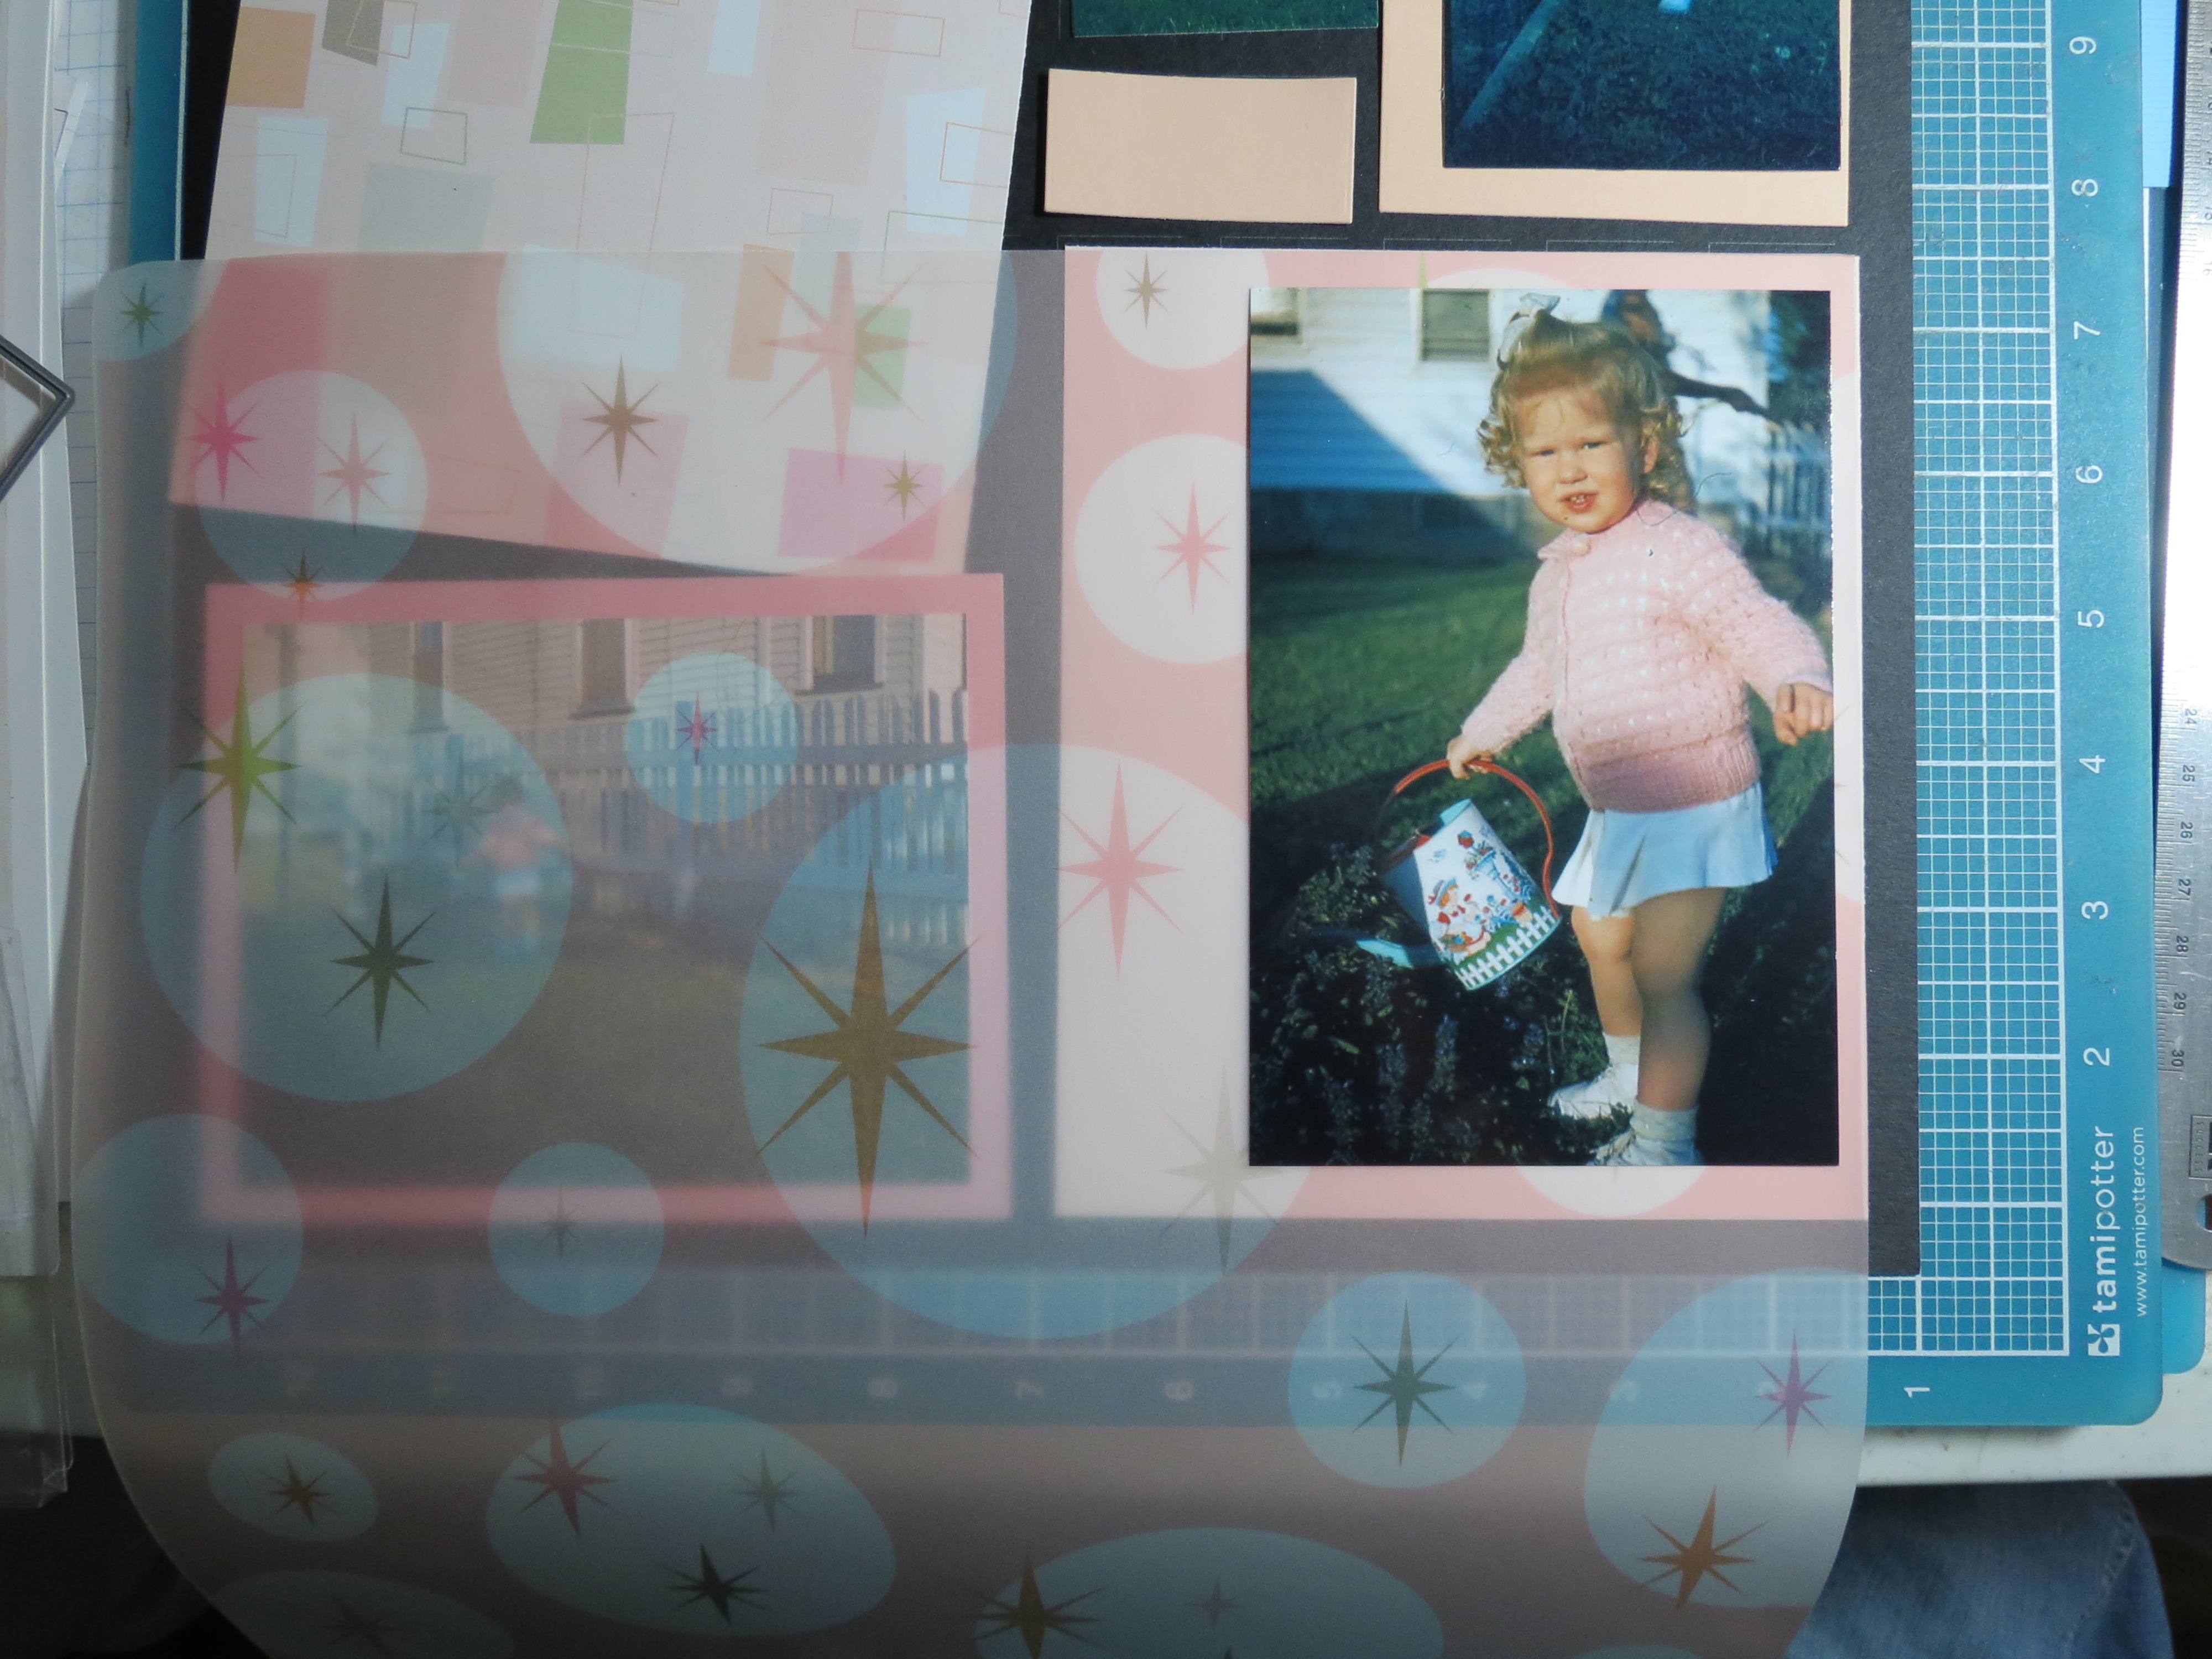
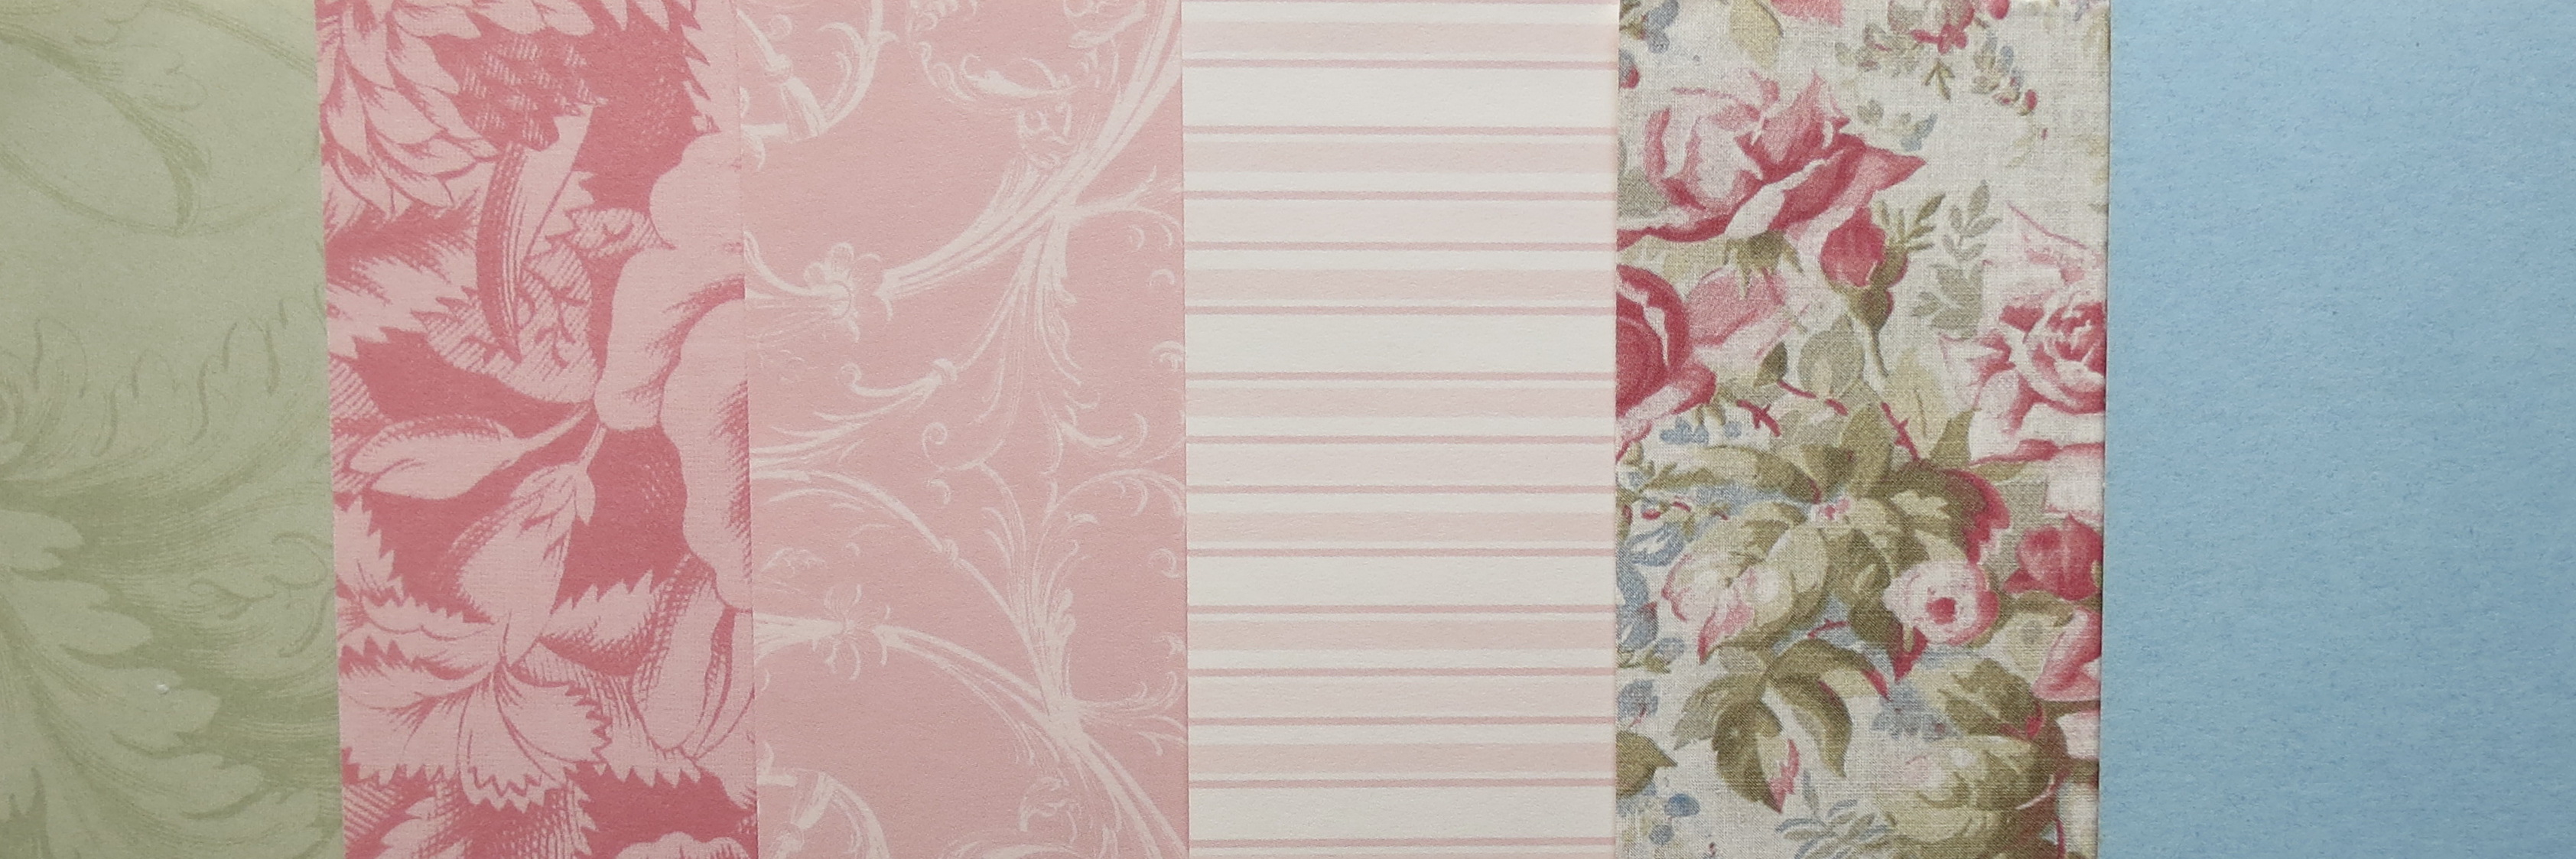
- Photo Three: The pink, peach, two grays with pattern paper that has shapes and patterns “toothpick,” rectangles and a vellum overlay with circles and sparkle stars. SEI Retrospect Collection. This is the right choice as it fits the photos the best.

Scrapping Your Vintage Photos: The Fab 50’s choosing a color scheme #3

Another approach to represent the Fab 50’s was Fonts. I incorporated three:
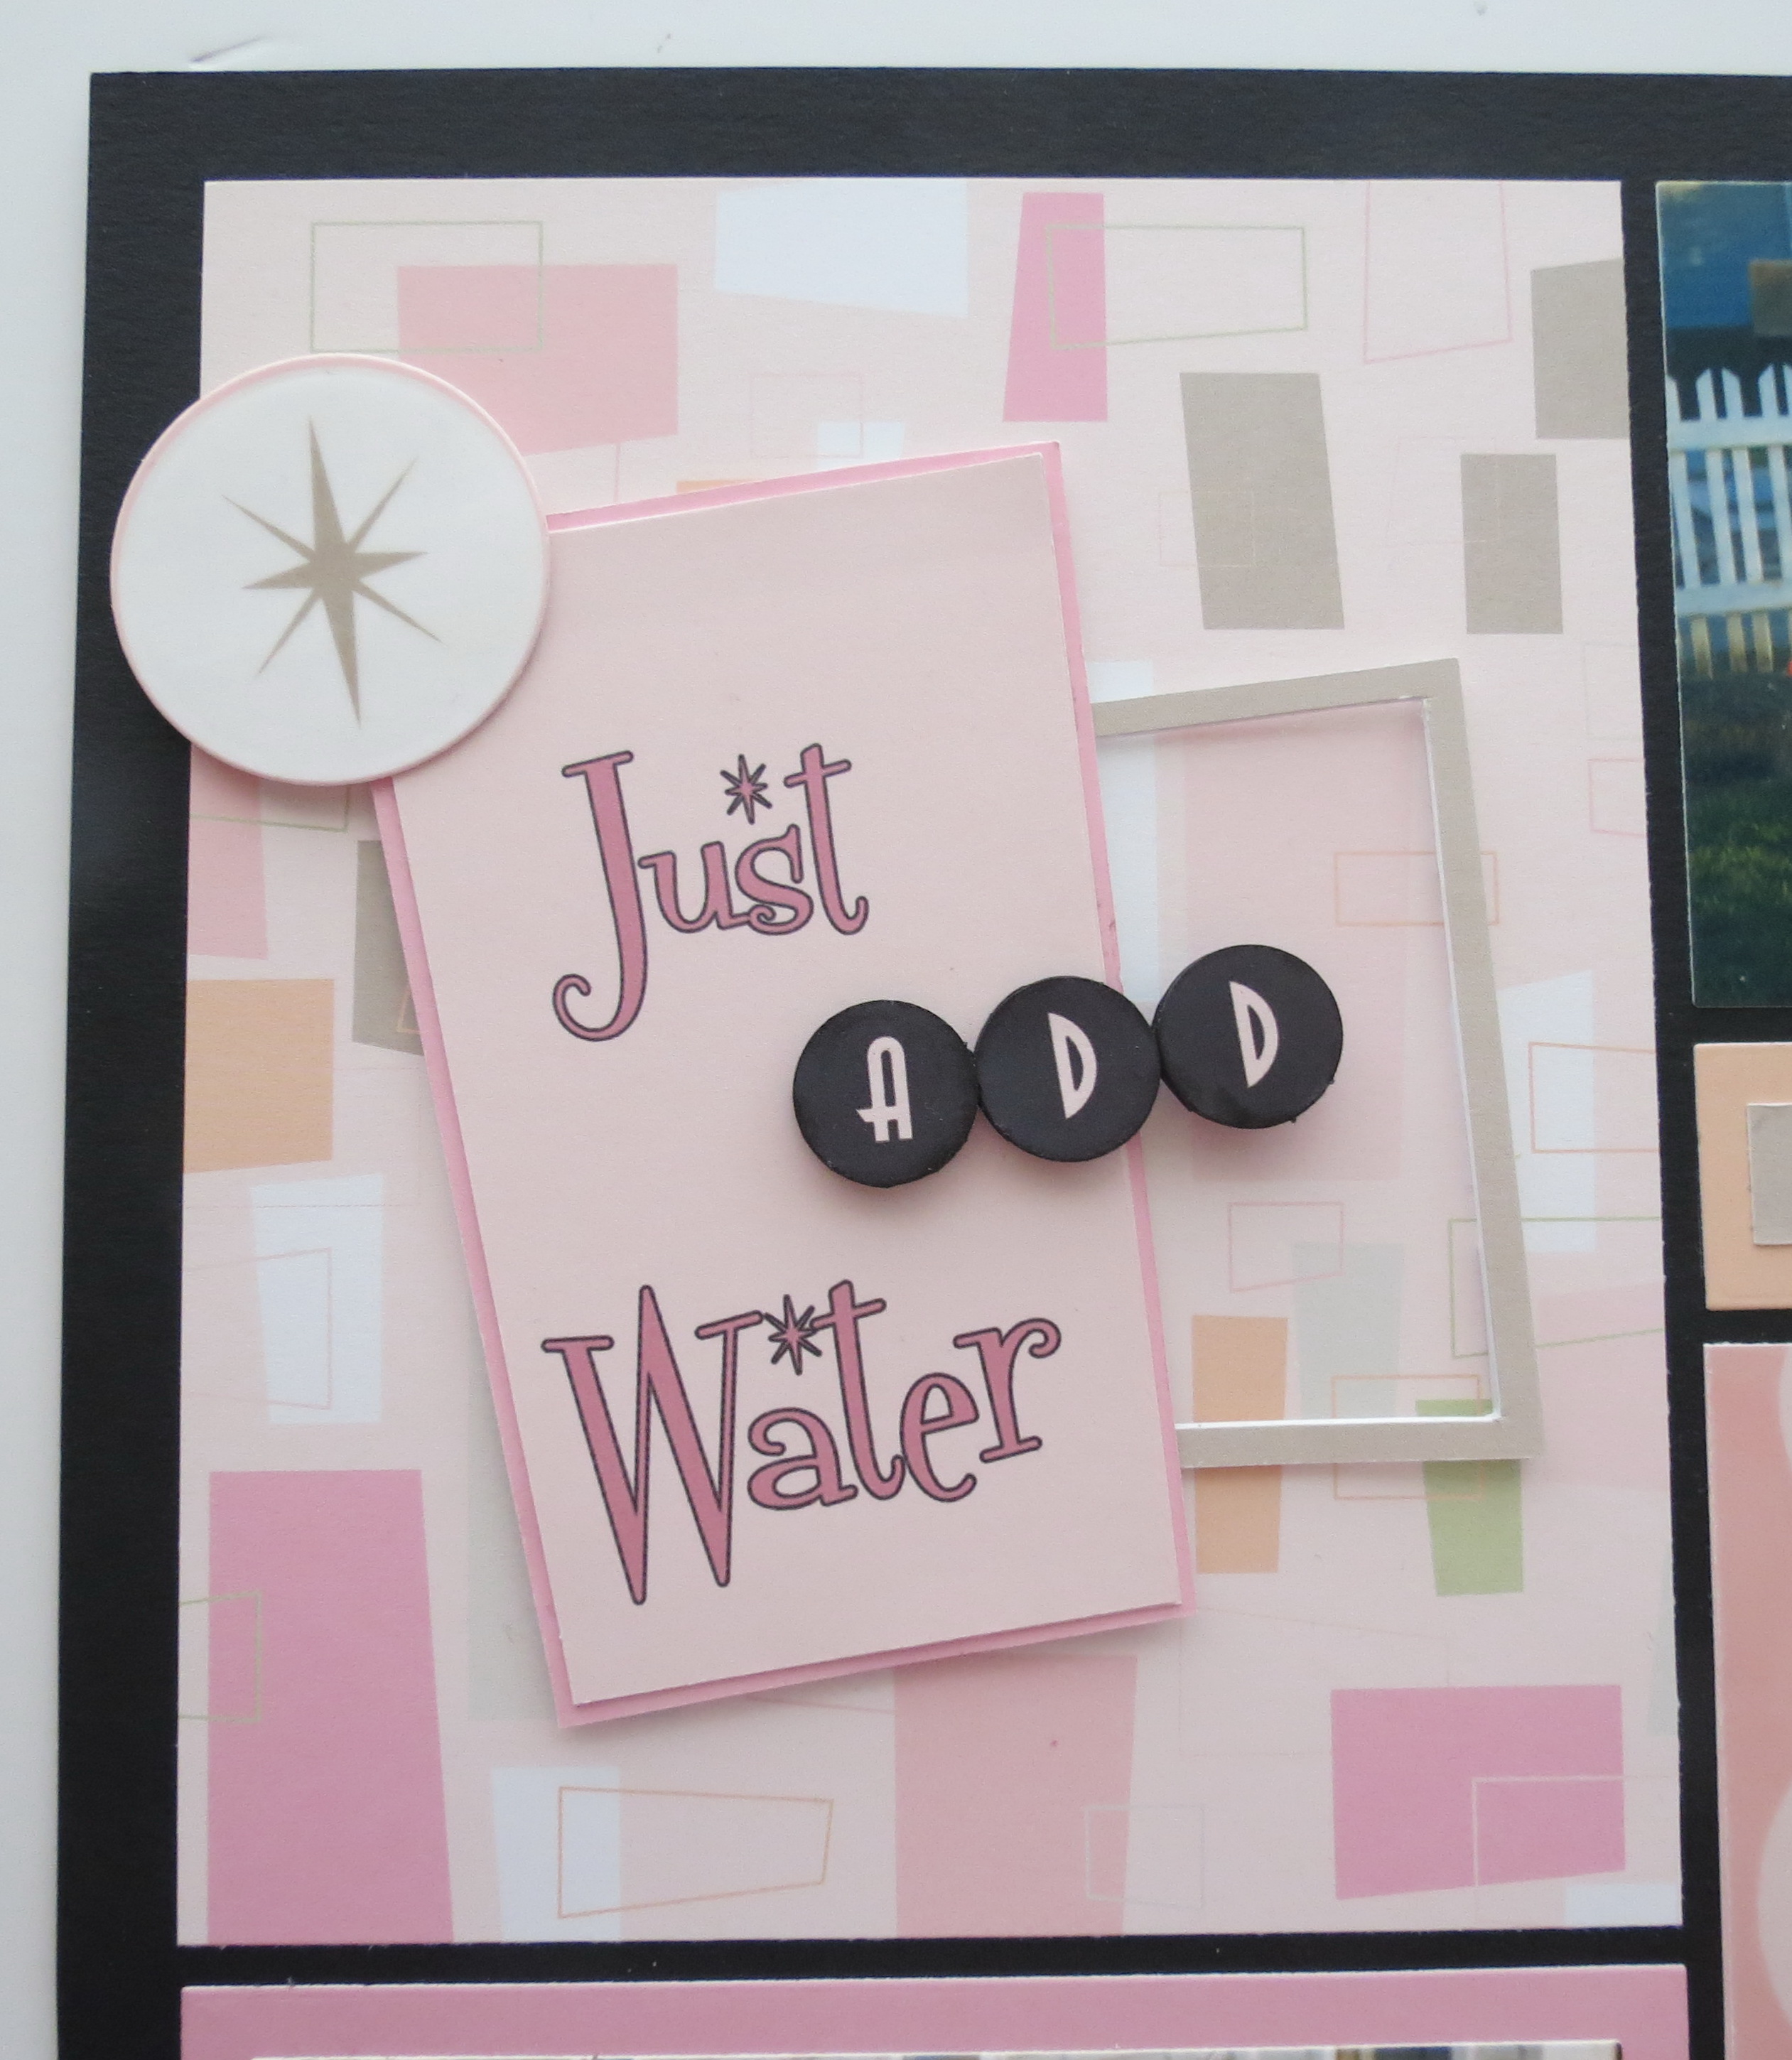
- Asia “ADD”

Scrapping Your Vintage Photos: The Fab 50’s Choosing a FONT: Asia and Fontdinerdotcom Sparkly
- Fontdinerdotcom Sparkly “Just – Water”
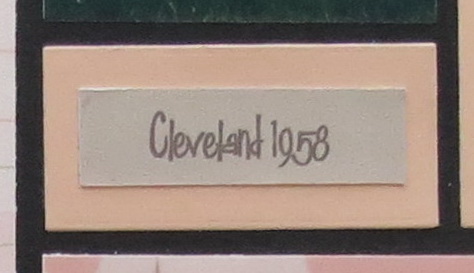
- Fabulous 50’s “Cleveland 1958/Andrea”
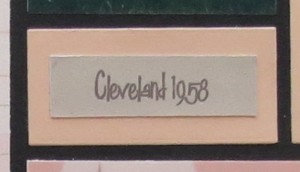
Scrapping Your Vintage Photos: The Fab 50’s Choosing a font “Fabulous Fifties”

Finally I used patterns in my 3-D Title for another way to capture the feel of the Fab 50’s
Scrapping Your Vintage Photos: The Fab 50’s patterns: Circles, rectangles, Sparkly stars
- The Sparkle Star
- The Circles
- The Rectangles all a bit wonky
Overall I wanted to keep this simple and easy in keeping with our “Summertime… and the Scrapping is Easy” theme begun a few weeks ago. I also wanted to have some fun and enjoy the project!
The Simple Pattern I chose was again a Column Pattern # 138.

Column Pattern # 138
The Simple Tools Were Die Set C the only set needed to complete the whole pattern!
Mosaic Moments Die Set C
The Simple Embellishments for this layout was the Title, although there was a bit of work involved it, it was still easy to do. It is the single embellishment for the page and came together quickly.
Scrapping Your Vintage Photos: The Fab 50’s Title as Embellishment
Let’s put it all together.
The Supply List:
• 12×12 Mosaic Moments Grid Paper: black
• Mosaic Moments Die Set C
• EK Success 5/8 “ circle punch
• S-E-I Retrospect Collection series of pattern and solid cardstock in pink/peach/gray and vellum paper
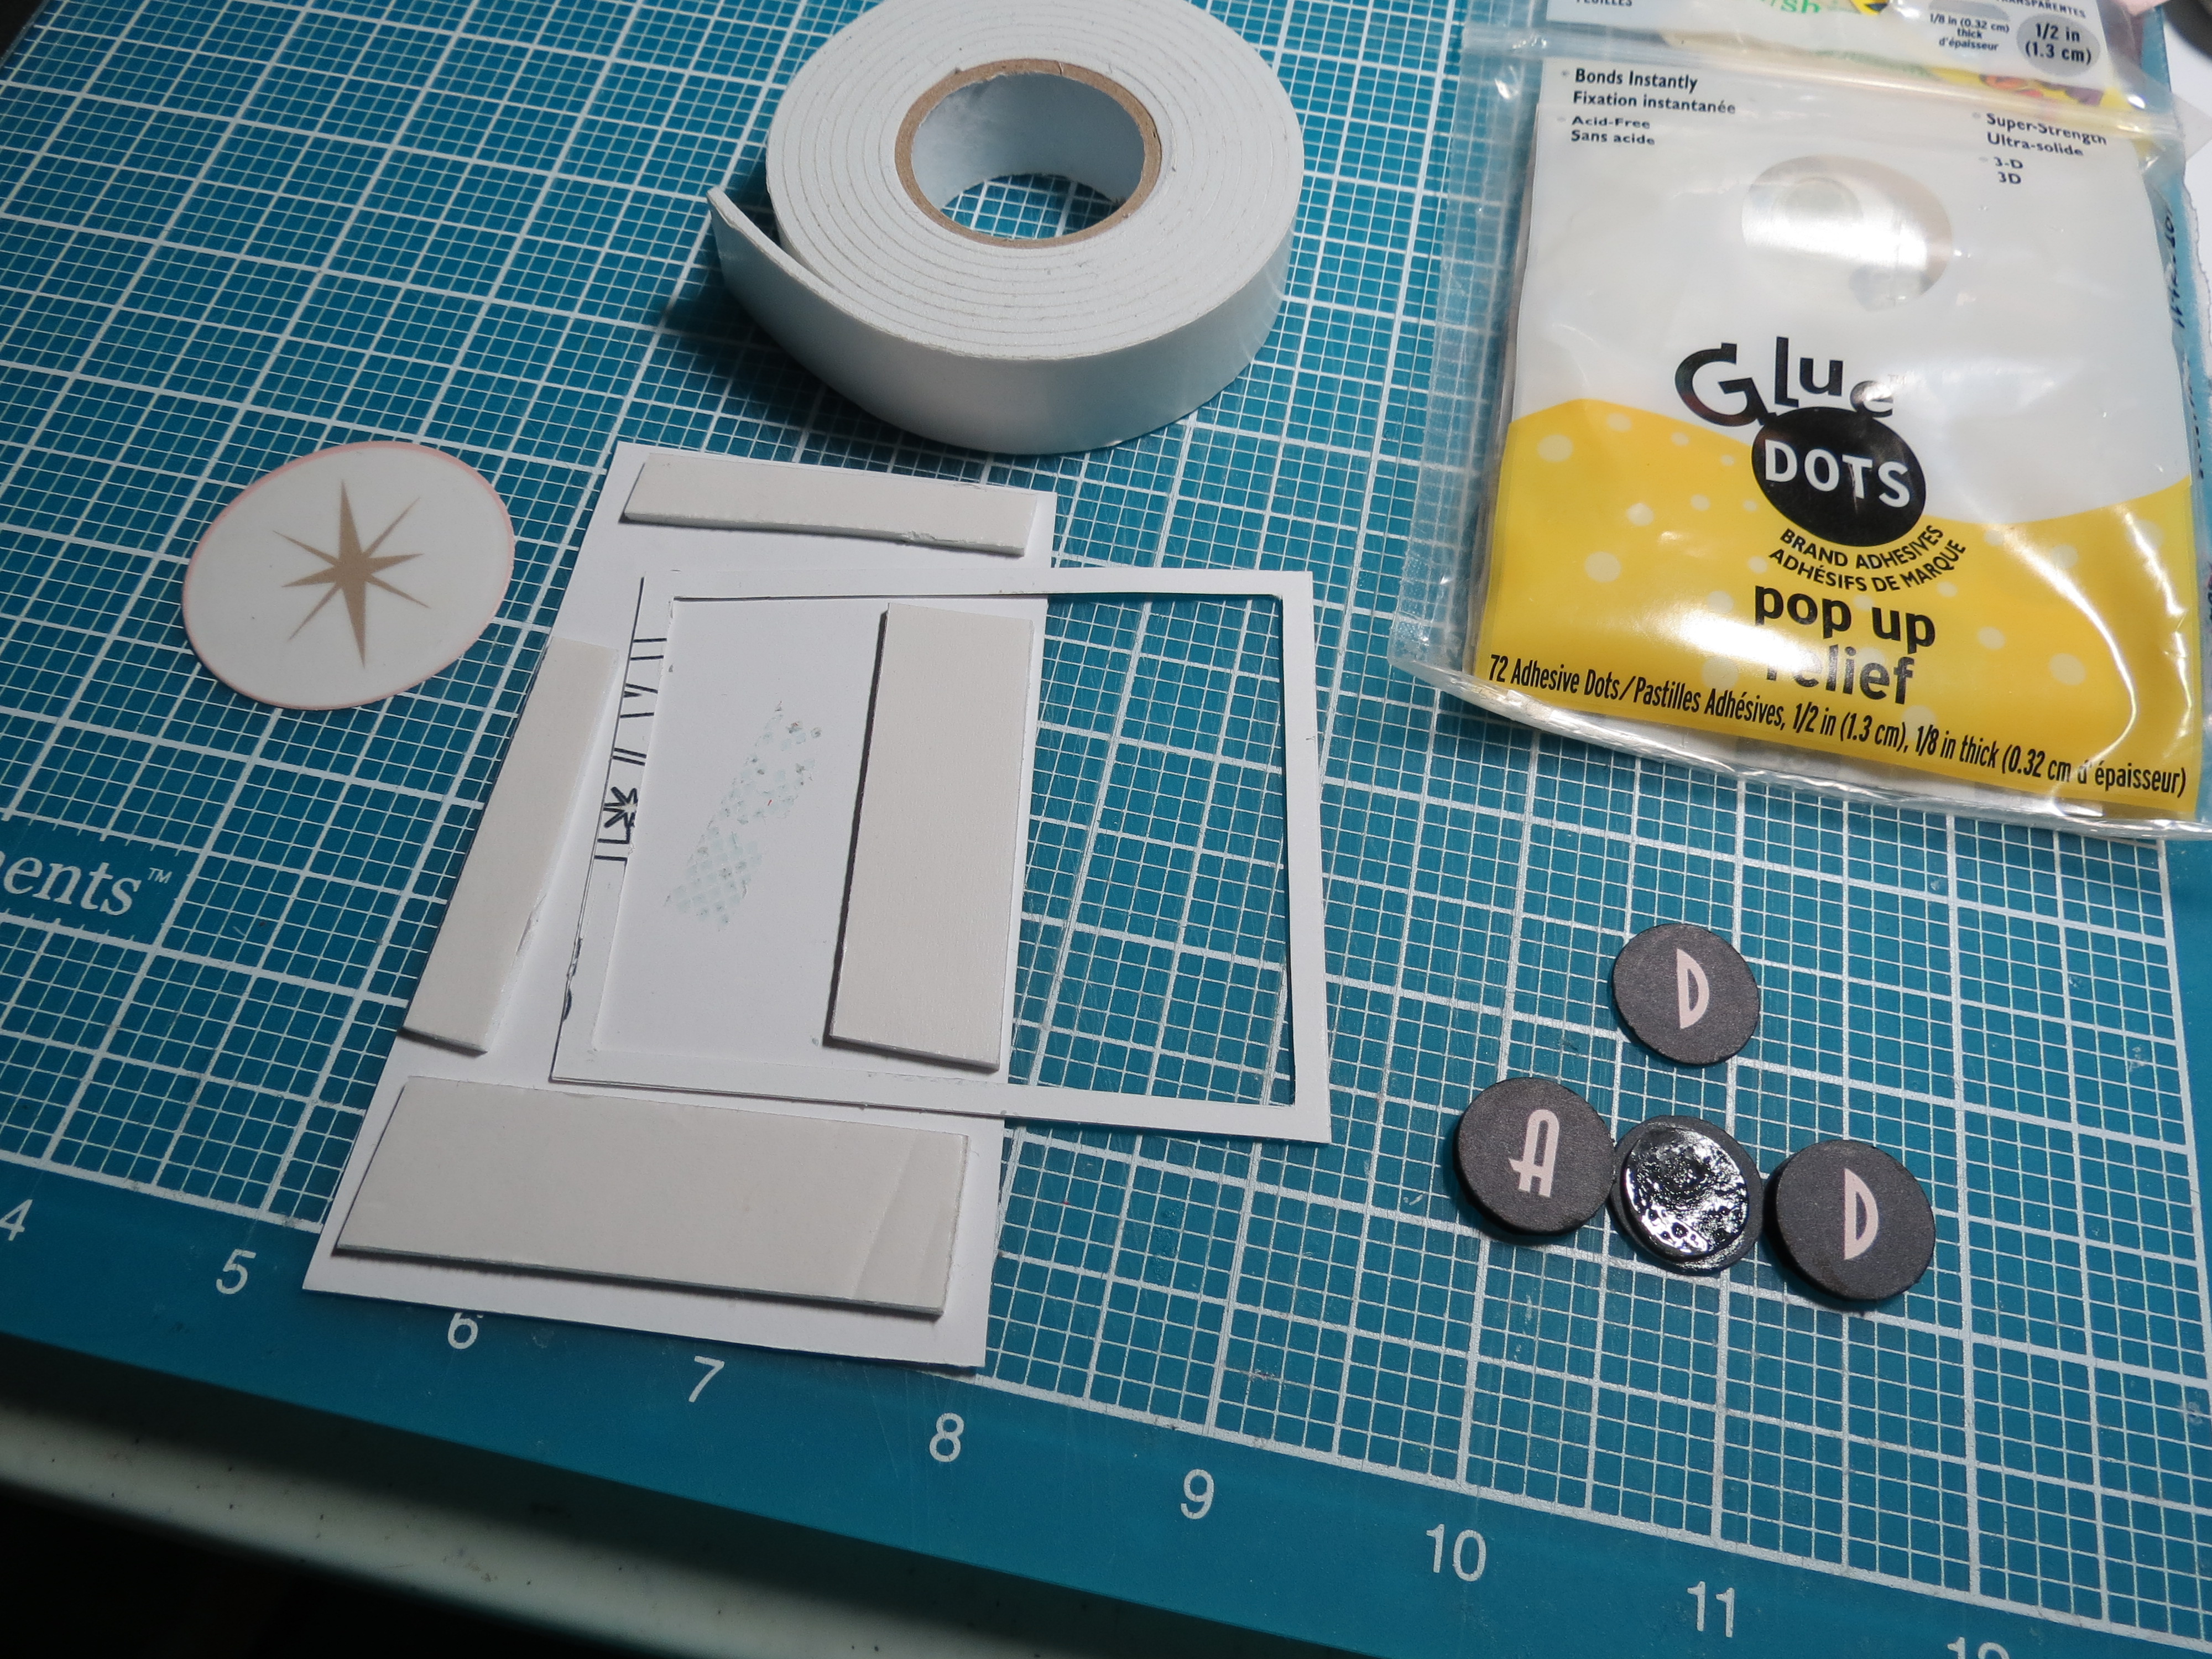
• Glue Dots: Pop Dots, micro dots, 3/8” ultra-thin dots, and mini dots
• Foam mounting tape
• Vellum tape
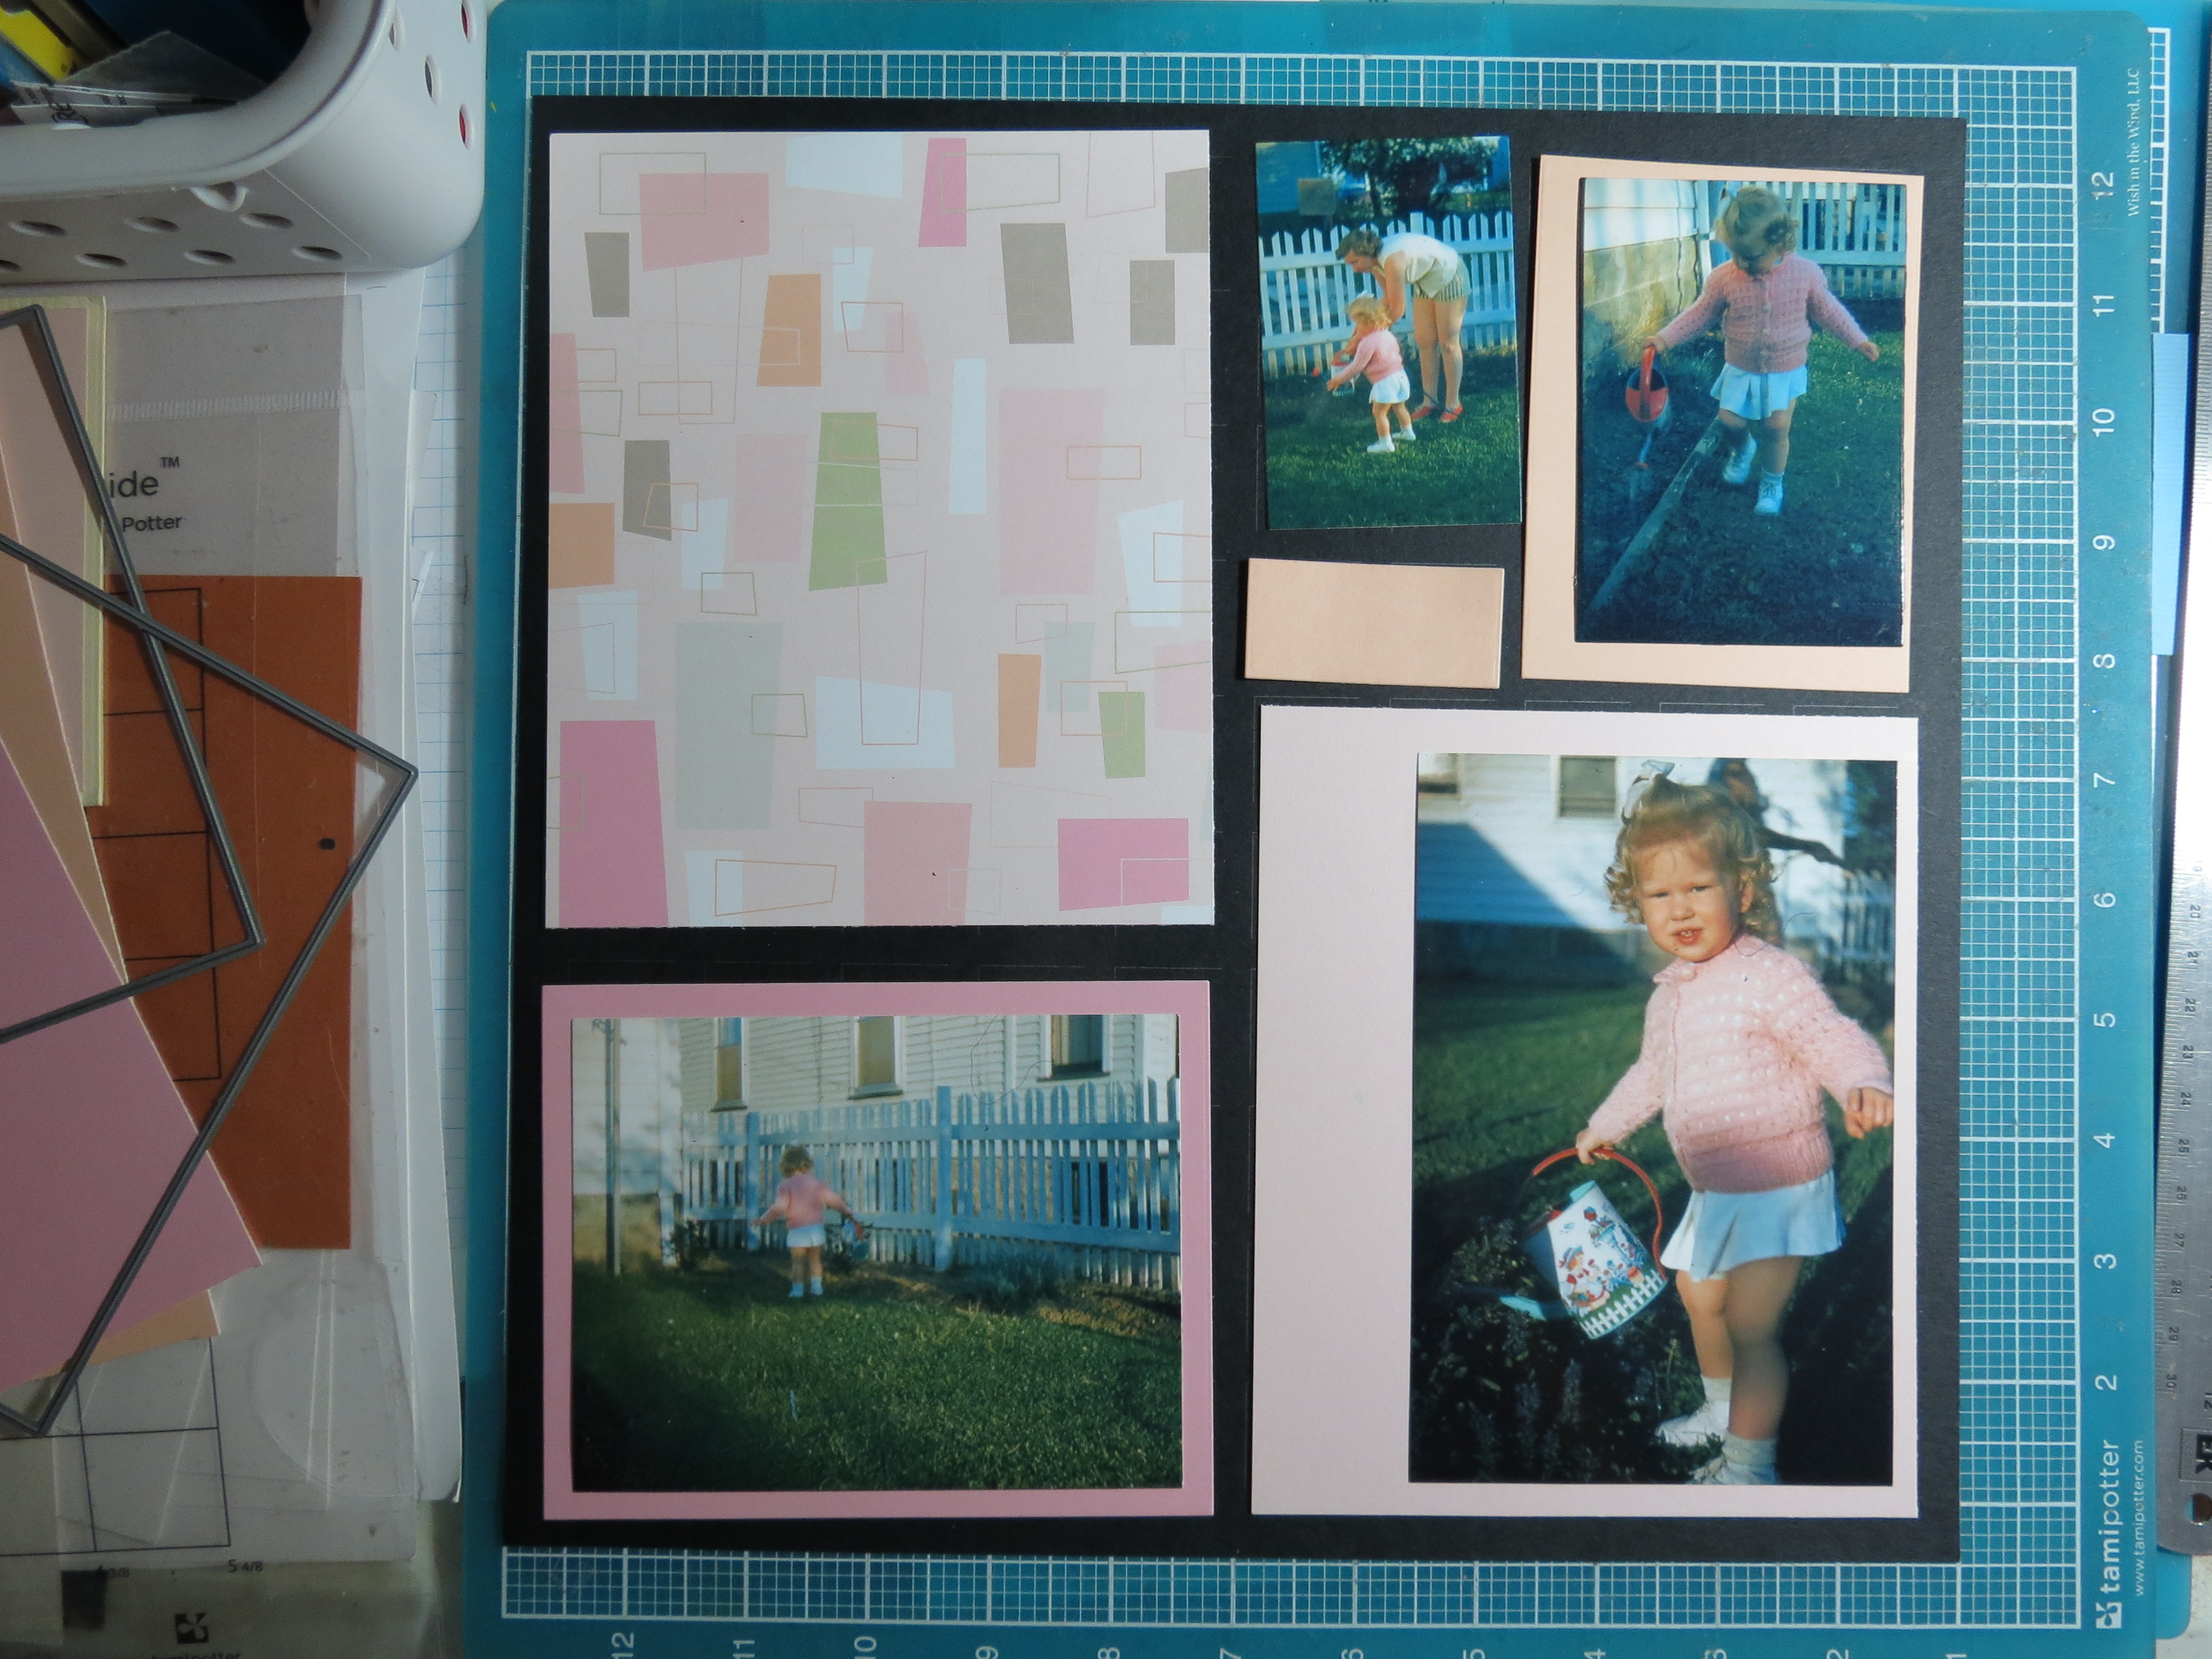
I began with a black 12 x12 Mosaic Moments Grid.
The rectangle pattern paper, the peach, light and dark pink papers will fill each of the sections of the pattern except one photo is cut to fit the grid spot it will occupy, another is at full 4”x 6”and the remaining photos are cut with the layering dies.
Once the papers were in place the pale pink really needed something more to stand out. The 4×6 photo used in the space left a nice border with which to do something. The vellum overlay had a nice effect, so a section of the paper that would show off the pattern in the border was selected. Vellum tape behind the photo and a small spot in the corners are virtually unseen.
Scrapping Your Vintage Photos: The Fab 50’s Choosing the paper/pattern combos v. 1
Scrapping Your Vintage Photos: The Fab 50’s cardstock layered with vellum v. 2
Now add the title block. Here’s the step-by-step:
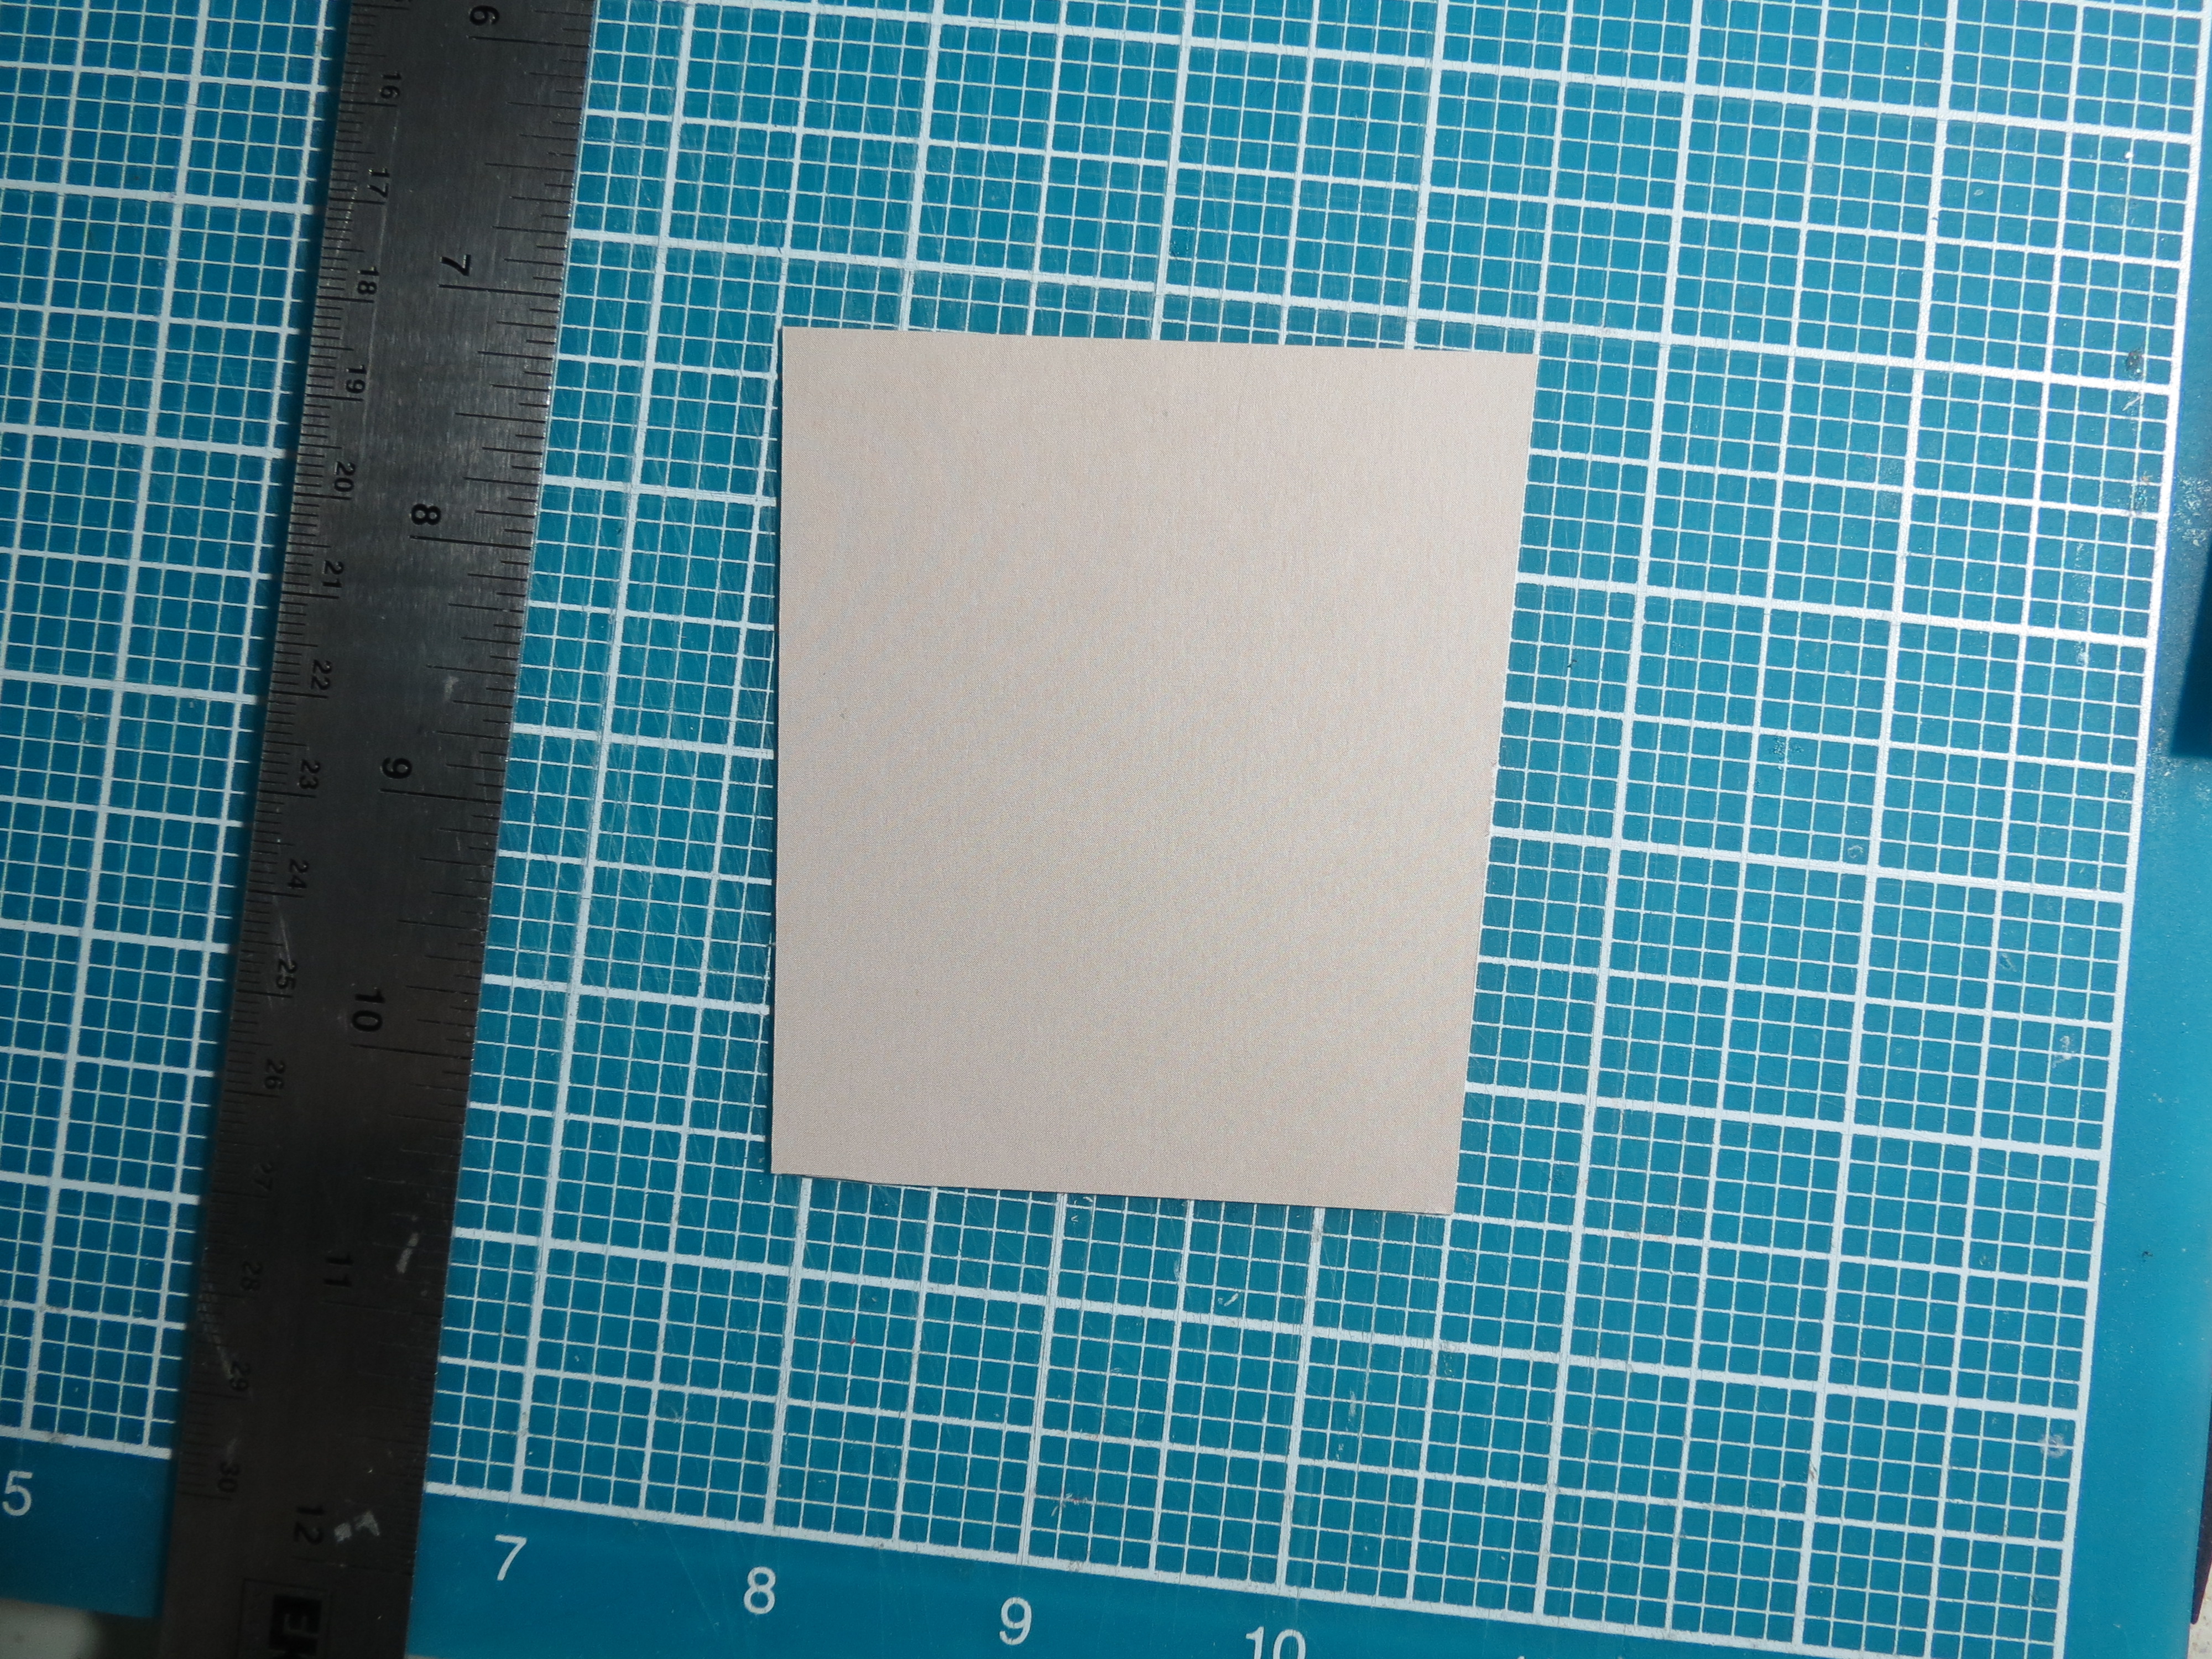
1. Print the title words “Just, Water” on a 4×6 section of the light pink paper.

Scrapping Your Vintage Photos: The Fab 50’s prep for the title. Print on 4″x 6″ pink cardstock and trim.
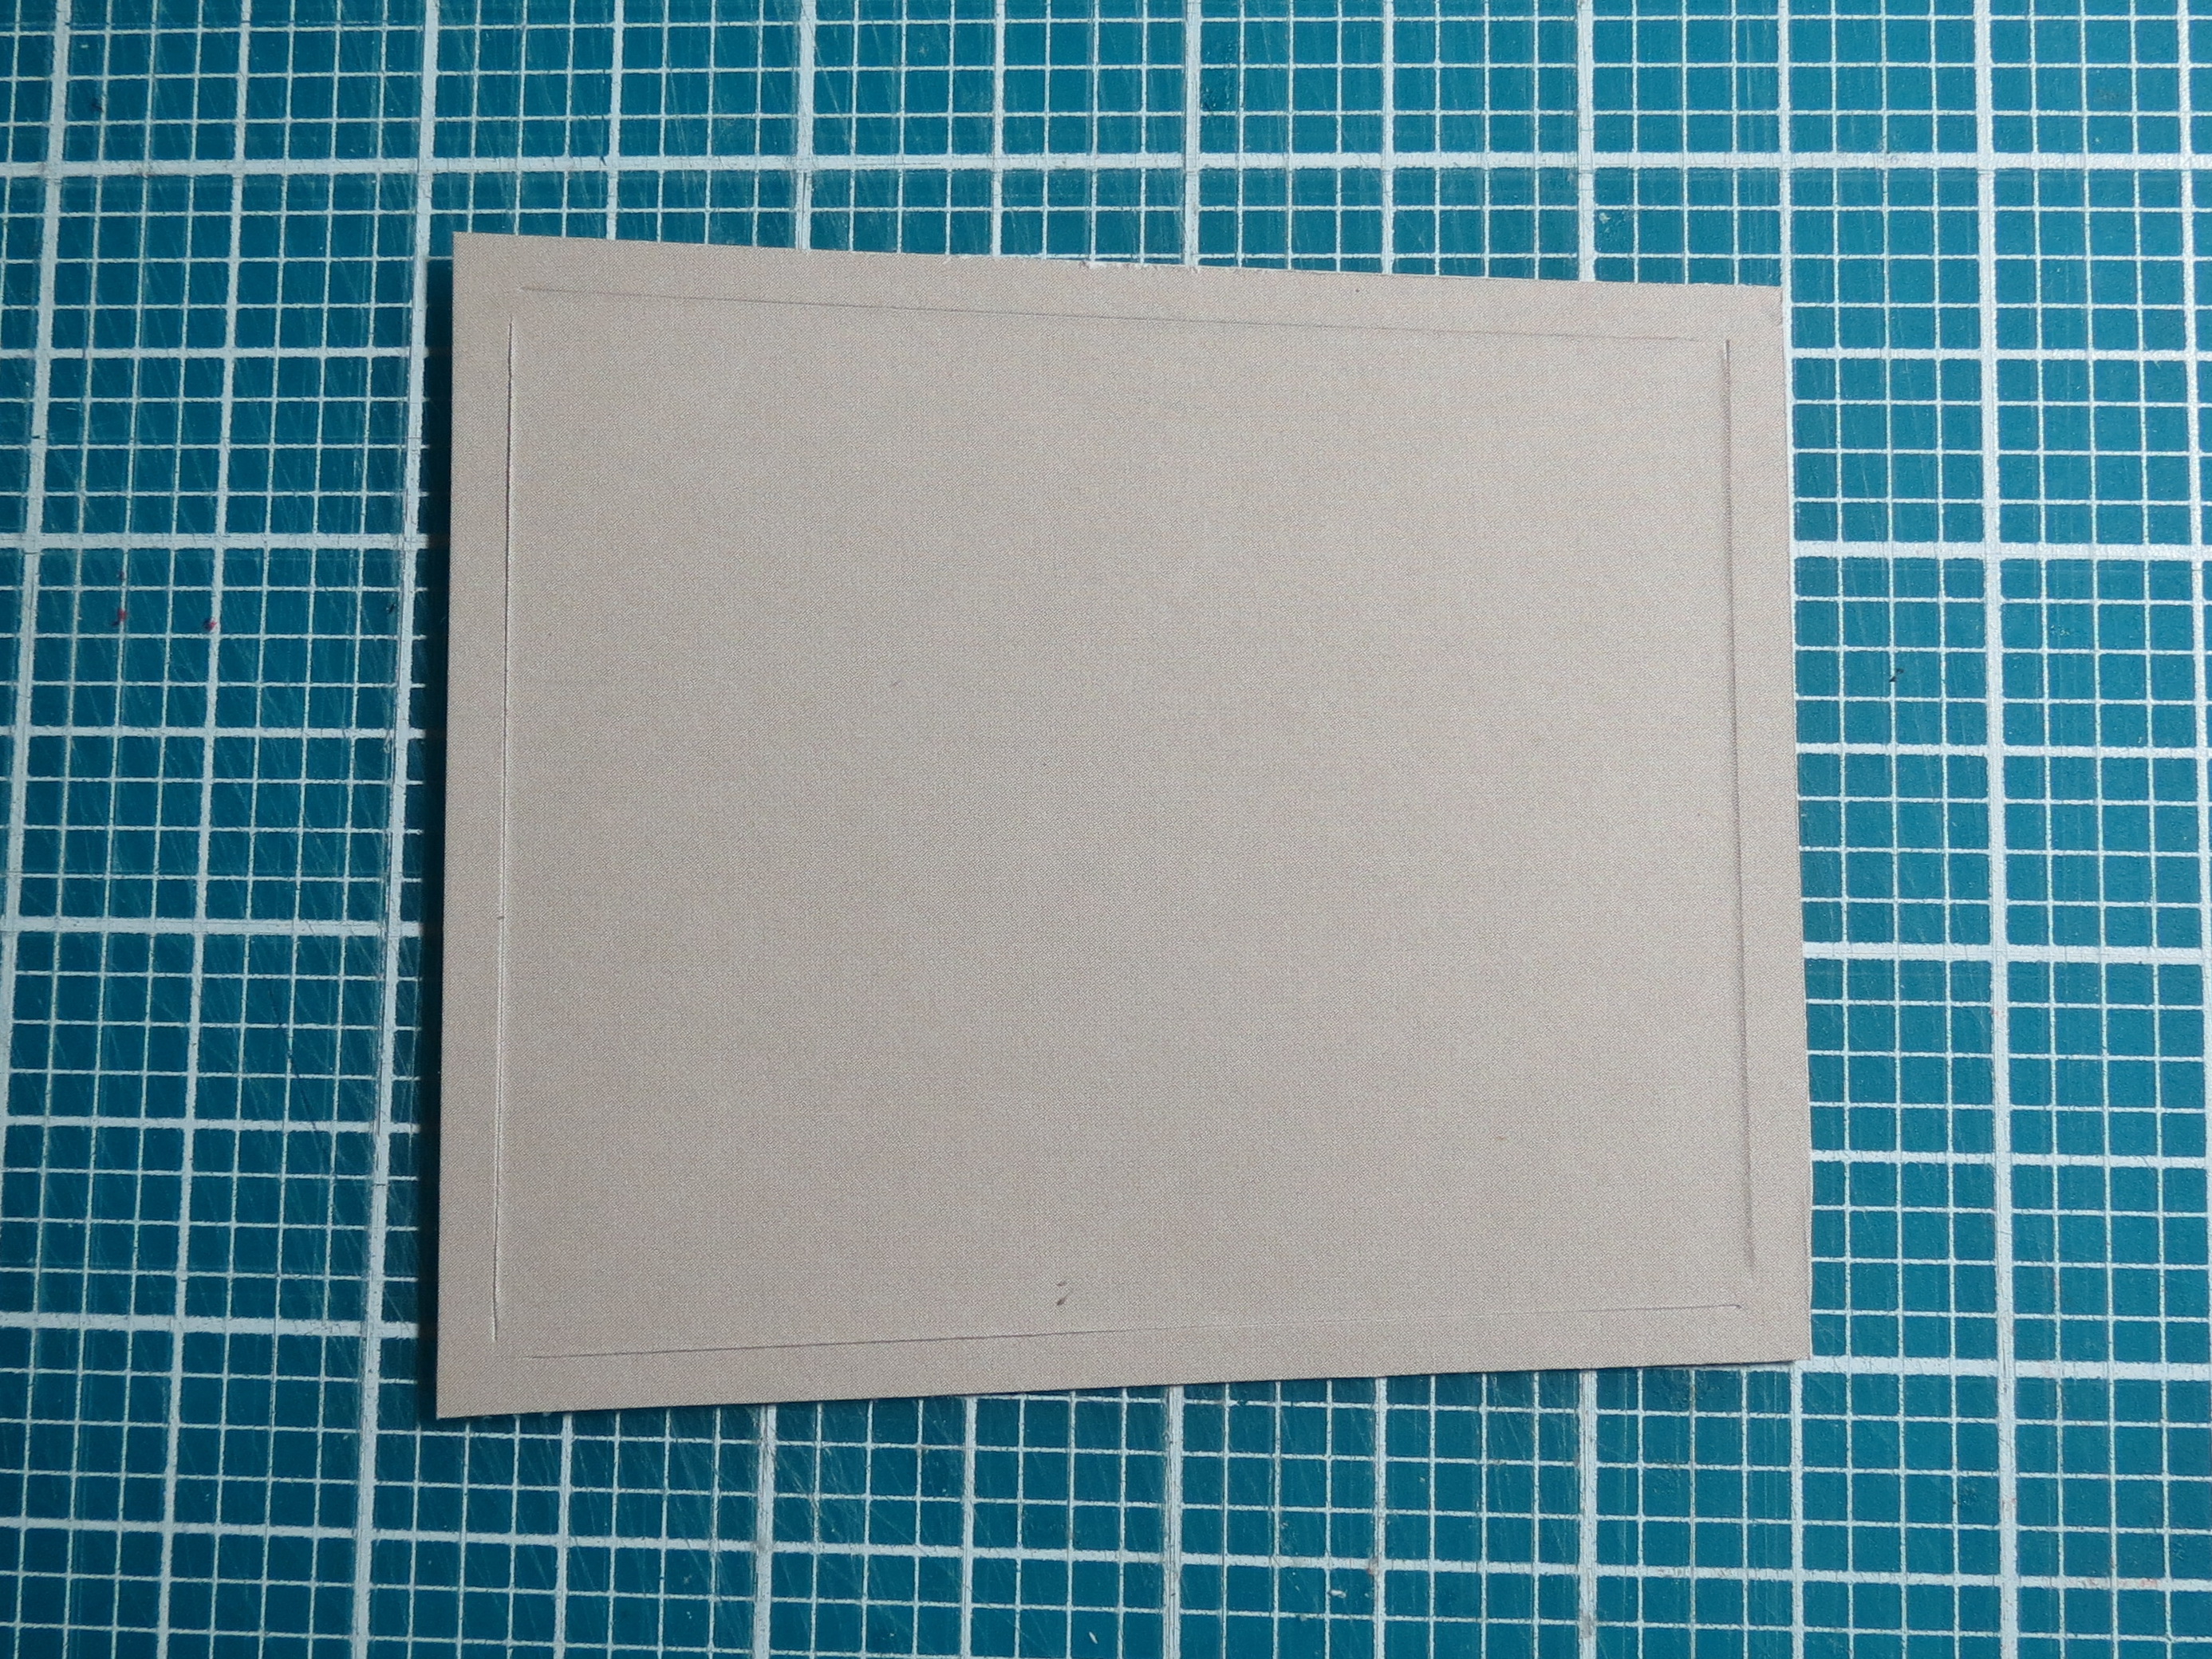
2. Cut the pink title to size and then cut both the pink title and the gray rectangle frame so that the bottom is slightly narrower than the top.
Scrapping Your Vintage Photos: The Fab 50’s trim the frame to shape.
3. Cut a mat for the light pink sign with the darker pink. Adhere.
4. Cut the gray 1/8” wide frame by lining up along the grid and using an X-Acto knife to trim
Scrapping Your Vintage Photos: The Fab 50’s cutting the 1/8″ border frame
5. Save the center piece of the frame for printing the journal spots later.
6. Adhere a section of the Vellum over white cardstock using vellum adhesive so it doesn’t show through.
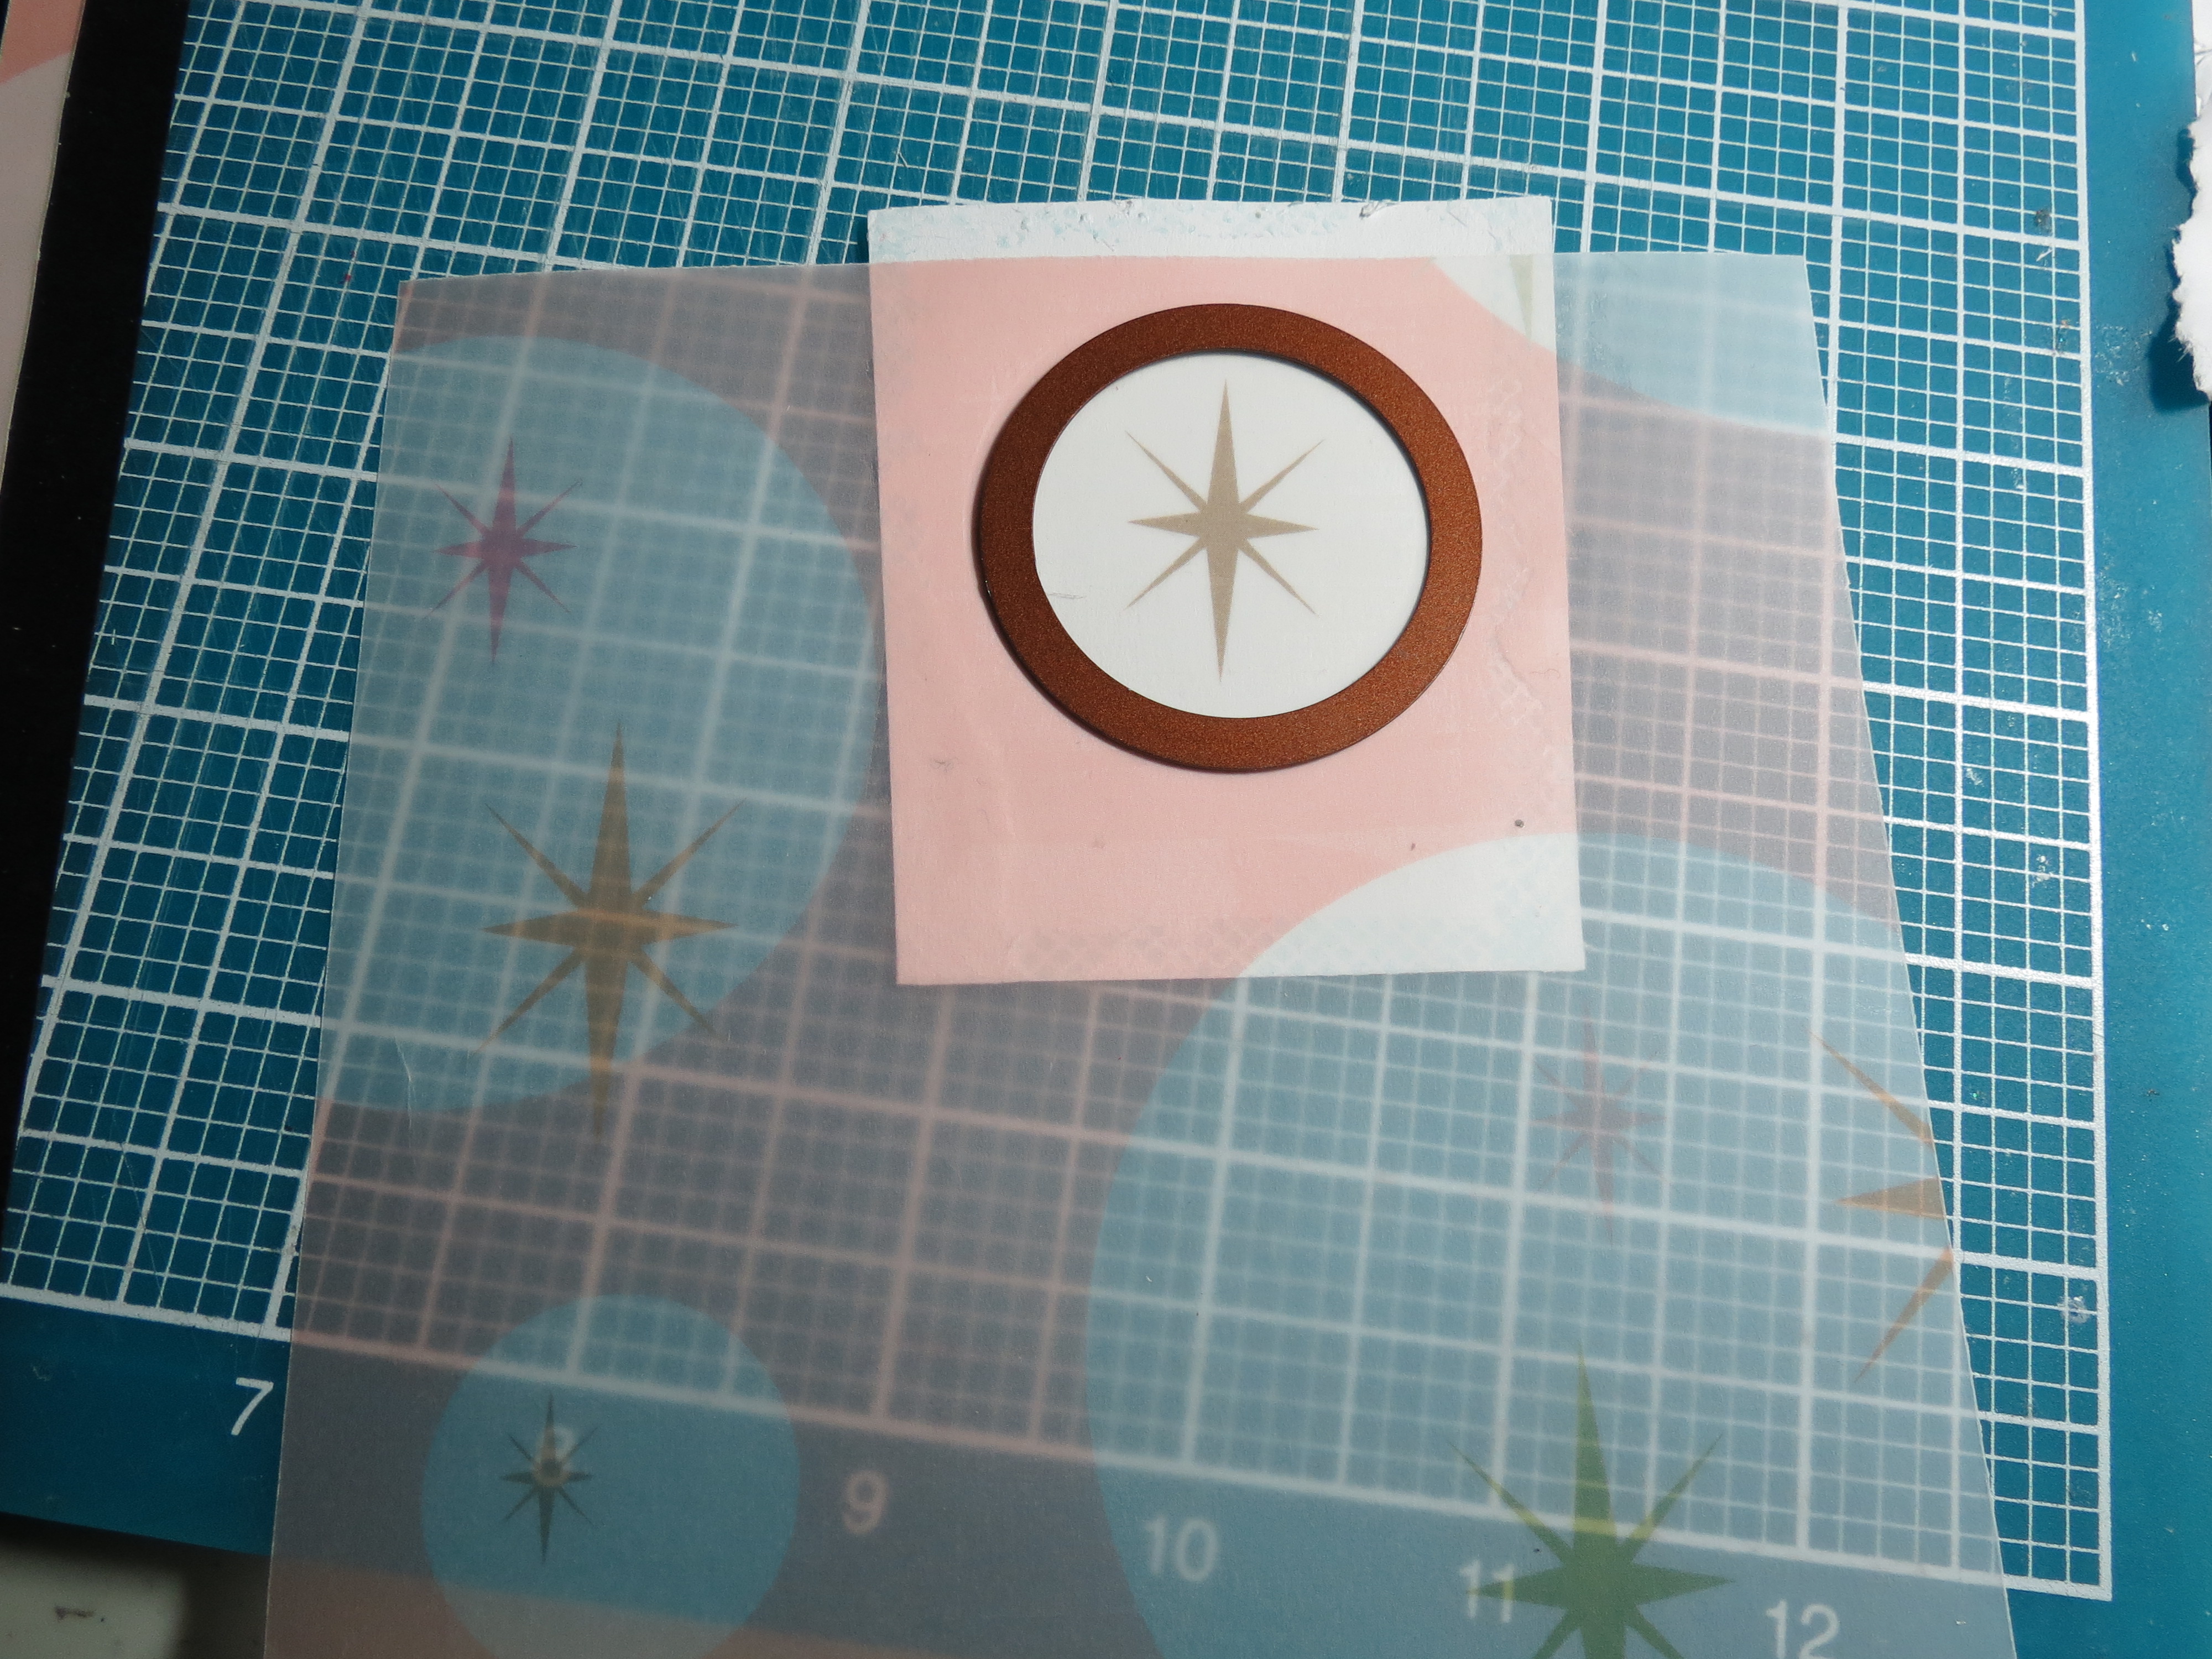
Scrapping Your Vintage Photos: The Fab 50’s Adding Vellum to white cardstock and cutting circle out.
7. Use a circle die (Spellbinders) to center over a sparkle star and cut.

Scrapping Your Vintage Photos: The Fab 50’s Sparkle Star Circle
8. At the bottom of the pink title section open letters (so the pink will show through) were printed on a black background.
9. Punch the letters using EK Success 5/8” circle punch, ink the edges black to blend in.
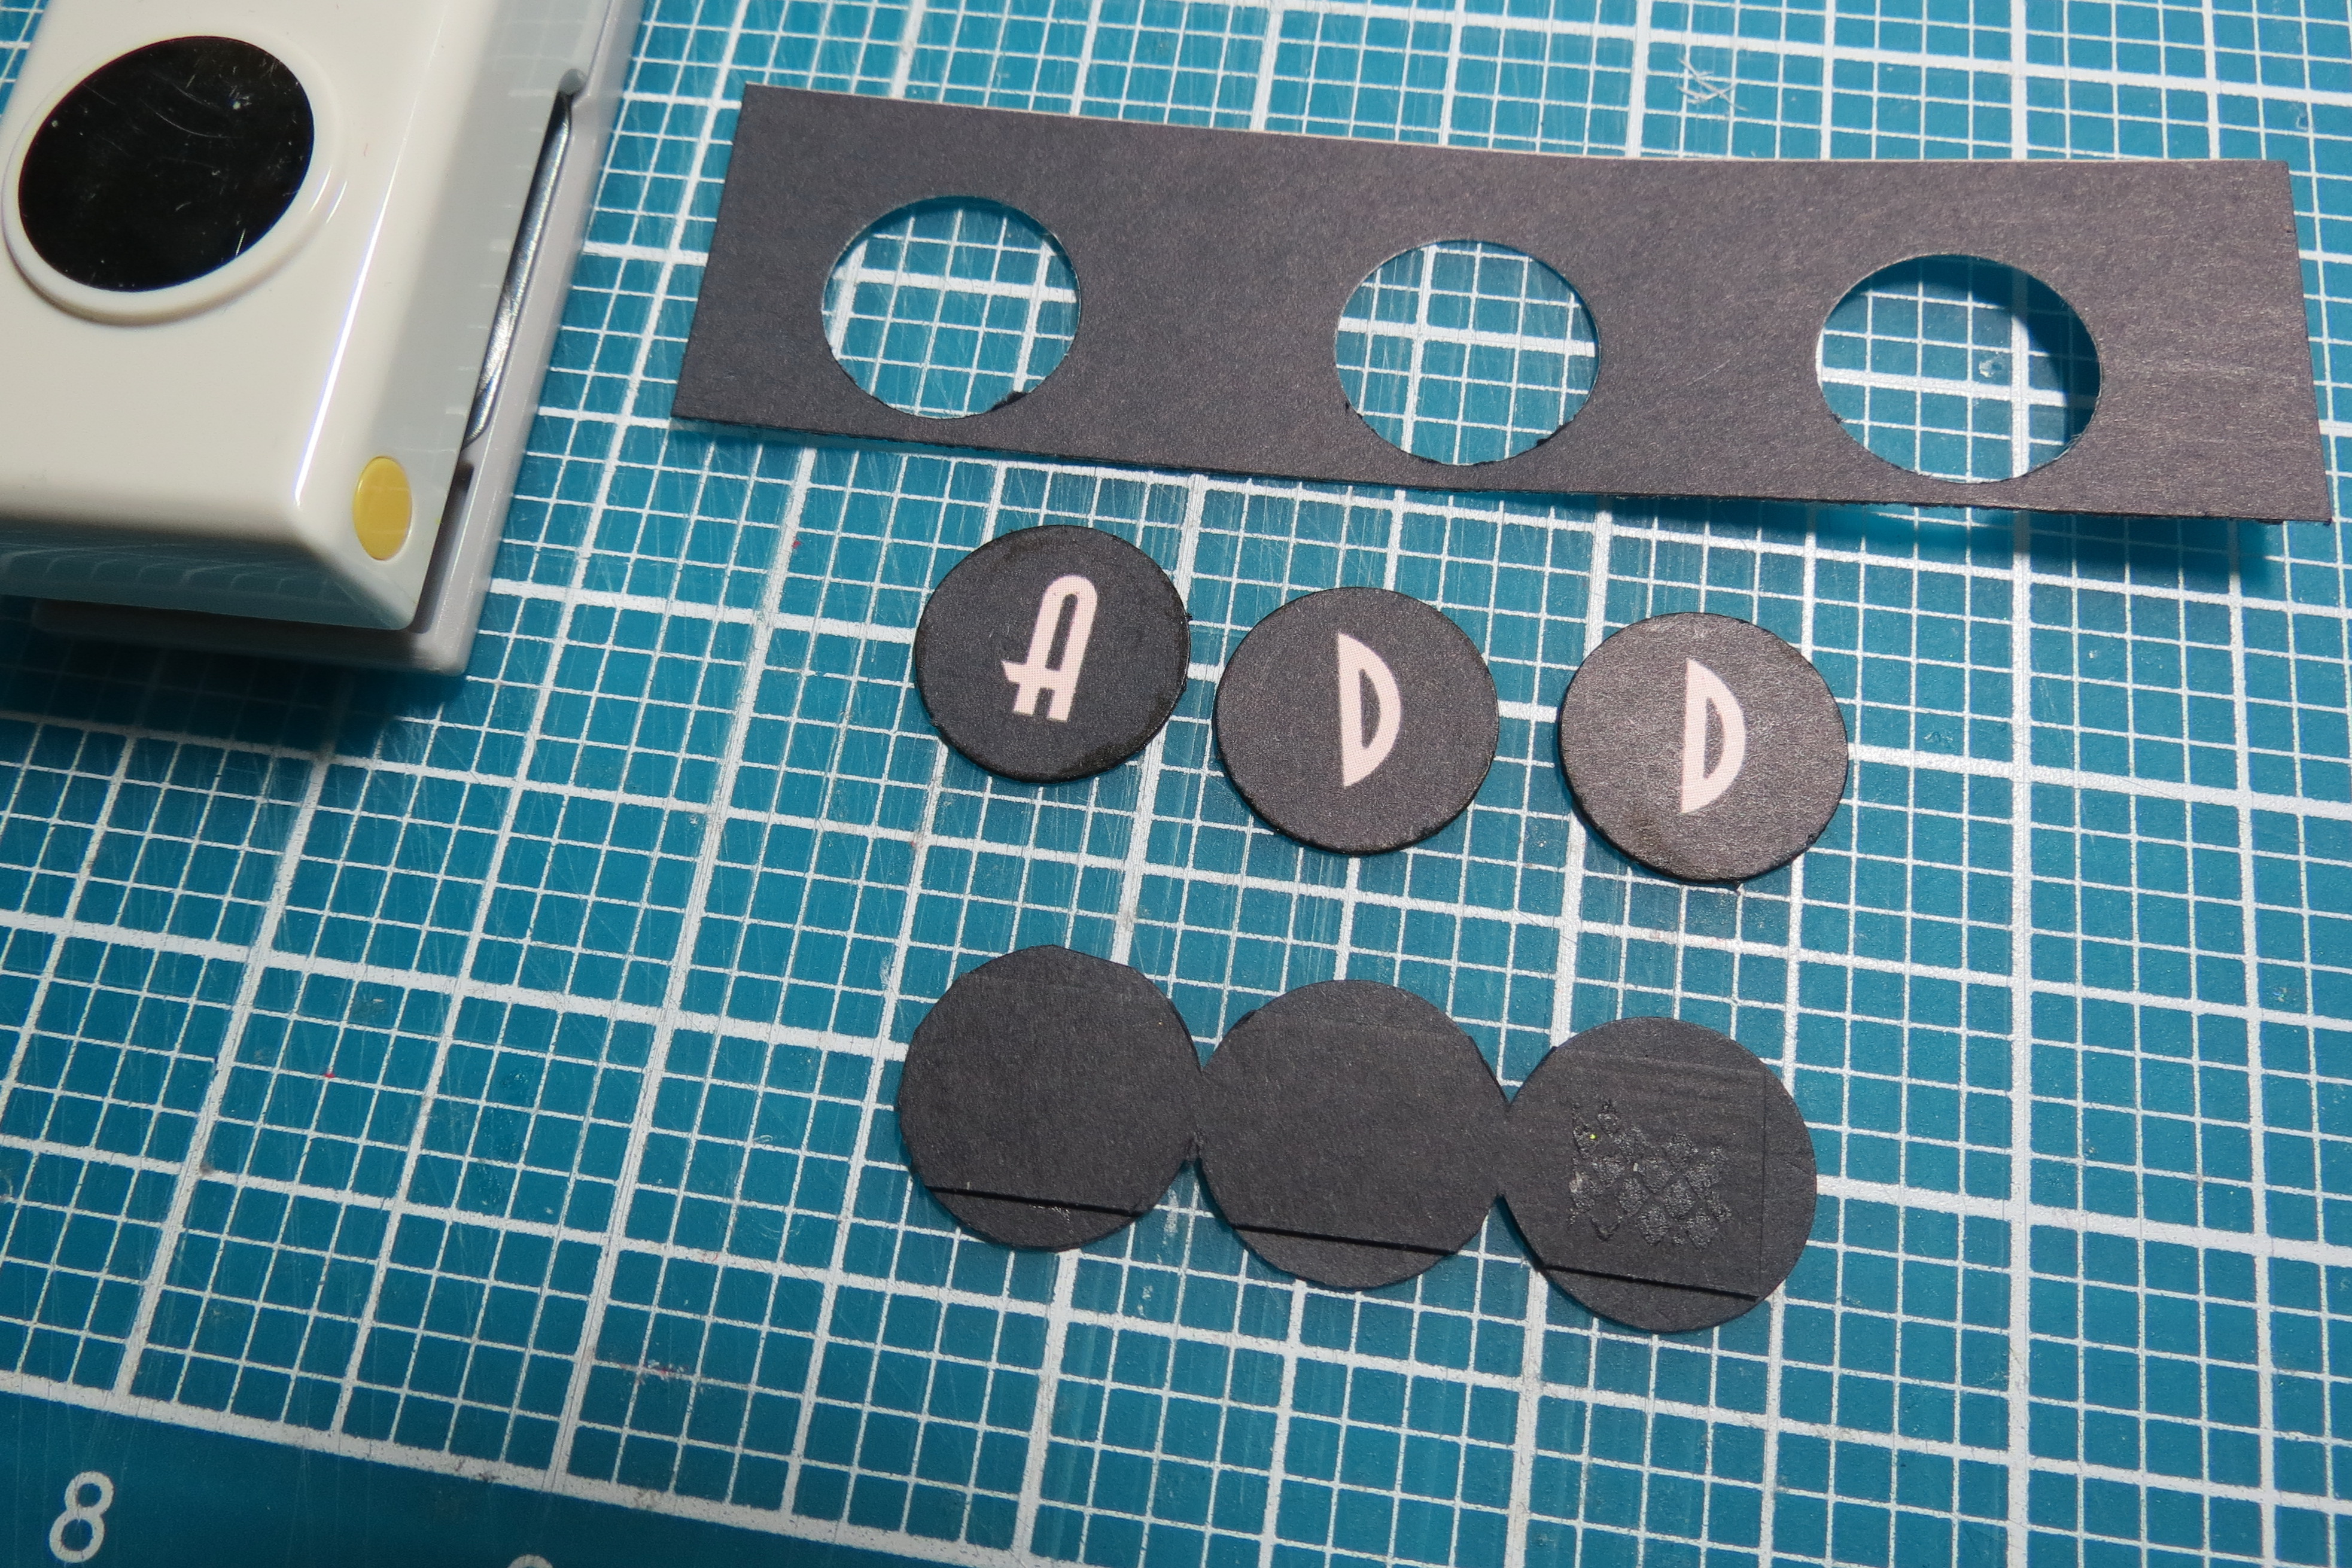
Scrapping Your Vintage Photos: The Fab 50’s punching each letter out for title
10. Punch three additional black dots and mount on a ½” black strip of paper just long enough to hold the three dots.
11. Trim the excess away from around the dots. DO NOT DISCONNECT the dots! Top with pop dots and add the top letters.
12. Add letter strip to the title allowing the end letters to overhang a bit. Use a small piece of foam mounting tape under the last letter for support.
13. Position the open rectangle behind the pink sign and attach with micro glue dots. Add foam mounting tape to all sides and two very narrow strips for the frame corner edges.
Scrapping Your Vintage Photos: The Fab 50’s Title adding foam, assembling
14. Apply title to the top corner page block.
15. Add the sparkle star circle so that it extends into the outer border; use a small section of foam mounting tape underneath the overhang for support.
16. Use the out take of the rectangle frame to print the additional journal sections. Trim and mount.
17. Add smaller sparkle dot to one journal spot that is mounted on foam mounting tape and adhere to the photo.
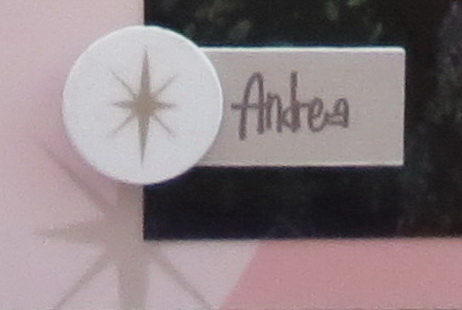
Scrapping Your Vintage Photos: The Fab 50’s sparkle star embellishment
The layout is now complete! One version of the Fifties pop culture to another version of the Fab 50’s everyday family memories.
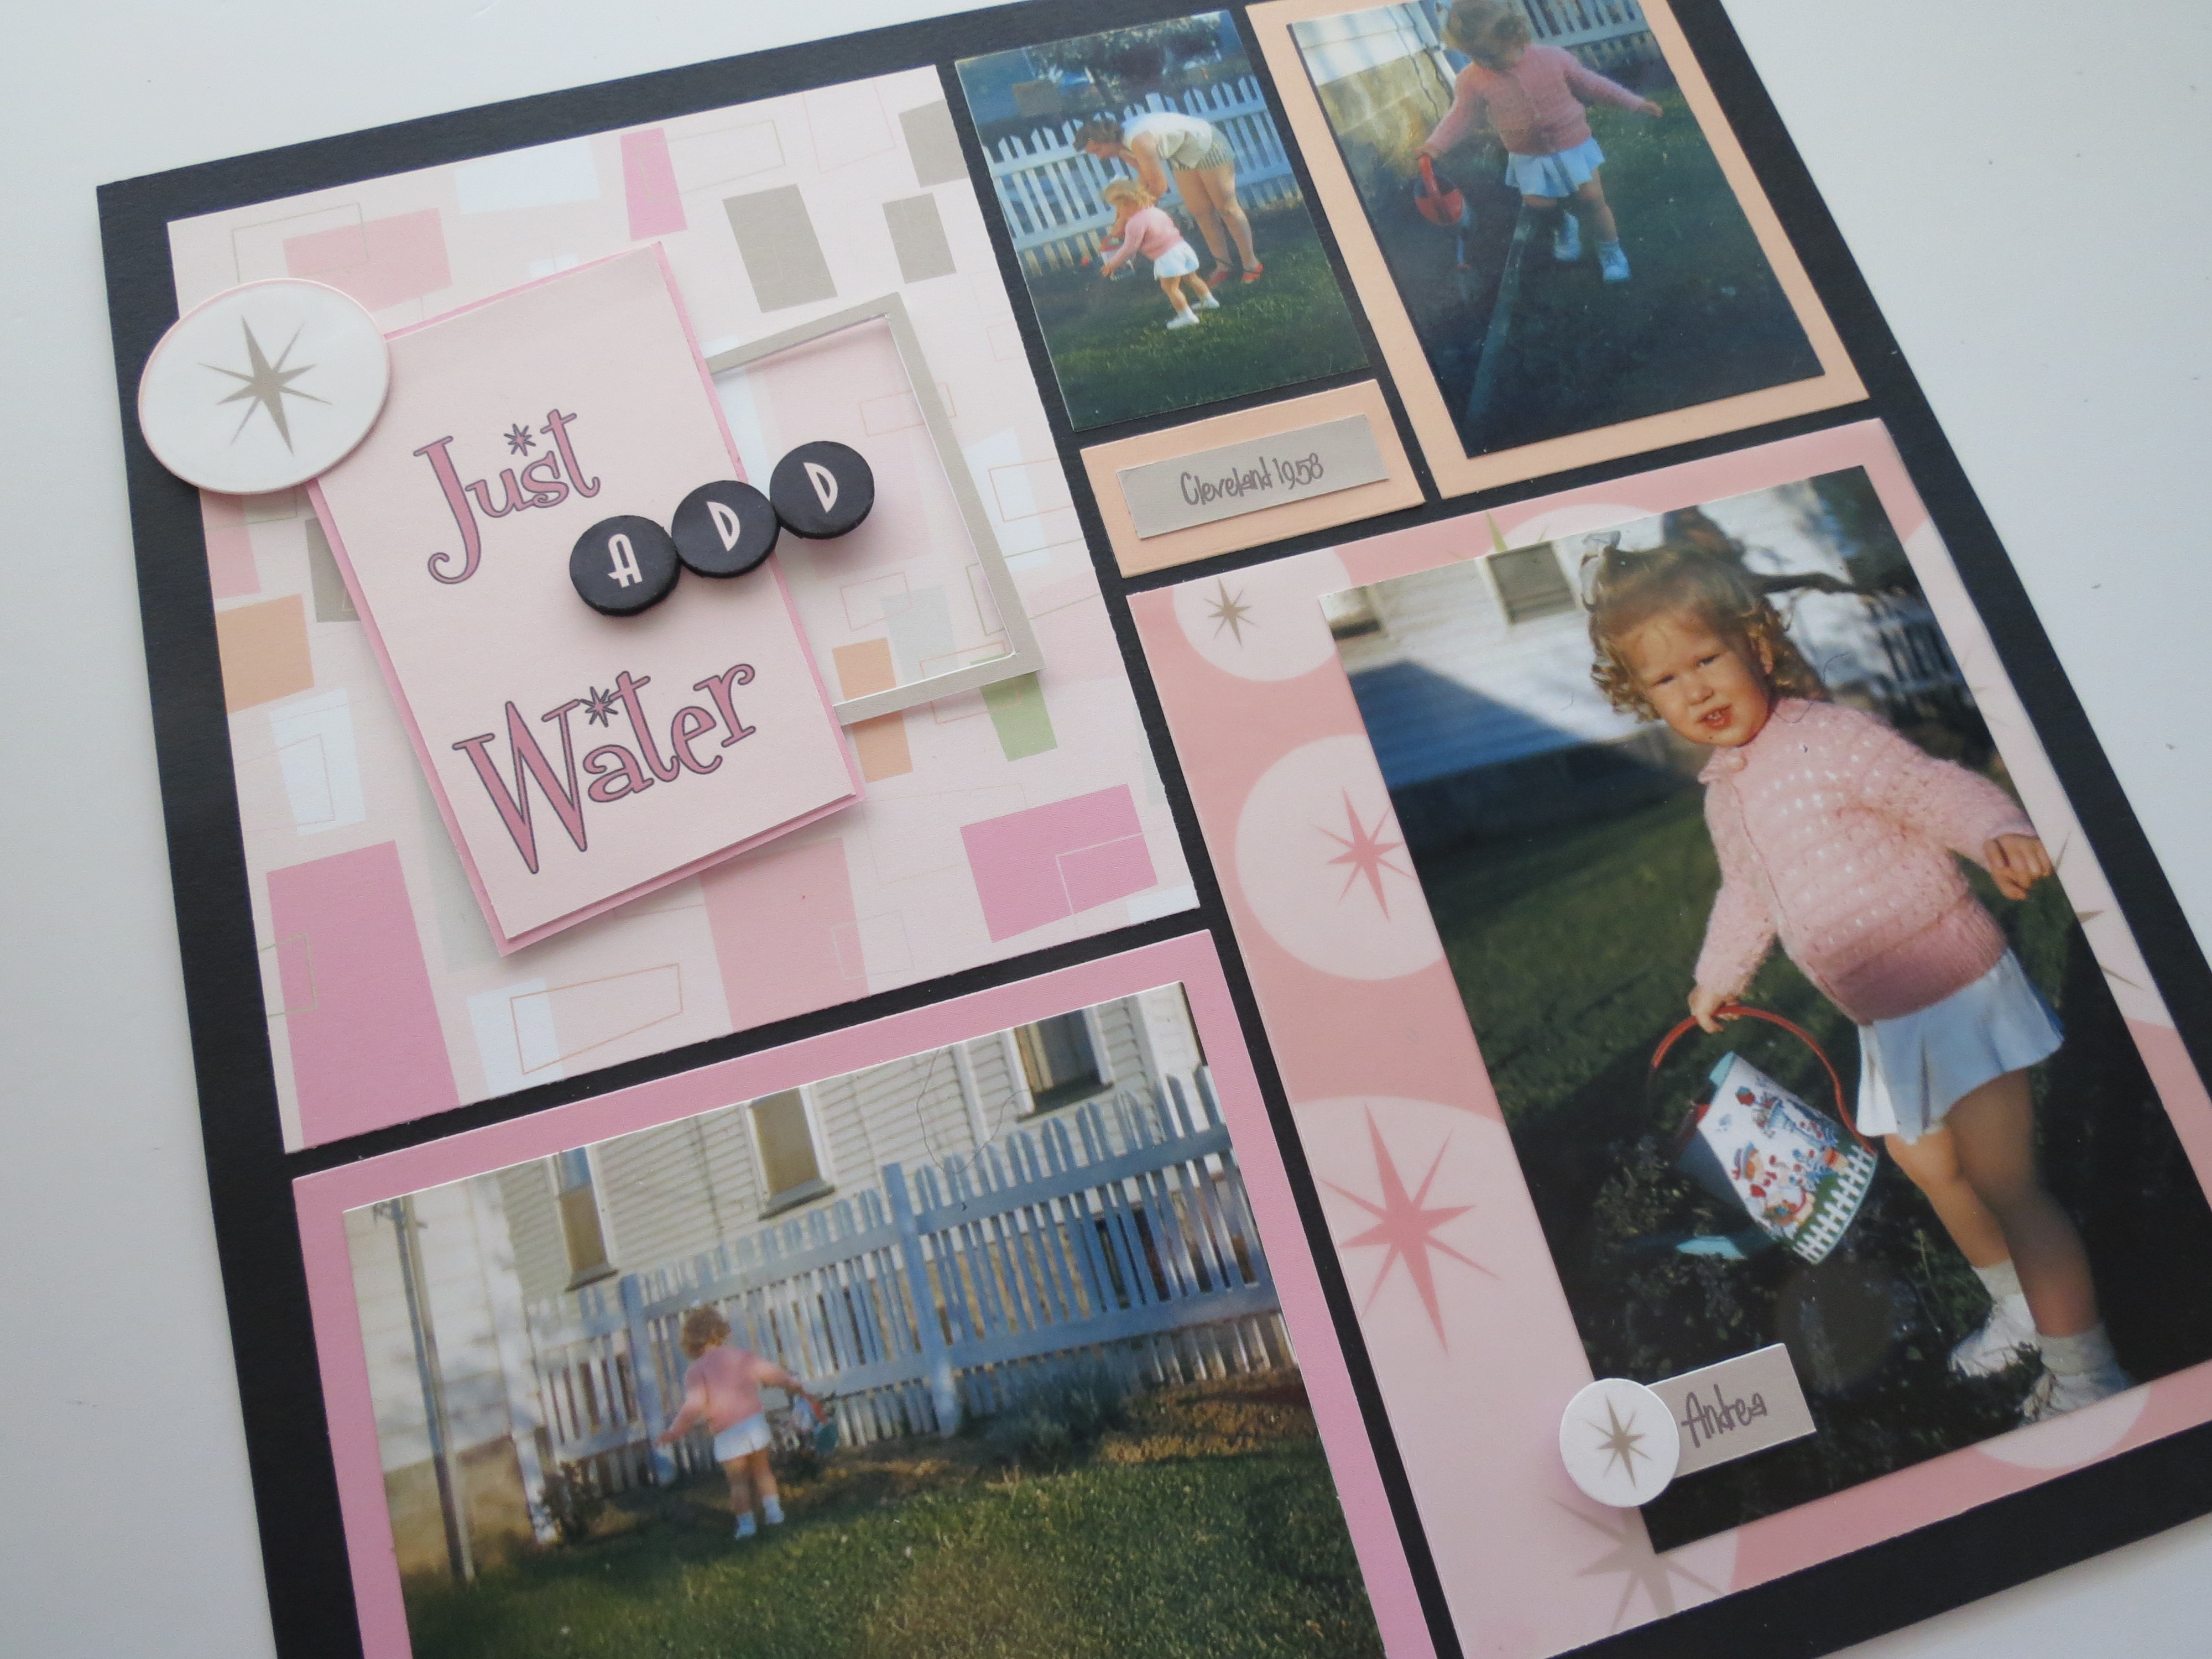
Scrapping Your Vintage Photos: The Fab 50’s
Now if you have vintage photos from another era, you should still consider the same process: Colors, Fonts, and Patterns.
Here are a few additional paper/pattern examples:
This pattern and color combo was perfect for photos from the late 1800’s through the early 1900’s.
Anna Griffin papers
Scrapping Your Vintage Photos: Anna Griffin papers
This pattern and color combo represents the 60’s pretty well, unless neon colors are your thing!
Hippie Chick papers by SEI
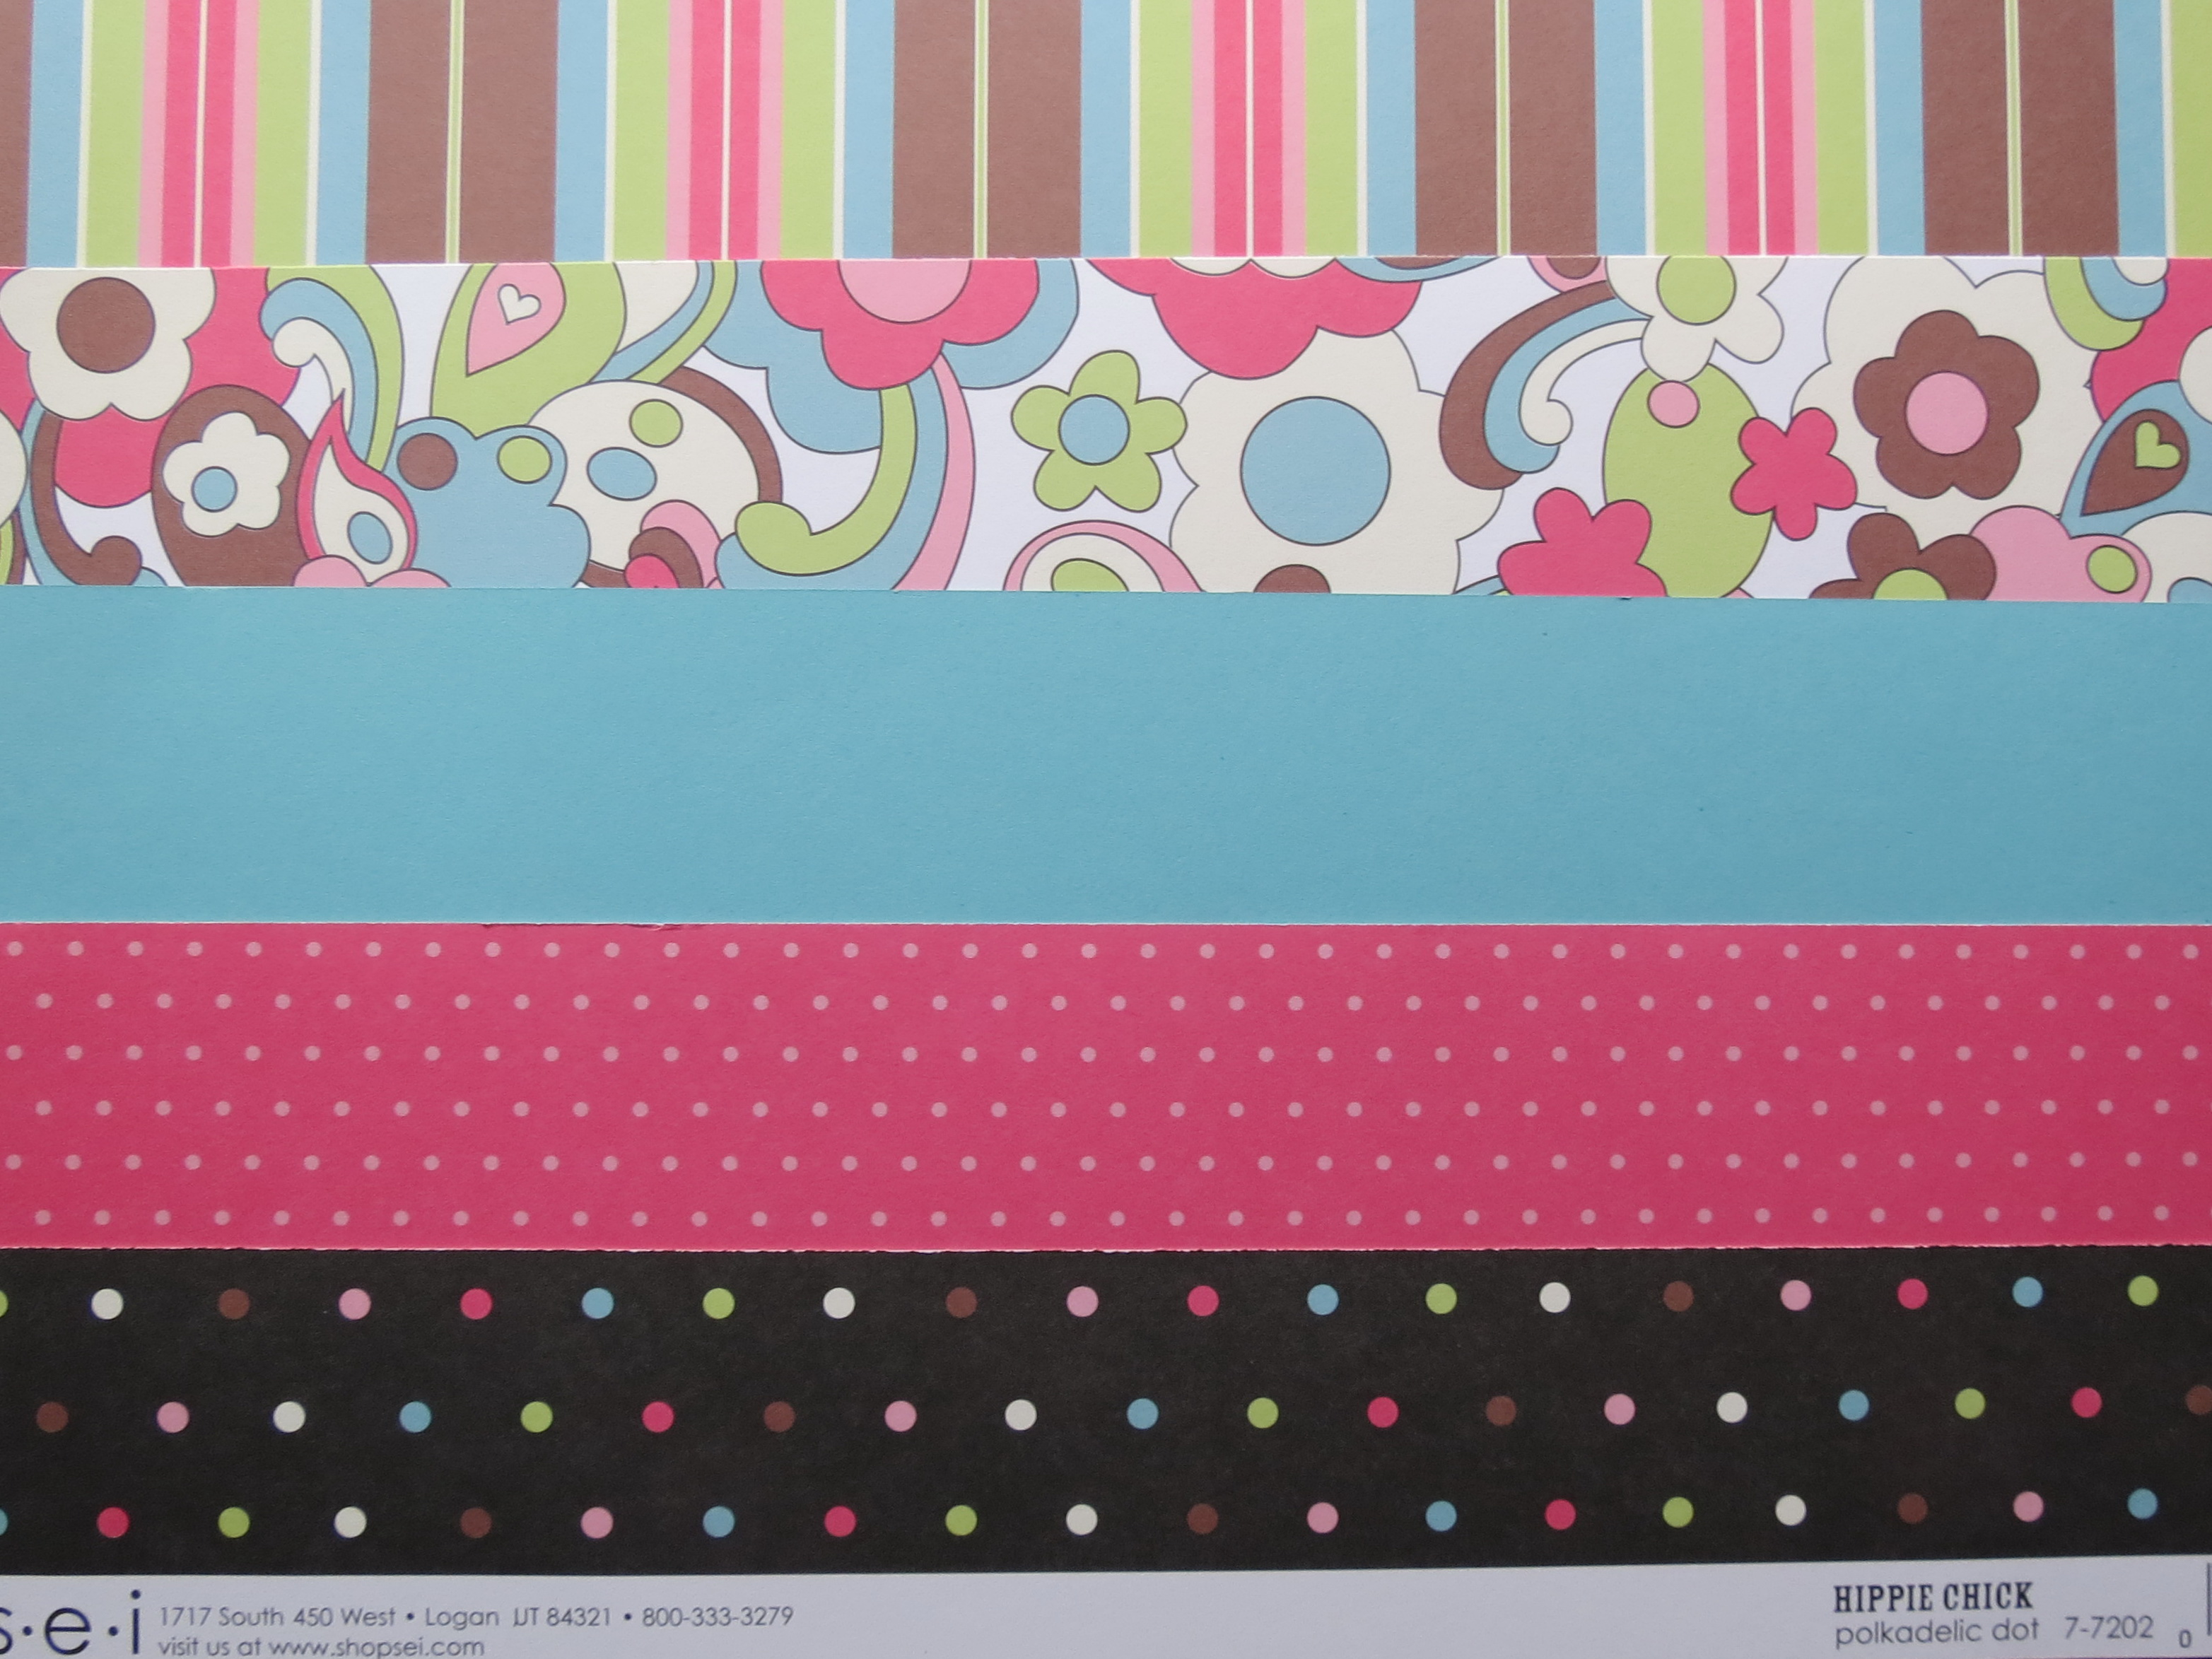
Scrapping Your Vintage Photos: SEI
You may not always find a paper Collection for those eras special to you that you want to scrap, but with a little search on Pinterest and Google, you’ll be able to find inspiration for the colors, fonts and patterns to use and perhaps even for your embellishments. For more Pinterest inspiration for the Fab 50’s try my board HERE.
Join in the fun of remembering the era you were born and do a page about yourself. We’d love to see your take on your decade, or how you are scrapping your vintage photos, so post them on Facebook page!!
Andrea Fisher
See all our boards on Pinterest and for this pin and more tips and techniques:
Scrapping Your Vintage Photos: The Fab 50’s with Colors, Patterns and Fonts