

Featuring the Mosaic Moments Heart dies
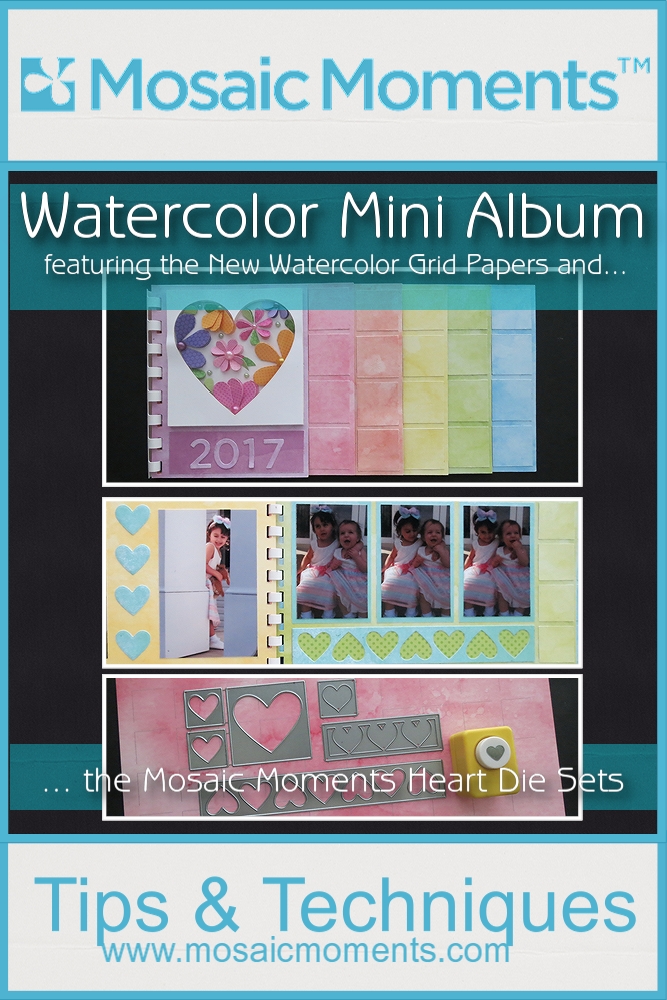
Mini Album in Watercolor Grid Papers
How do you choose which of the wonderful new Watercolor Grid Papers to work with first? Maybe I’ll be able to help you out with this project that uses all six at once! We are also going to try to incorporate as many of the heart dies as we can into this little photographic gem.
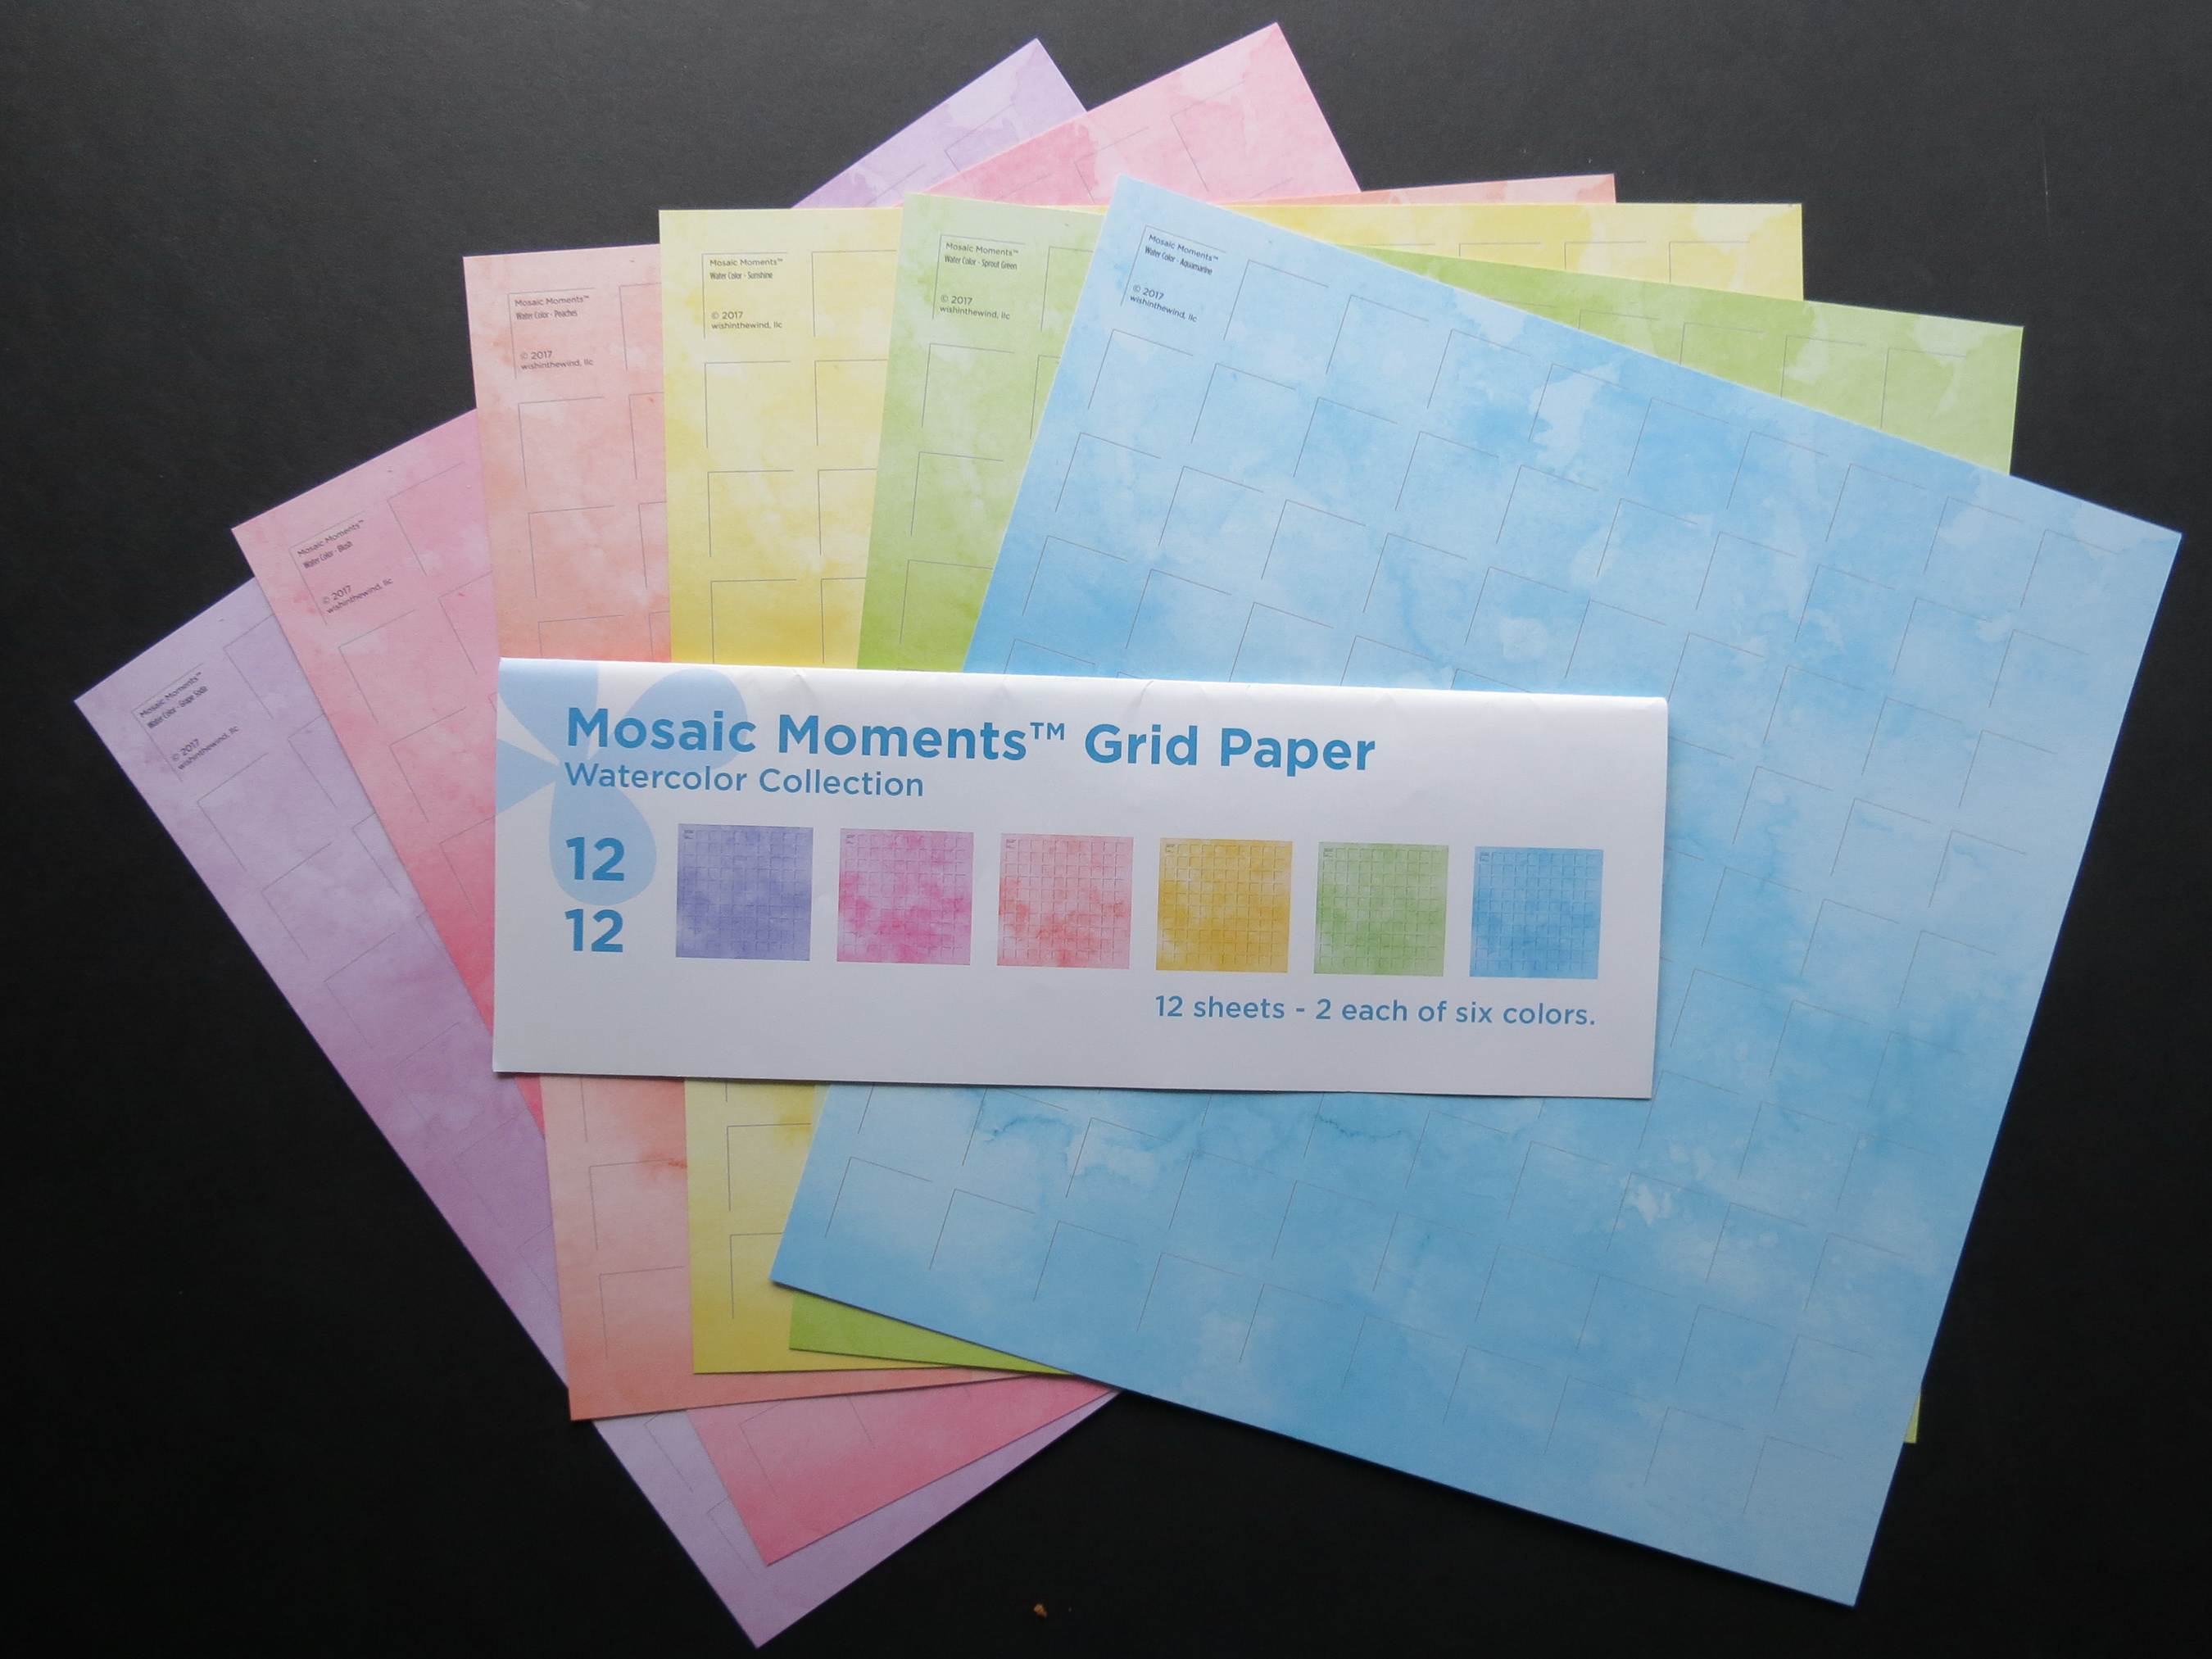
Mosaic Moments Watercolor Grid Papers
• The Dies
• The Album
• The Embellishments
The Dies: the Heart Set, Row of Hearts and Heart & Flowers die sets. I also used a small heart punch for the smallest flowers.
The Album: All six colors will be used for this colorful mini album. The cascading colors will be layered with additional watercolor and patterned papers to accent each page.
The Embellishments: A special embellishment for the cover will utilize some of the hearts from the dies, pearls and an enclosed finish. I’ve used two of the heart frames from a Mosaic Moments Heart Frames set (no longer available) to create this box.
THE DIES:
These are the Heart Dies used in this project.

Mosaic Moments Heart Dies and Watercolor Grid Papers
I have used them as elements on the pages, as frames and also taken some of the ‘out take’ hearts to create the cover embellishment box.
Lawn Fawn has a lovely line of papers, “Watercolor Wishes,” that are very close to the colors of our grid papers that have worked out nicely with the dies. A few pops of color from various Doodlebug Designs patterned papers add bright spots throughout.
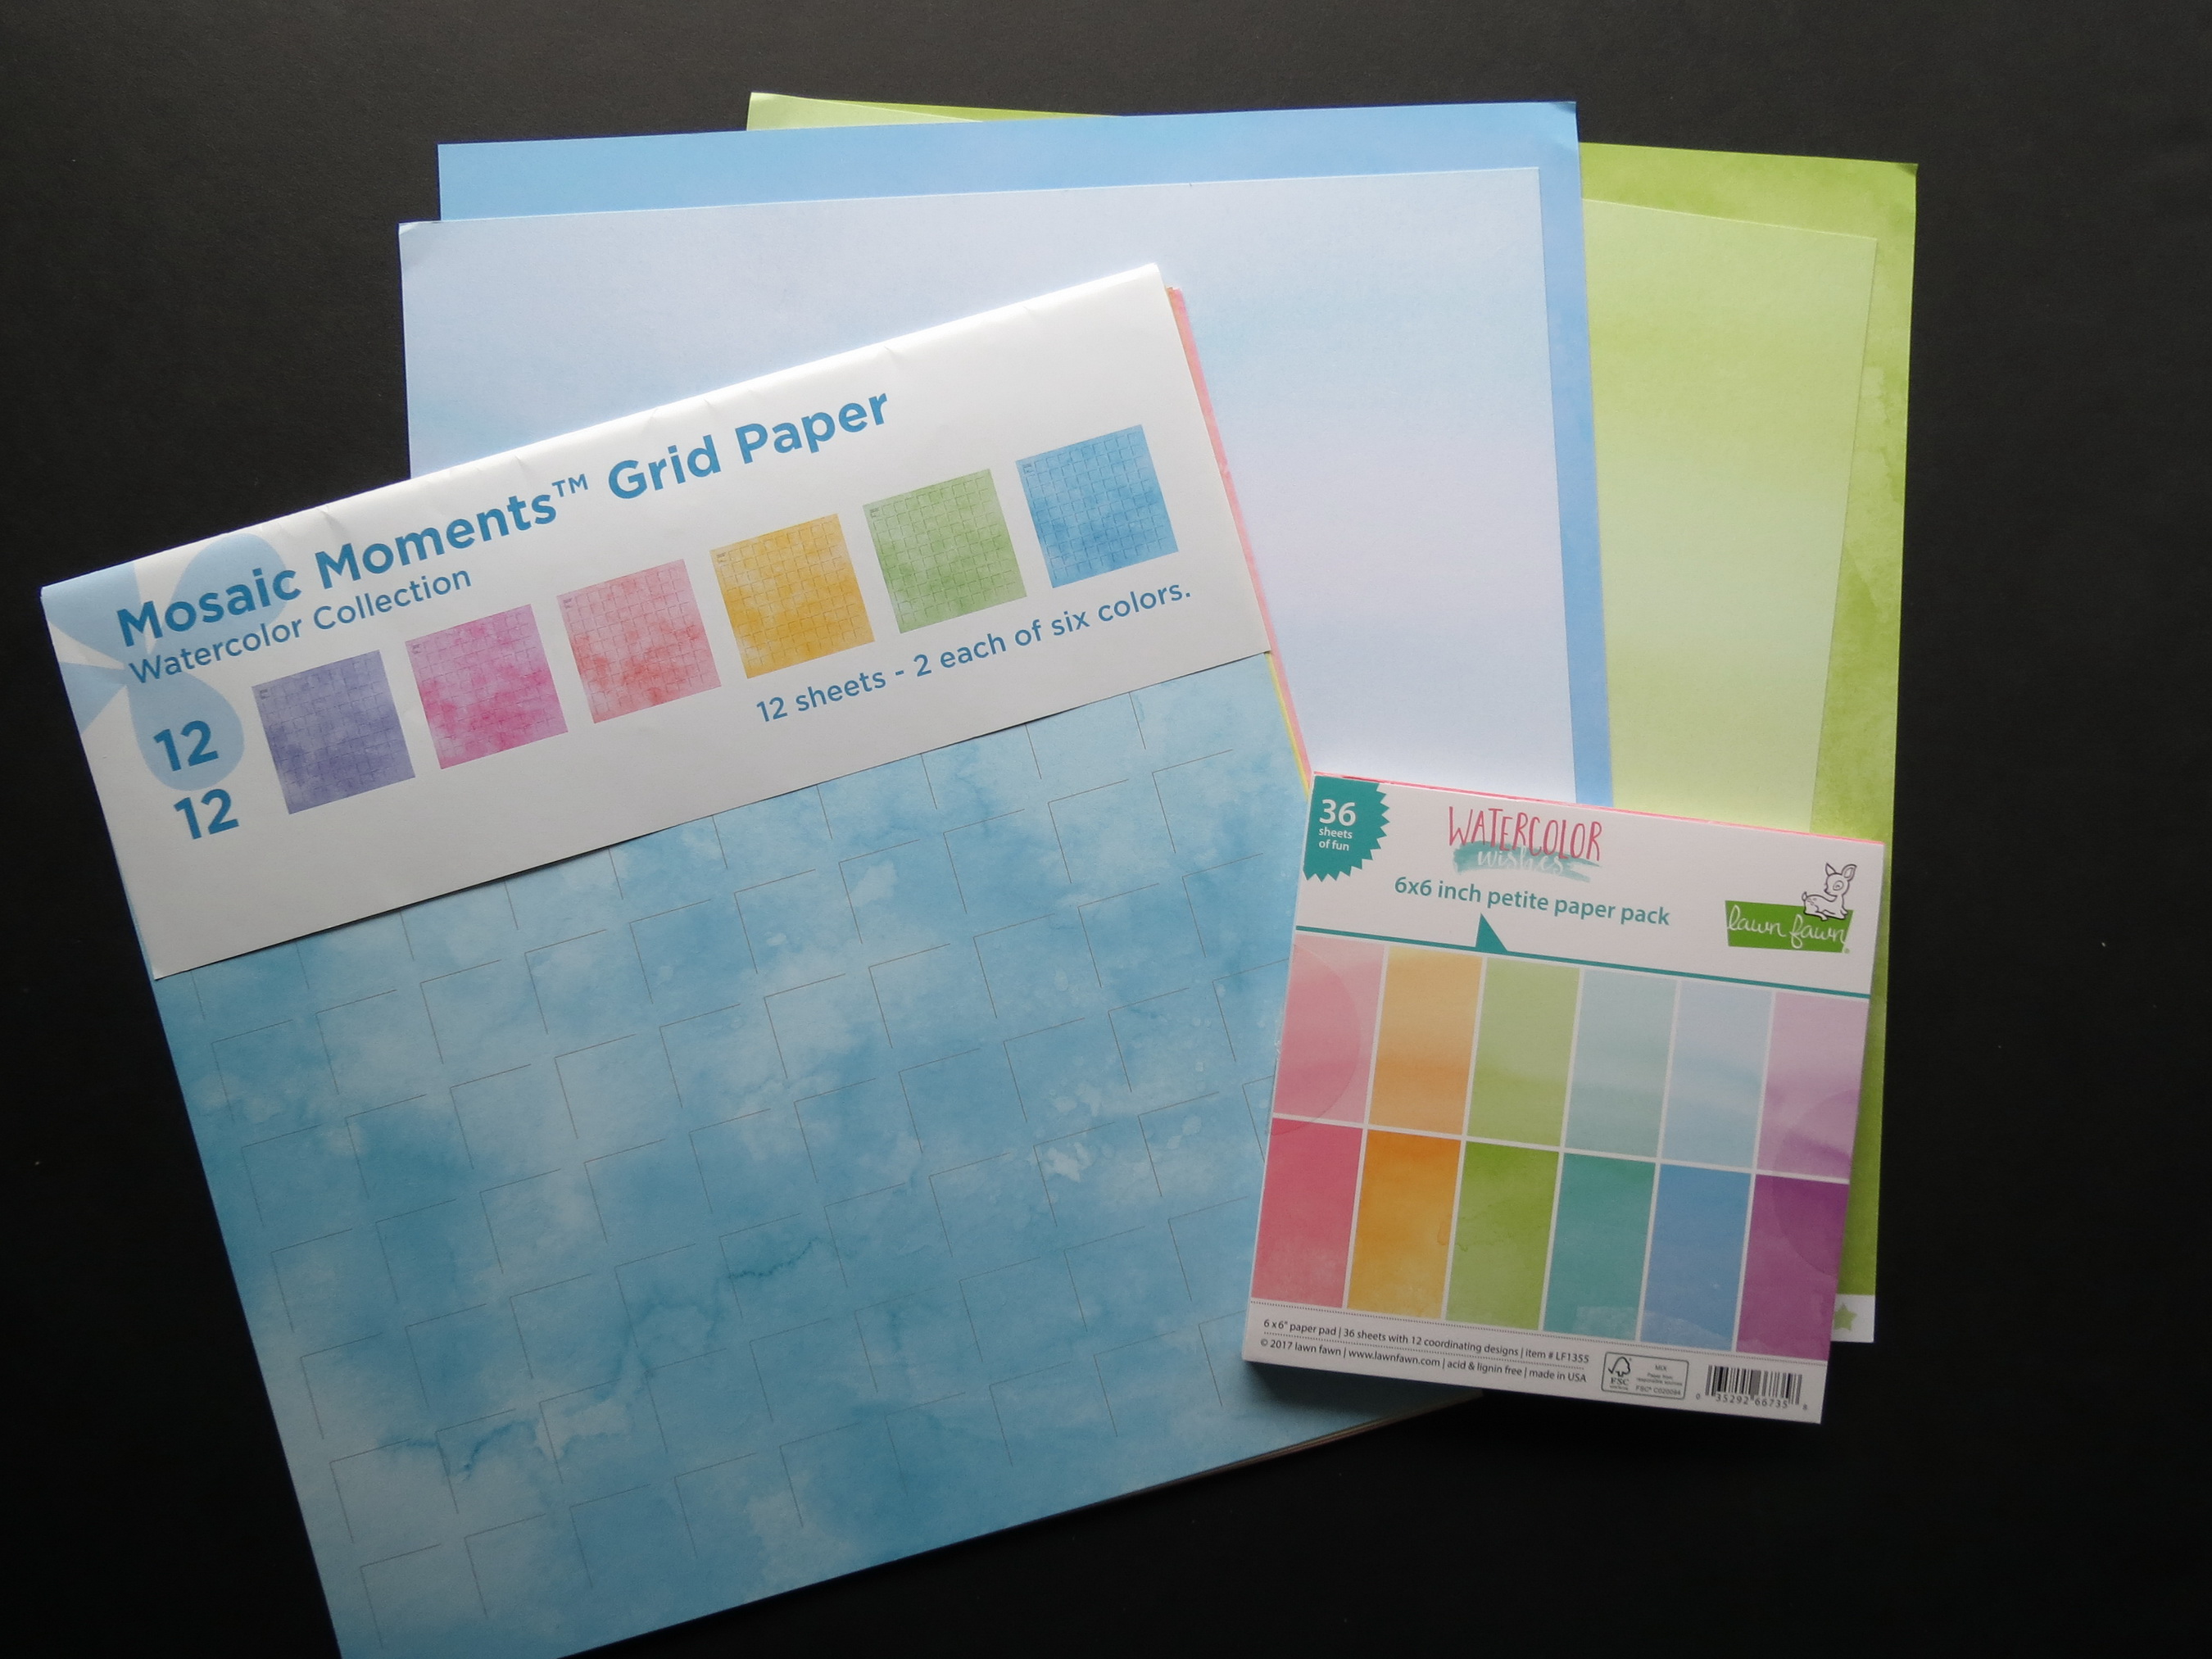
Mosaic Moments Watercolor Grid Papers and Watercolor Wishes from Lawn Fawn in 8″x8″ pad and 12″x12″ papers
THE ALBUM:
We have covered mini albums before on the blog (here, here and here) but the instructions for this one will be slightly different so I’ll give you the details so you can reproduce it yourself.
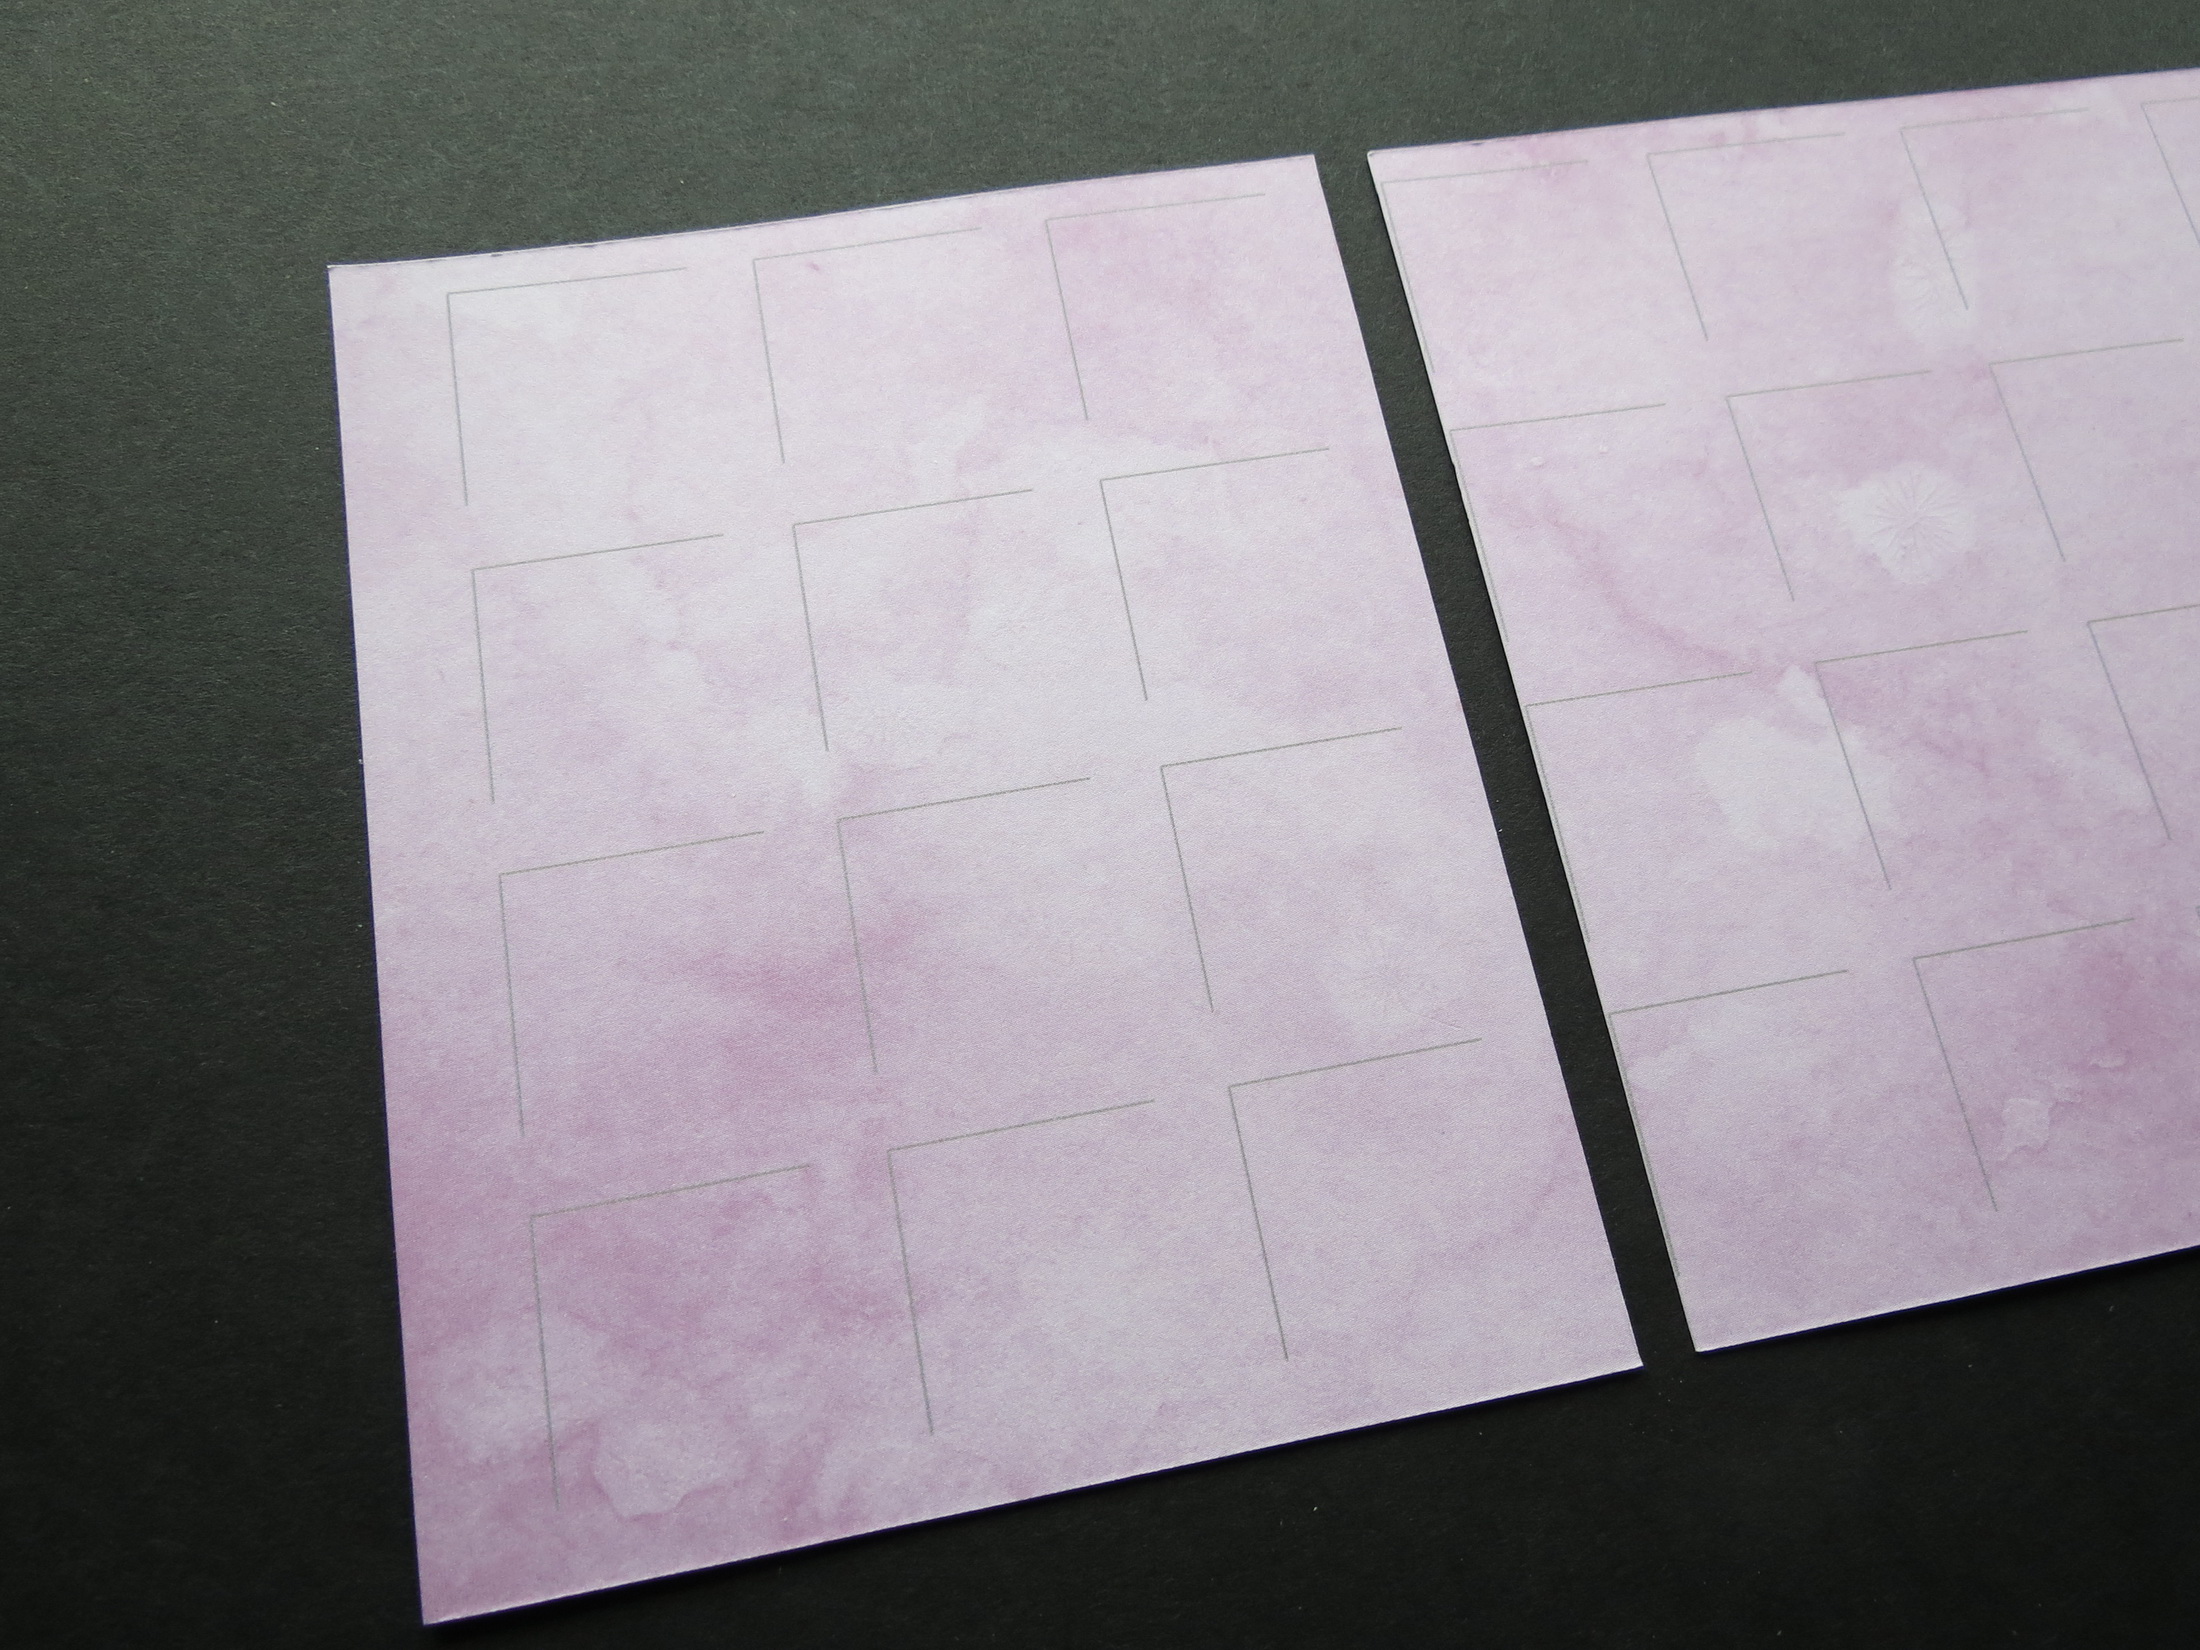
• Take one sheet of each color and cut it in half horizontally (6”). This will fall along the top of your 6th row. Cut on that series of lines.

What a 12″ x 12″ grid will look like when cut
• We will use the top half for this album; keep the remaining halves for a later project.
• Determine the order you want your colors to appear. I’ve chosen to begin with the grape soda and follow the order as they appear on the cover of the paper pack.
THE CUTS:
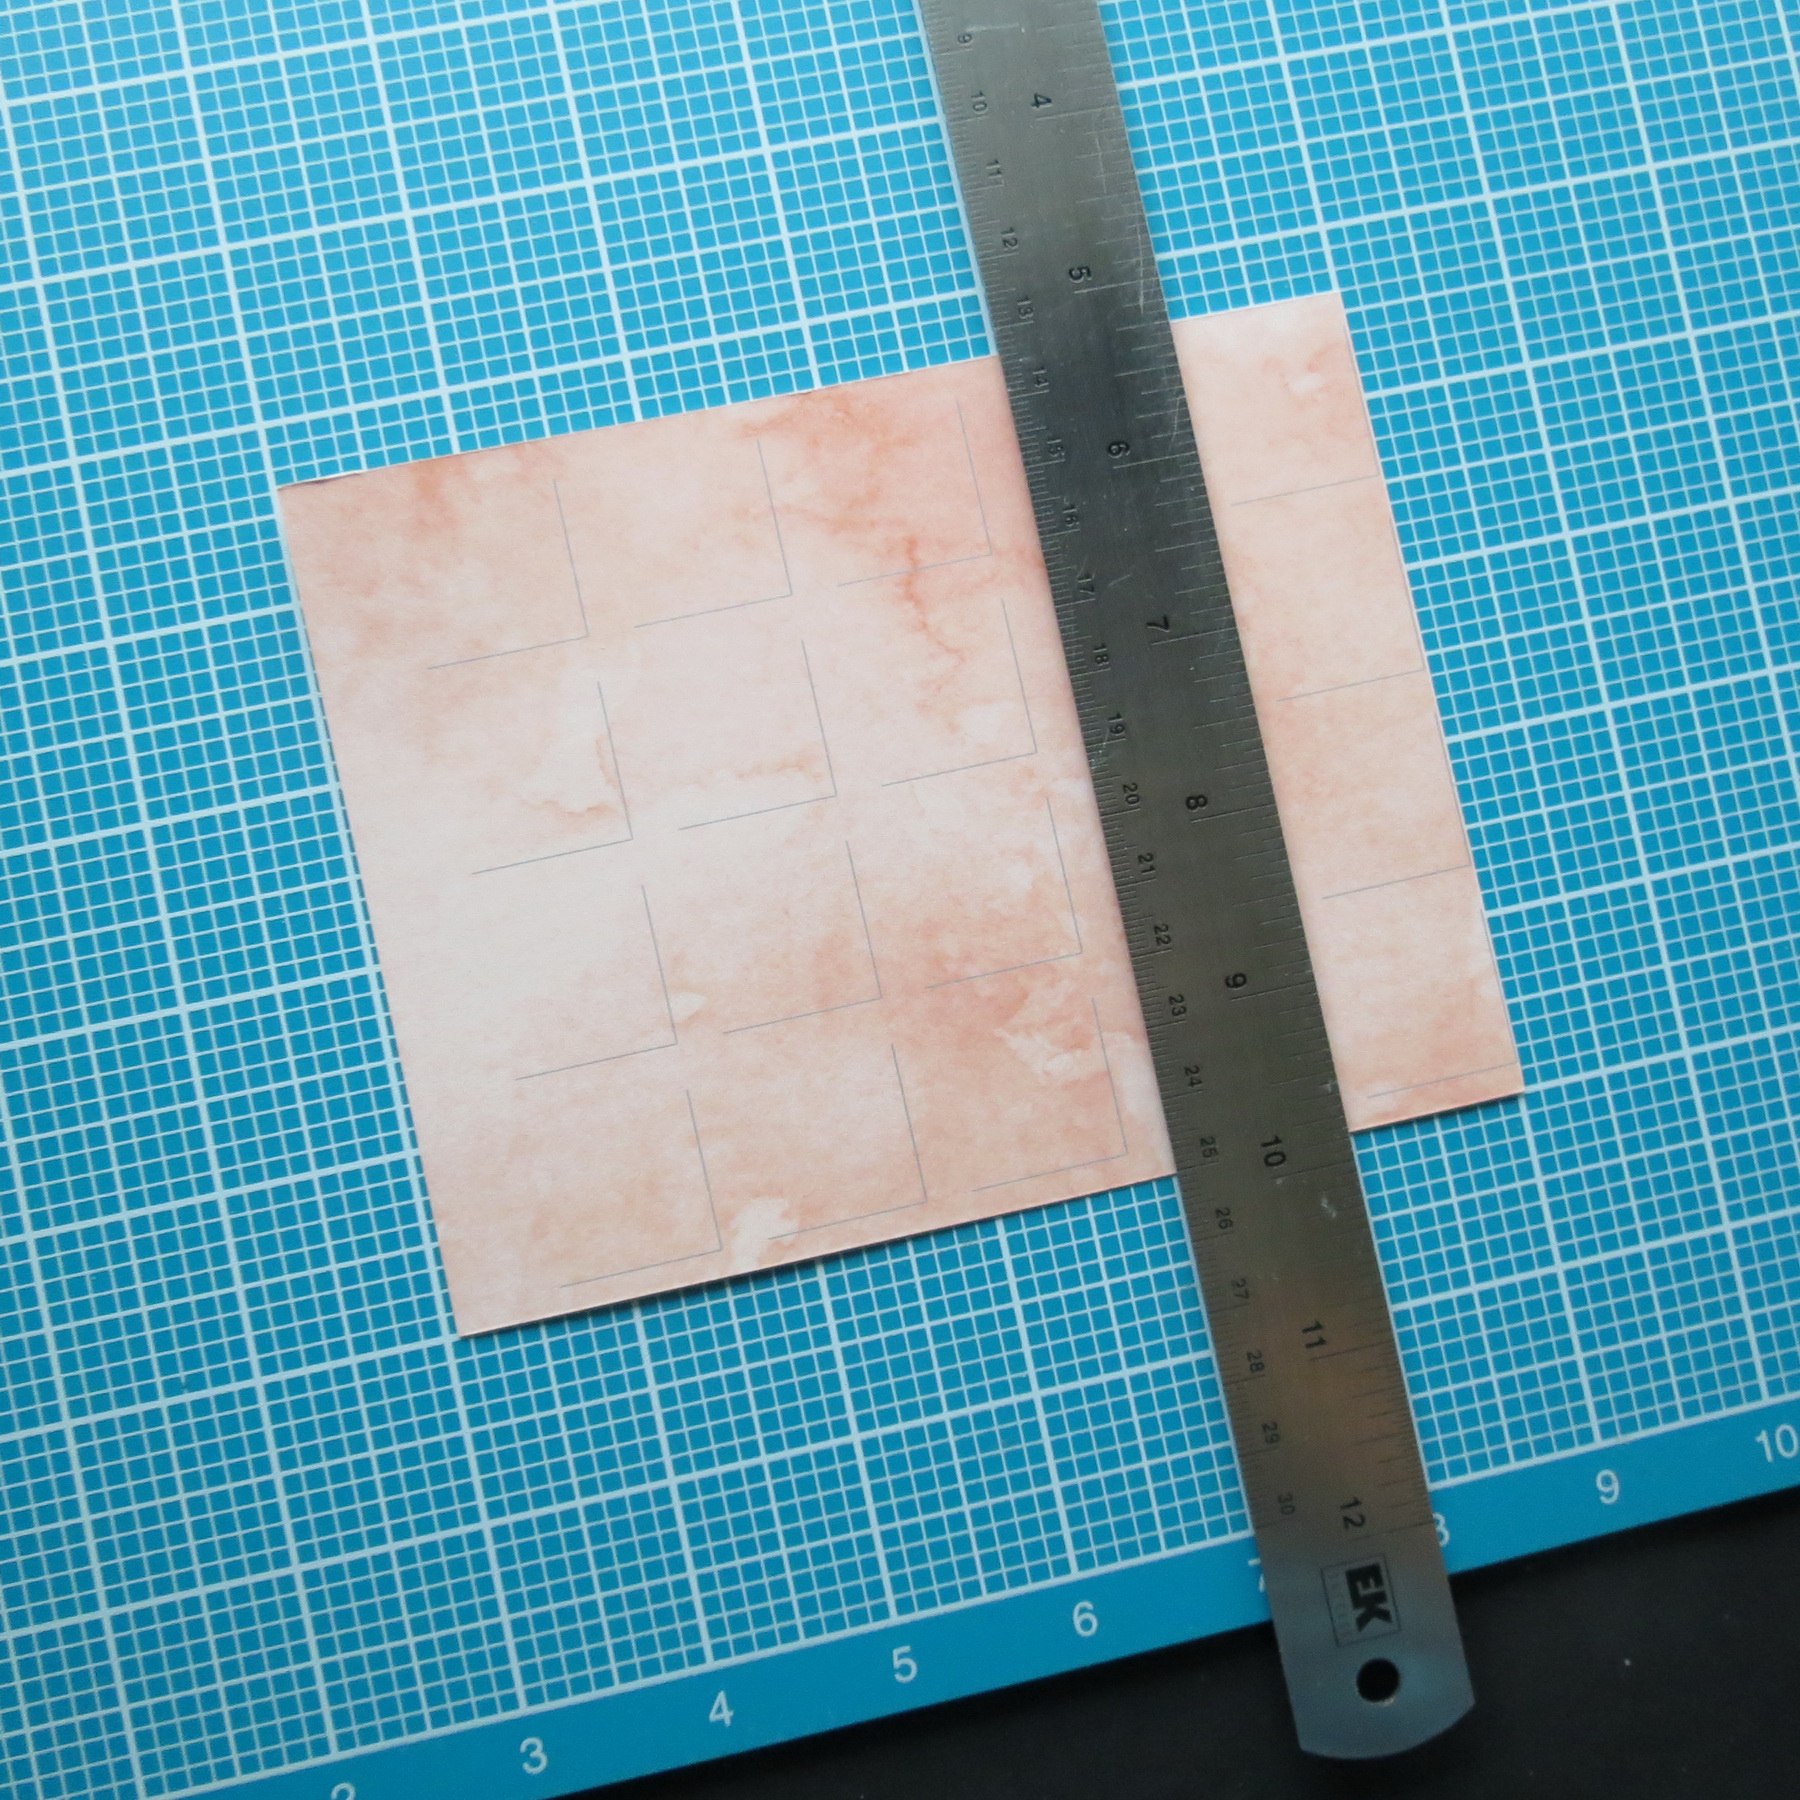
1. With the top half of the page right side up so that the trademark is in the top left corner cut away the top row of squares. You must measure 4 5/8” from the bottom cut, NOT THE TOP EDGE. Do this to all six colors. INSERT PHOTOS

Divisions of top half
Cutting the first section along the line of the 4th square
2. The first color (grape soda) you need 3 squares for the cover with 1/8” outside border. Counting from the left side we will cut along the edge of the 4th square so that the 1/8” border is included in the cut.
3. The border will remain as is; this is where we will punch holes to secure the sections together with a spine, ribbons, etc.
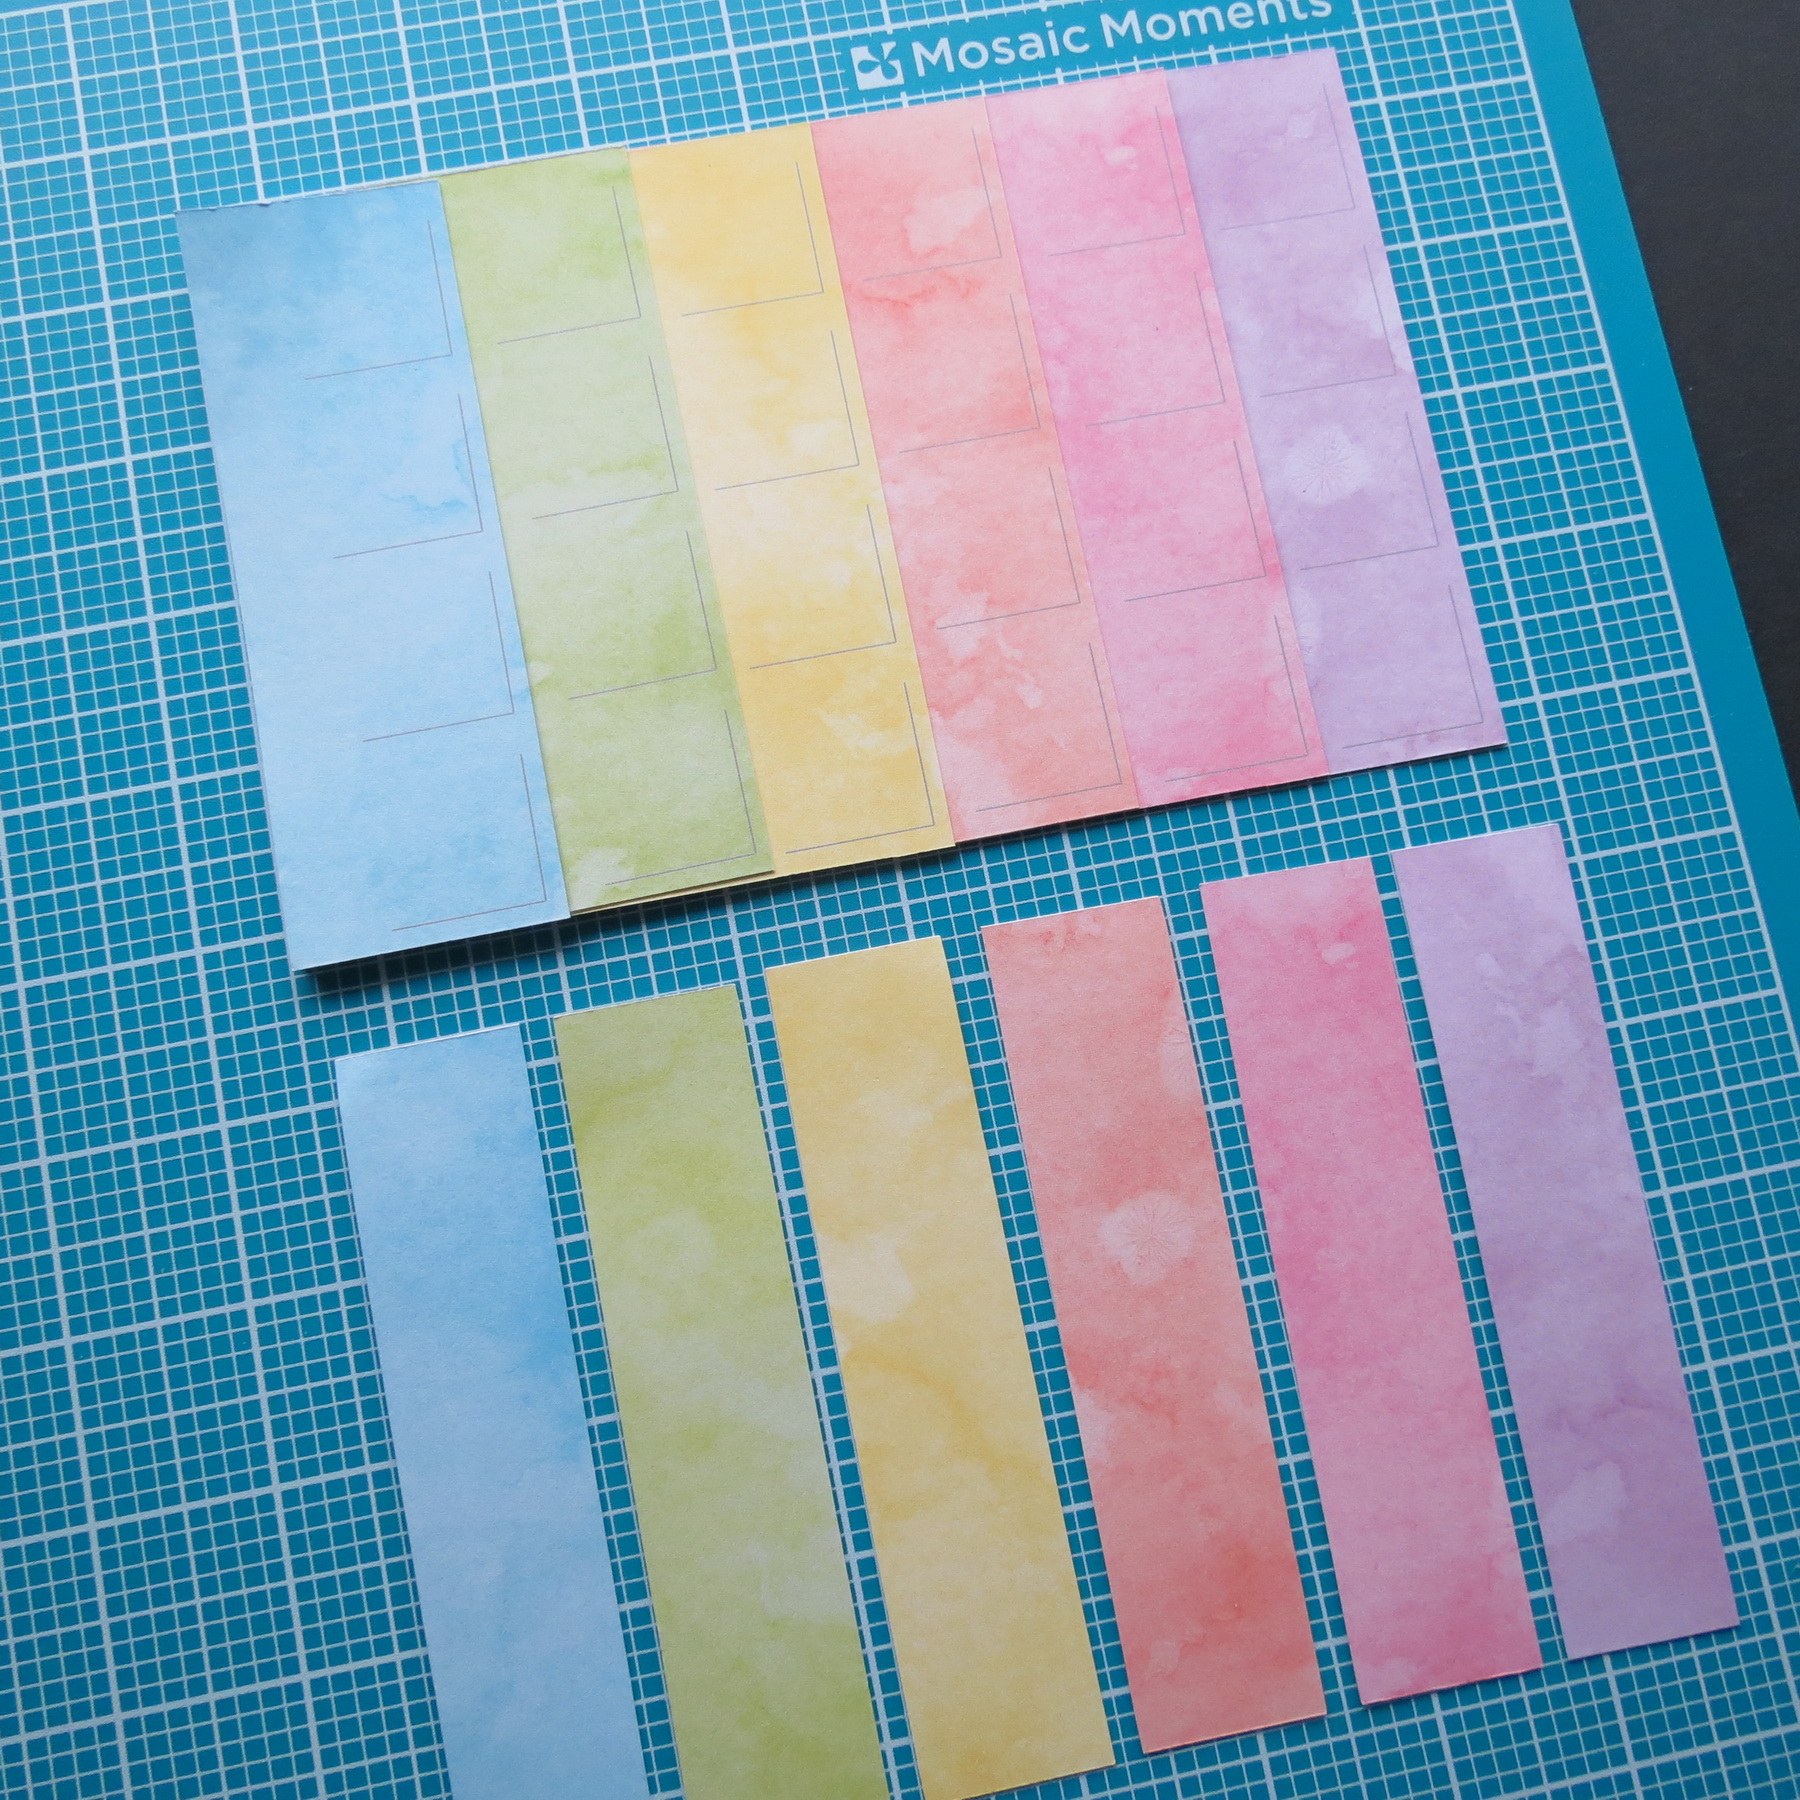
4. The second color will need 4 squares, cut along the edge of the 5th square.
5. Each color as you proceed will require you to cut to the next square the 6th, 7th 8th and 9th.
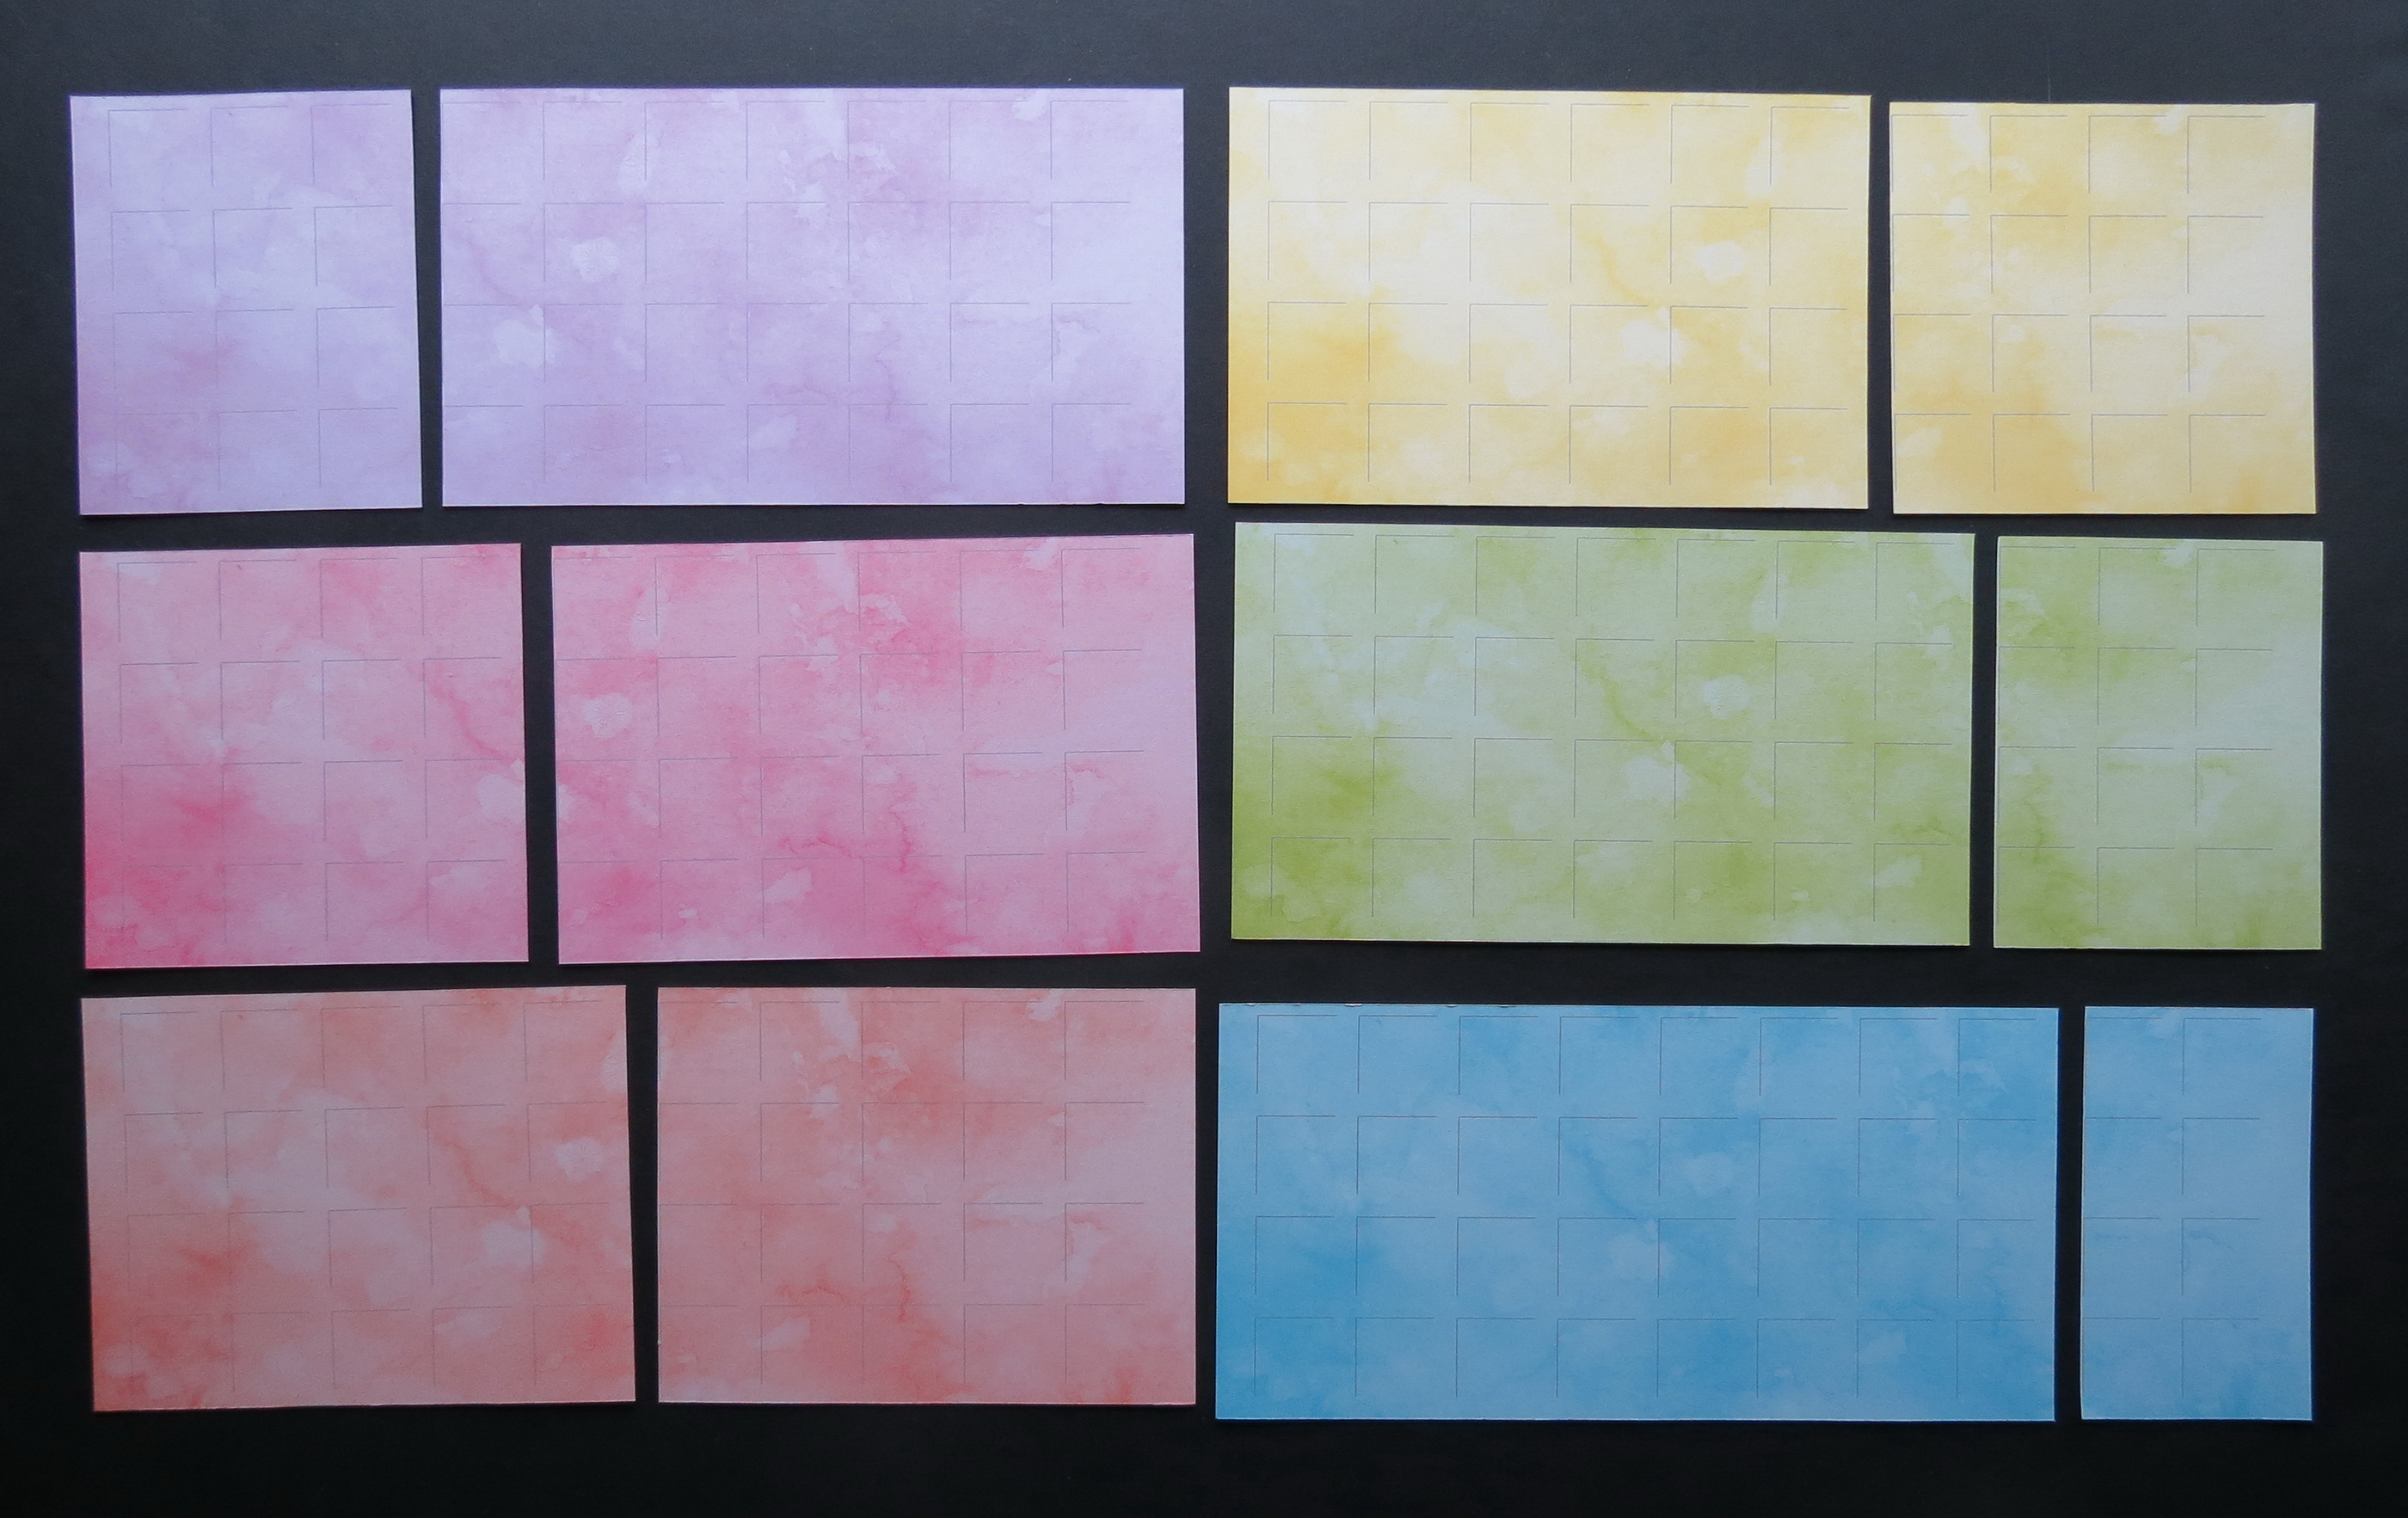
Each color and the cuts needed.
6. Once you’ve completed these steps, determine how you wish to bind the sections together.

From a hand punch to a paper punch, a binding system or the new We R Memories punch board and all it’s attachments for varying types of holes.
7. Separate the sections to create two stacks. One will be your album and the other, could be a smaller album or because the watercolor paper is double-sided, you can use them for paper tiles in the mini album.

Two stacks for two albums
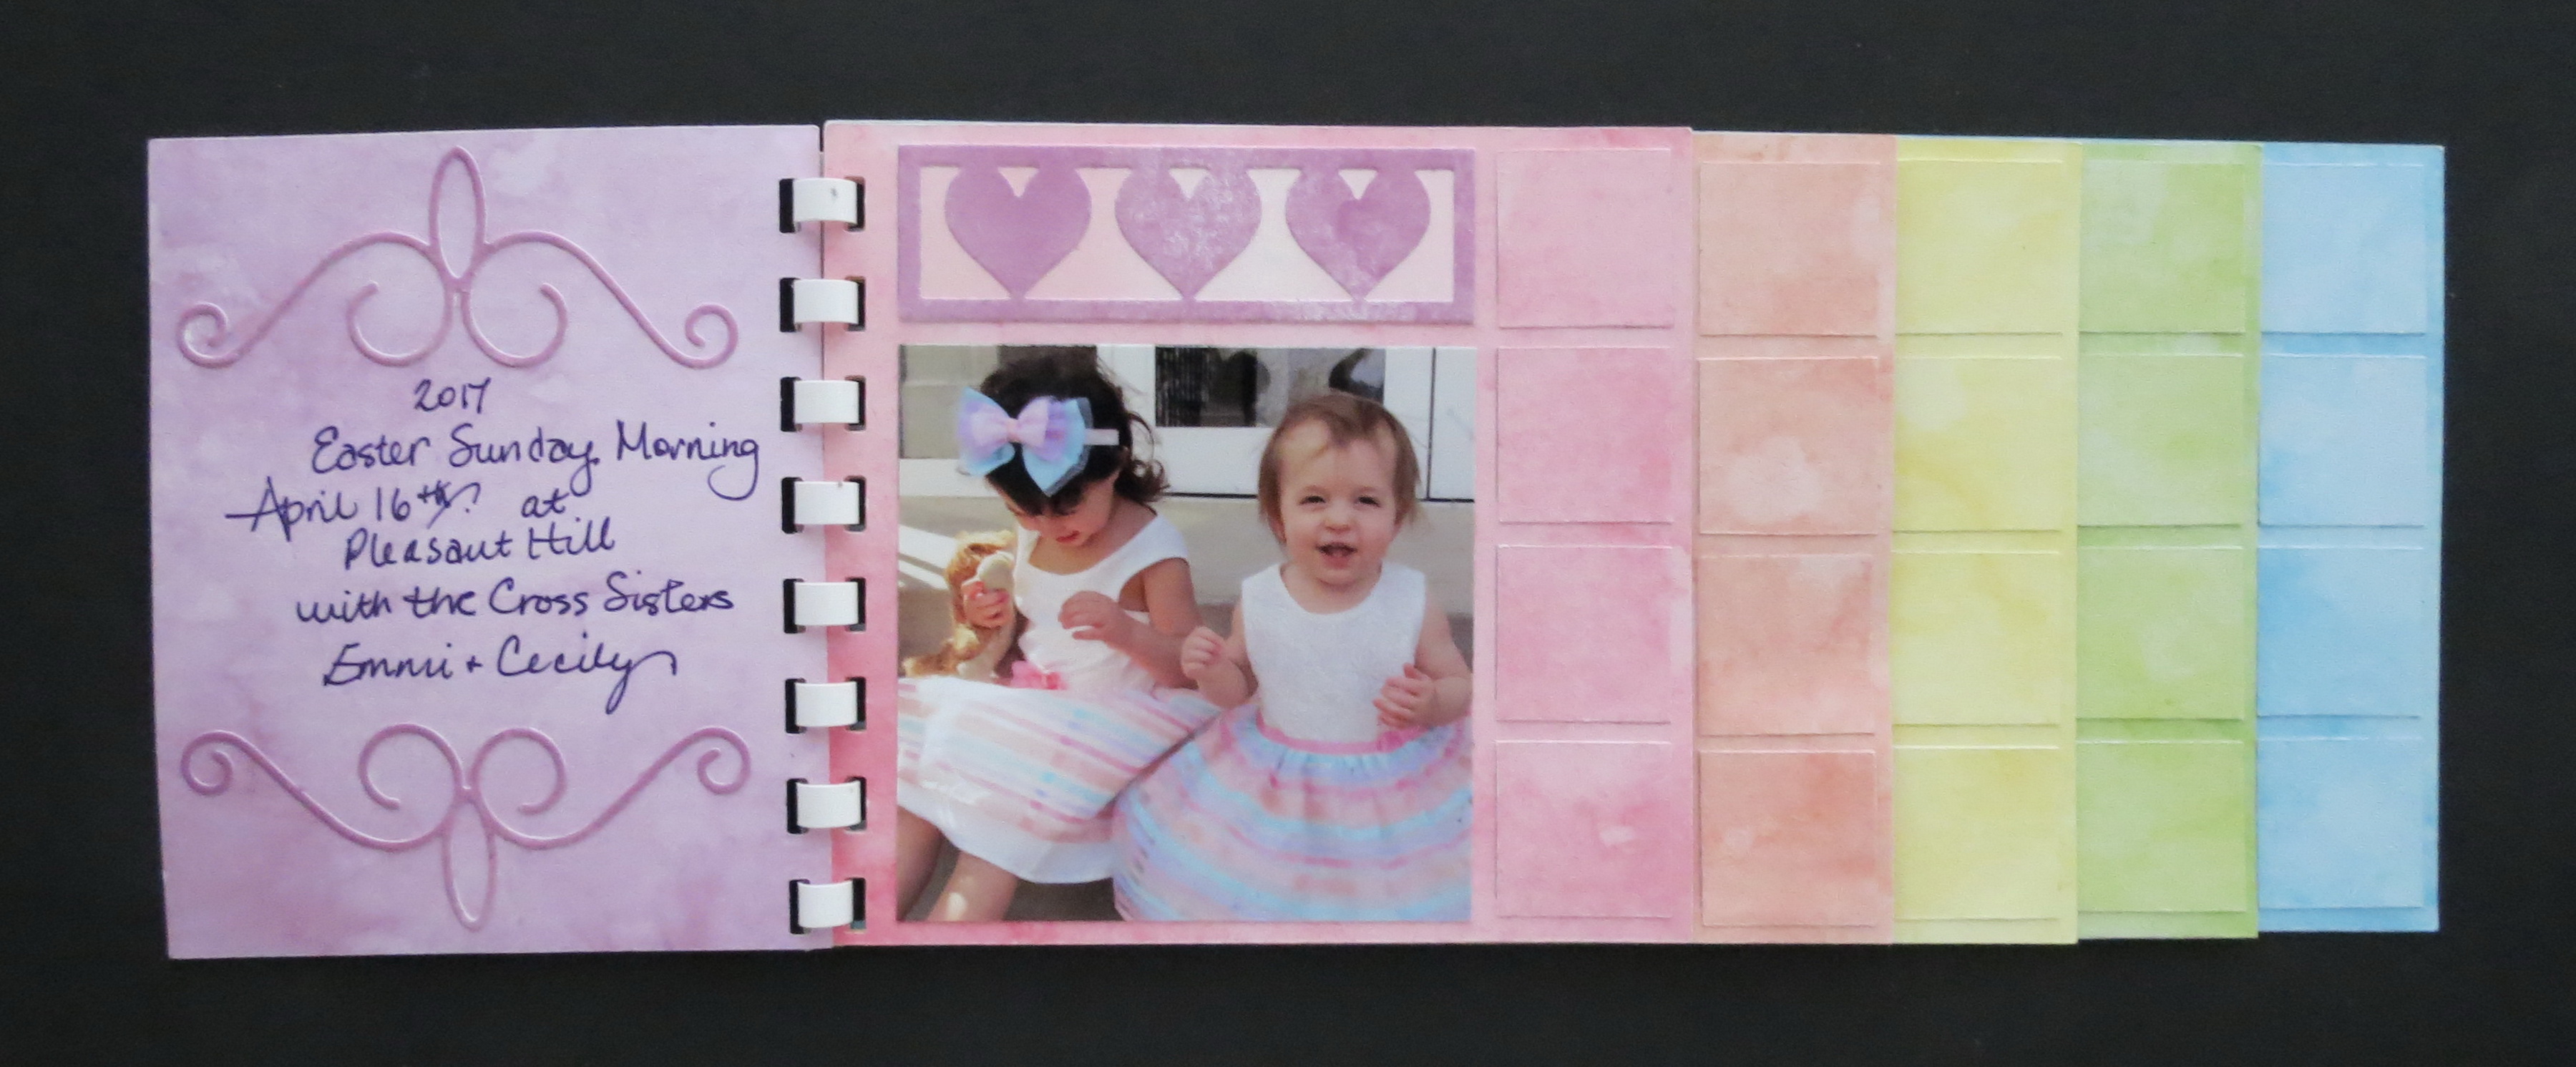
8. To use these sections in another album turn them upside down and repeat the directions. You will want to trim away 1” from the cut edge. You will be using the pieces with the grid lines “upside down”. Your pages will be 1 square wide, 2,3,4,5 and 6 squares wide. That narrow 1 square top section makes a great place to place a year! The trimmed remains will provide you with some 1” tiles to use!

The “left-over” sections for a second smaller album
Trim 1″ from cut edge
After trimming the 1″ sections away from the cut edge

Two albums, two sizes
9. With this cutting method, out of six sheets of Watercolor grids with which you began, you can create two large and two small mini albums! That’s quite a few gifts you can create!!
• Now that all the sections have been prepared it’s time to add your photos, the heart die pieces and any other embellishments you like.
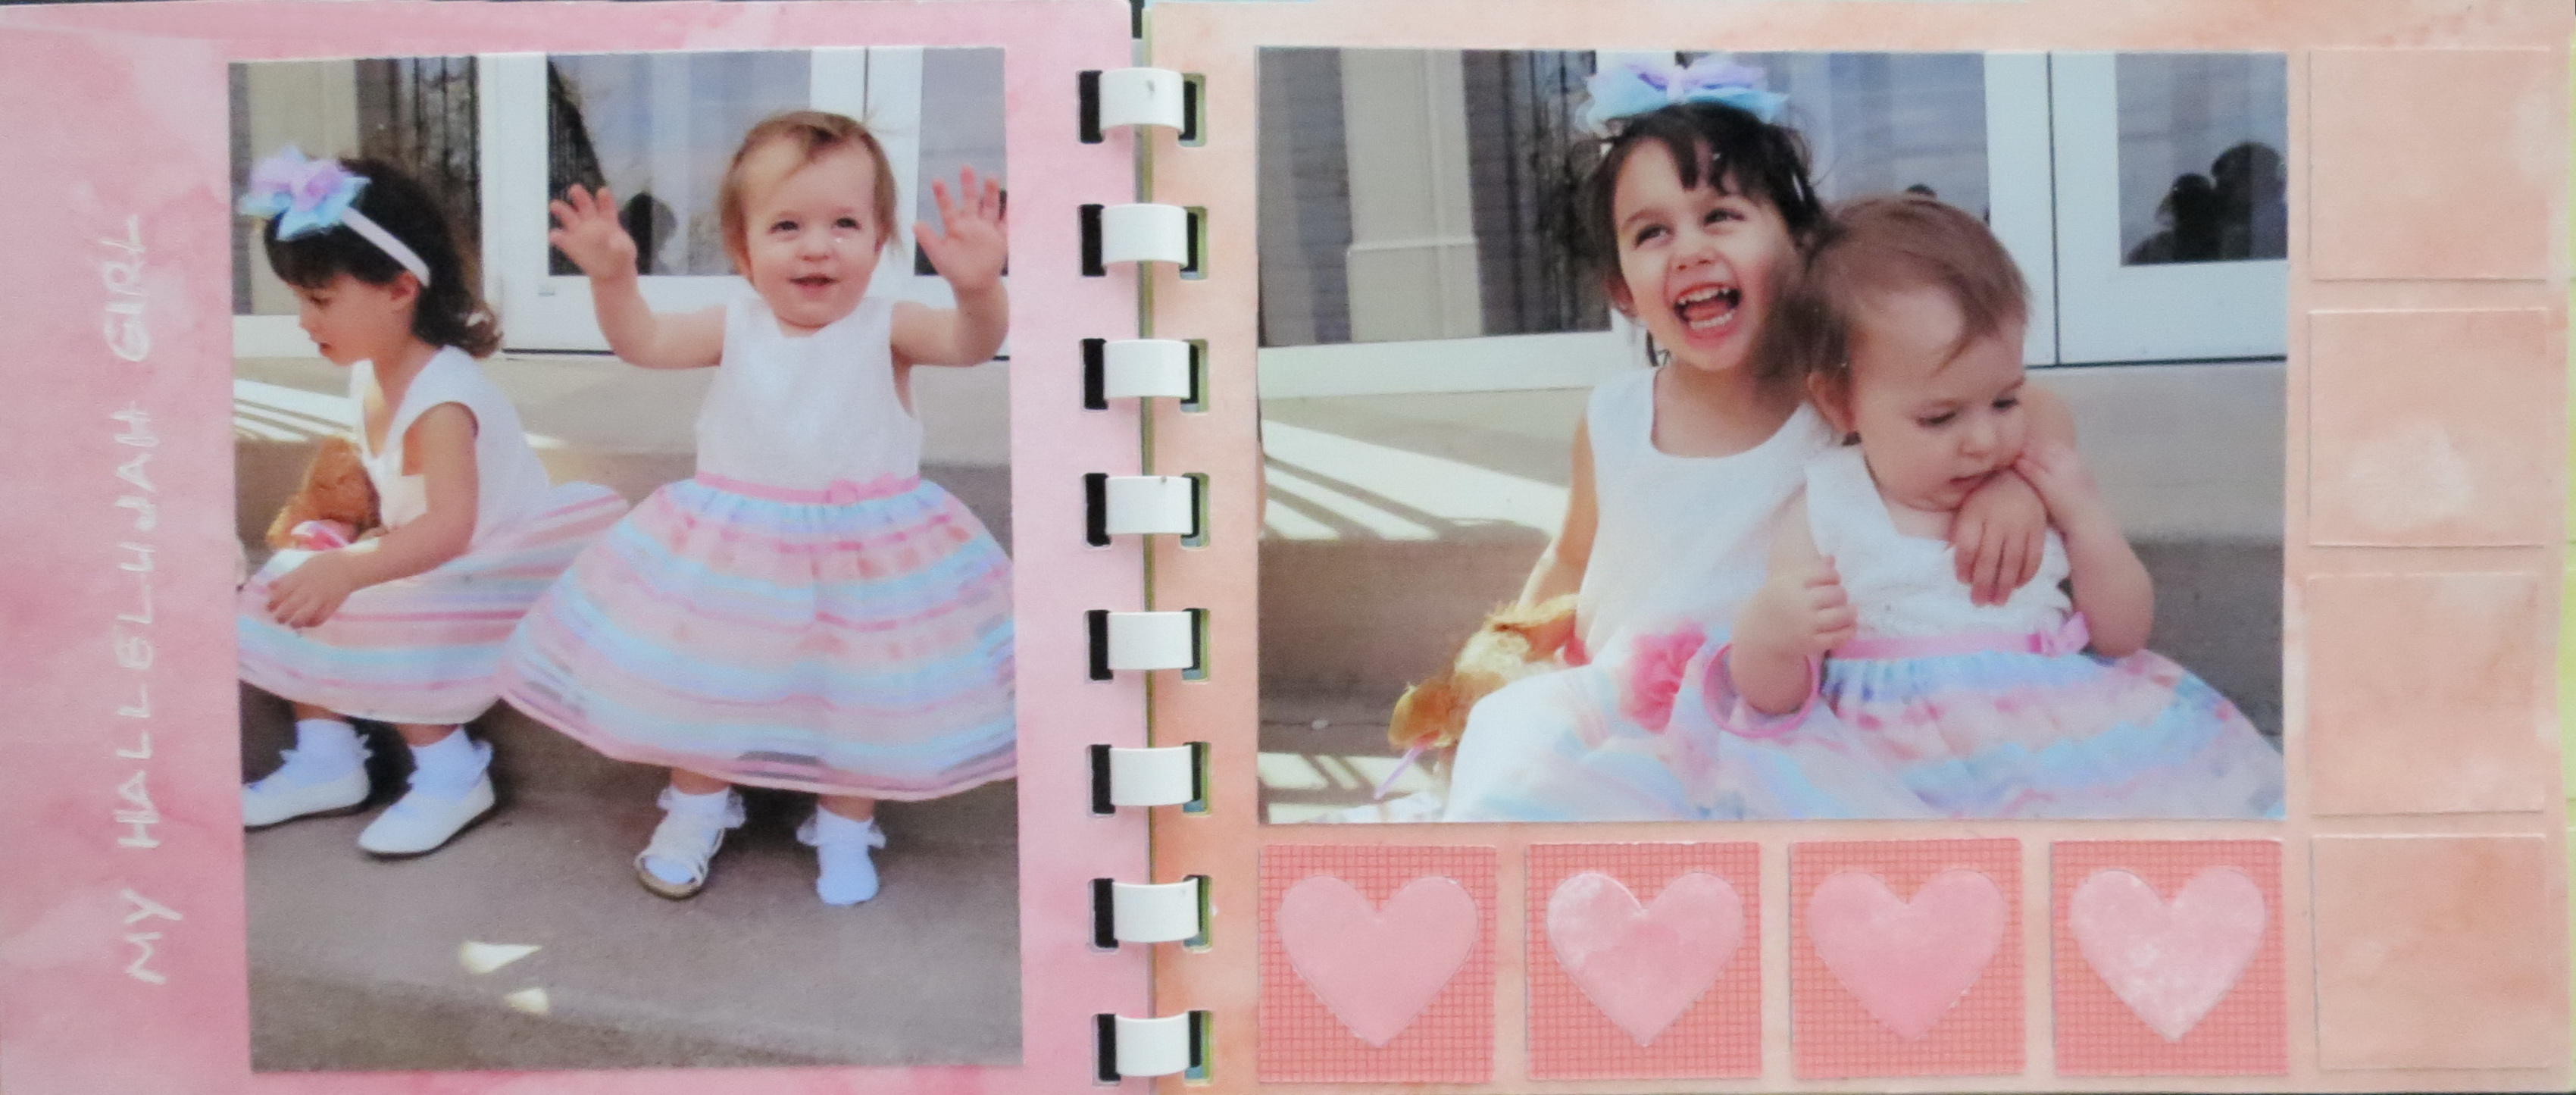
• How you arrange your photos is up to you, I’ve used a combination of sizes on the pages as you will see and used the appropriate heart die to fill in on each page.
• In addition to using the grid side for photos, I’ve placed photos on the opposite page too. Using dies to trim most, and some to suit the photo, it doesn’t take long to fill this album.
• There is room for a title, journaling and extras for whatever you need. Be creative!!

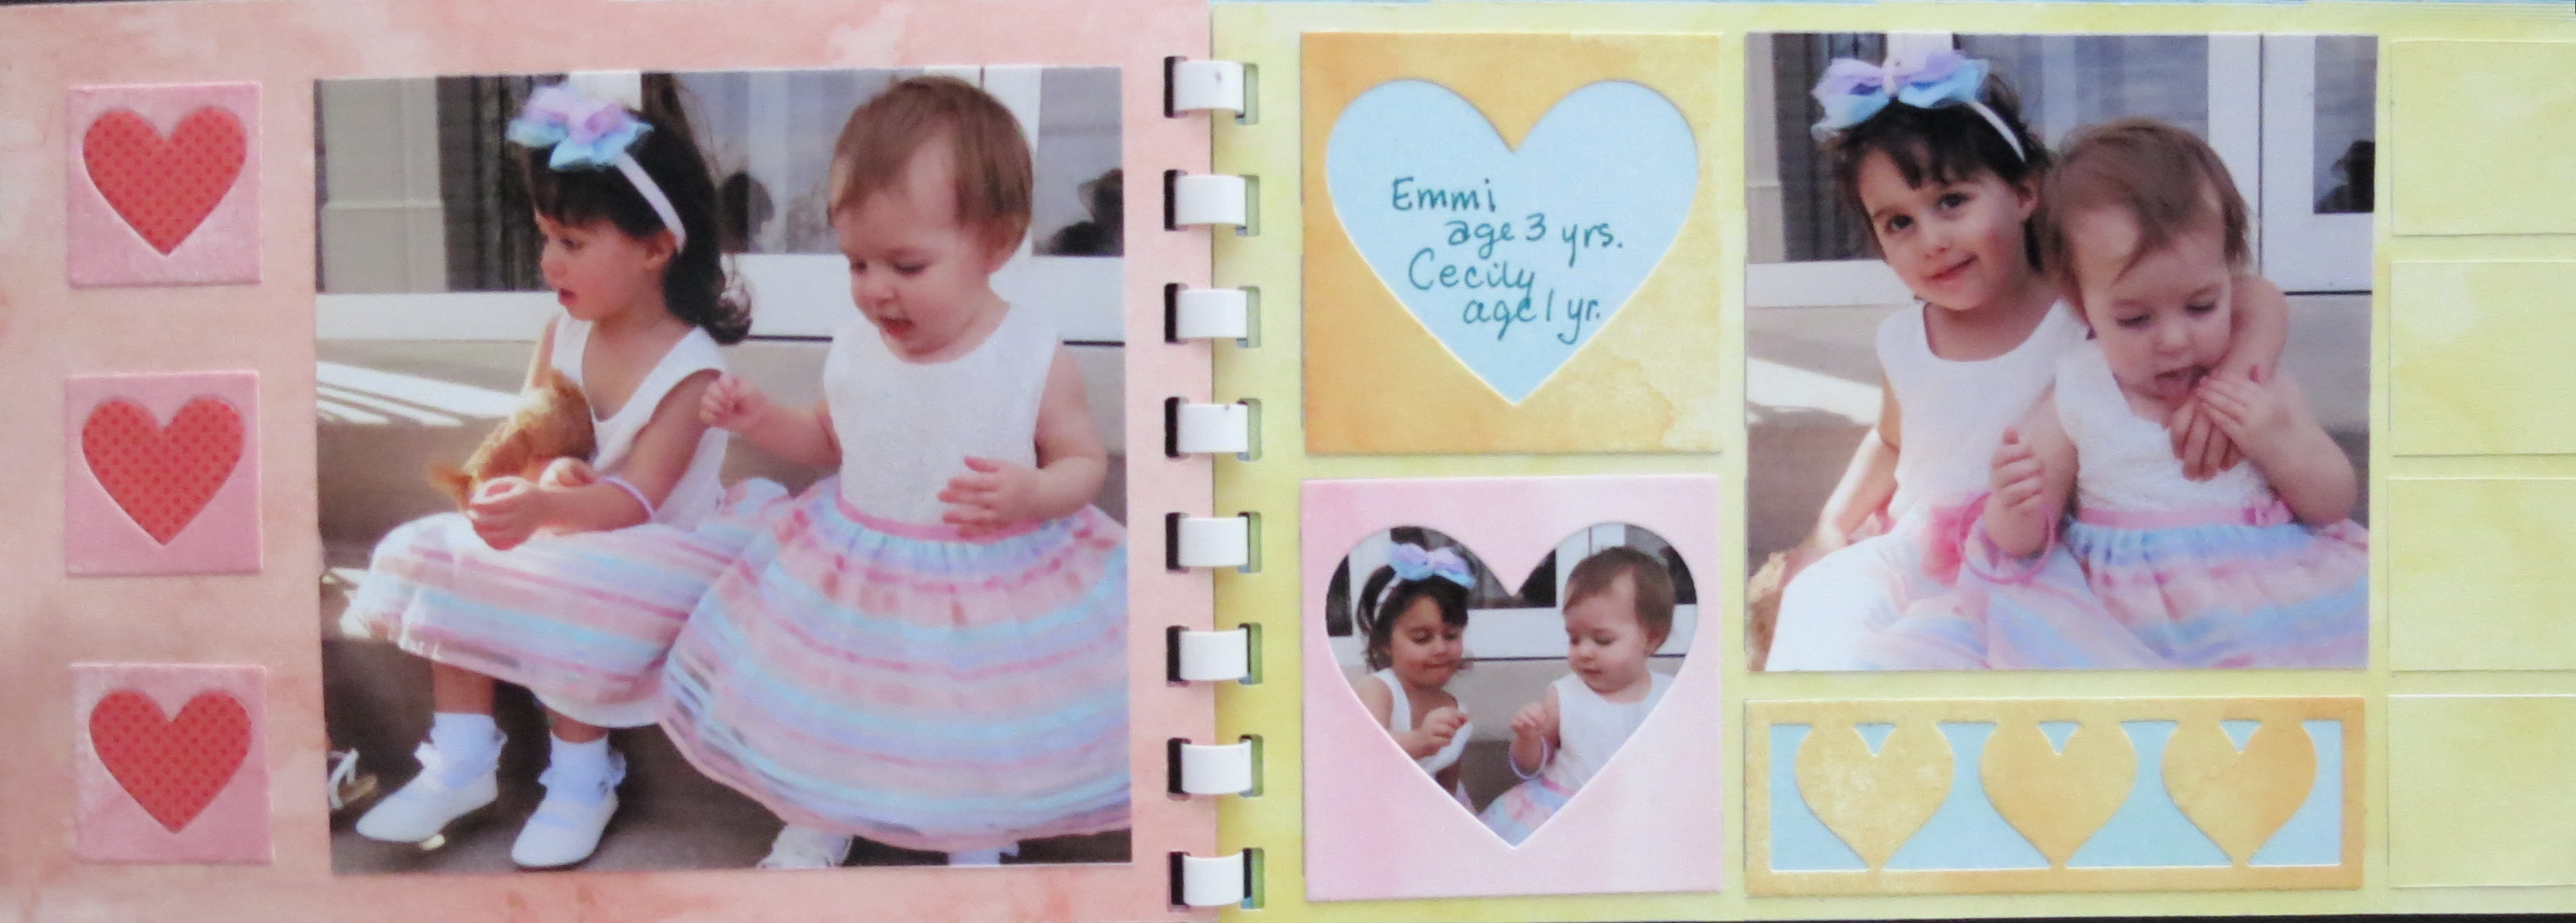
MM Watercolor Mini Album cover
MM Watercolor Mini Album page two
MM Watercolor Mini Album page 3
MM Watercolor Mini Album page 4

MM Watercolor Mini Album page 5

MM Watercolor Mini Album page 6
THE EMBELLISHMENTS:
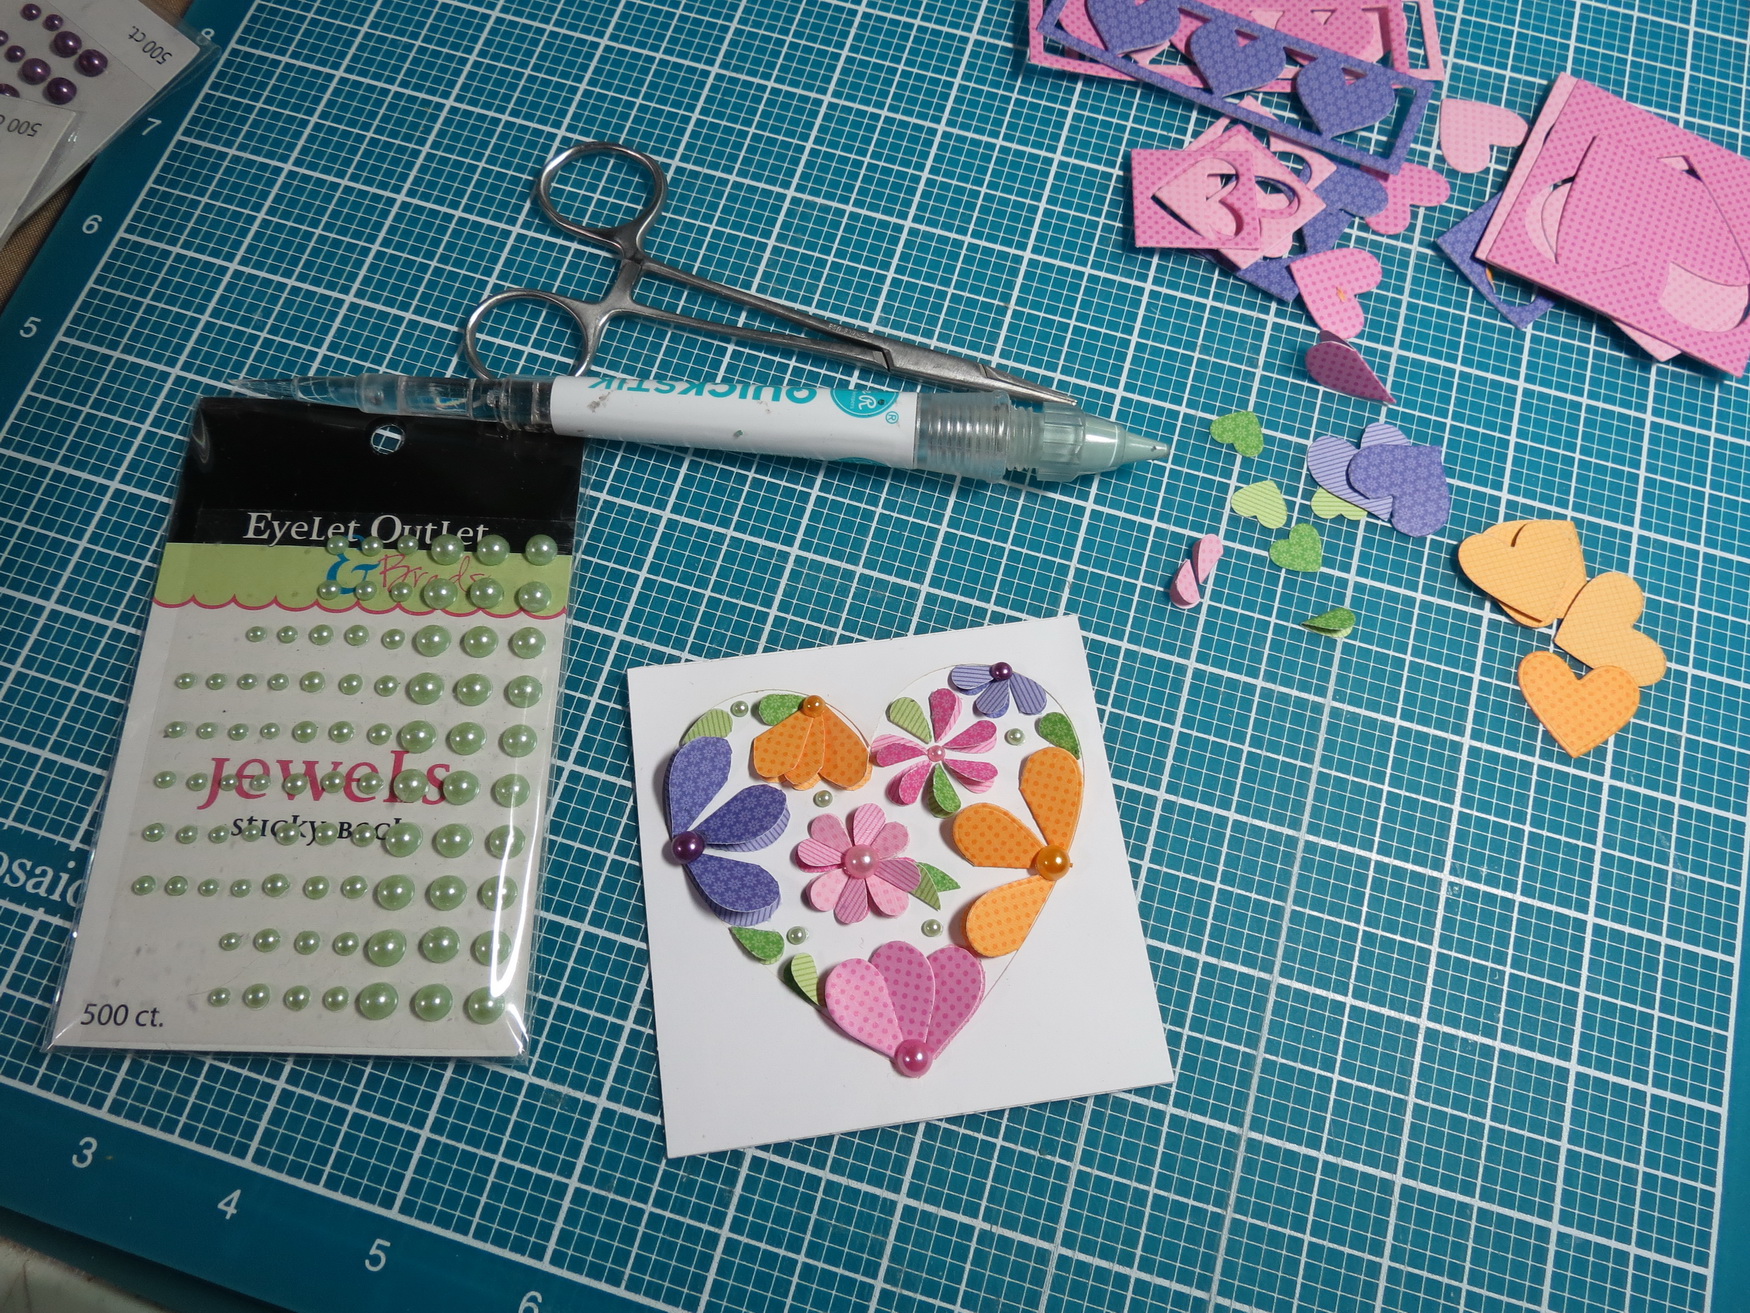
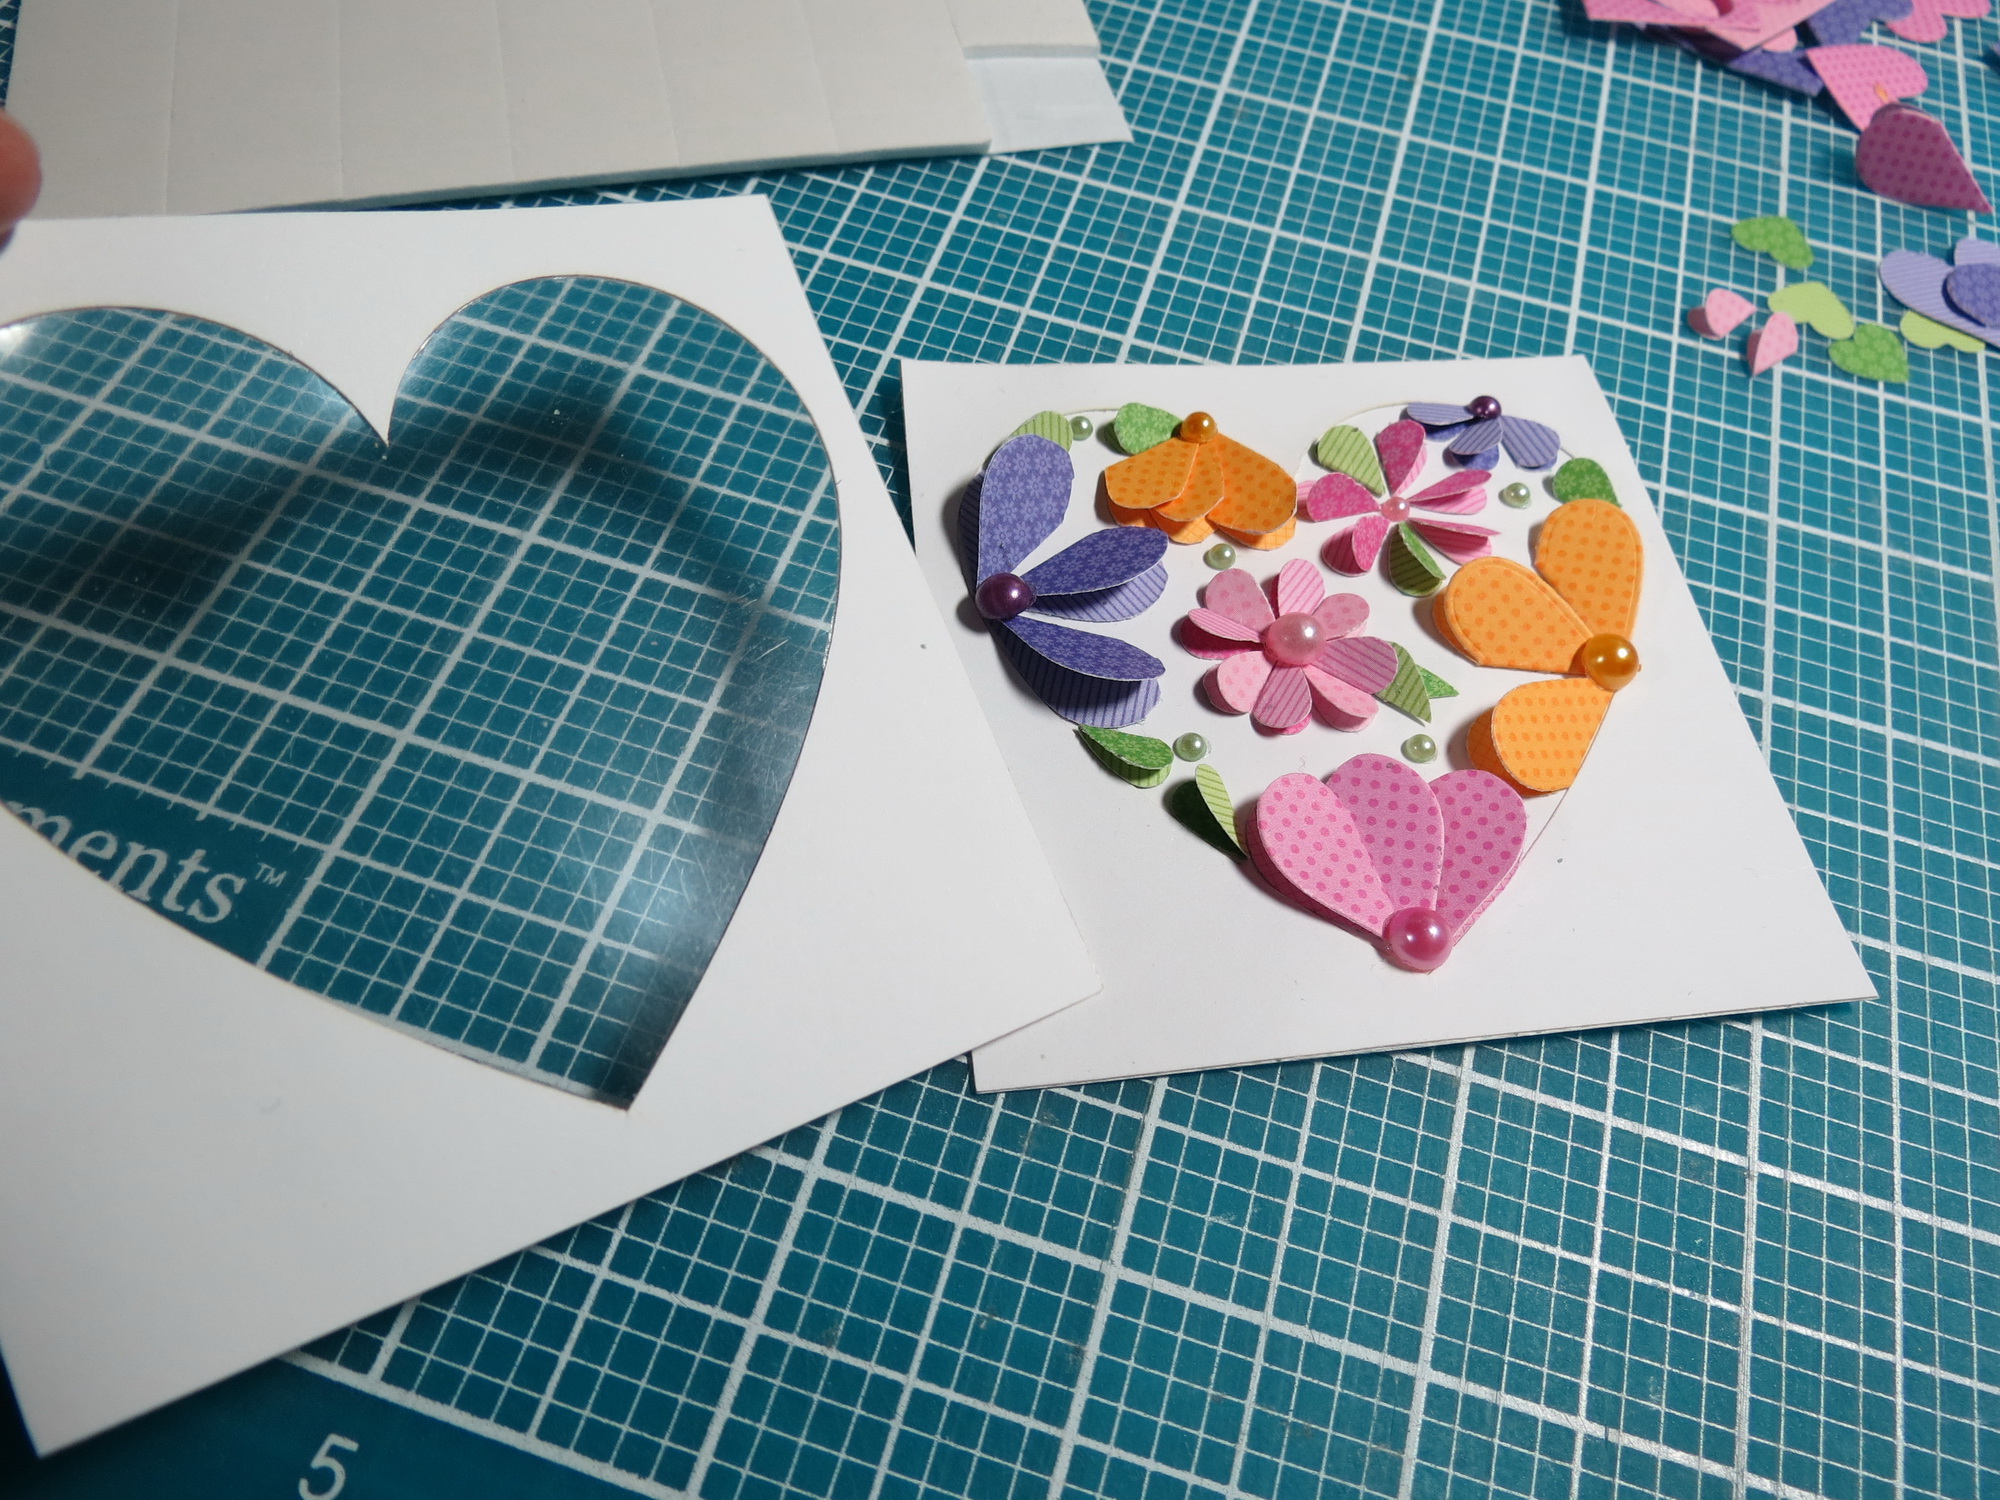
While I consider all the cornerstones, strips and single die cuts I’ve used so far as embellishments, I have one special one I want to place on the cover. Using two 3×3 heart frames from our ‘out of print’ heart frames paper tiles, several single die cut hearts and some very small punched hearts I will make an enclosed flower box. I was inspired by something similar found on Pinterest and thought it could be adapted for our purposes here. Finally, I will accent with pearls for a little sparkle.
Mosaic Moments heart dies create a stunning cover embellishment
1. One of the white heart frames is attached to a white base making it almost seem to disappear. I will line up petals as close to the frame edge to outline the heart shape and then attach a clear (photo protector page) window frame with mounting foam to enclose the finished piece.
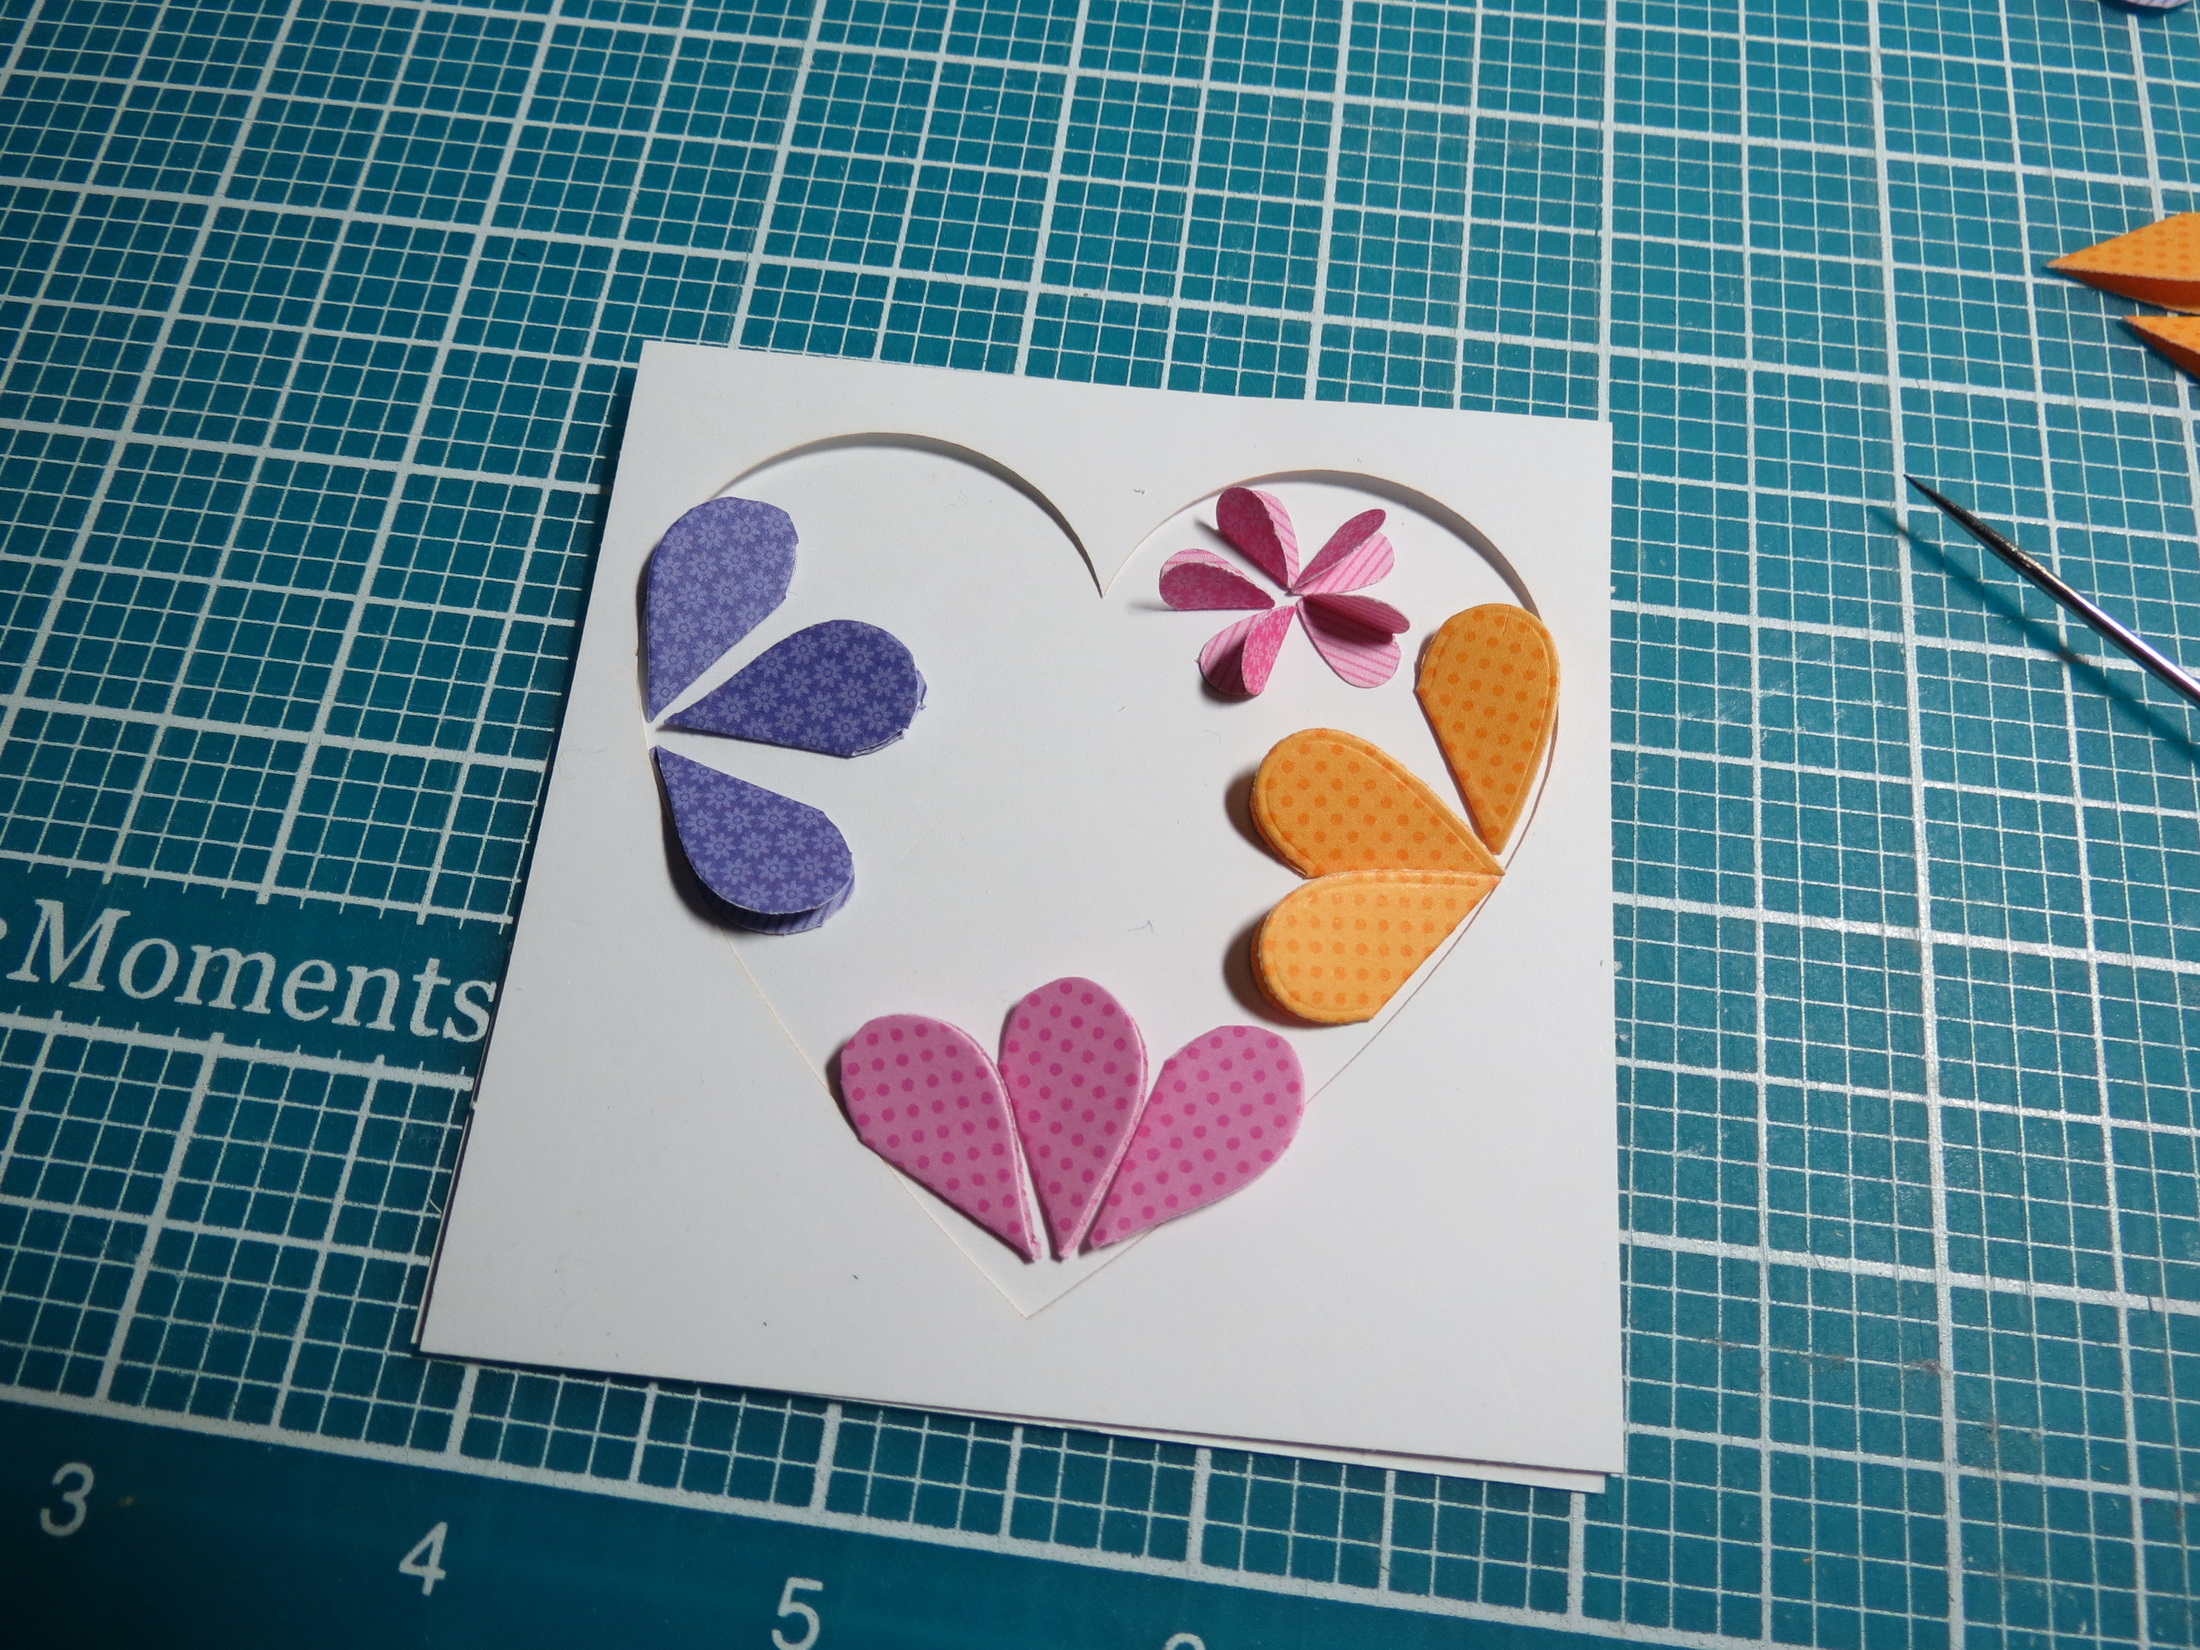
Mosaic Moments Heart Dies and frame. arrange around the edge.
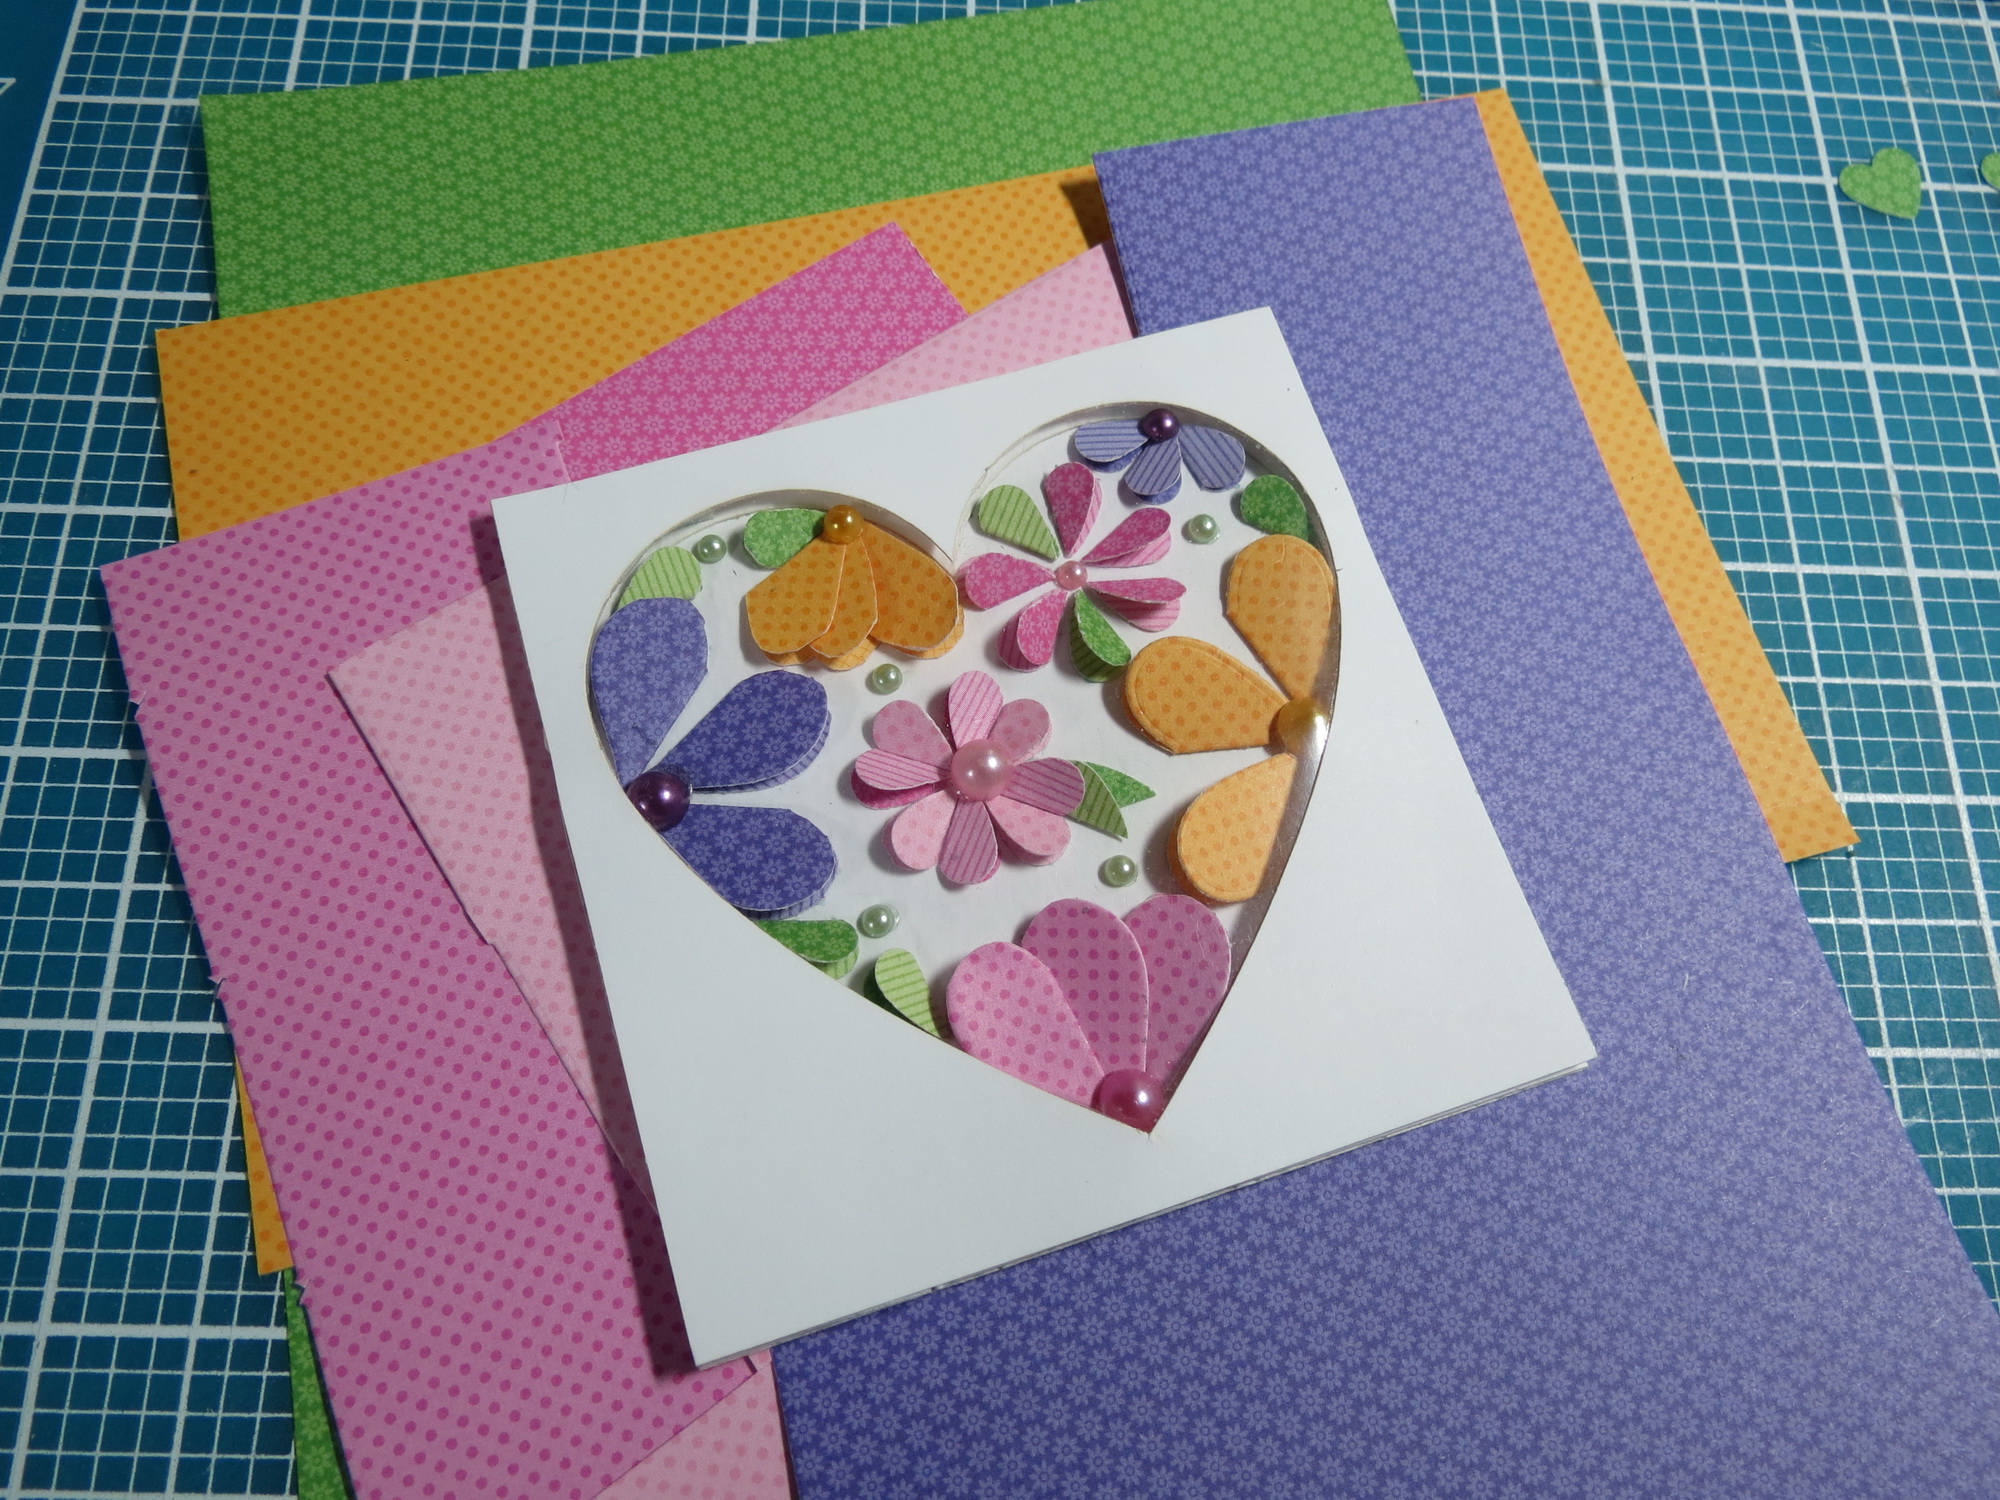
2. Each of the flowers are made with Doodlebug Designs patterned papers. Each paper is double-sided with a different pattern on each side giving me a little variation in color options. Take each heart and fold in half to form your petals.
Mosaic Moments Heart Dies and frame. fill center add pearls
3. Arrange petals along the edge of the heart and vary the flower styles and sizes for interest. The die cut hearts can be easily trimmed slightly for a smaller petal when they are in half. Try to have all the openings going the same way on one flower. Attach with adhesive or glue.
Mosaic Moments Heart Dies and frame. add top frame layer
4. Fill in the center as you can, finish off with some green pearls randomly placed and pearls to top each of the flowers in colors that match.
Now you will have a colorful mini album for a gift or a special memory.

CAUTION: One note about adhesives; I am a longtime fan of Tombow Dot runners, Tami loves her Herma Dotta; however, I recently tried another “new” brand that’s out that was slightly less expensive. I used it on this project. It was a mistake. I’ve got edges that keep curling up! Because this project really gets handled a lot, each paper tile must be on securely, not just a “dab of glue” and it has to keep it flat for the look of the design. Before you undertake a project like this be sure of how your favorite adhesive will work. It is heartbreaking to put time and effort into something and not be happy with the final look. Finally, consider weighing it down overnight for added security.
Andrea Fisher
Mosaic Moments Watercolor Grid Papers and Heart Die Sets