
Step by Step to Pages that POP! by Andrea Fisher
One of the techniques I’m seeing in the digital scrapping world is a template with a shape cut out with shadows to use in a layout, showing another patterned or colored paper below.
I’ve also seen several handmade layouts done with something called ‘placemats’. They come in several shapes that you can cut apart to use as a textural feature, or drop papers behind for a whole different look.
What I like about the digital version is that it adds some depth and interest to a page. So I wanted to explore the possibility of creating depth in a Mosaic Moments Layout, using some of the things I already owned.
In addition, I’ll show you a way to use one of our 8.5” x 11” grids to do it, and turn it into a larger 12” x 12” completed project.
Fall is one of my most favorite times of the year and this year’s color has been gorgeous, so I’ve chosen a fall theme. I like the way the colors stand out with the black grids, so that’s what I’ve chosen to use.
WHAT YOU WILL NEED:
- A border punch (EK Success falling leaf border punch)
- 2 sheets of Black 12 x 12 cardstock
- 1 black sheet of 11 x 8.5 Mosaic Moments Grid paper
- 1 sheet of 12 x 12 patterned paper (I used fall leaves)
- 1” square paper punch
- Dotto adhesive
- Foam mounting tape
- Craft knife or micro-tip scissors for detailed cuts
WHERE TO BEGIN:
- With the 8.5 x 11” Grid and the 1” punch, carefully line up the guide lines in the punch view and punch to remove. I chose to do the whole outside edge all the way around, but you may want just the top or sides or perhaps a checkerboard style depending on what you like. The punch won’t reach further, but with careful cutting and an Exacto knife you could choose to remove a square, anywhere. Save all squares punched out for paper tiles at a later date.
- Trim the patterned paper to 11” wide
- Depending on the border punch you choose to use measure and cut from the second sheet of cardstock enough for two borders to extend below the edge of the grid and extend behind the grid where you will attach it. Use dotto adhesive to attach.
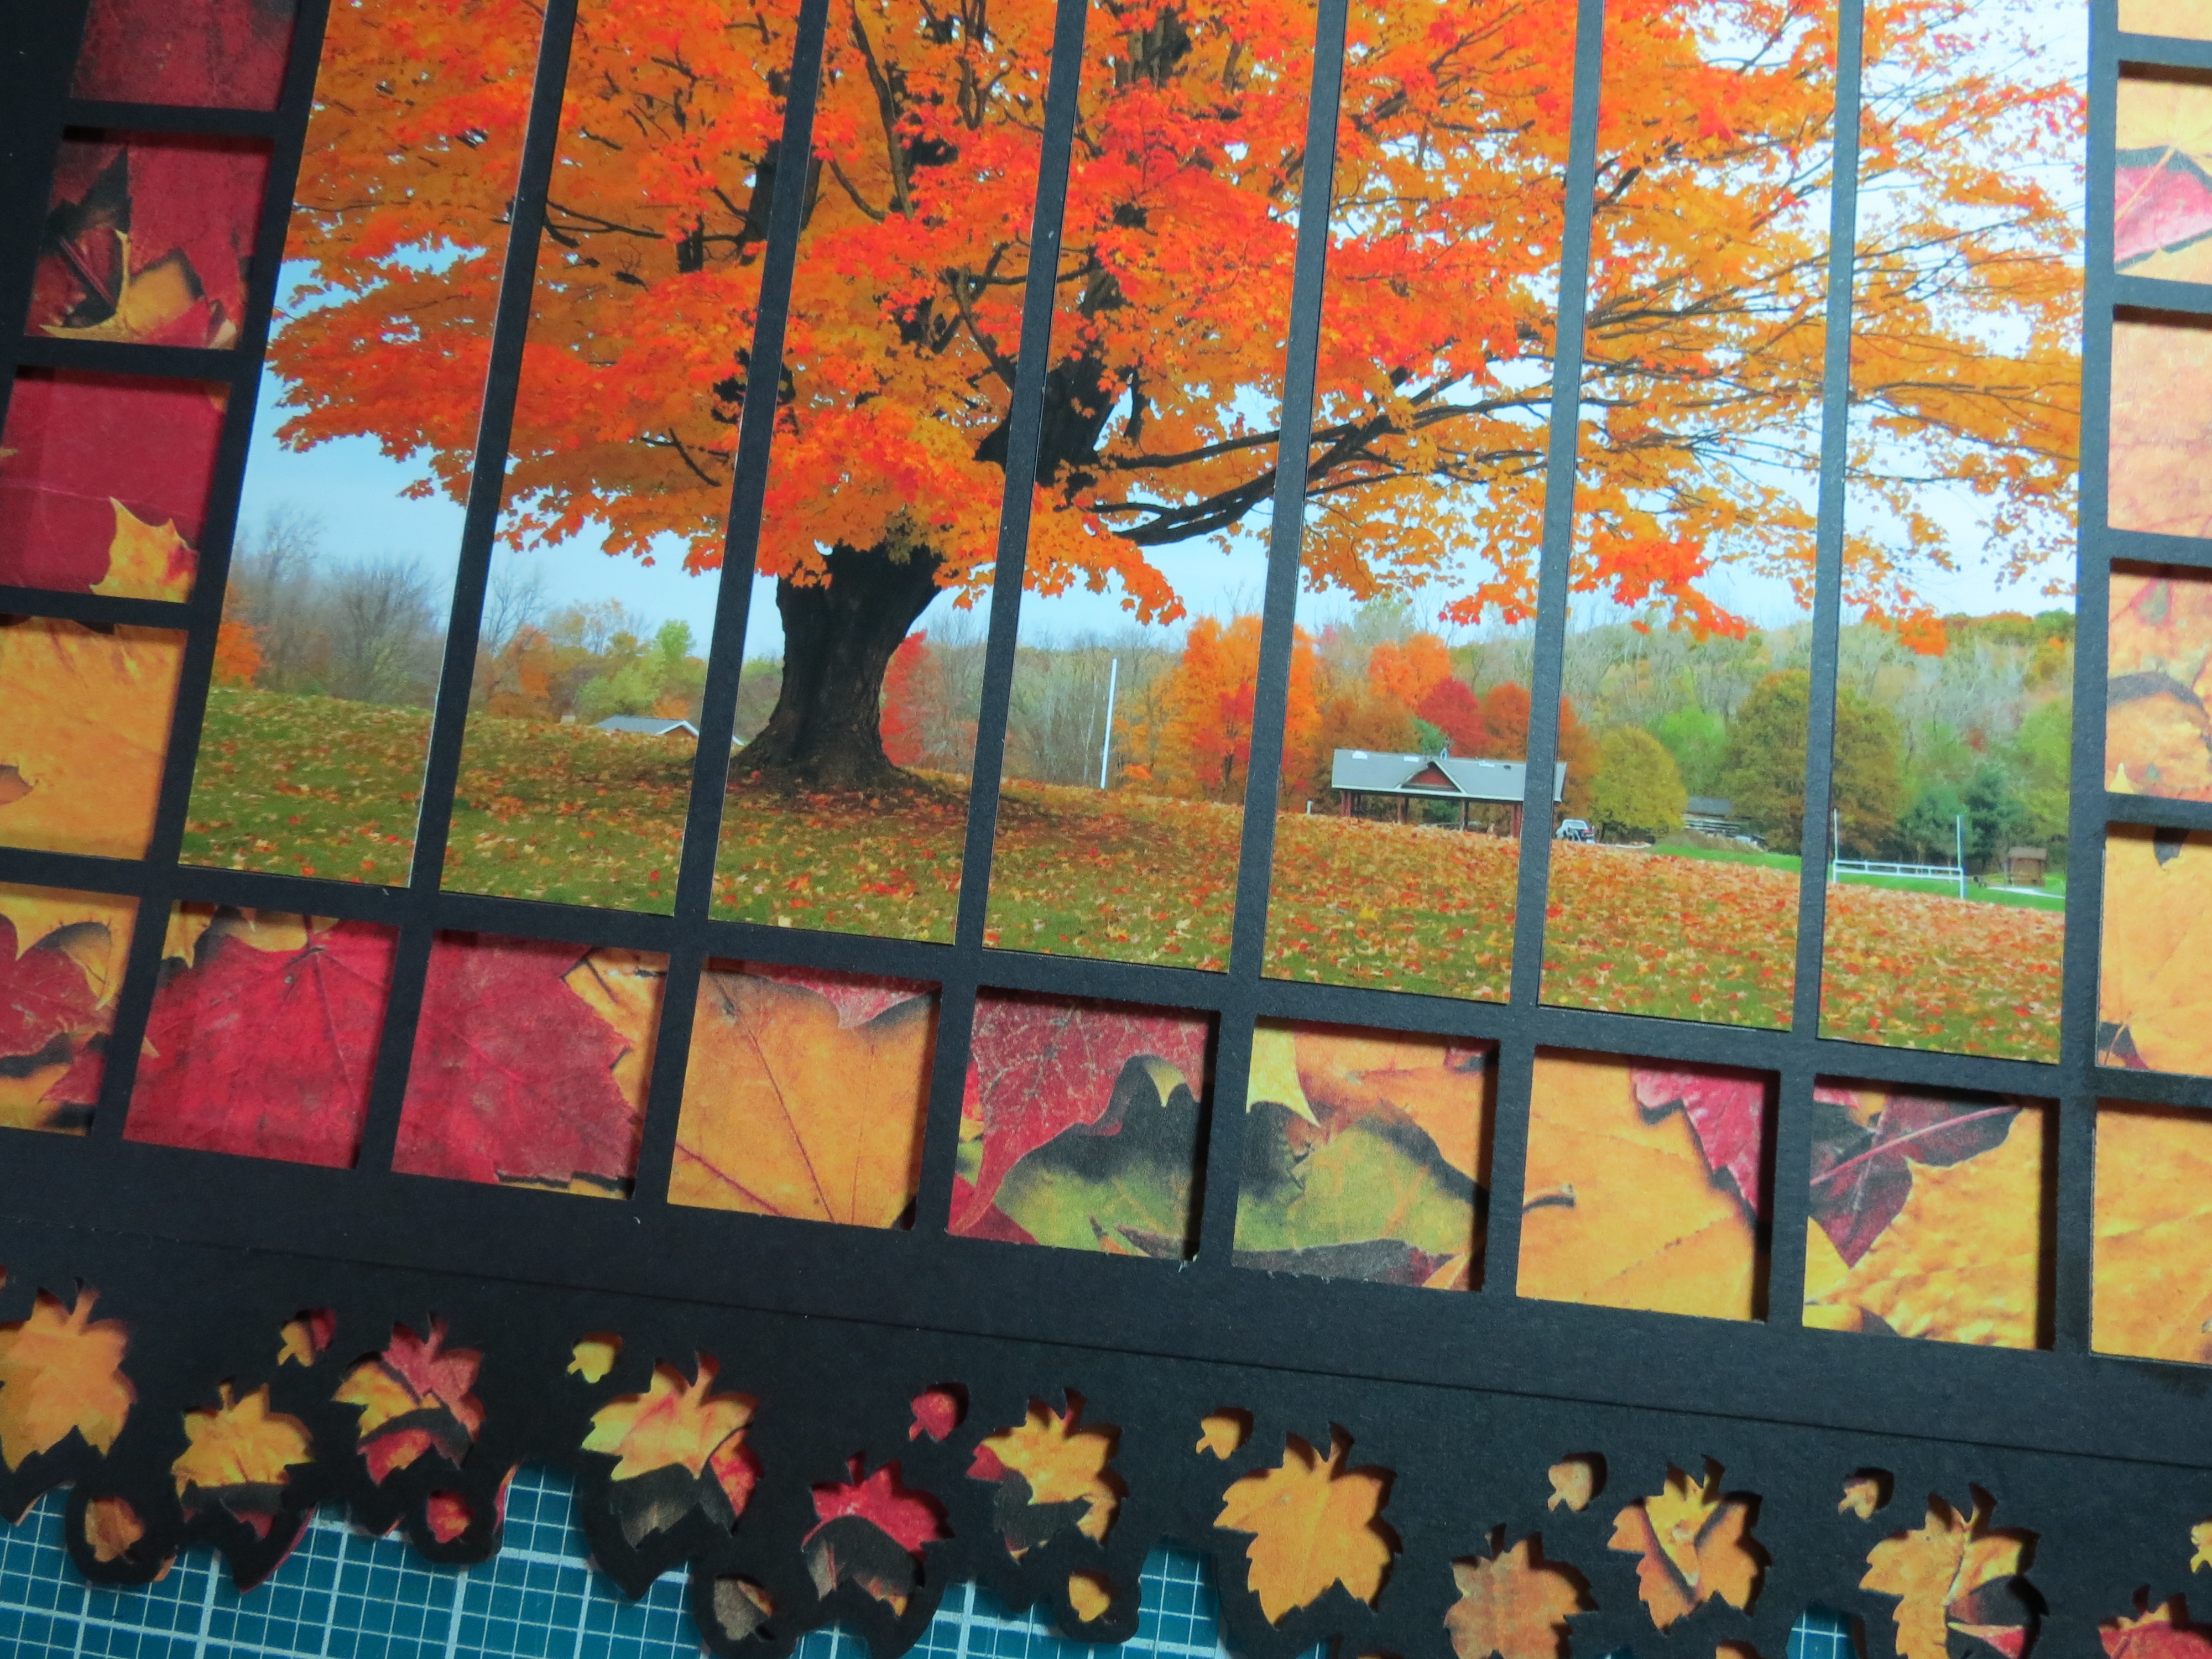
- Prepare your photo or photos to fill the center area. I chose one that I cut into strips, and the other remained whole. Attach to the center area.
- Use an embossing stylus to outline the edge of your border strip. Use scissors or Exacto knife to trim away excess patterned paper.
- Now you are ready to attach to the patterned paper. Foam mounting tape will give you the right amount of space between the grid and the paper. Place the tape to give sufficient support to the border, the edges and the center photo. Place the tape about an 1/8” in from the edge to avoid it being visible.
- Before removing the tape backing flip it over to see how it is sitting on top of your patterned paper. If there’s enough support, begin at one end to set it in place.
- Center the completed section on the cardstock.
To feature a favorite photo in strips, or a whole photo that will be the focus.
An alternate style of border can be done with a die cut.
The 8.5” x 11” Mosaic Moments Grids are available in black and white. This is a technique you can tweak with any of the other sizes of Grids (8 x 8, 6 x 6, or RTC paper) to suit you. Why not try them all…for title pages or to feature a favorite photo? I think the possiblities can be endless, don’t you?
We’d love to see what you come up with, so why not share the results on the Story Board at Journella.com or the Mosaic Moments Facebook page?
Thanks for dropping by…
Andrea