
 Photo Tips: Include Fillers

By the Sea
Mosaic Moments Photo Tips: Include Fillers
We’ve got a new die to show off and it works so nicely with our photo tip today. Whenever you are taking your photos you need to look for items that you can add to your layout to create interest and carry your theme, you need some fillers. They are in the background, the things you may not think important to include. Is there foliage, texture, rocks, leaves, sand or seashells? Take a few extra photos so you can use them on your pages.
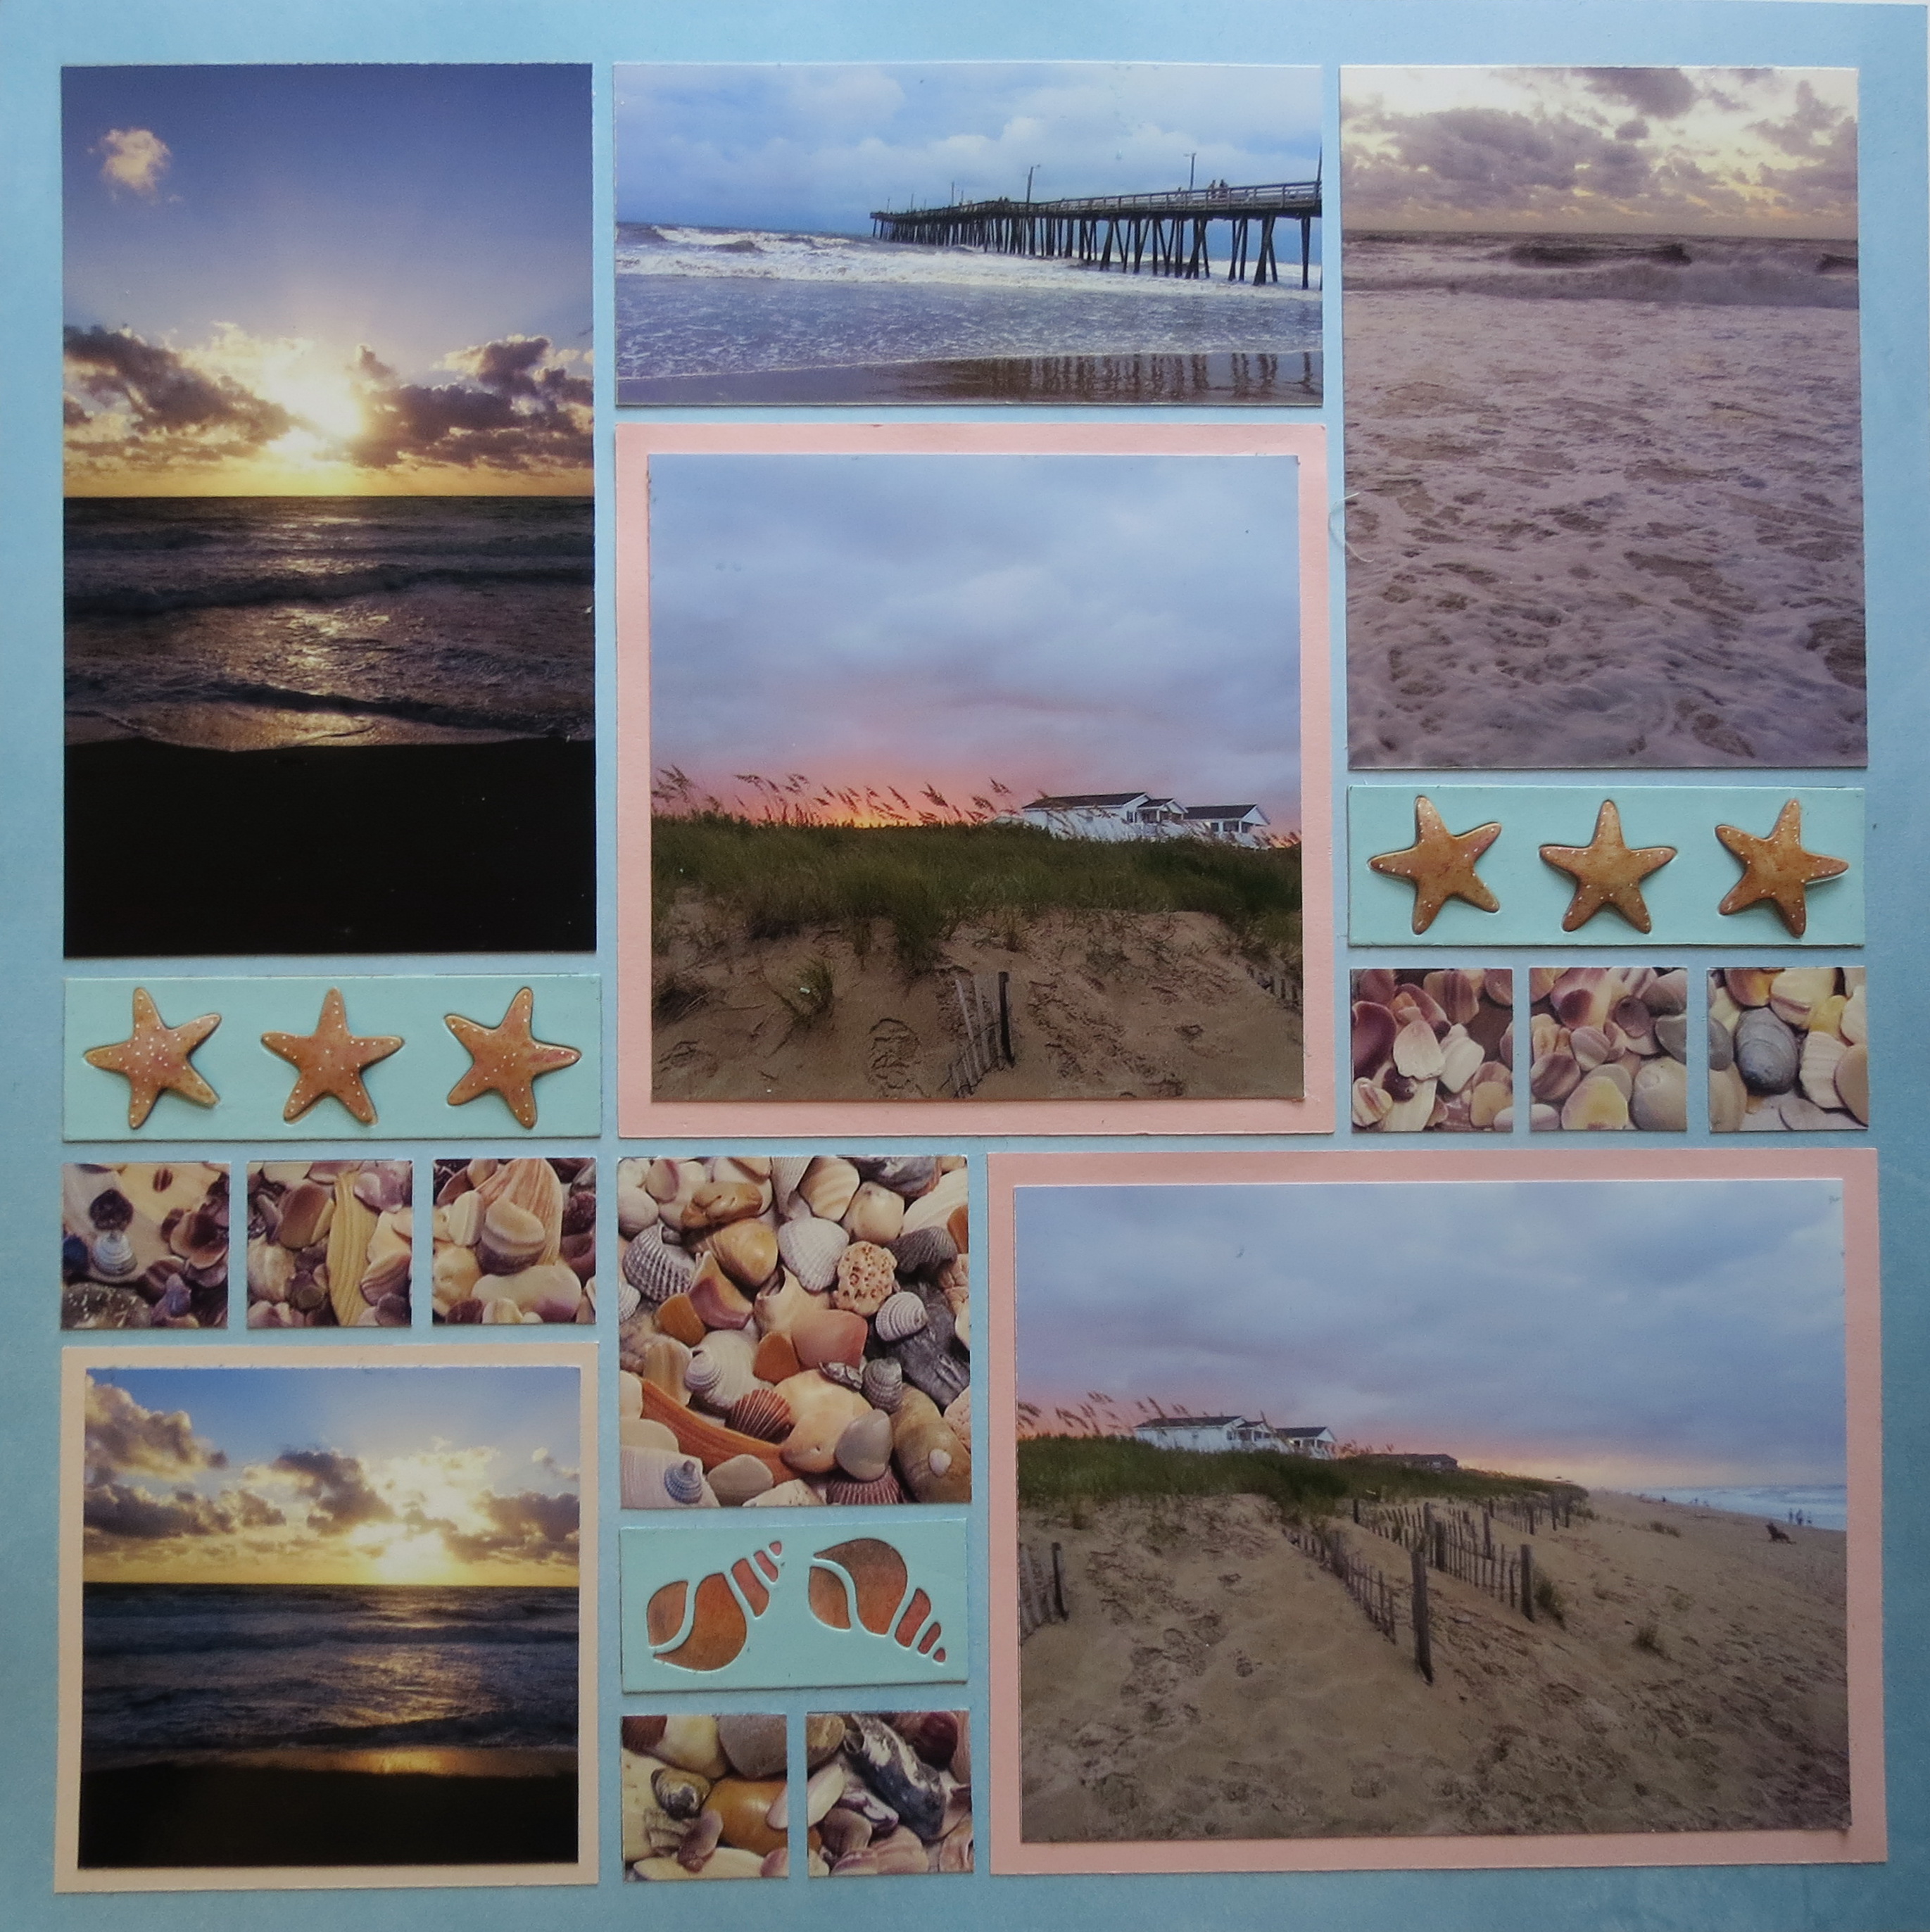
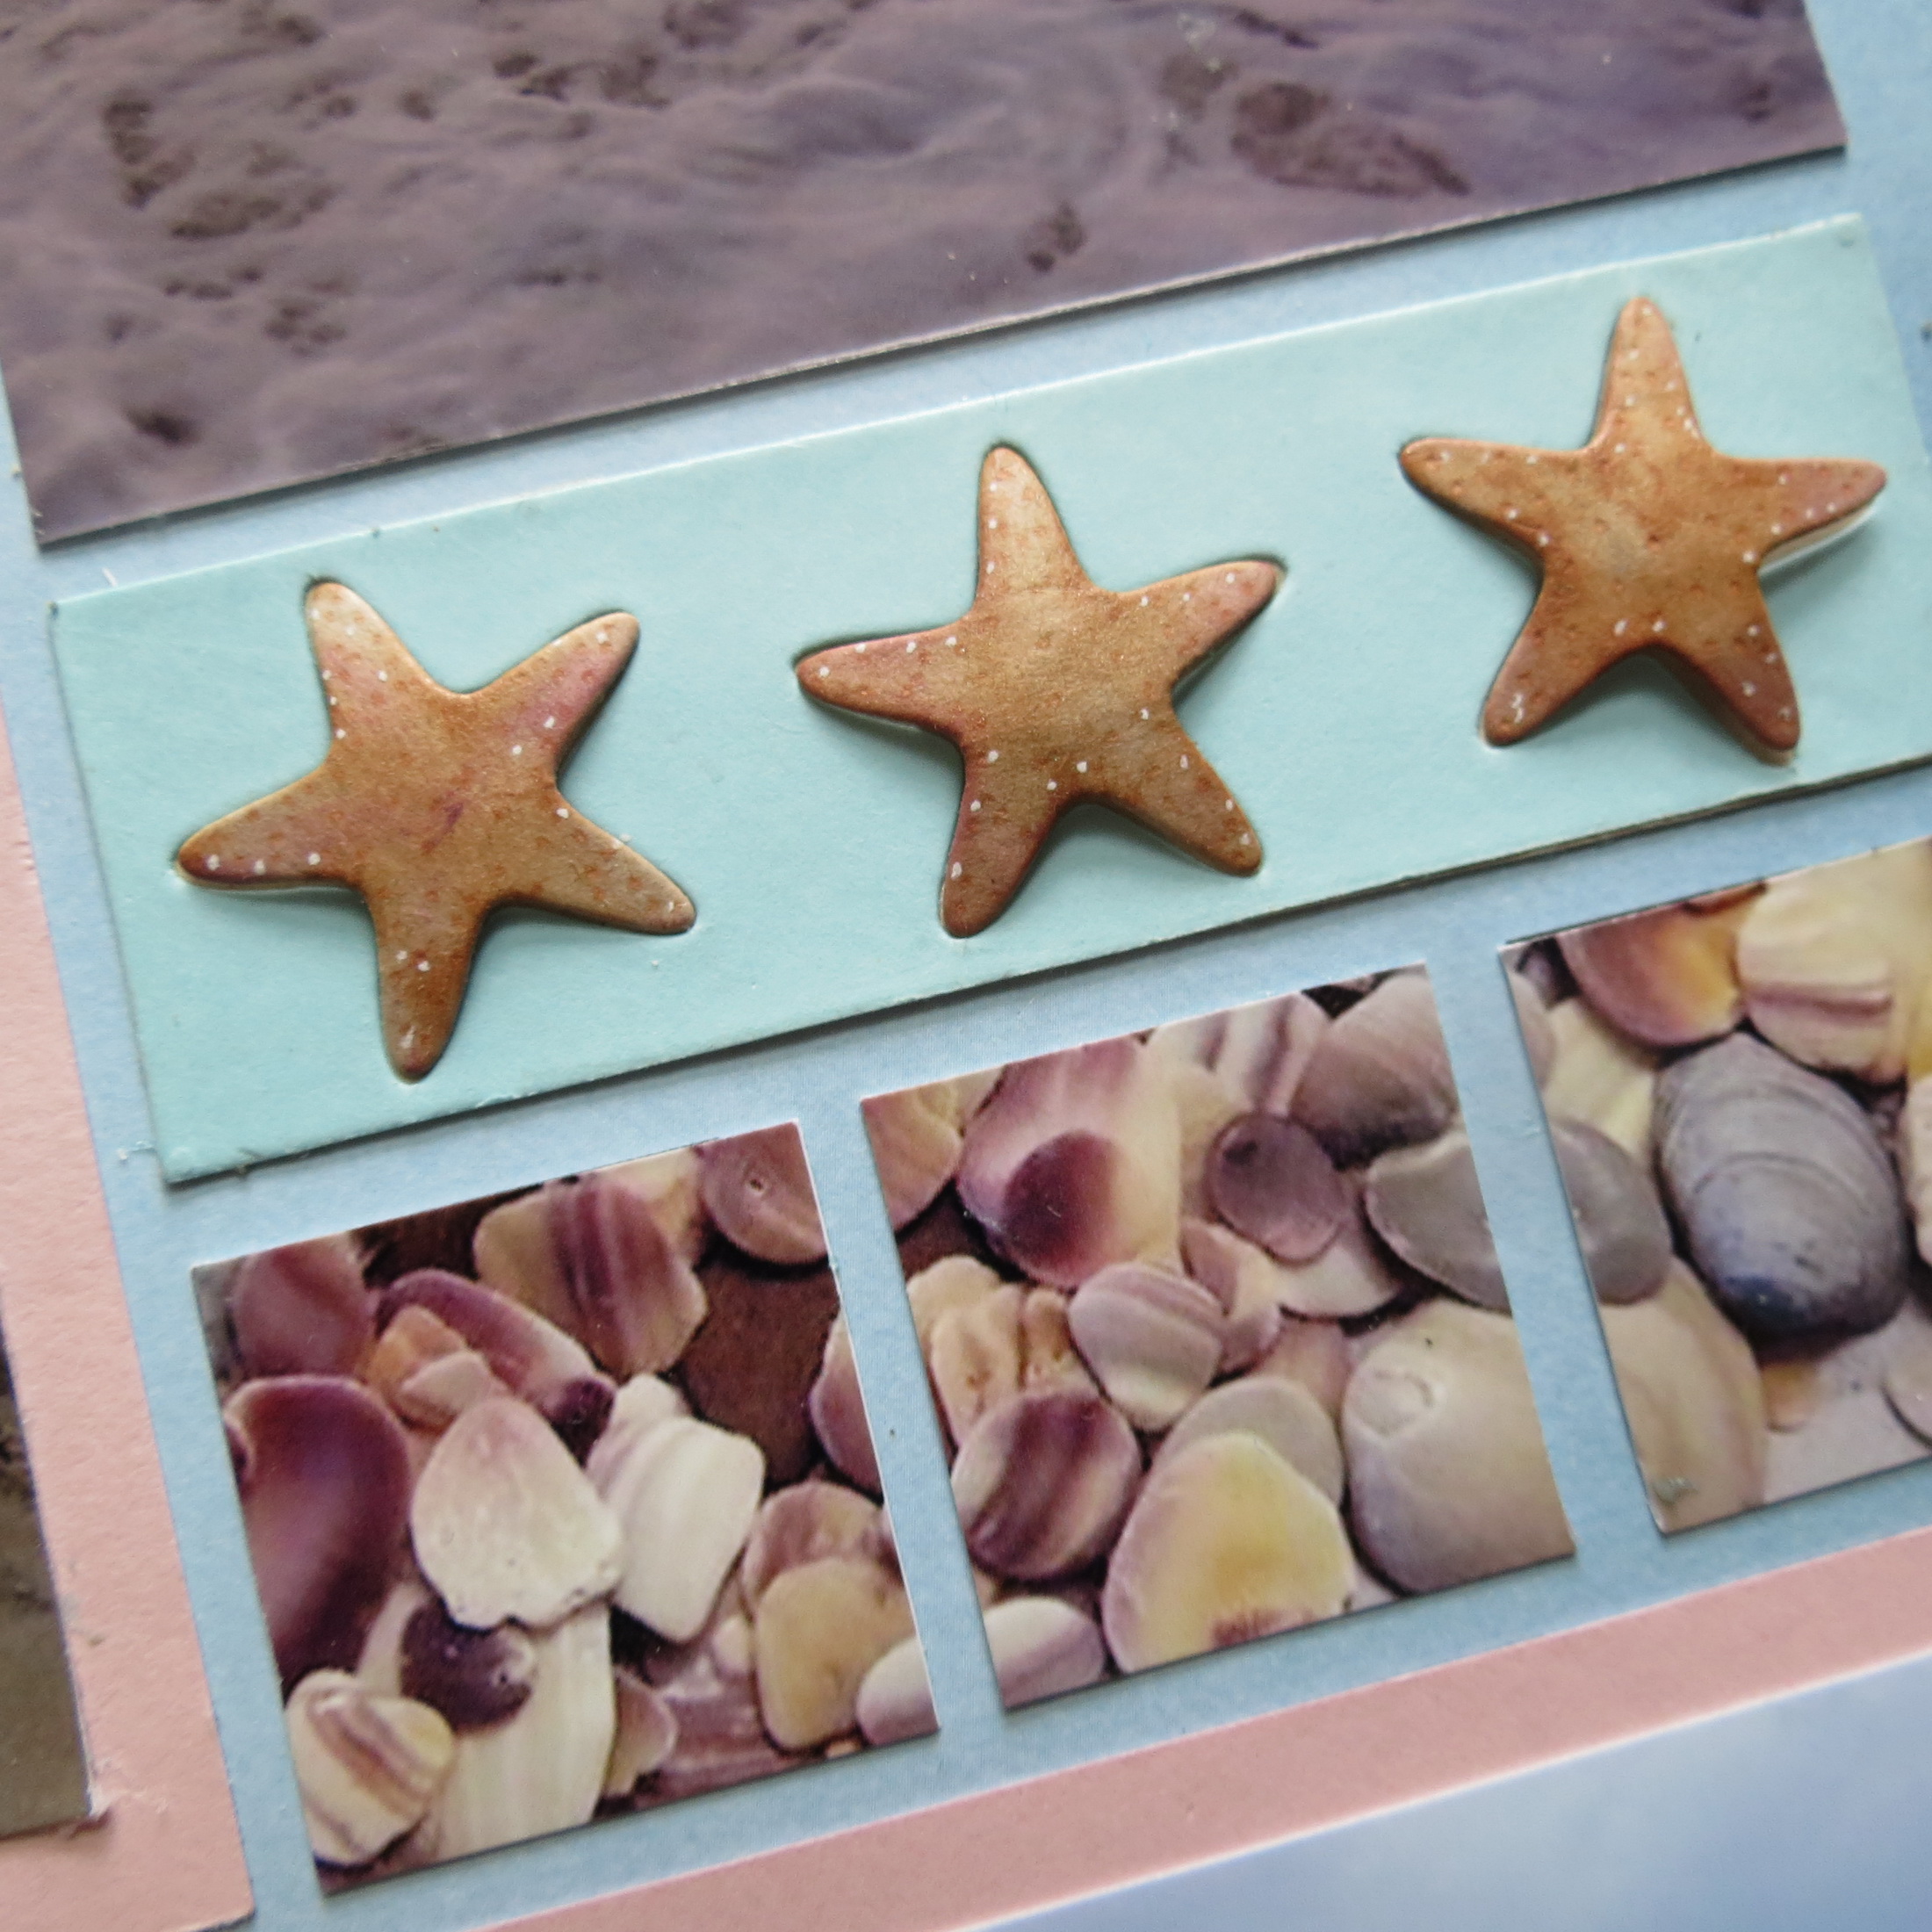
You may or may not include them in a featured photo, but you can easily use them effectively in 1” squares or random strips in your pattern. You may even want to use them in a large mosaic area! I’m including seashells in 1” squares and as a 2×2 photo spot. You will enjoy finding other often boring items you normally might overlook to bring a creative twist of interest to your scrapbook pages!
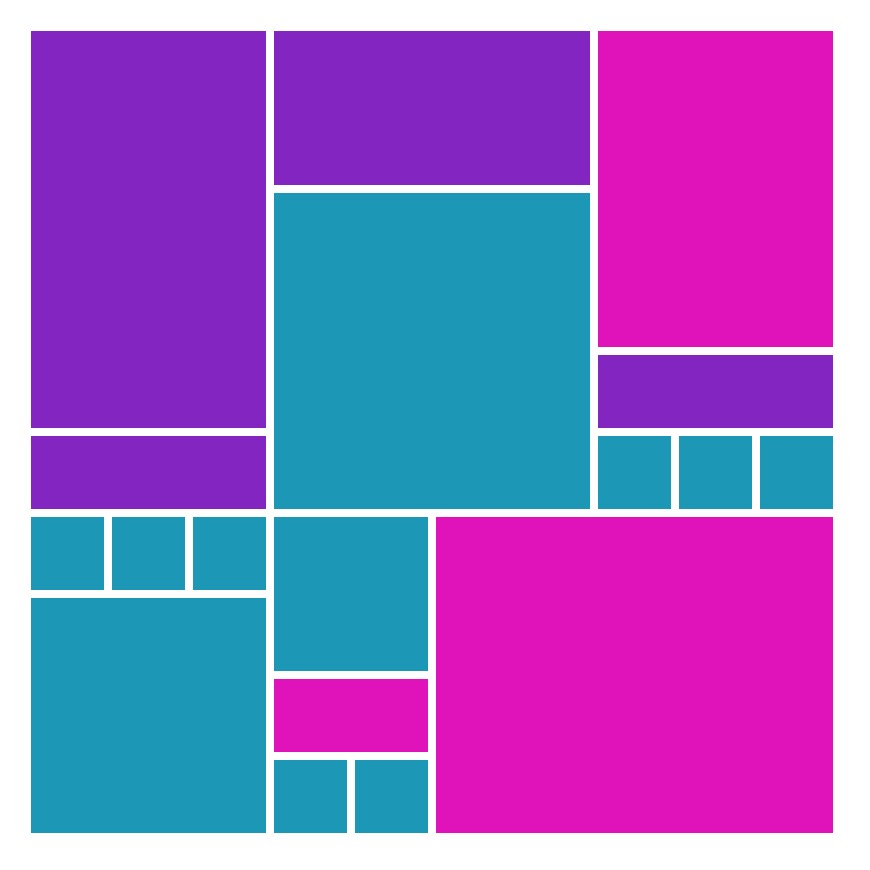
Mosaic Moments Pattern #125
I’ve used two of the three dies the 2×2 and the 2×3 work in Pattern #125 a puzzle pattern. I’ve chosen to use one of the new color grids from the Lazy Days Collection, Lakeside. It’s a soft blue that transitions to a darker muted blue. I like how my moody ocean photos look on it and how sharp the sunrises appear. A few of the photos have been matted with shades of pink to allow the sunset on the ridge to really stand out.
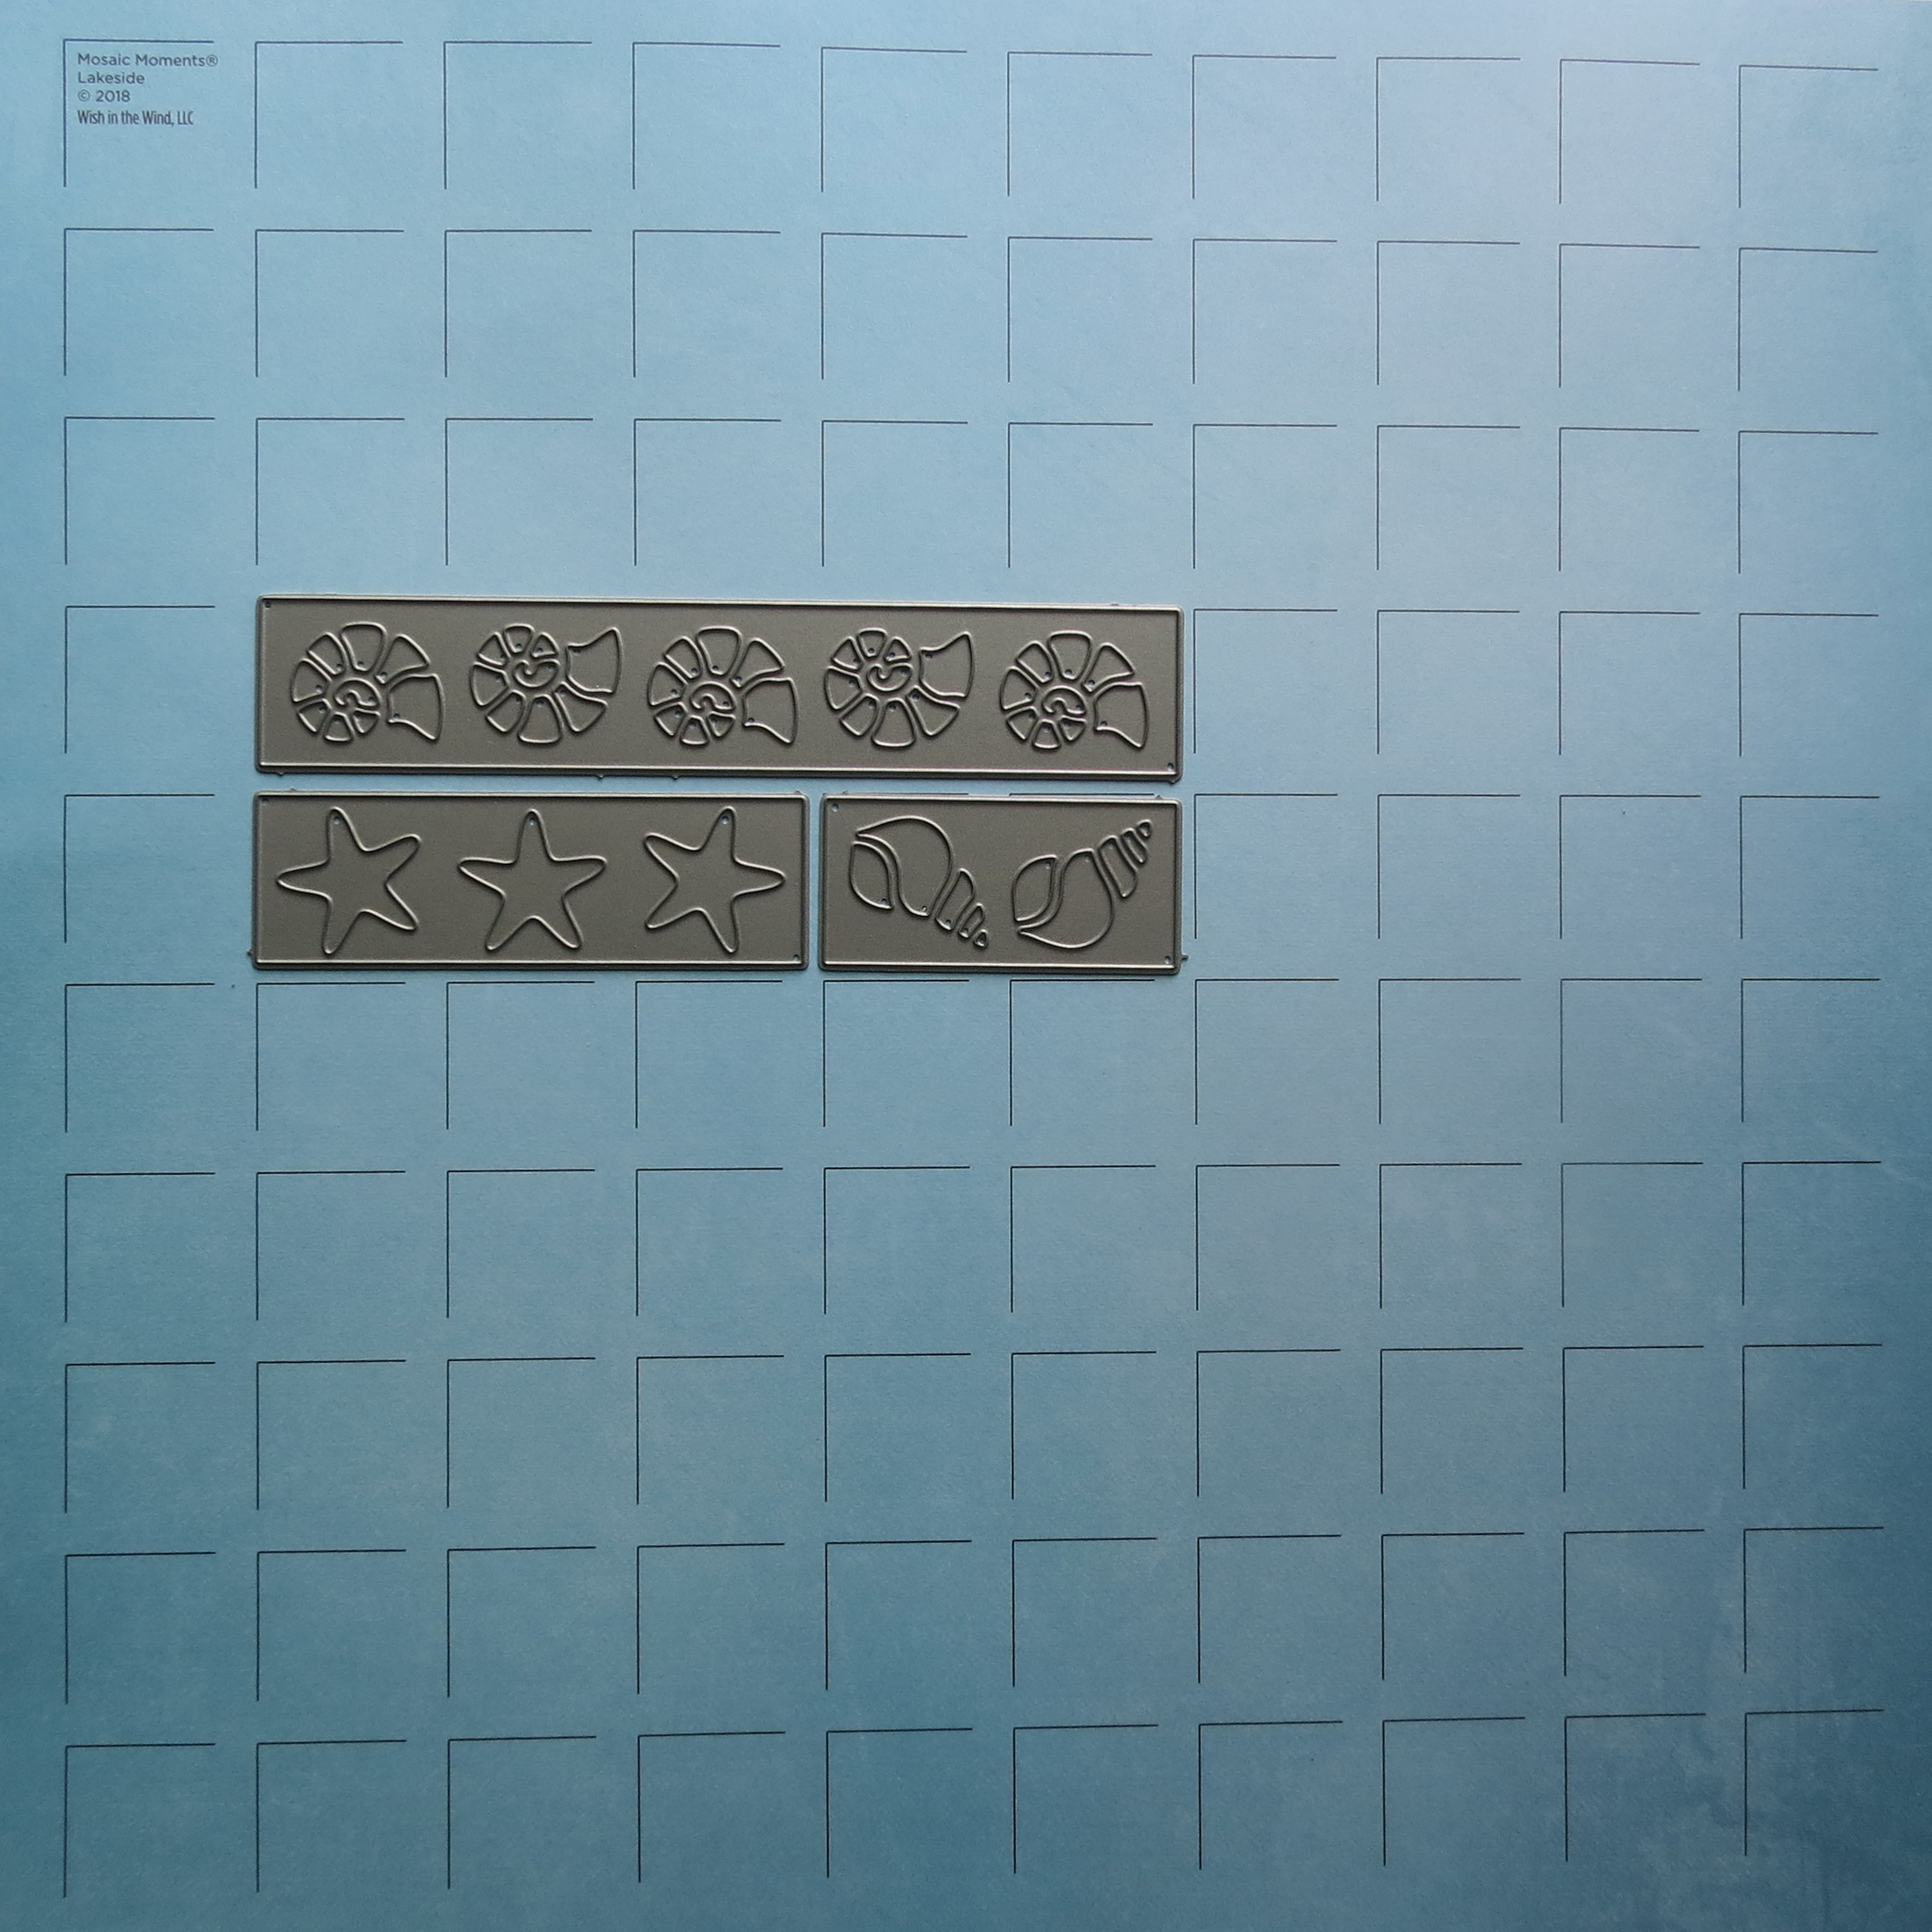
Mosaic Moments Lakeside 12×12 Grid from the Lazy Days Collection and the Beachcombers Die Set
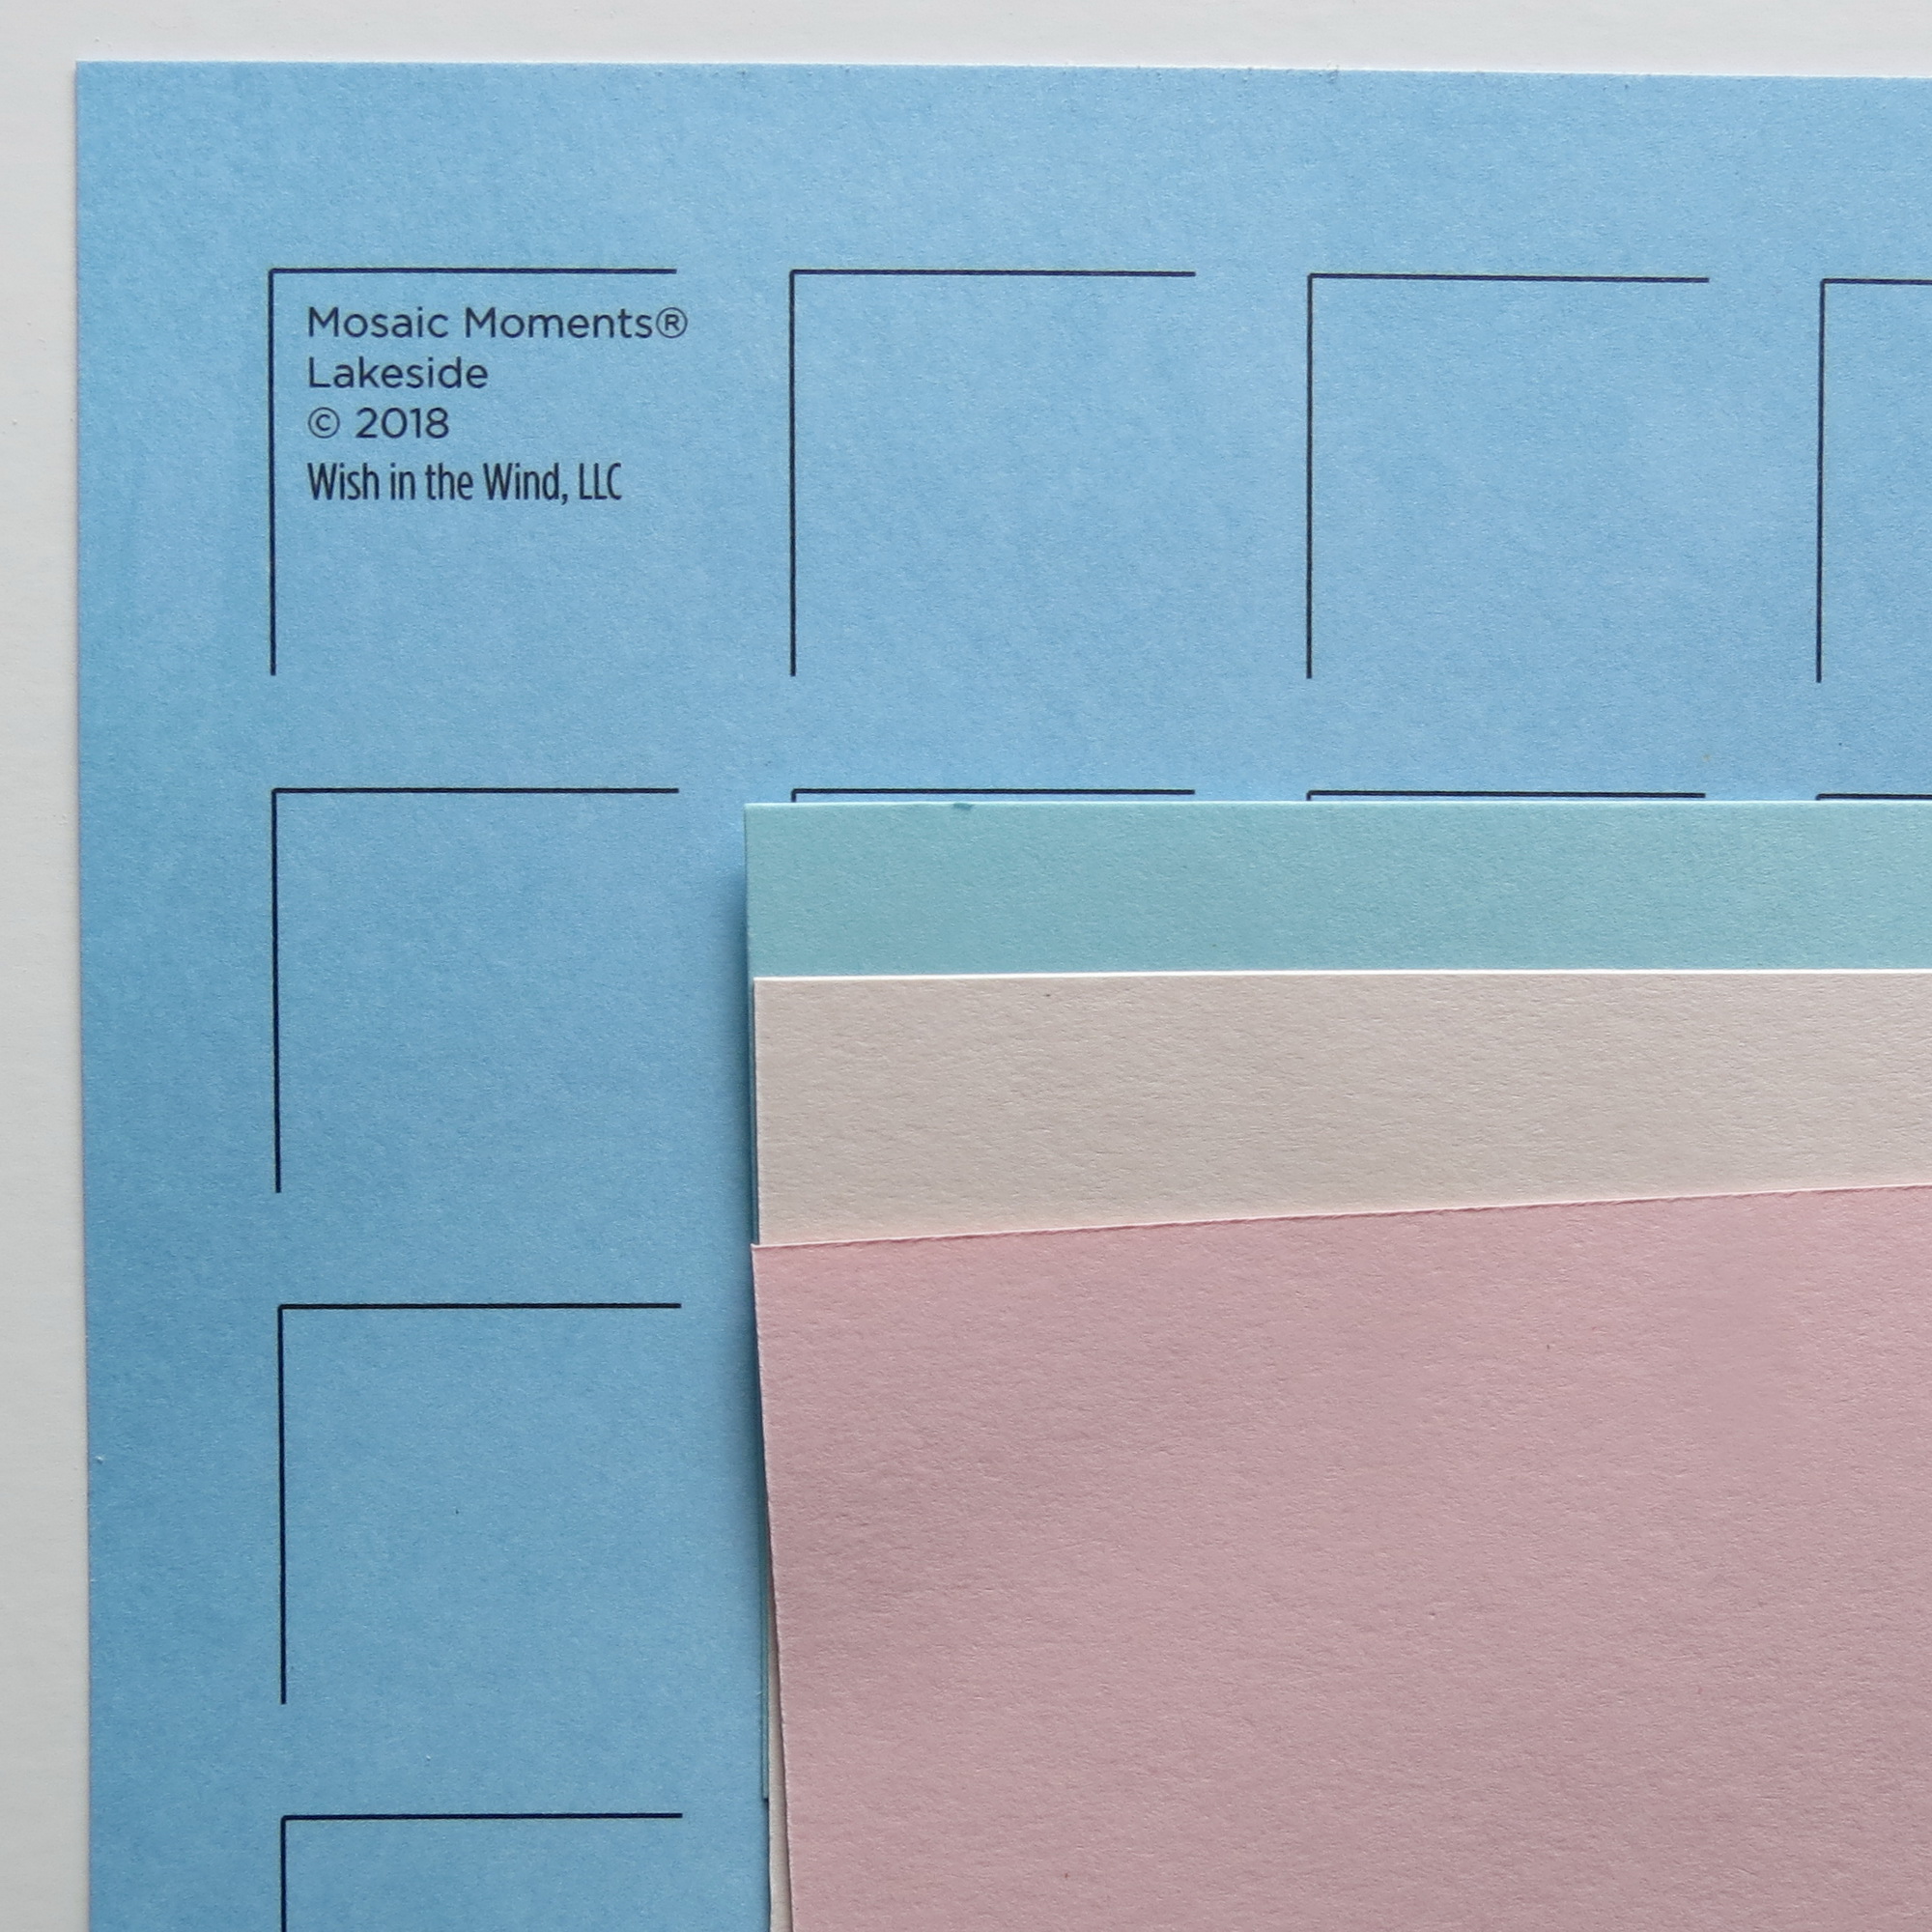
the Lazy Days Collection and cardstock
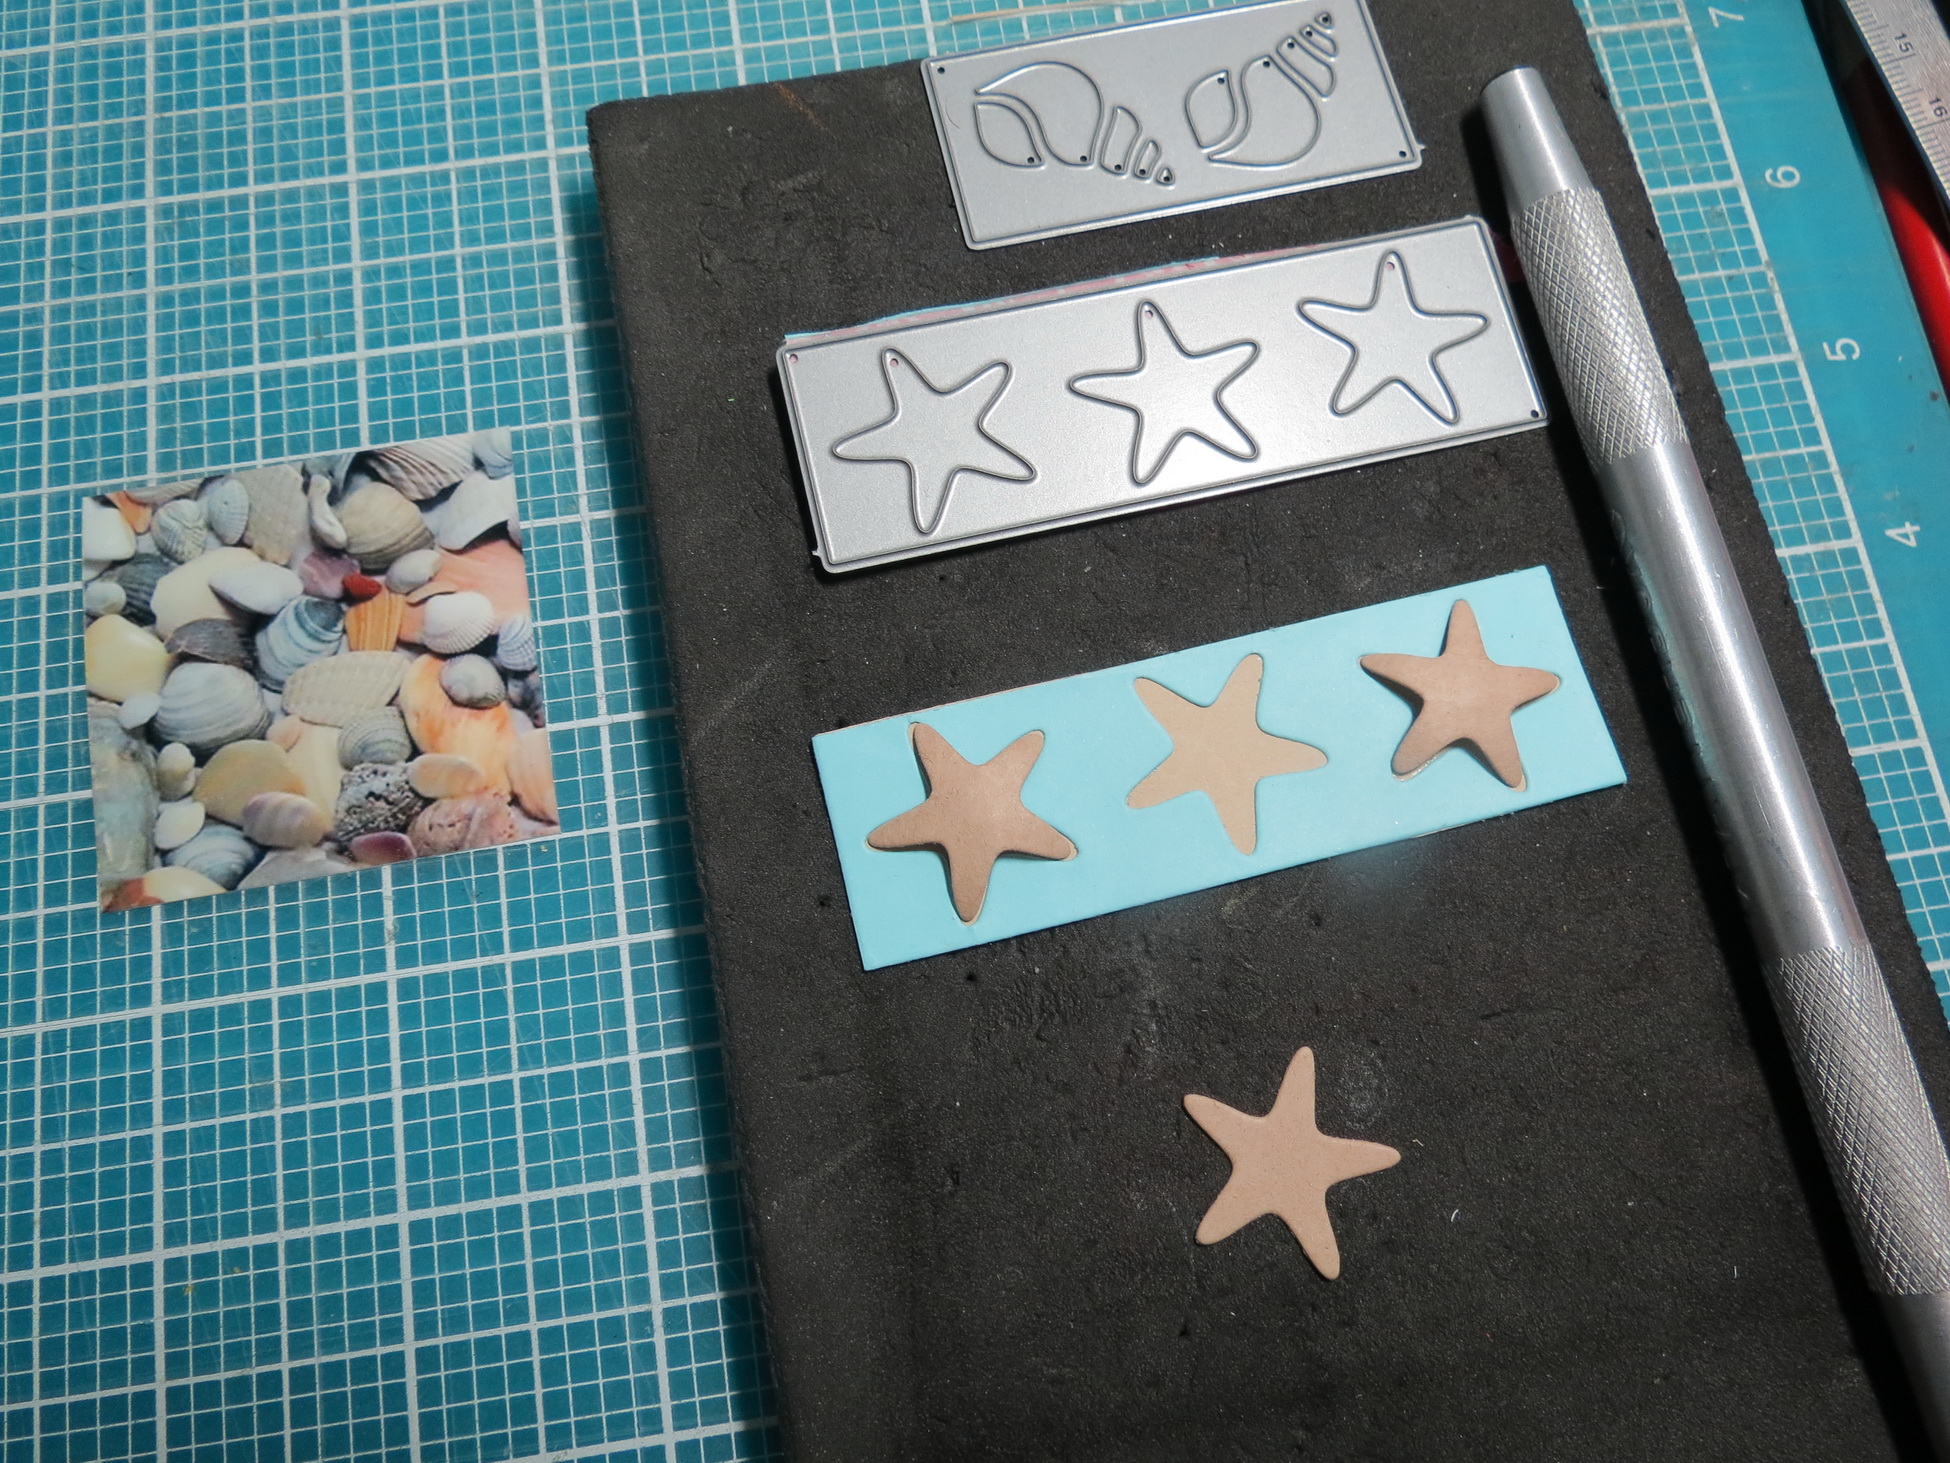
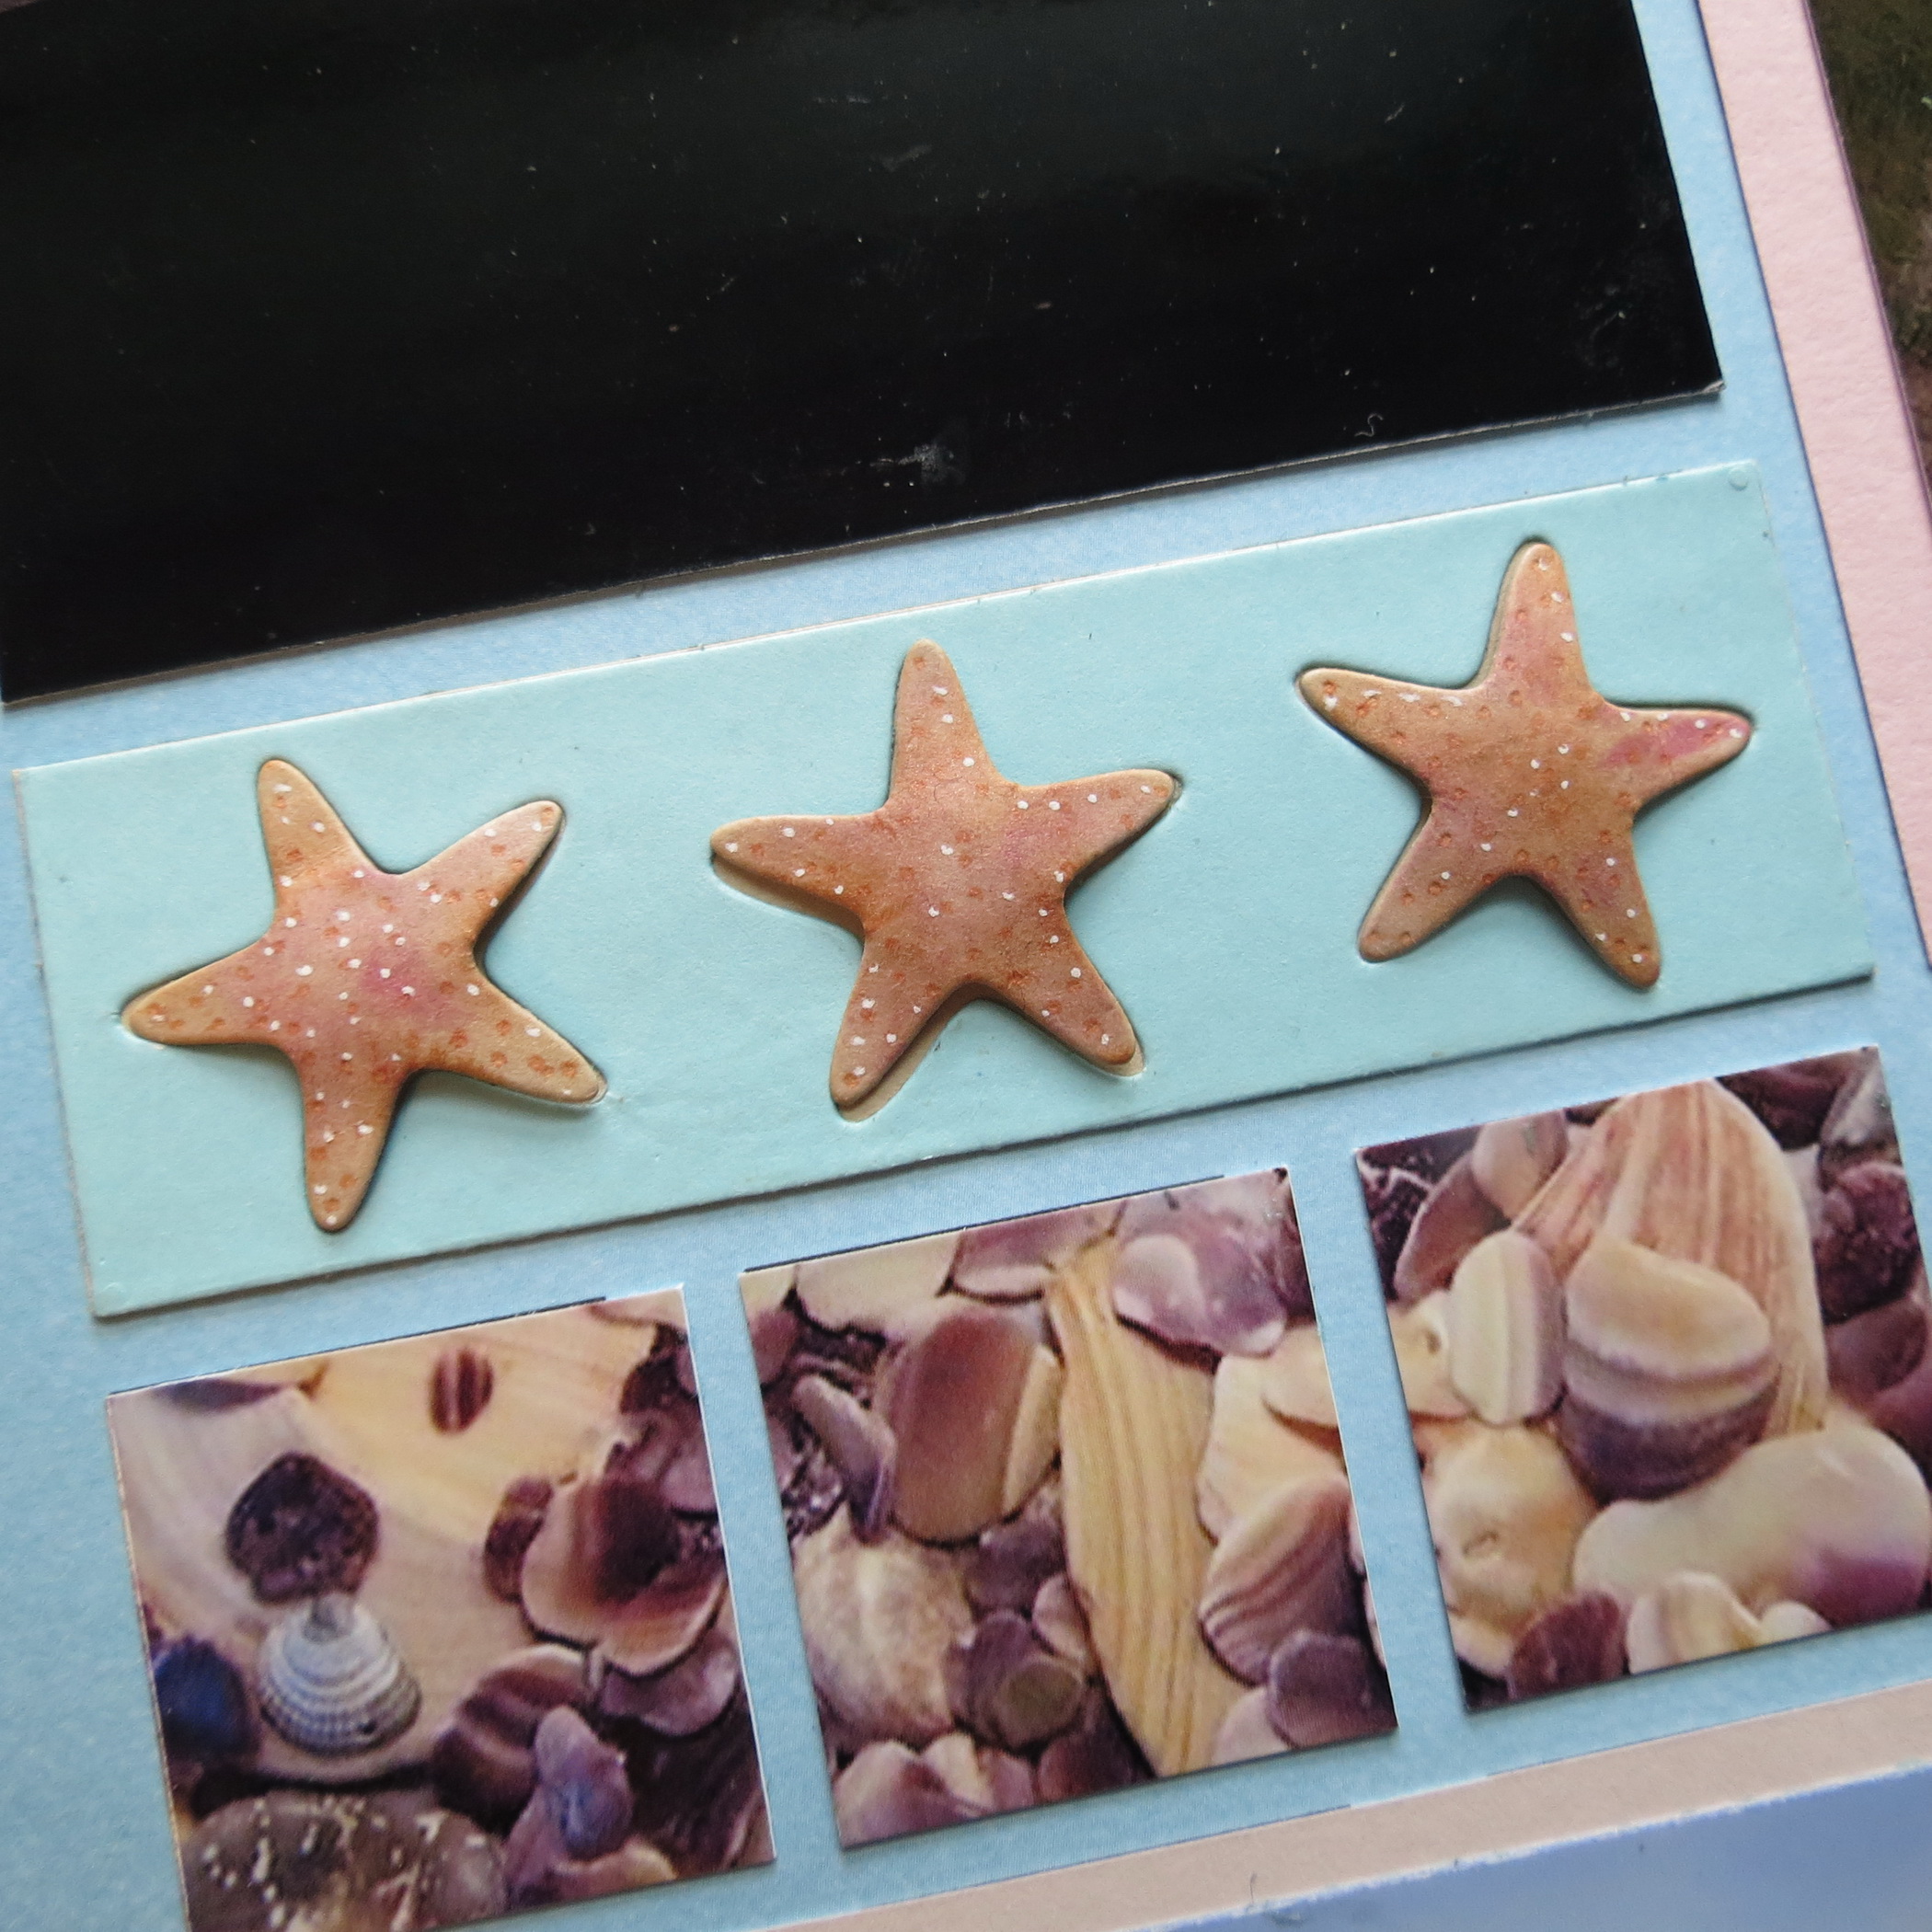
There are three dies in the Beachcombers Die set, a 1×2, a 1×3 and a 1×5 or a variety of shells. The 1×3 starfish die has been cut out of a blue cardstock and mounted on a tan cardstock. I’ve also cut starfish out of another shade of tan. Each starfish is rolled with an embossing tool, dotted with a Zig marker, dusted with chalks from Pebbles and a final touch of white dots using a white Gelly Roll gel pen. I will mount these starfish using pop glue dots.
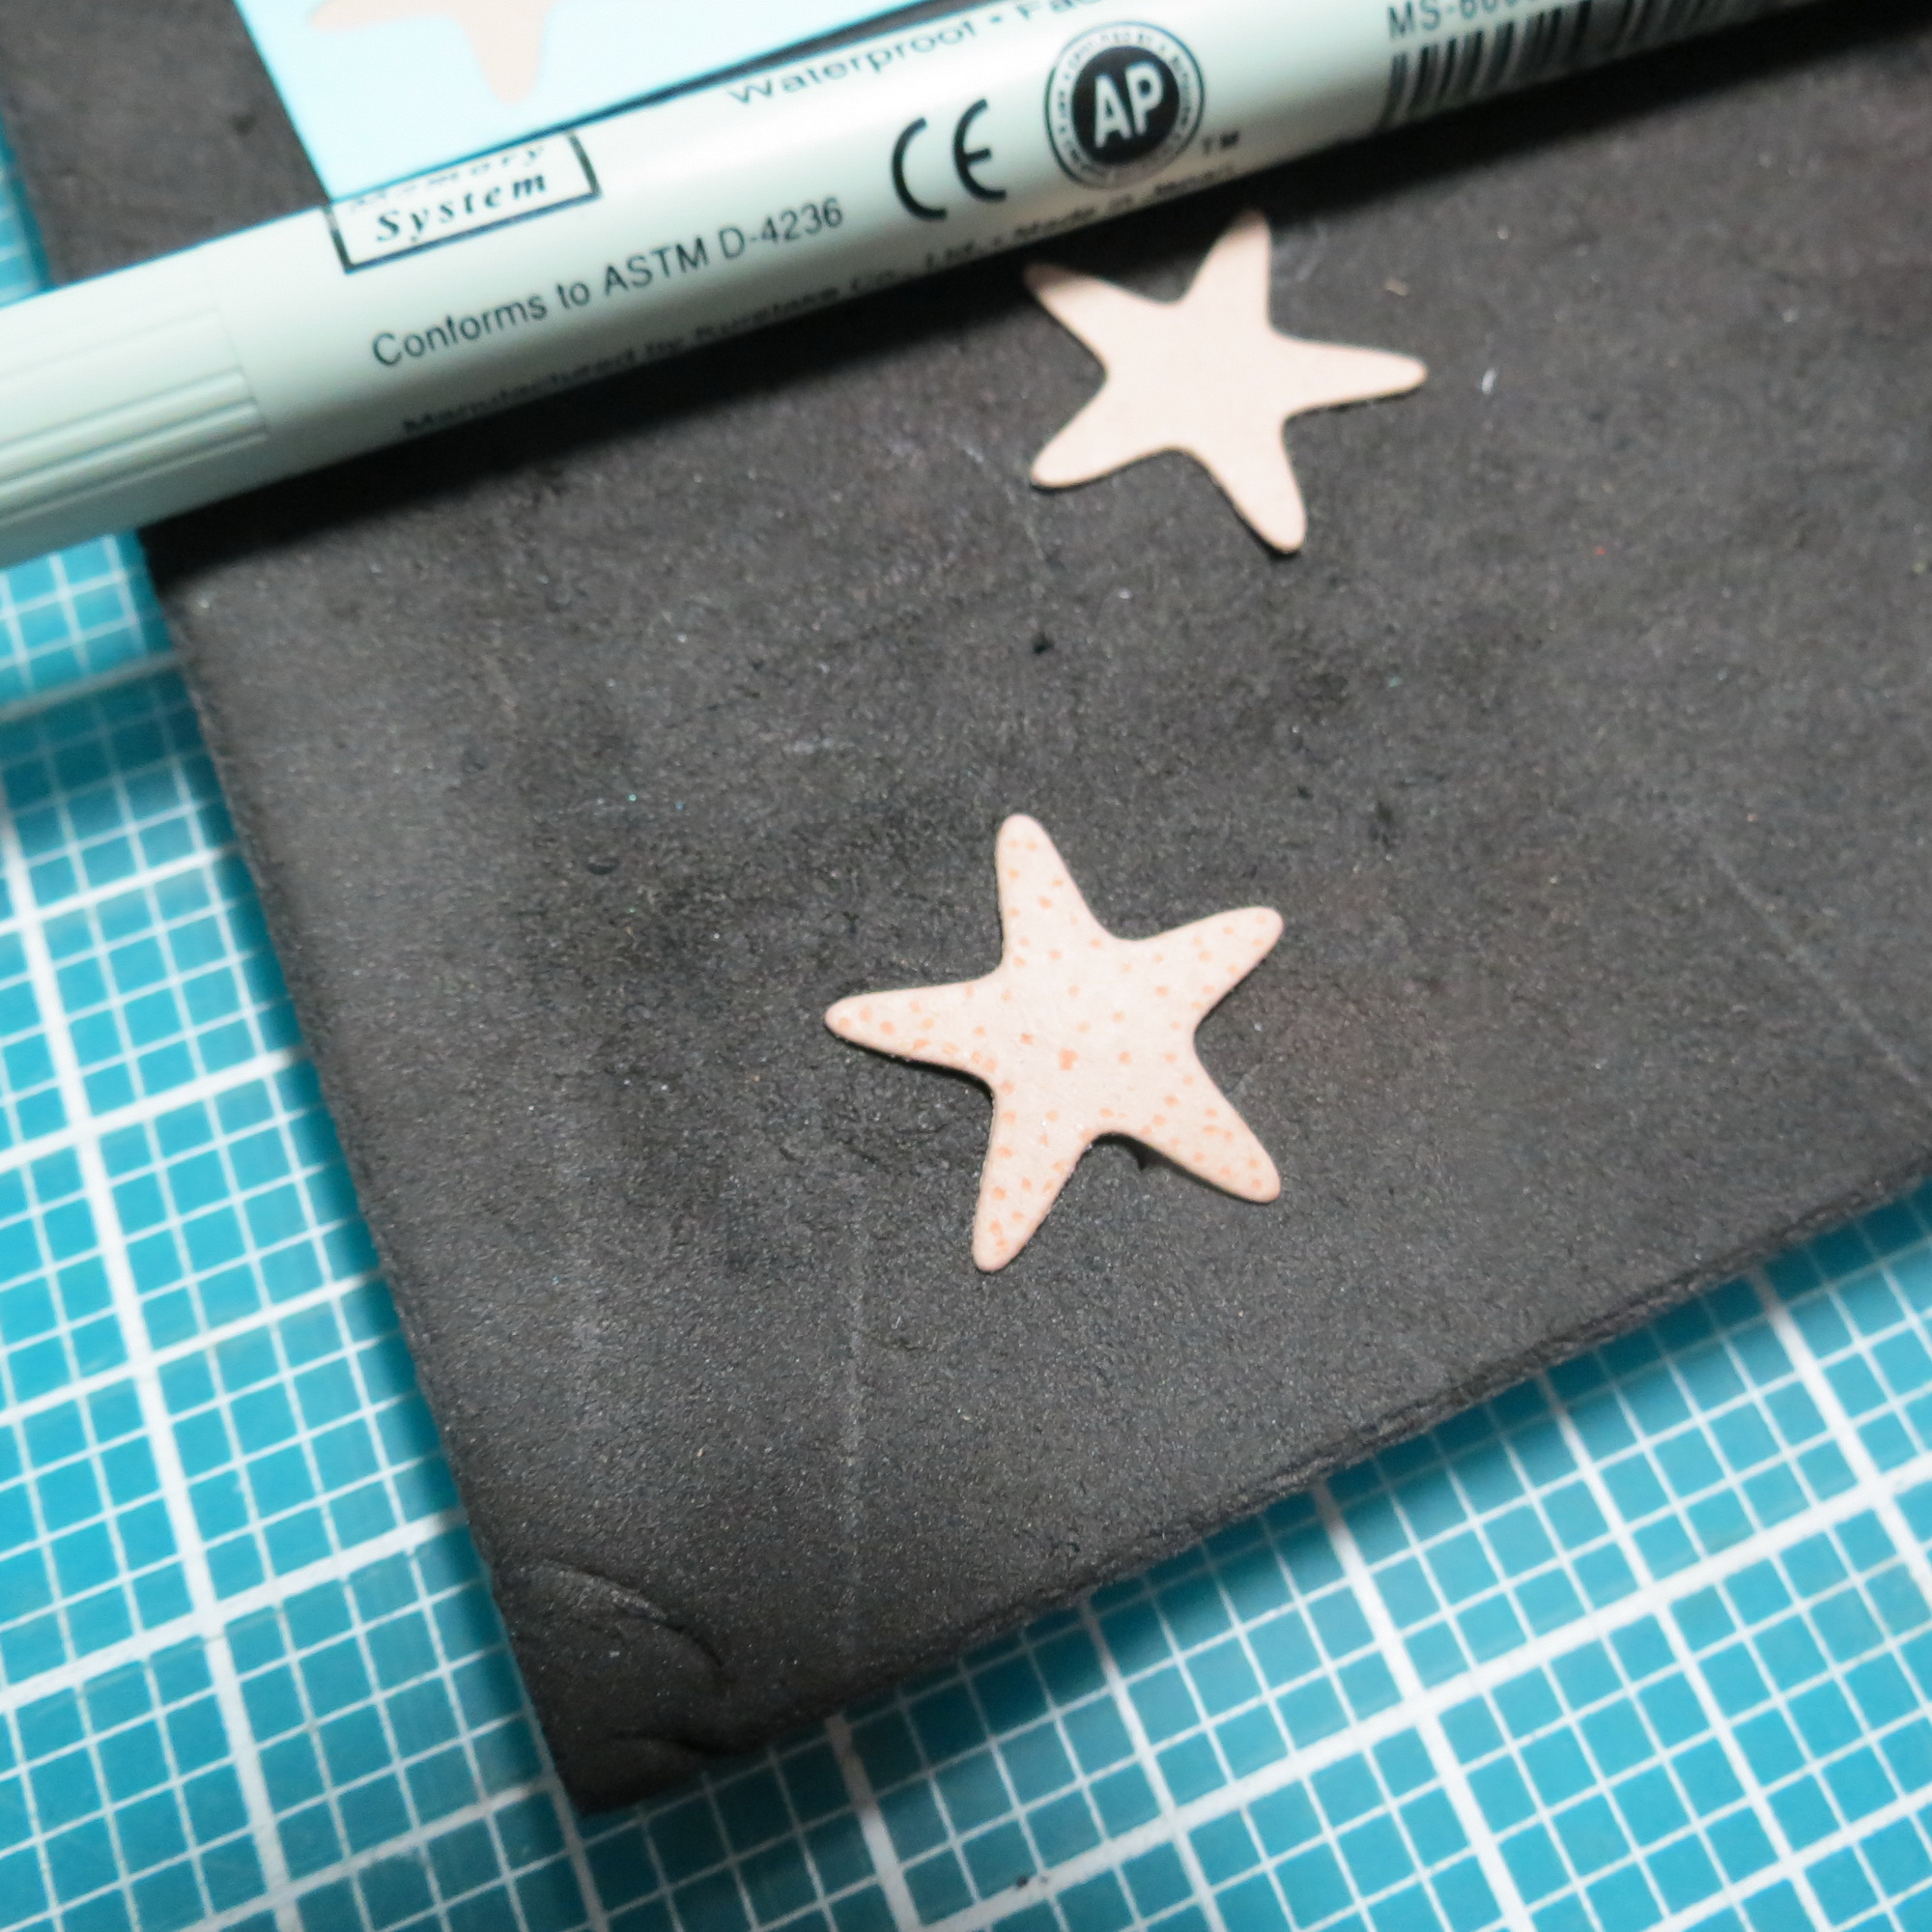
Mosaic Moments Photo Tips: Include Fillers featuring the Beachcomber Die Set add dots to the cut out starfish

Mosaic Moments Photo Tips: Include Fillers featuring the Beachcomber Die Set roll emboss on the wrong side
Mosaic Moments Photo Tips: Include Fillers featuring the Beachcomber Die Set

Mosaic Moments Photo Tips: Include Fillers featuring the Beachcomber Die Set
Mosaic Moments Photo Tips: Include Fillers featuring the Beachcomber Die Set: using Pebbles chalks to color all the shells
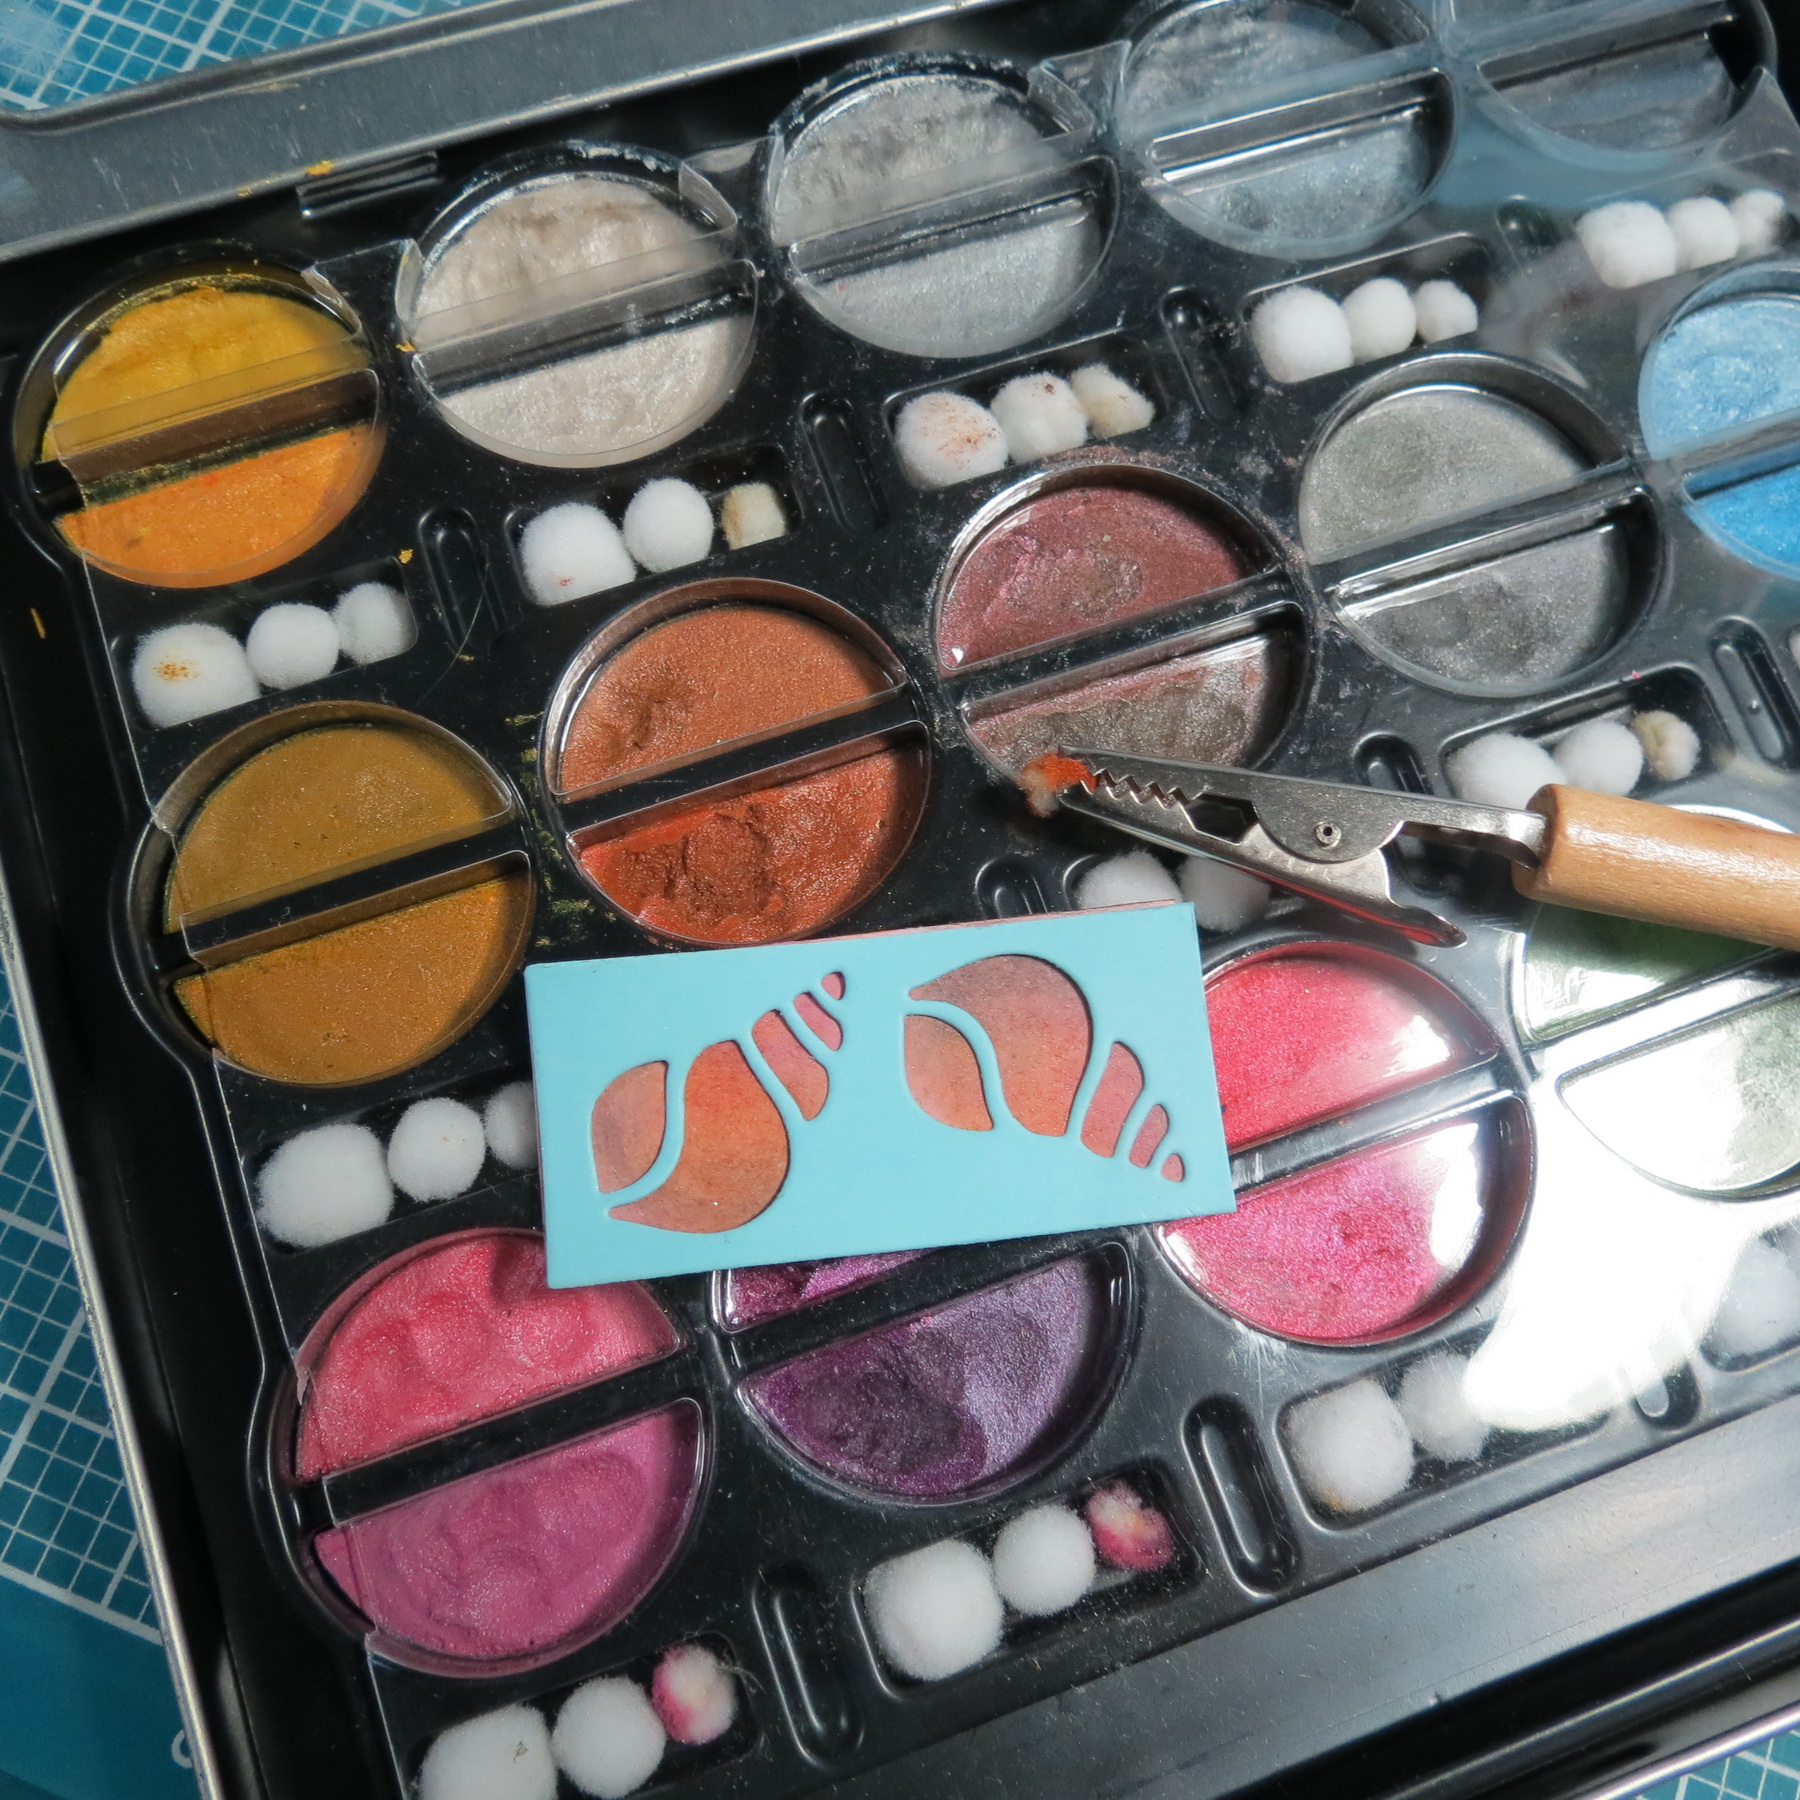
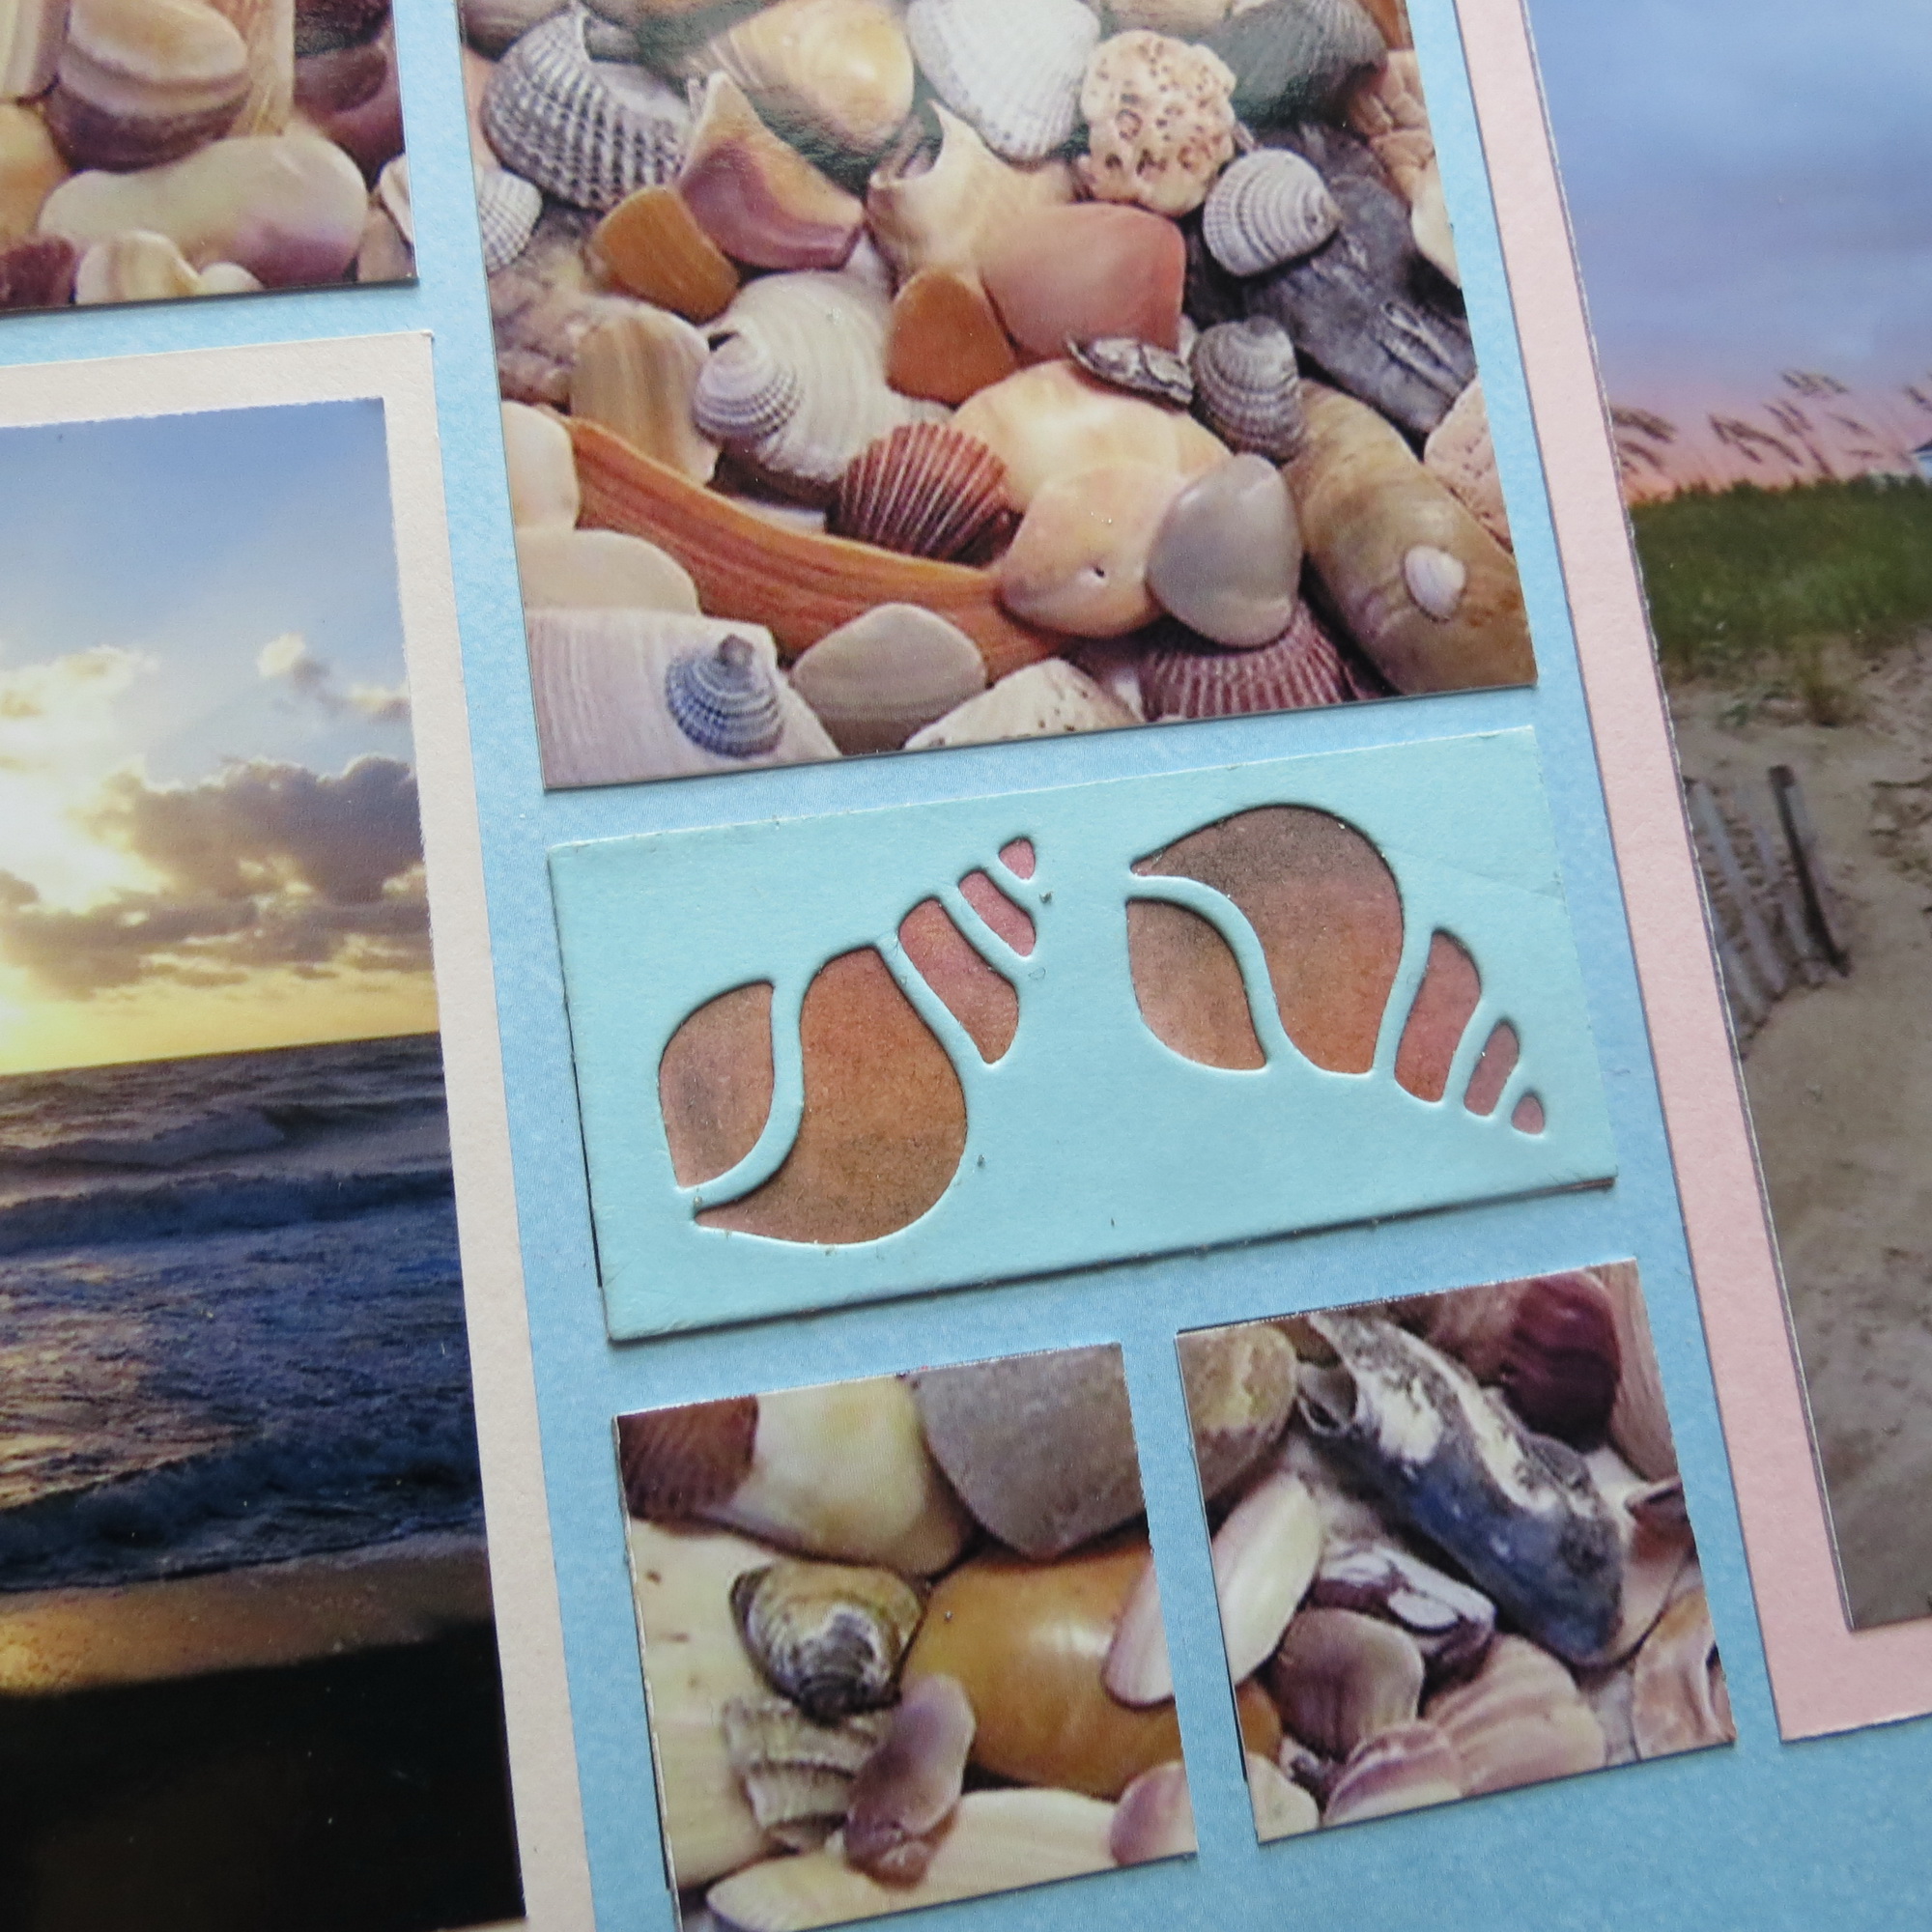
For the 1×2 strip shellfish die, I cut it in the blue and mounted it on pink cardstock. I’ve used the Pebbles chalks once again by just dusting the area of the pink cardstock that will be exposed through the die cut. After I’ve got the colors I want I place the cut shell die on top and mount to the grid paper.
Mosaic Moments Photo Tips: Include Fillers featuring the Beachcomber Die Set chalking the shells
Mosaic Moments Photo Tips: Include Fillers featuring the Beachcomber Die Set
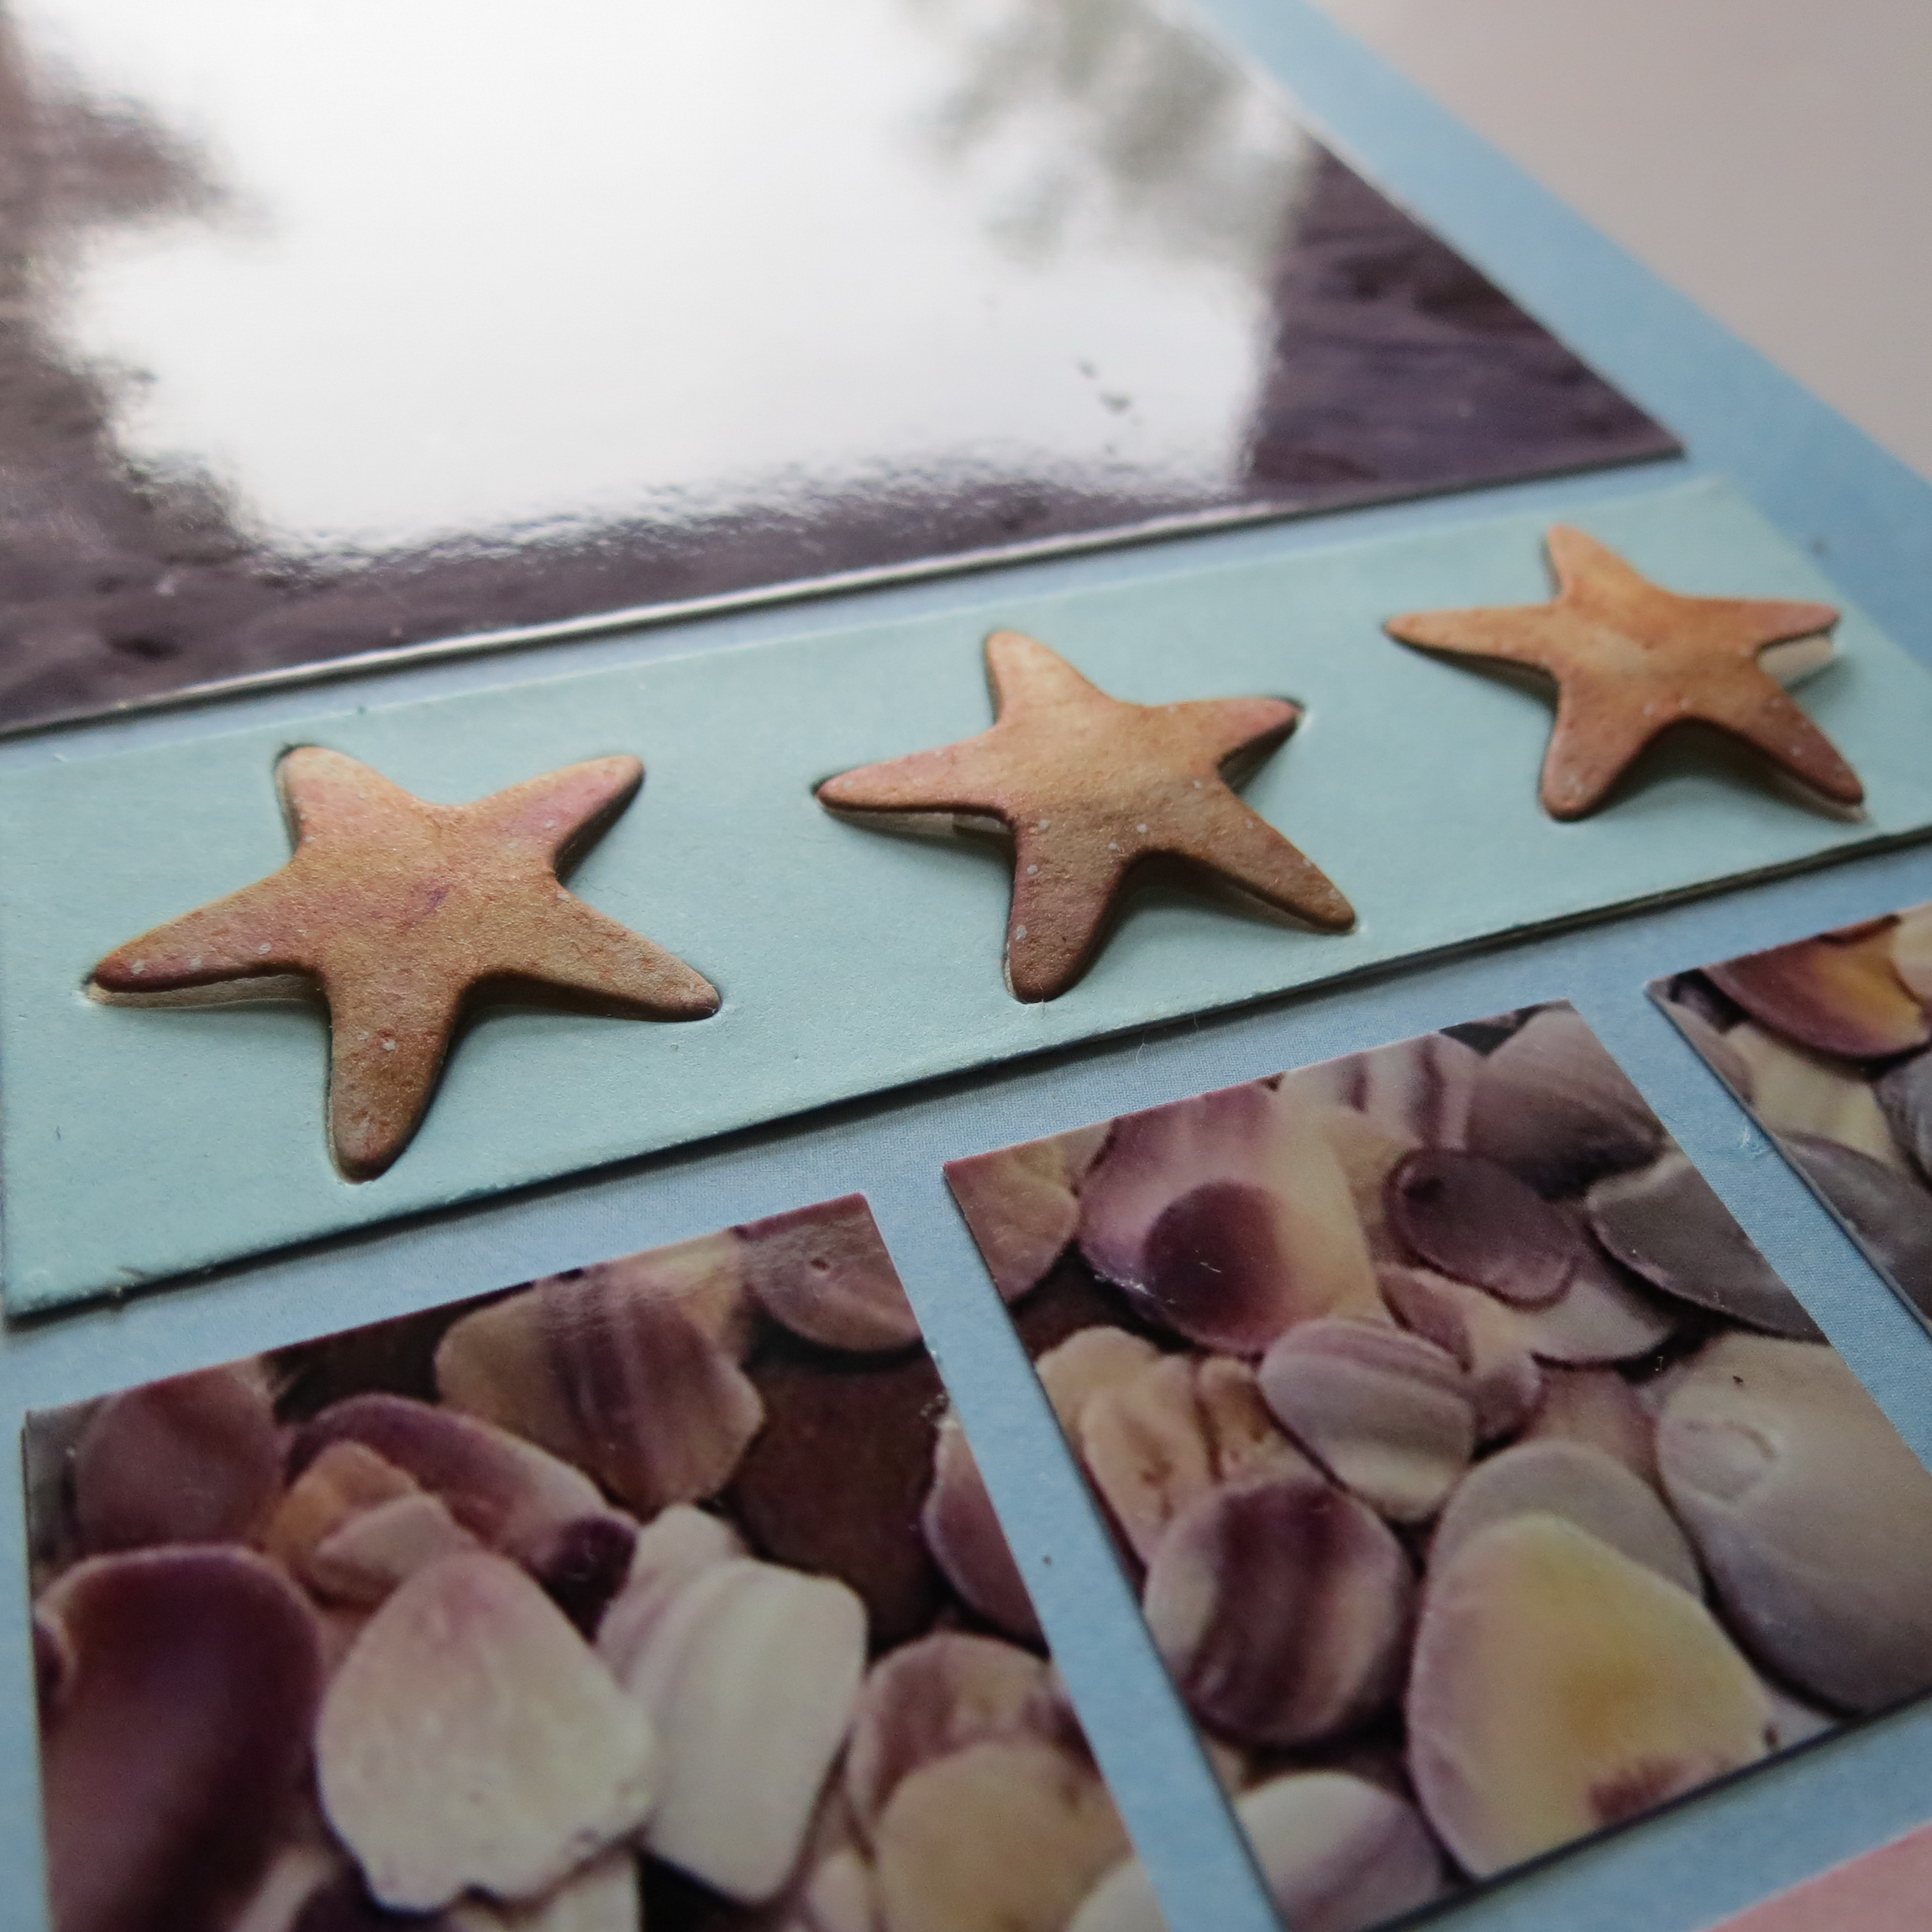
Mosaic Moments Photo Tips: Include Fillers featuring the Beachcomber Die Set mounting using pop glue dots
Mosaic Moments Photo Tips: Include Fillers featuring the Beachcomber Die Set
This shows you two ways to use the Beachcomber die set, one with depth of color by a modified stenciling, and the second by creating a 3-D shell strip to mount above the die strip, both colored by chalks.
So remember, it’s a digital age, taking extra photos of unusual things around you for consideration of inclusion in your layouts won’t cost you any more and you can always delete them if they just don’t work for you. You could also keep a digital copy of the photo in a file, or a photo morgue, for some time in the future when you need just the right filler for your layouts!
Enjoy the search for fillers; it will really change your photo habits when you do!
Andrea
BONUS PAGE!!
Tami has a second die for this week that did not work into my original layout or photo tip idea, so I’m going to show it off here as a bonus for the week!
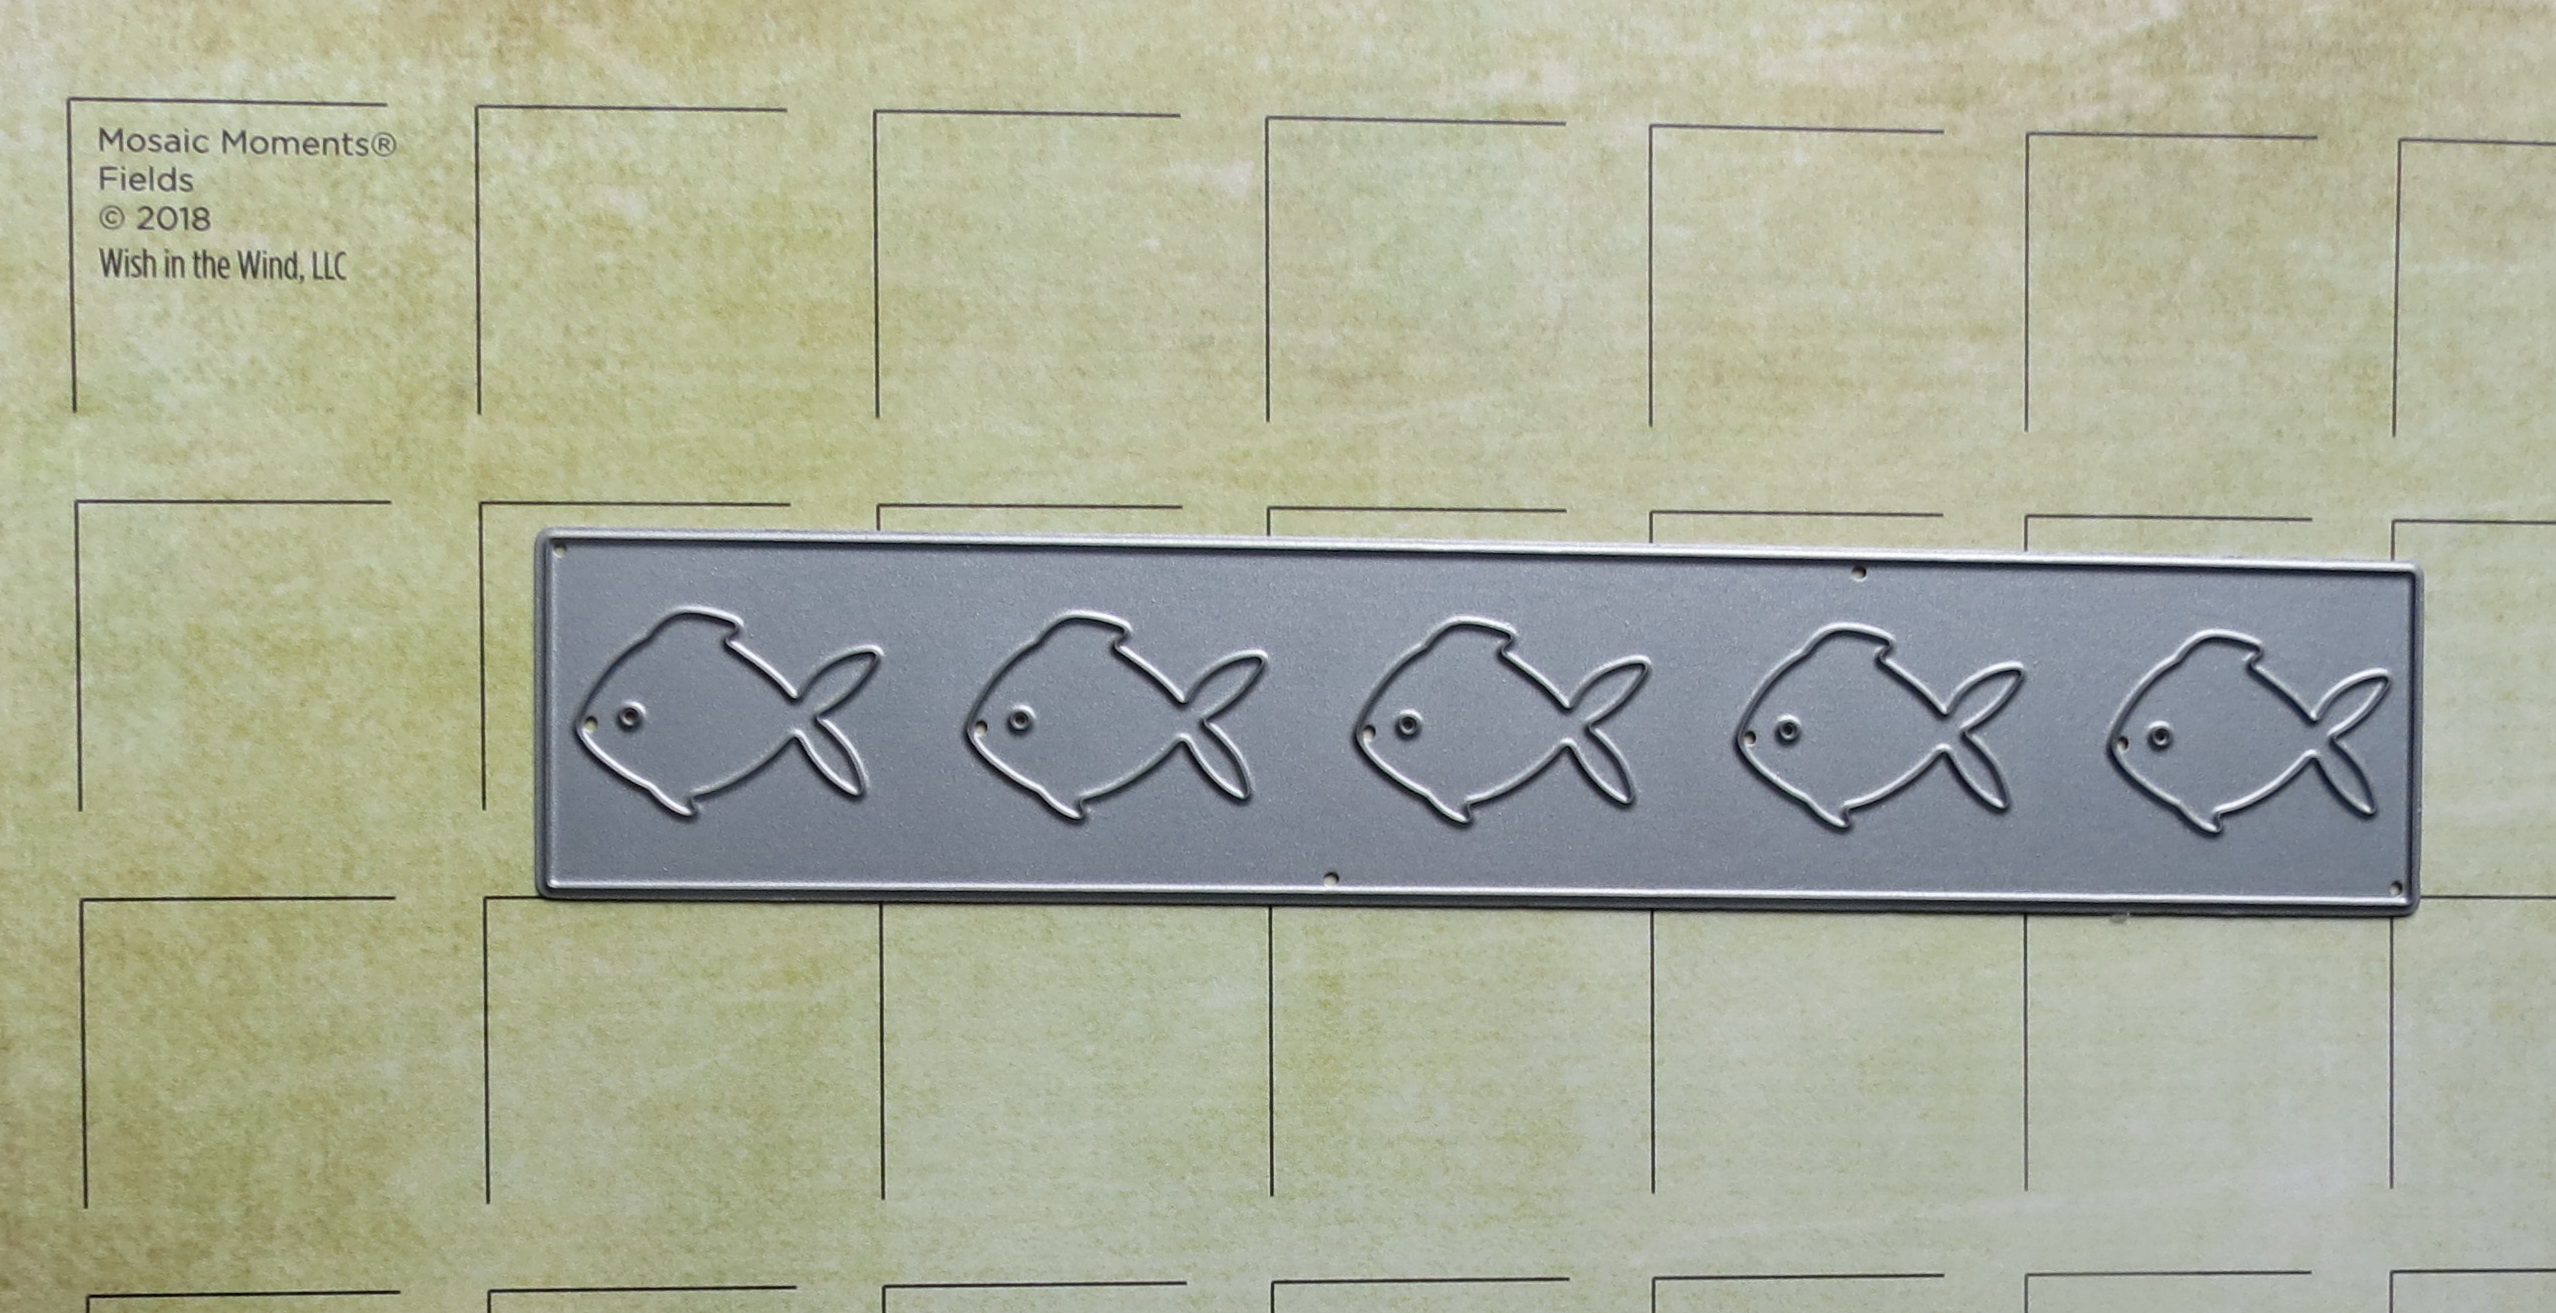
The Featured Die: Fishy
The Bonus Die: Wave Border Set
The Grid Paper: Fields from the new Lazy Days Collection
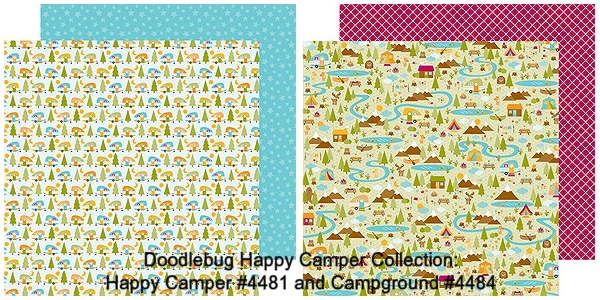
The Patterned Papers: Doodlebug Designs, The Happy Camper Collection
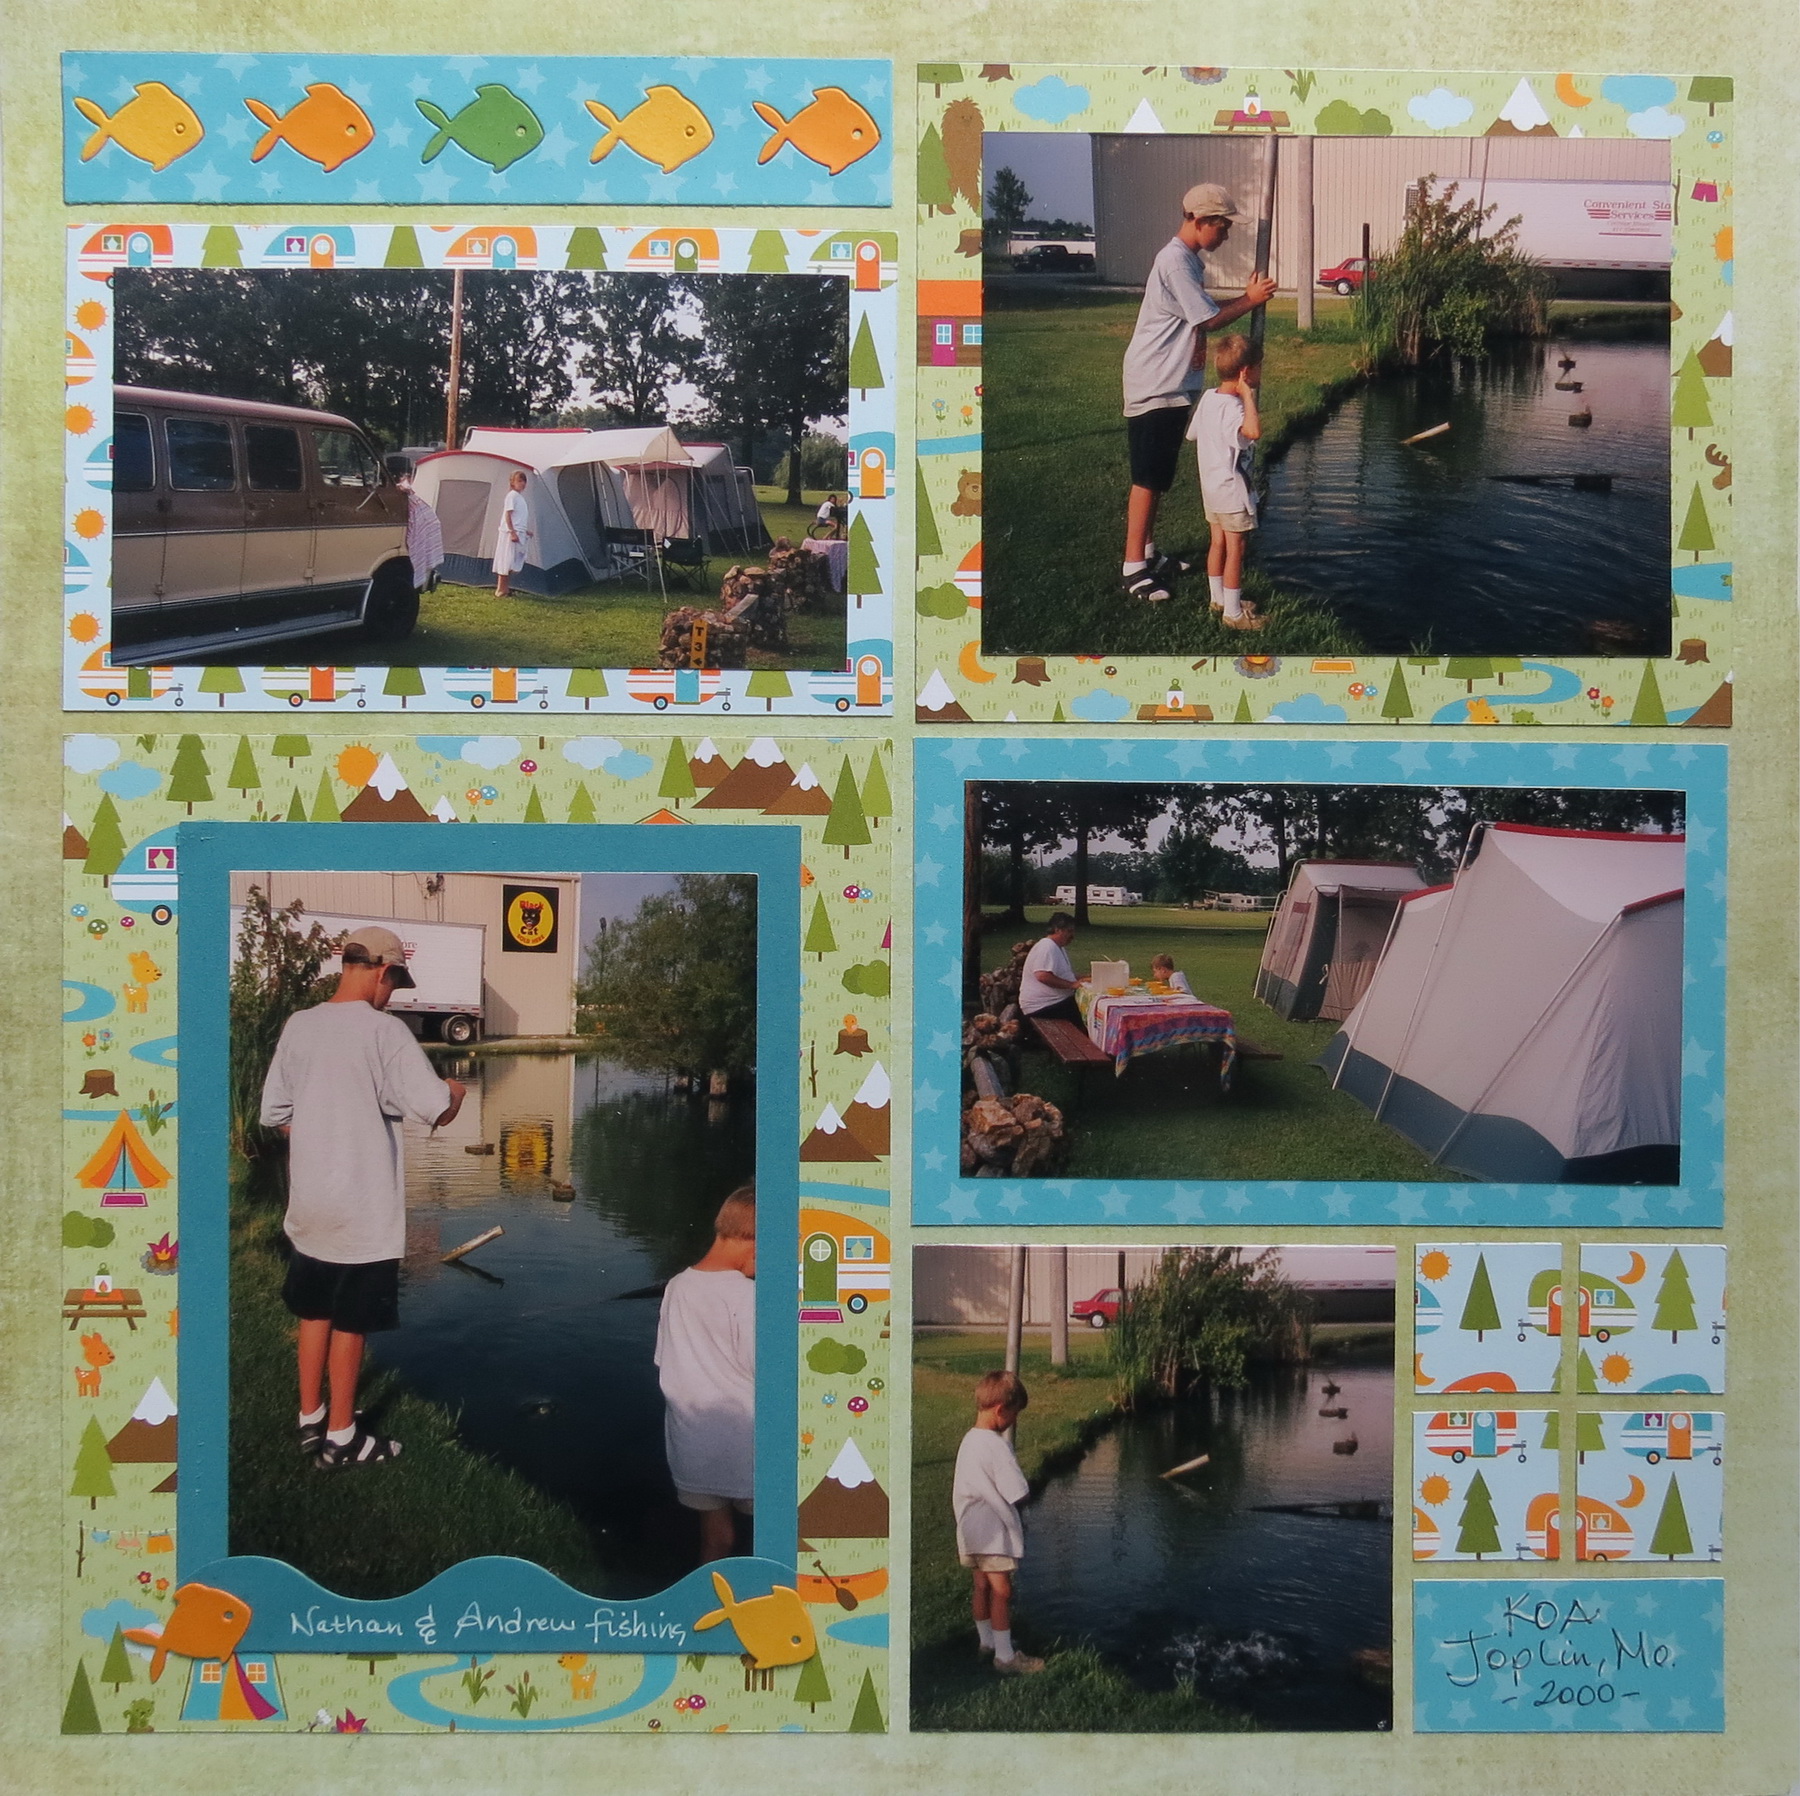
The Pattern: #134, a columns pattern

Mosaic Moments Pattern #134
The Layout:
Mosaic Moments the Fishy Die
The Details:

Cut several in varying colors and fill.

The cut fishes anchor each side of the wave border trimmed to fit the photo mat for a perfect spot for a little bit of journaling.
So, there you go! I’ve baited your hook, go fish!