
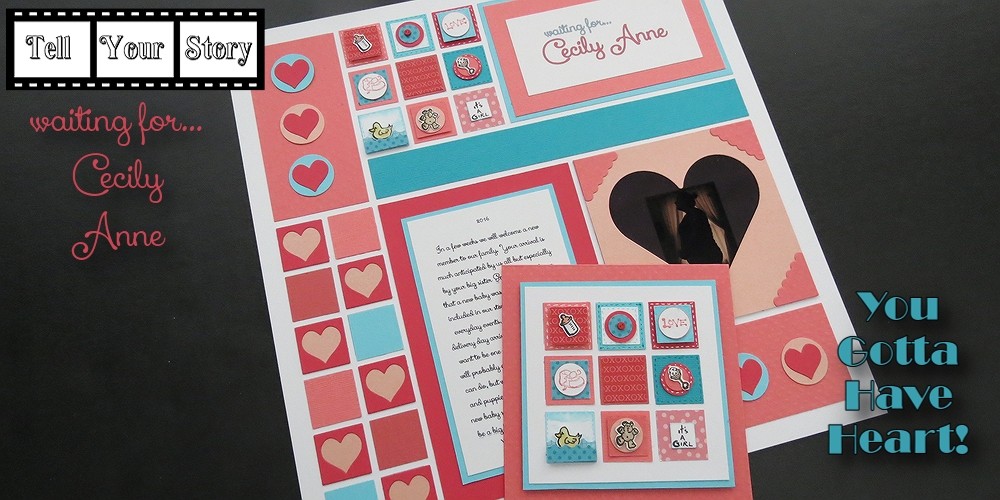
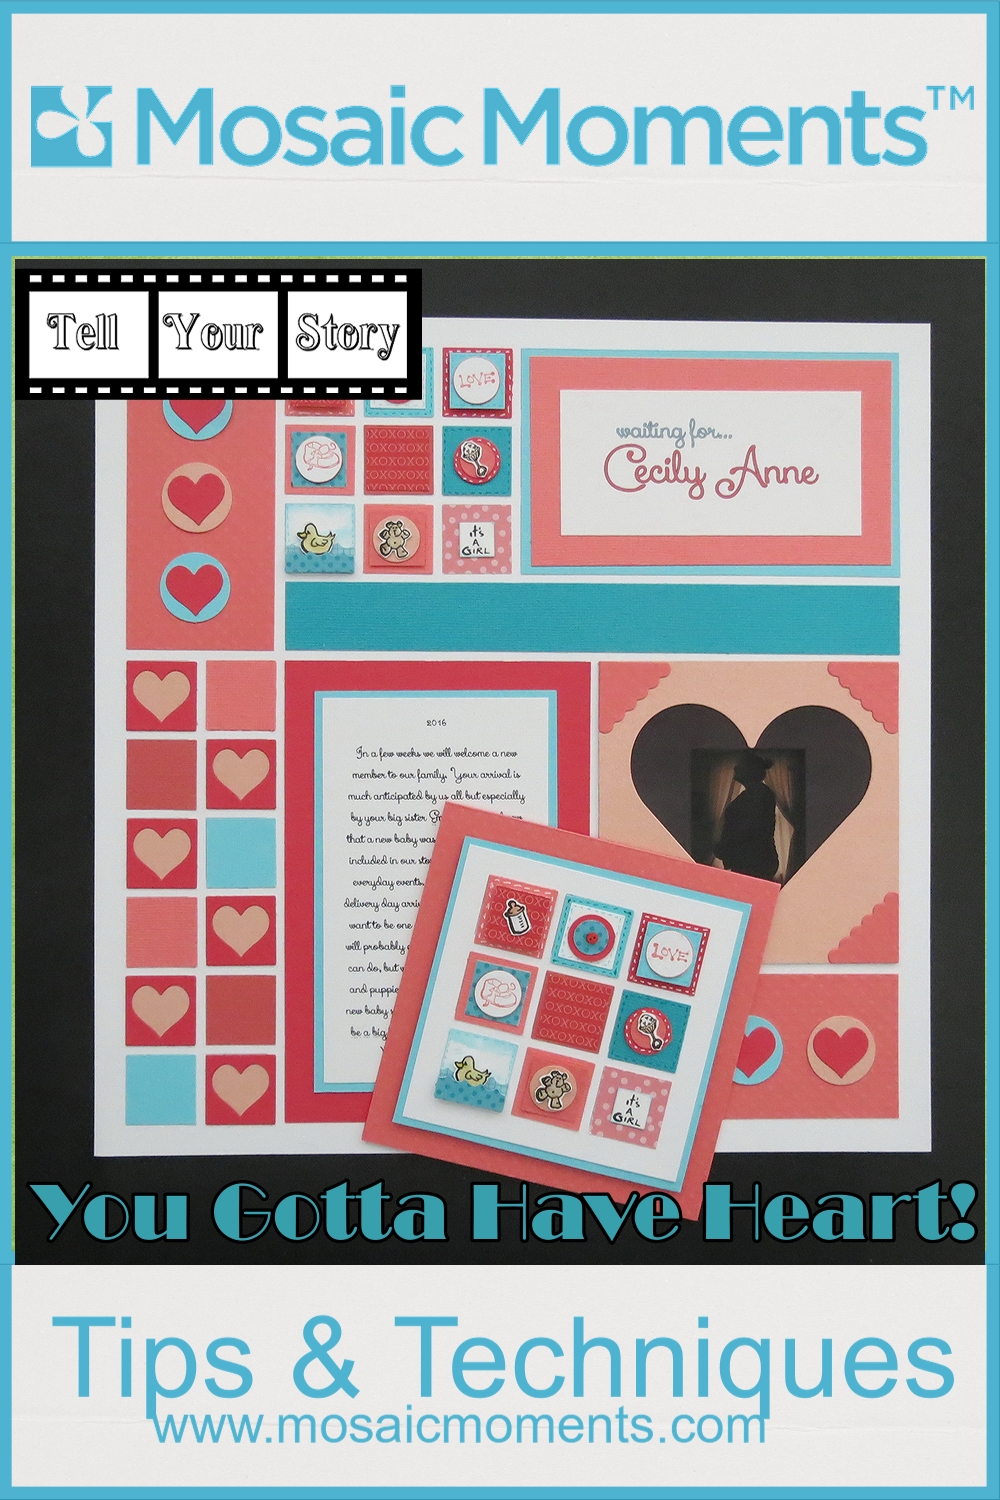
Tell Your Story
MMTYS 1″ heart square die plays a big role in this waiting for baby layout and card
“Waiting for…Cecily Anne”
You Gotta Have Heart!
Our February installment of Tell Your Story is a layout I’ve put together with a short story for my newest granddaughter, Cecily Anne. She is due to arrive in March and we are so excited to have her join us.
When I was expecting my own children I kept journals on our life at the time, things happening in the family and in the world, things I was studying and about each of their siblings. I jotted down hopes and prayers for each of their futures and when they reached various milestones in their lives passed those journals on to them. For my first child there were two books and by the time we got to the fifth I barely filled one. Sad.
Isn’t that always the case? I’ve heard people say they took so many photos of their first child and not so many of any that followed. How can we rectify that imbalance? How about taking some of the best of the photos you have taken and tell the story behind them bringing something special and of value to the memories? Make it more than just a photo.
I realized that when Libby was expecting our sweet ‘Miss Emmylou’ we took photos monthly…and for this child…we have only this one photo. While there are still several weeks to go before she arrives…it’s hard to go back and redo those monthly progression photos. So, I thought this might be a fun way to tell her story over these last weeks and see how much we anticipate her coming. This is the first of what I hope to be several story pages. It will be unique for her. Join me in “Waiting for Cecily Anne.”
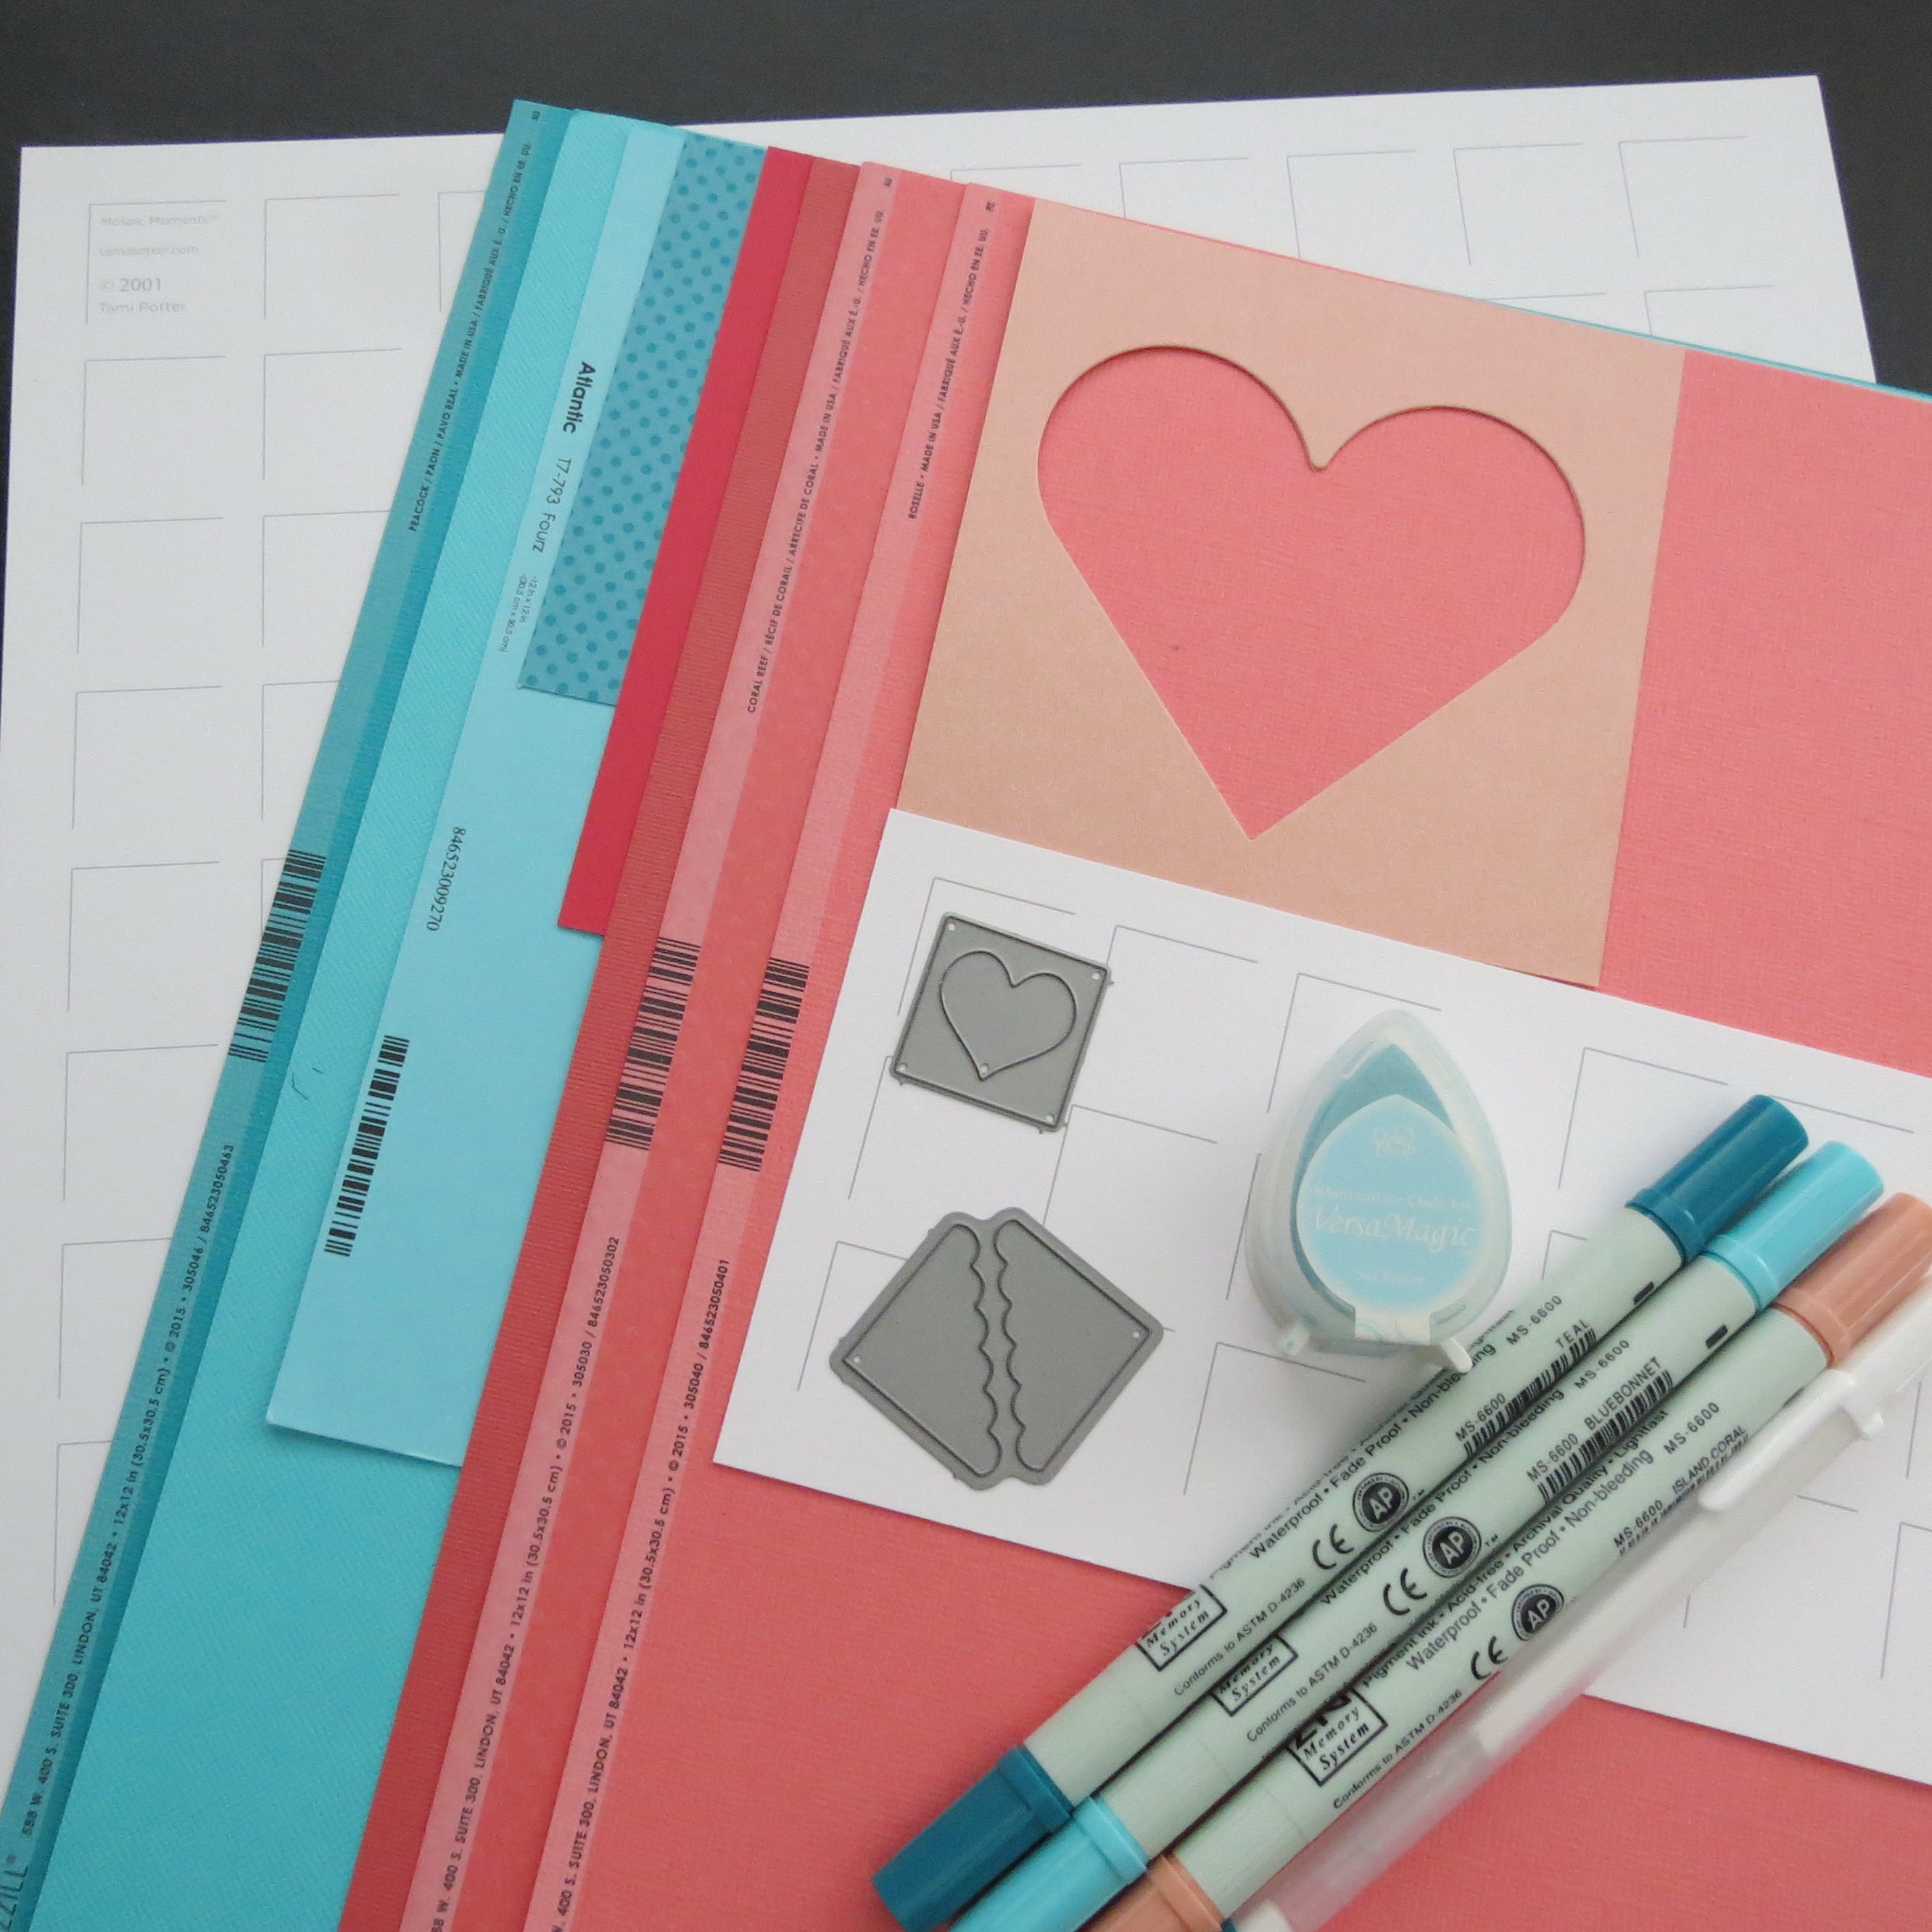
MM supplies used for Waiting for Cecily Anne
We have a 12×12 layout and a baby card to match, here’s the supplies used:
• Mosaic Moments 12×12 White Grid
• Mosaic Moments RTC 4×4 grid paper 2 sections
• Mosaic Moments Hearts and Flowers Die Set the 1” heart die tile
• Mosaic Moments Die Set B, Scallop Dot Mat Die Set (photo corners)
• Assorted cardstock Co’ordinations and Bazzill in shades of peachy pink and teal
• Co’ordinations Pearl Cardstock Baby Pink Pearl
• Pebbles patterned papers We Go Together Collection
• EK Success punches: circles-1/2”, 1”, and button circle; ½”, 1” squares;
• Spellbinders Nested Hearts dies to cut heart frame or use MM Heart Tiles
• Stubbies Rubber Stamps by Judith: assorted baby stamps
• Font: Xiomara
• Foam mounting tape and assorted glue dots
The card: 5” x 5” inchies card on White RTC grid and Bazzill Swiss Dot Coral Reef.
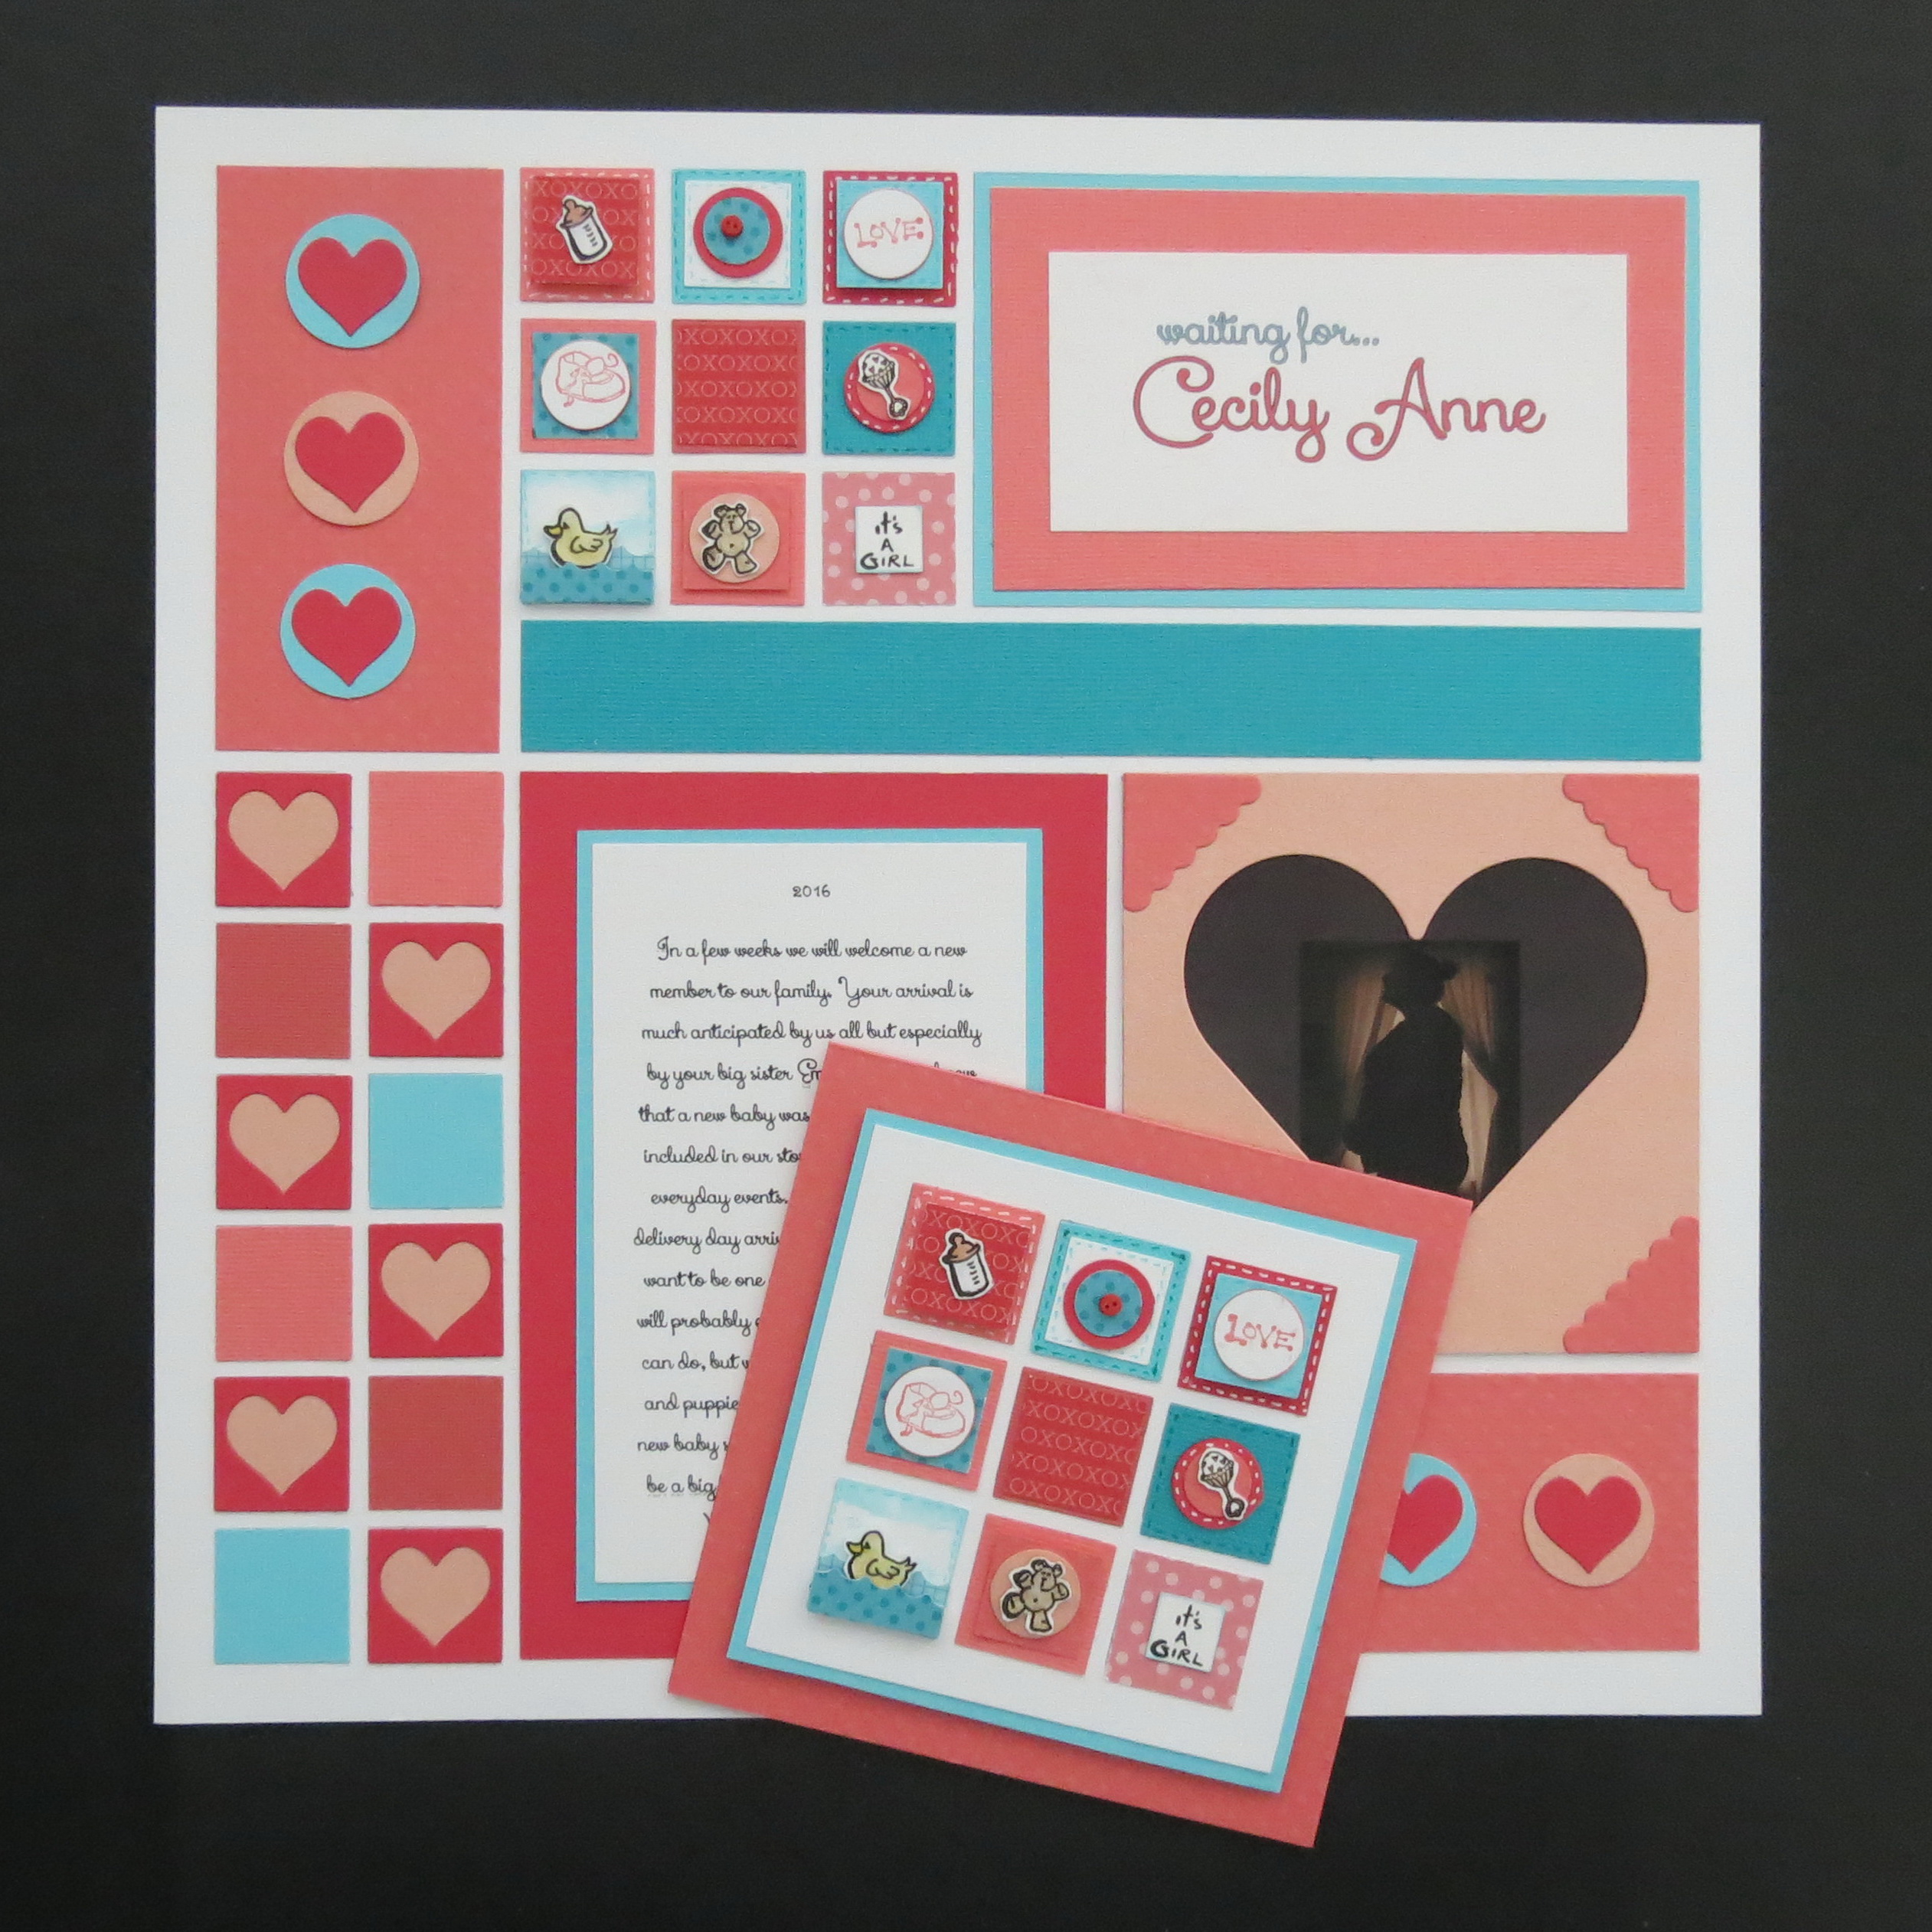
My layout pattern is #137 from the Pattern Gallery.

Mosaic Moments Pattern # 137
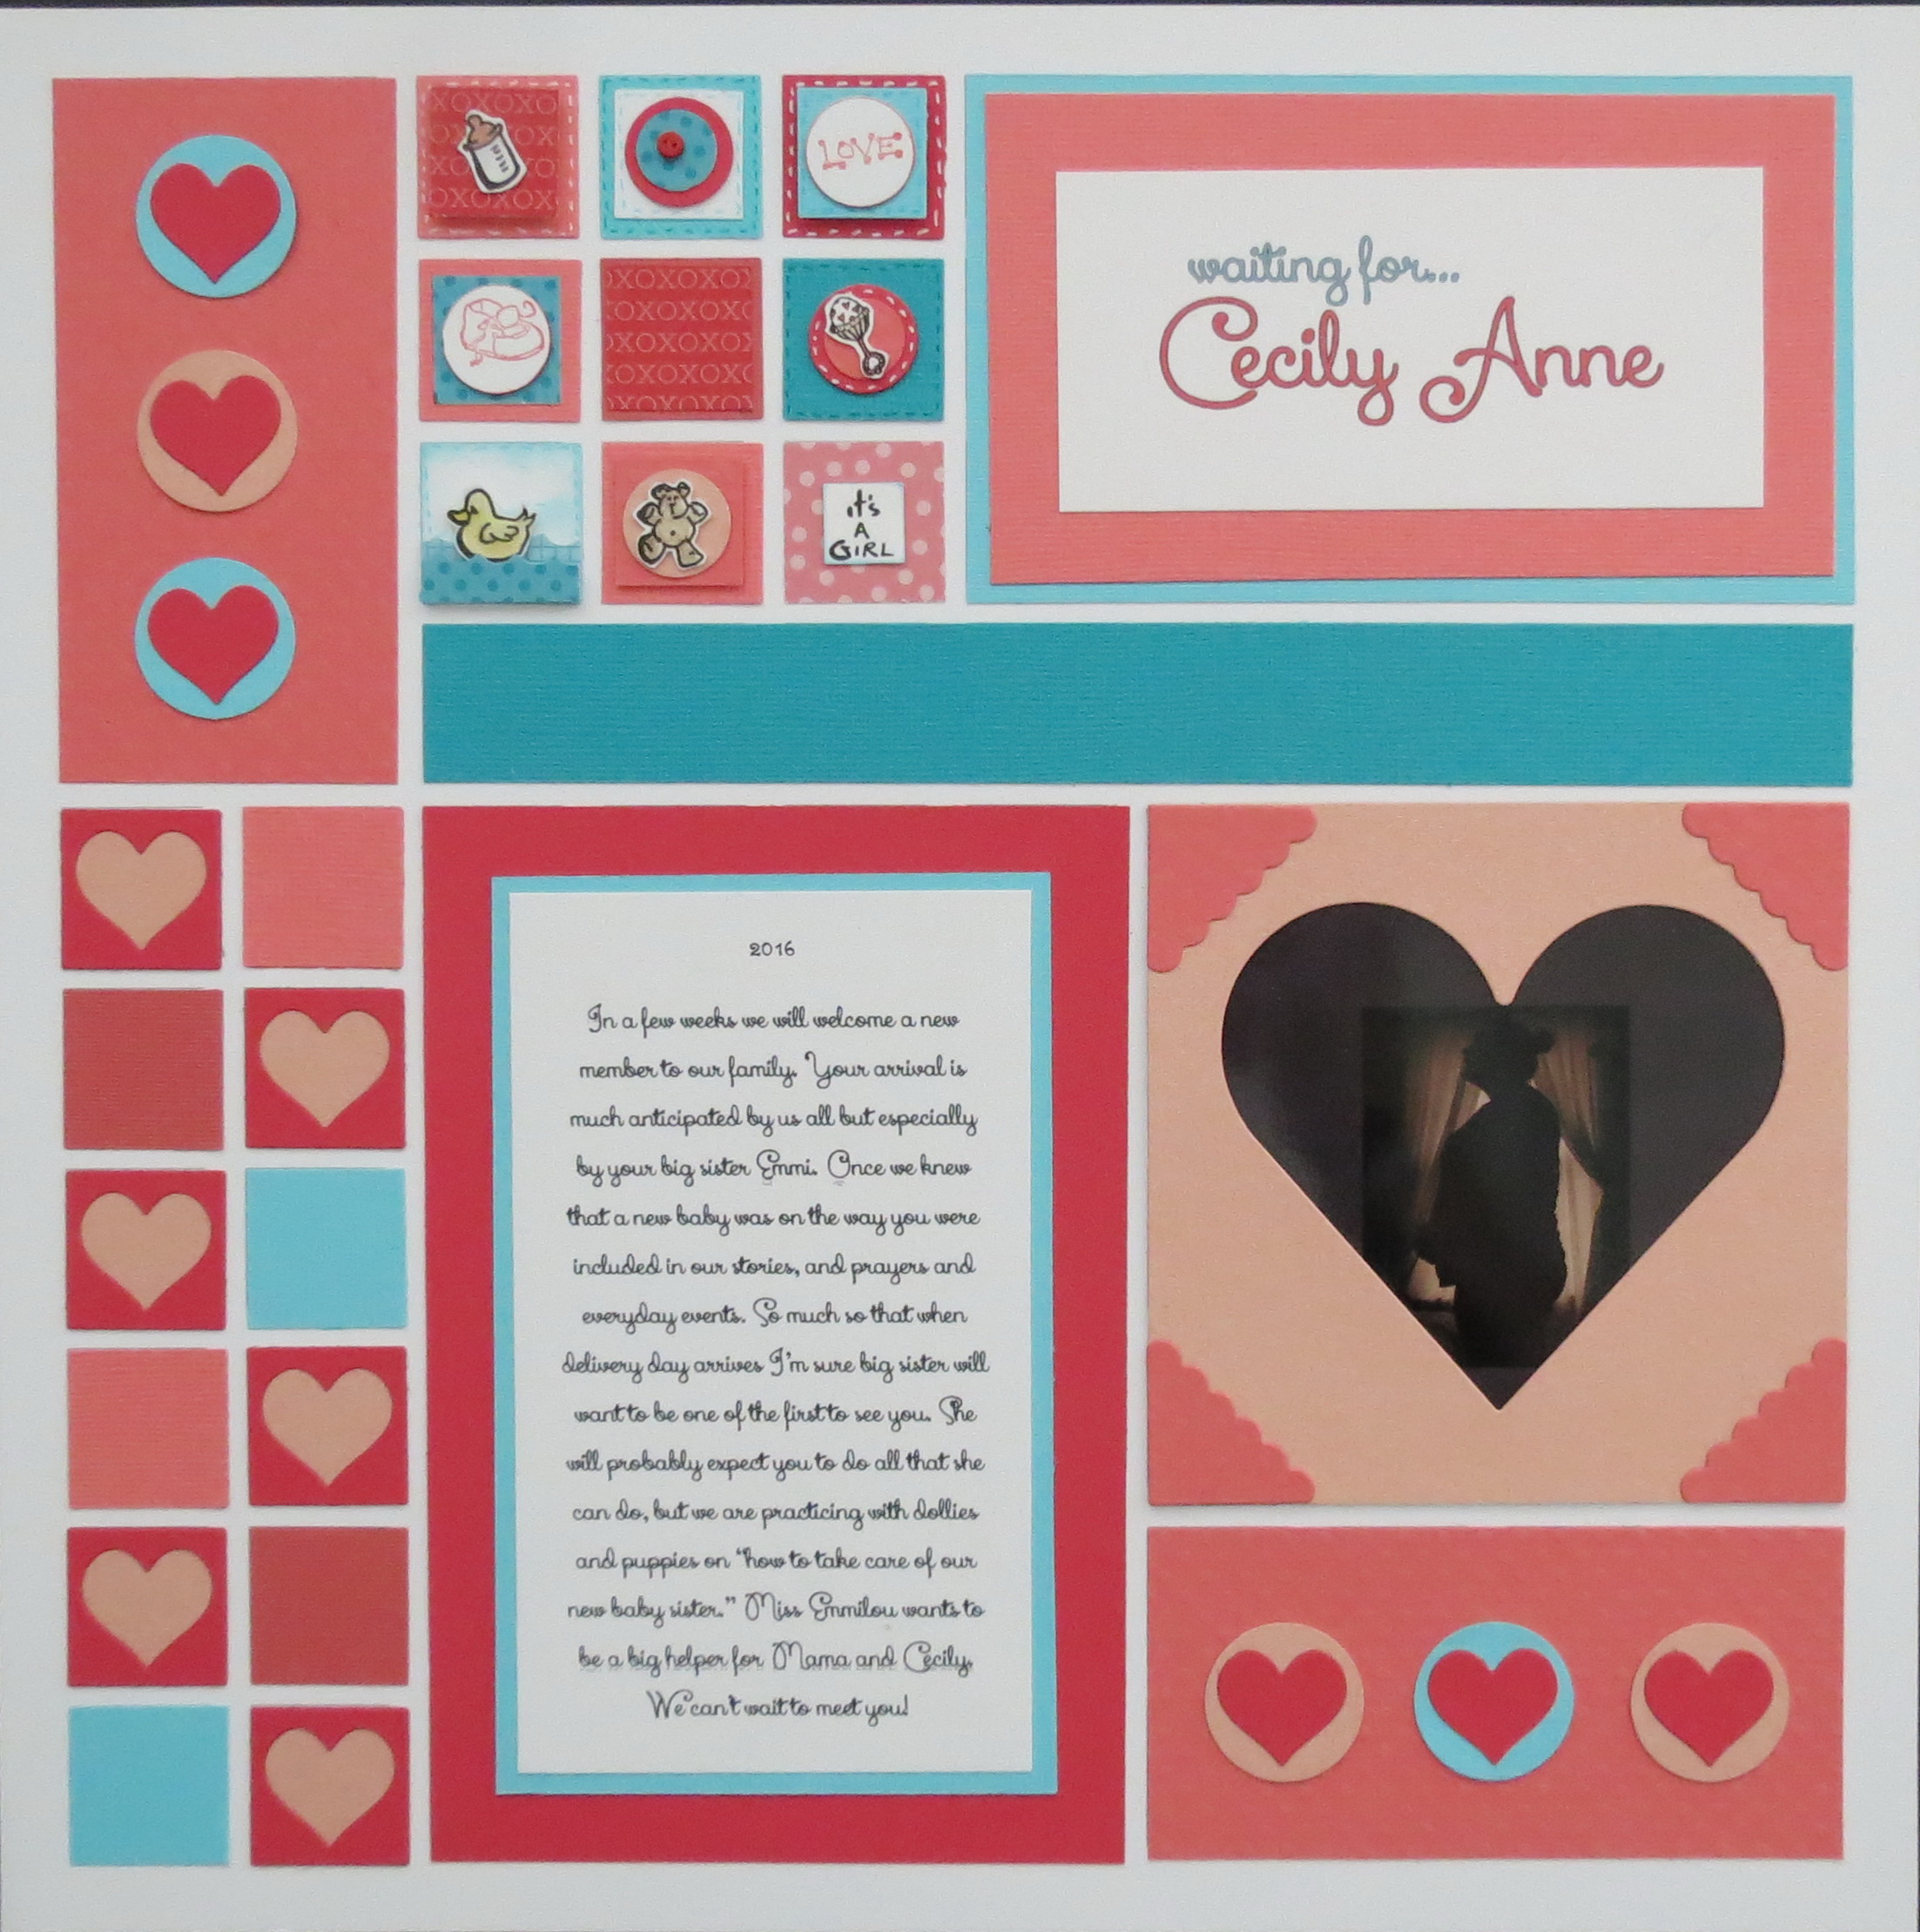
I’ve used the largest spot to place my journaling. It’s just enough room for a short story.
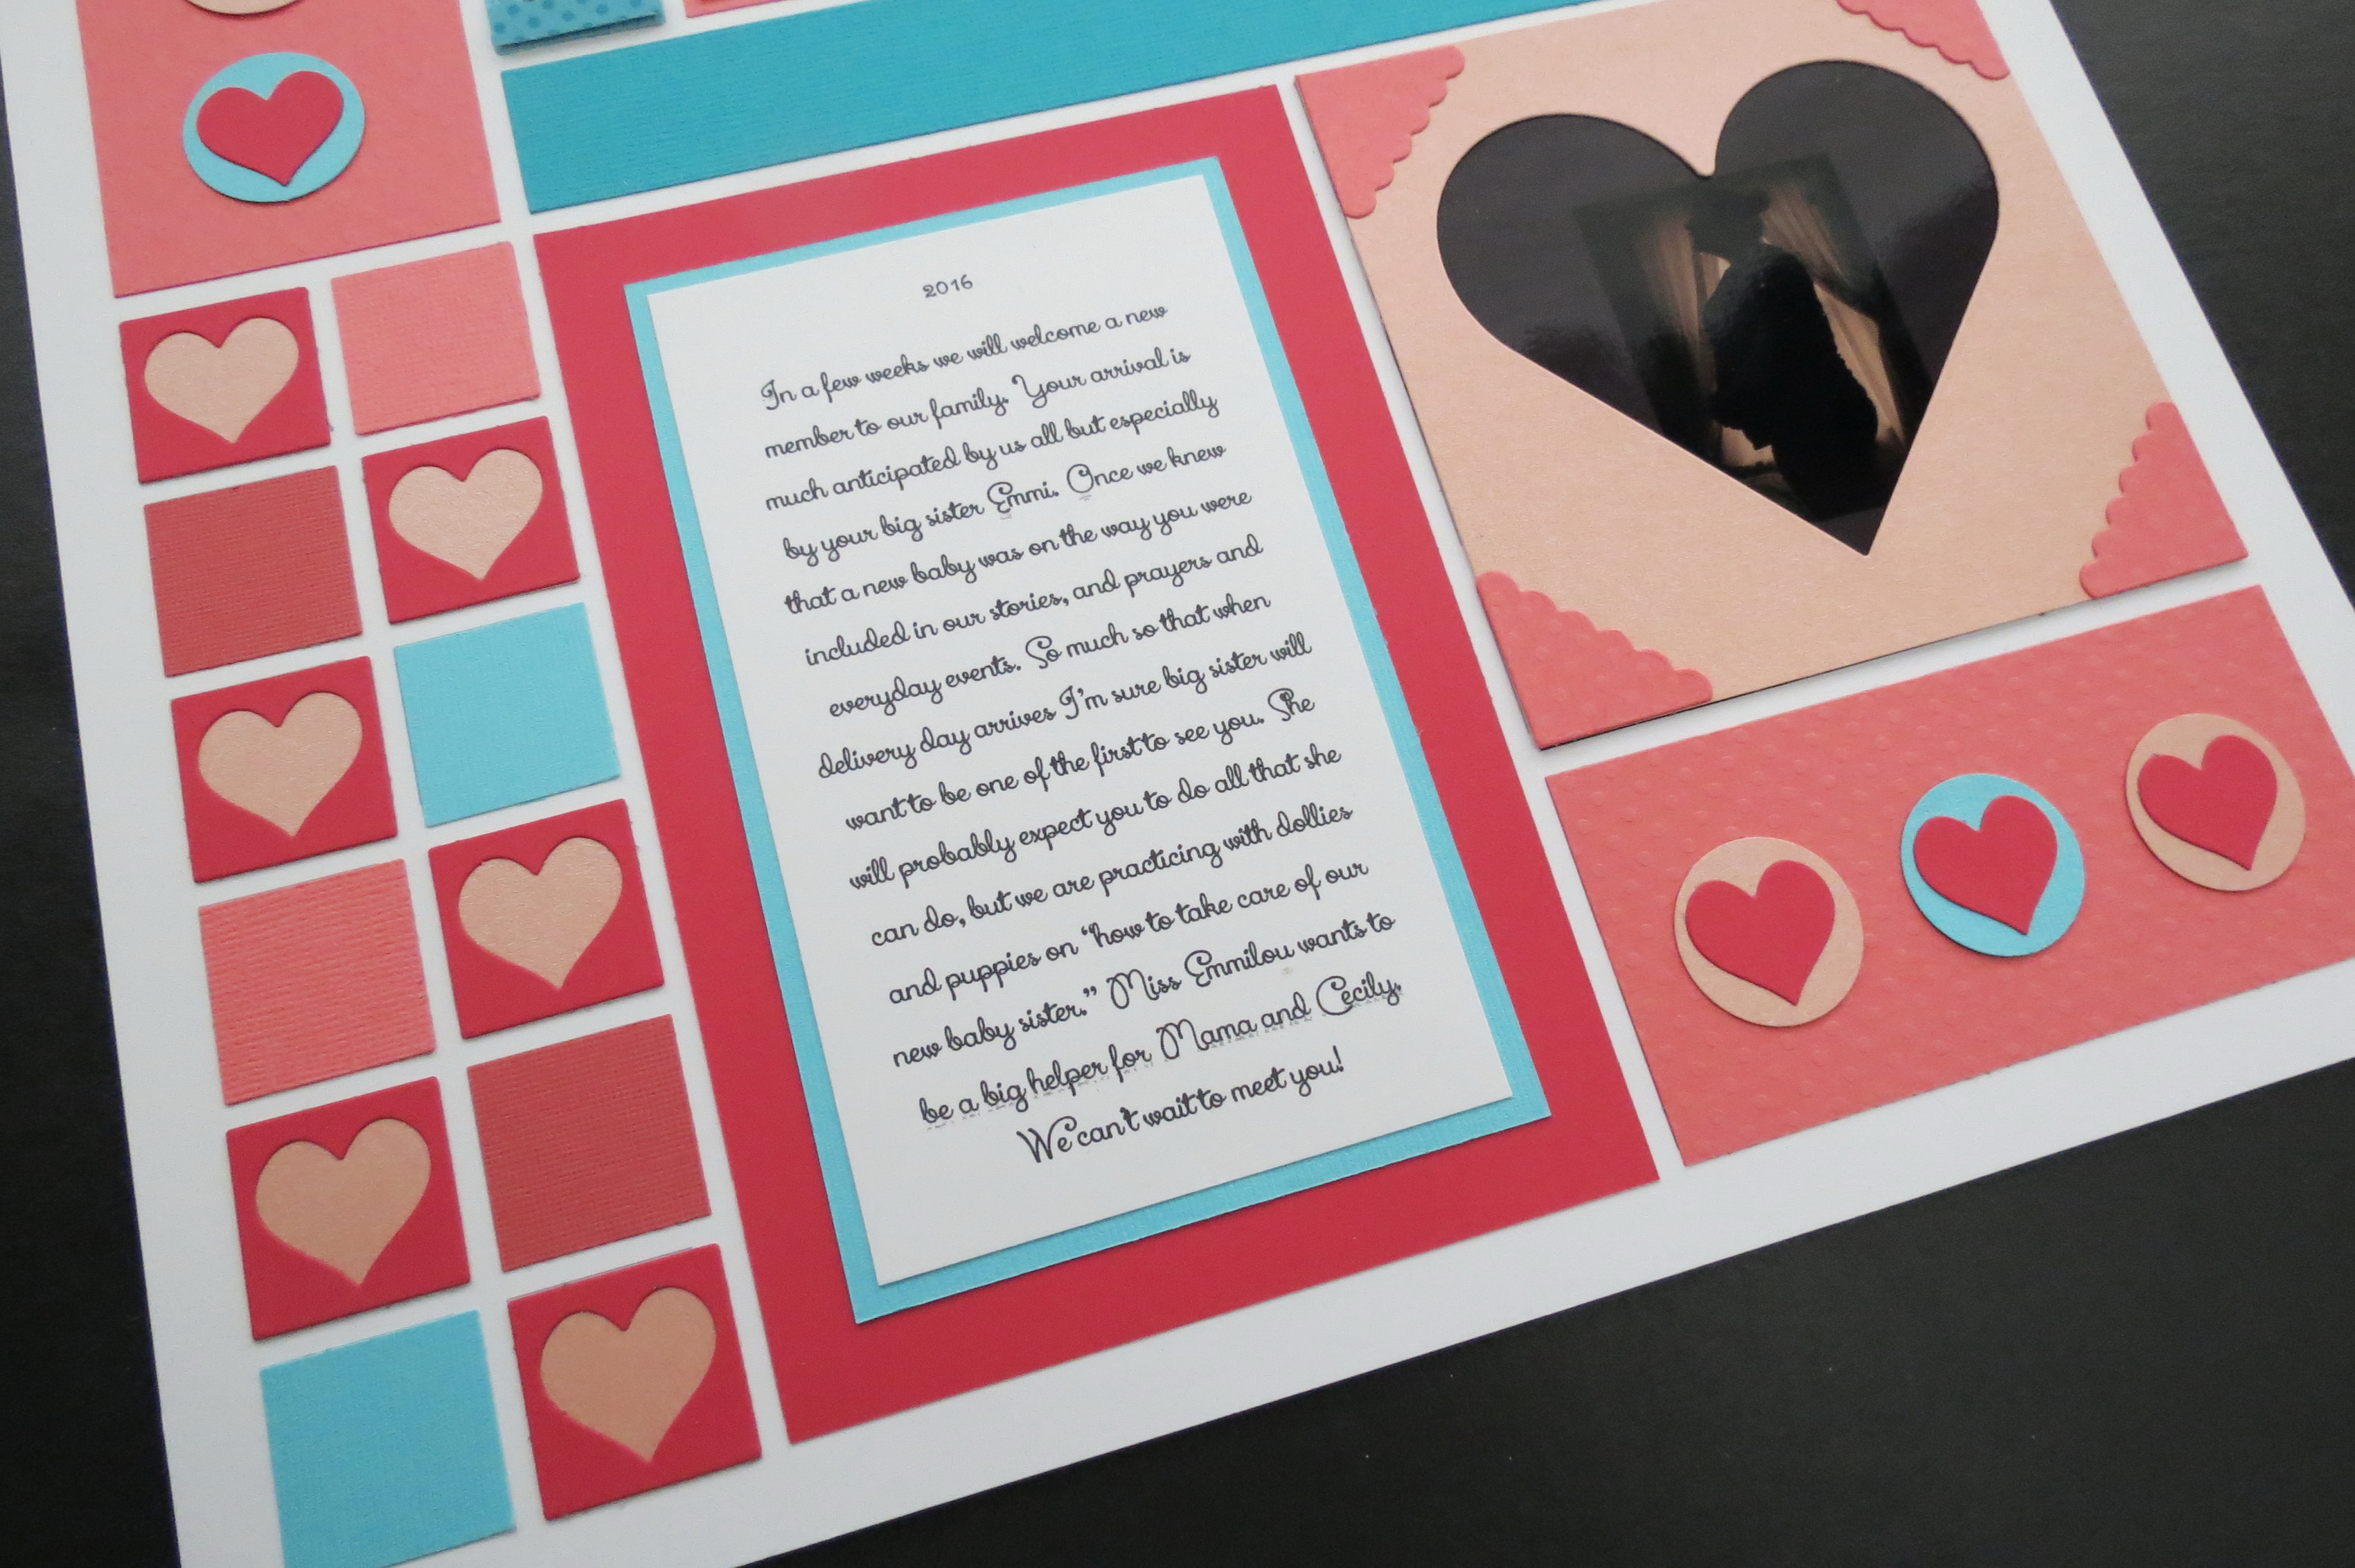
MM TYS journaling block with the story. 1″ heart frames and Square Heart frame with scallop corner tiles
The large square features my photo in a heart frame topped with the scalloped photo corner tiles.
The top right rectangle is where the title is placed.
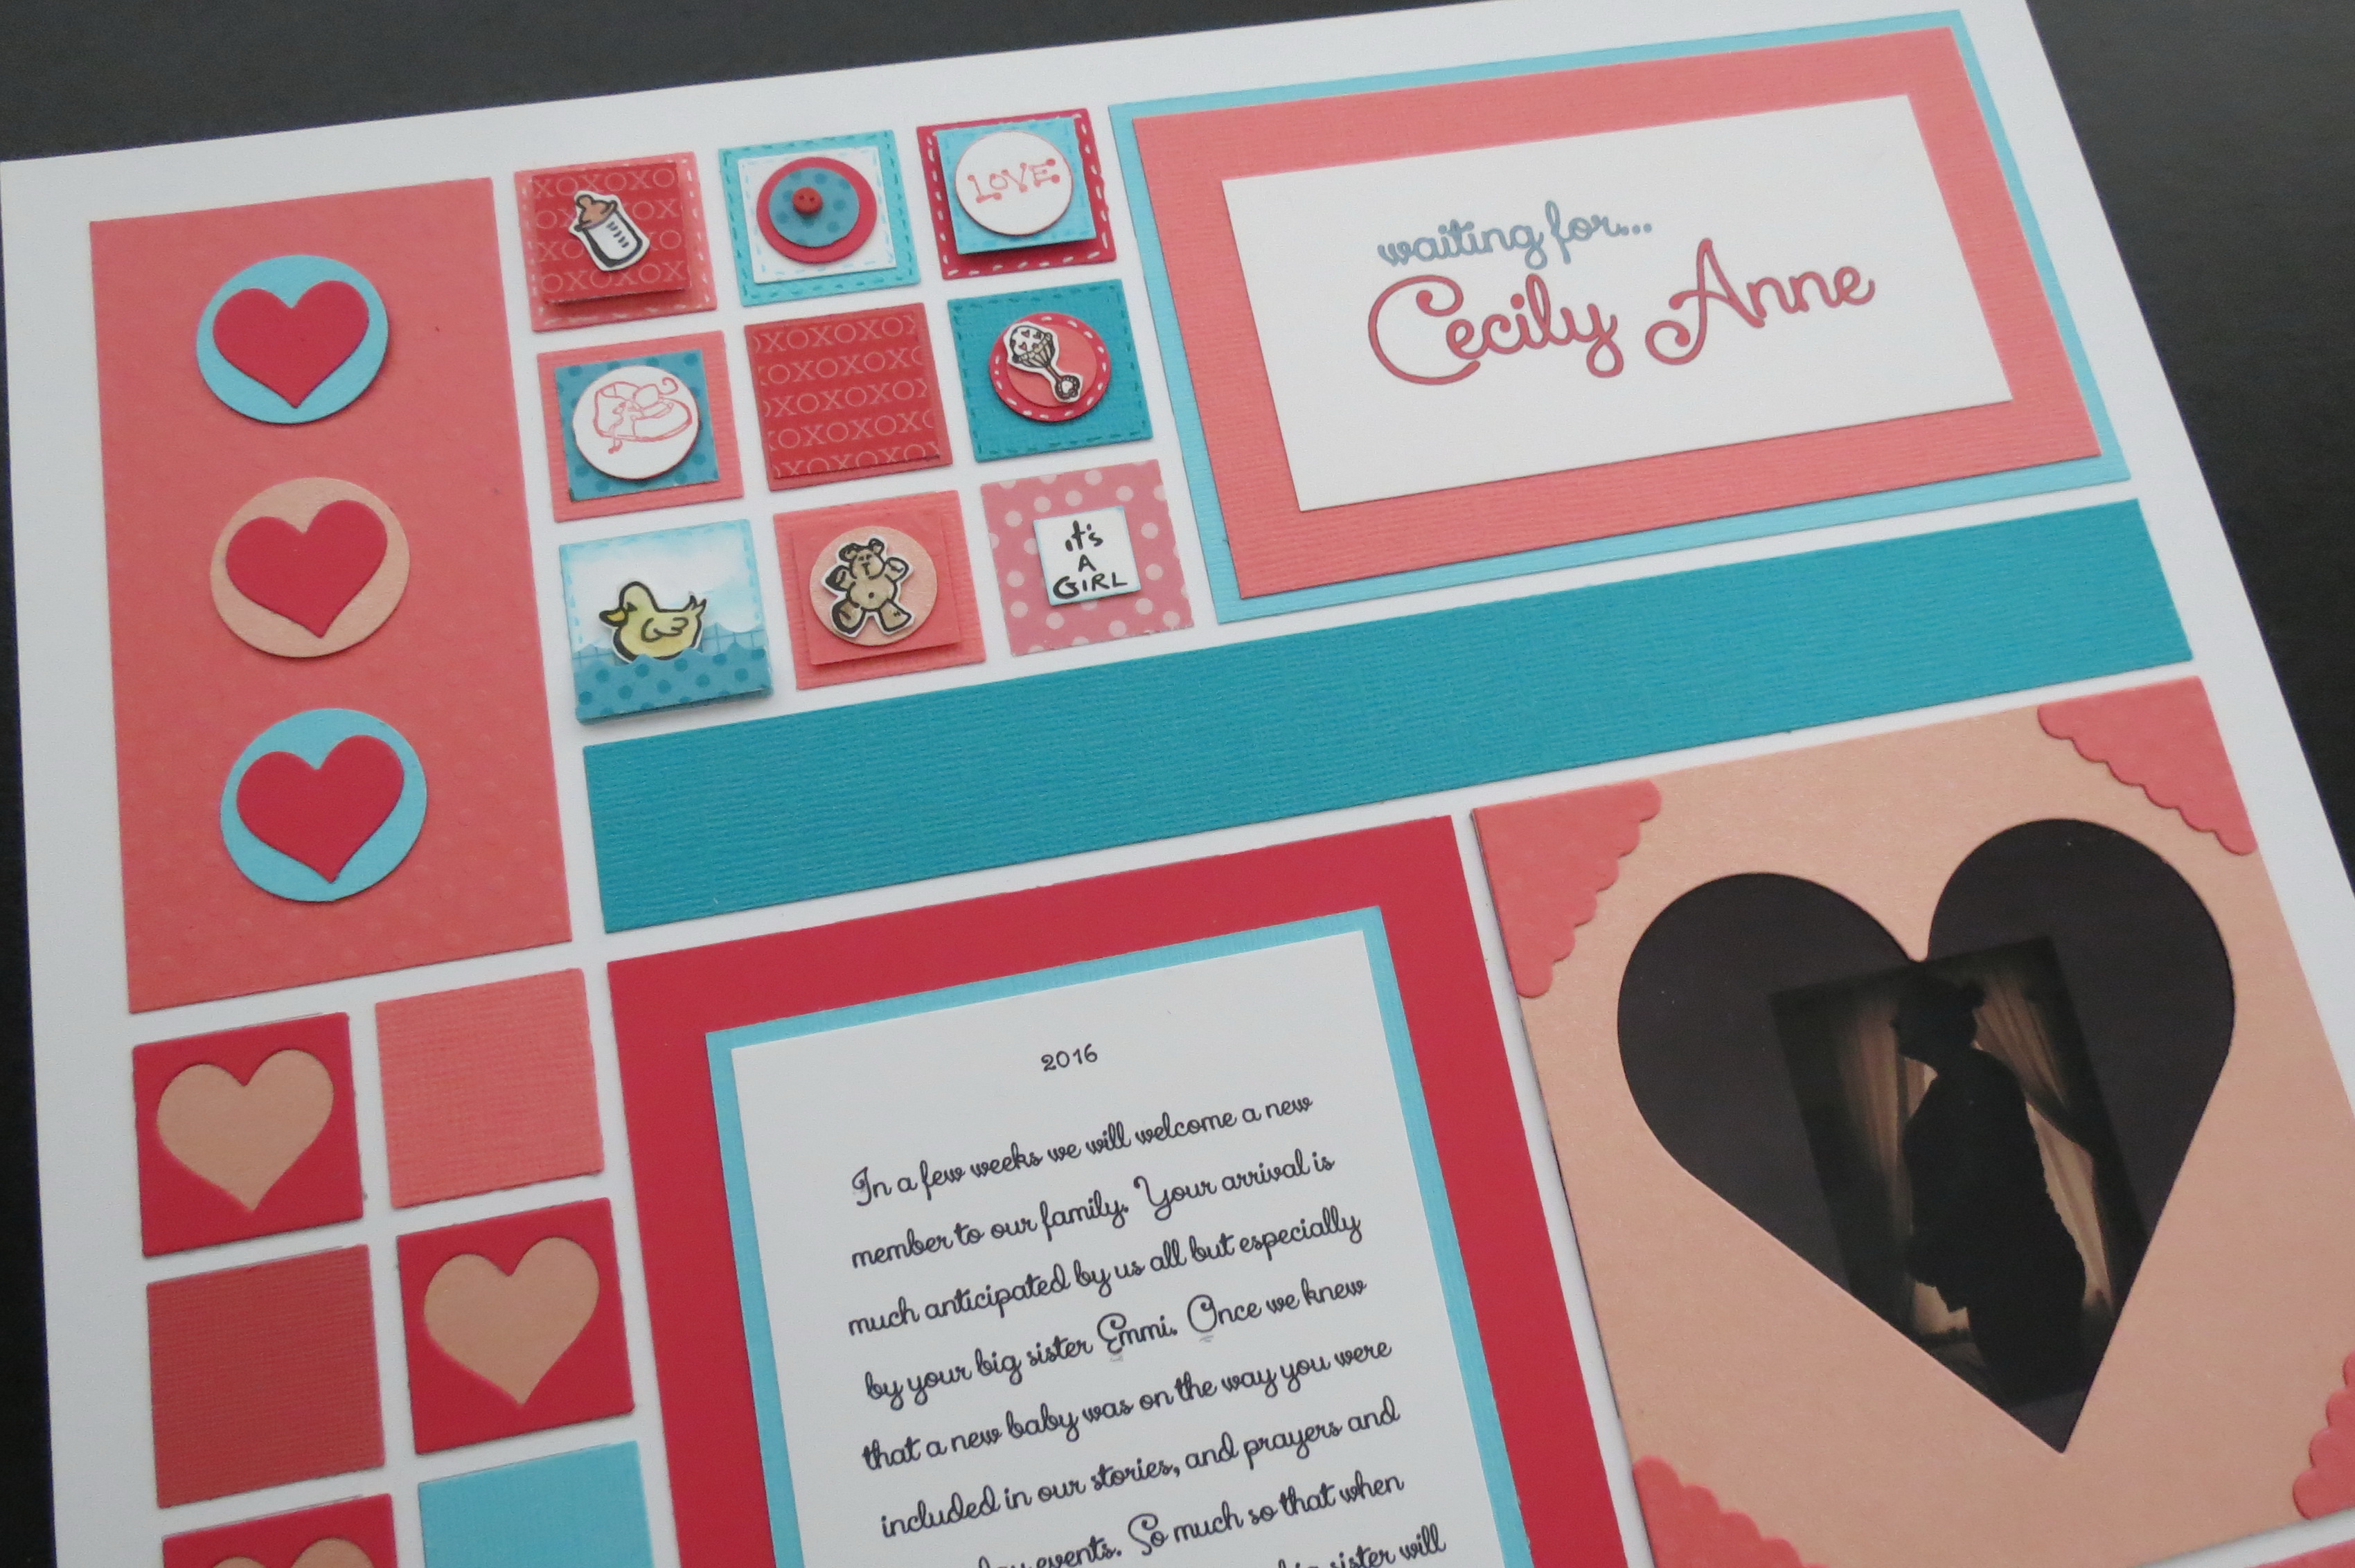
MM TYS Title Block, Inchies 9-patch block and square heart frame with scallop corner tiles
The remaining two rectangles match in vertical and horizontal spots with three 1” circles and topped with the extra hearts that remain from the heart frame tiles.
The section on the left with 1” tiles were a good spot to feature the 1” heart frame tile in a checkerboard pattern with pearl cardstock backing, and the alternating tiles in various 1” cardstock tiles of colors used in the rest of the layout.
MM TYS Waiting for Cecily Anne baby layout with Inchies and matching card. Using Mosaic Moments 1″ heart frame tile and scallop corner tiles
Finally, I reserved the top 9-patch section of 1” squares to do something I’ve wanted to do for a while and that is an inchies piece! I duplicated this section on a single 4×4 section of RTC Grid for the accompanying card.
Inchies are an art form worked in 1” square sizes, hence the name “inchies”. For more ideas on inchies you can see them on Pinterest here. Our RTC grids are perfect for this style and I hope to incorporate more inchie squares as the year unfolds.
For this section I used several mini rubber stamps with baby related images, colored and cut them to add to each of the tiles. They are layered with glue dots onto layers of patterned paper and cardstock; some are inked and some are “stitched” with Zig Markers and gel pens.
For the card I cut a 5” x 10” section of the Bazzill dotted Swiss coral Reef paper and a 4.25” square of blue to layer between the RTC and the card base. A card this size will cost more to mail, but it is perfect to place on top of a gift when you give it!

MM TYS Baby card using Mosaic Moments 4×4 RTC Grid paper and the Inchies Style is perfect for our smaller grids.
Do you have a story you want to tell about someone special? Planning something for someone you love? You may enjoy adapting this layout with colors to fit the occasion and Tell Your Story with a little heart!
Andrea Fisher
See our Pinterest boards and this pin in our idea board.
MM TYS 1″ Heart frame die and Inchies make this waiting for baby layout pure sweetness.