
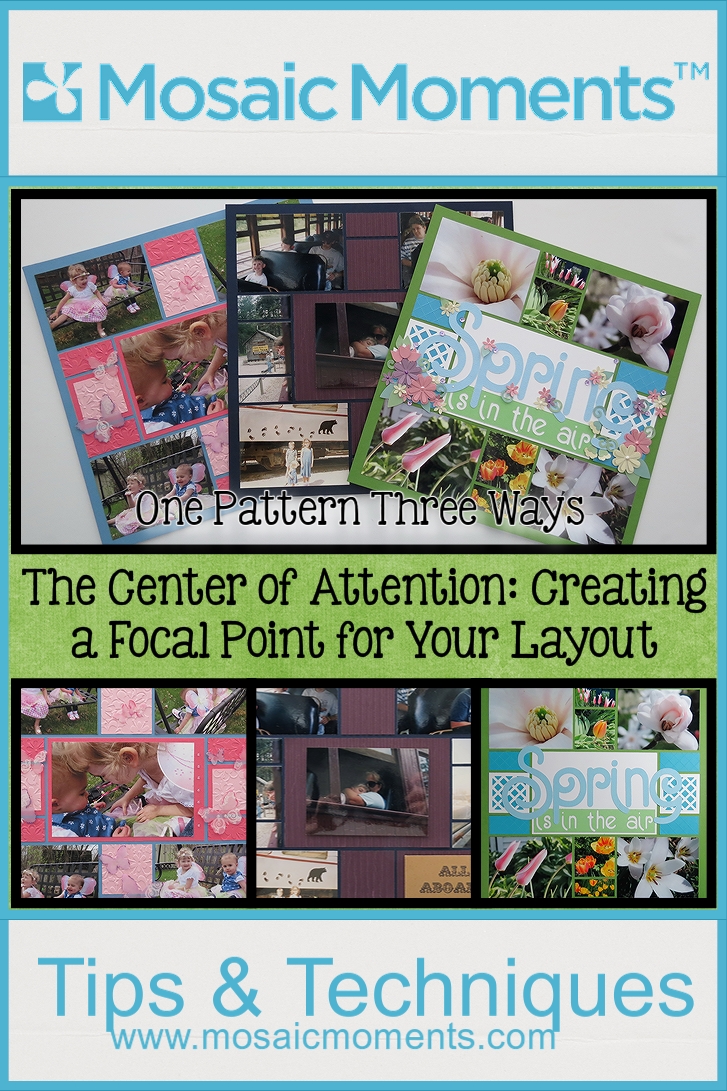
One Pattern 3 Ways
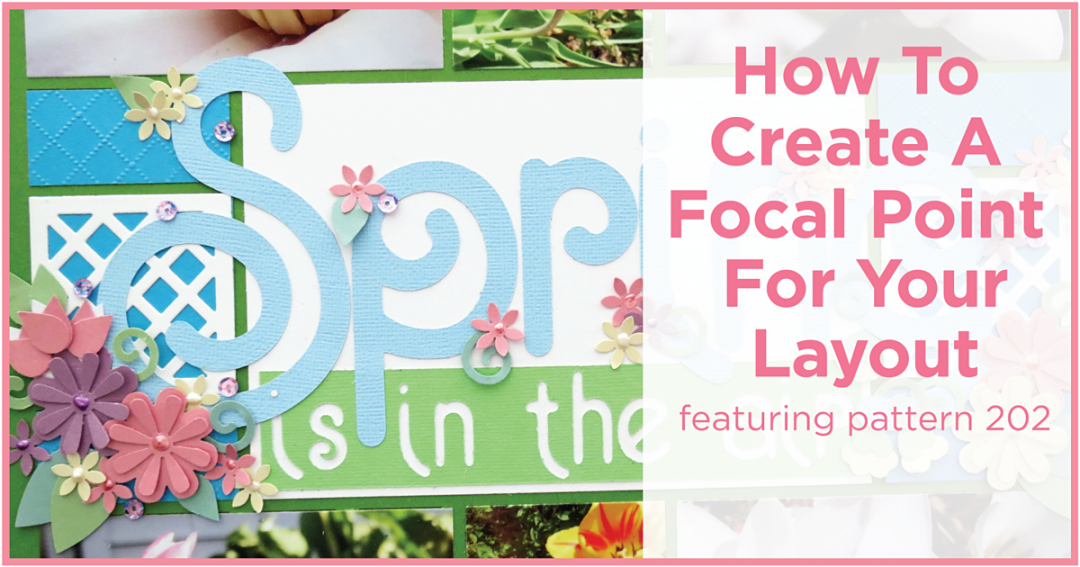
The Center of Attention: Creating a Focal Point in Your Layout
It’s time to take one pattern, this time Pattern #202, and show you three different ways you can create a focal point that is the center of attention with a special photo, technique or title to enhance your layout.

Mosaic Moments Pattern #202
A Technique
MM Focal Point: A Technique embossing background Paper Tiles
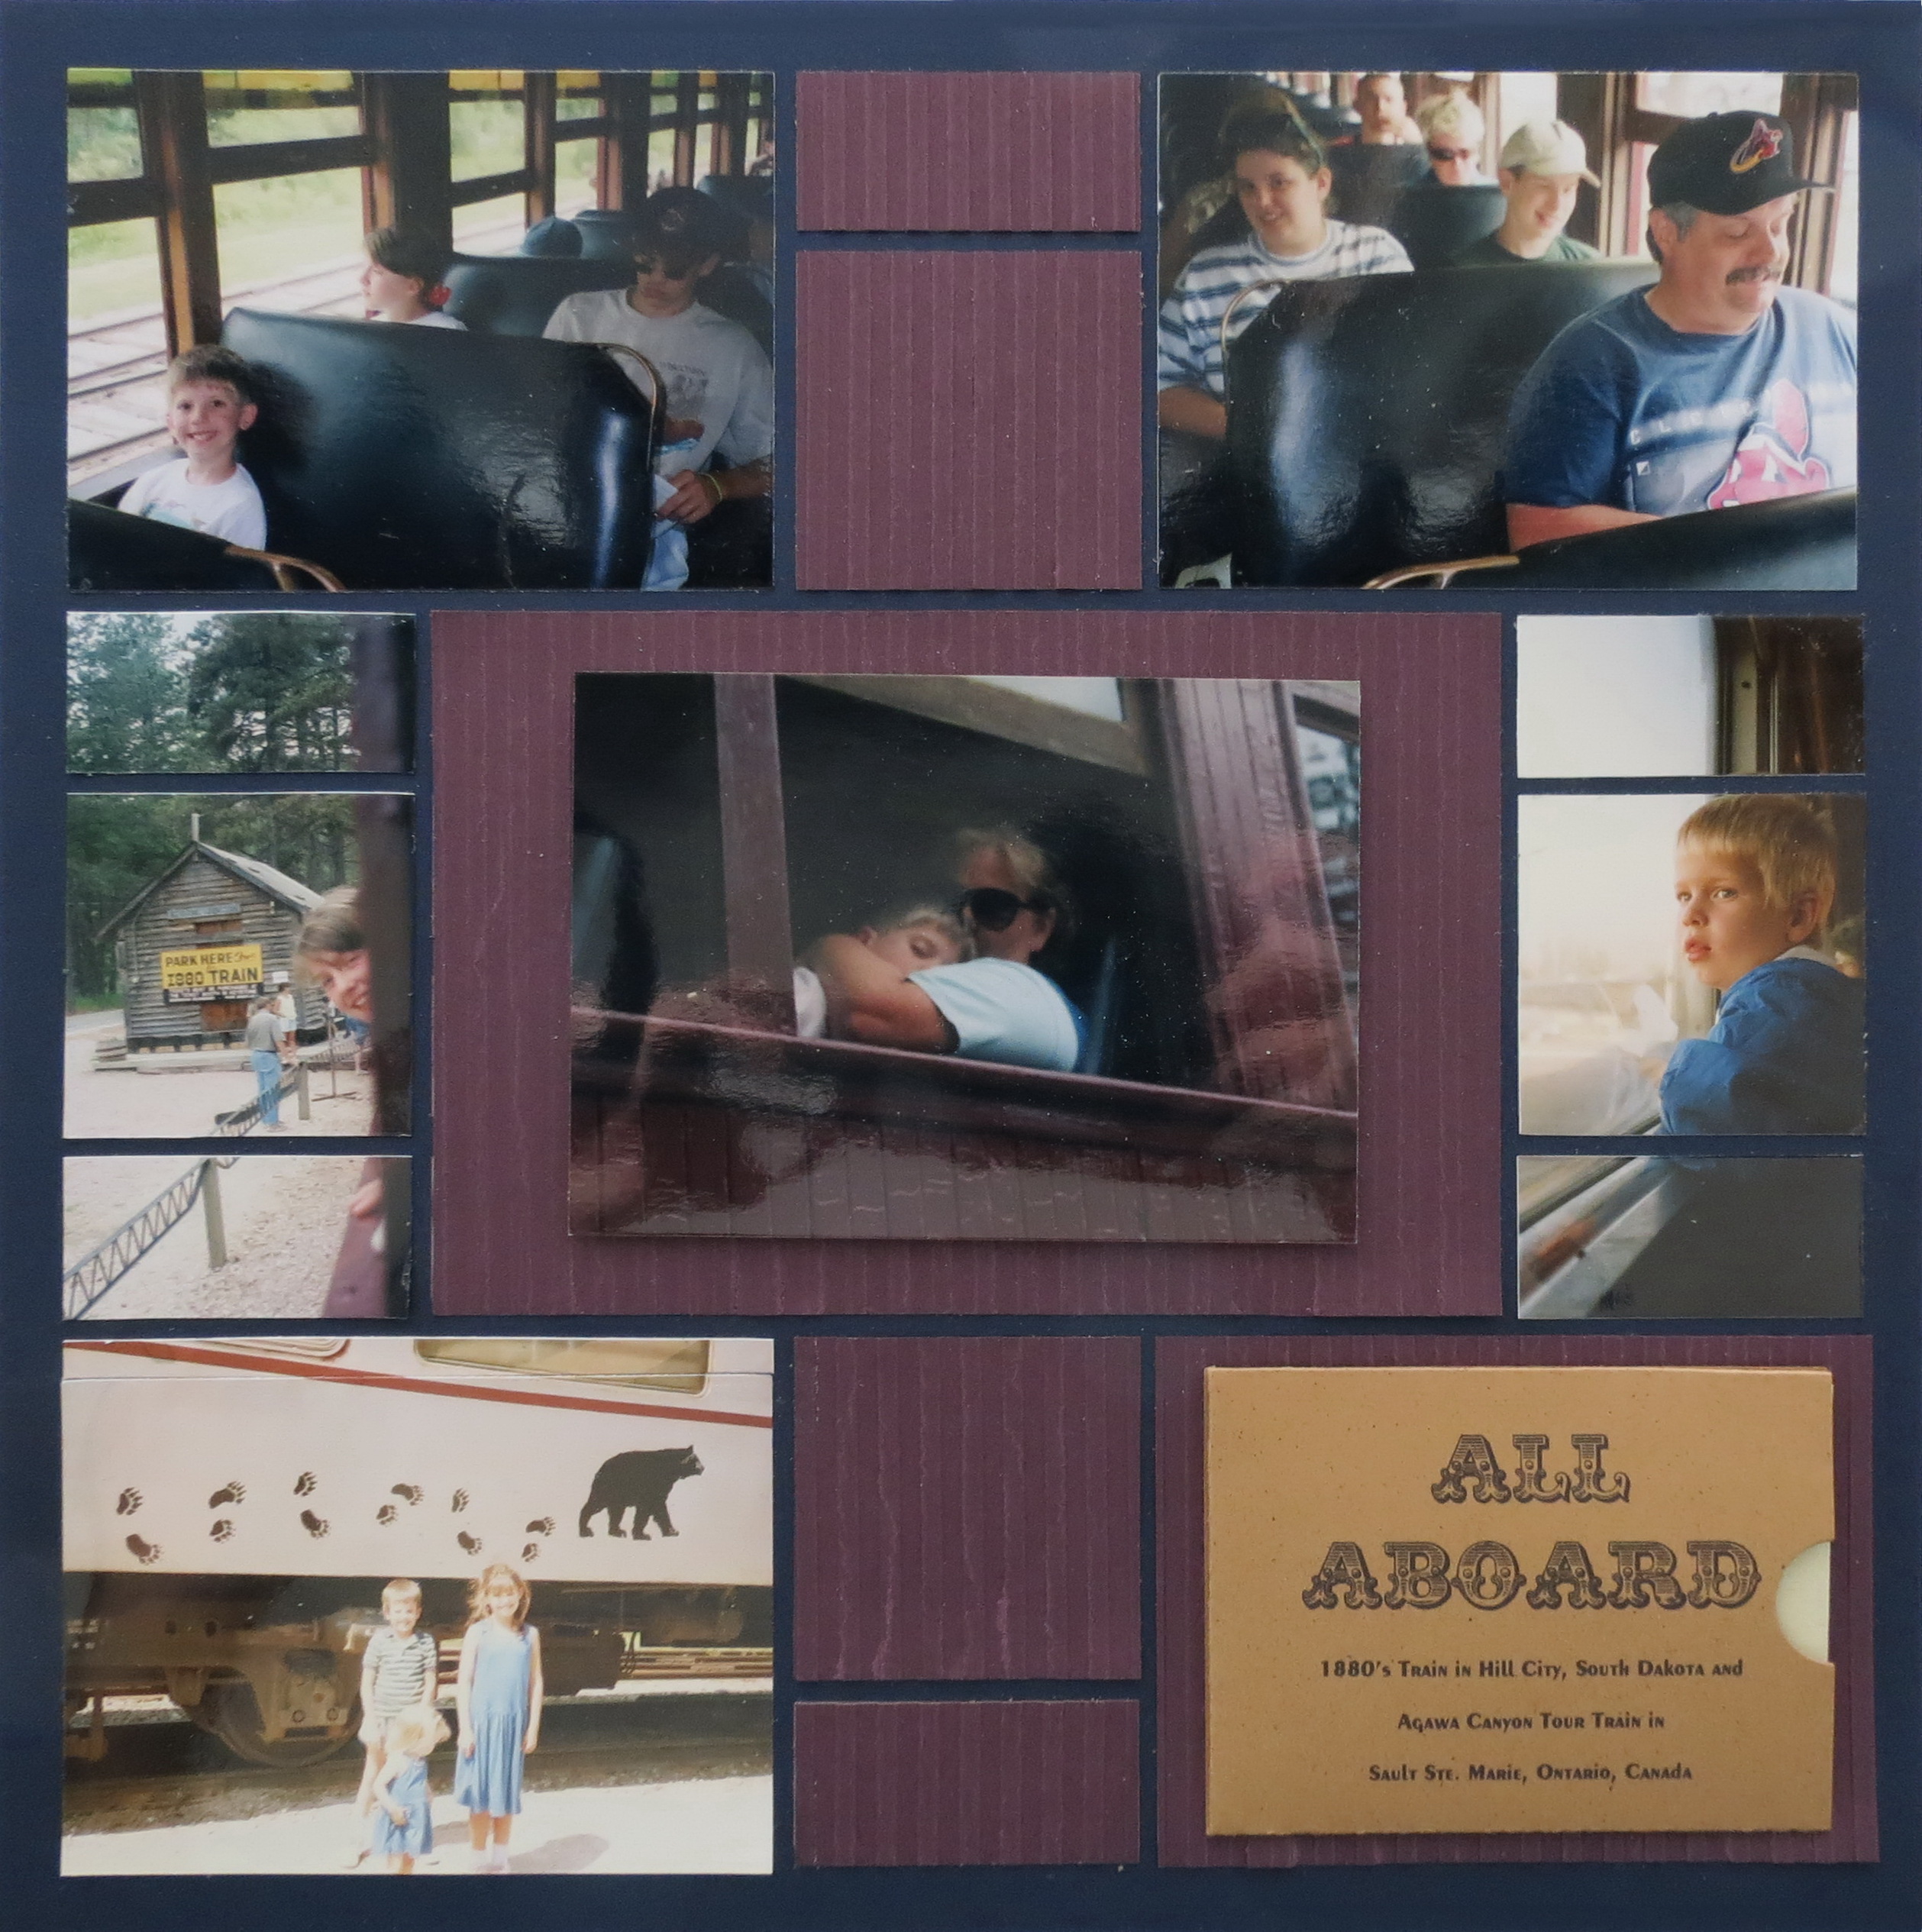
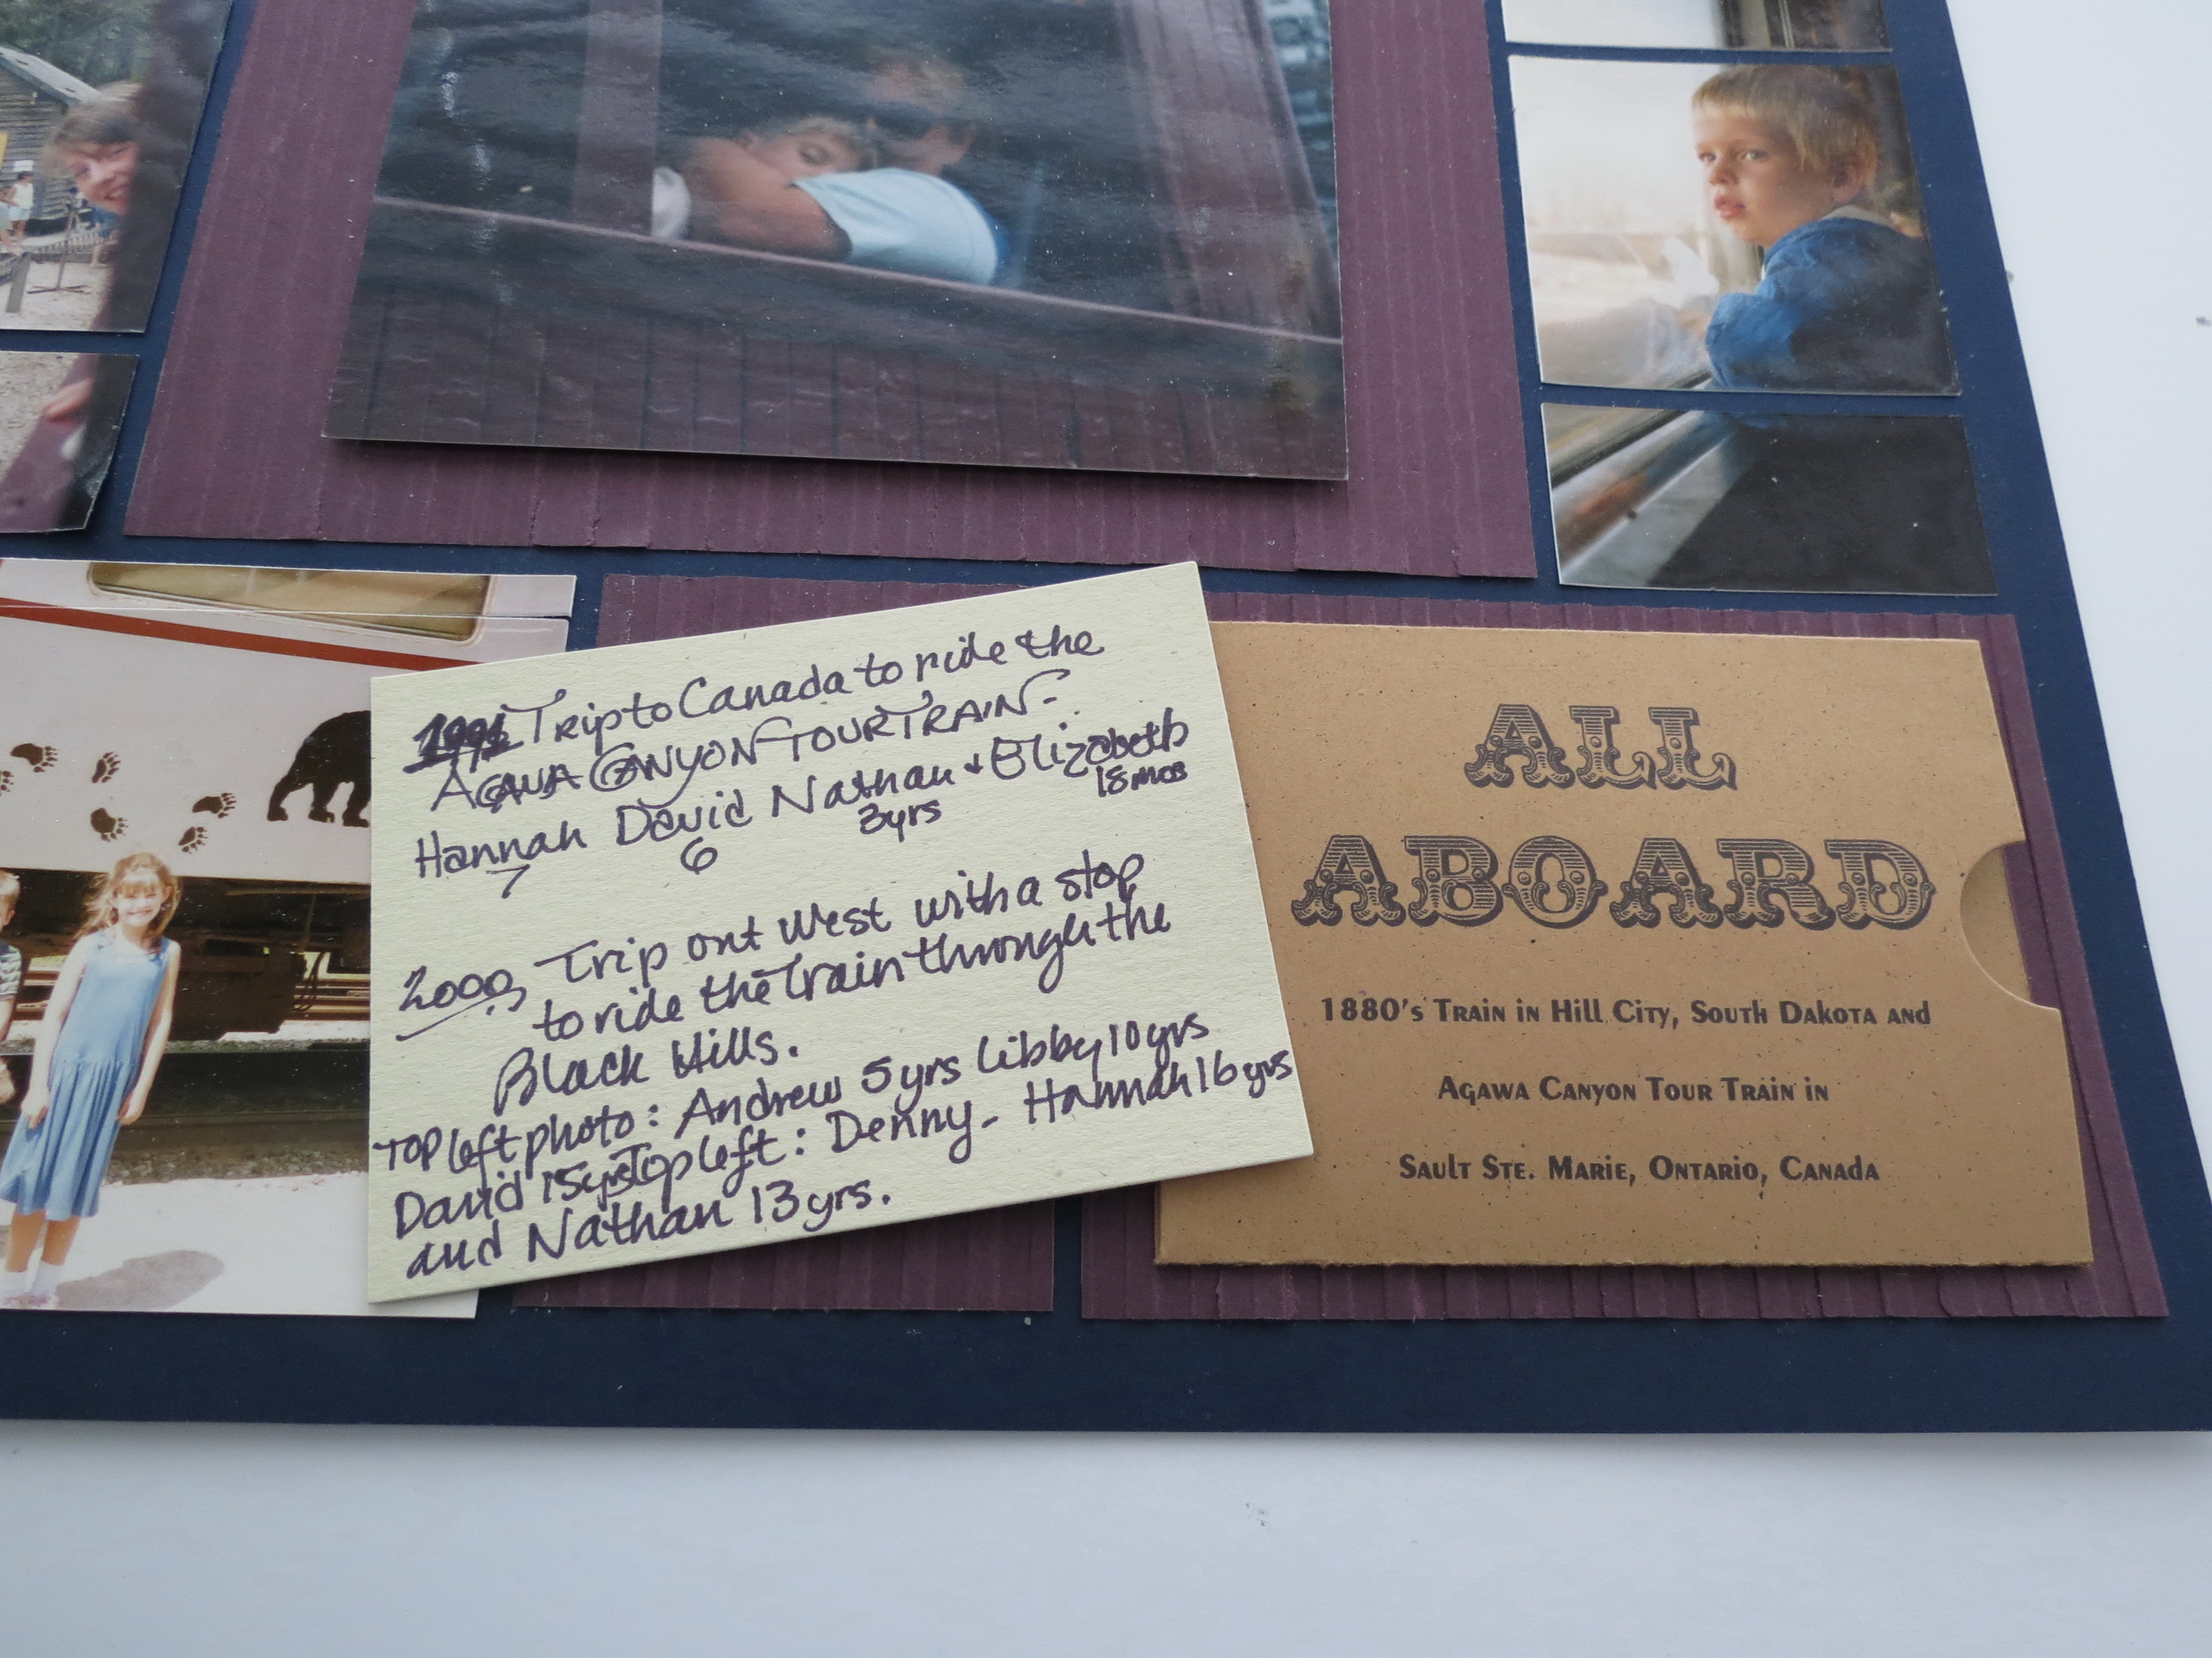
LAYOUT ONE: “All Aboard”
The focal point: Embossed paper tile background, smaller center photo, hidden journaling behind the title
Let’s begin with several photos of a couple of train rides I had remaining from our Tell Your Story post this month. These included more pictures of the family than the focus was on in that post, but still felt like they could be related by topic and add to that story, so a third page evolved. I kept the navy 12 x 12 Mosaic Moments Grid as in the original, but it will stand alone as well.
Most of the photos were horizontal so the search was on for a pattern that would accommodate as many as possible. I don’t know about you, but most of my photos tend to be horizontal and sometimes this makes the pattern search a bit intense.
There are a lot of great patterns for strips and mosaic style pages, but this is not the best choice for photos with people! I narrowed down my choices and went with Pattern # 202 a symmetrical pattern that can hold up to 5 horizontal photos.
One photo is of my little “train guy” so excited to be on the train but too tired to stay awake for the long round trip journey. He was asleep in my arms for most of the return ride. I debated about cropping it to a 2×2 block for use in the side sections, but that would lose all the “context” of the photo. Context is important so don’t be too quick to sacrifice it.
In this case, I chose to make it the feature photo in the center spot. It is a 3.5” x 5” photo and was small for the space but a nice Paper Tile mat would help. After auditioning a few colors that were leaving me cold…I searched for something as close to the train color as possible. It turns out that our Plum Paper Tiles worked perfectly!
However it needed something…like texture…to mimic the train bead-board look. Fortunately, an embossing folder would be just the ticket. Now the other center spots where I had no photos planned became opportunities to carry the train texture and color. I think it helps to unify all the photos. For me it gives me that big train feel for the whole page and makes the photo look larger than it is.
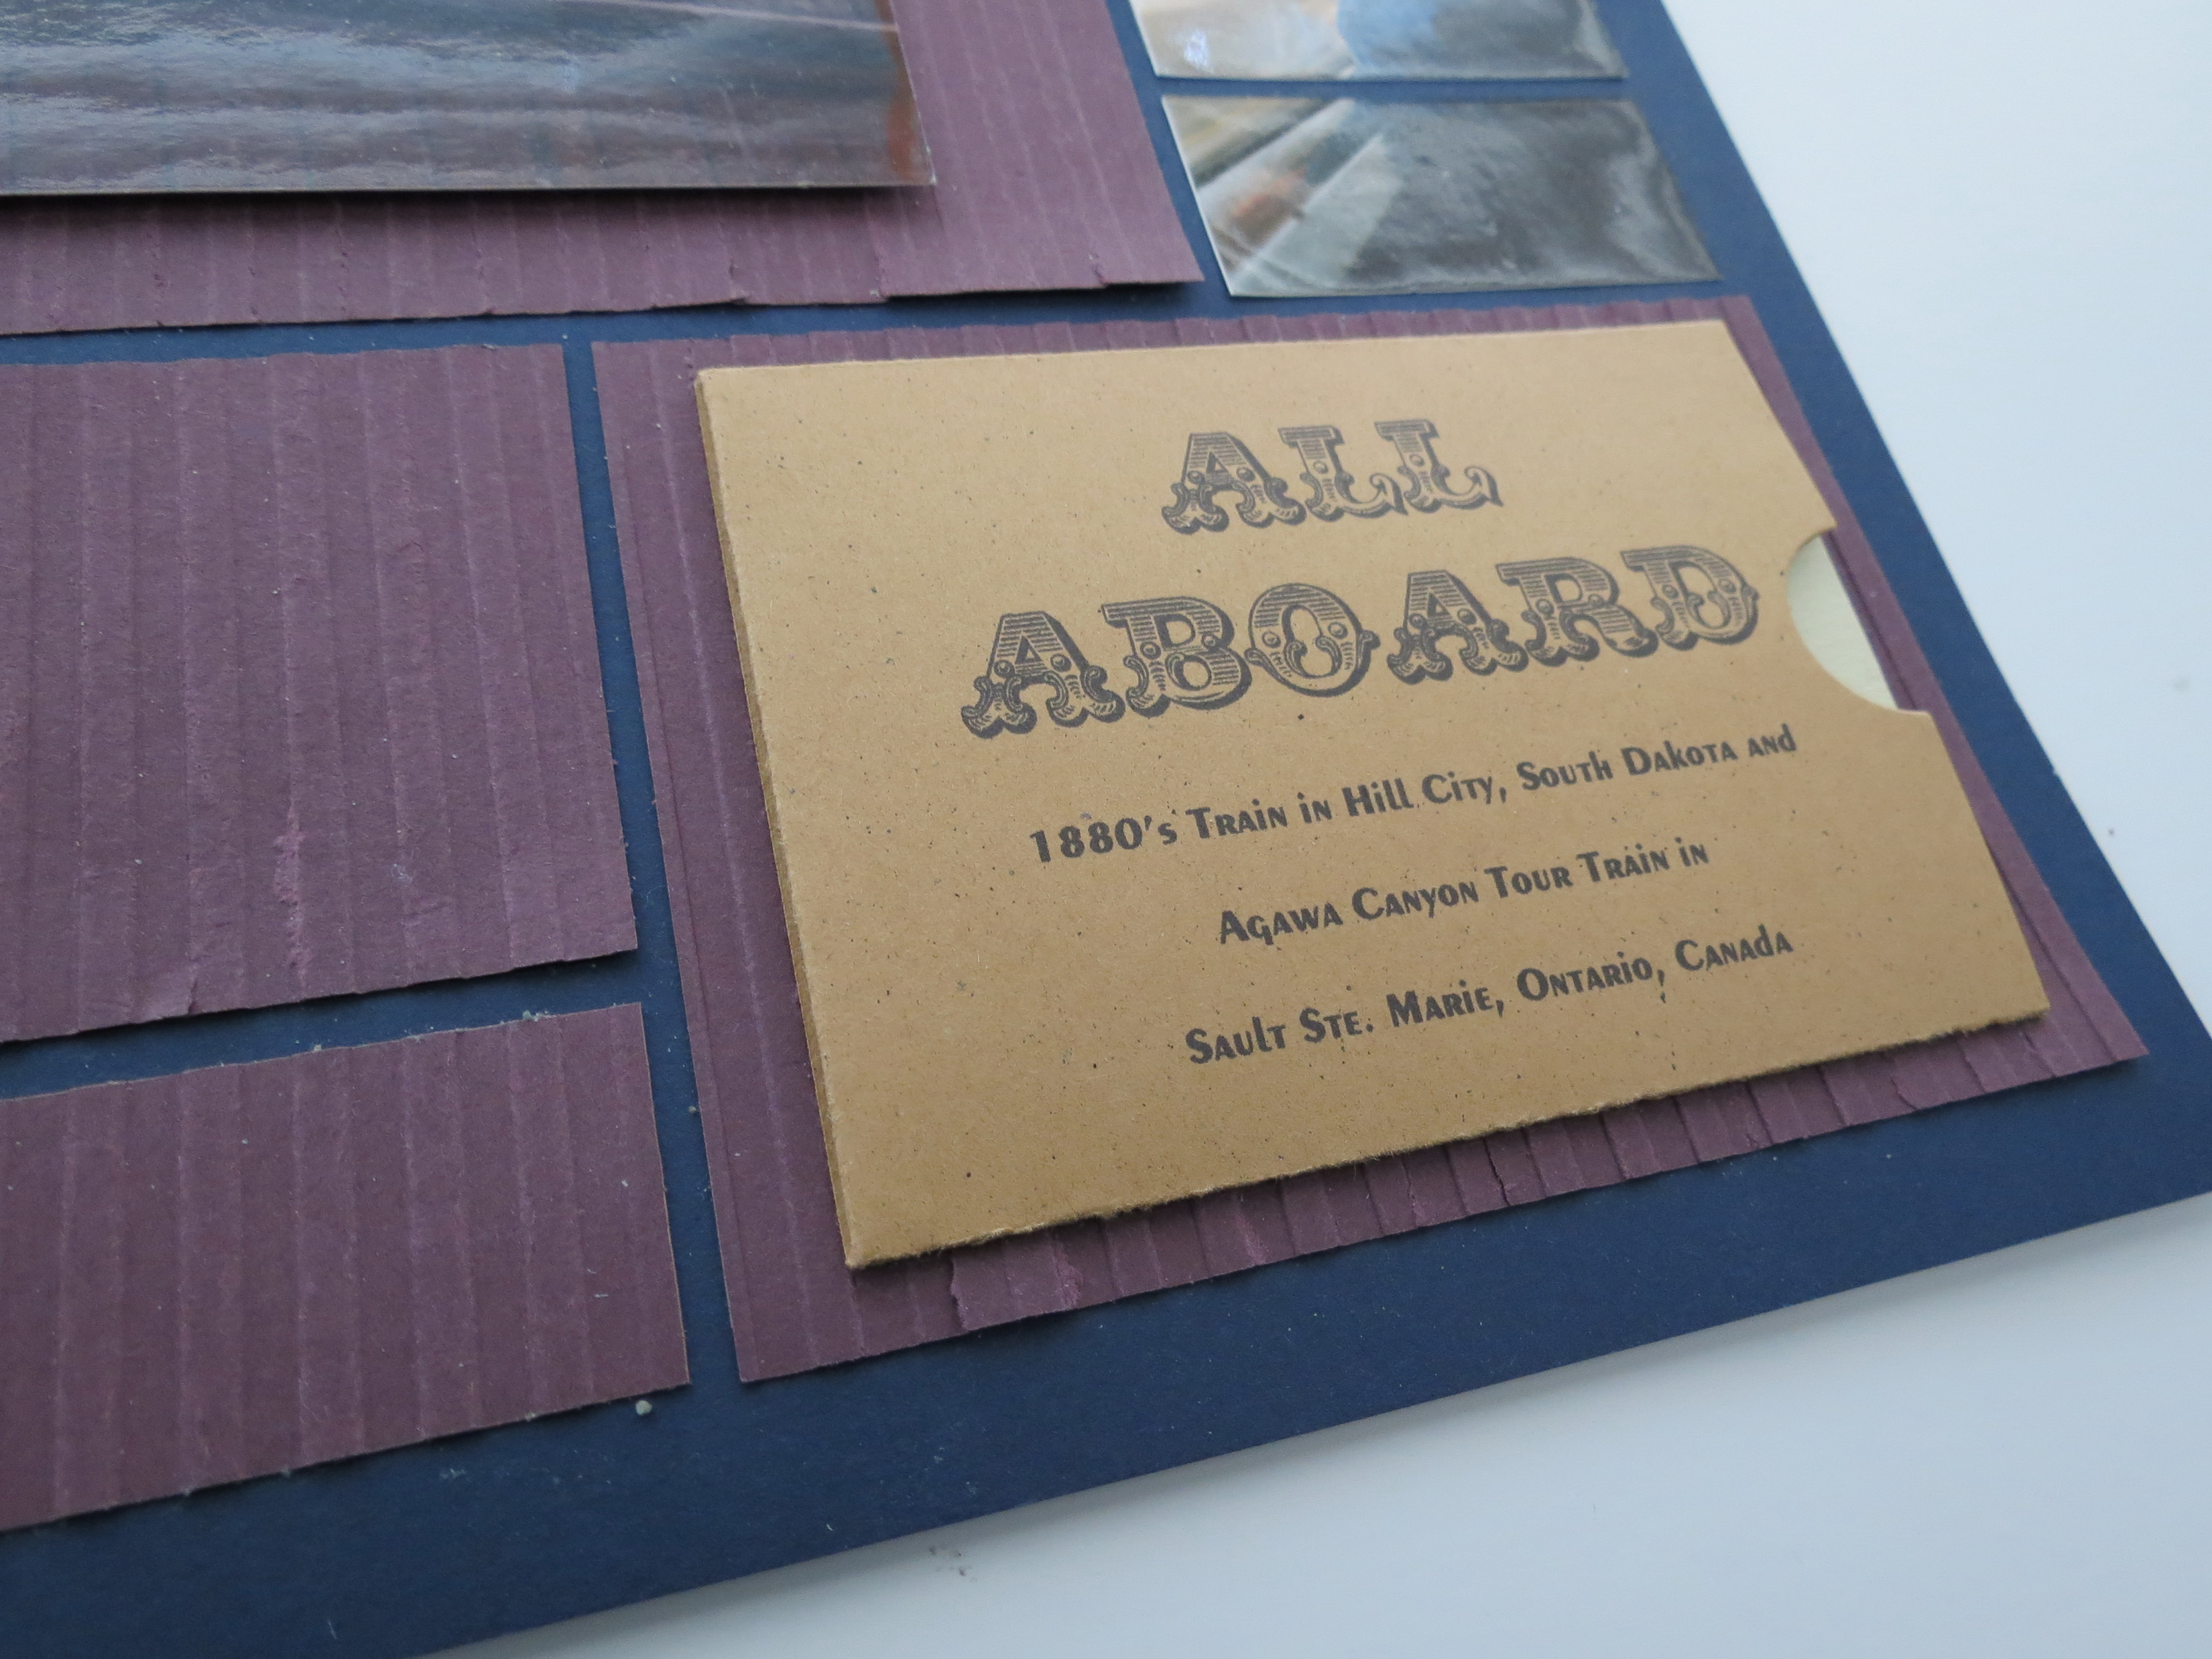
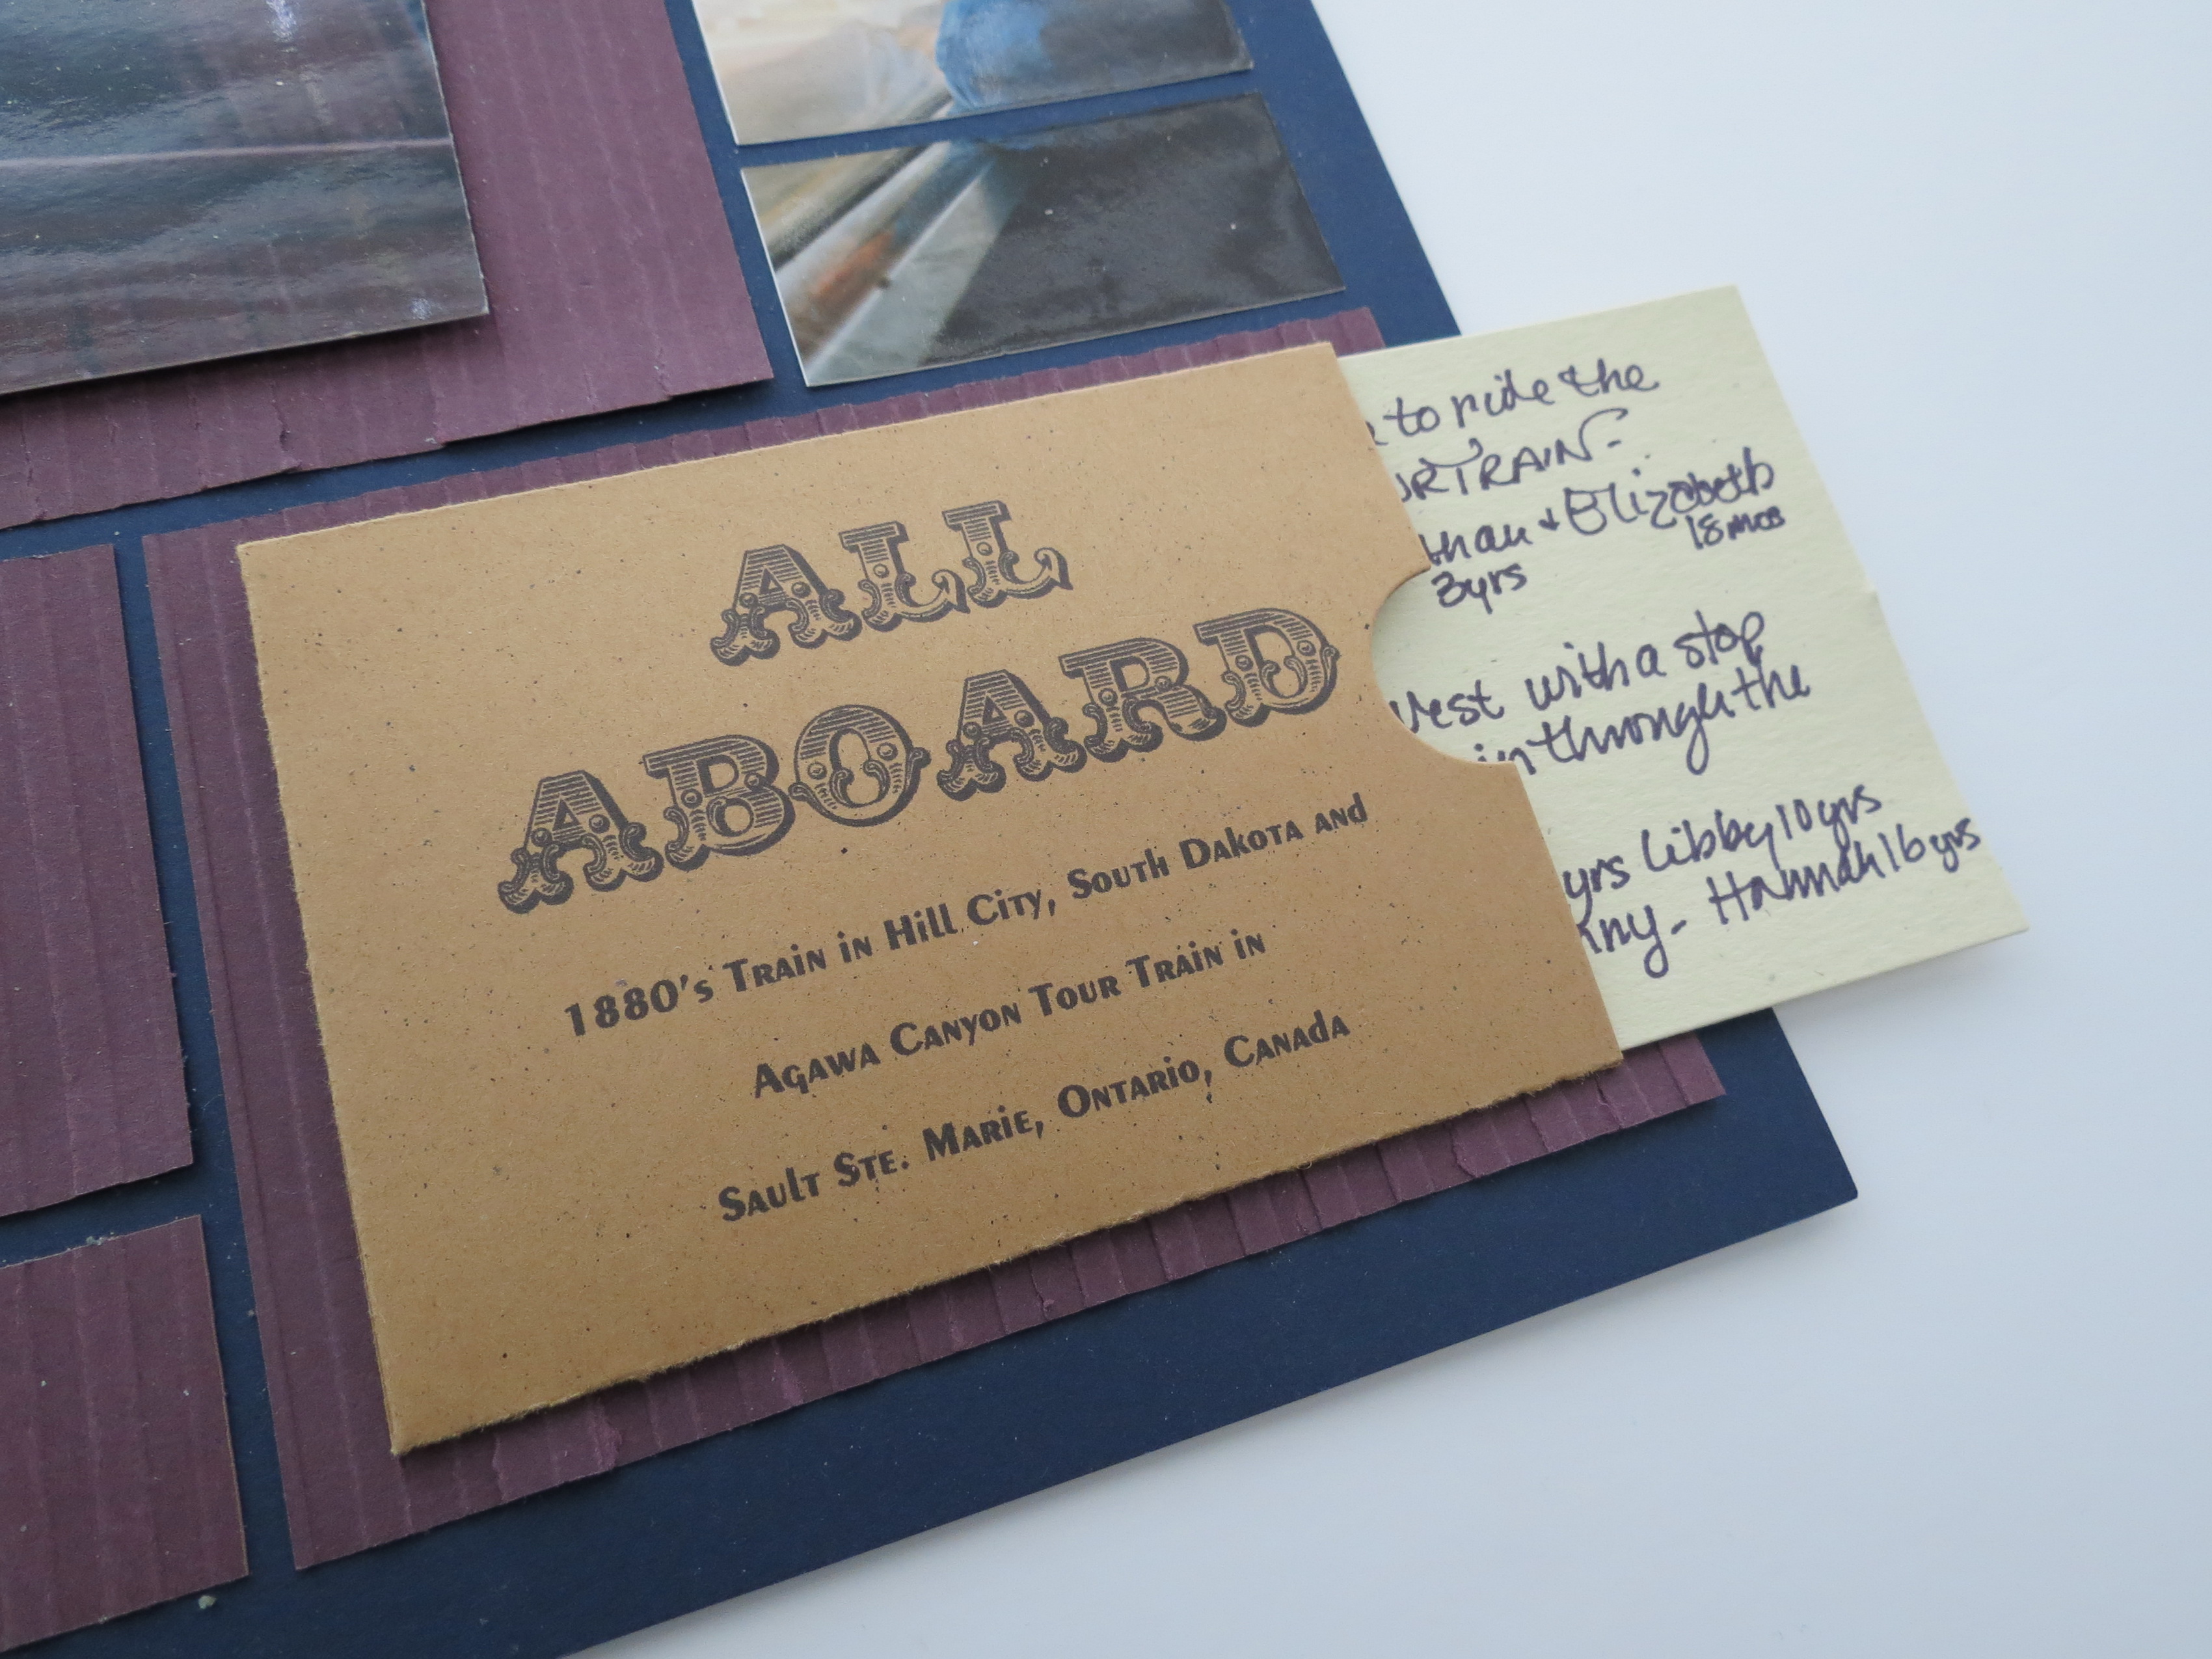
MM Focal Point hidden journaling spot
In the open rectangle in the lower right was where I wanted to include a title and details, mostly for myself to remember how old everyone was at the time, so I chose a hidden journaling solution.
This die (Papertrey Ink) is the perfect size for the spot leaving a little border all around so the embossed Plum Paper Tile can still be seen. On the outside the title (font: JF Ringmaster) is printed with the train trips and the dates. Inside the details are handwritten, mistakes and all. If you want access to this card with a slit in the page protector it can be done (see How to Here ) but there are very little extras on this page that would make removing the page difficult to do in the event that someone needed to do so.
MM Focal Point hidden journaling spot
MM Focal Point hidden journaling spot
A Photo
MM Focal Point: A Photo
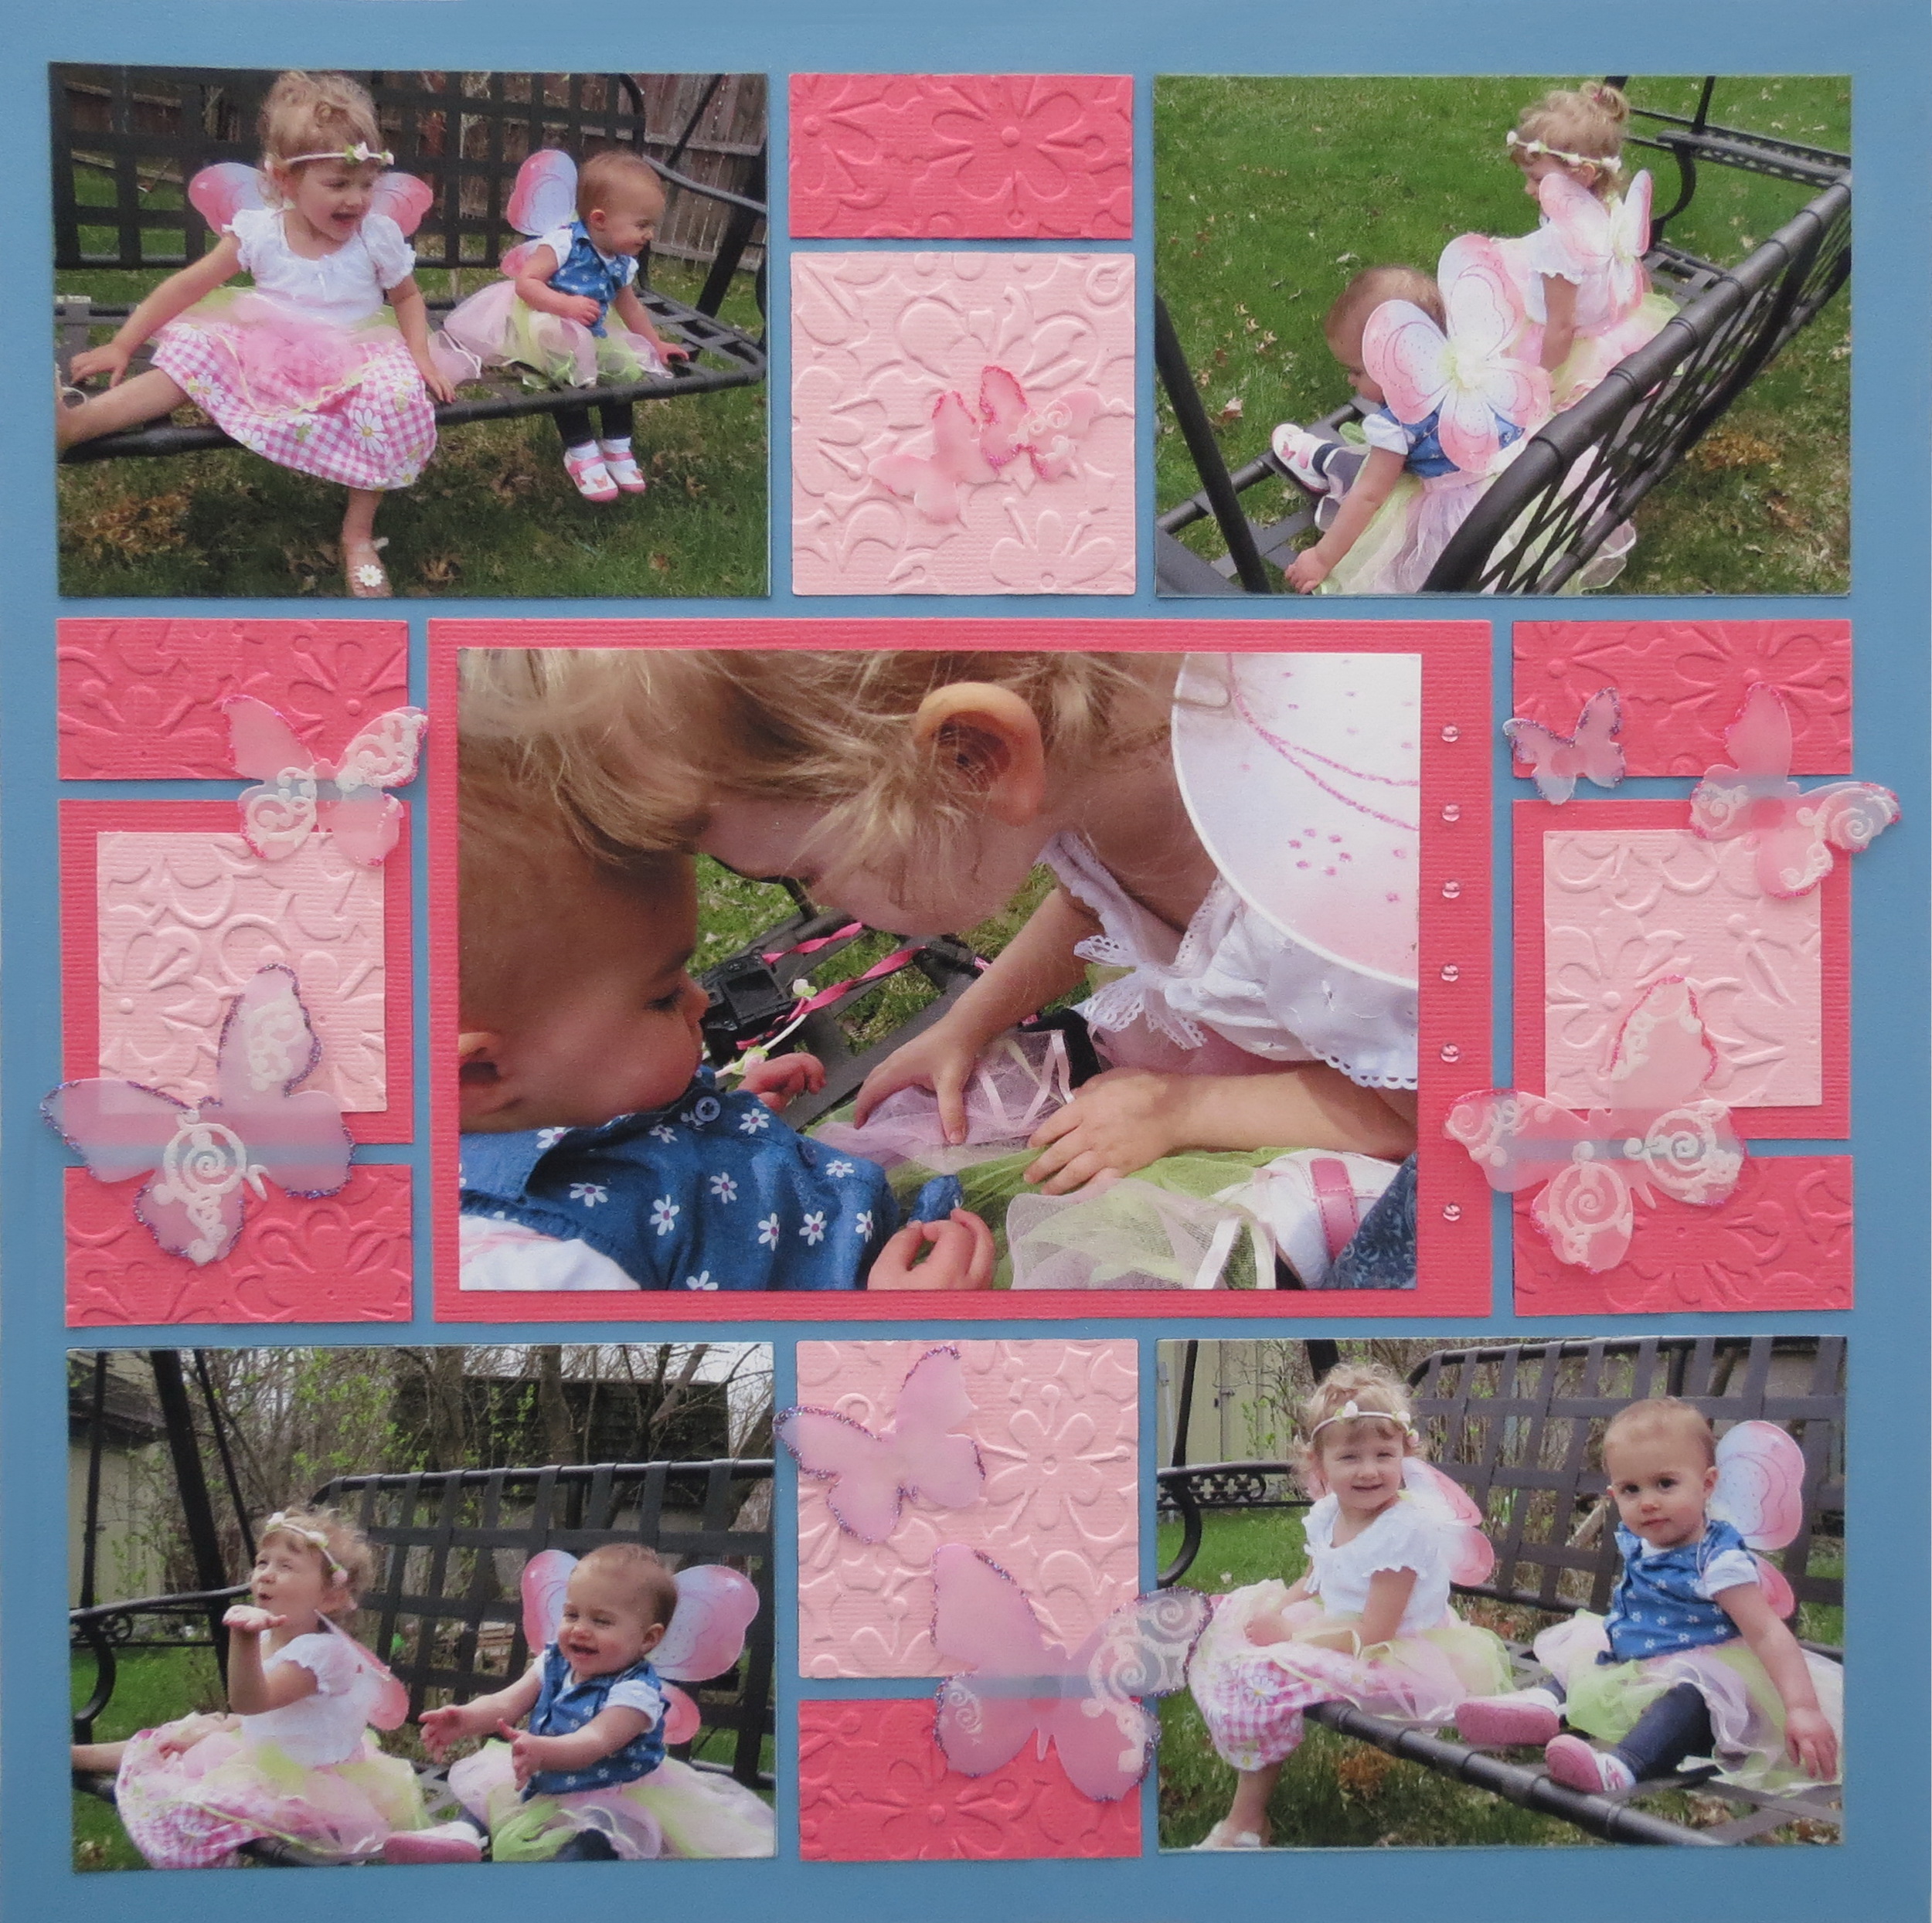
LAYOUT TWO: “My Faerie Princesses”
The focal point: Large photo, decorative backdrop of embossed cardstock sections, with added vellum and heat-embossed die cut butterflies, sequins, chalking, and glitter
The center of attention is a photo of the granddaughters. It captures the moment when the younger scraped her hand and fingers and was in tears and the older came to check it out and comfort her. It was a tender moment one I’m glad to have caught. To bring more attention to it the vertical and horizontal sections have been used for embossed cardstock sections.
Stepping up the look on the page a bit with vellum butterfly embellishments added to each of the embossed cardstock sections. The vellum butterflies are chalked, inked, stamped and heat embossed, with a touch of glitter to pick up on the look of the girl’s wings in the photo.
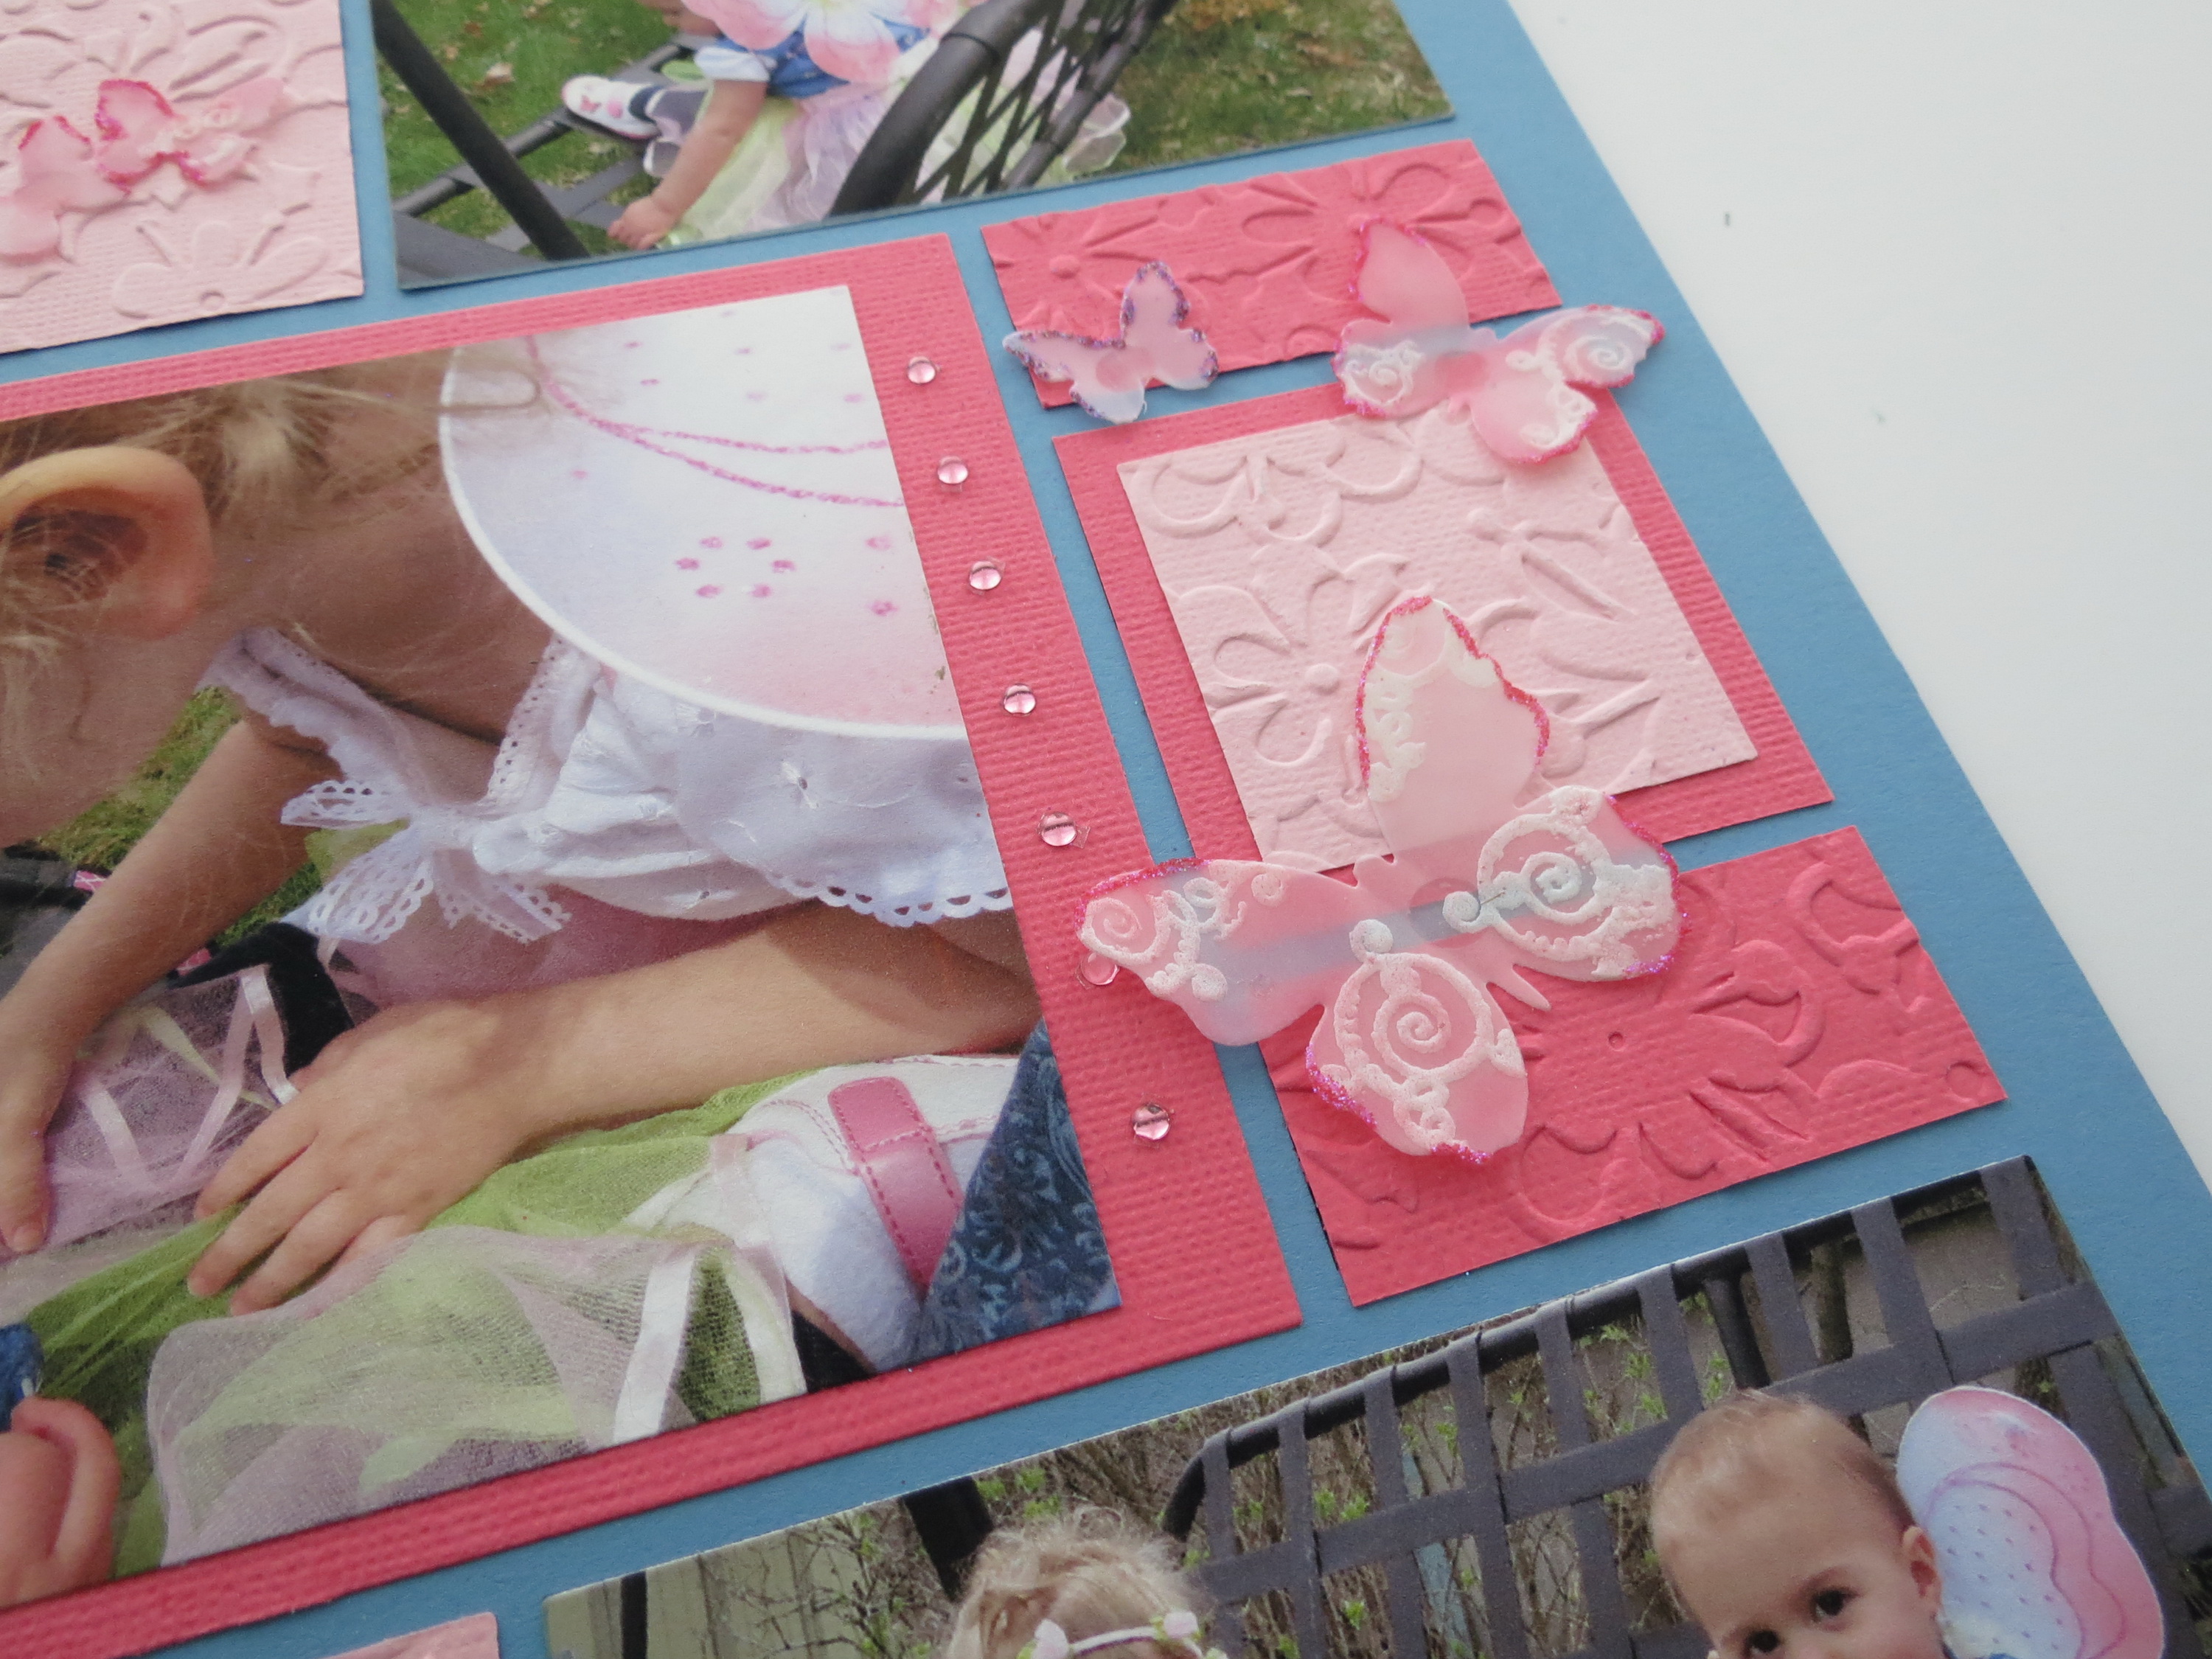
MM Focal Point Vellum Butterflies
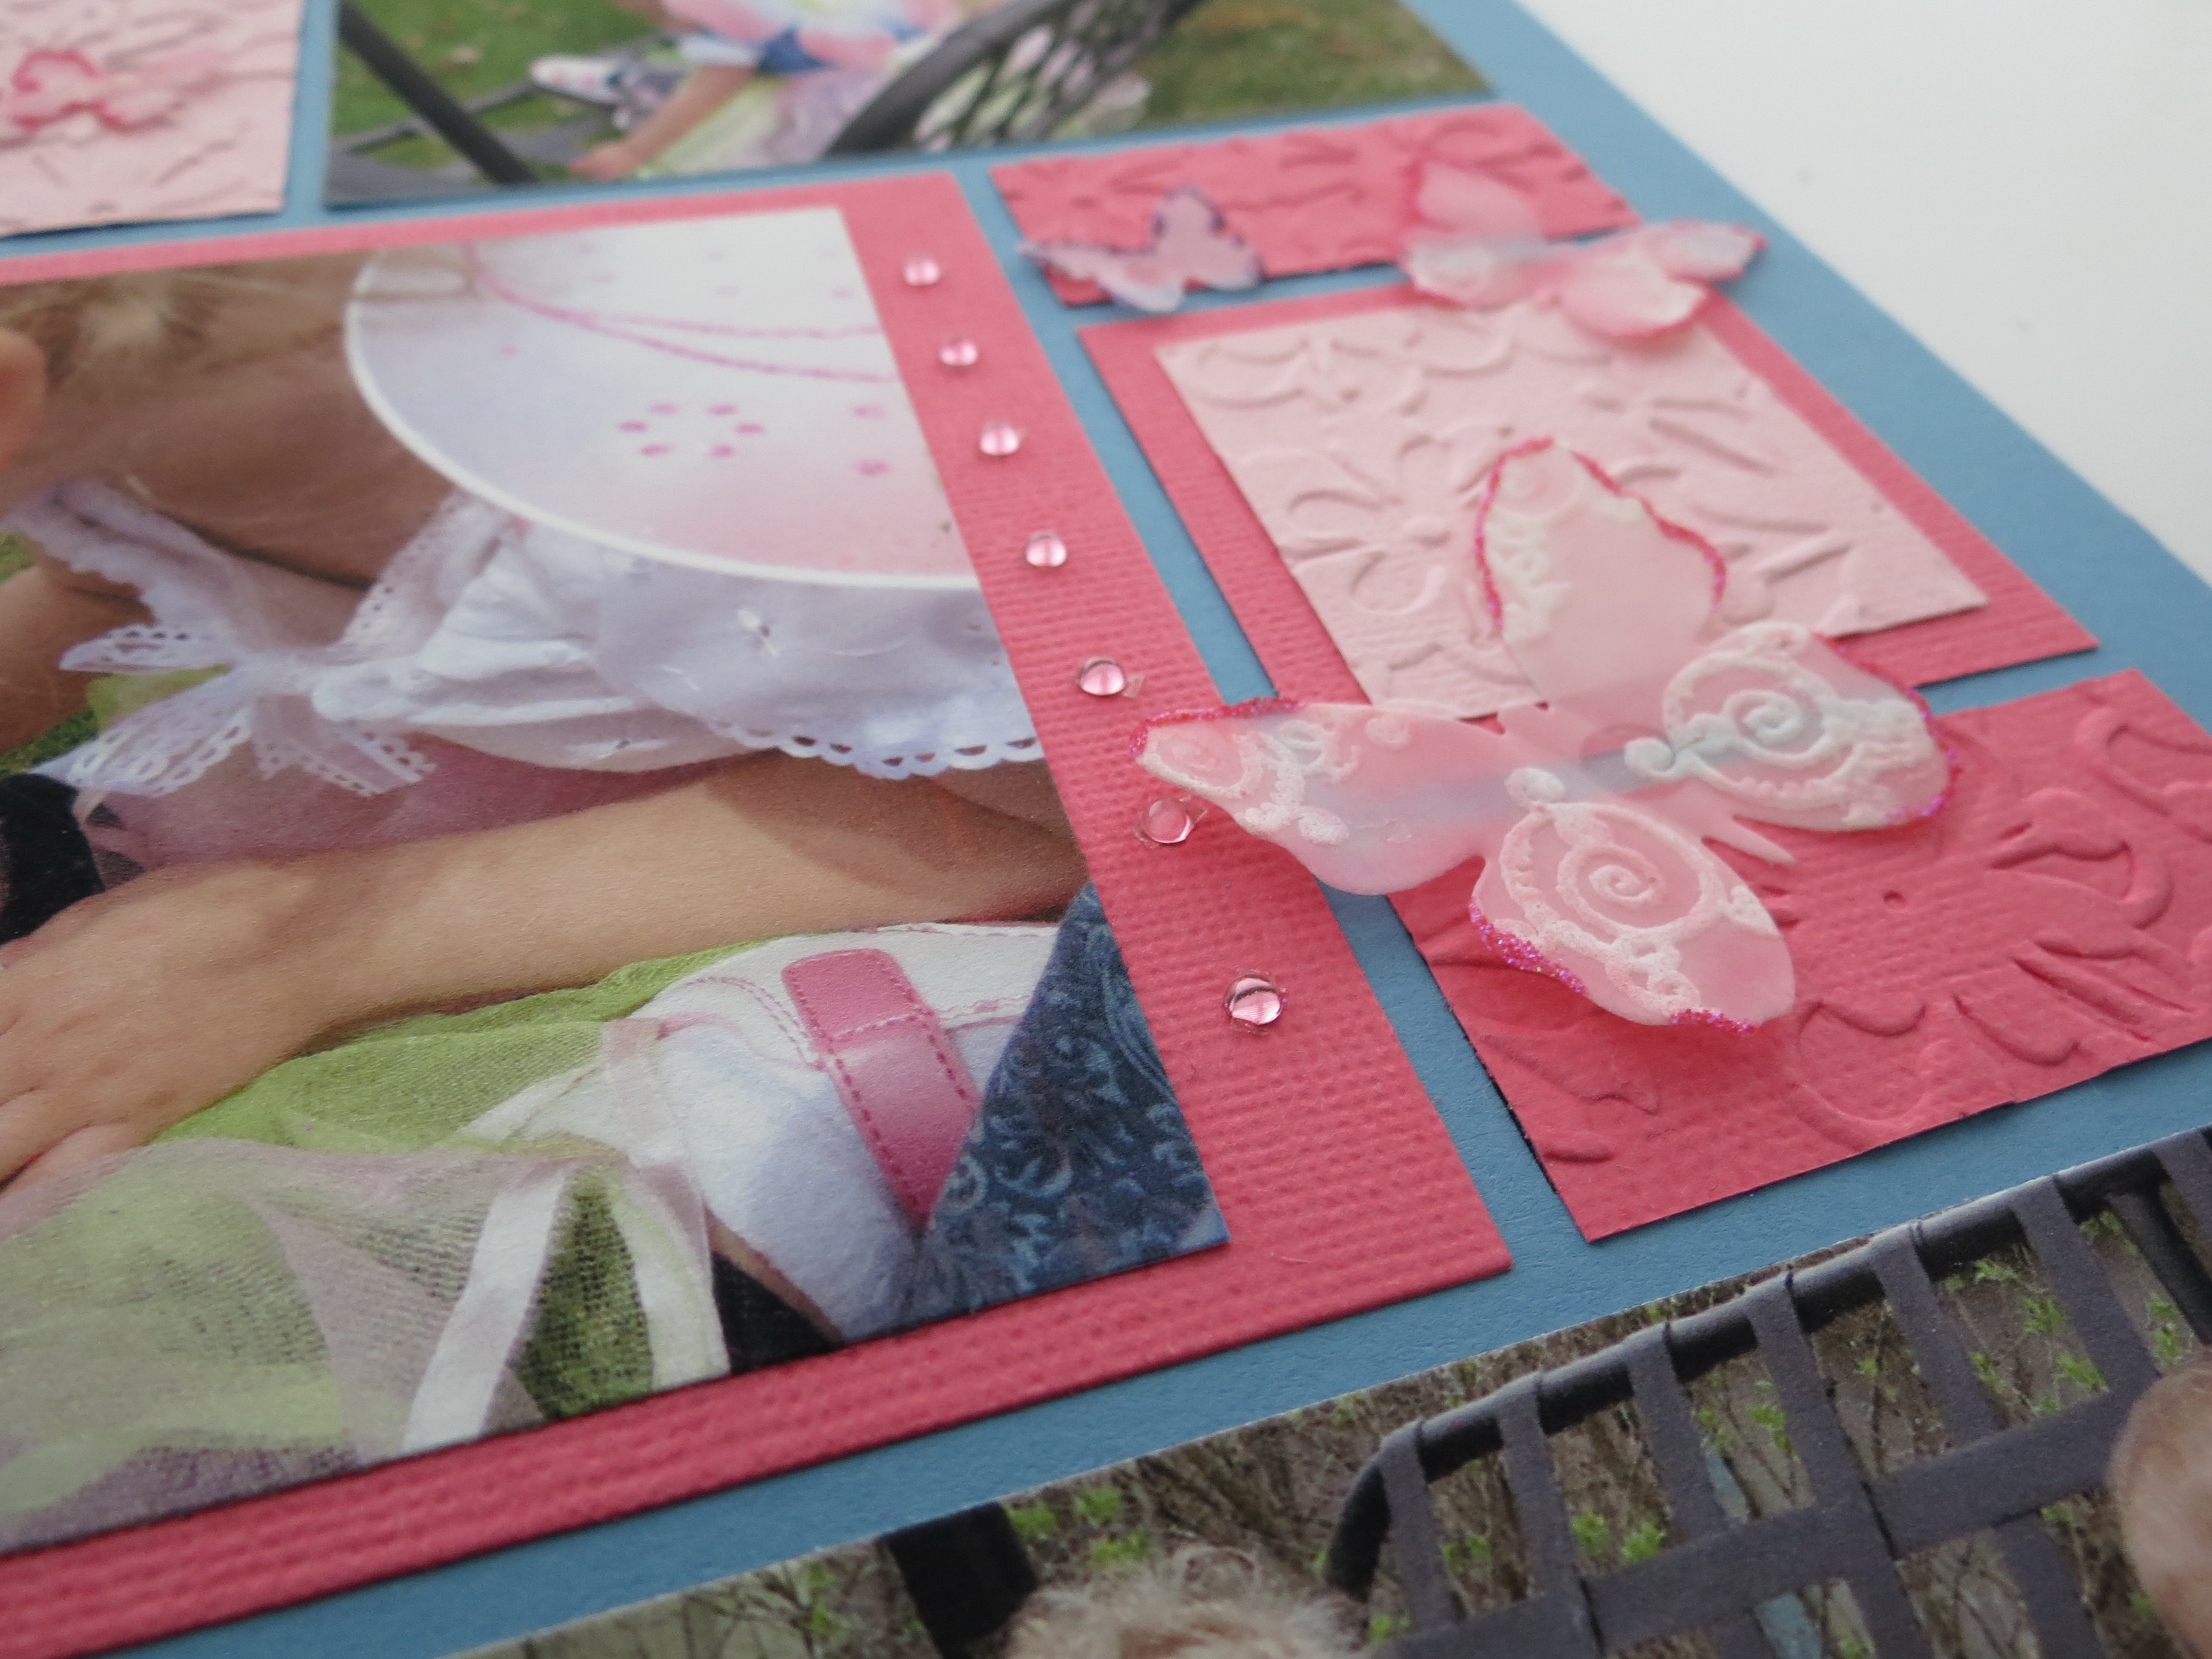
MM Focal Point These vellum butterflies have been in an album for months and still have some “lift”. they have not flattened out!
See the full two page layout and all the how-to’s HERE.
A Title
MM Focal Point: A Title. this over-sized Title is the center of attention
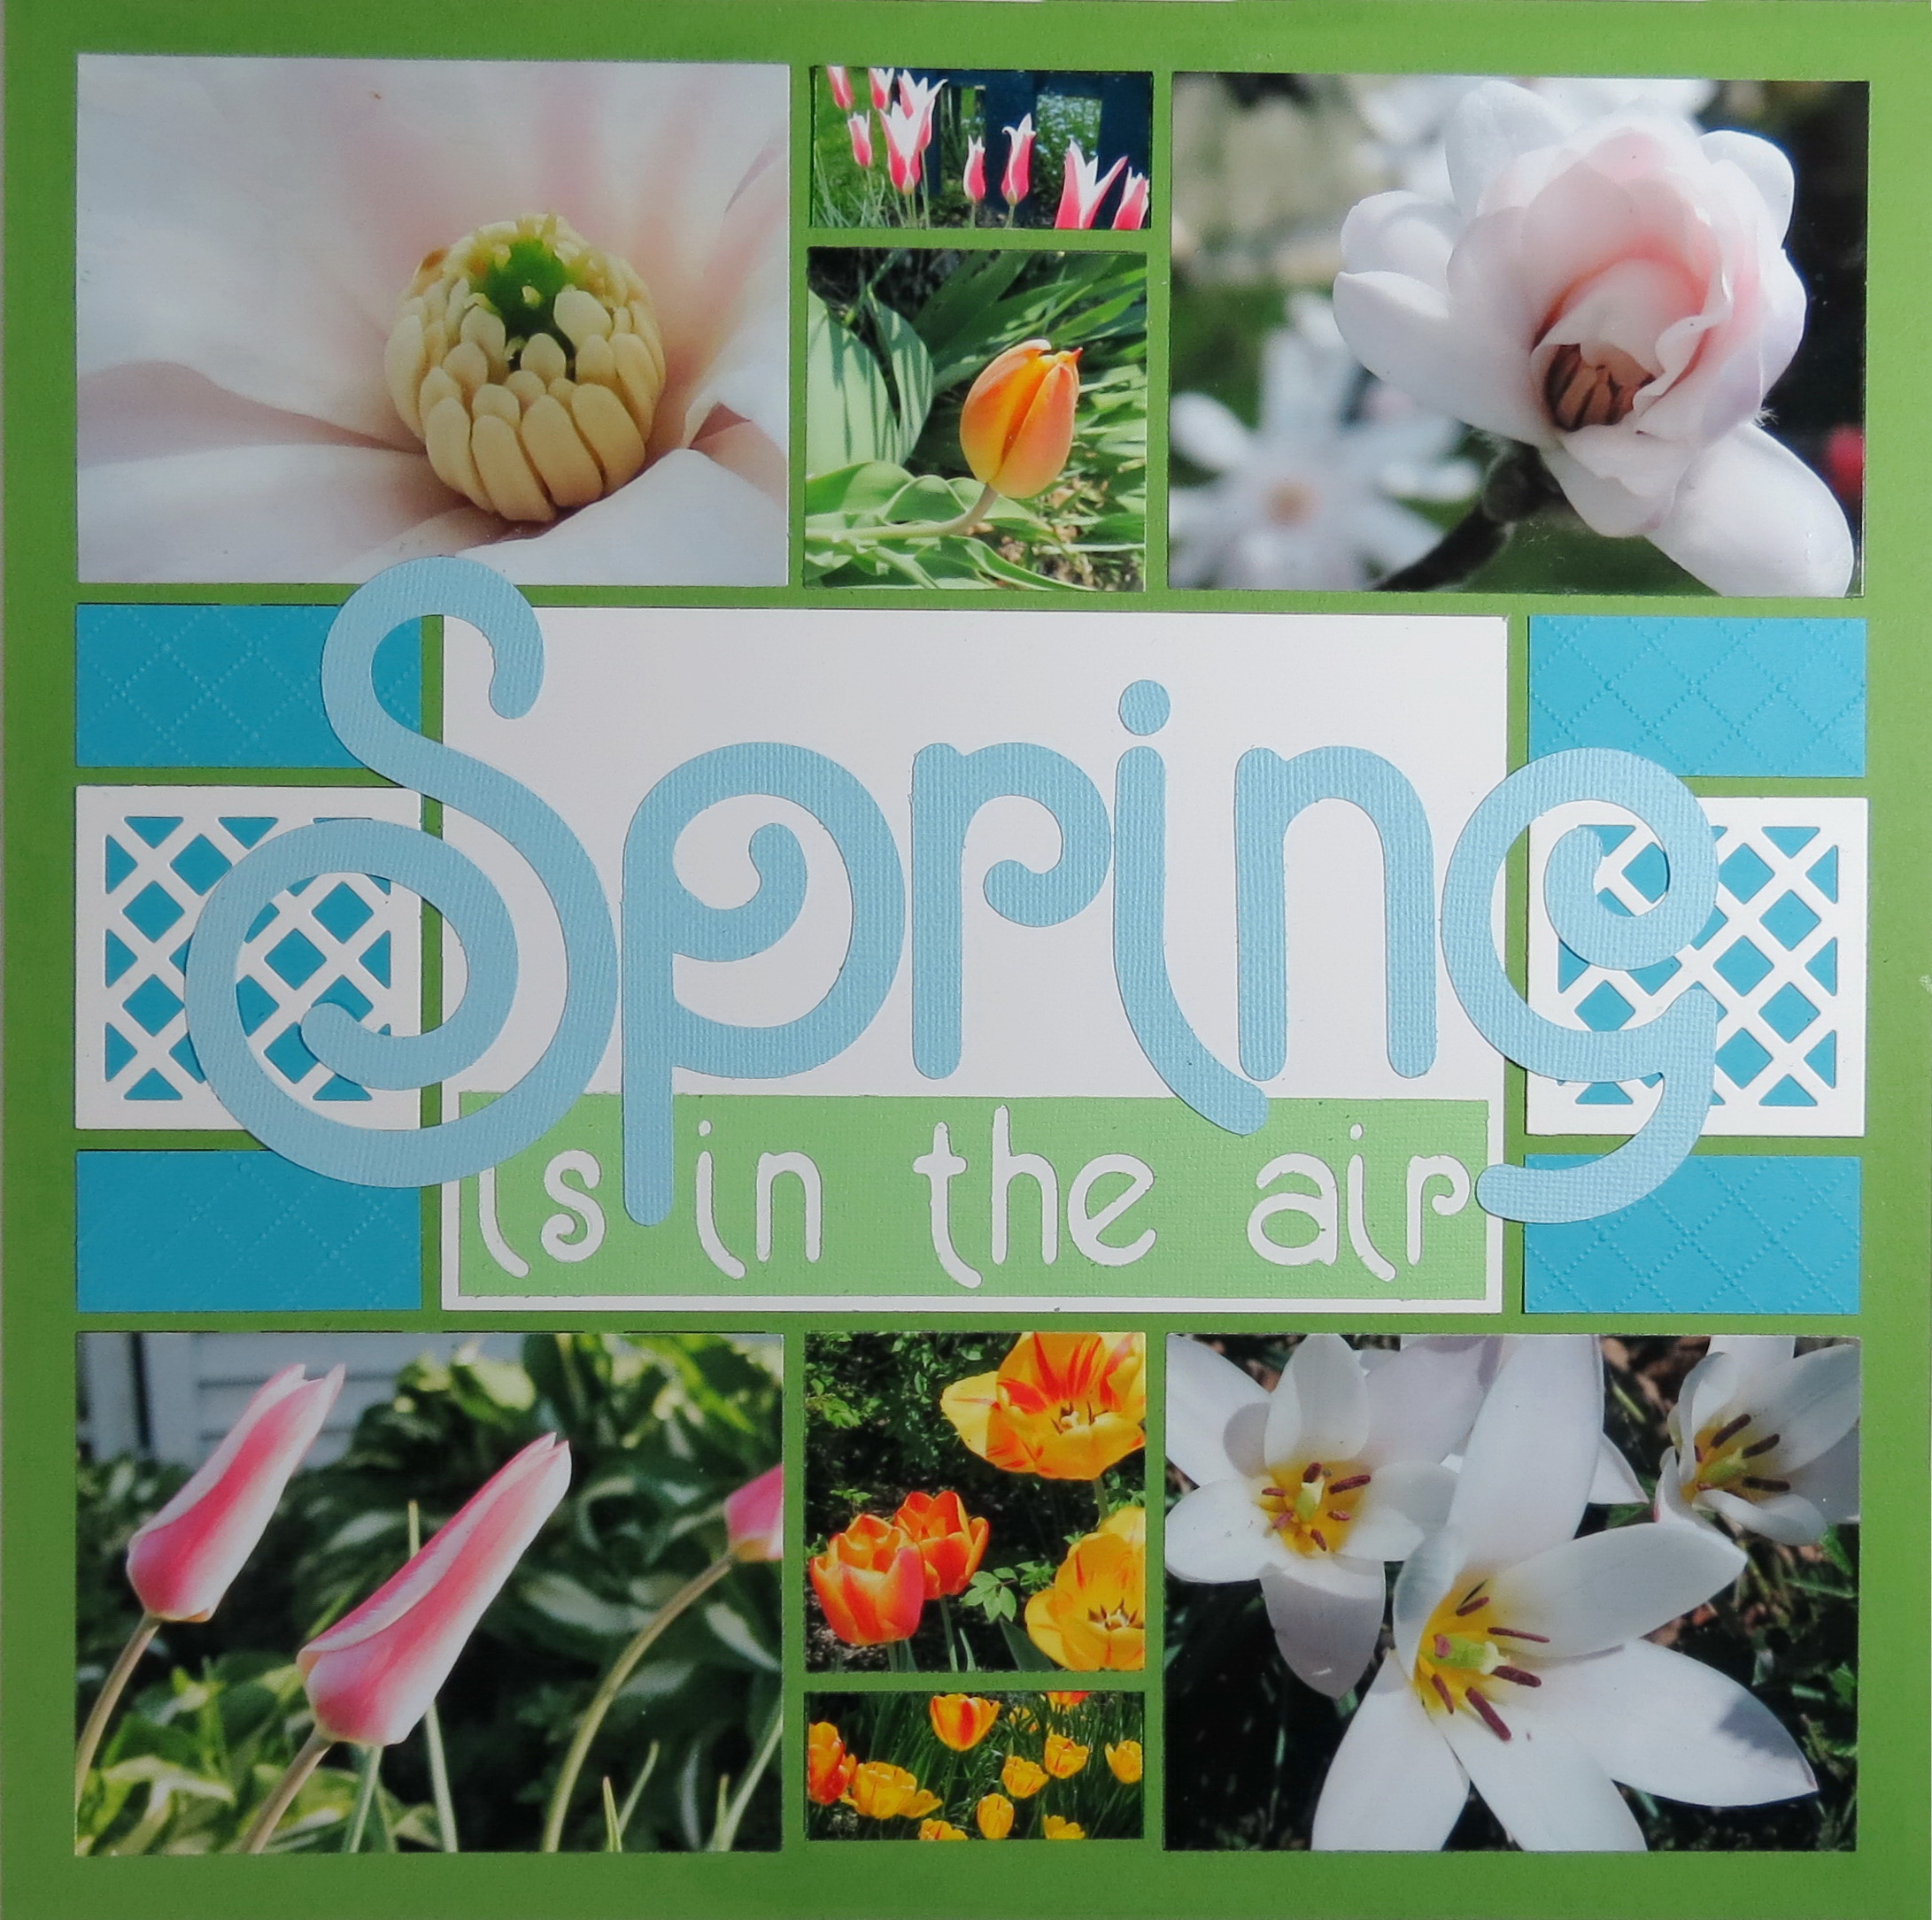
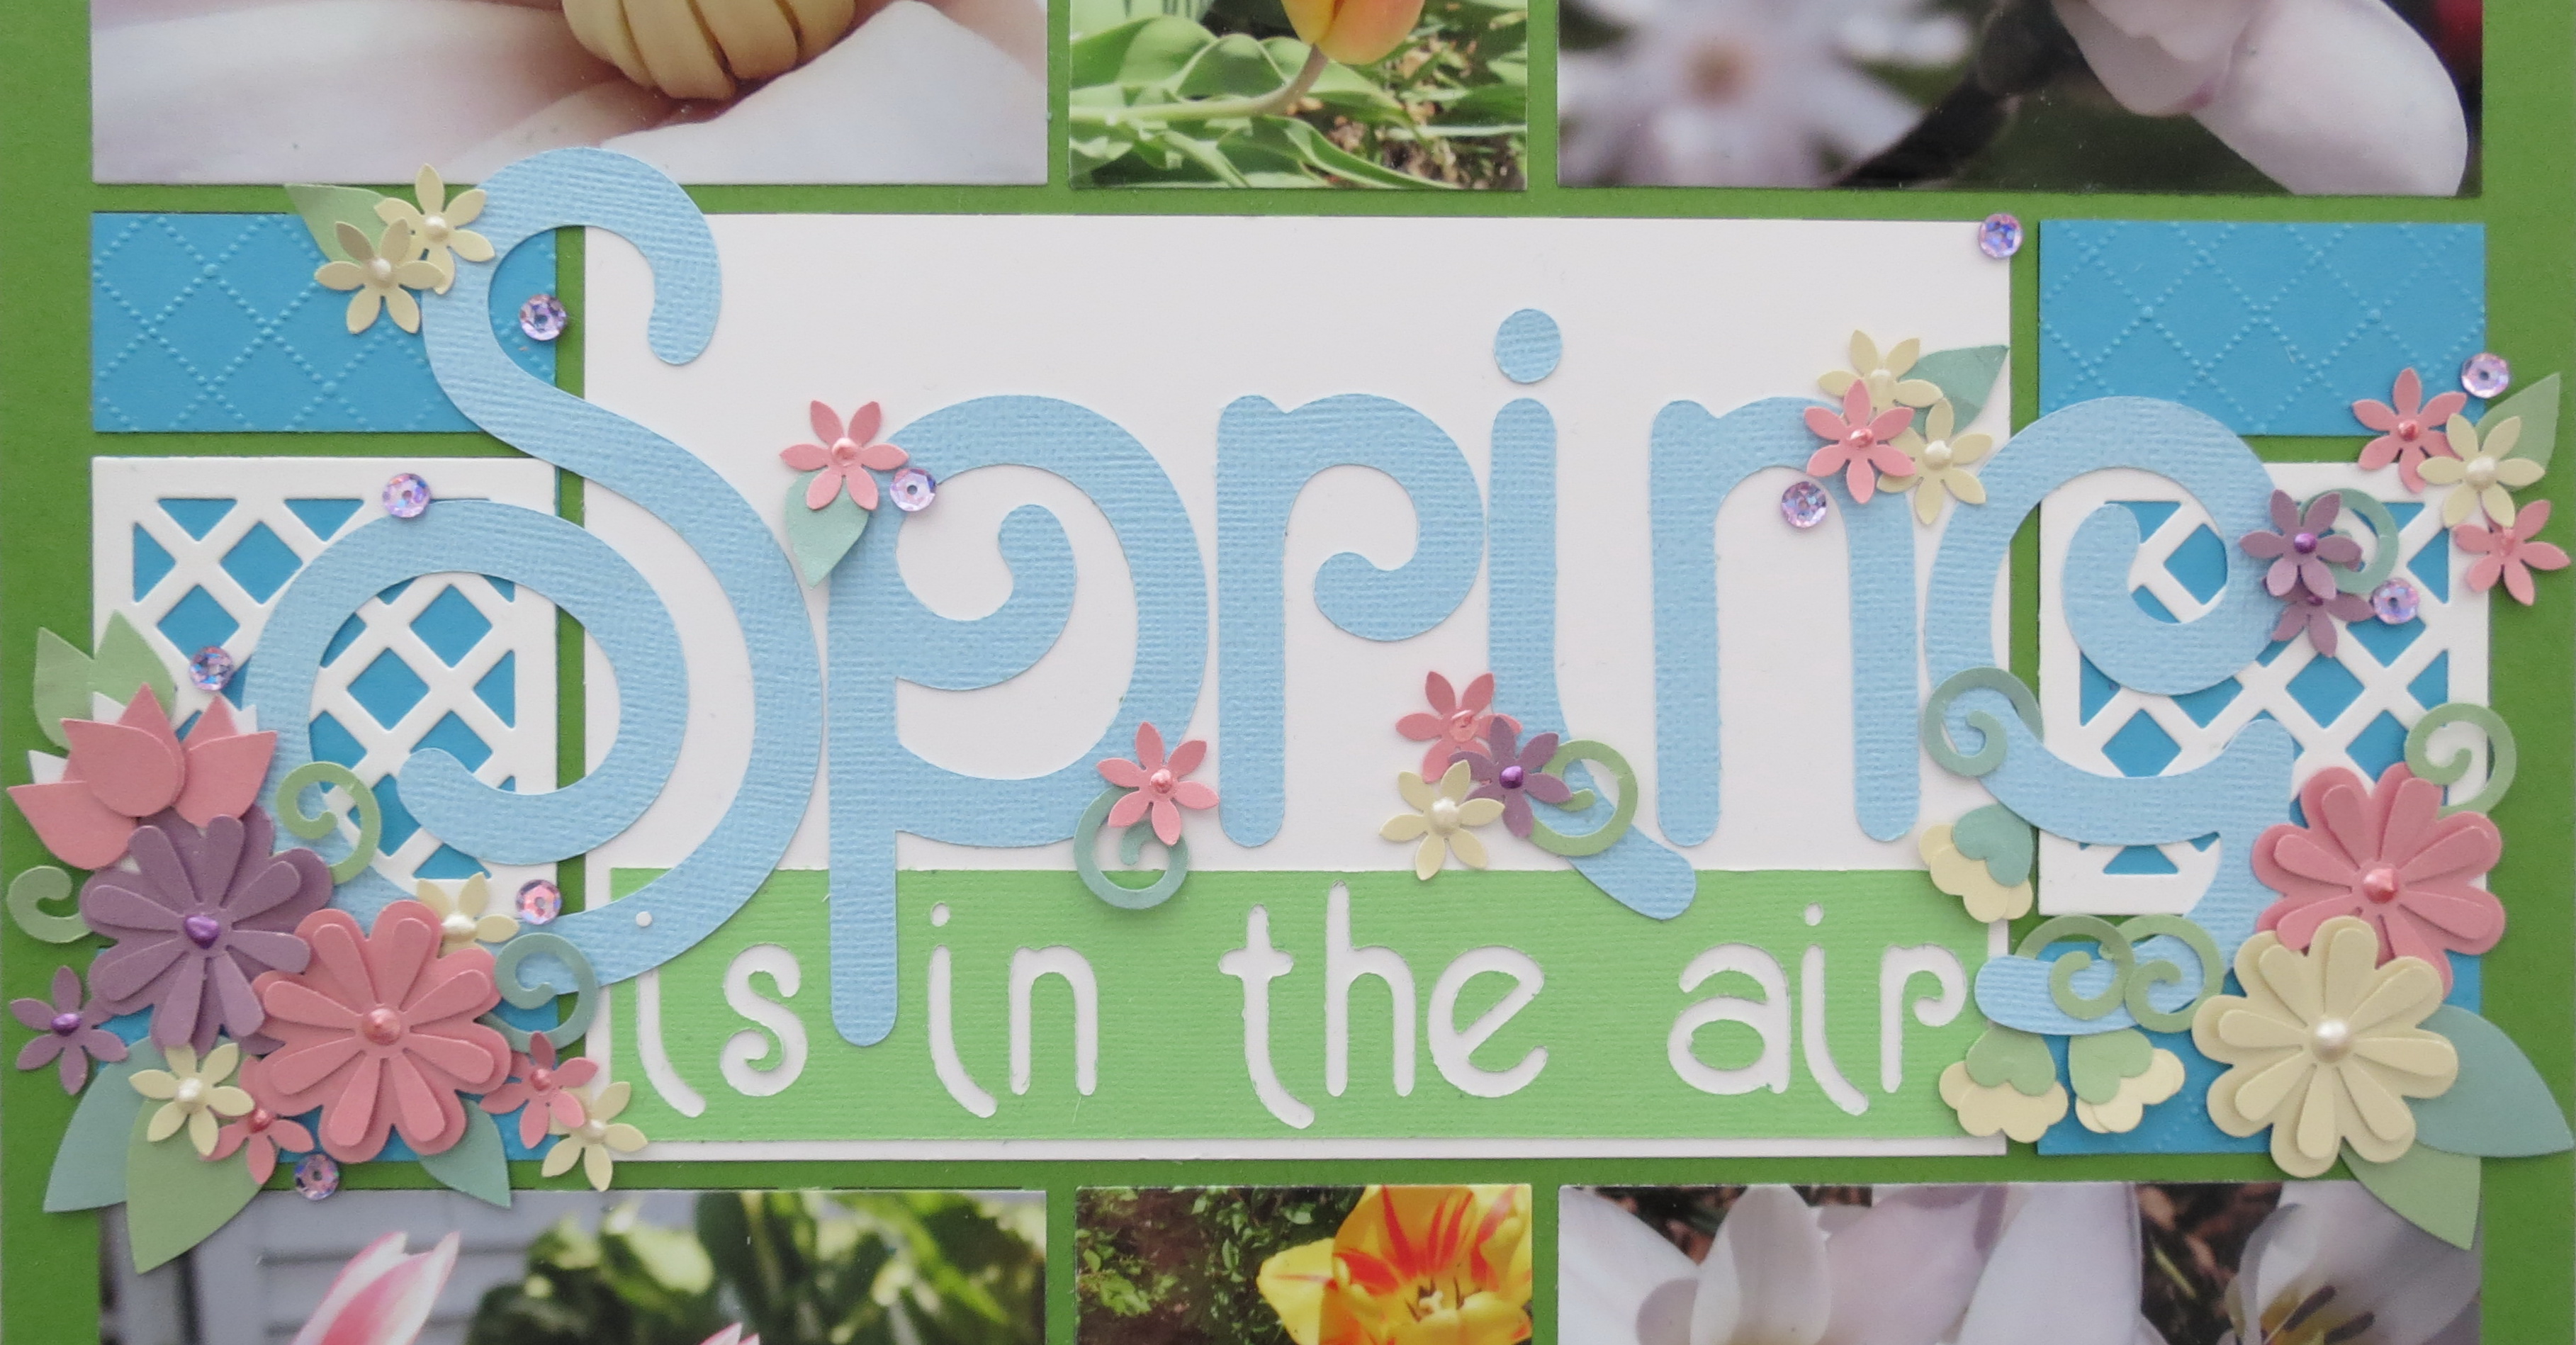
LAYOUT THREE: “Spring”
The focal point: An oversized title, embossed paper tiles and lattice cornerstone title with optional punched art feature
Now I’ll begin this layout on a 12″ x 12″ Spring Green Mosaic Moments Grid with just the oversized title which is sufficient for a nice layout. It has simple embossing in Caribbean Blue Paper Tiles that matches the lattice cornerstone tile included. The focus on this layout is of the oversized title taking up the entire center section as it spills over to the outer sections. The secondary title section “is in the air” is the negative space created on the Cricut. Cut at 1” high letters fits nicely along the bottom border like a patch of grass. The title letters with swirls to add to the “spring” in spring!
Large close-up floral photos occupy four spots with the smaller sections top and bottom clusters of flowers. Varying the sizes of the objects you feature is one way to increase interest in your layout.
However, if you are interested in turning it up a notch we can really add to the page with more embellishments. Using a couple of punches and well-placed flowers, leaves, sequins and pearls it can really scream spring in bloom! Several EK Success punches and a small heart punch to create “drop” flowers will bring so much more to the page.
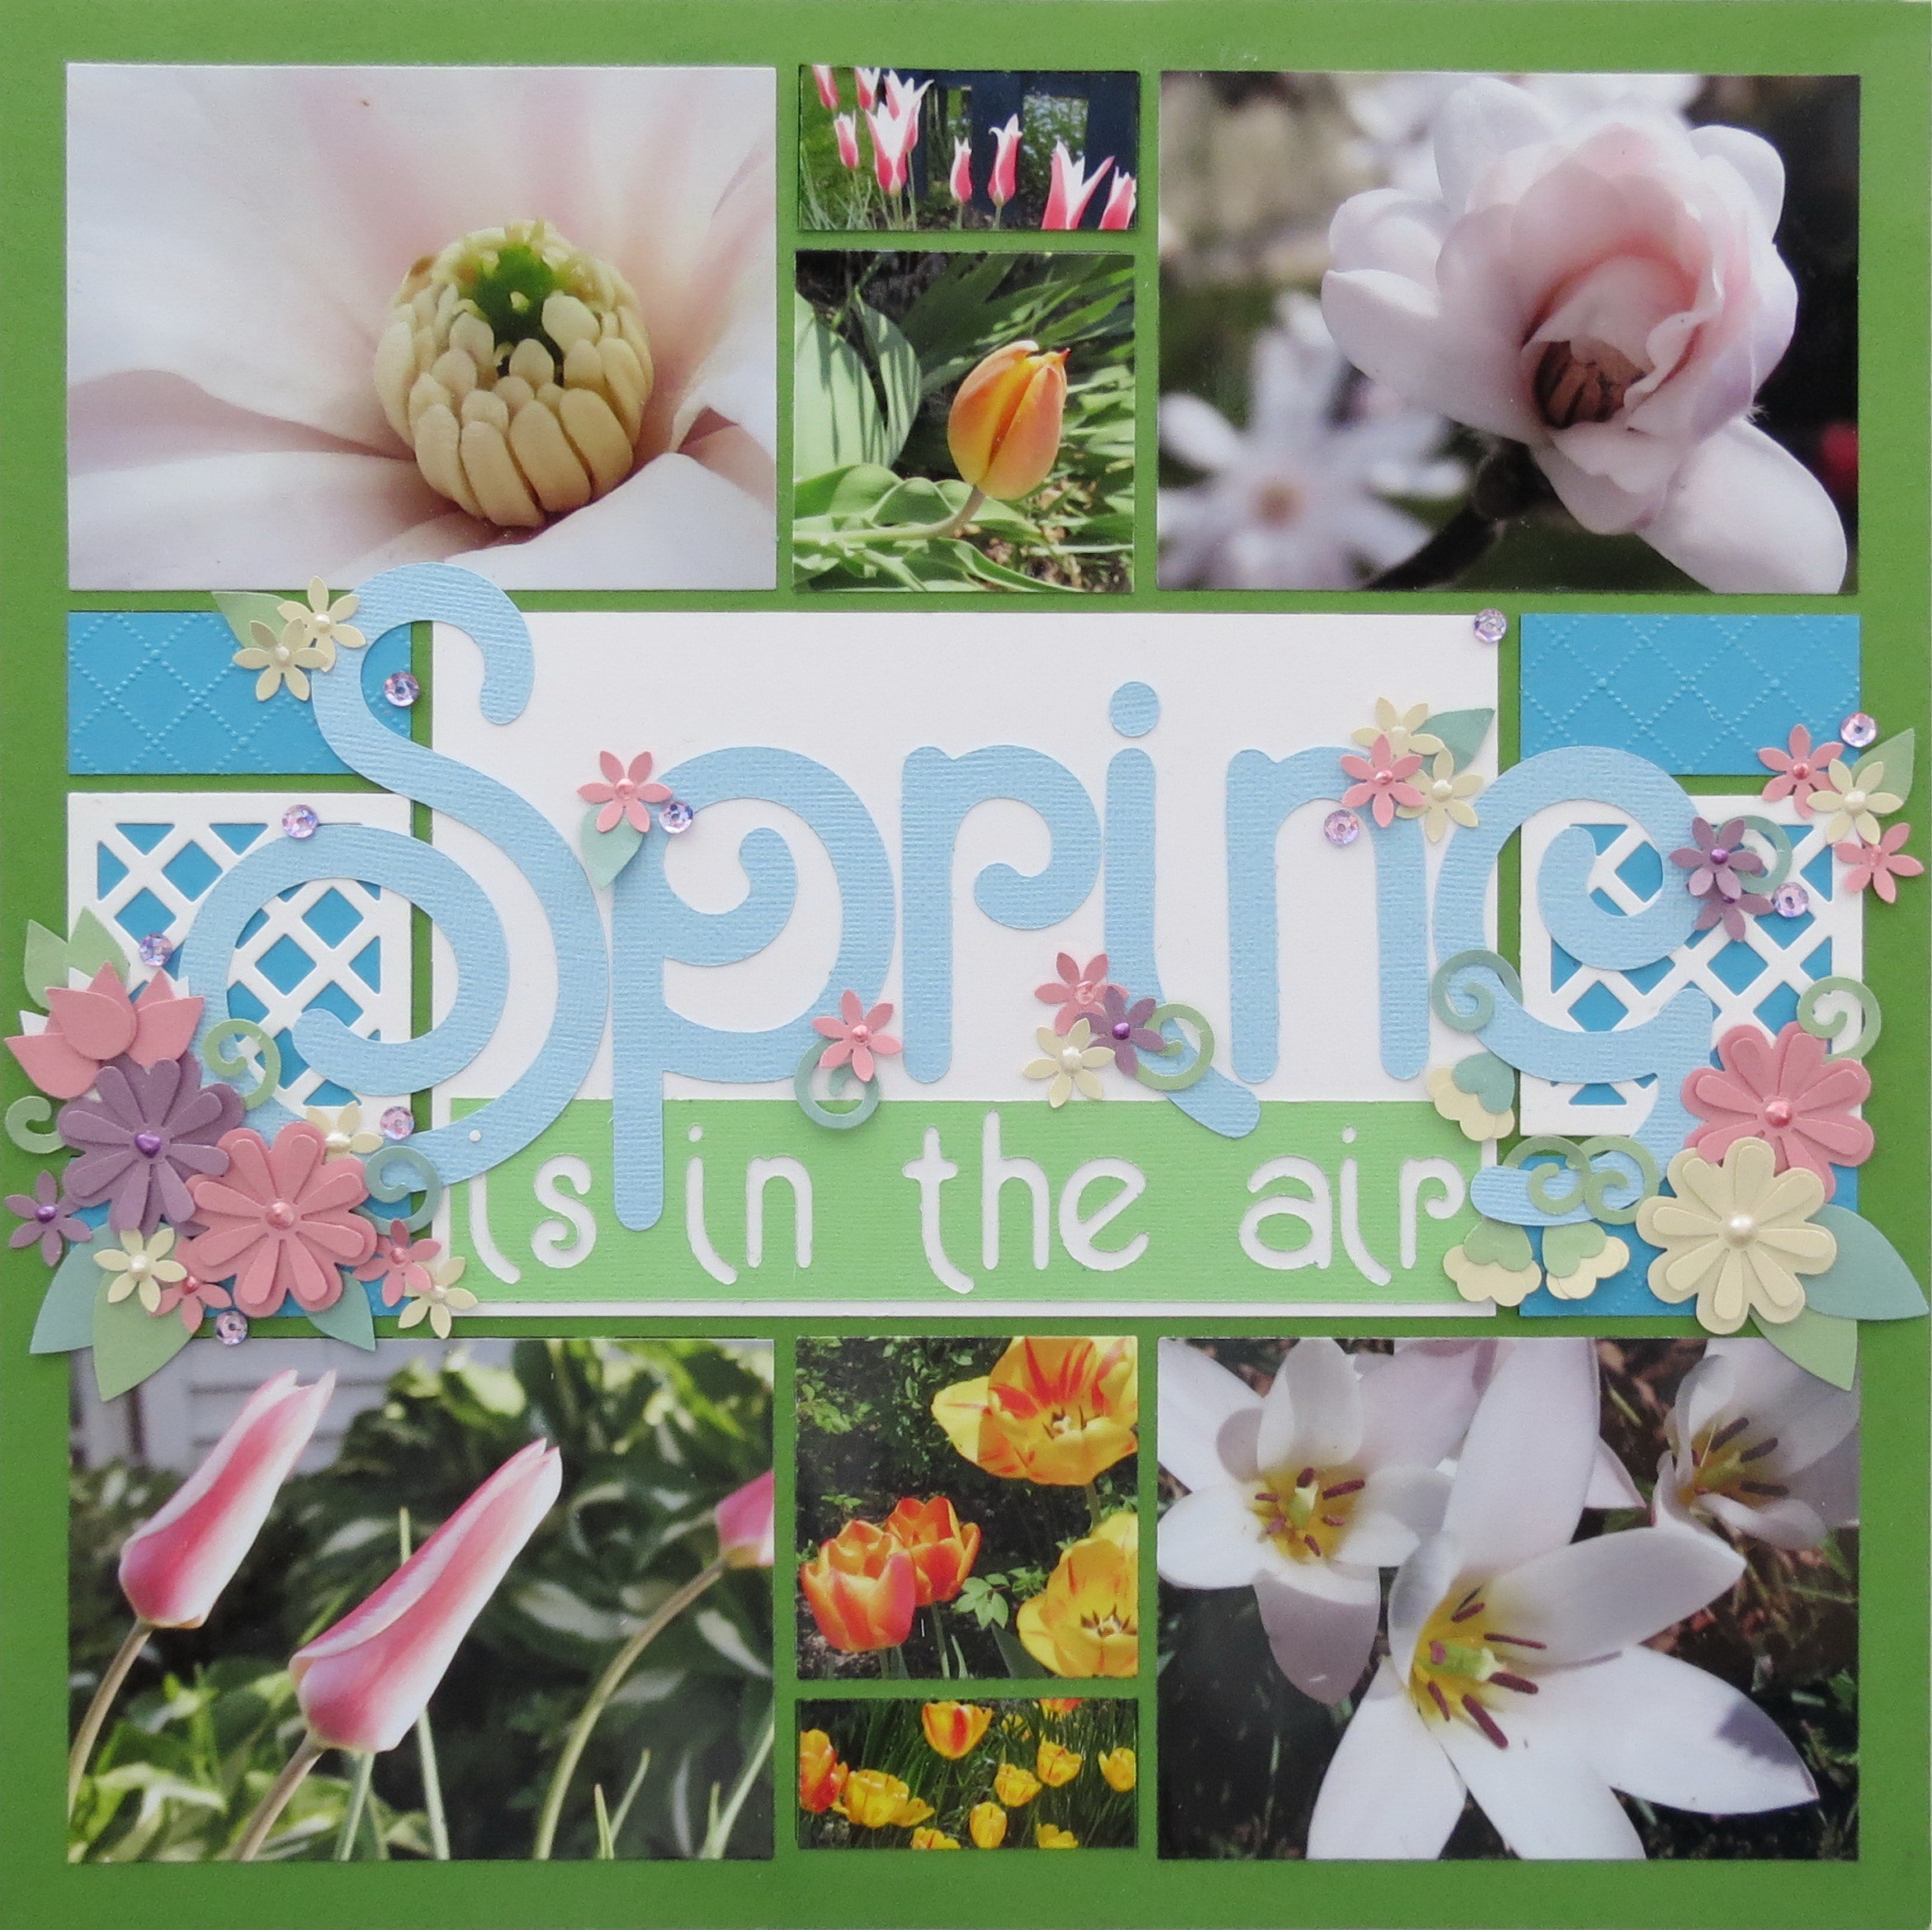
MM Focal Point: A Title. this over-sized Title is the center of attention with additional flowers to really make it pop!
MM Focal Point: A Title. this over-sized Title with added floral embellishments is the center of attention
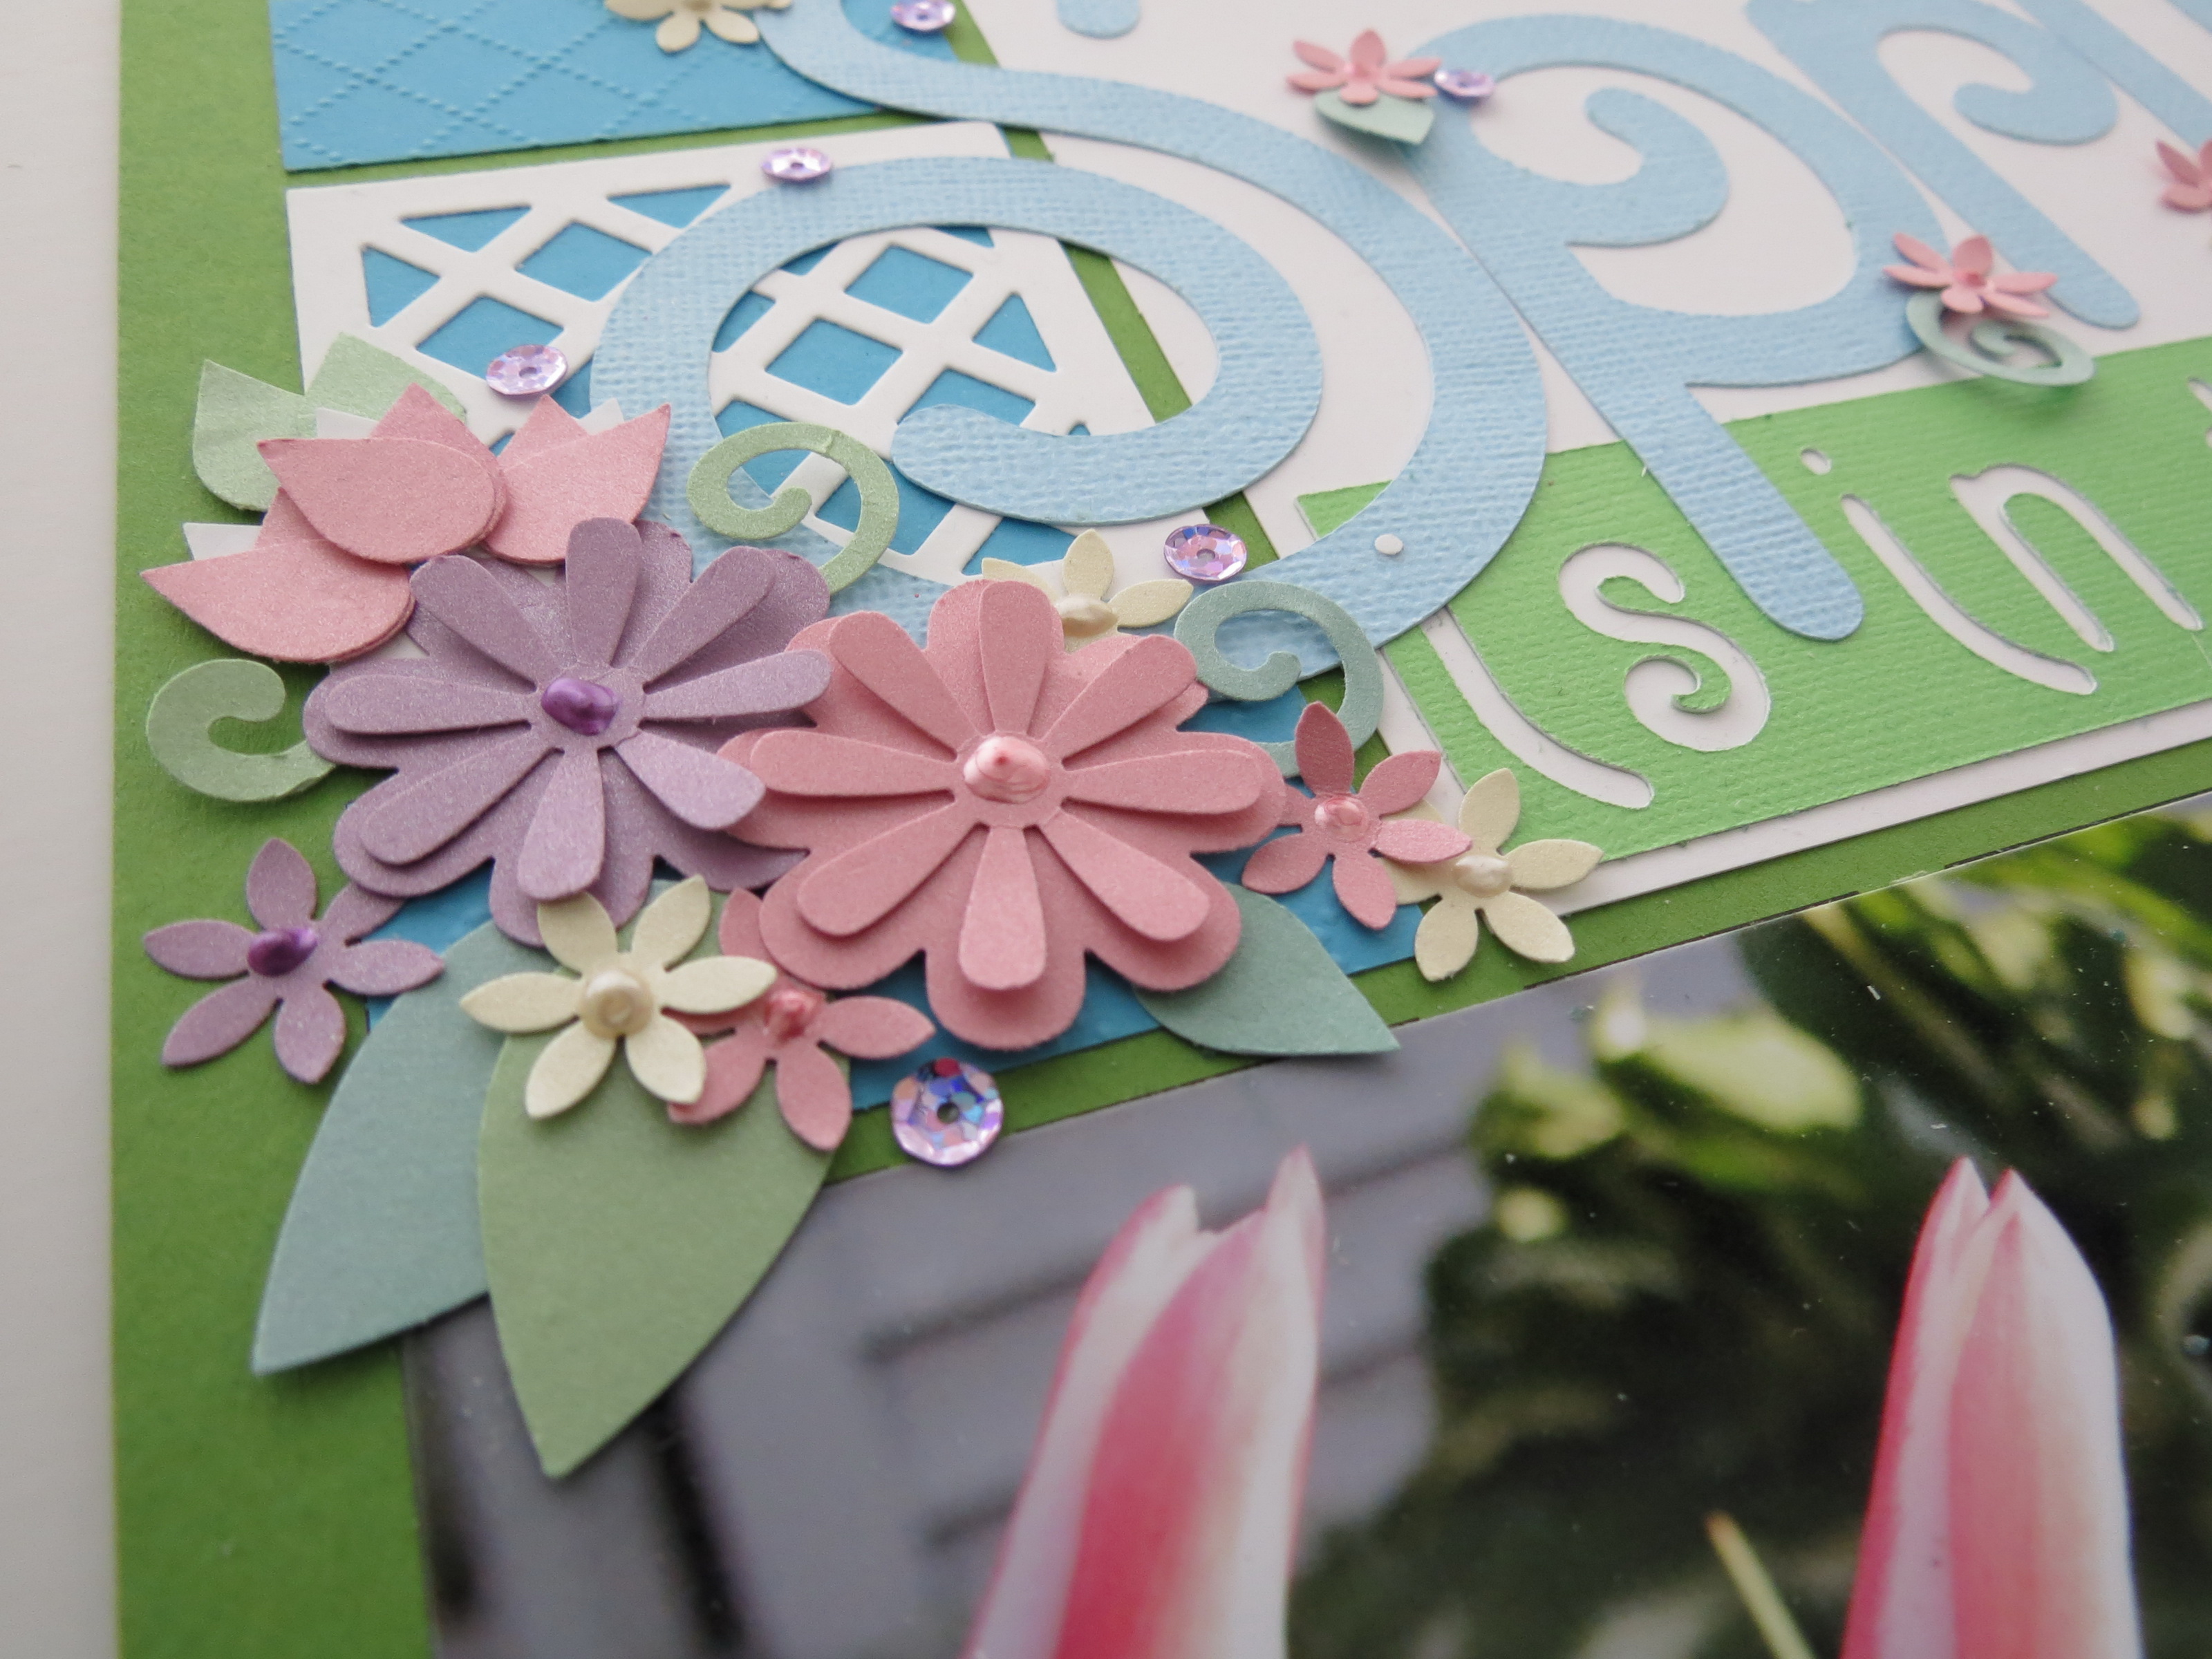
MM Focal Point: A Title. this over-sized Title with added floral embellishments is the center of attention
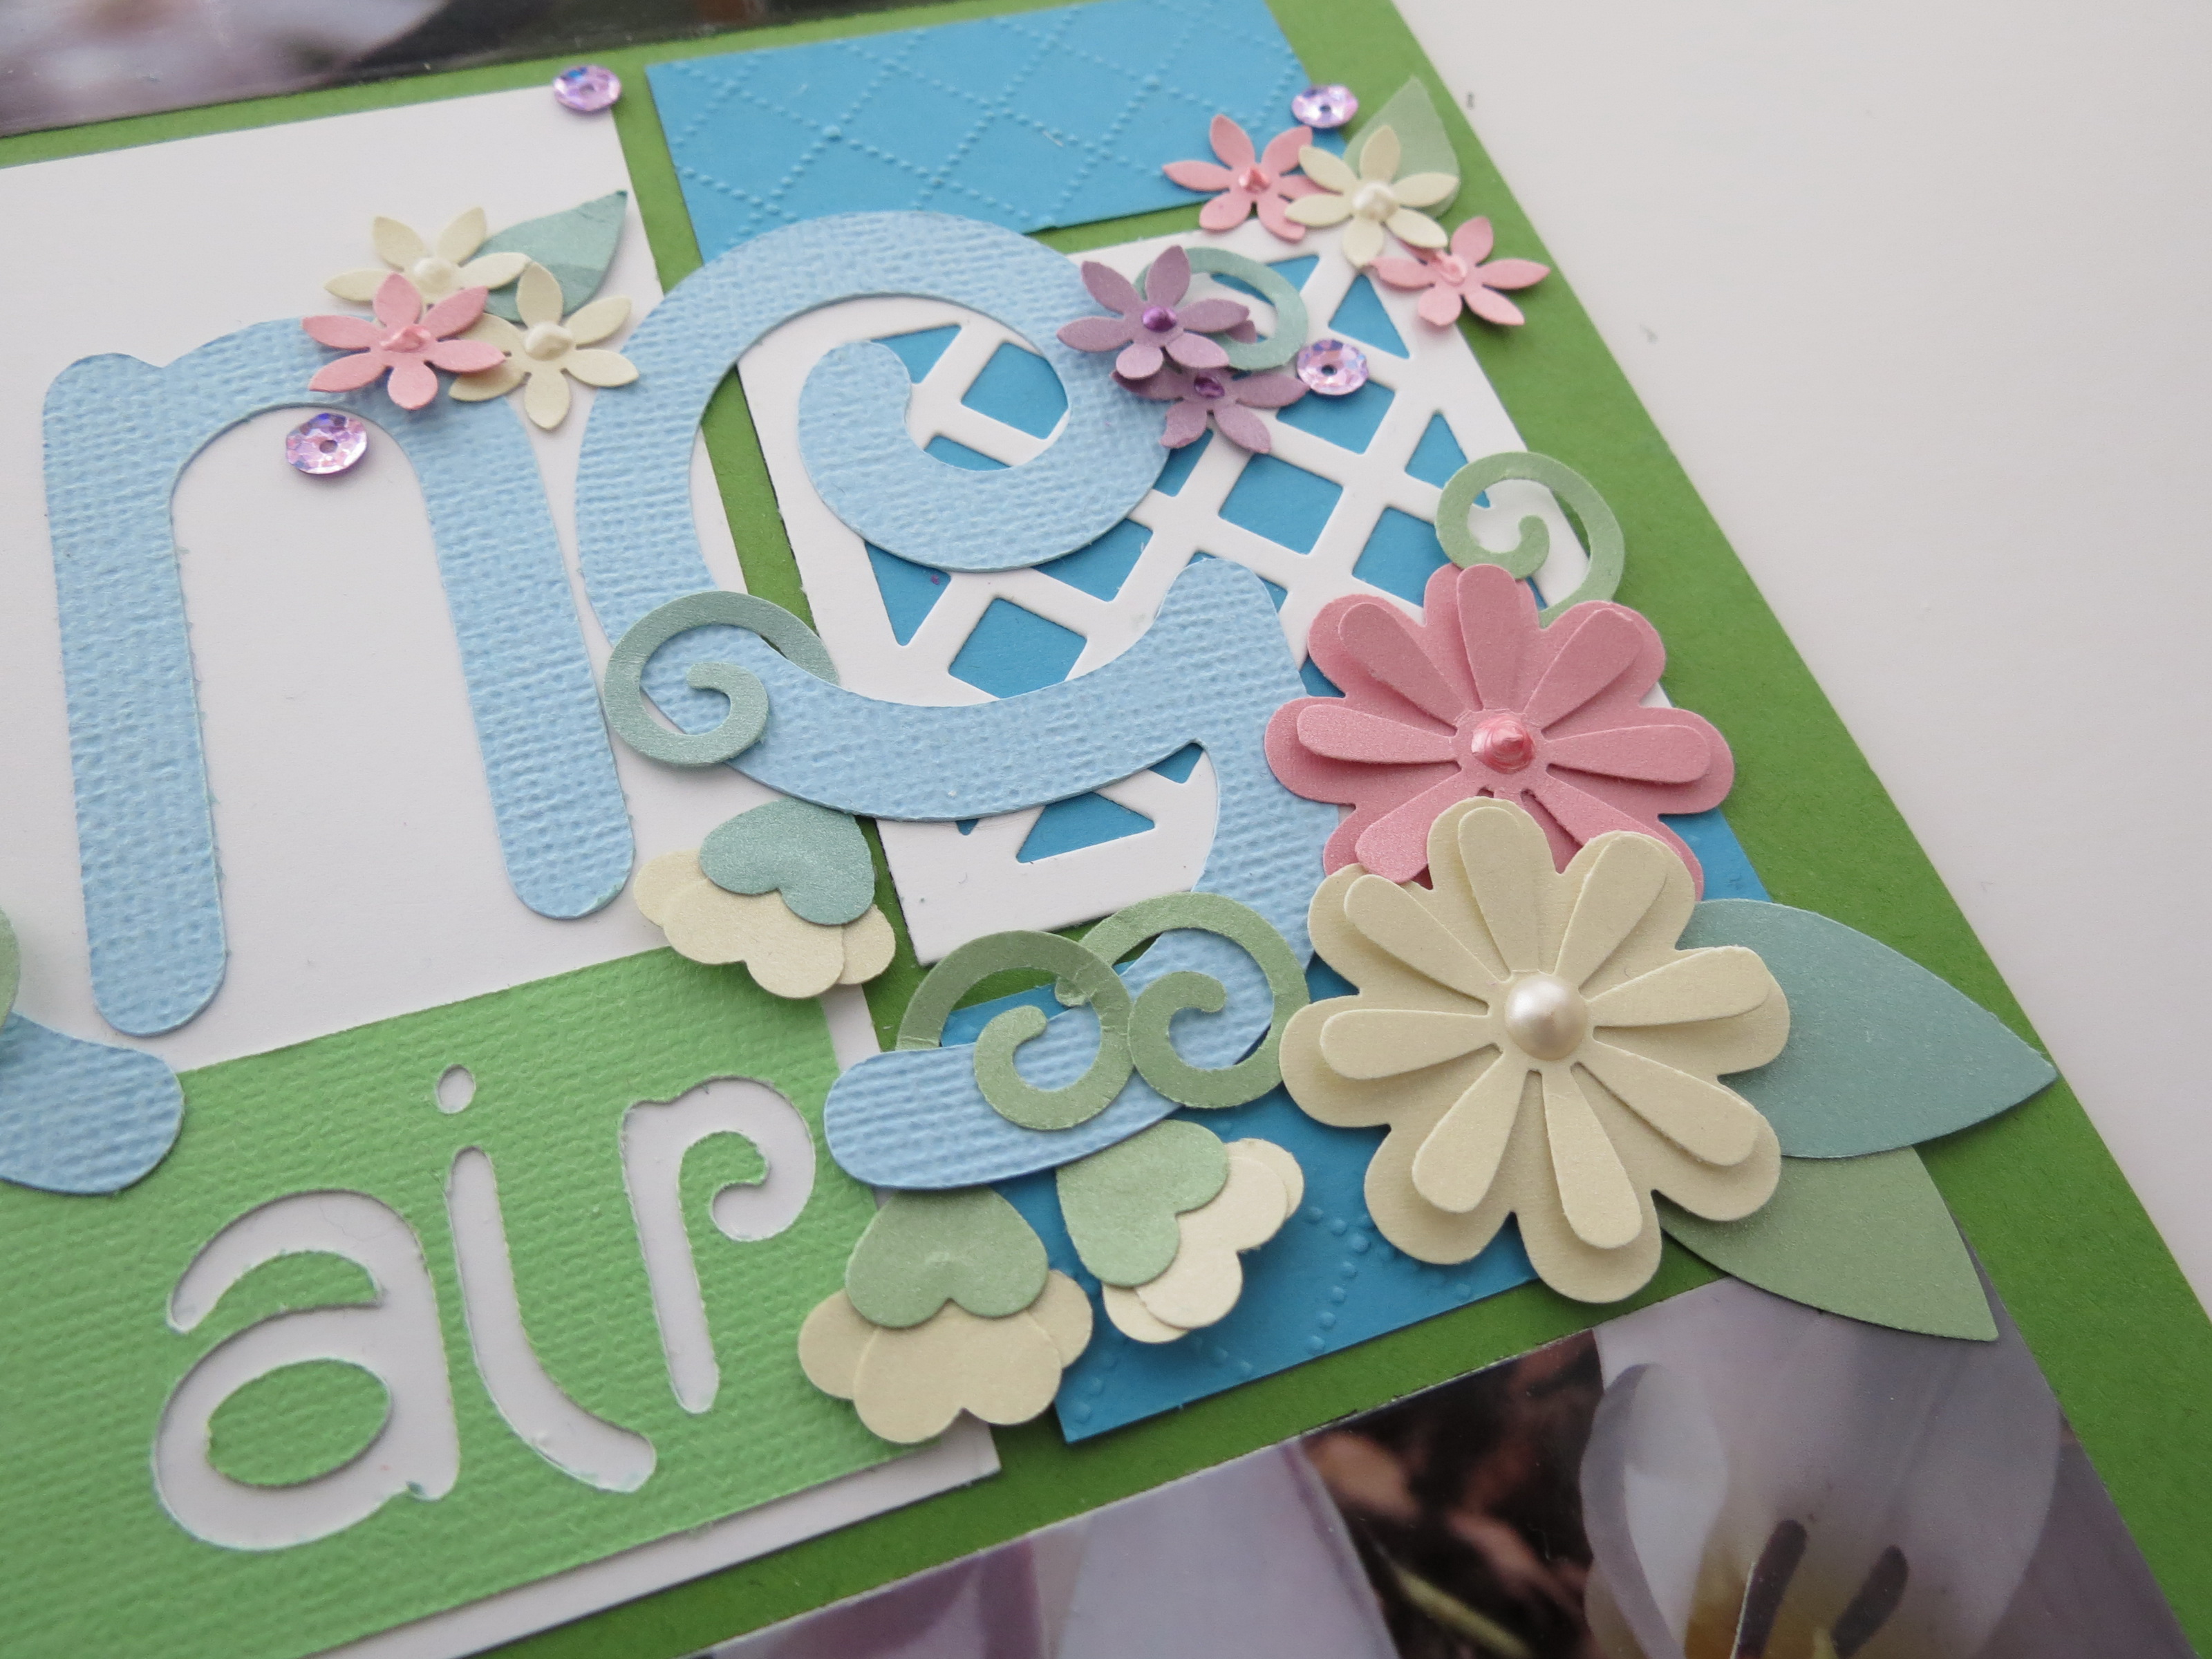
MM Focal Point: A Title. this over-sized Title with added floral embellishments is the center of attention

Mosaic Moments Die: Lattice Set
The lattice die is a perfect backdrop for adding flowers in any layout.
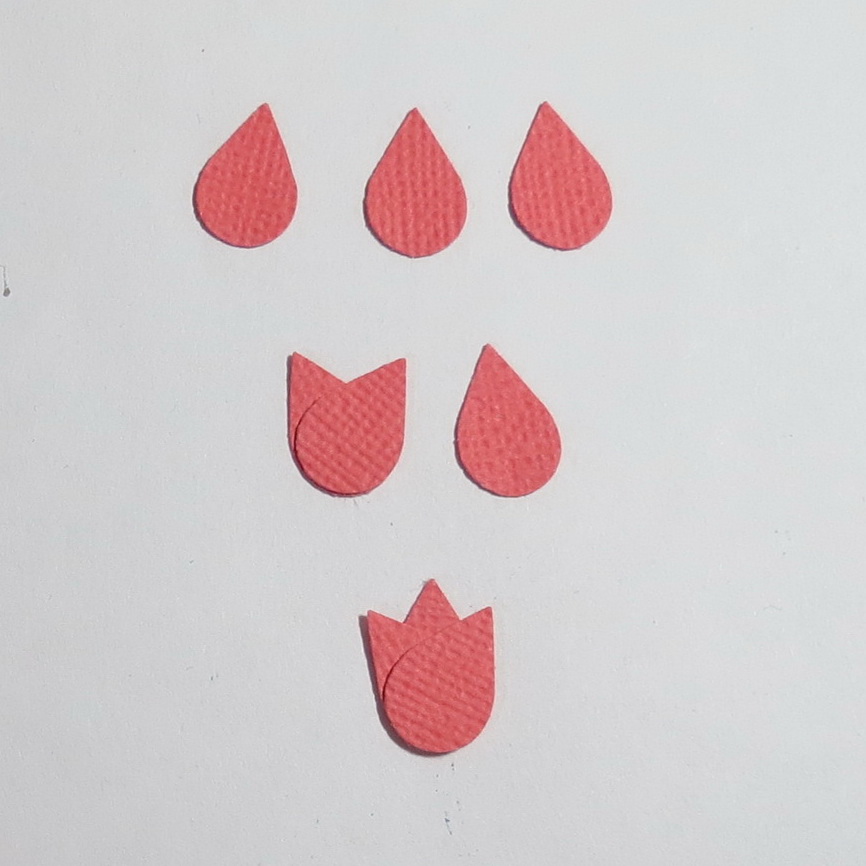
MM Focal Point: creating a tulip with teardrop punch
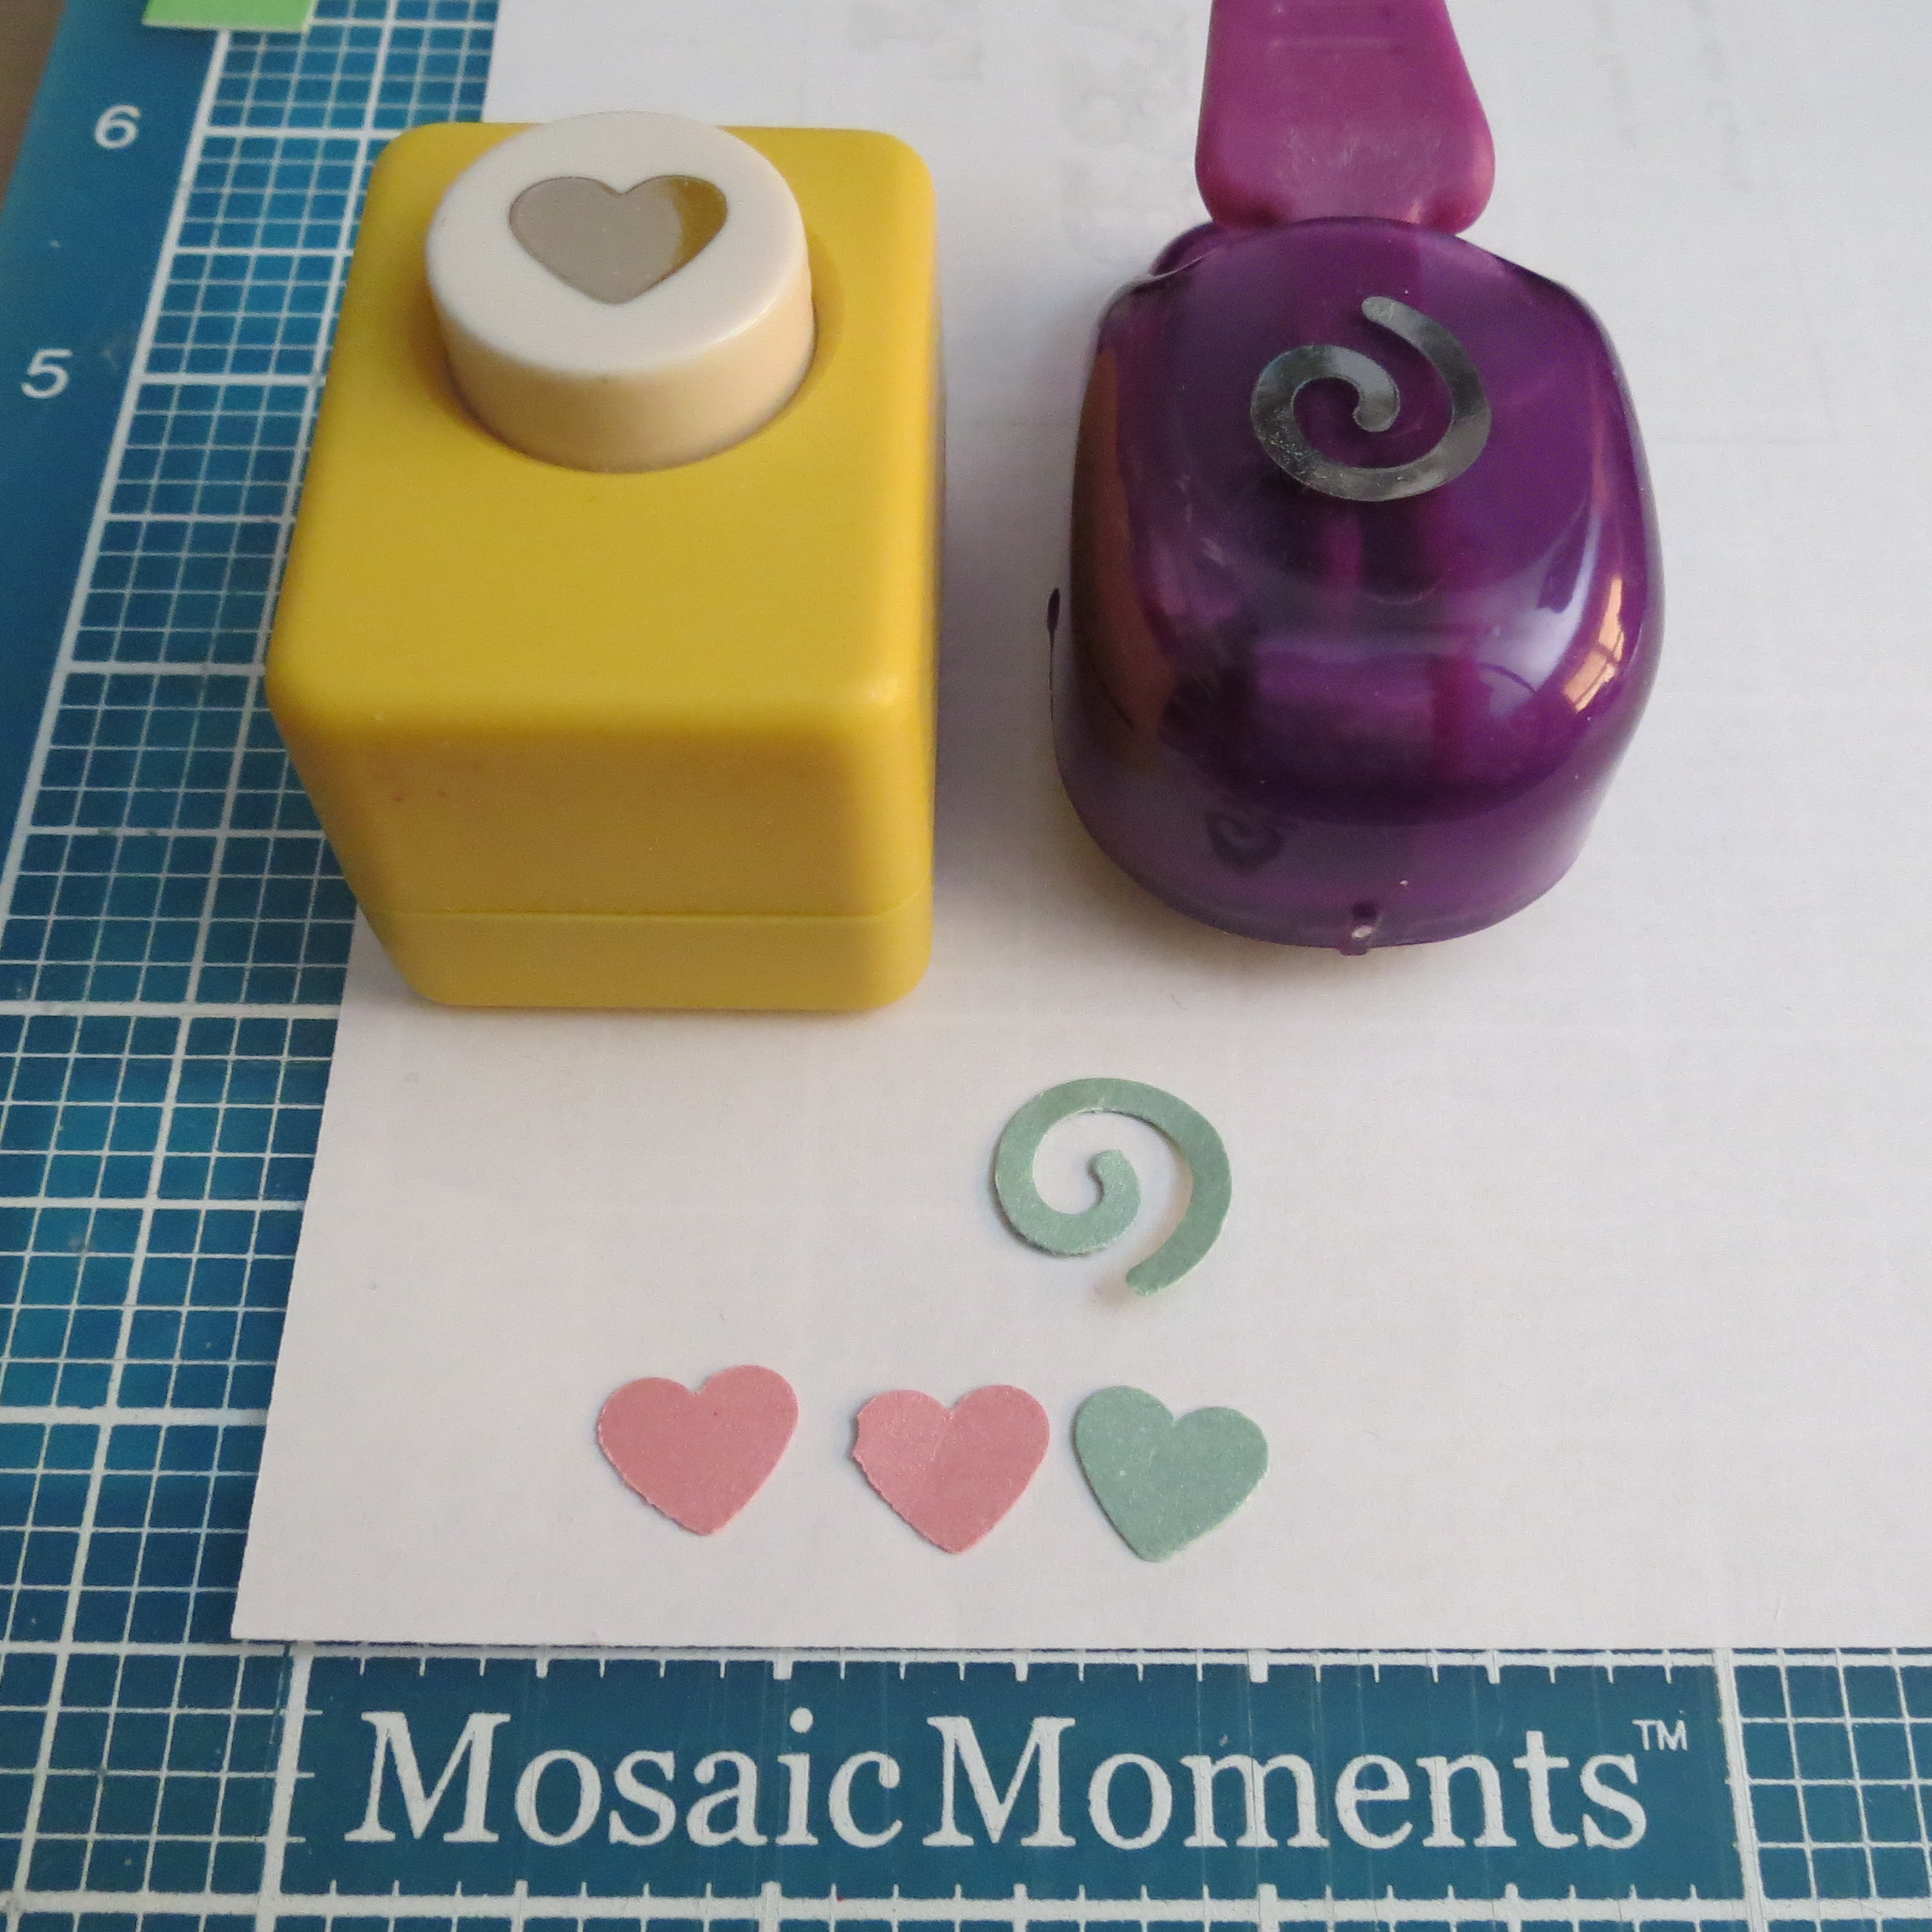
MM Focal Point: drop flower embellishments using a heart and swirl punch.
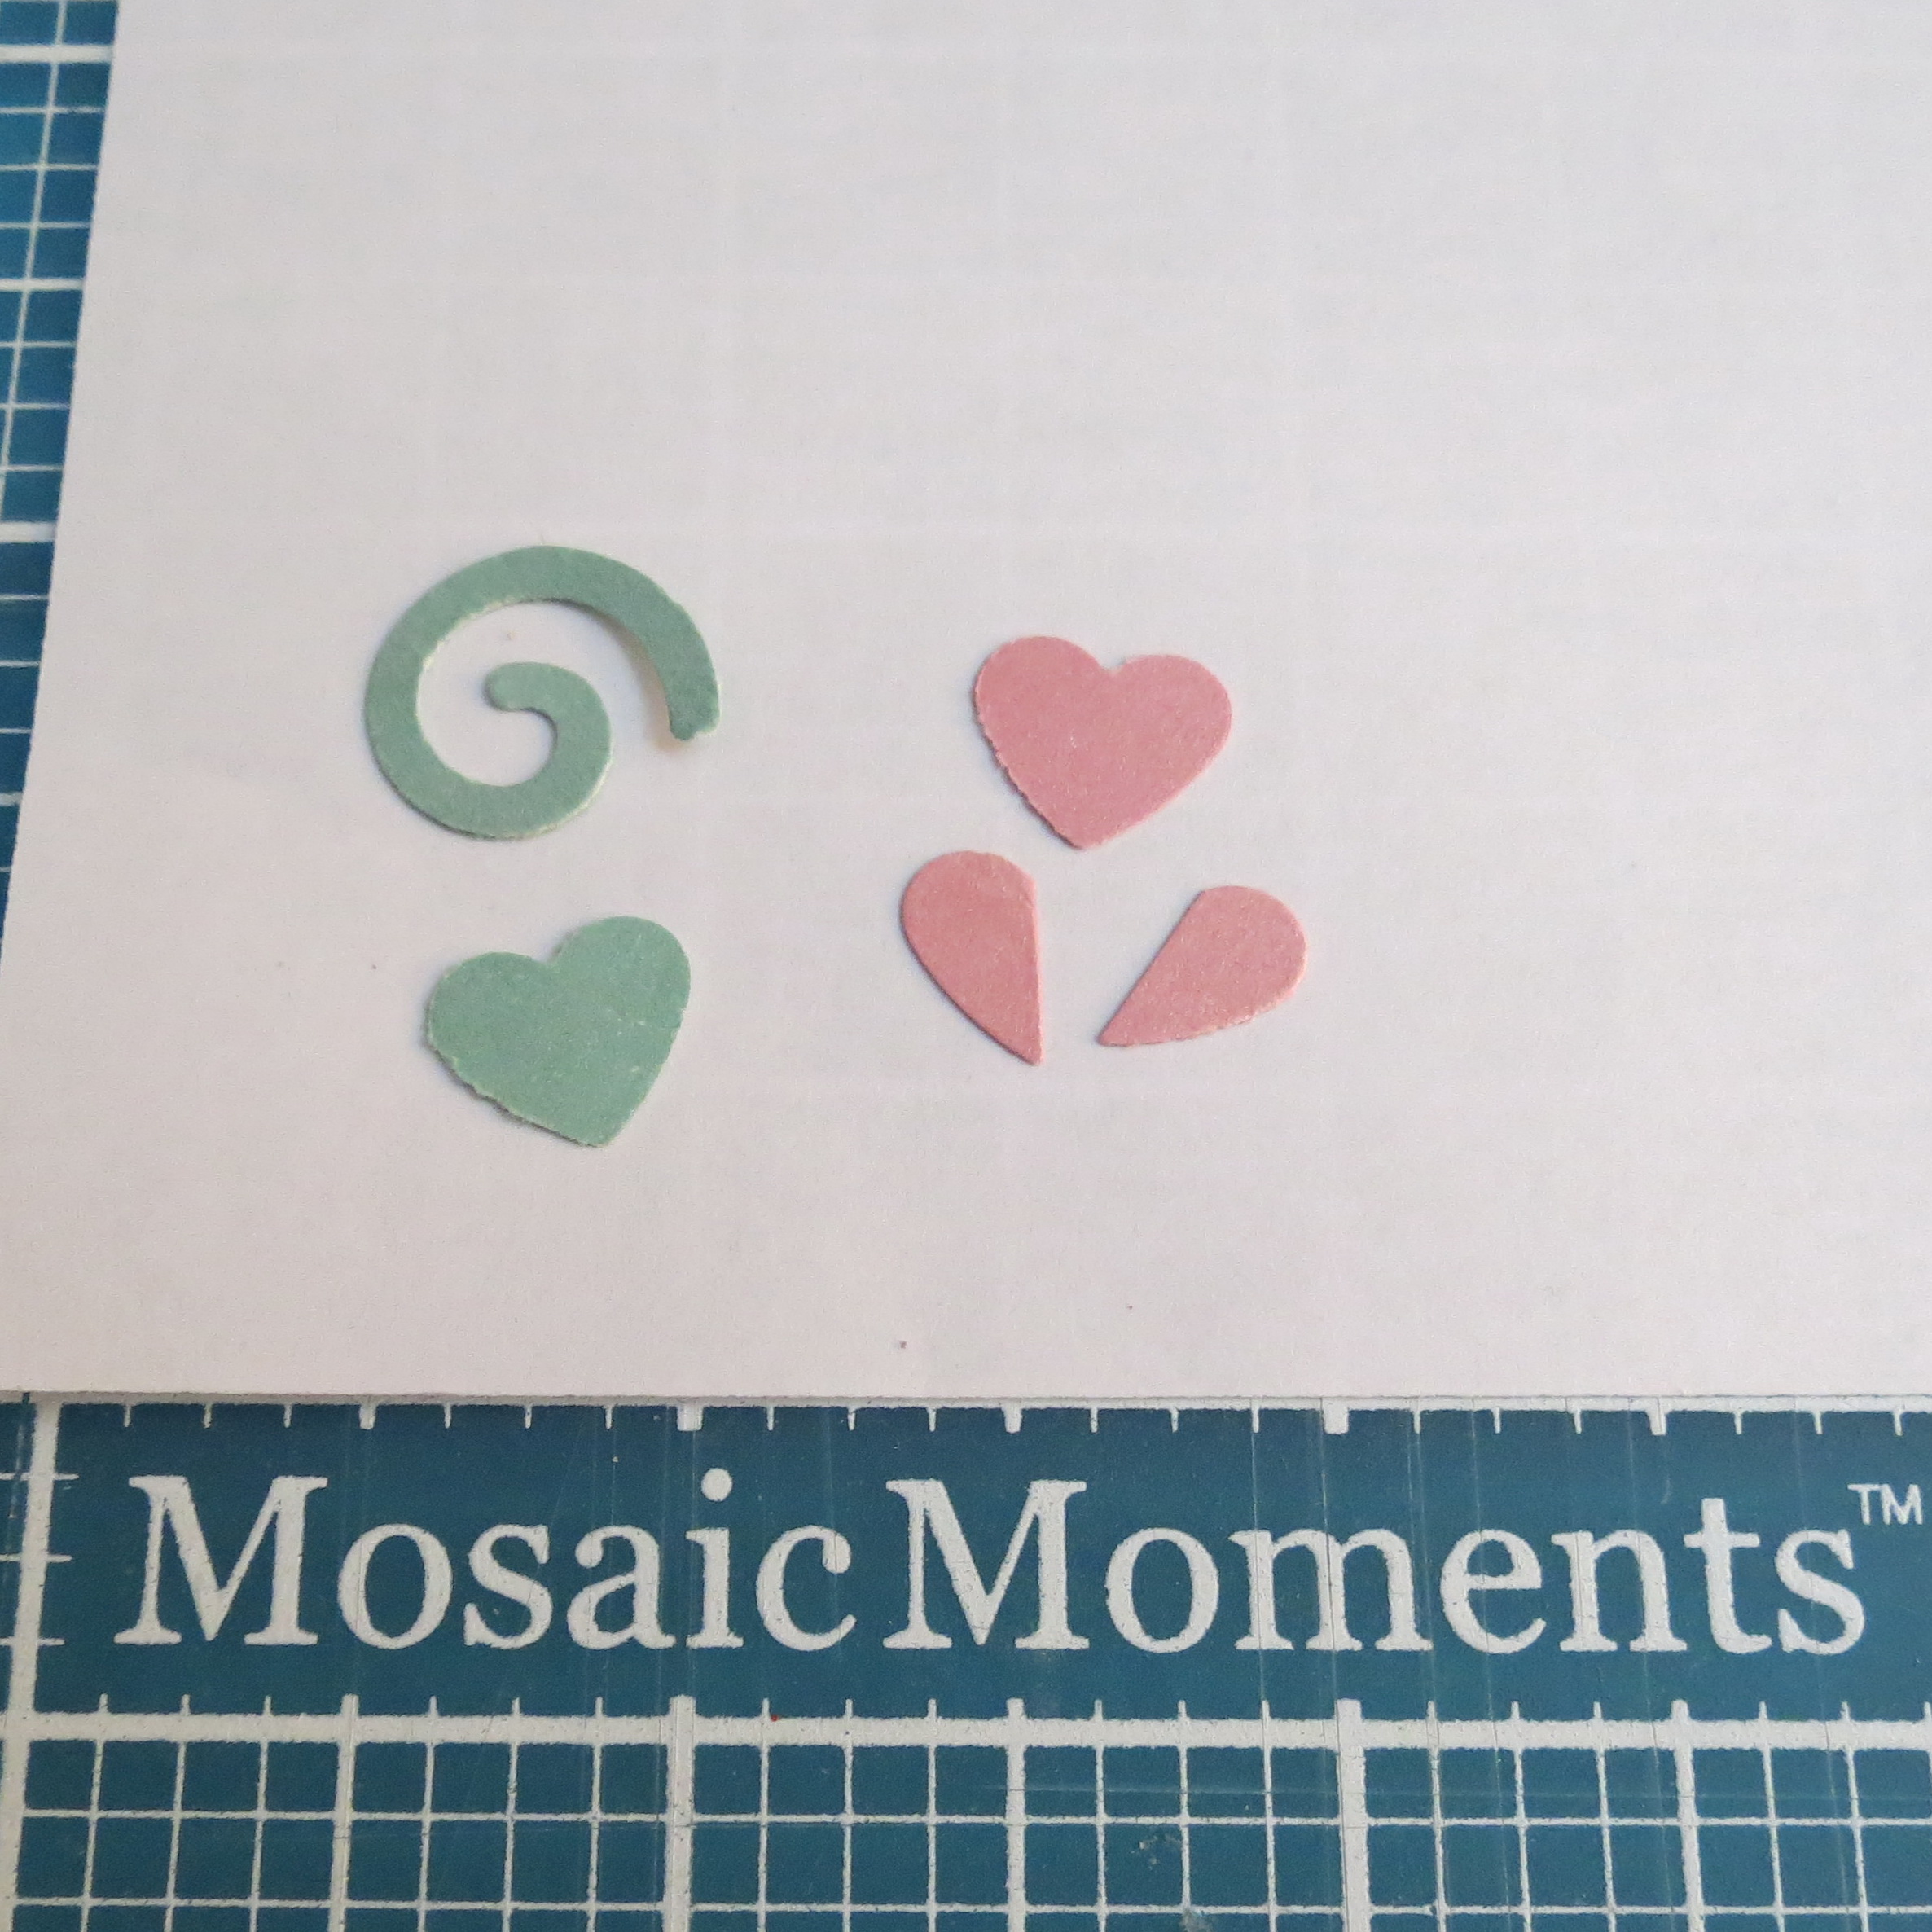
MM Focal Point flower made with heart punch. Cut one heart in half
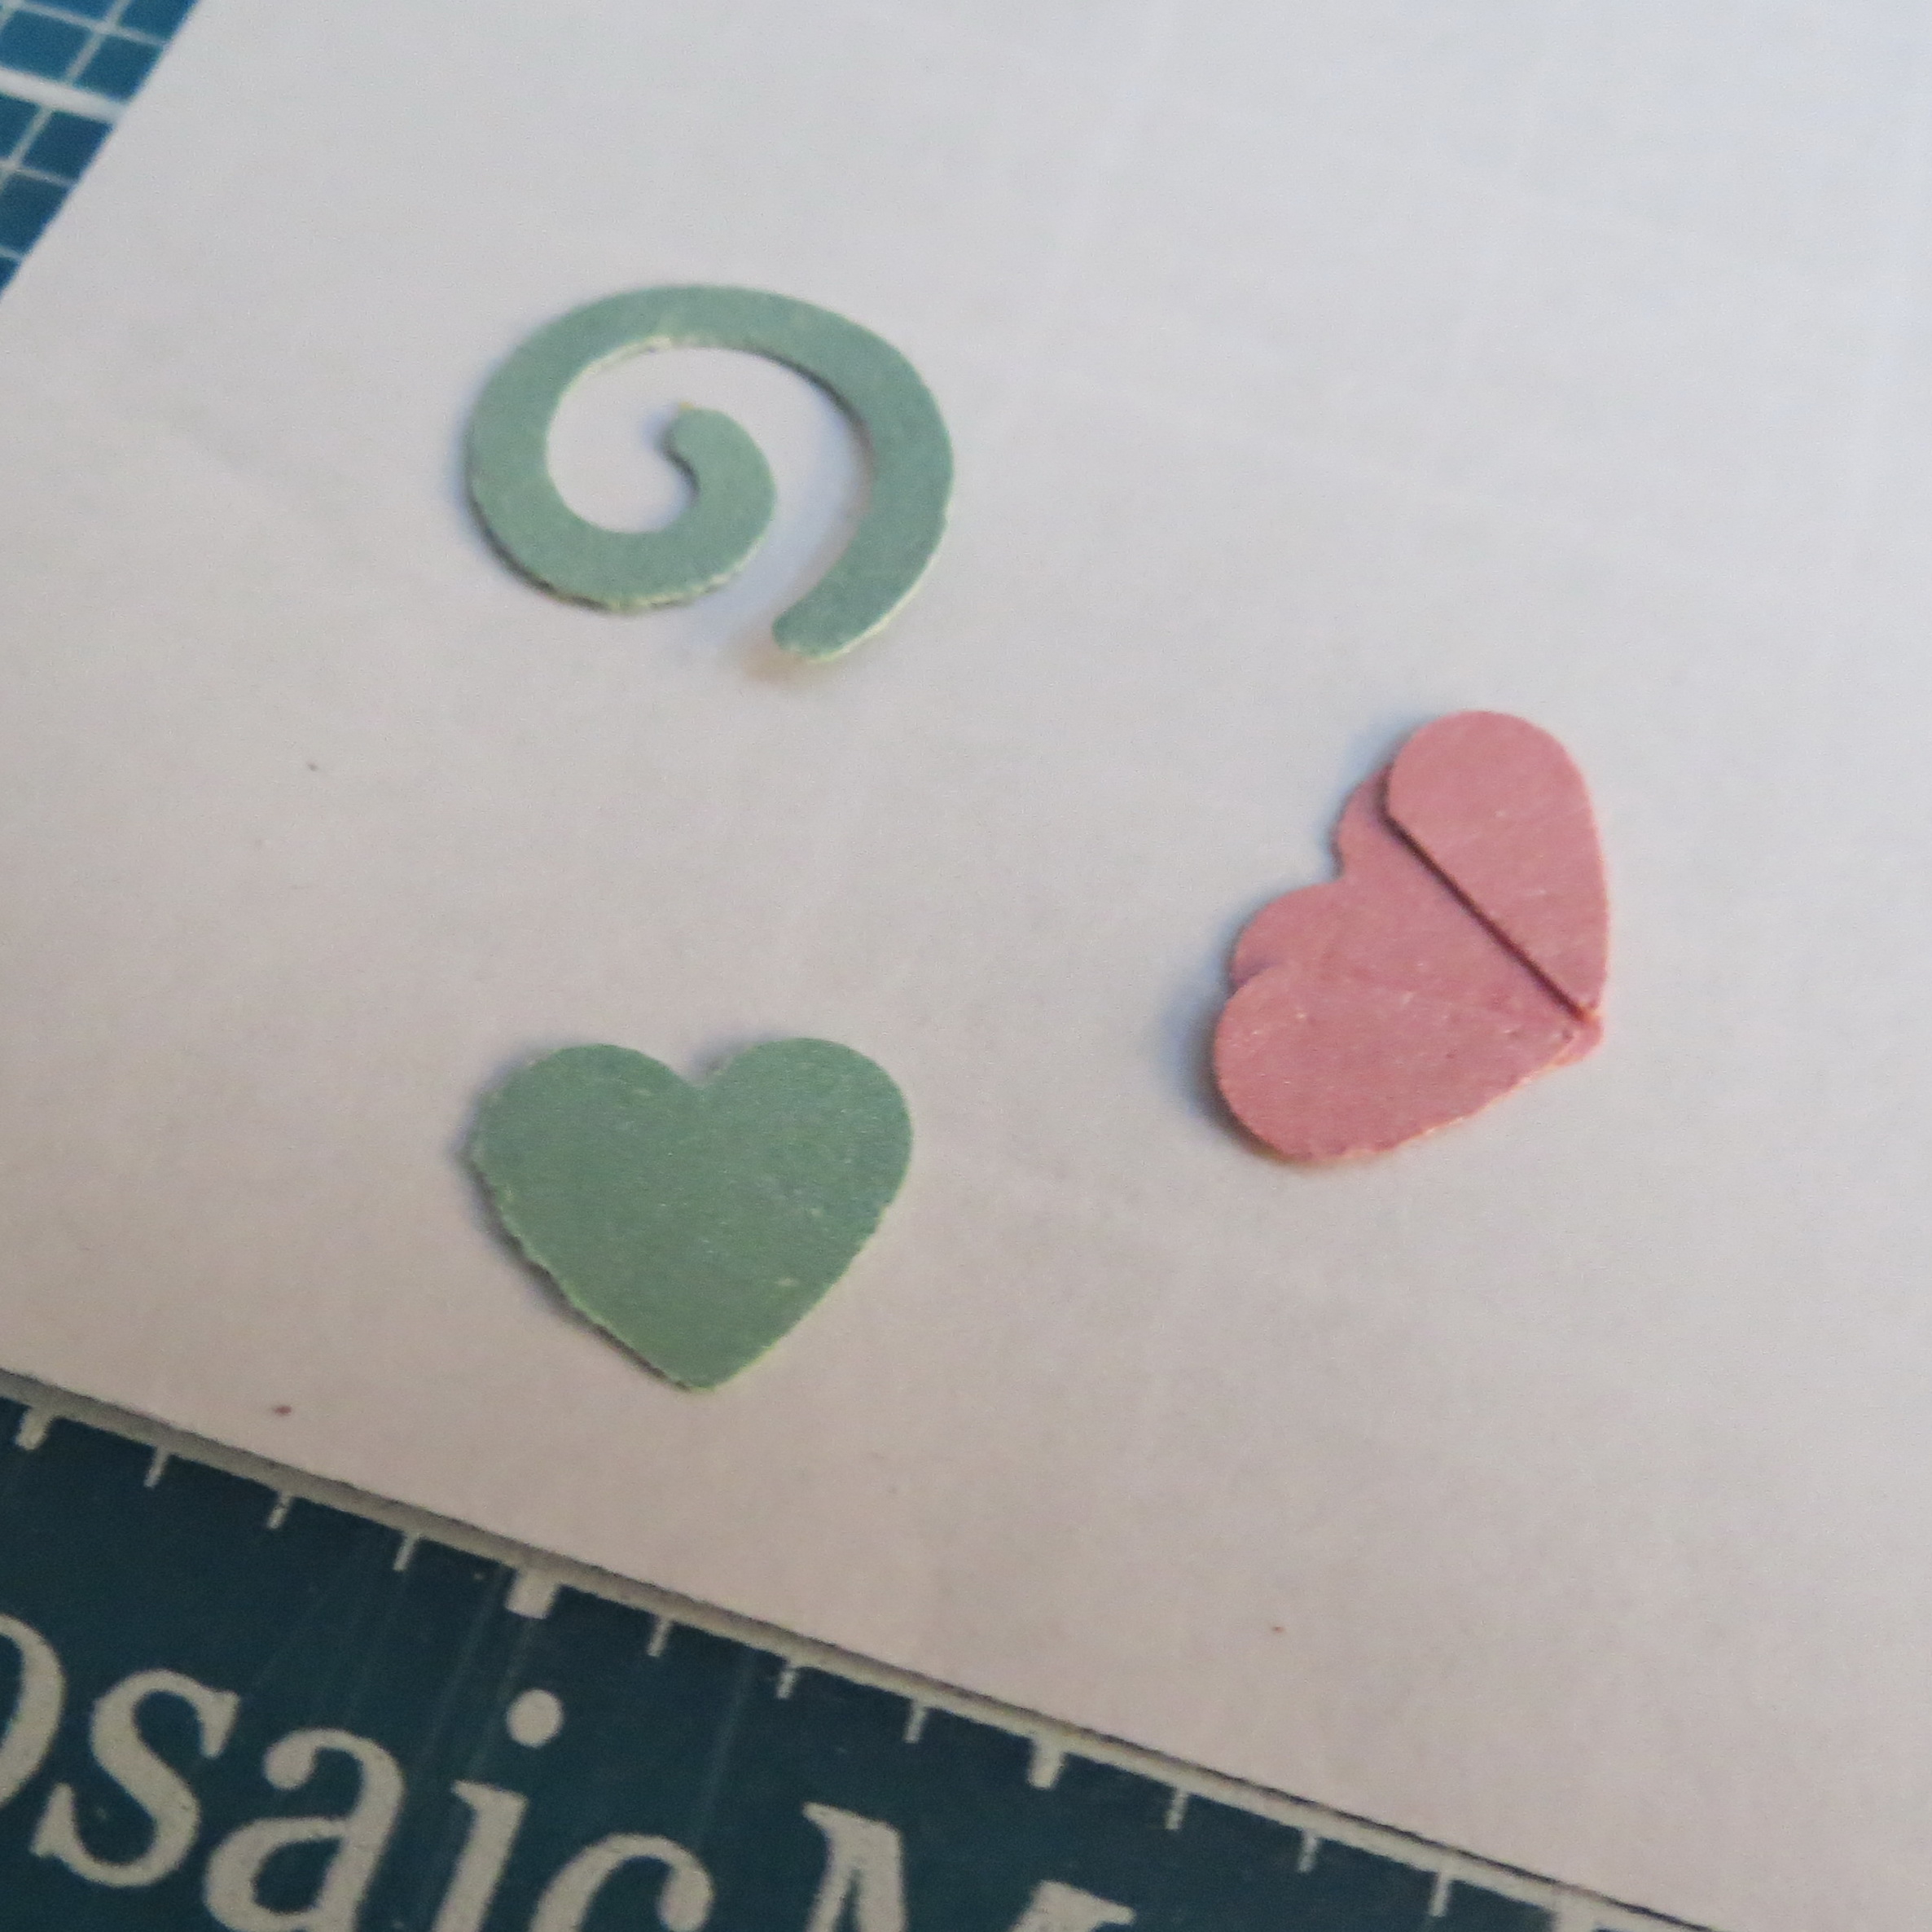
MM Focal Point flower made with heart punch. Paste halves to one heart back
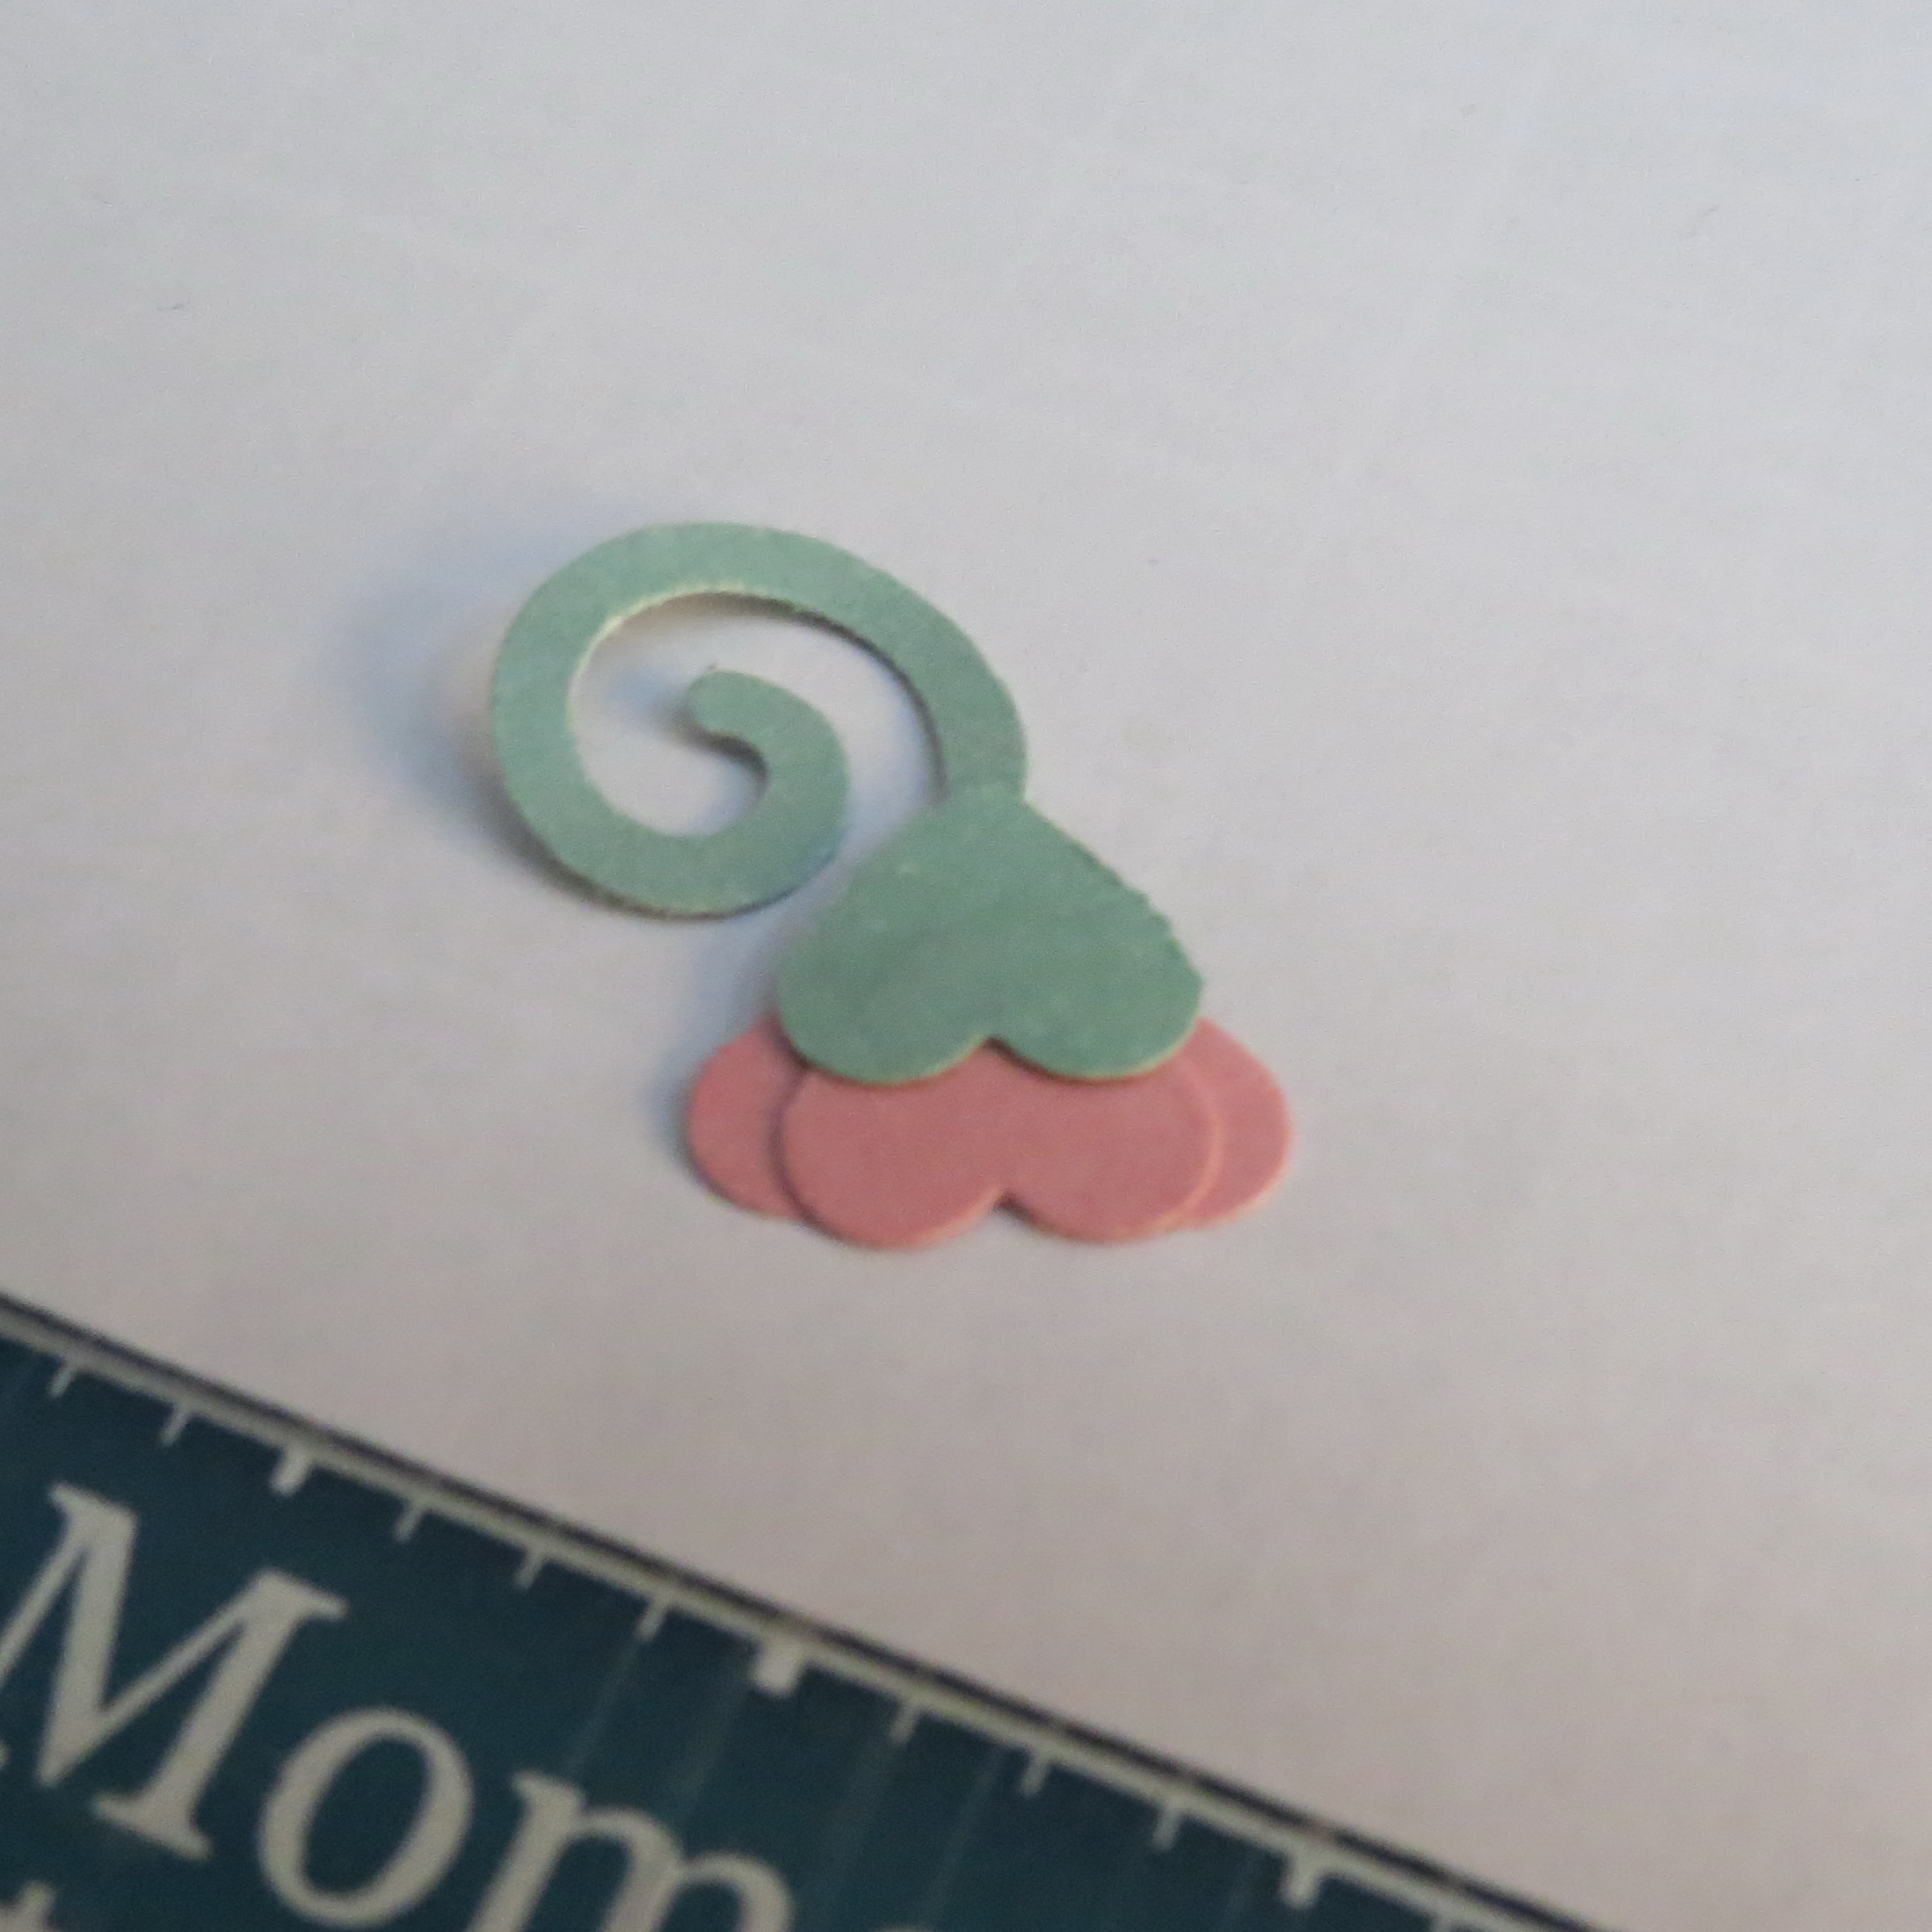
MM Focal Point flower made with heart punch. Attach green heat to topside of heart pieces and attach the swirl

MM Focal Point One Pattern Three Ways
Supply List:
- Mosaic Moments 12×12 Grid; Navy, Spring Green, Bermuda Blue
- Mosaic Moments Paper Tiles: Plum, Caribbean Blue, White
- Mosaic Moments Lattice Set Die
- Darice Embossing folders: quilted pattern, flowers
- Pocket die set (Papertrey Ink) hidden journaling
- Vellum for butterflies
- Butterfly die (A-muse Studio) rubber-stamped and heat embossed, glitter
- EK Success punches: teardrop, small flower, flower and leaves punch, spiral; small heart punch
- Liquid pearls
- Sequins
- Cricut cut Titles two-ways
- Best Occasions Pearlescent Paper (Walmart) for punched flowers: pink, yellow, lavender, two greens
- Font JF Ringmaster for “All Aboard”
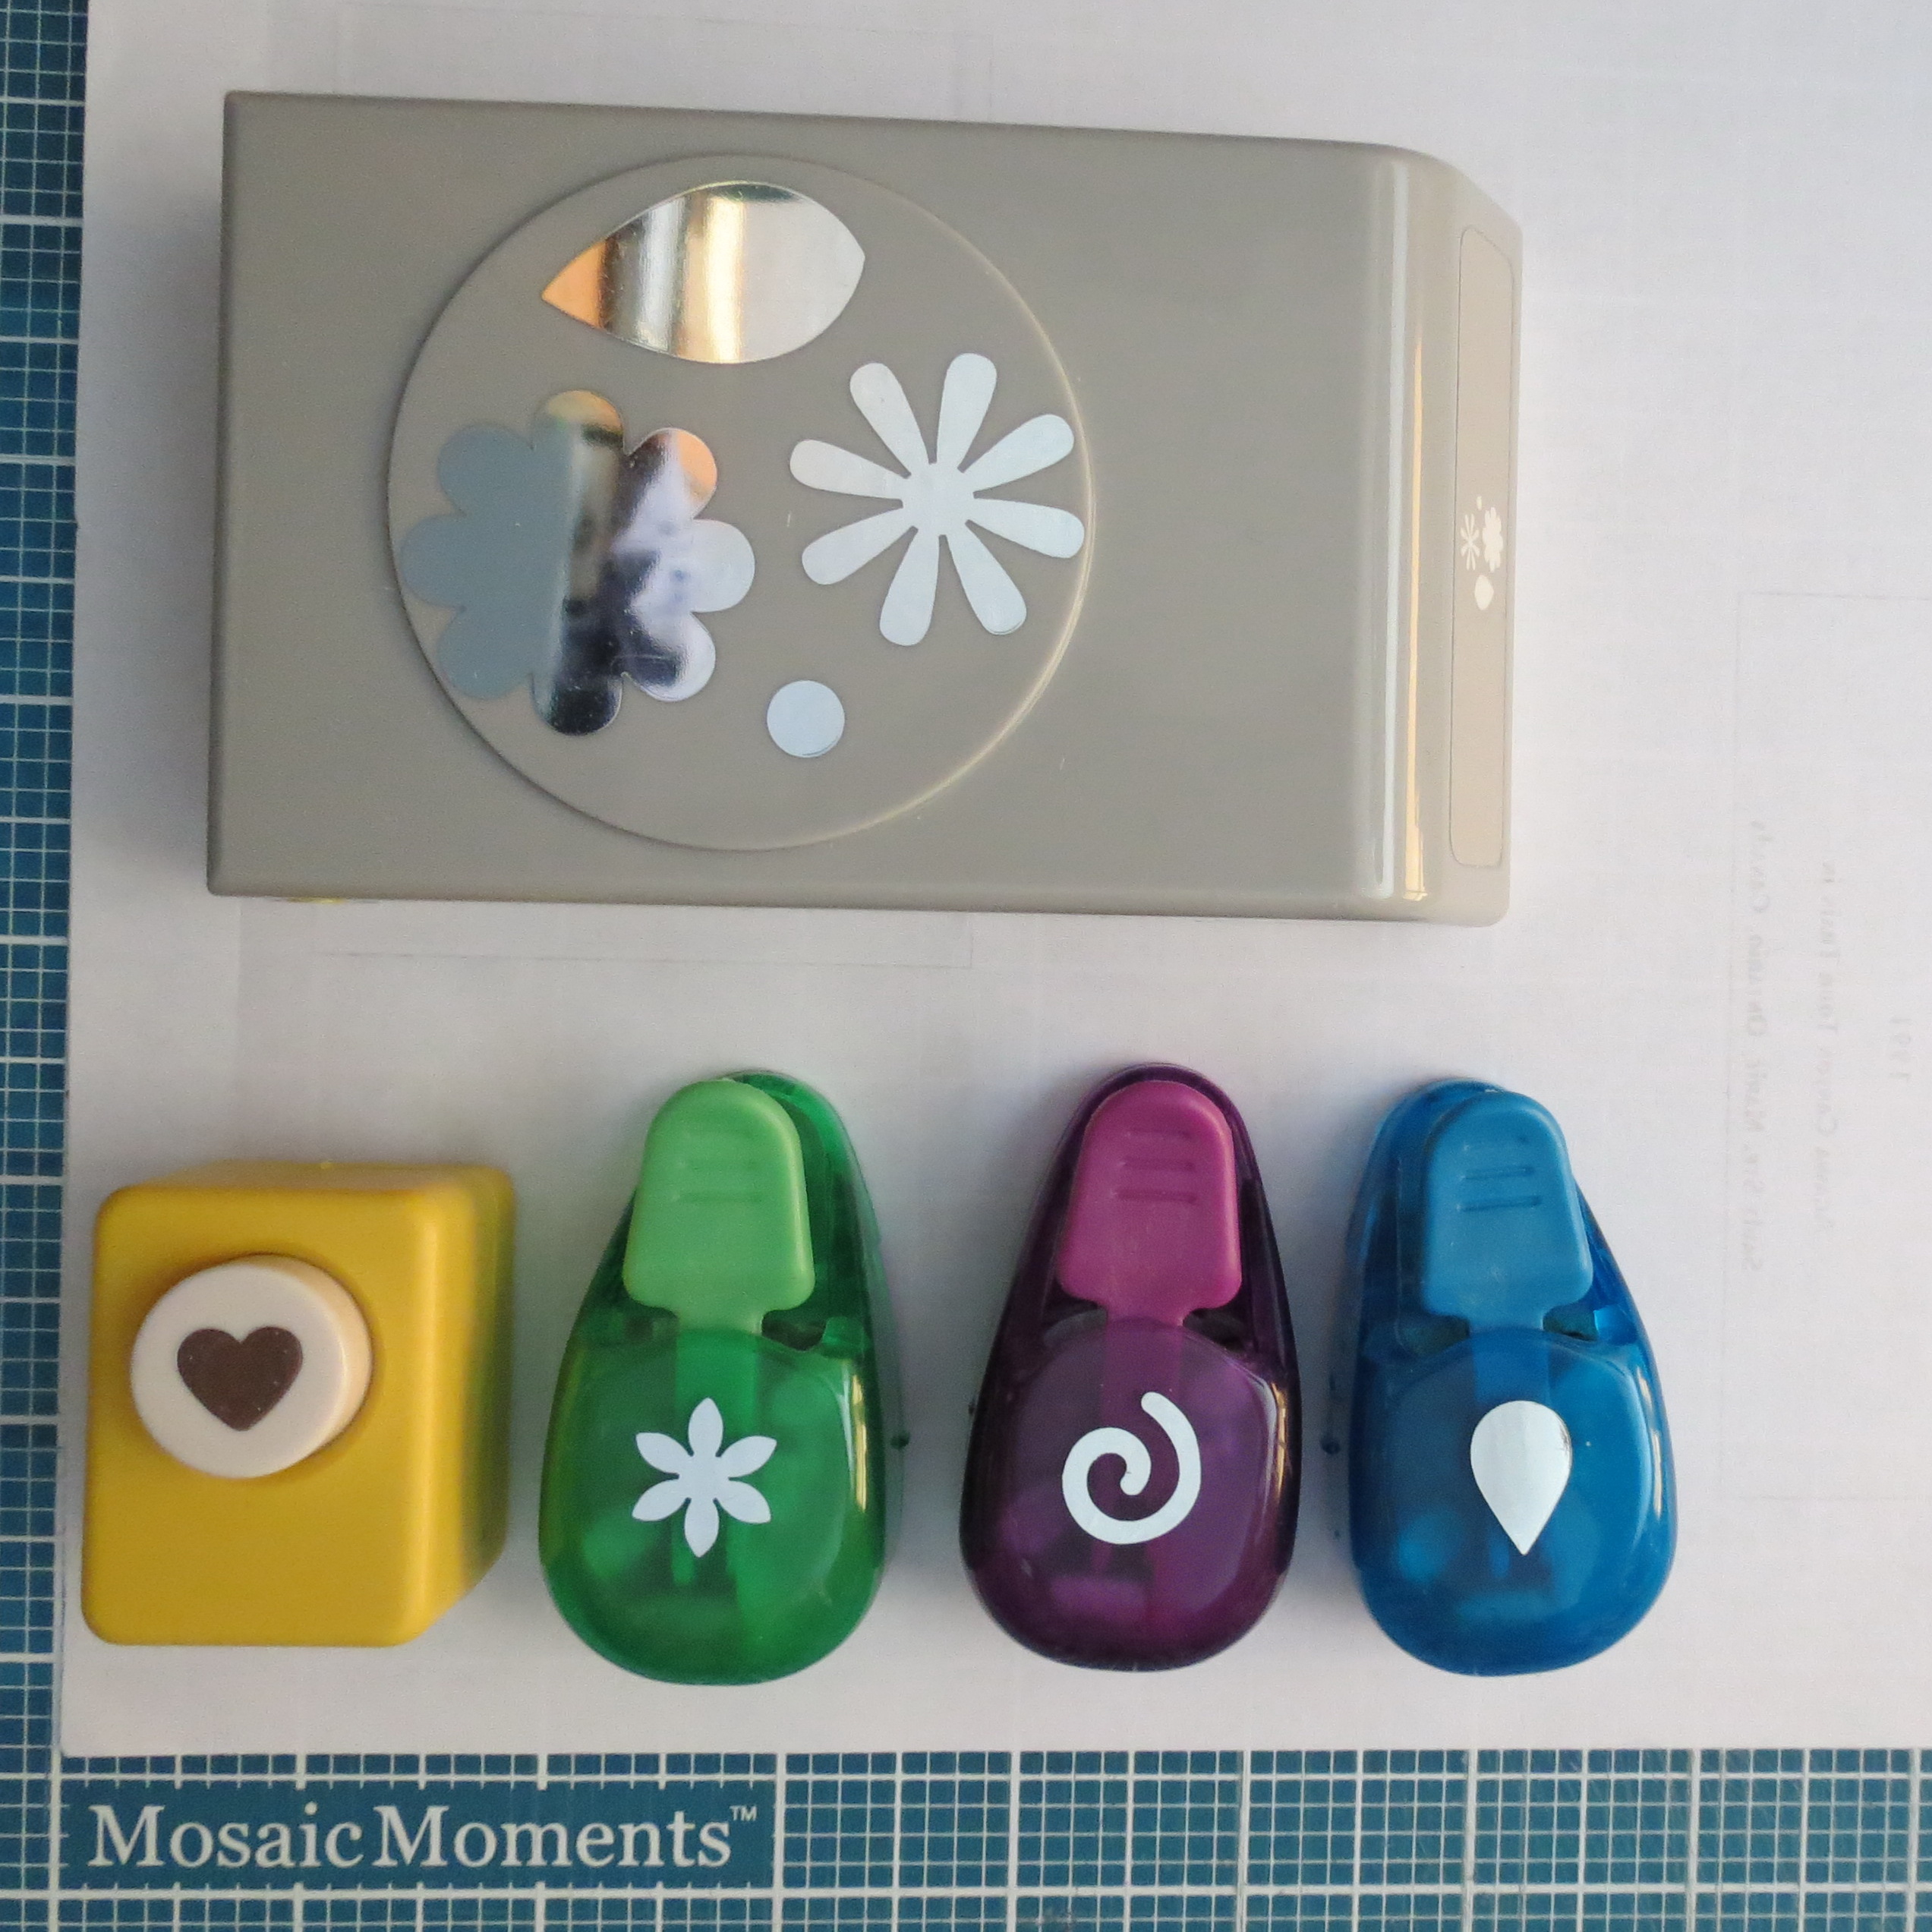
MM Punches for creating flowers for layout three
I hope we’ve inspired you to try something new and see how many ways you can create a focal point in your next layout and maybe share with us on Facebook where you can keep up with the all the latest Mosaic Moments news or on Pinterest where you will find all kinds of inspiration including our idea board for this pin.
Andrea Fisher
MM Focal Point one layout three ways Technique, Photo, Title