
with the 1×3 Die Sets
Featuring:
• 1×3 dies
• Cocoa Gird Paper
• Pattern # 279 a puzzle pattern
Supplies used:
• X &O set die
• Point the Way Die Set
• Die Set B
• Sweet n Sassy Wave Dies set of 2
• Mosaic Moment Paper Tiles: Cocoa, Sand, Ivory, Ocean Breeze, Tropical Breeze, Caribbean Breeze
• Teal cardstock
• ProvoCraft D’Vine Swirls
Our Featured Dies for February are the 1×3 Die Sets. I’ve used components of two sets in this layout.

Mosaic Moments Pattern #279 a puzzle pattern
Pattern #279 has spaces for 5 photos, 2-4×6, 1-3×5, 1-3×4, 10-1”sqs. and one strip section with 5-1×3 sections. One section was perfect for my journaling and the strip section was perfect for a design section using a series of 1×3 die elements.

MM Design Element 1×3 Die
One 4×6 section has a matted 4”x6” photo and a space to add a journal detail. The other 4×6 section the photo is printed to the full 4.375”x6.625”.
Mosaic Moments Design Element detail X&O Set Die
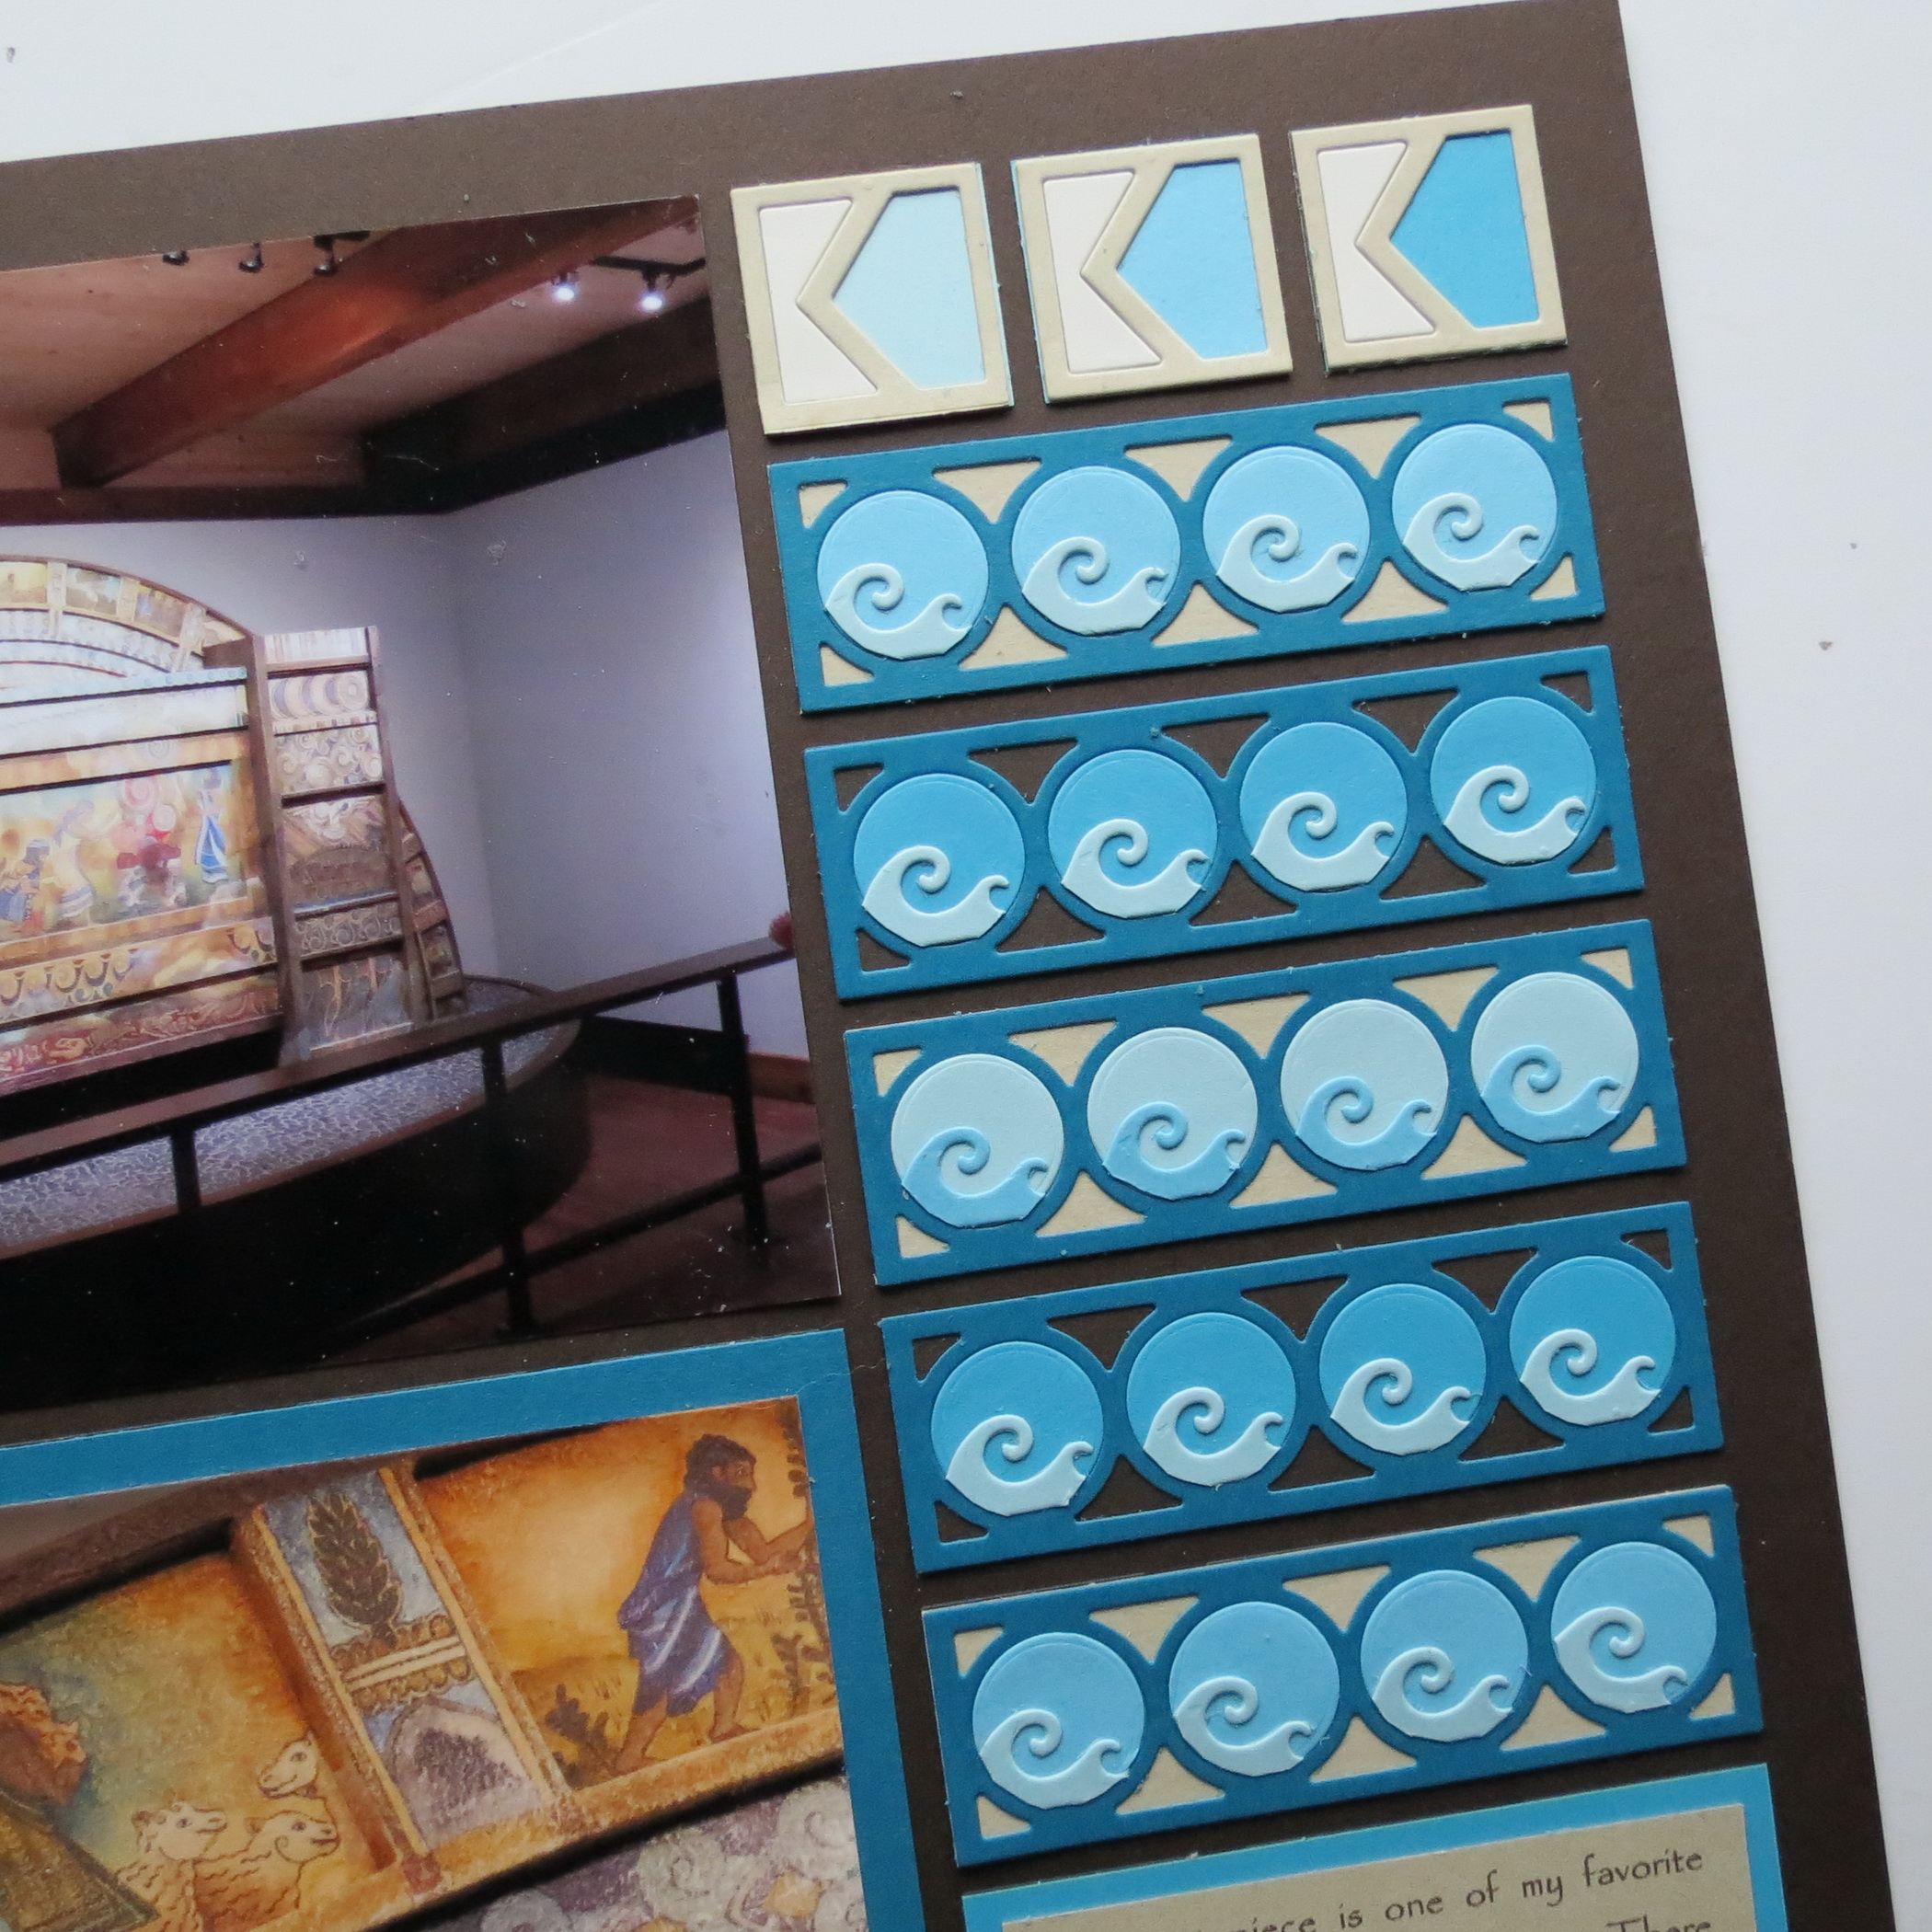
I decided to use the strip section to take the 1×3 “O” die from the X&O set to create a design element. The “O” die was cut five times in Teal. Three sections are mounted on sand paper tiles and two on Cocoa paper tiles. From the trio of blue shades of tiles the “O” was cut to get the circles to fill each row of dies.
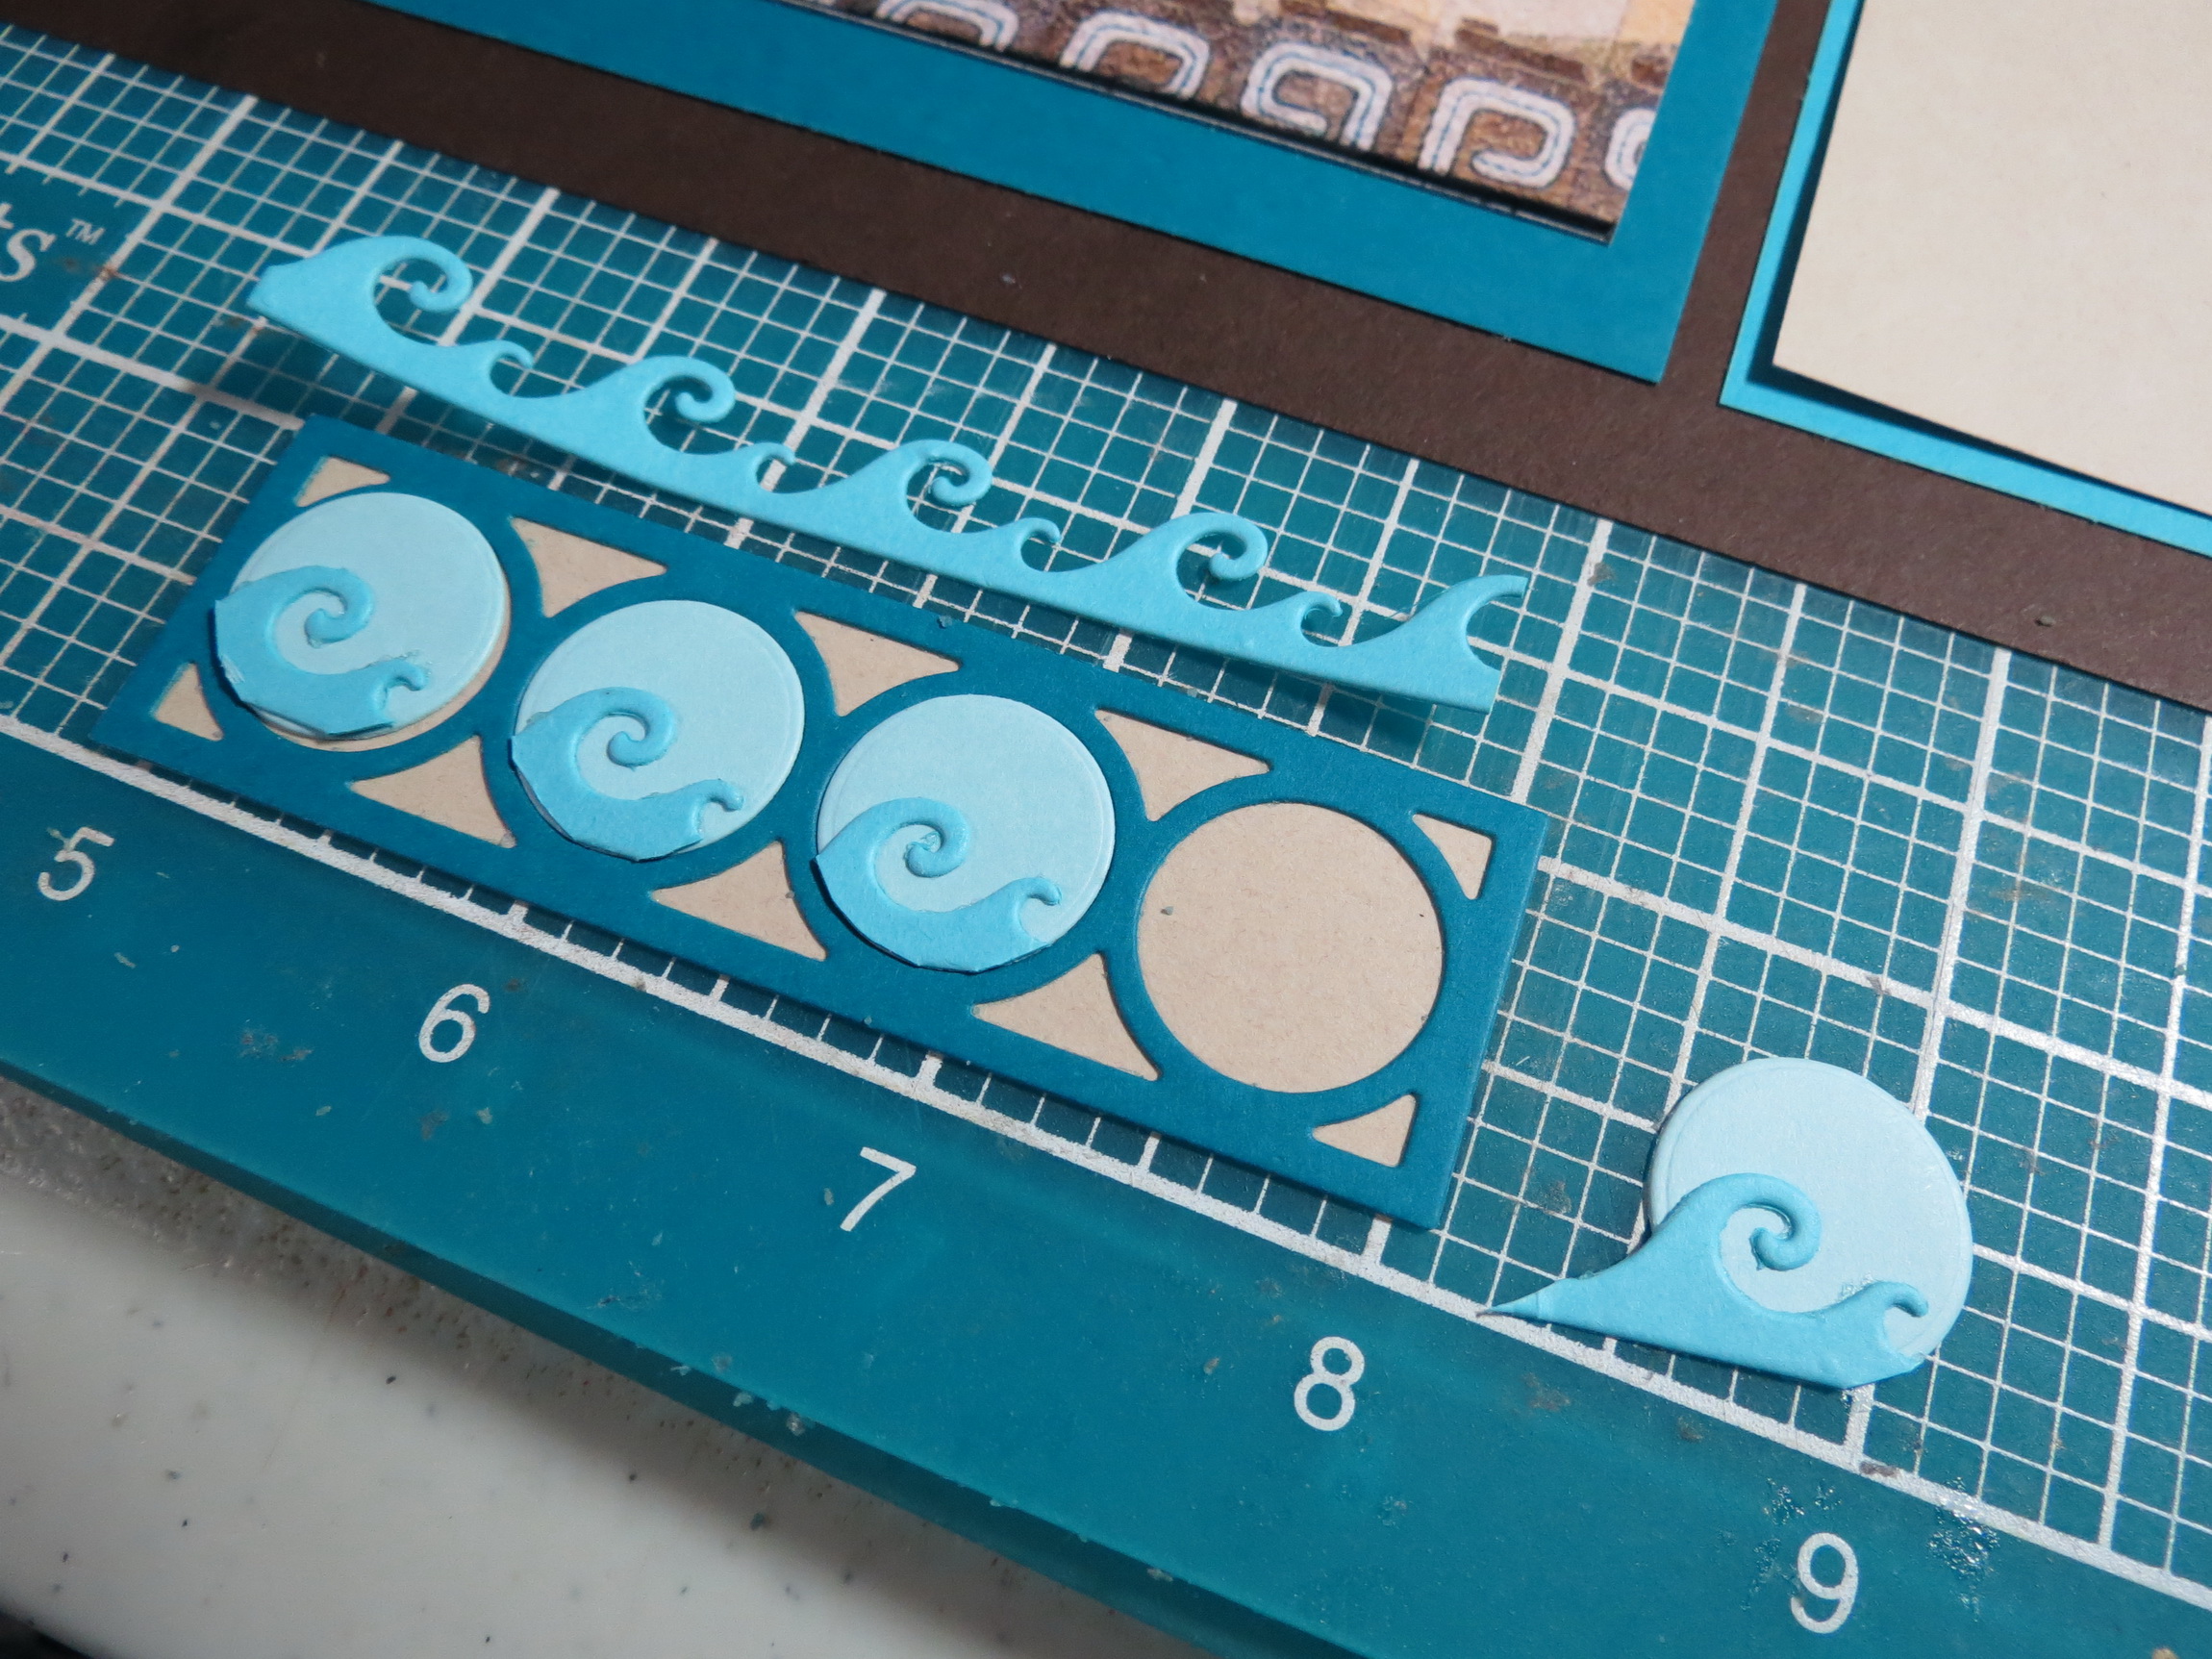
Mosaic Moments Design Element detail
I had a plan in mind that was changed to use the small wave die (Sassy n Sweet Stamps) in the lightest blue for waves to fussy cut for each circle and then insert into the spaces. I thought this particular motif fit well with the designs in the photos.
In the 1” spaces around the edges I used the die from the Point the Way set with Ivory and Sand tiles and the gradient blues tiles behind each space.
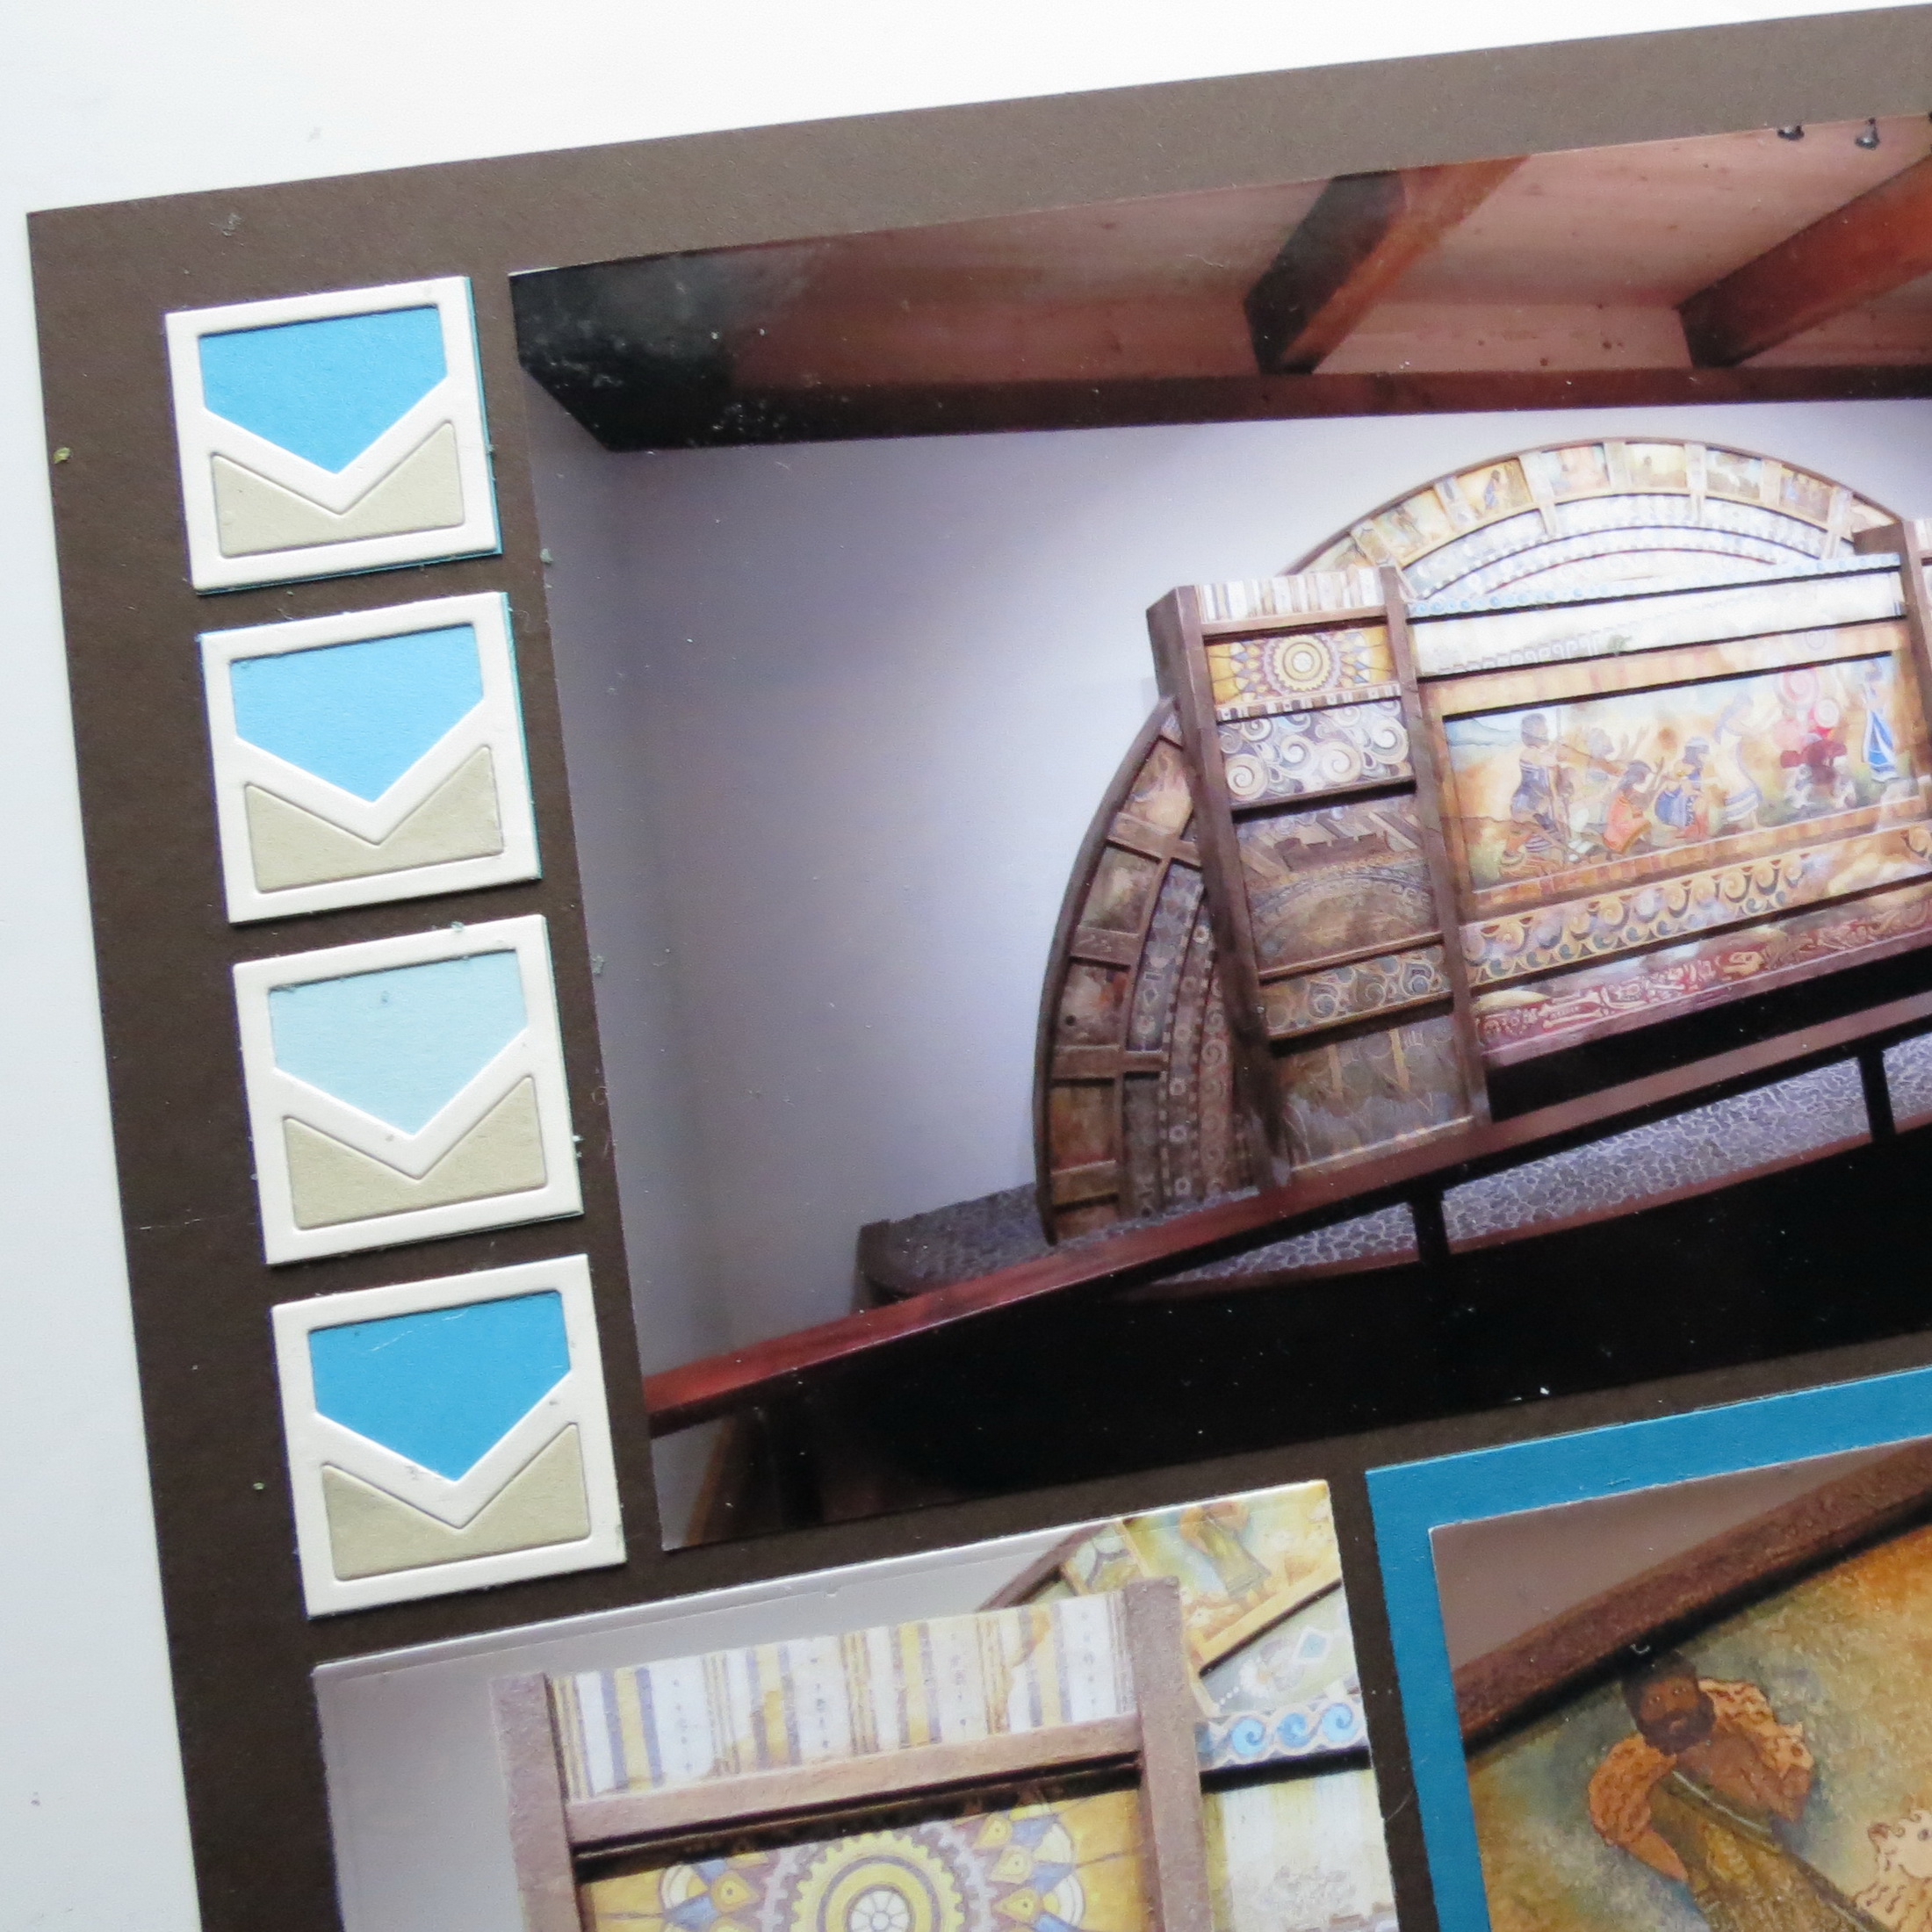
Mosaic Moments Design Element using Point the Way 1″ Sq Die
I included a 3×4 block of journaling to finish the page.

Mosaic Moments Design Element journaling block
I did do a second page for my own benefit and I chose to quarter turn the page so I’d get multiple horizontal photos on the page.

MM Pattern #279 on a quarter turn. Embossed strips filling the 1×3 strips
Instead of using the strip section for a photo or design element I took 1×3 paper tiles, embossed them with a swirl pattern and placed them in a row.
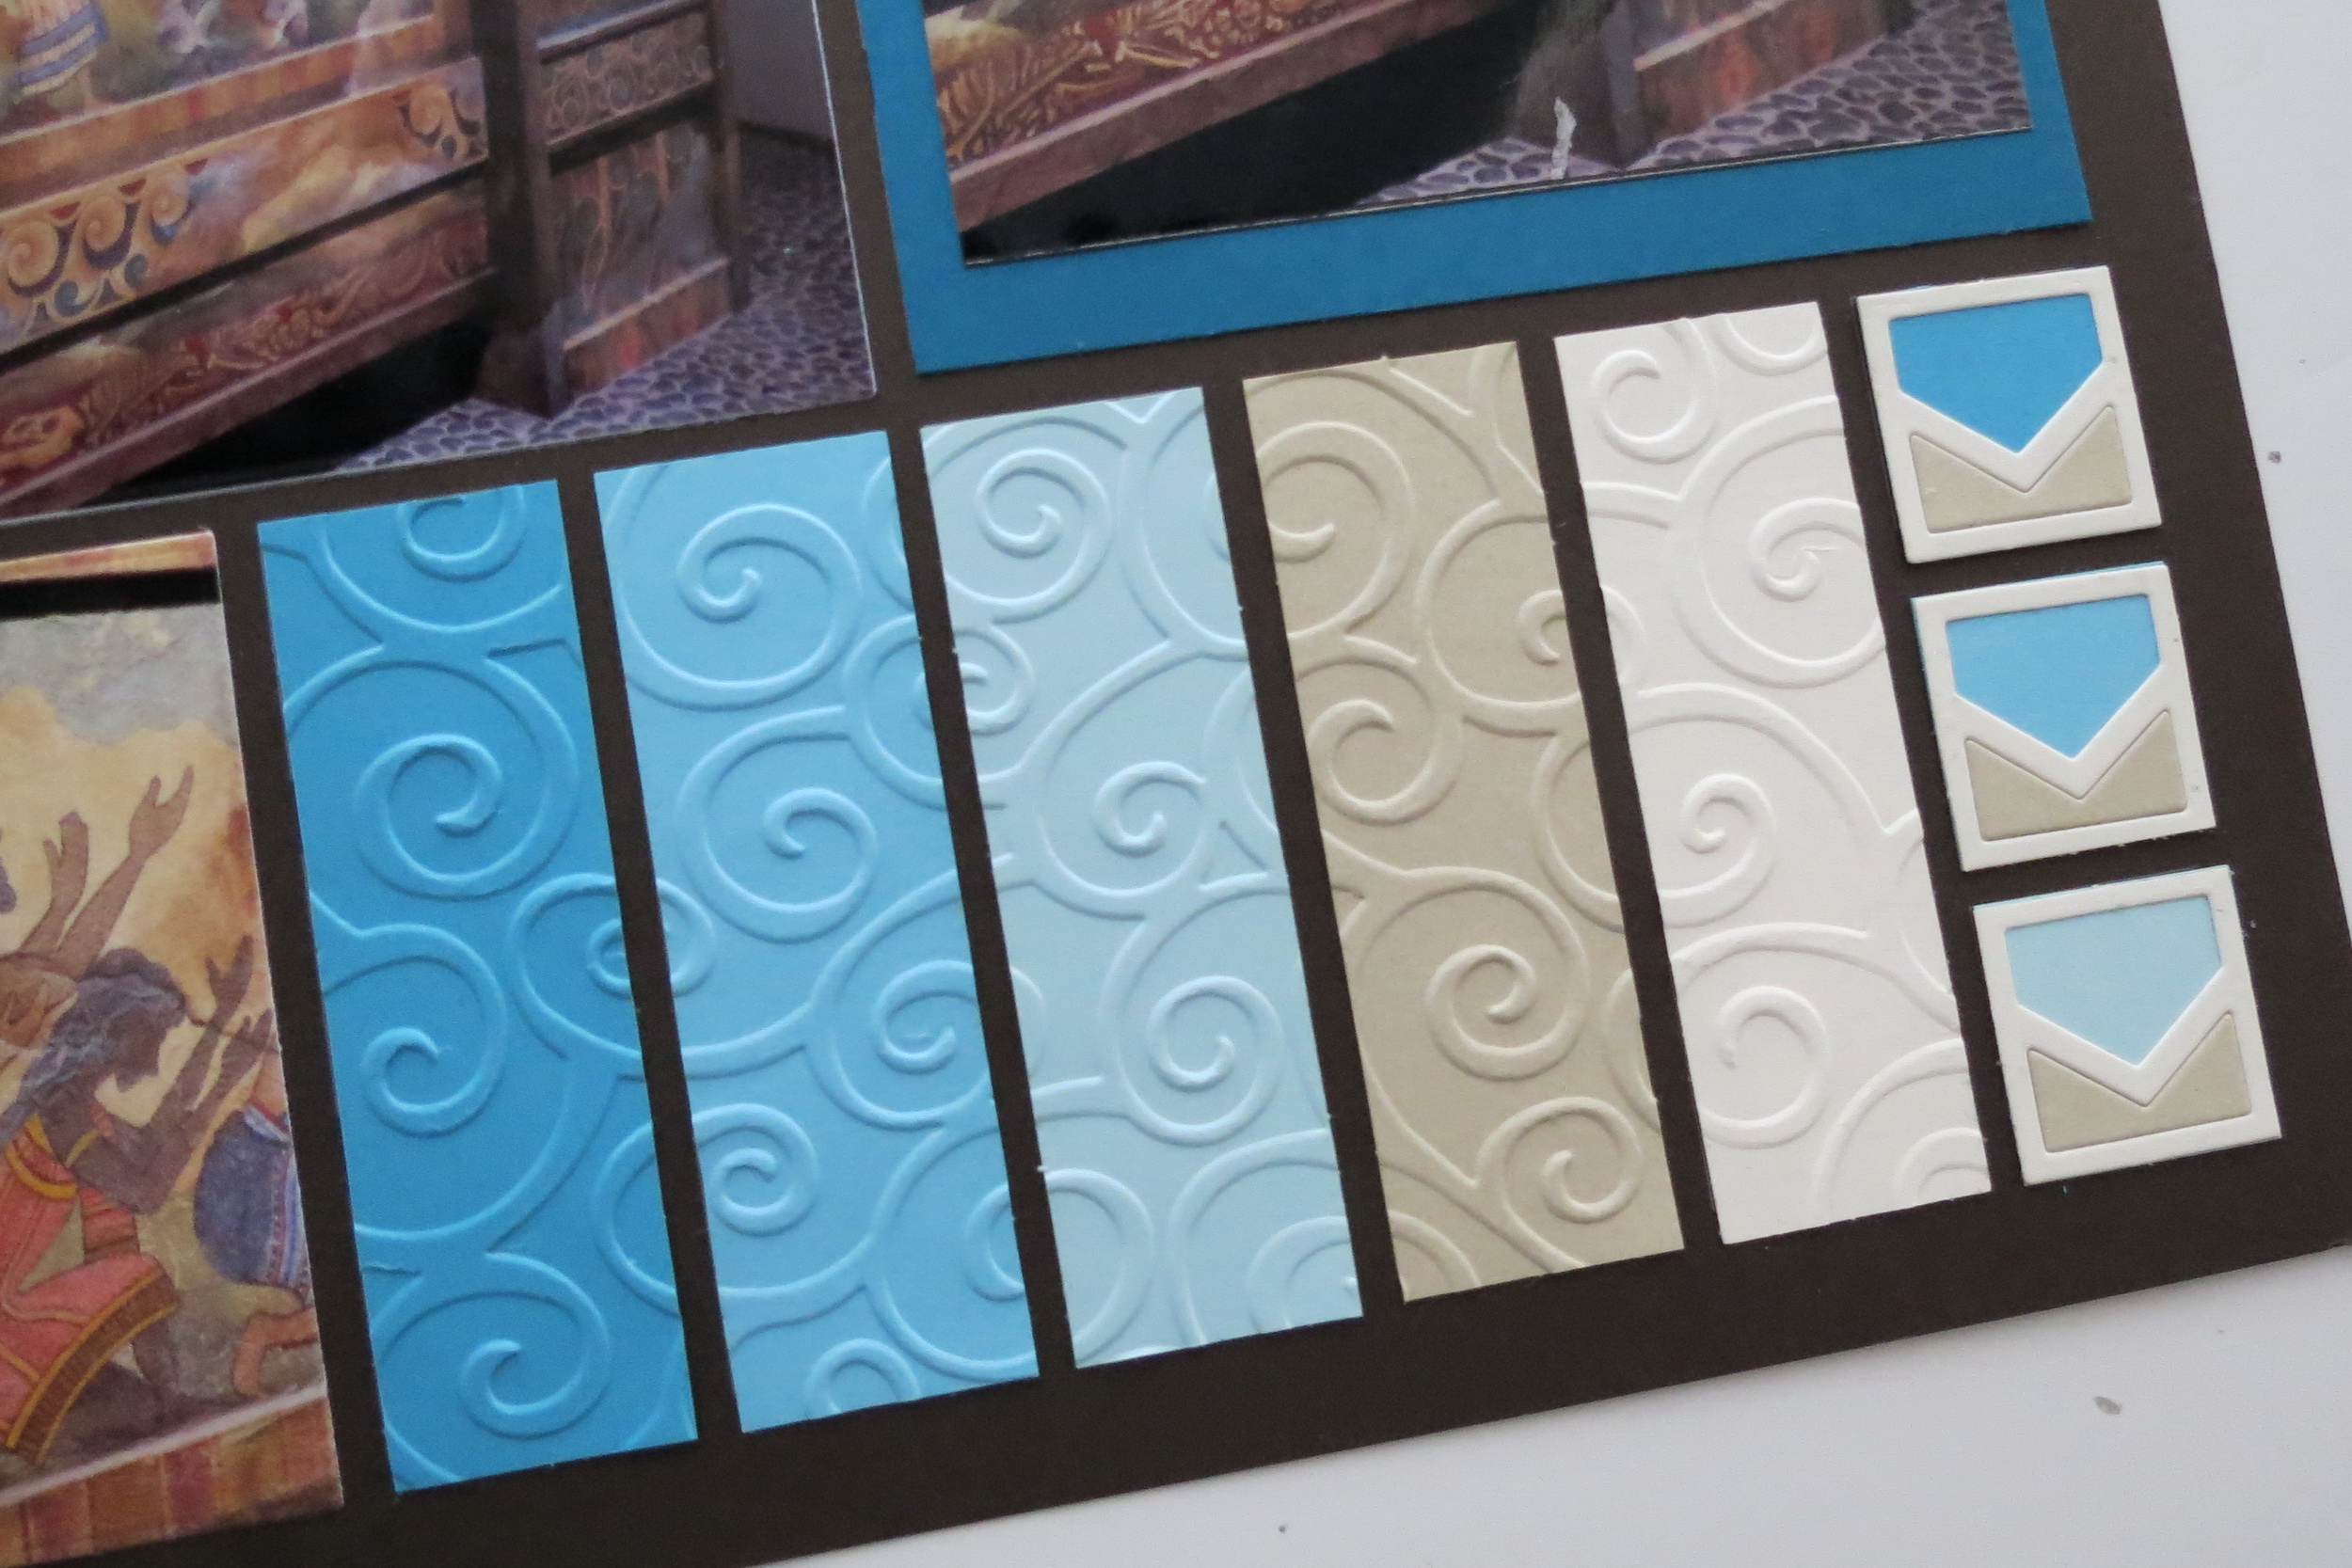
Detail
Many of our patterns have spaces just right for inserting any one of the 1×3 dies and a few will let you make a design element feature with multiple sections grouped together as I’ve done in today’s layout. Cut a few samples and play around with the pieces and see what you can create!
Andrea Fisher
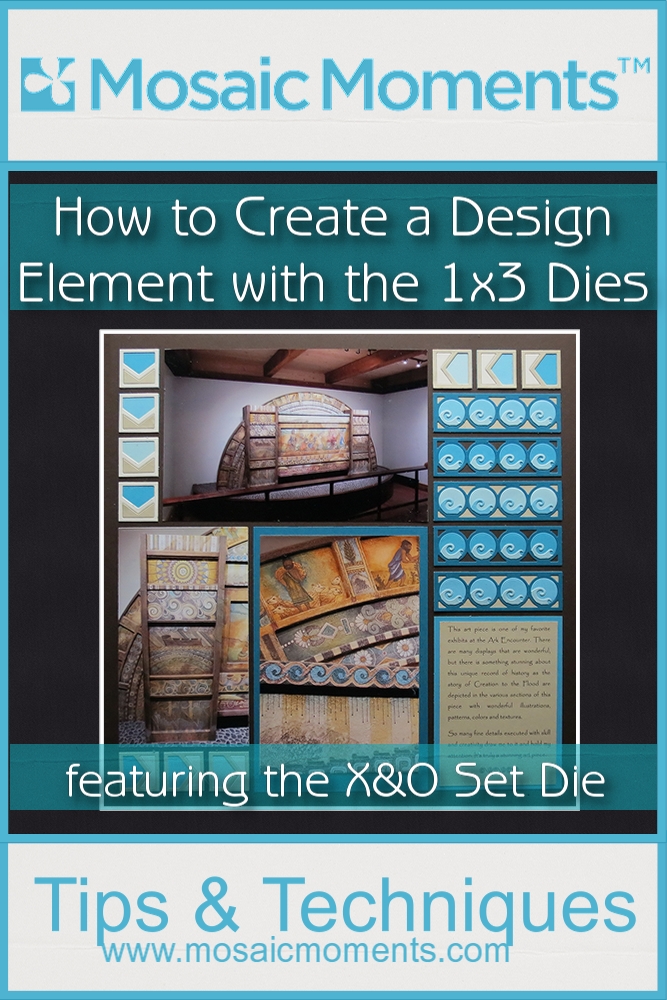
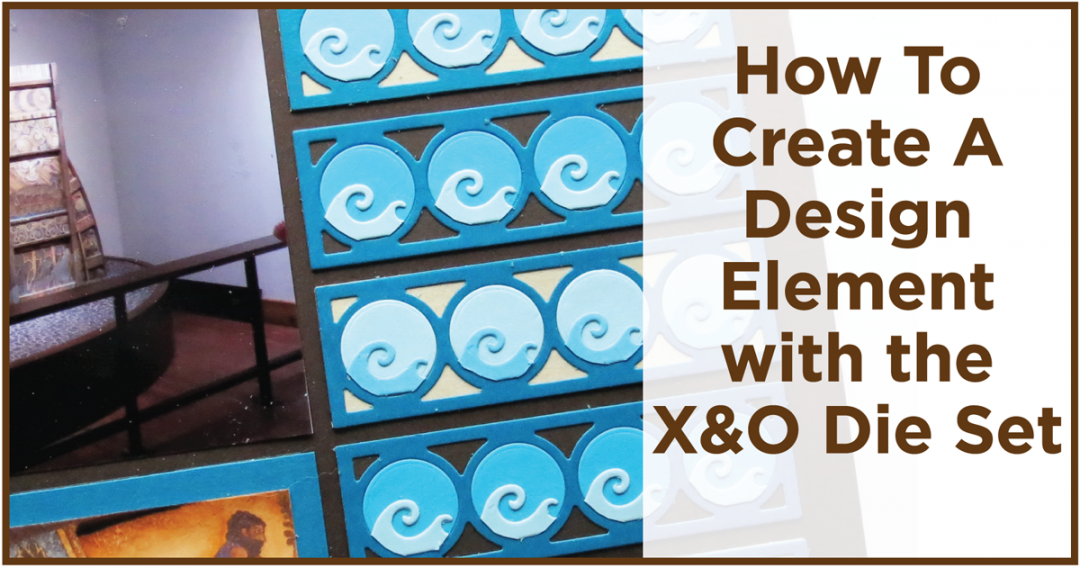
Mosaic Moments How to Create a Design Element with 1×3 Die Sets