
Featuring the Diamond Ring Cornerstone Die
Greetings everyone! I know you are busy with all your holiday preparations and plans so this week’s post will be quick with an easy project the whole family can help with creating.
The supply list is short:
• Mosaic Moments Cornerstone Die: Diamond Ring
• Die Set A the 2.125” square die
• Black cardstock
• Vellum paper
• Zig color Brush Markers assorted colors
• Glue pen: Sakura pinpoint roller Quickie Glue
• Tape ordinary invisible tape
• Scissors may be needed to trim away vellum
• Battery operated tea lights artificial flame
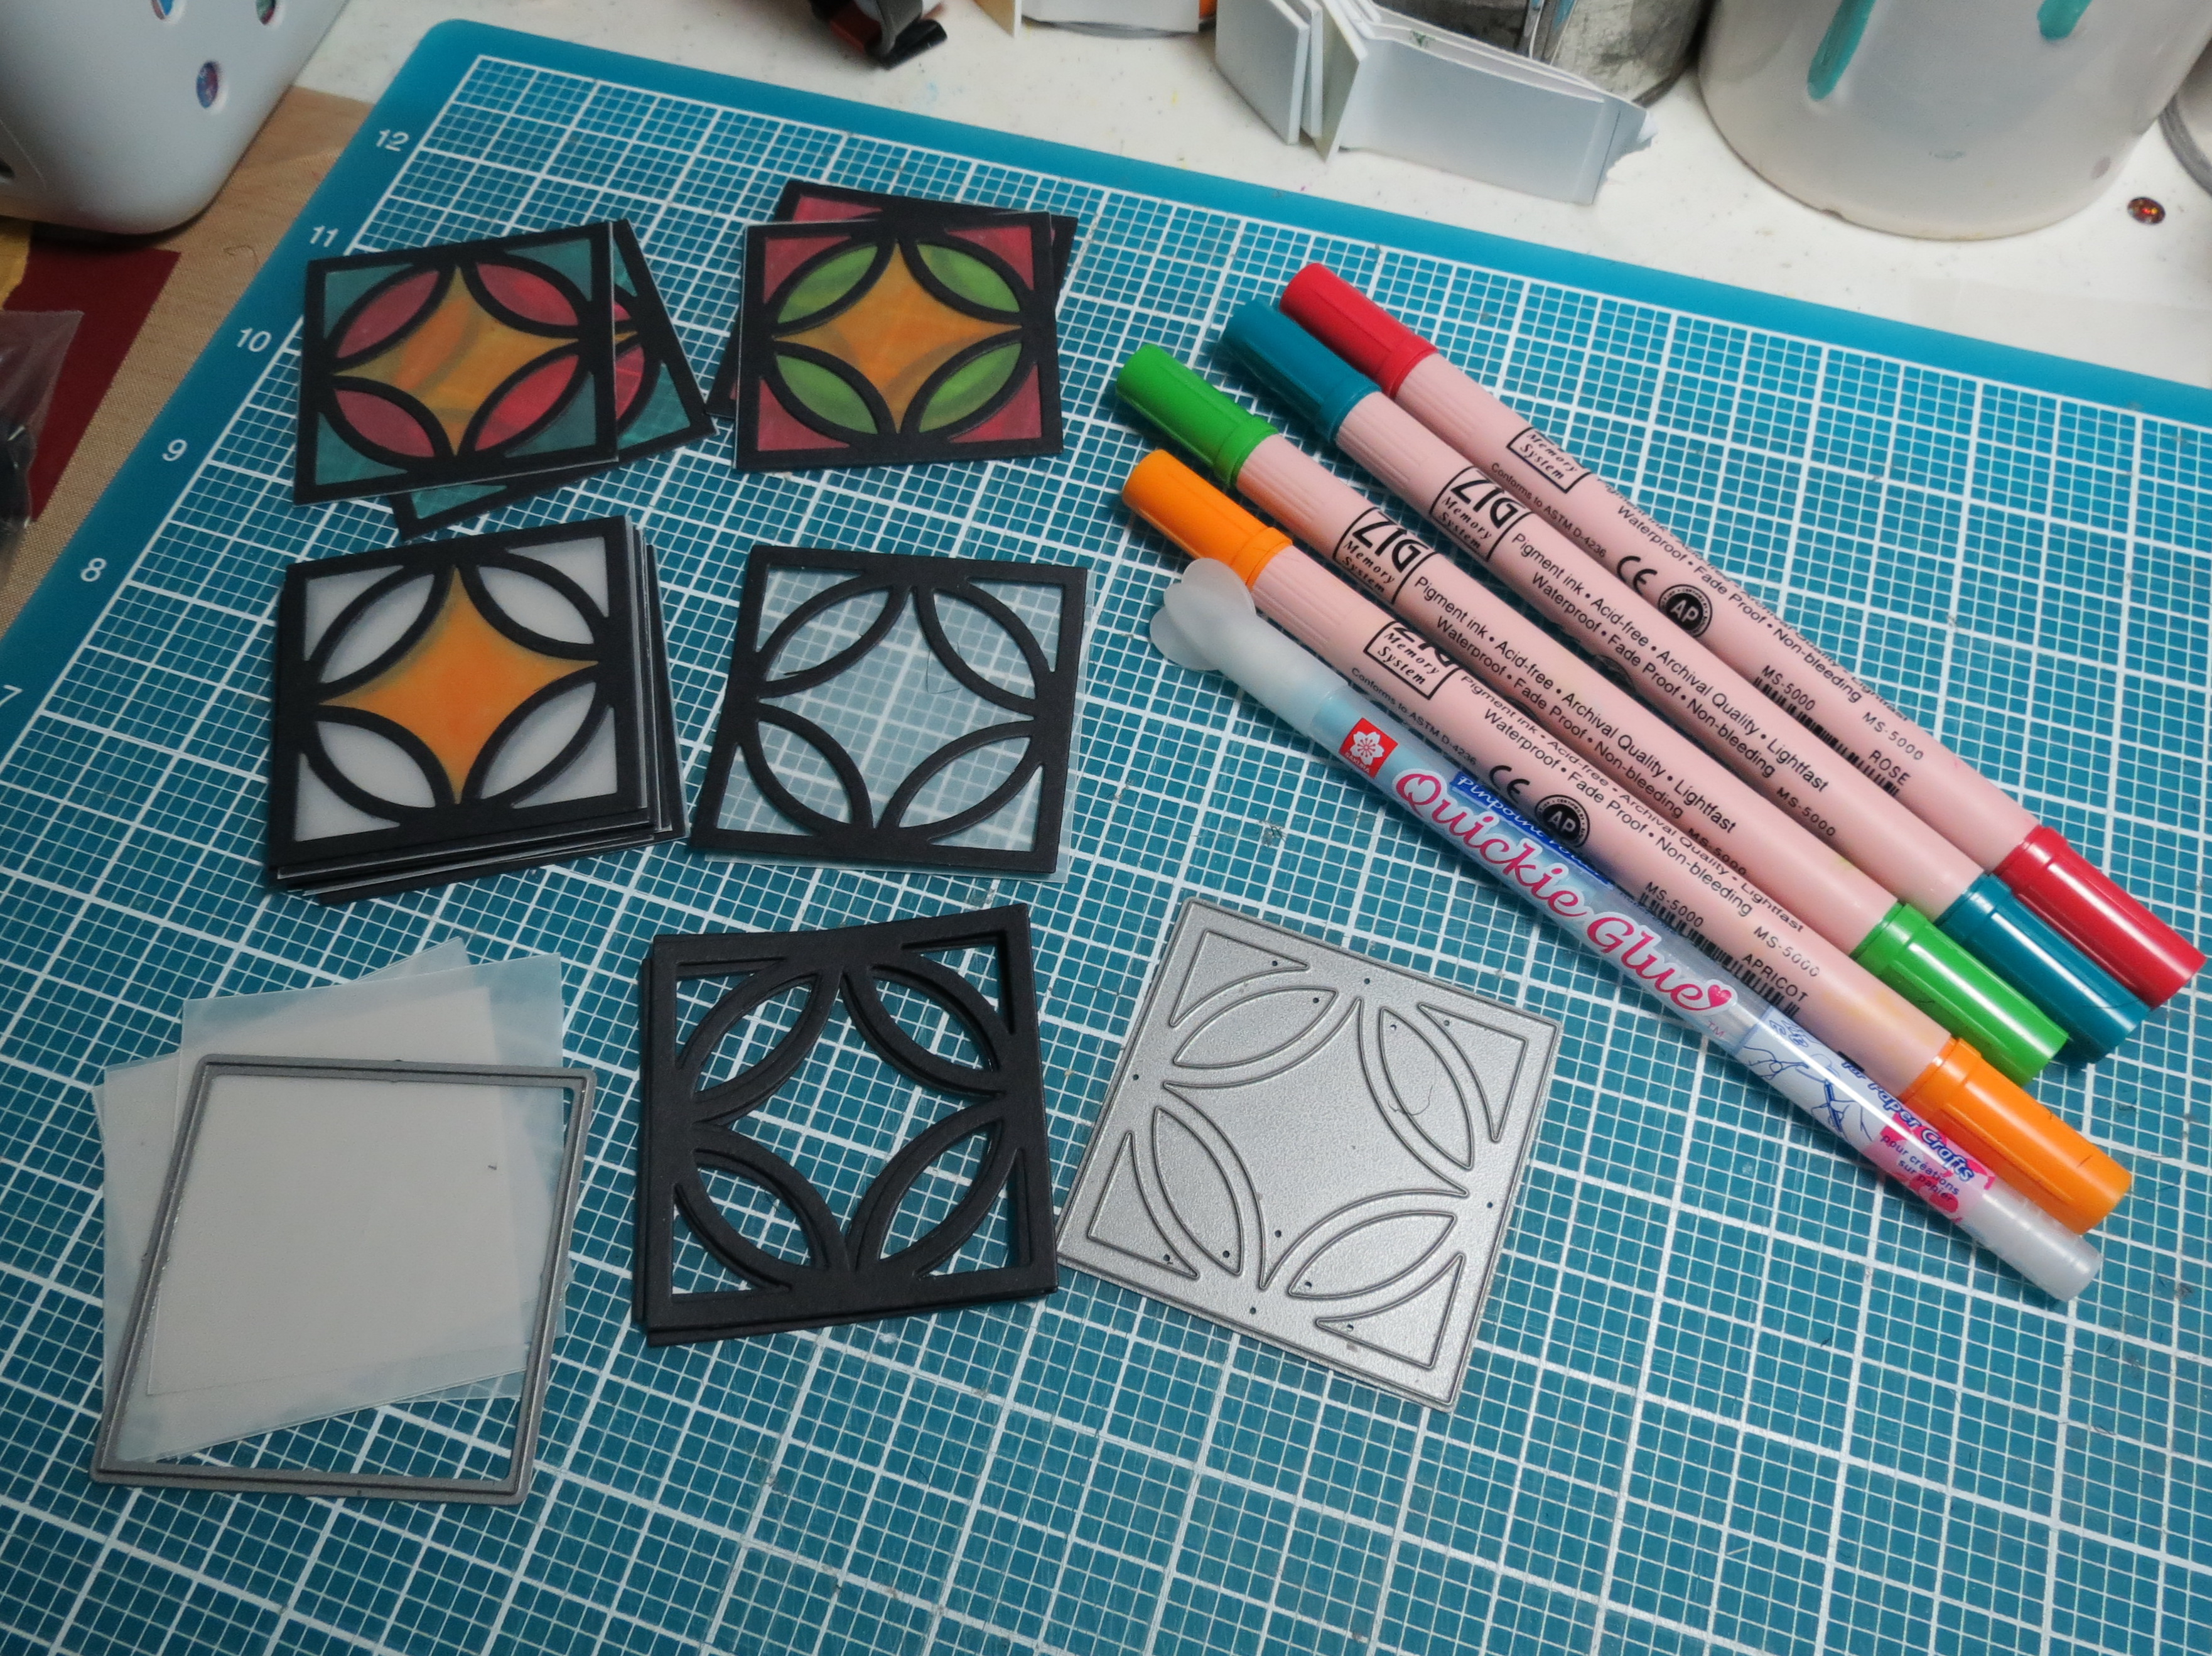
MM Christmas Lights supplies
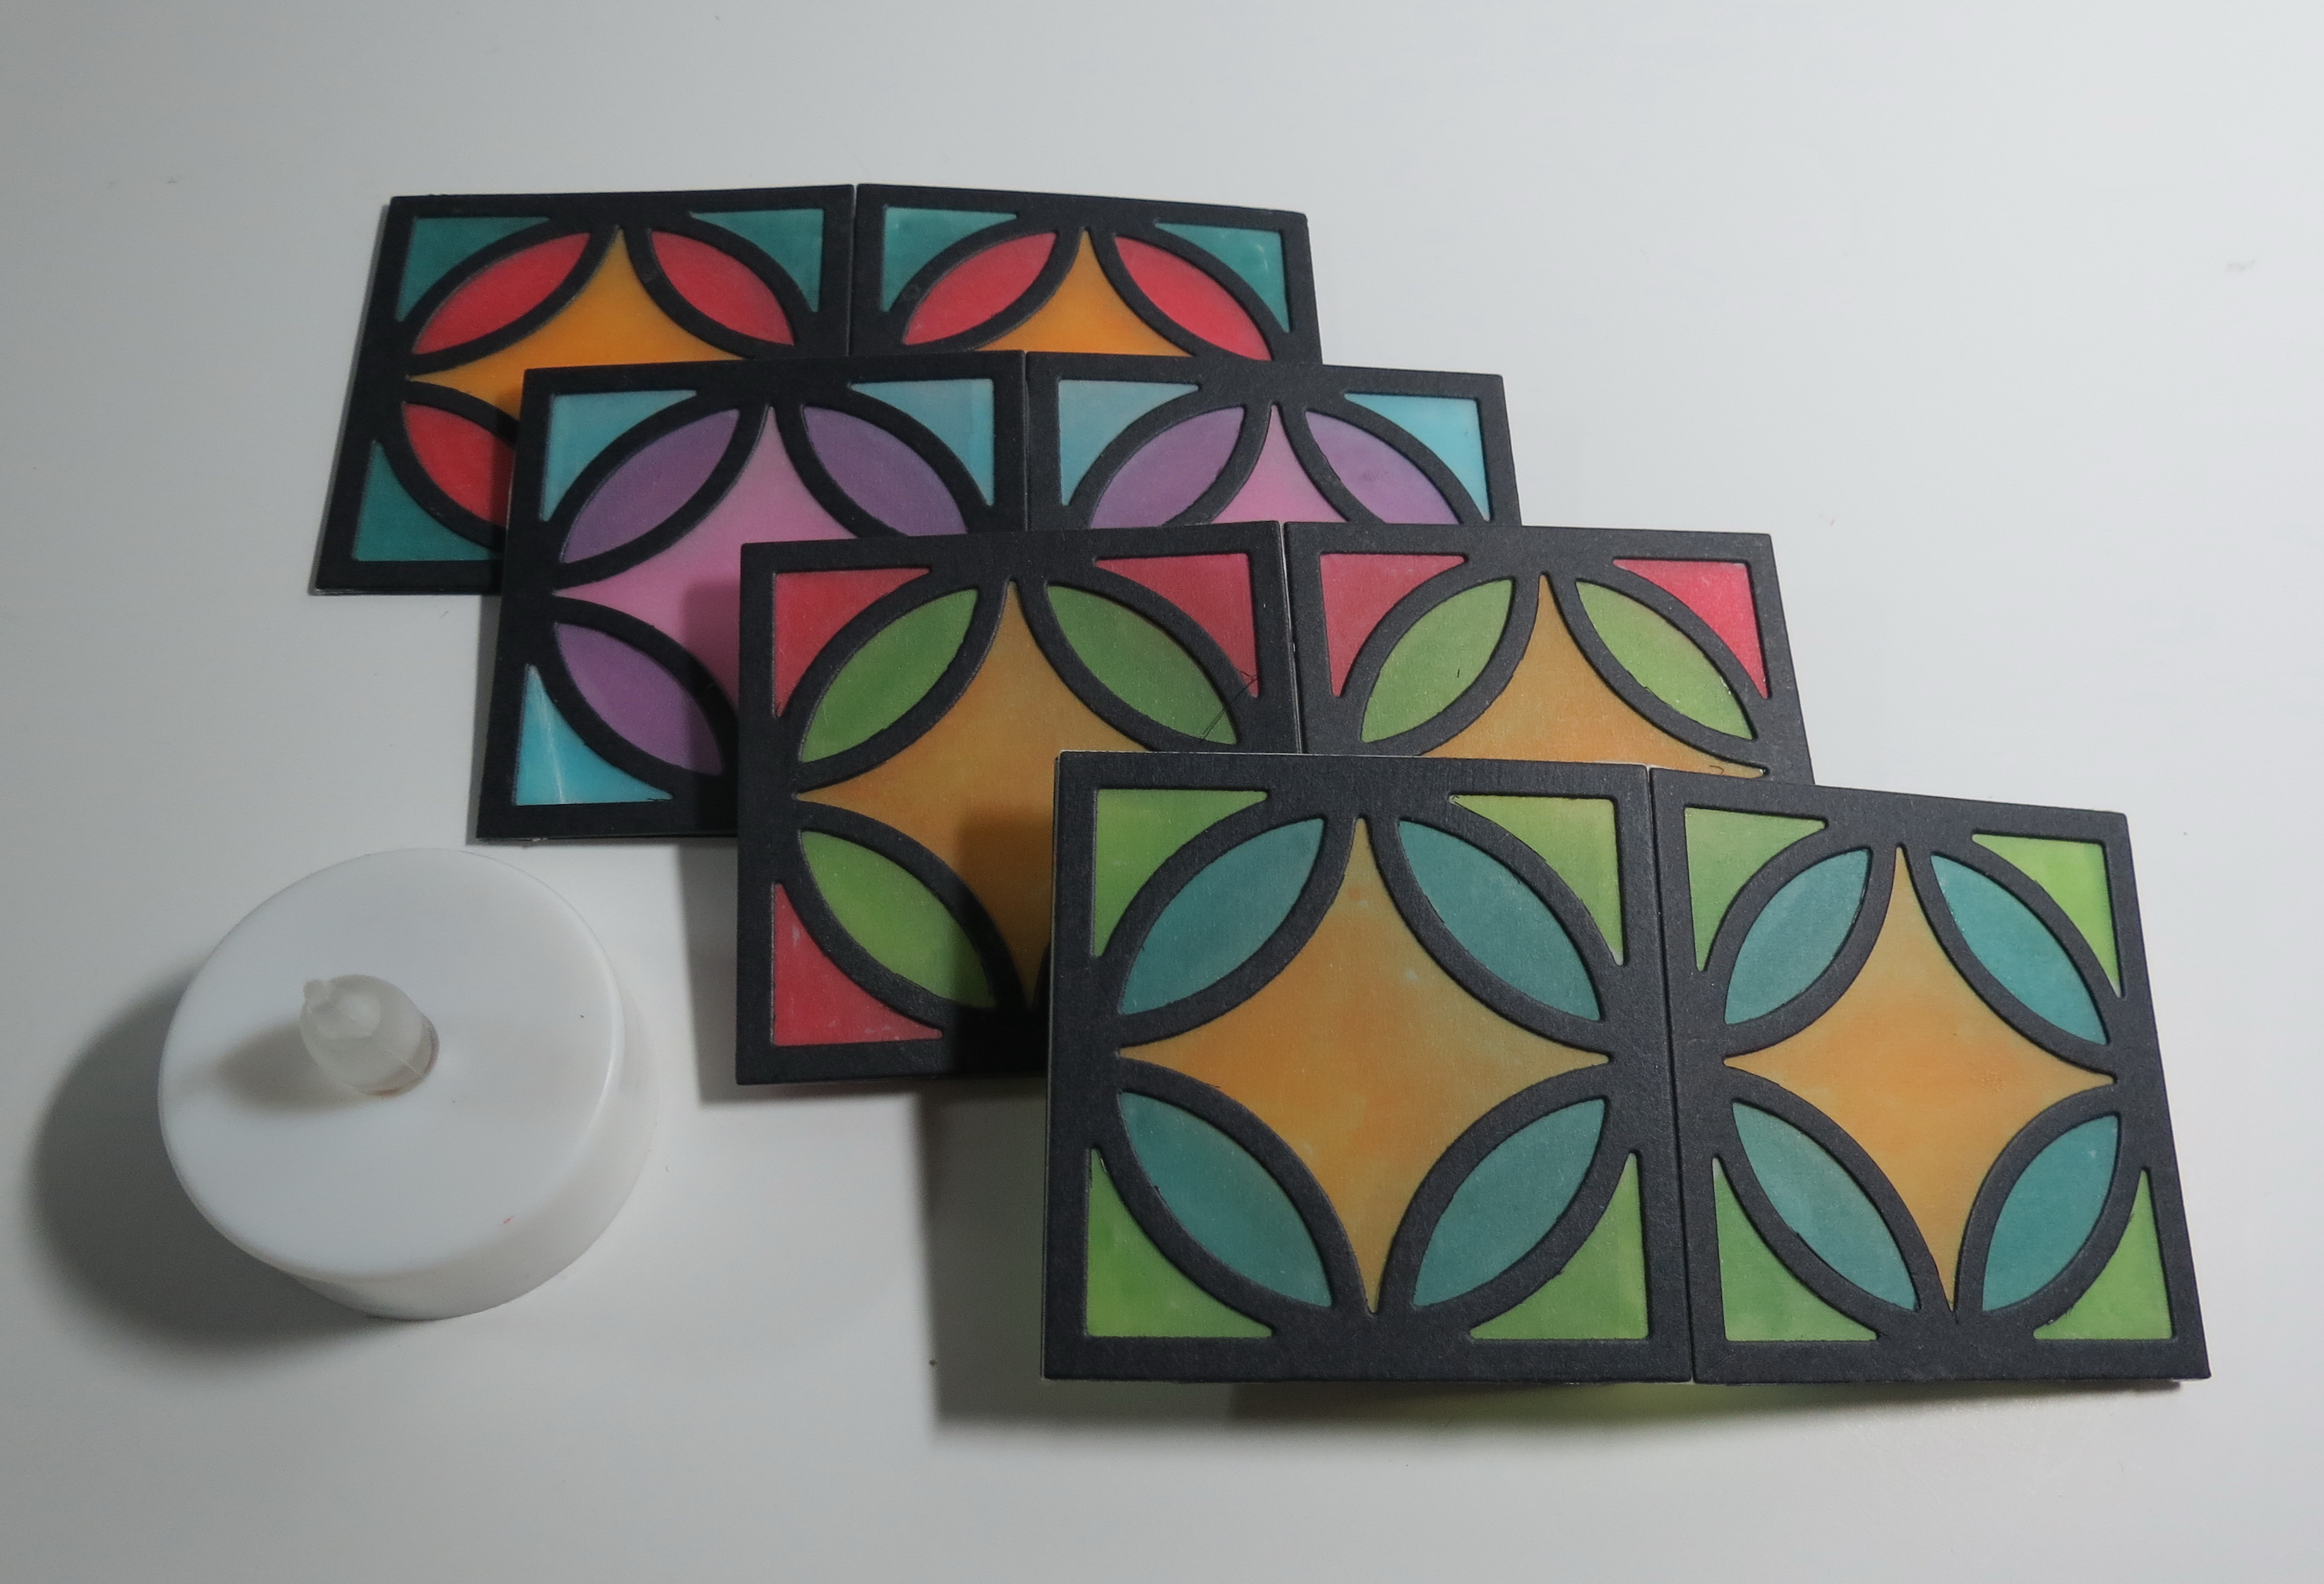
For each of the Christmas Lights you make you will need four of the Diamond Ring cornerstones cut from black cardstock and four vellum squares.

Mosaic Moments Diamond Ring CS Die
The vellum is attached to the backside of the cornerstone tile with the glue pen. Allow it to dry.
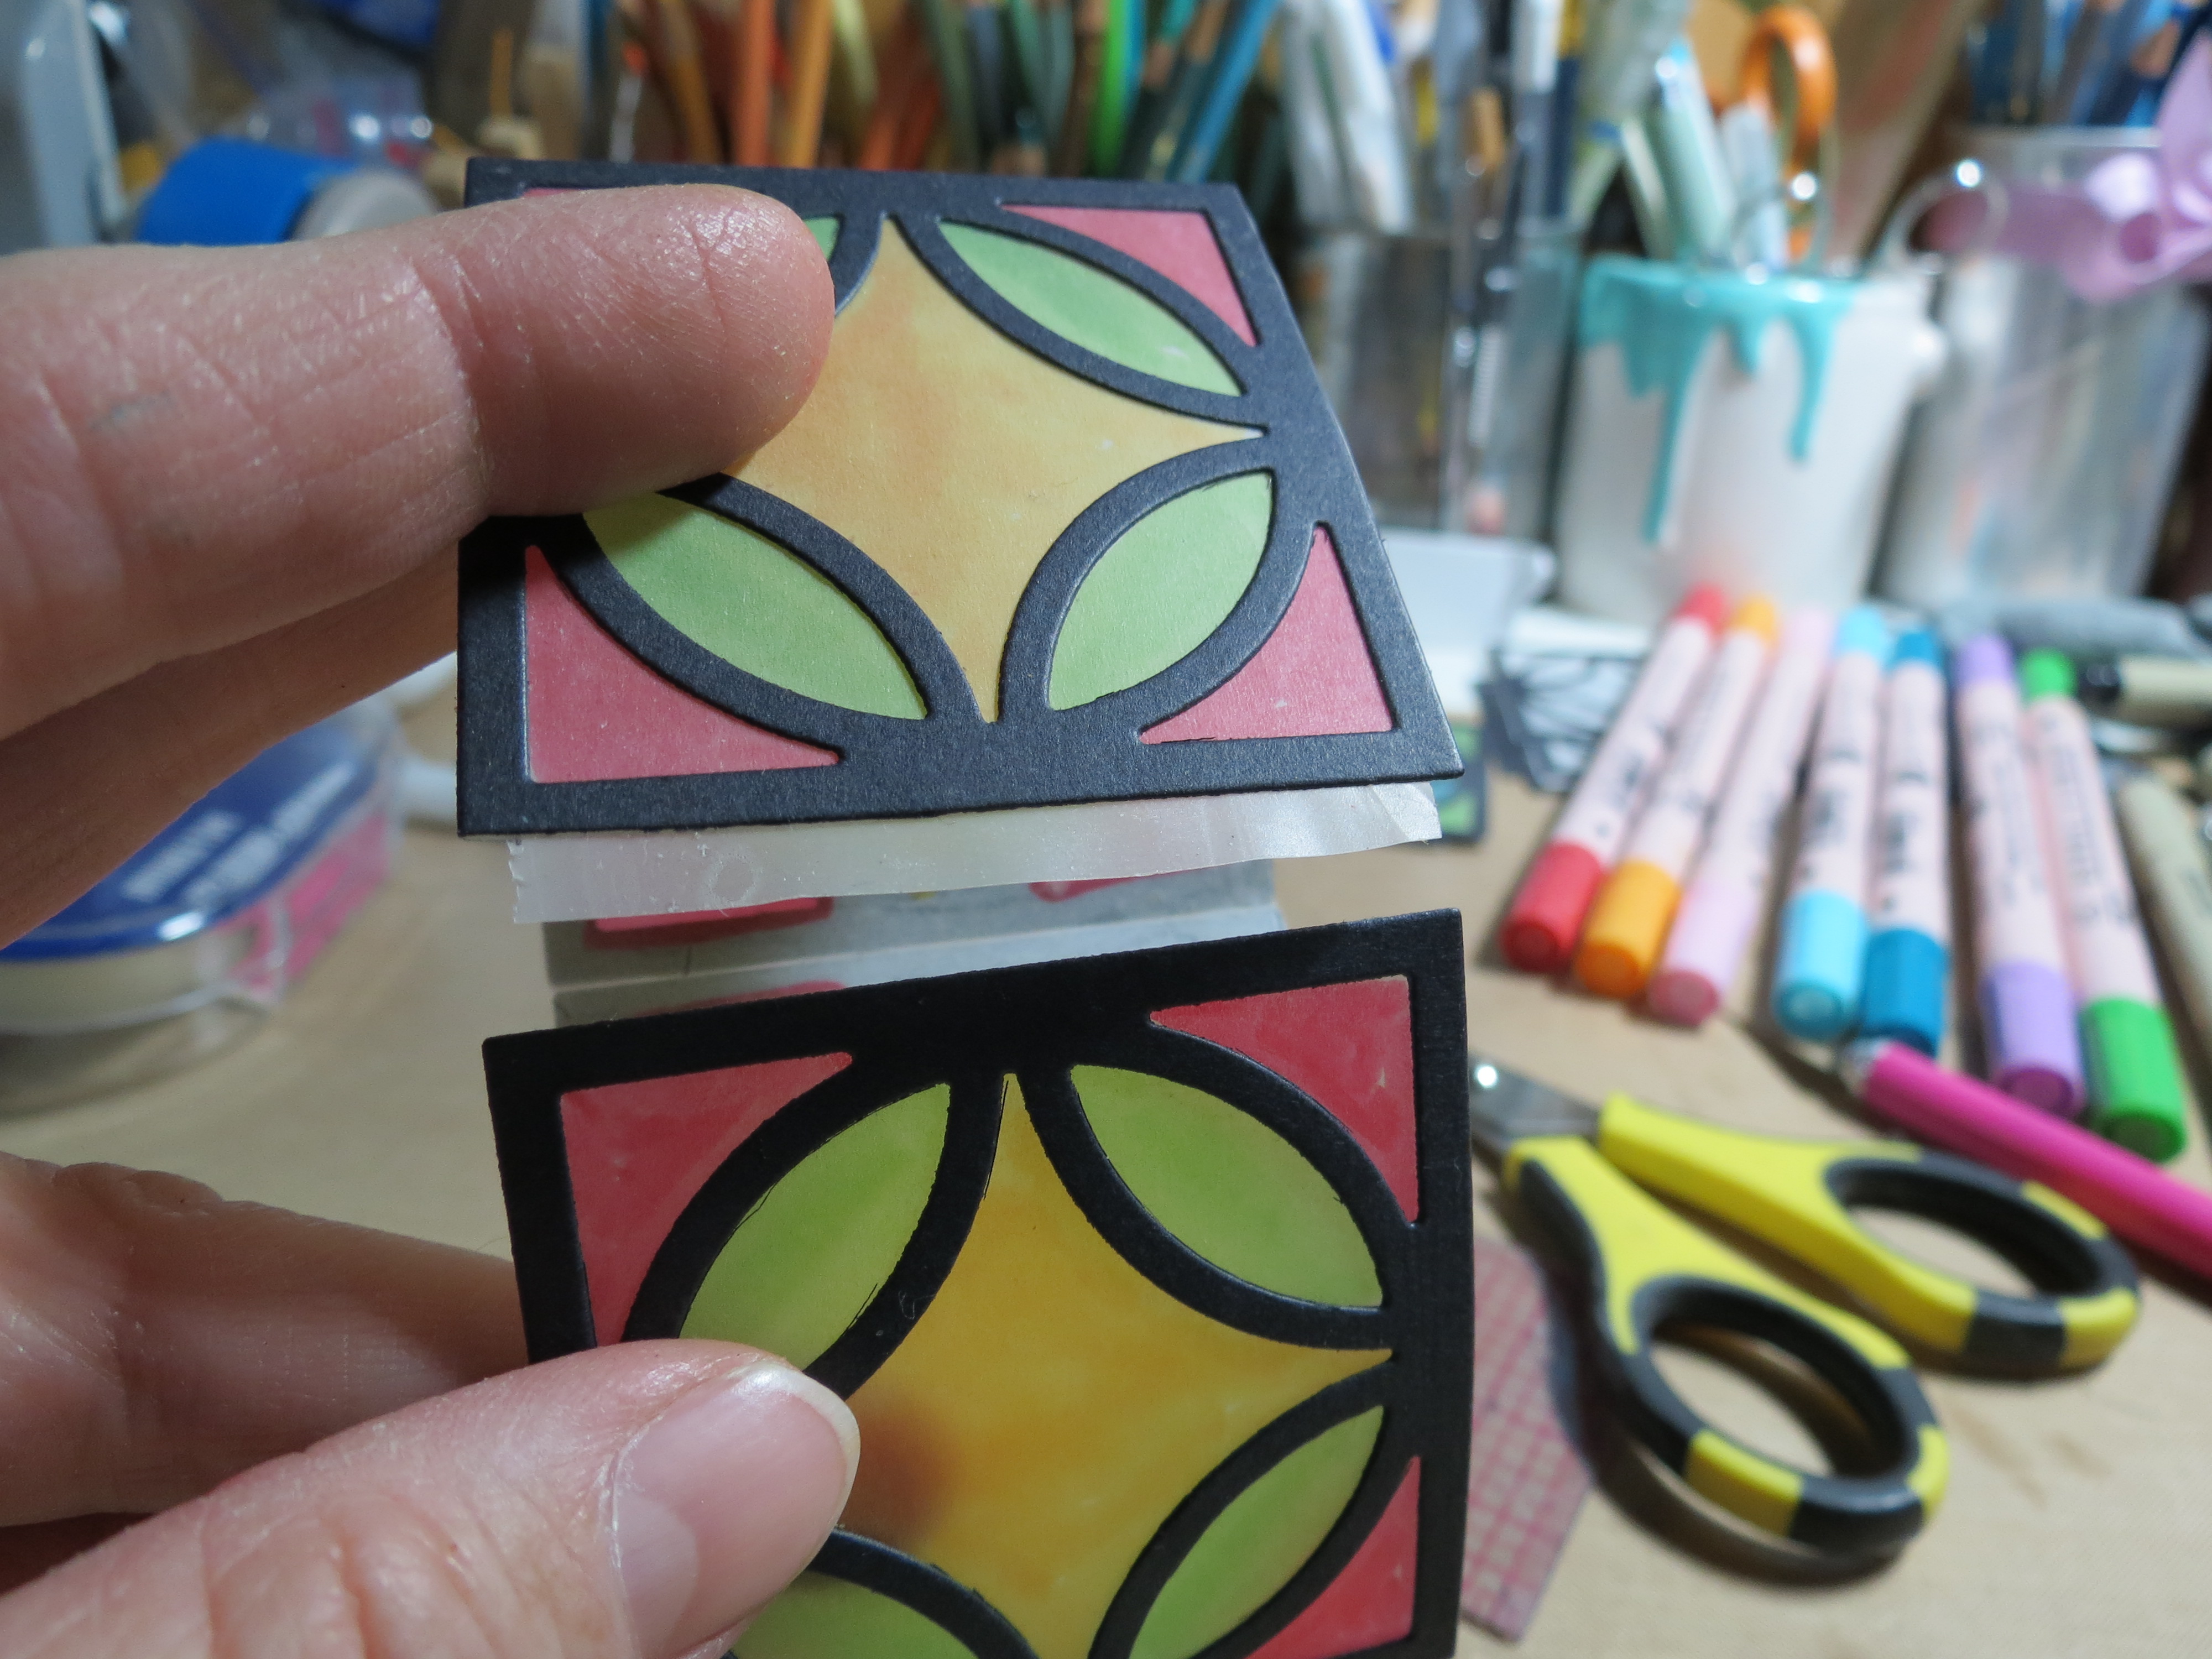
Choose three colors; the one for the center I used a yellow shade to accentuate the glow from the light.
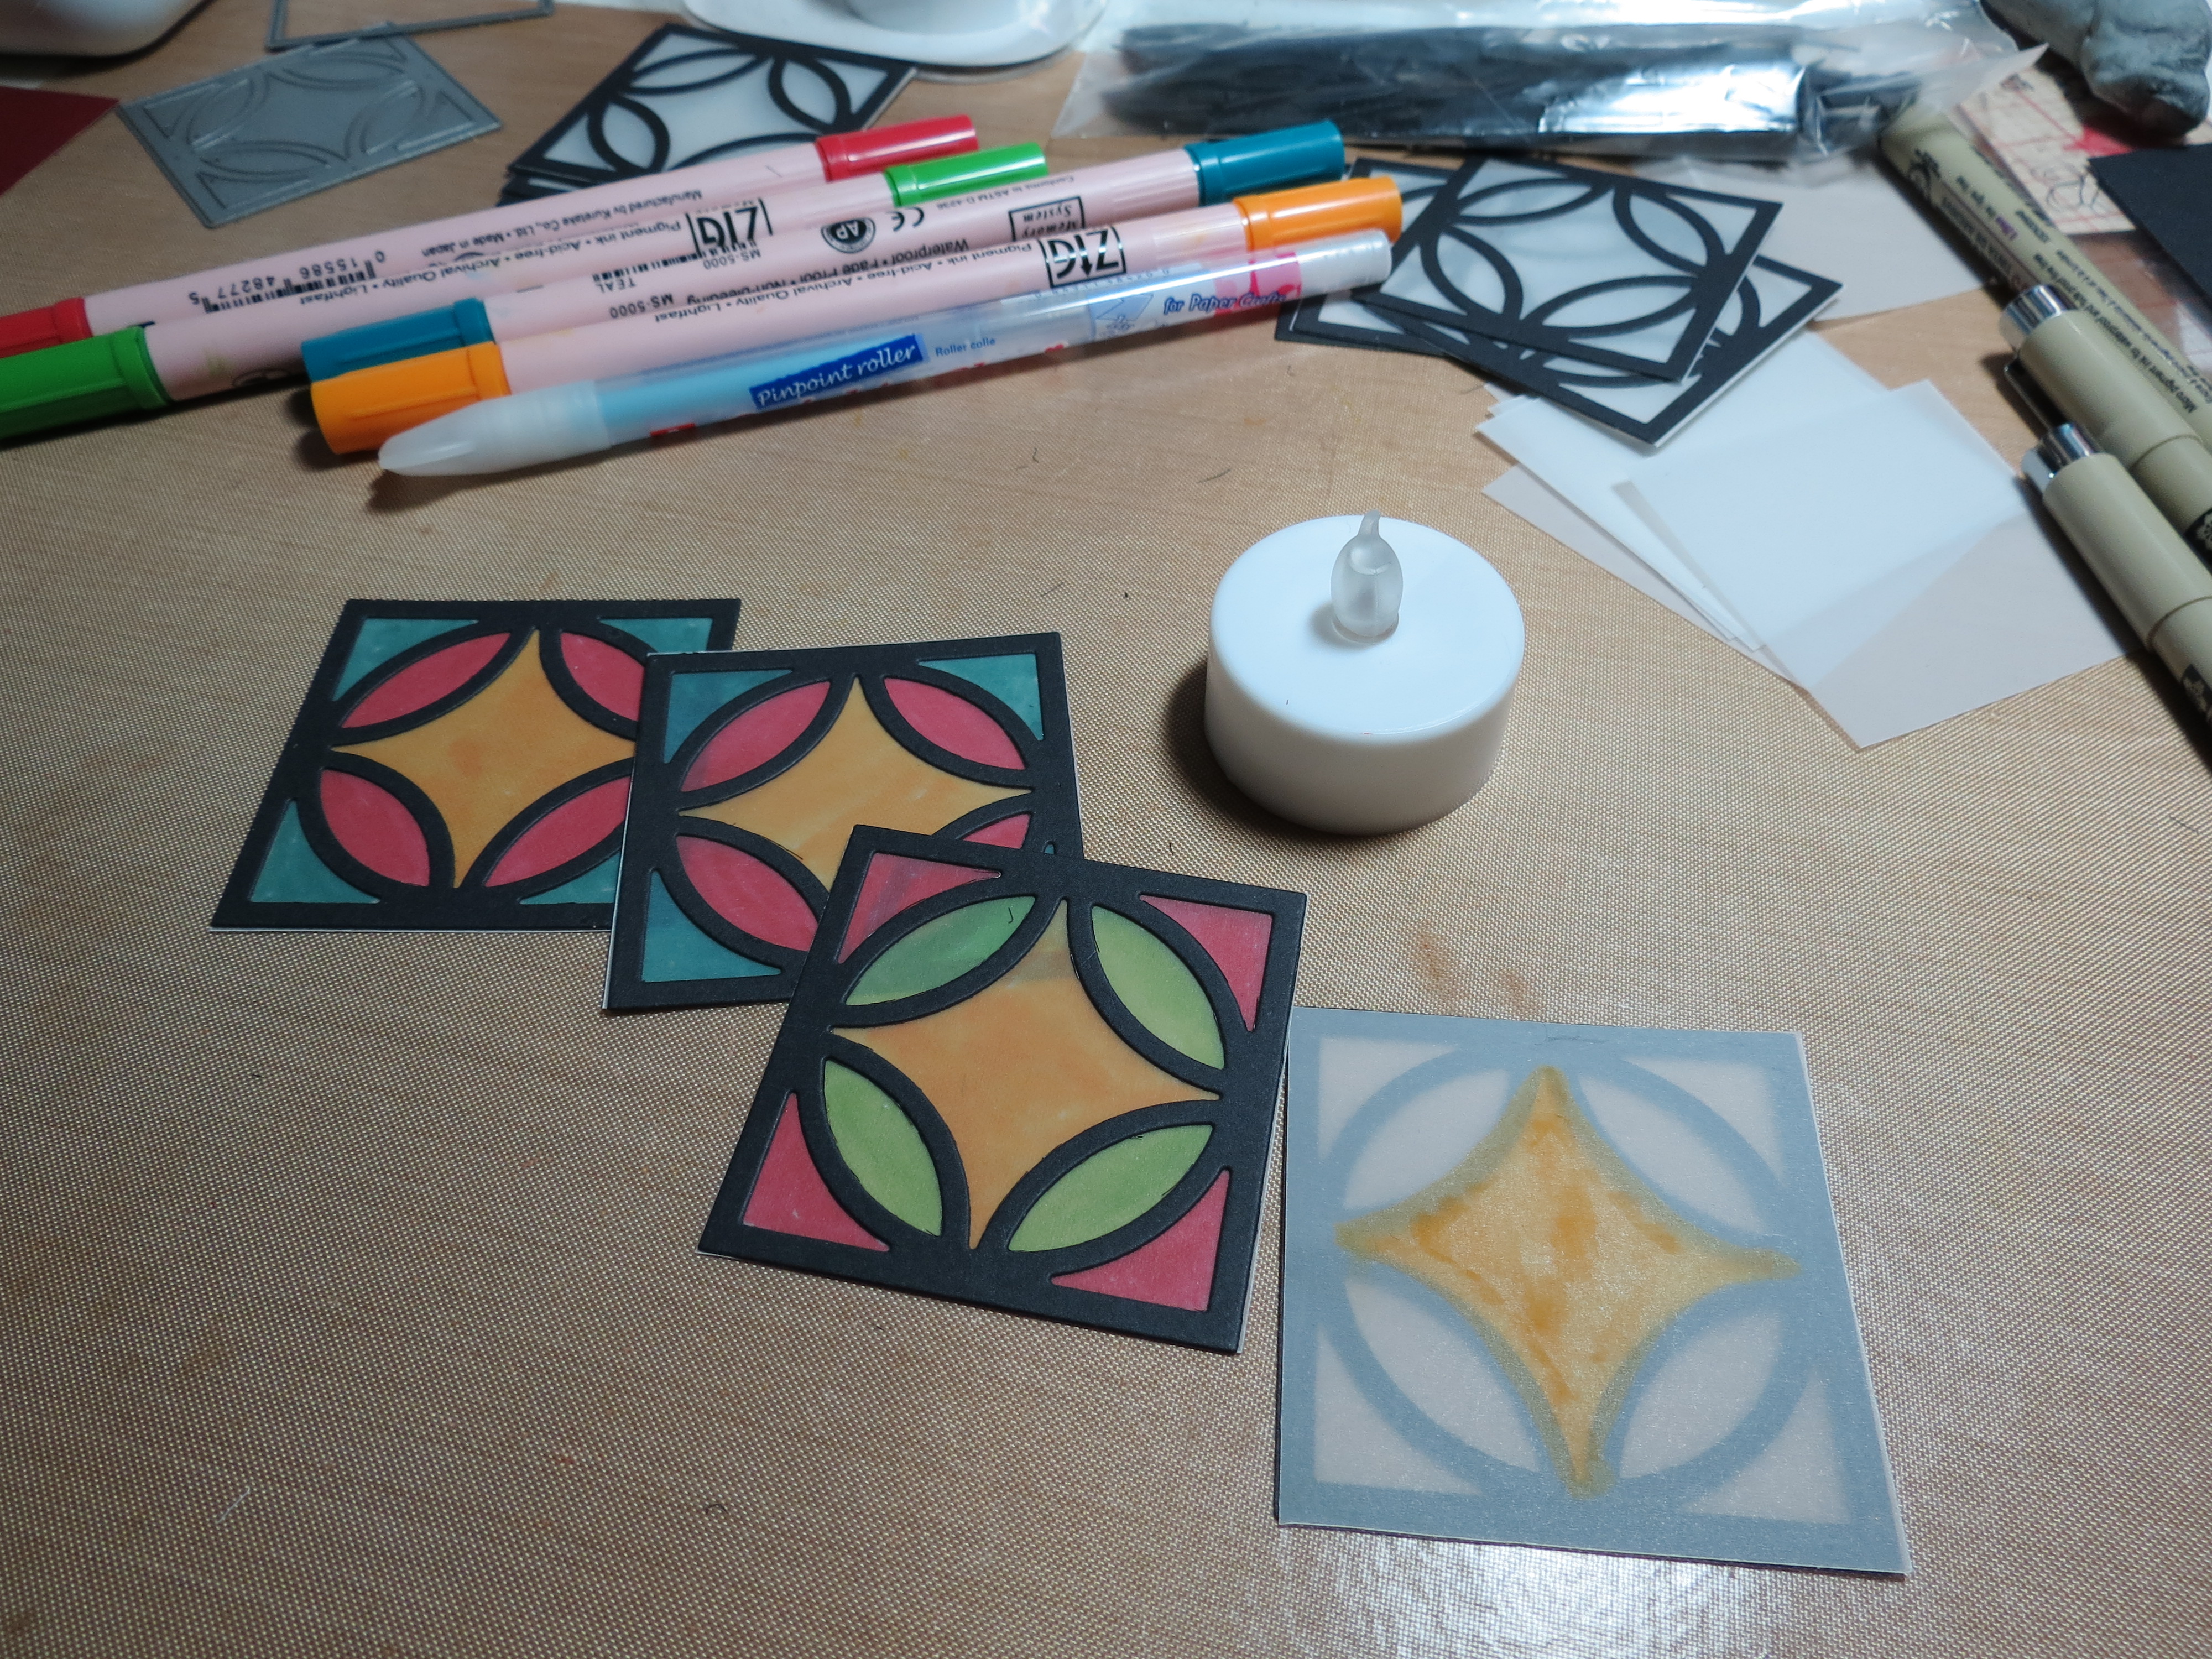
MM Christmas Lights color on the backside of the vellum
Color from the back side, you don’t need to be careful or stay inside the lines, just make sure it covers to the edge of the black when you look at it from the front side.
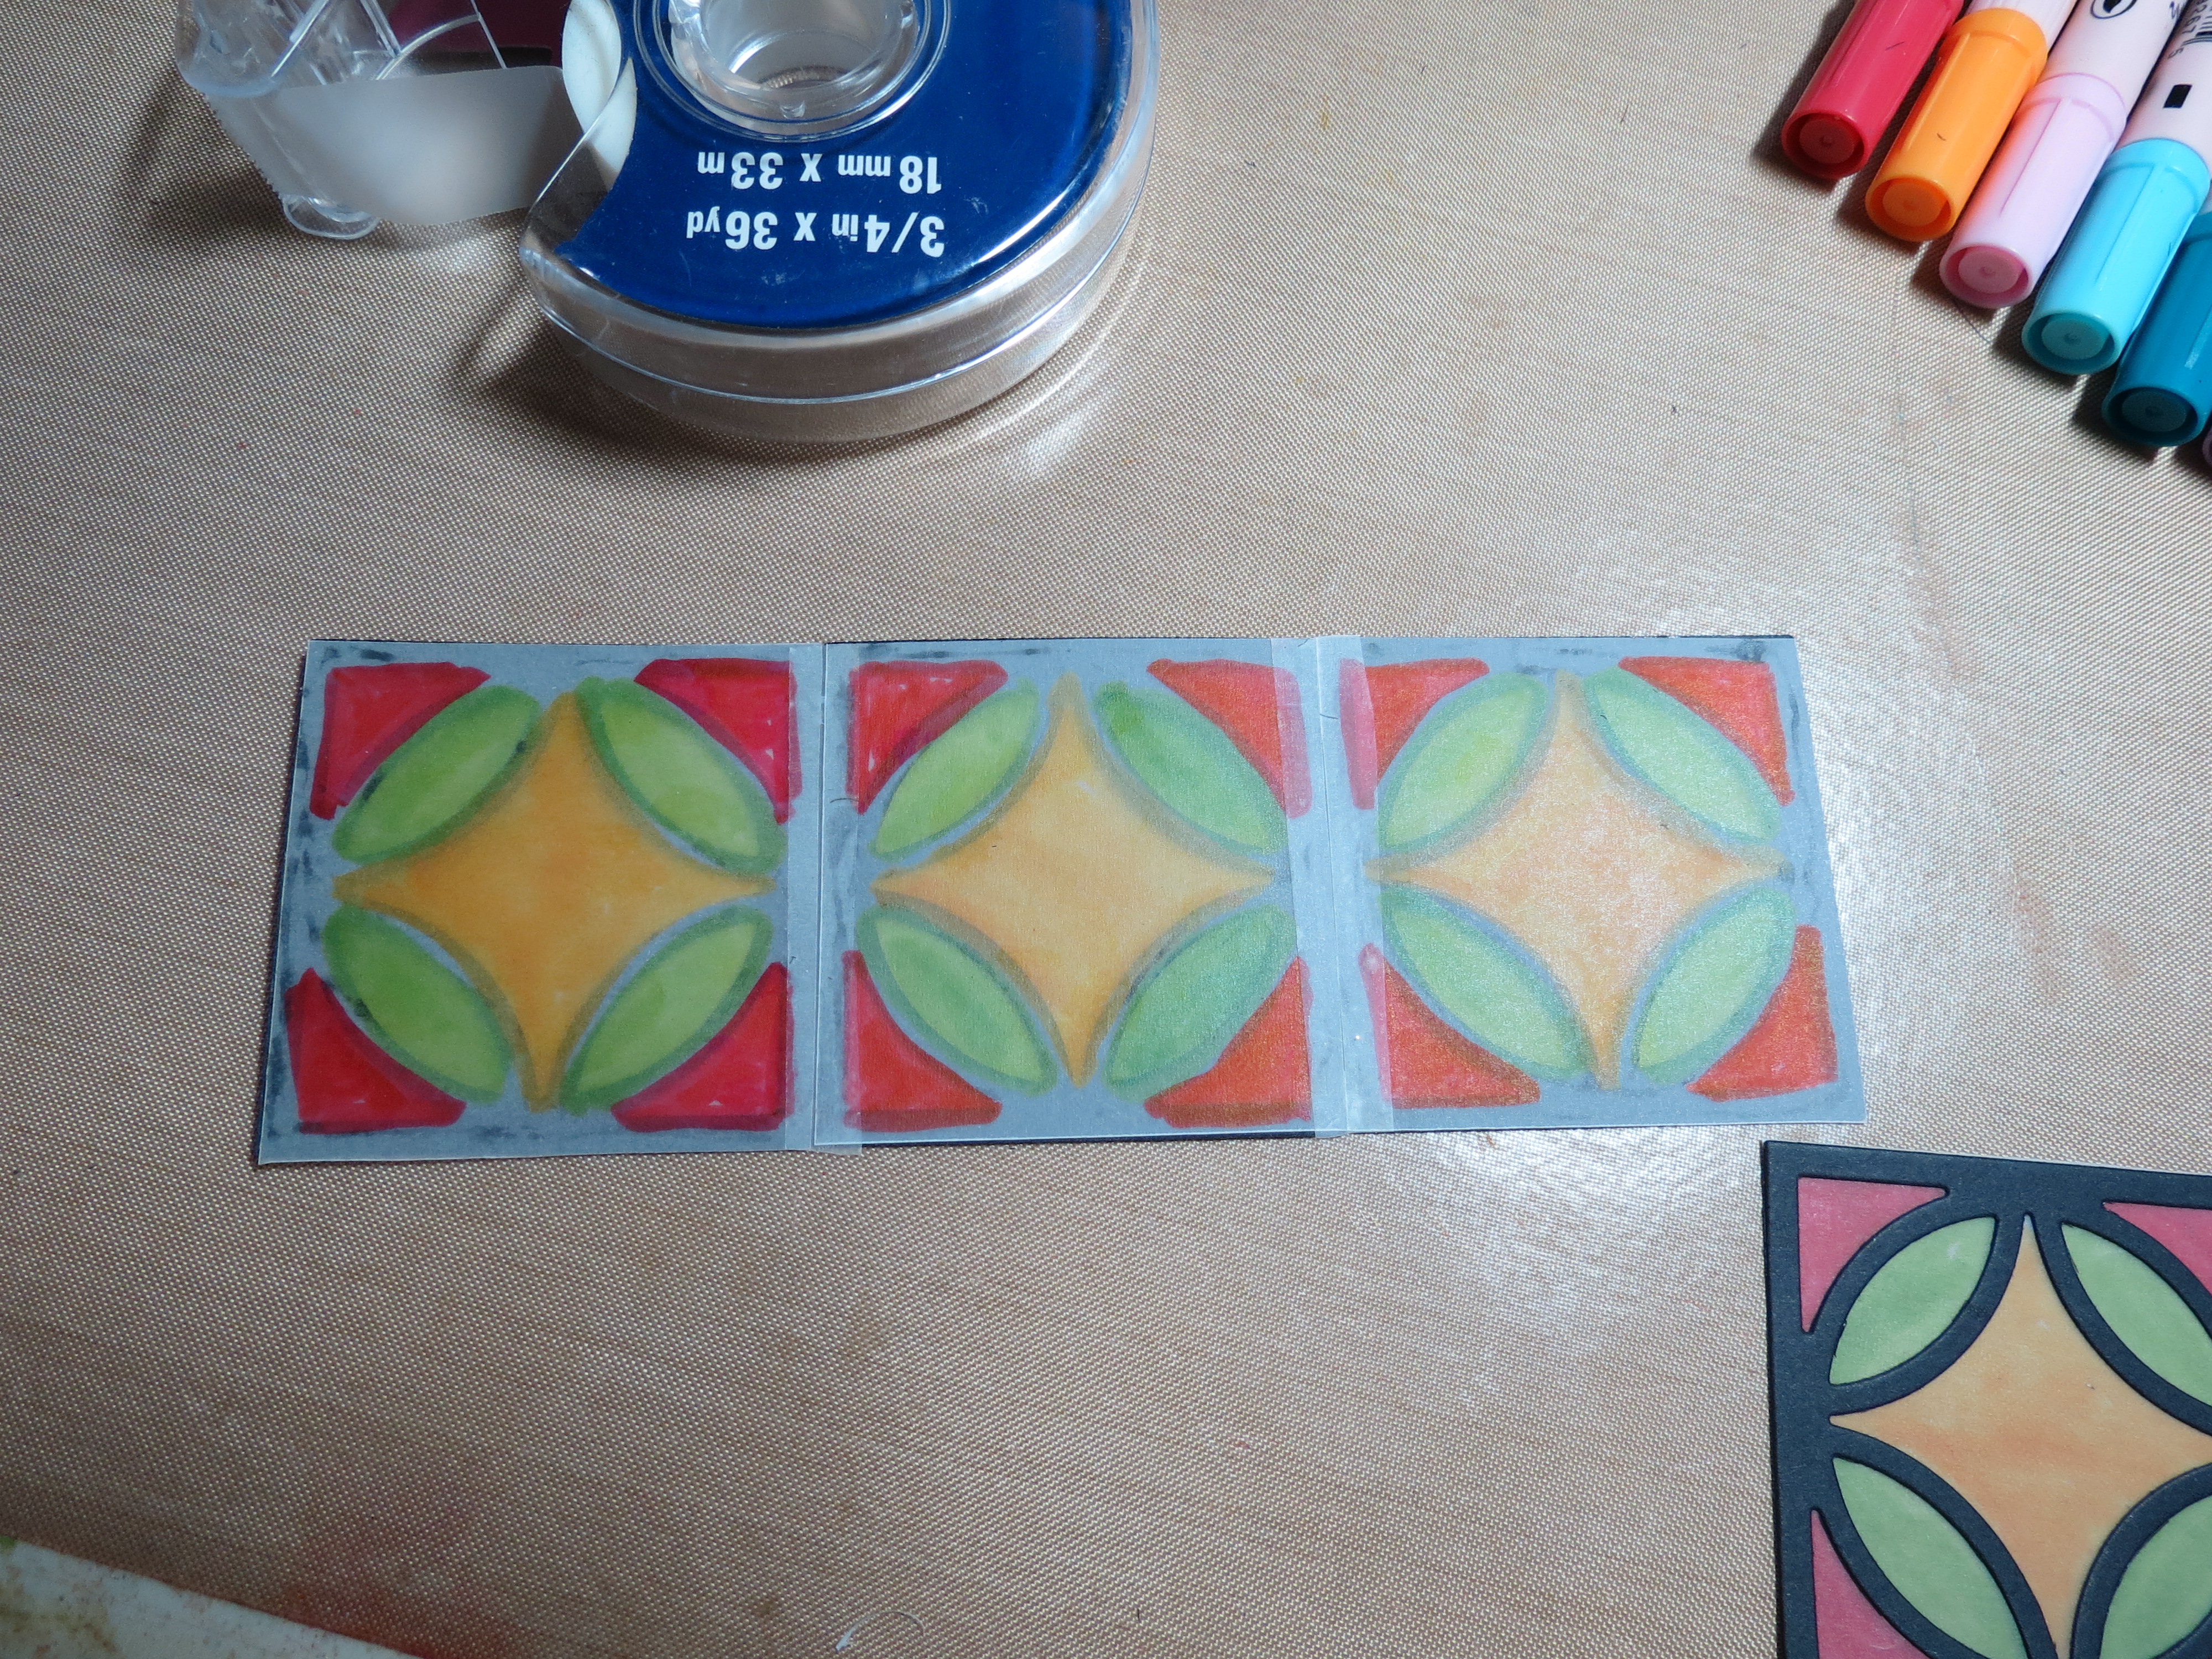
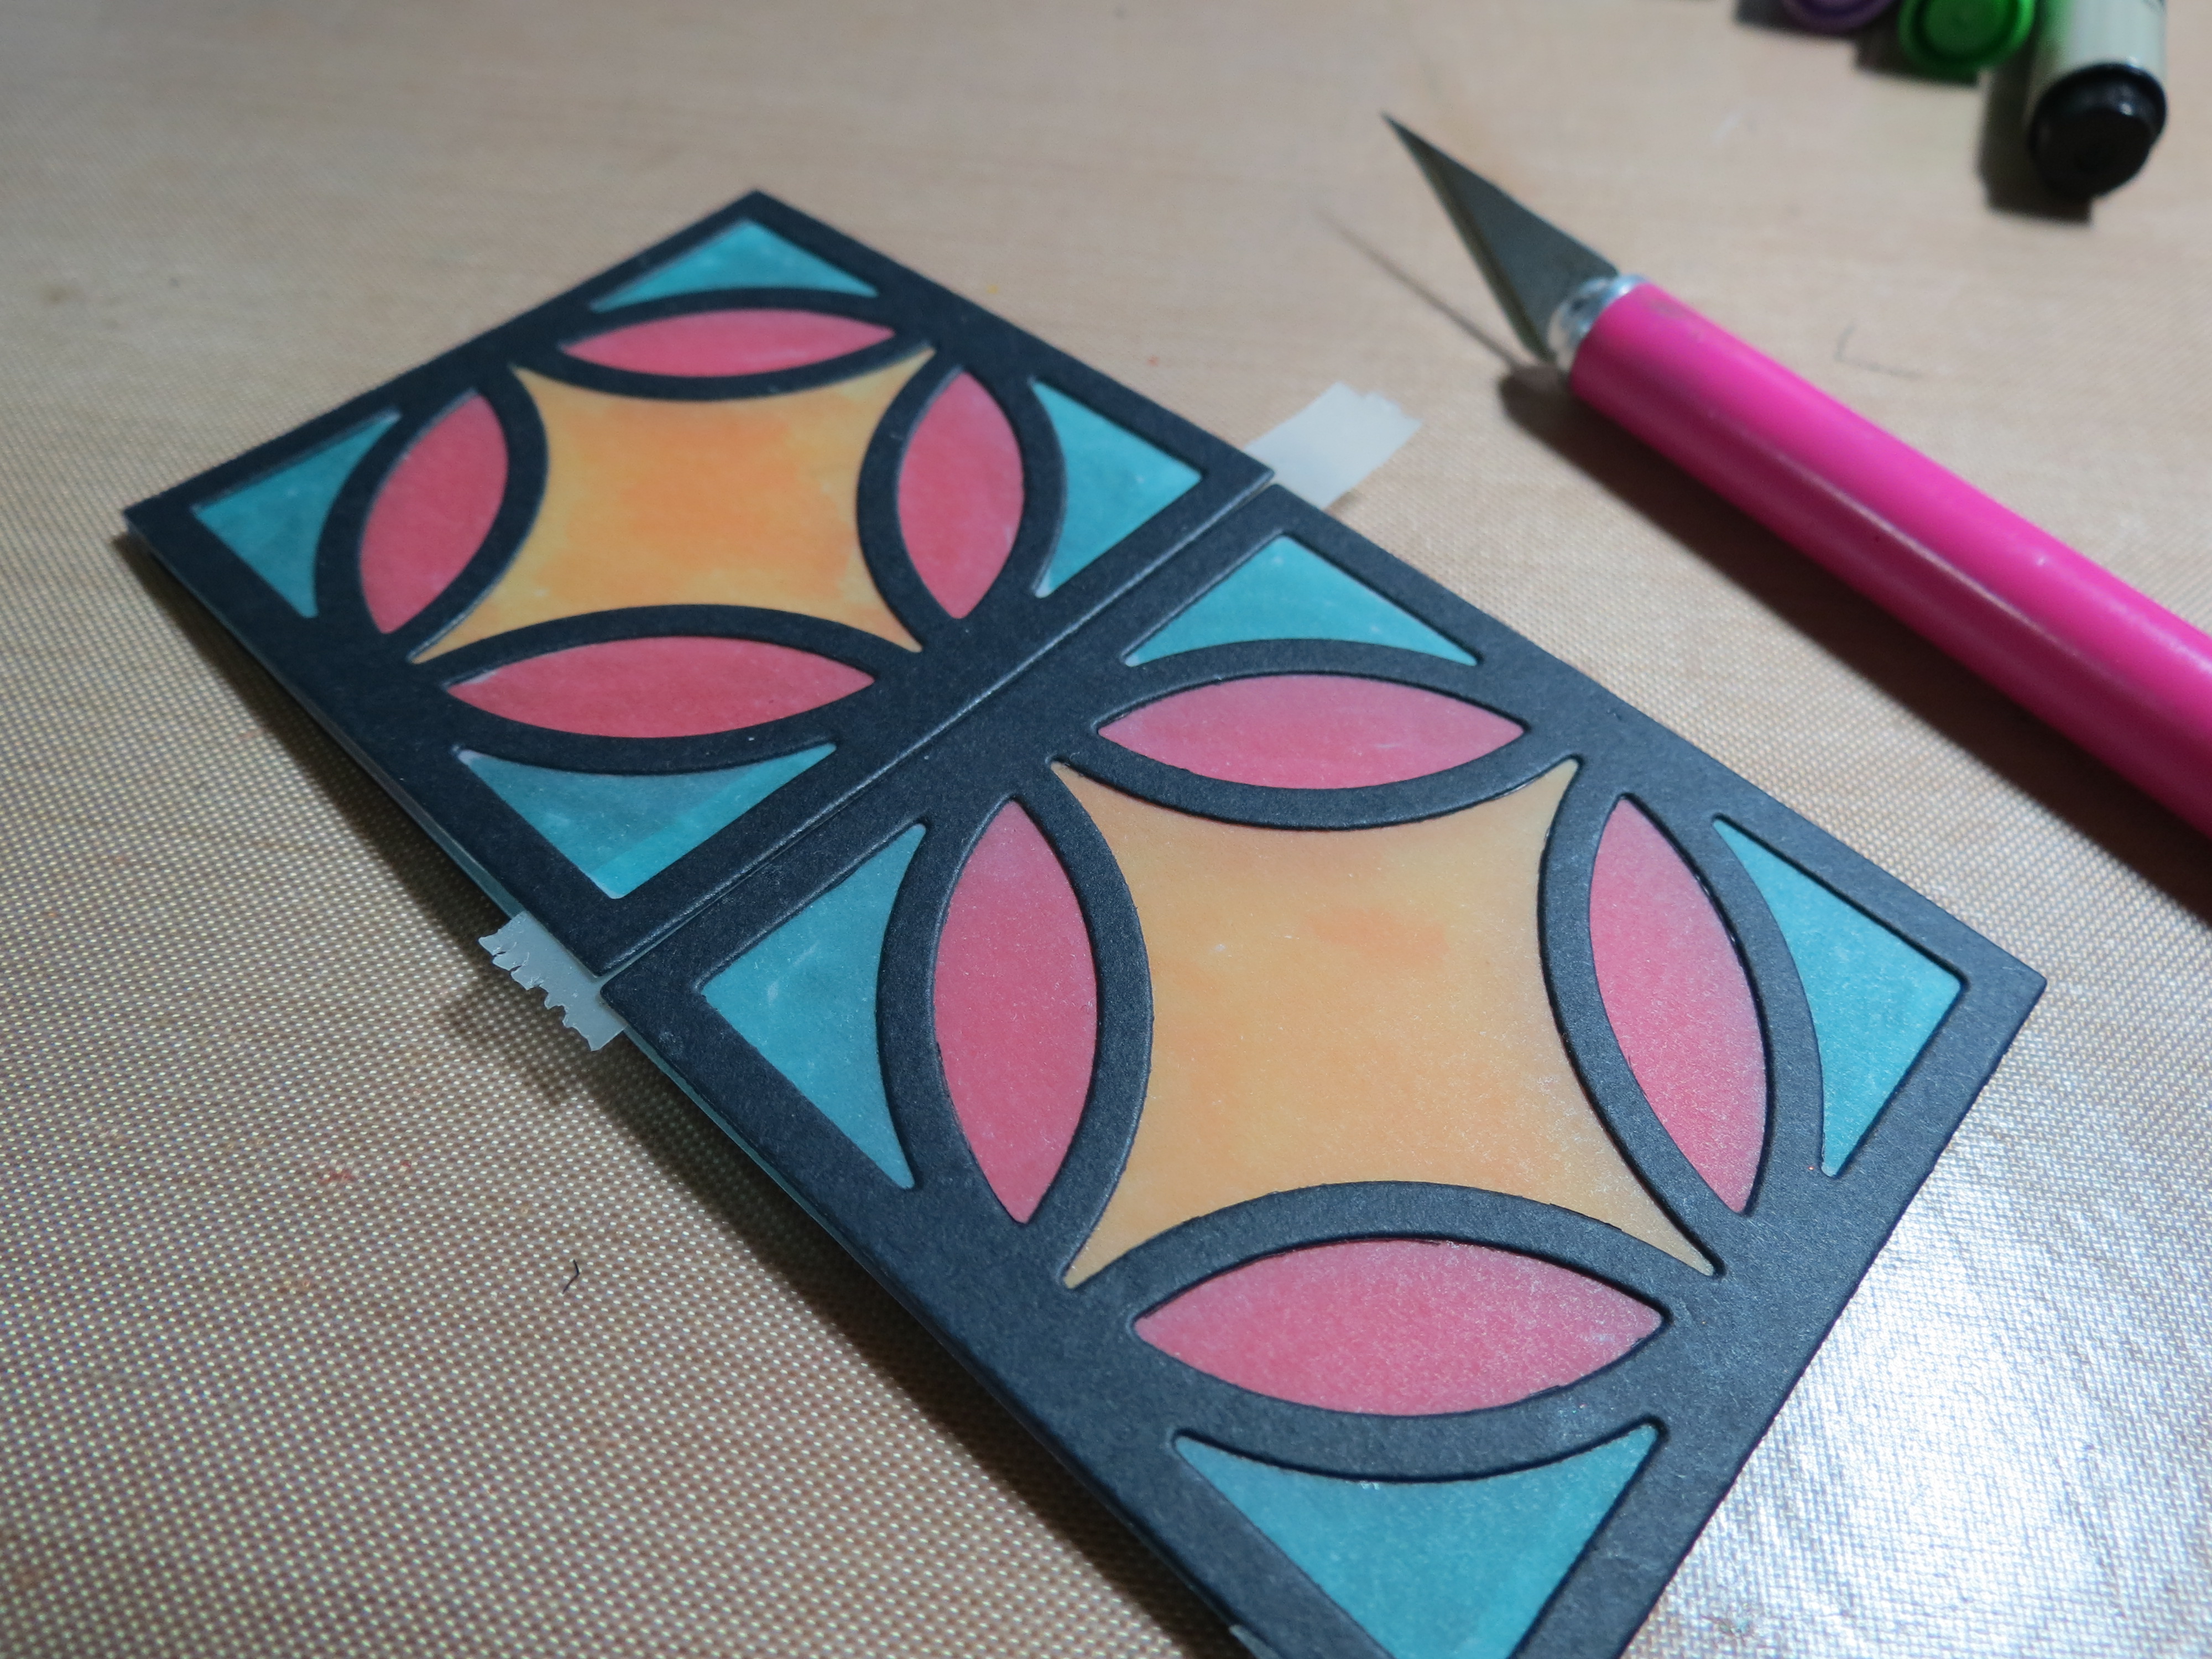
MM Christmas Lights join together as sides using tape strip.
Assemble four tiles in a row and using ordinary tape on the backside to connect two sections together. (I cut a strip of tape in half and did two sections)
To connect the first tile with the fourth tile attach a strip of tape and then fold the sections in and allow the taped side to be on the bottom and drop the other on to the tape. Press and seal.
MM Christmas Lights finishing the box
Trim away excess tape.
MM Christmas Lights trim away excess tape
OPTION: If you are feeling very creative you could add another tile to the top of the square. Be advised, storing a 3-D project will be more difficult and attaching the tile may be a bit tricky.
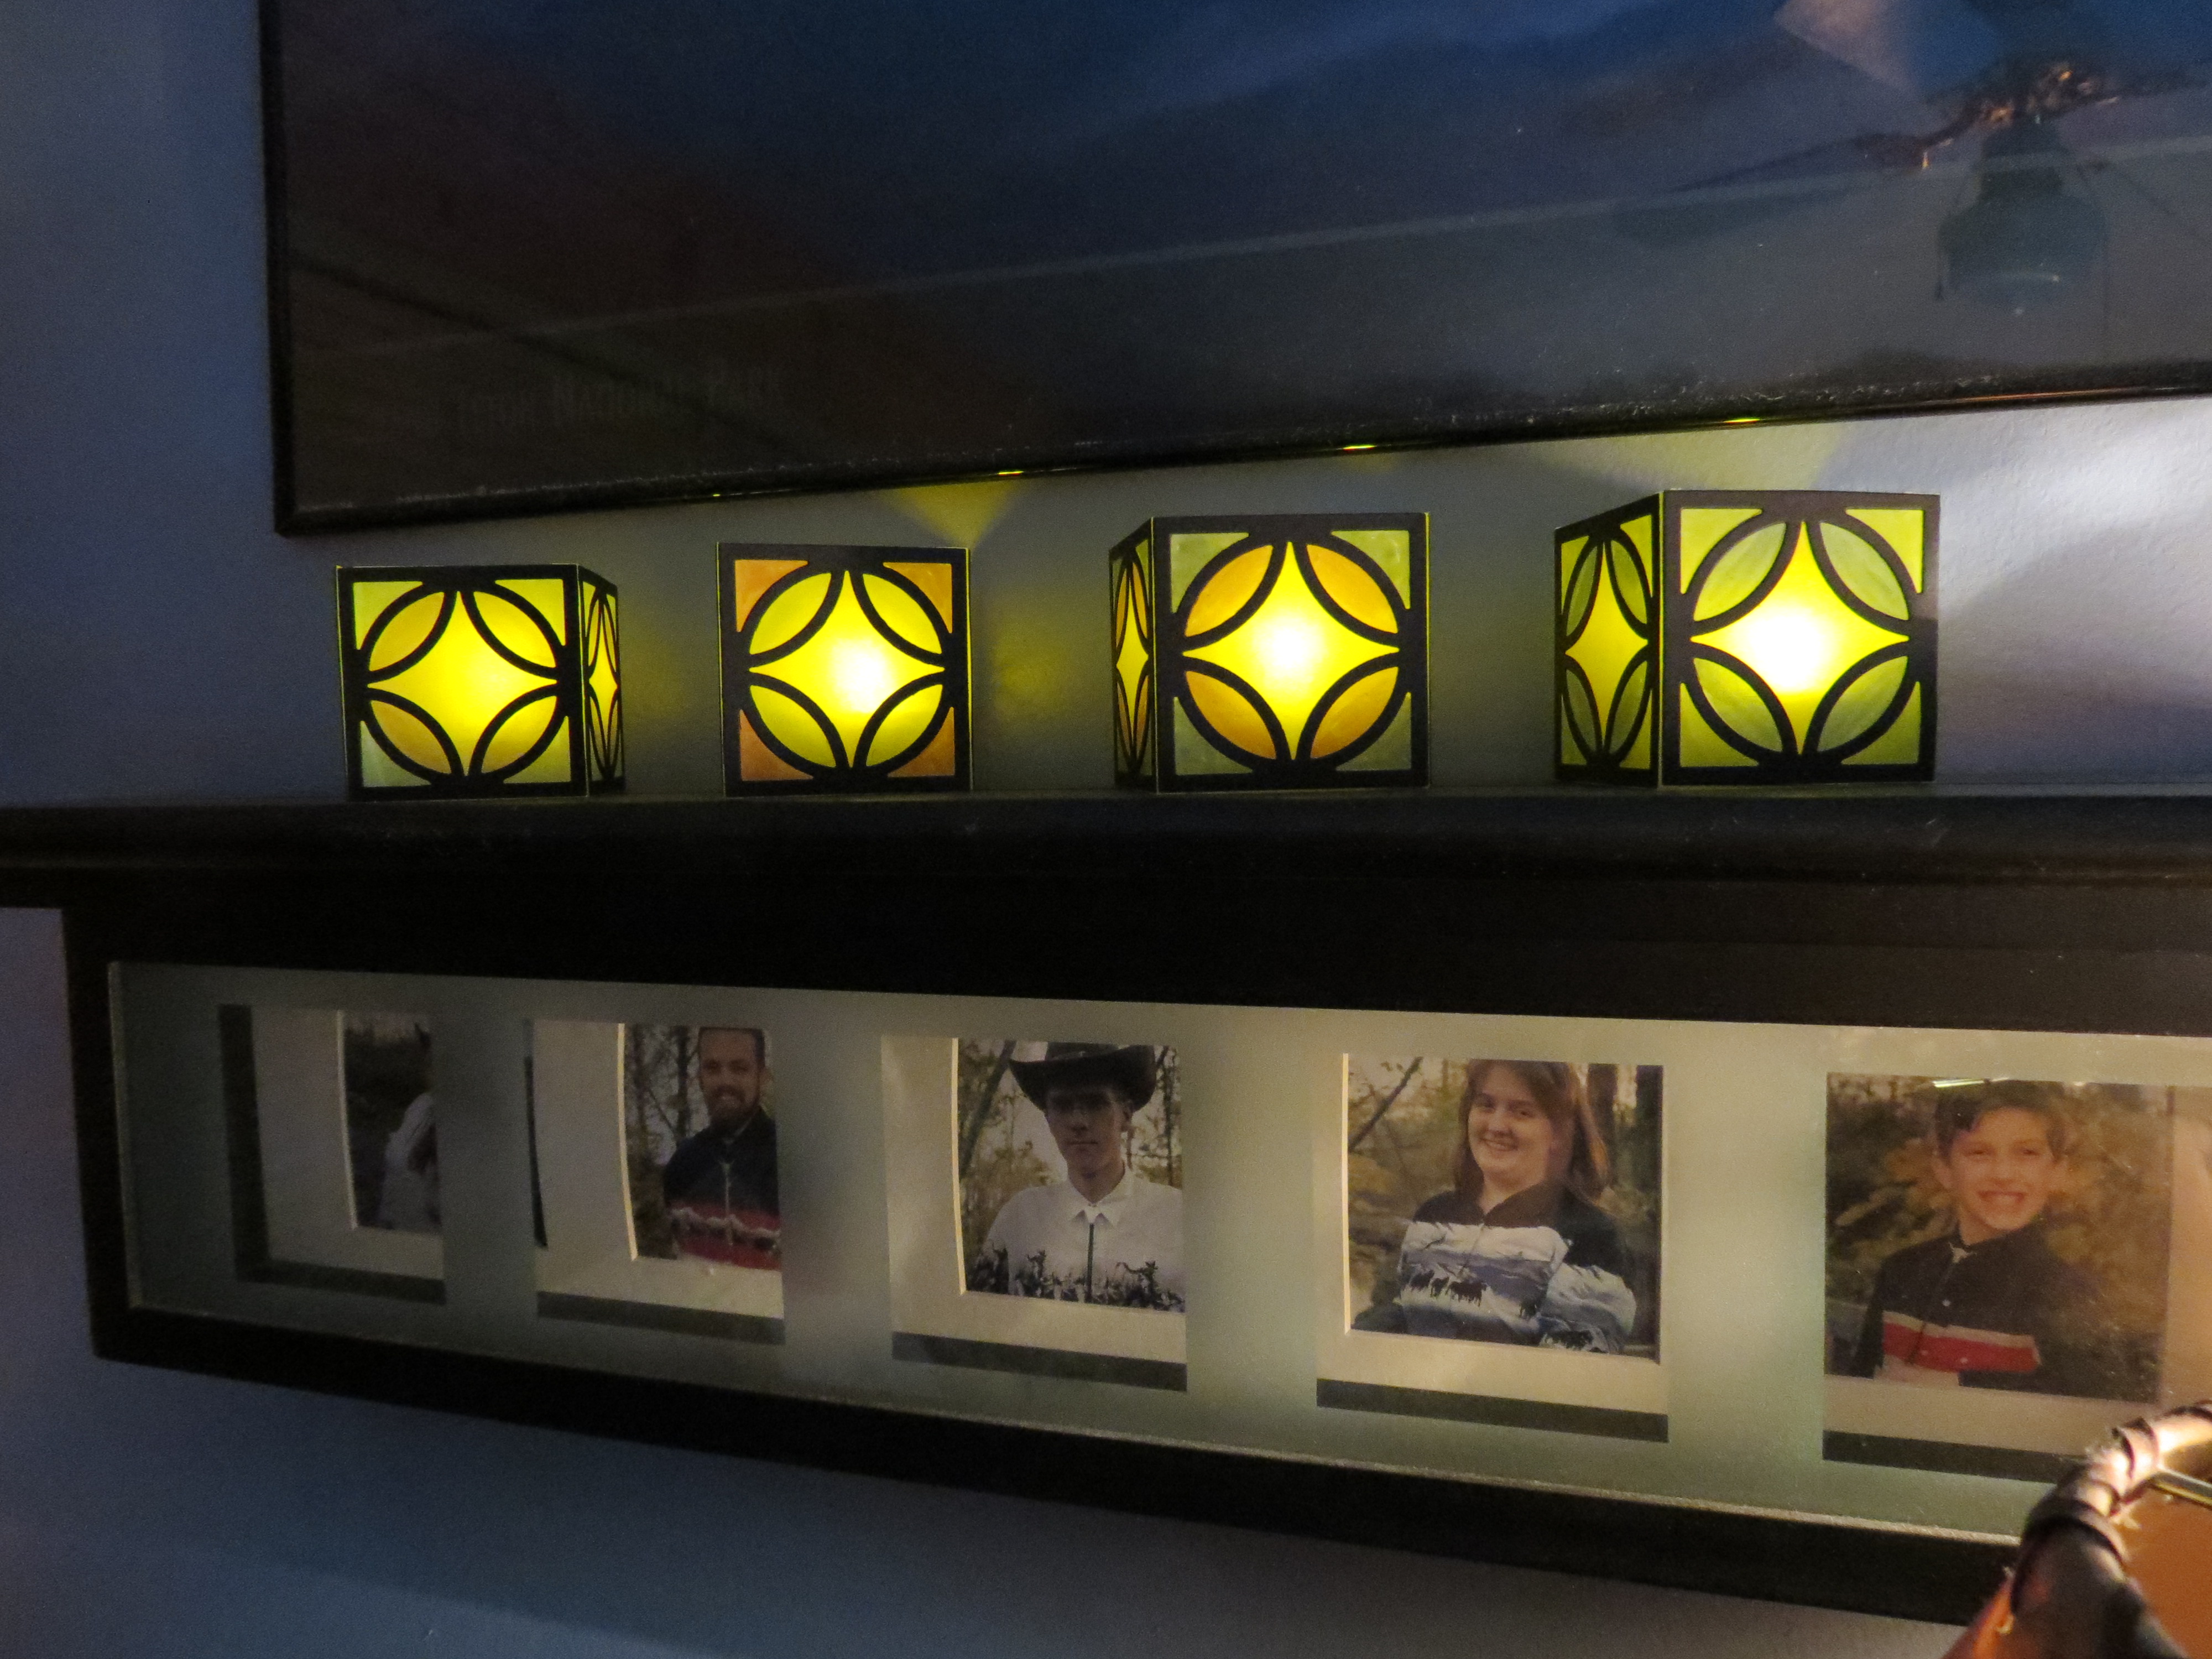
Voila! You have a stained glass square to drop around your tea lights for a festive Christmas Lights display. They even make a nice idea for your Advent lighting by adjusting the colors to pinks and purples as I did on one.

MM Christmas Lights when the room lights are on
MM Christmas Lights with low light on in the room
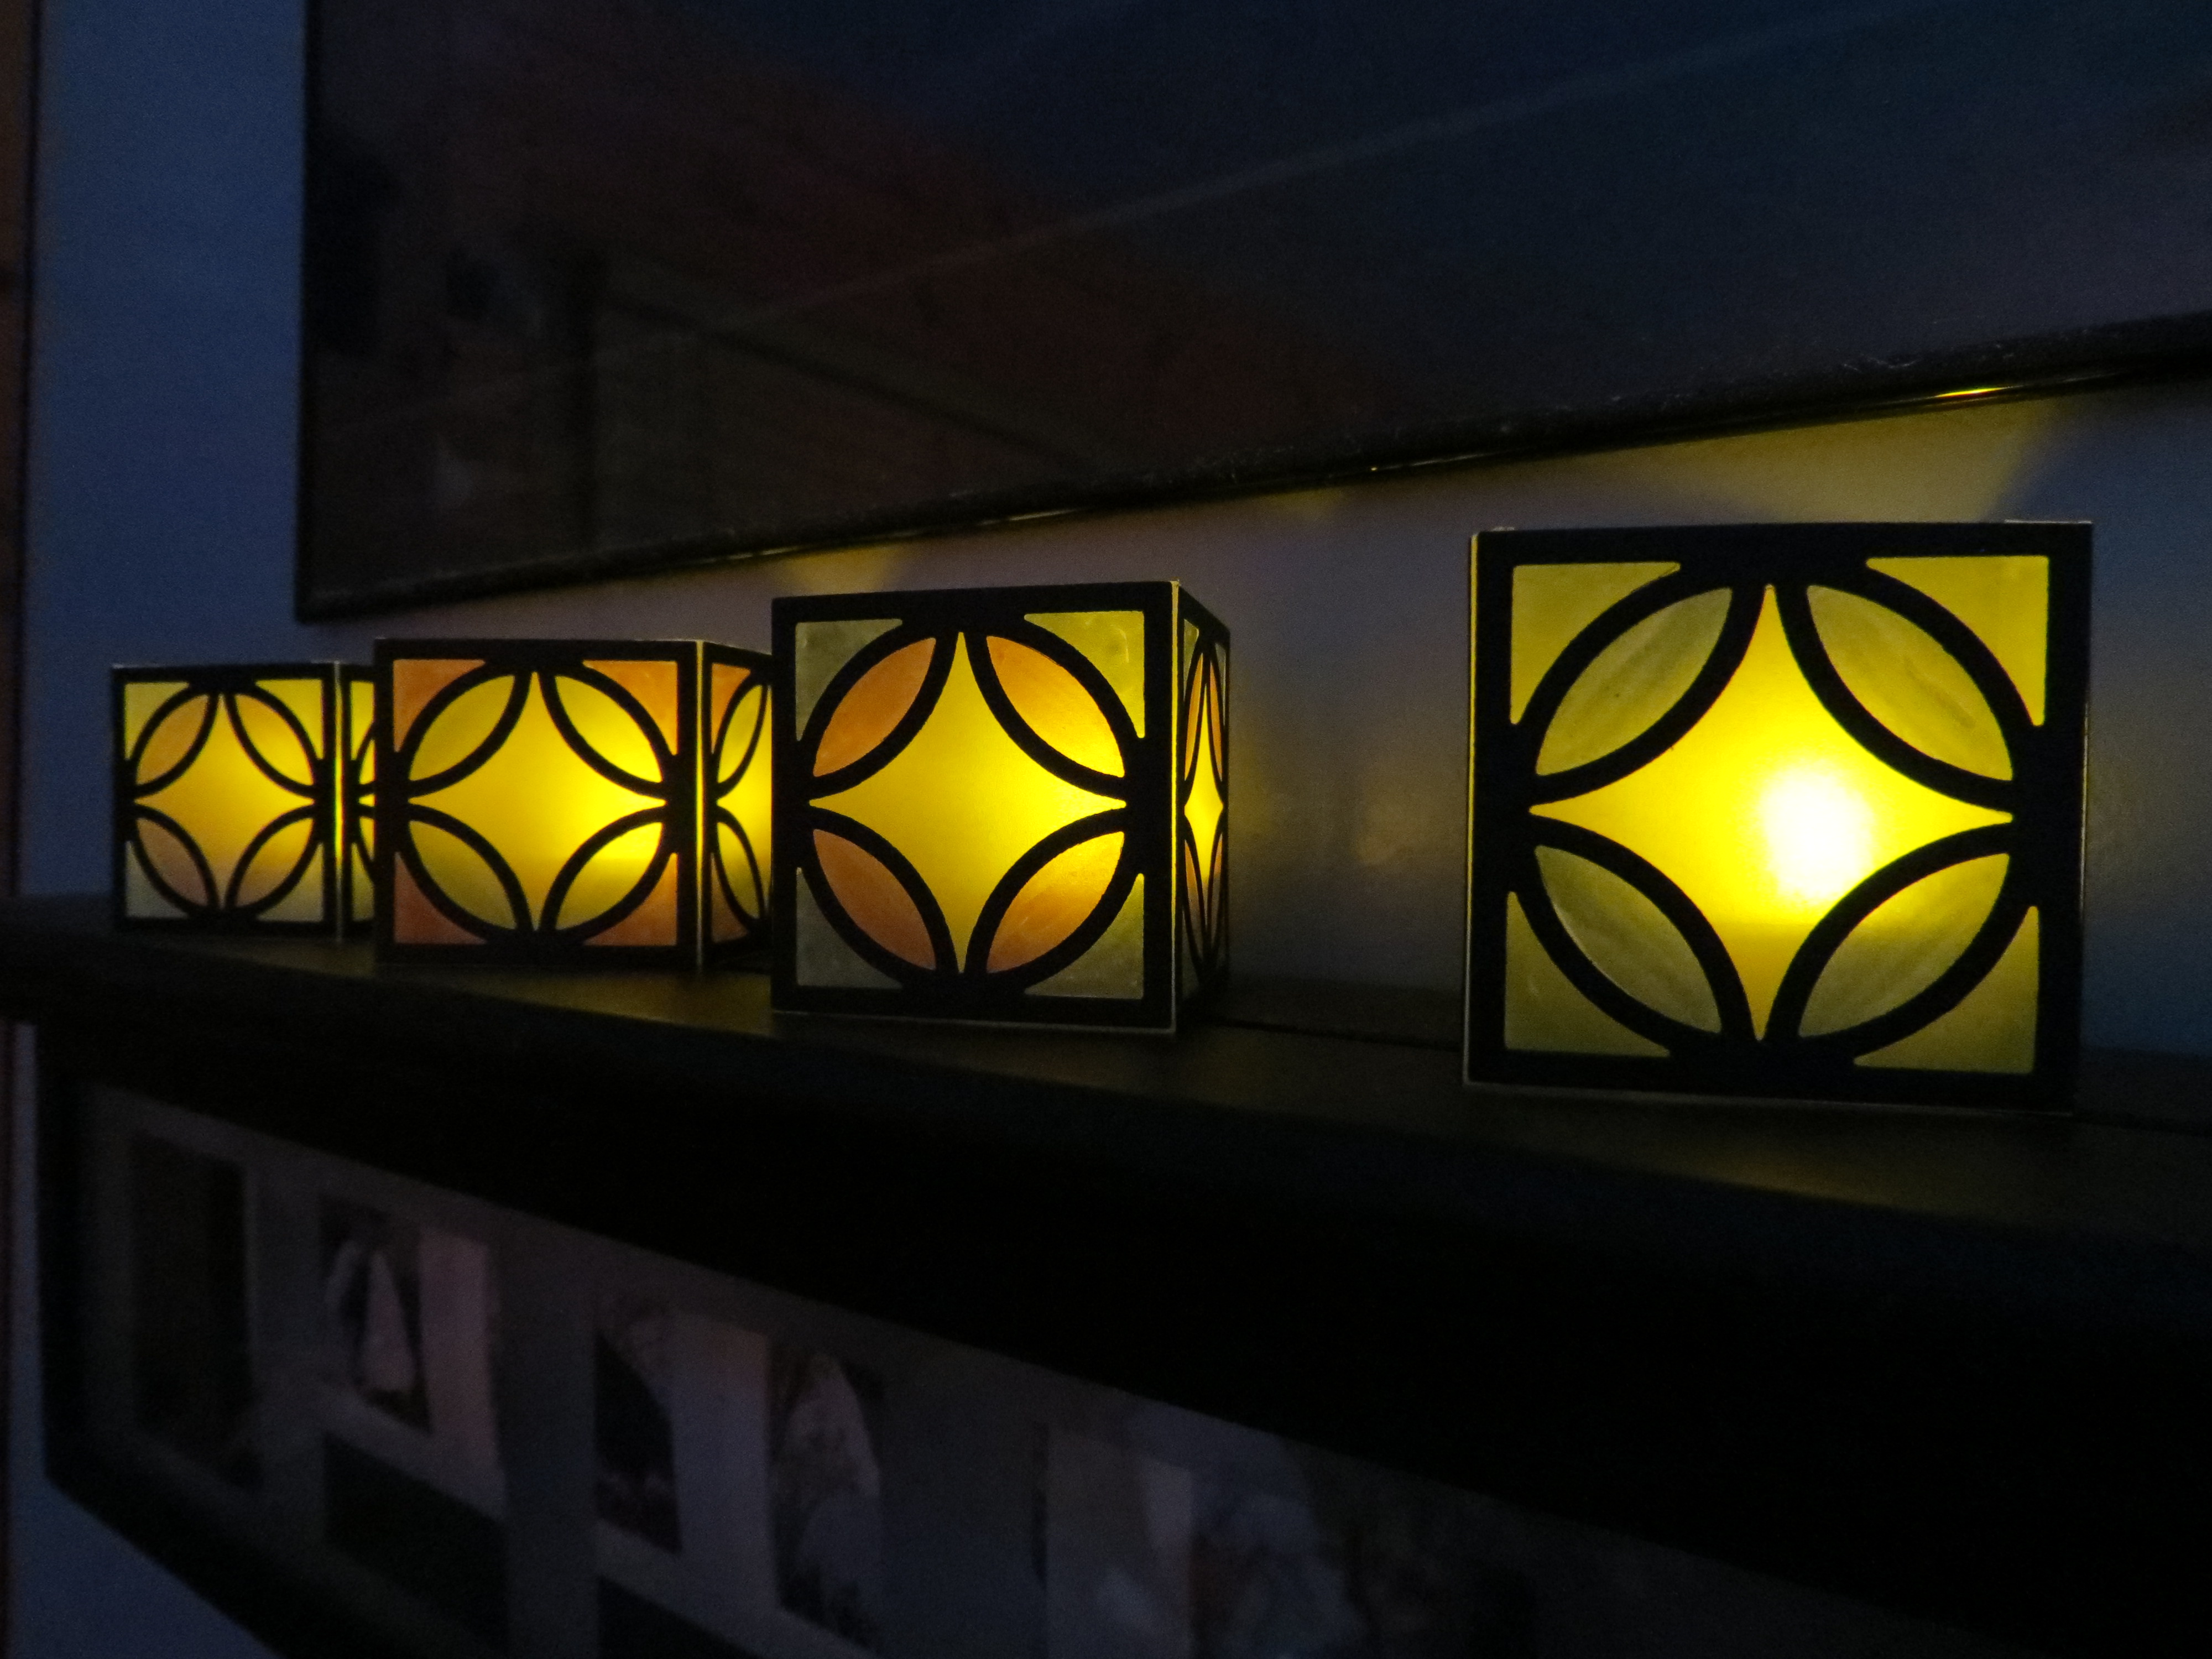
MM Christmas Lights with no lights on in the room
When you are finished just fold them in half and store in an envelope for next year!
MM Christmas Lights store flat in envelope for using another time
When they are this easy to make you might just make a few for gifts or for other occasions. With all our square cornerstone dies the possibilities are endless!!
Have fun with this quick and easy little decoration, and be sure to take lots of photos this holiday season!
Wishing you and your families a very Merry Christmas and a Happy New Year! See you soon!!
Andrea Fisher
Be sure to visit our Pinterest boards for more holiday ideas and find this pin to add to your boards.
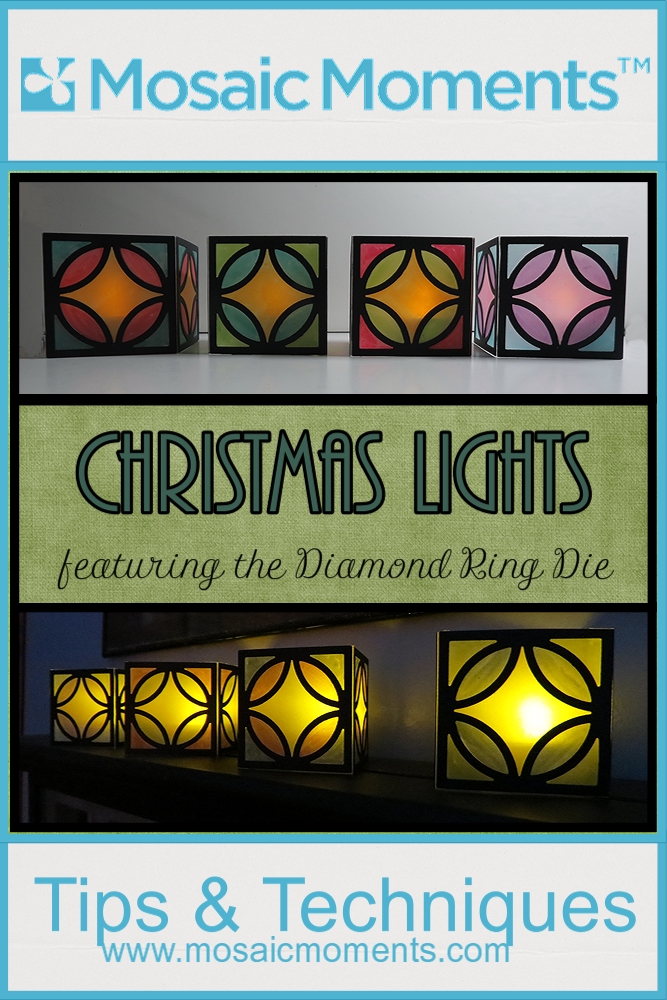
MM Christmas Lights Quick and Easy Project for making the season festive with lea light covers made with the Diamond Ring cornerstone die