

Designing with Dies featuring Between Brackets Set
Remembering Neverland
When I began today’s layout I only had the Between Brackets Set to work with. I had not decided on what photos I’d be using and a grid paper was long from being chosen.
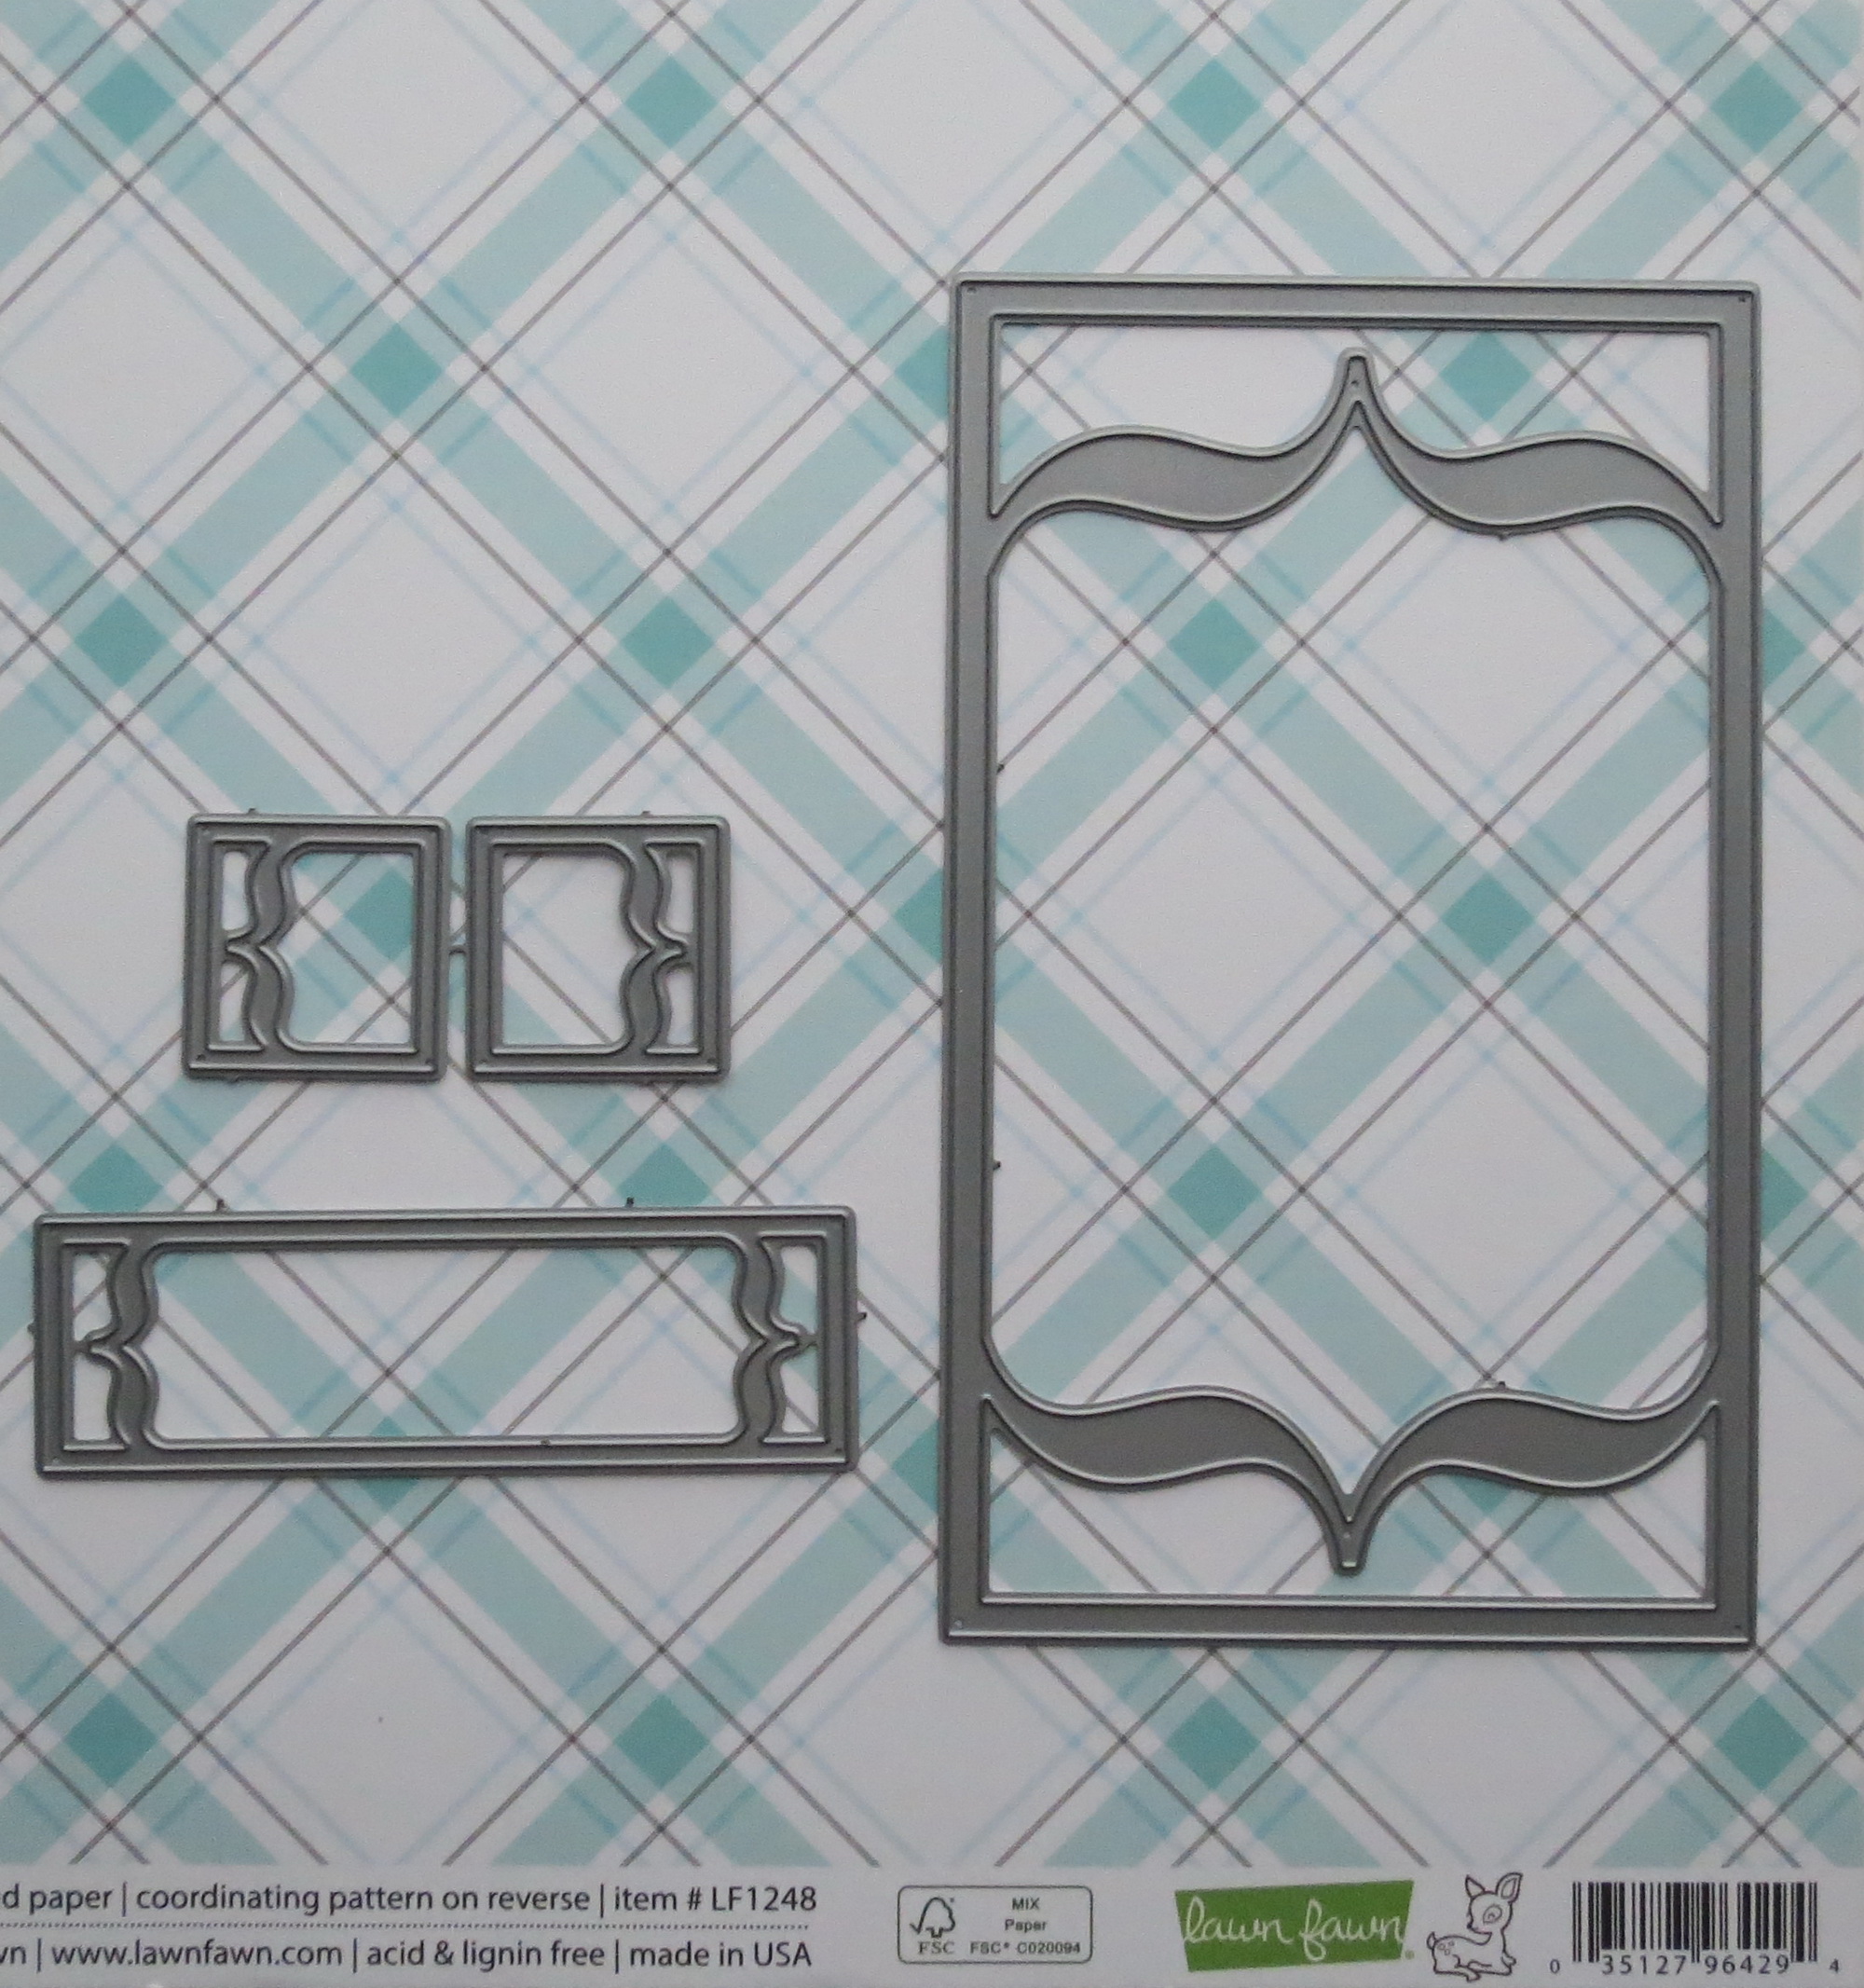
Mosaic Moments Designing with Dies Between Brackets Set
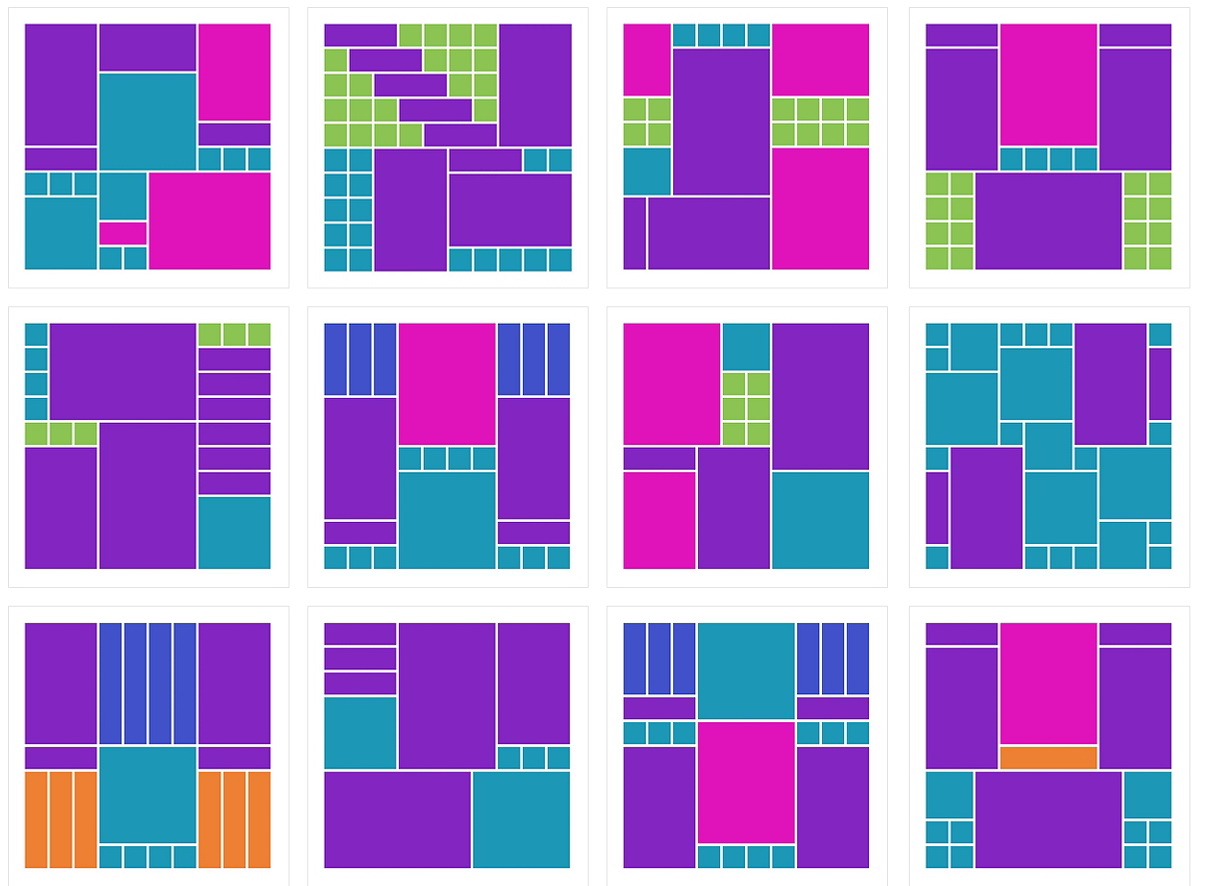
So beginning with that die set I searched through the Pattern Gallery for patterns that would accommodate the new Between Brackets Set. This set consists of a 3×5, 1×3 and 1”square die. I began by looking for patterns with a 3×5 spot.
Here are some of those choices:
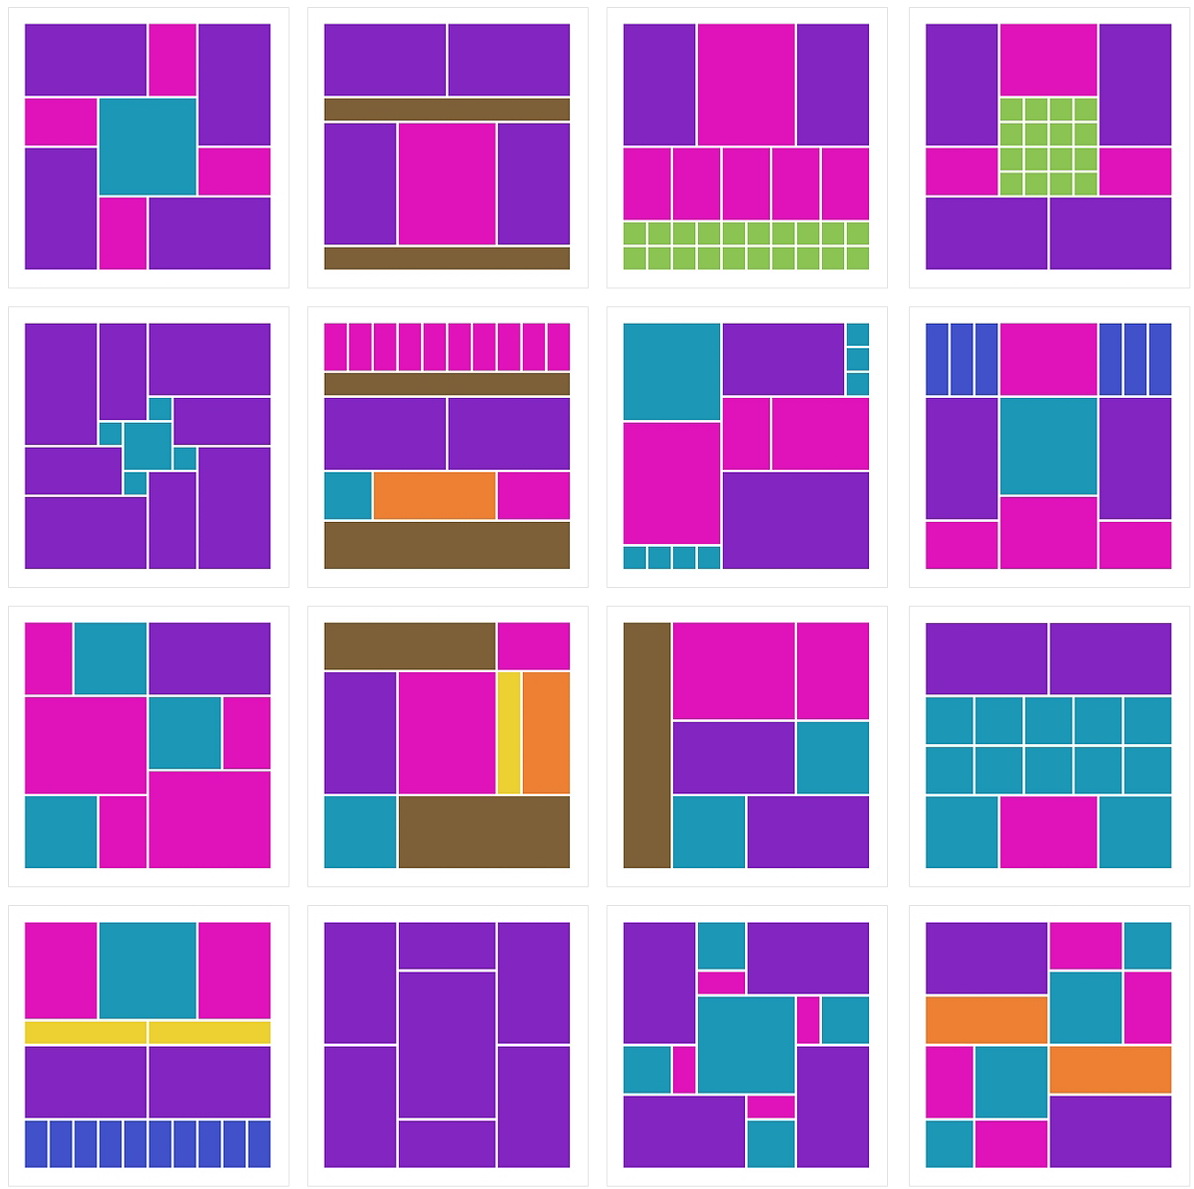
Mosaic Moments Designing with Dies Between Brackets Set Pattern Gallery choices
Next I looked for patterns that would use the 3×5 and either a 1×3 or 1”sq. Here are some of those choices:
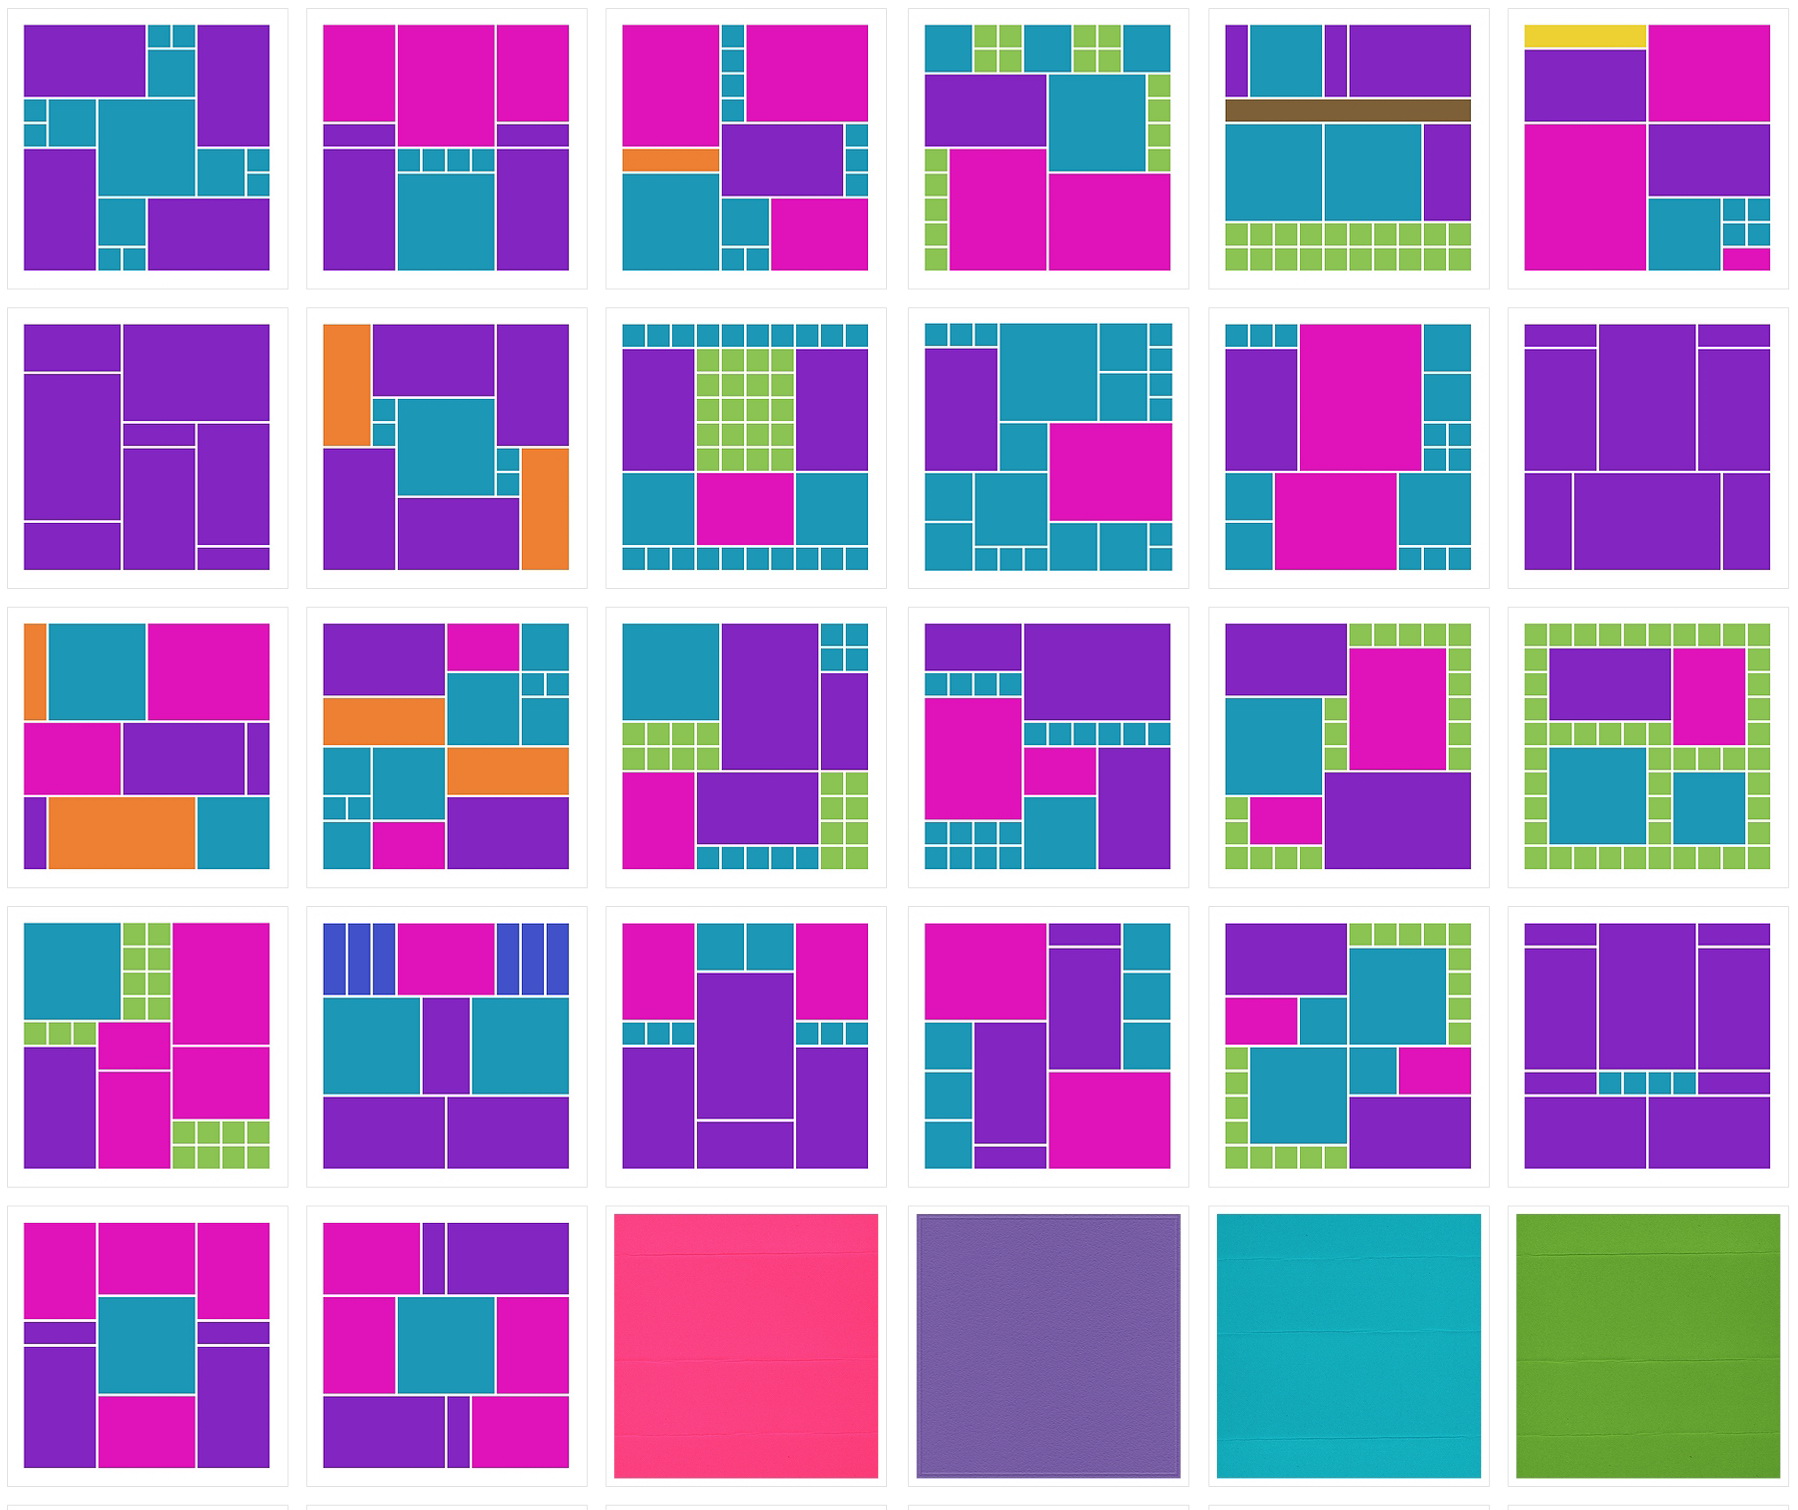
Mosaic Moments Designing with Dies Between Brackets Set Pattern Gallery with 2 options
Finally, I hoped to be able to find a pattern using all three, and I did, here’s those ones:
Mosaic Moments Designing with Dies Between Brackets Set With three choices
Look at all the choices!
From all of these I selected several that I thought would show off the die set and then brought my photos into the mix and to see which would be the best choice.
That’s when things got difficult, fitting my photos to the pattern or the pattern to my photos!
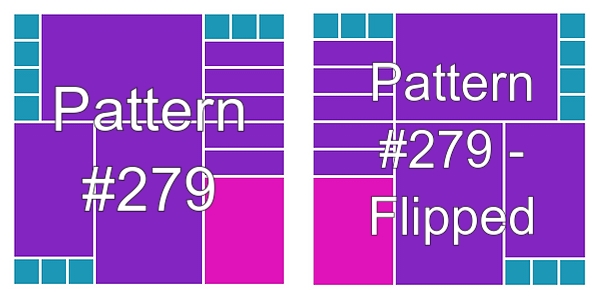
Mosaic Moments Pattern Choice #279 mirror image
Mosaic Moments Designing with Dies Between Brackets Set
In the end I chose Pattern #279 and made a few modifications to best suit my photos and my plan. The first change was to flip the pattern to a mirror image. I had decided to use the brackets to contain my journaling and labels and I have a preference to where I like to place my journaling in relation to the photos so the flip let me put that spot in the lower right-hand corner.
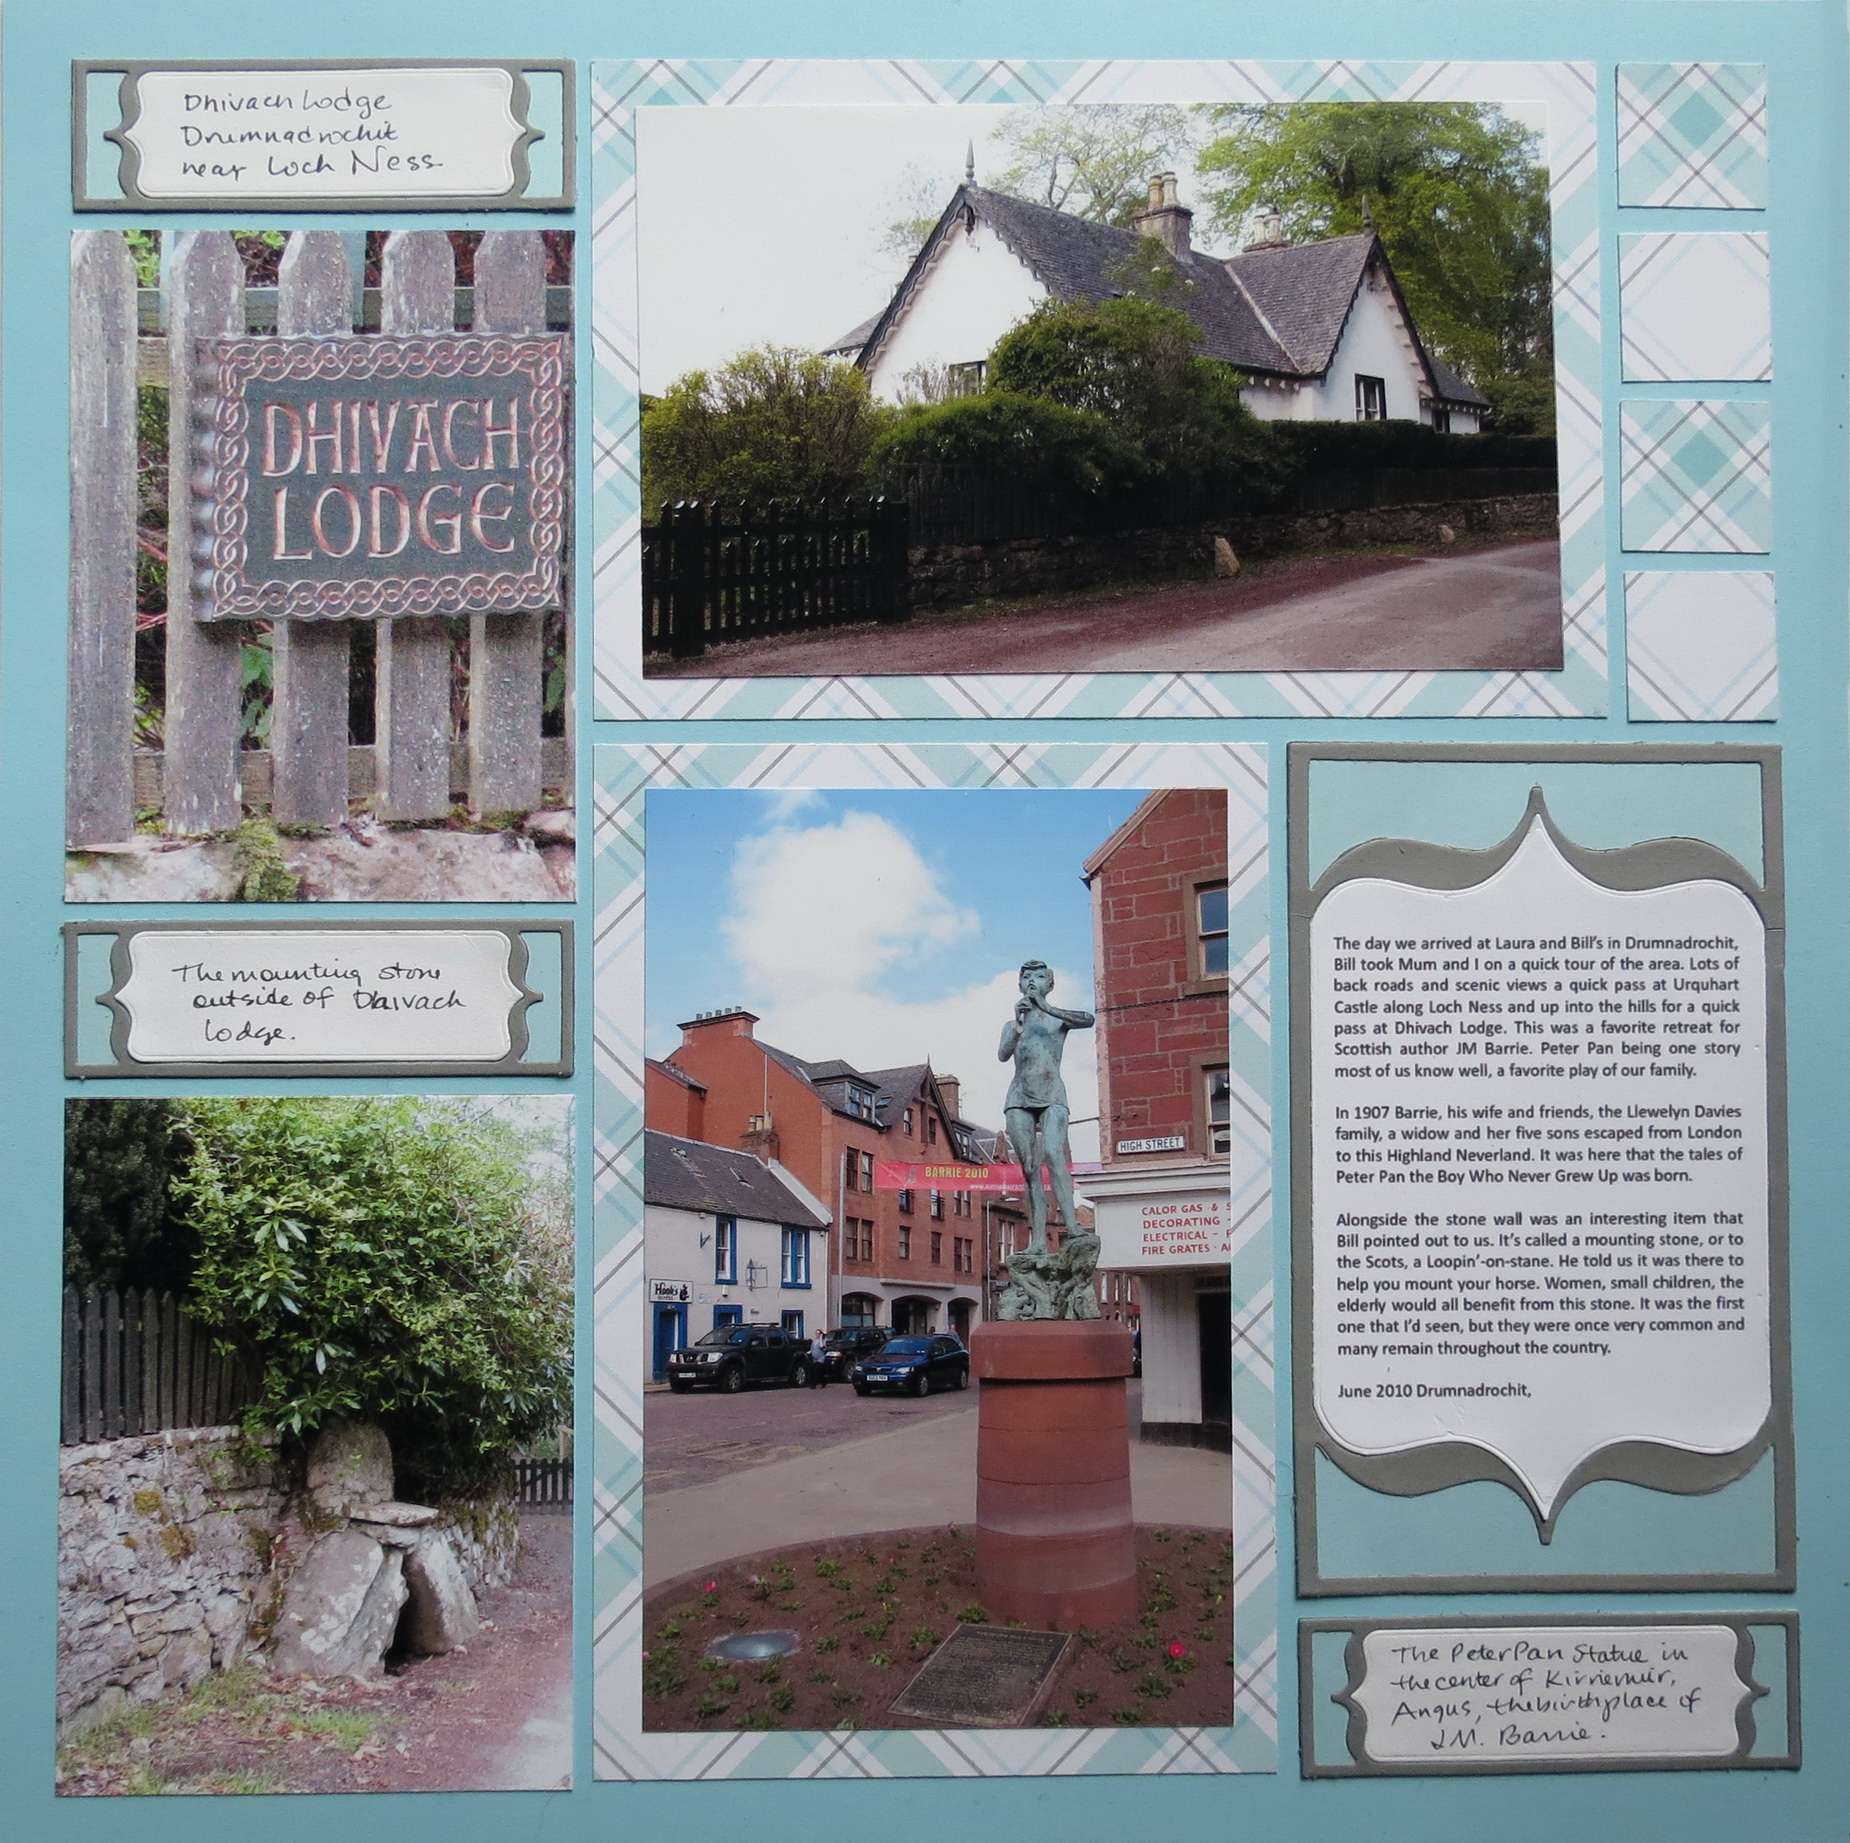
Next I had a photo with a sign that I wanted to use at the top of my page as a sort of title, but the top spaces were for a strip section and I just didn’t want to divide my photo. So I turned that into a solid 3×4 photo spot and the 1” squares above into a 1×3 label spot.
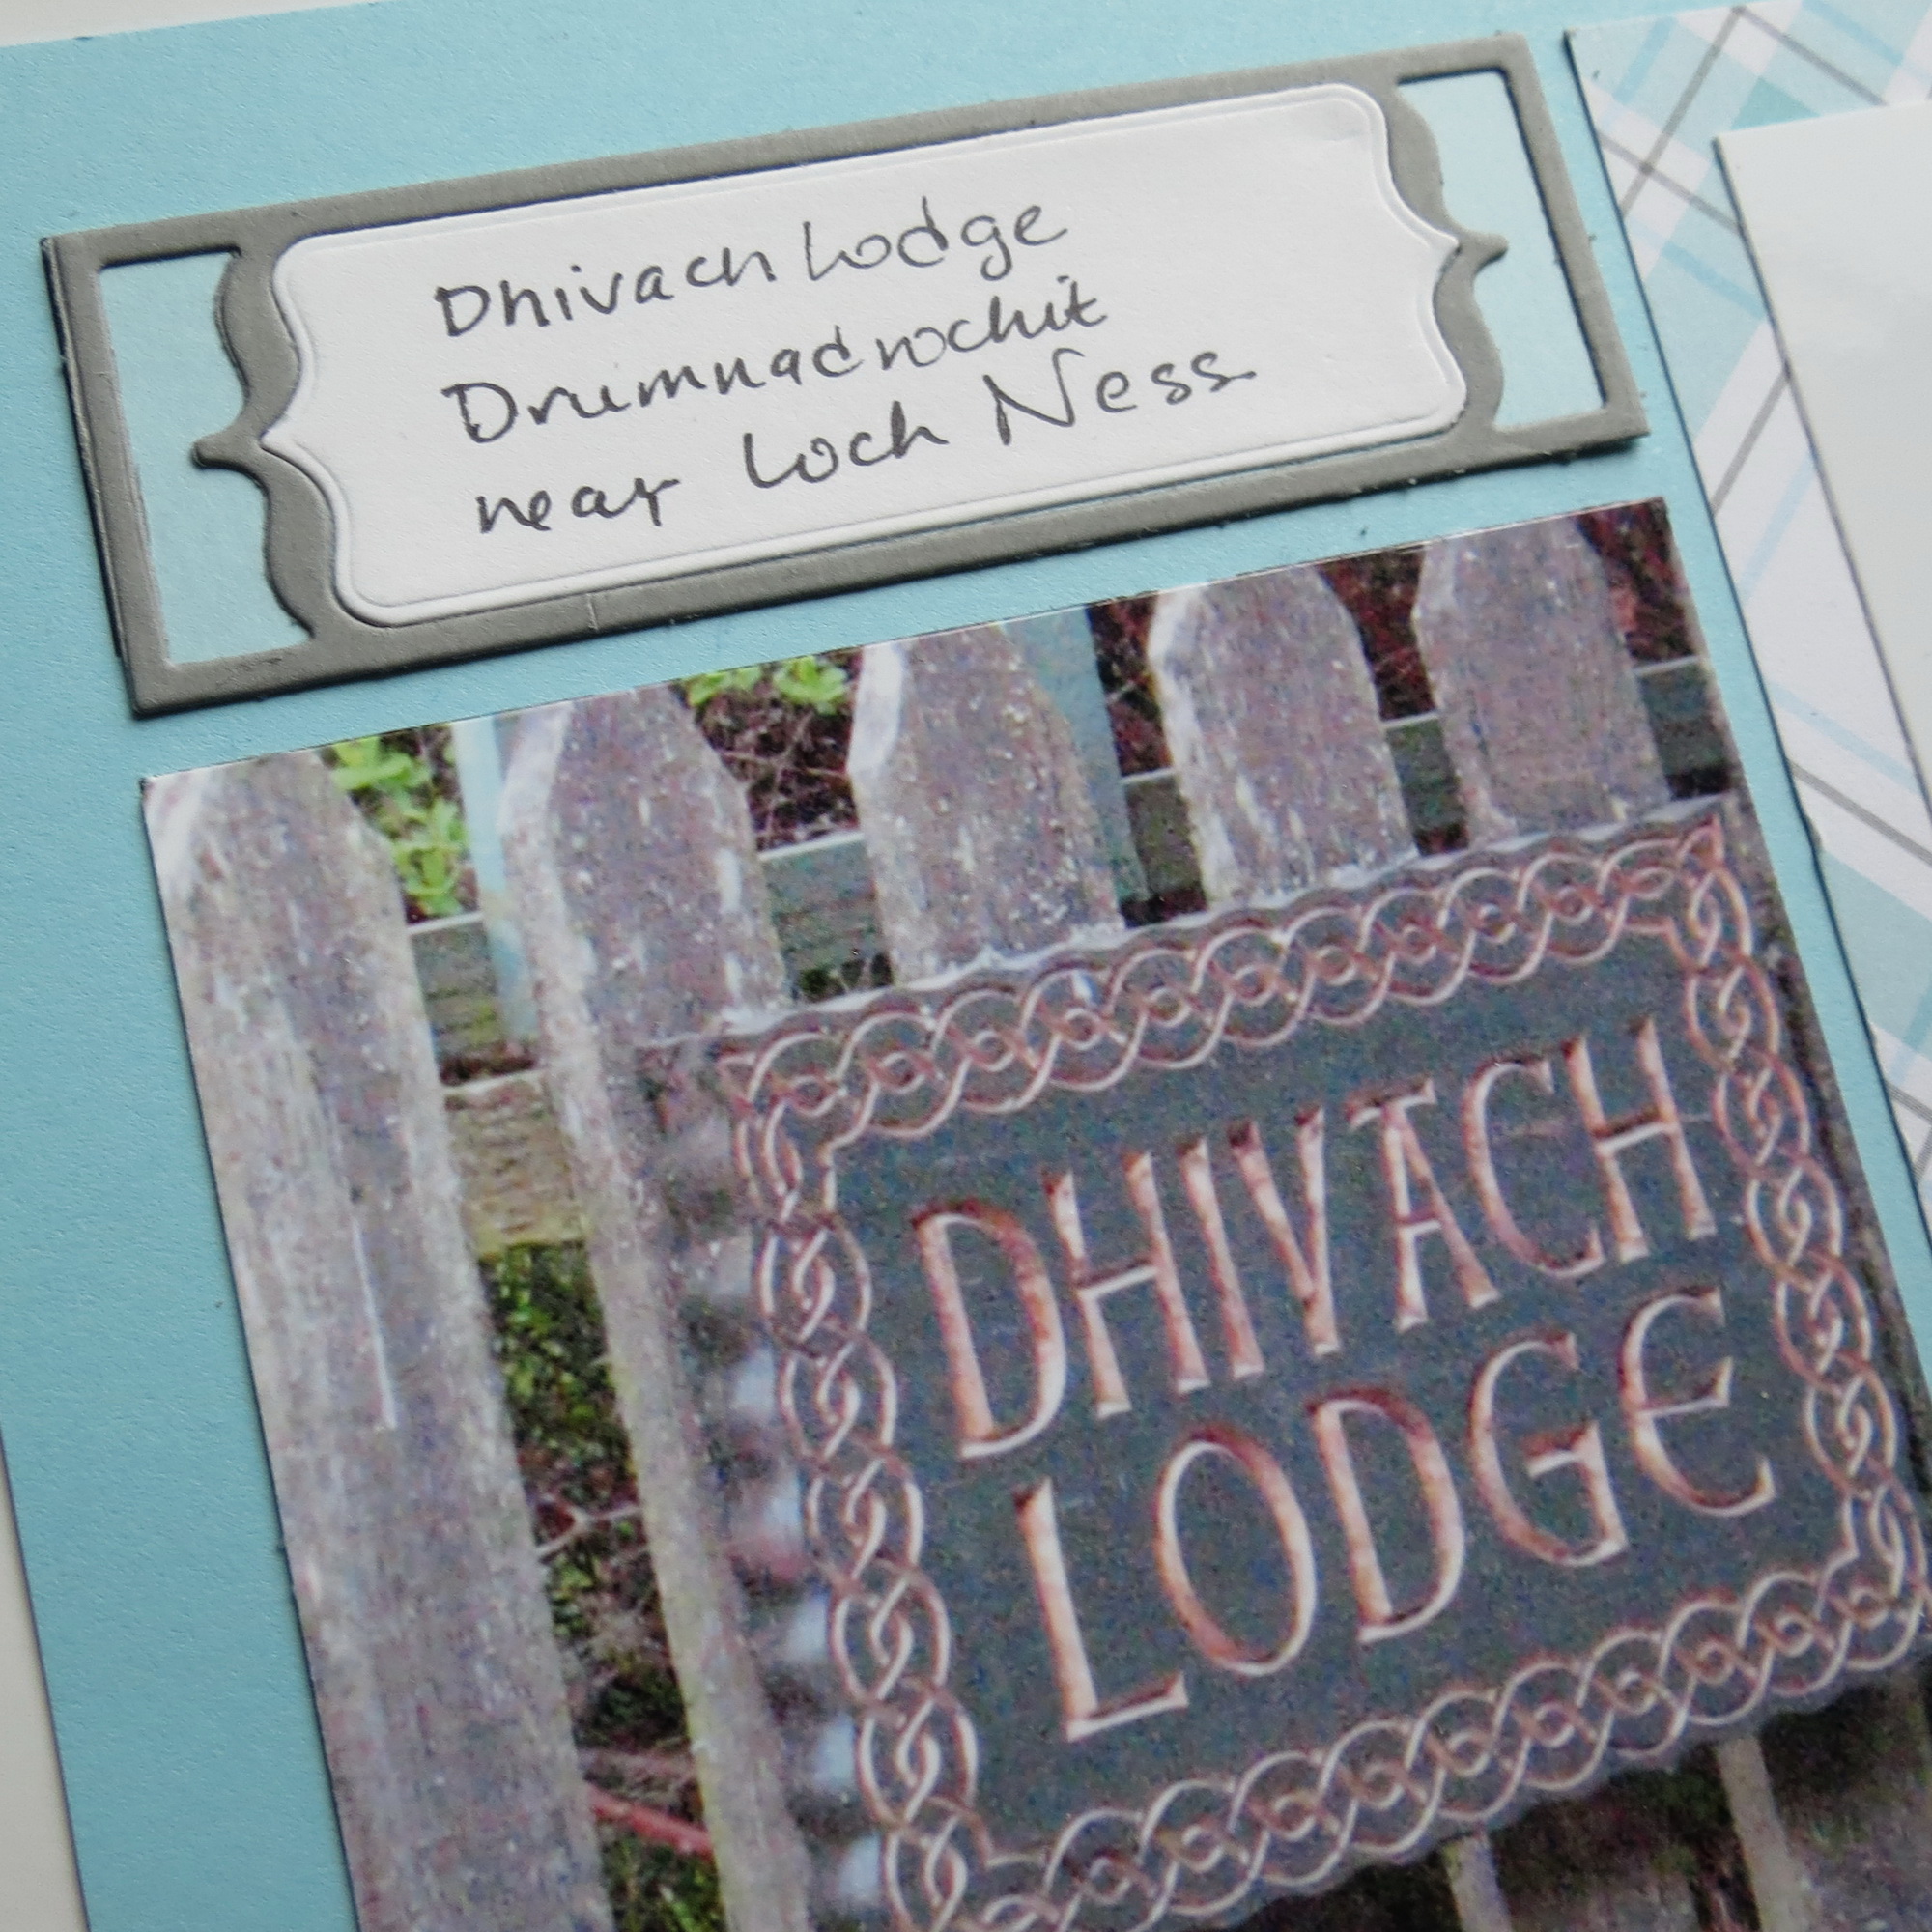
Mosaic Moments Designing with Dies Between Brackets Set Using a sign as a title
The 1” squares below the 3×5 spot was also turned into a 1×3 for the label while the 4 – 1” squares alongside the top photo remained as 1” squares that I filled with patterned paper.
The Sky Blue Mosaic Moments Grid paper matched nicely with a plaid patterned paper from Lawn Fawn (Perfectly Plaid Collection – Winter – 12 x 12 Double Sided Paper – Snowshoe Hare.) Using a gray for the brackets and Ocean Breeze paper tiles for the end sections it blended nicely with the photo colors from the signage to the statue.
Now you may be asking, “Why didn’t I use the bracket dies with photos?” That’s a legitimate question to ask. Tami has shown several examples doing just that. So here’s my explanation. When I see brackets I think parentheses. I see the literary use, not the mathematical. Here’s a definition that says it best:
Parentheses: a word, clause, or sentence inserted as an explanation or afterthought into a passage that is grammatically complete without it, in writing usually marked off by curved brackets, dashes, or commas.
To me that says they are a perfect spot for adding my story to any layout and adding labels to photos with just enough info to explain about it. The photos are able to give a portion of the story but you often need more of an explanation…use the brackets! In this case, without an explanation of why this cottage was significant it becomes a random photo of no real consequence. With the added journaling this photo connects my family to a favorite story and an author born in Scotland.

Mosaic Moments Designing with Dies Between Brackets Set perfect die for using to journal

Mosaic Moments Designing with Dies Between Brackets Set Watch for your details don’t lose important information
Because I was matting my 4”x6” photos on the larger 4×6 block I wanted to have an even border all around and it meant trimming ¼” off of the long sides. As I was about to trim the Peter Pan statue photo I noticed I was about to trim off a detail that adds to the story. This detail shows you the sign over the door that reads “Hook’s Hotel.” The statue photo includes the banner across the street announcing a 100 year anniversary celebration, little details that matter to me.
So the next time you are about to cut your photo to fit your pattern take note of the details in the background that add to your story with a detail that will help date or place the photo for those who will see these pages years later.
So, now it’s time for you to take the Between the Bracket Dies and fill them the way you want to on your pages. Have Fun!
Andrea Fisher