
 Advanced Techniques
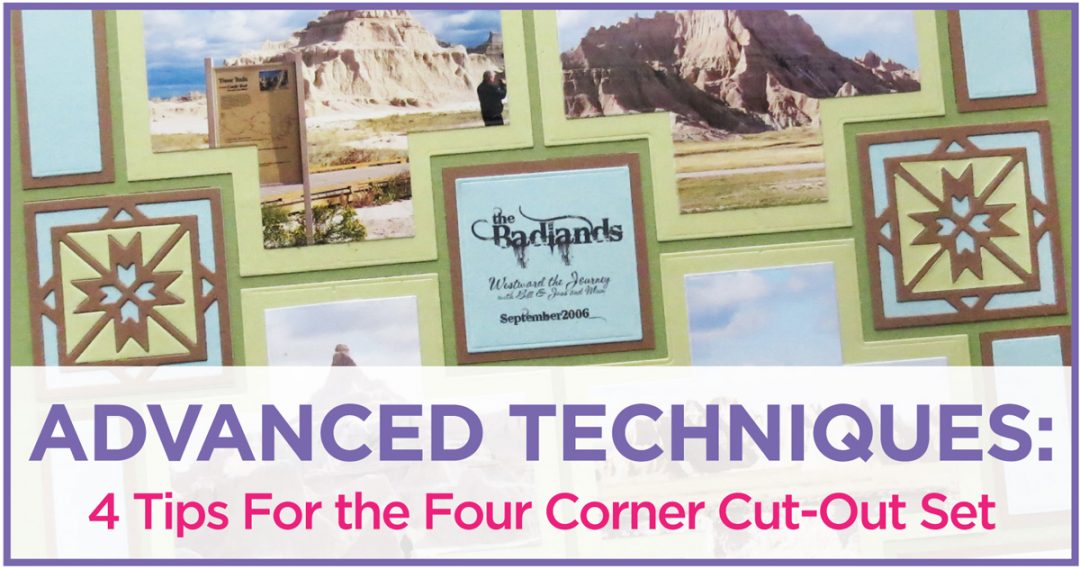

Featuring the Four Corner Cut Out Die
Westward the Journey
For our Advanced Techniques this week we’ll be using our new Four Corner Cut Out Die. There are three dies in this set two will fit to the grid and one is a layering die. I’ve used the largest die and the accompanying layering die.
Mosaic Moments Advanced Techniques Tips for the Four Corner Cut Out Die Layout
AT Tip #1 Adjusting a Pattern
I decided to use some landscape photos of The Badlands of South Dakota for this die. Because these dies are a unique shape, that of a cross, we’ve got some leeway for a pattern. On the surface, you could say this was based on Pattern # 392, four center squares and a border of 2×2 squares. The center squares of the pattern are 3×3 while our Four Corner Cut Out Die will span 4 blocks.
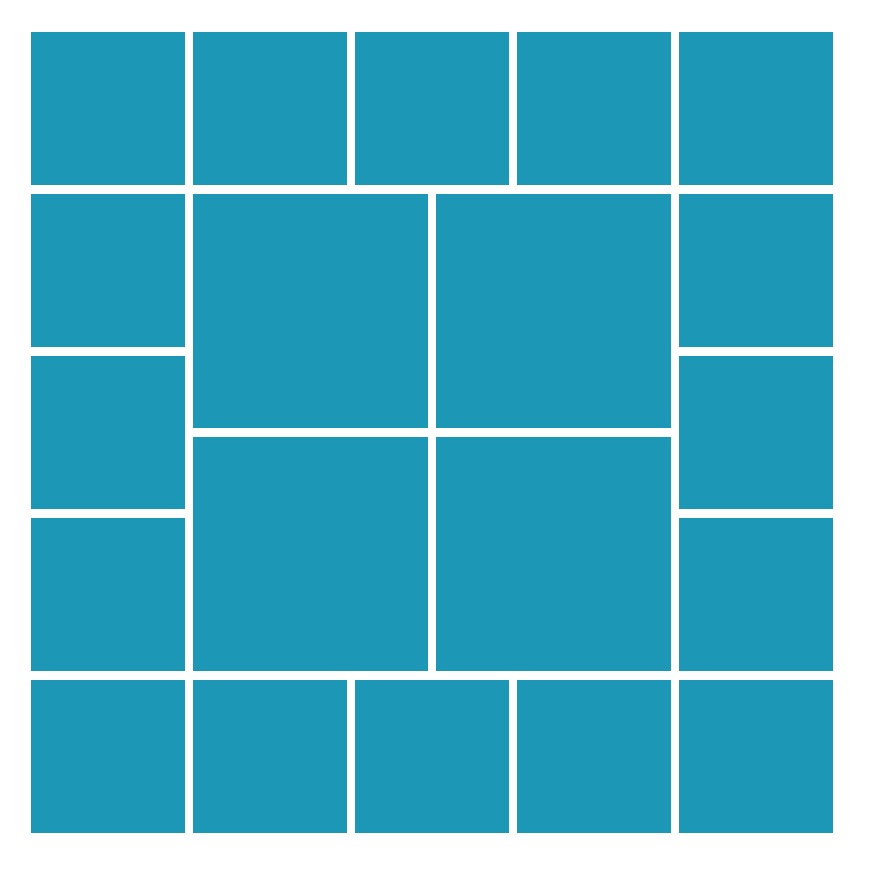
Mosaic Moments Pattern #392
To accommodate the dies some things needed to change. I did play around with die cuts to see what I might be able to use.

Mosaic Moments Advanced Techniques trying to find a pattern/layout for the new dies
Mosaic Moments Advanced Techniques playing around with the new dies looking for a design to work
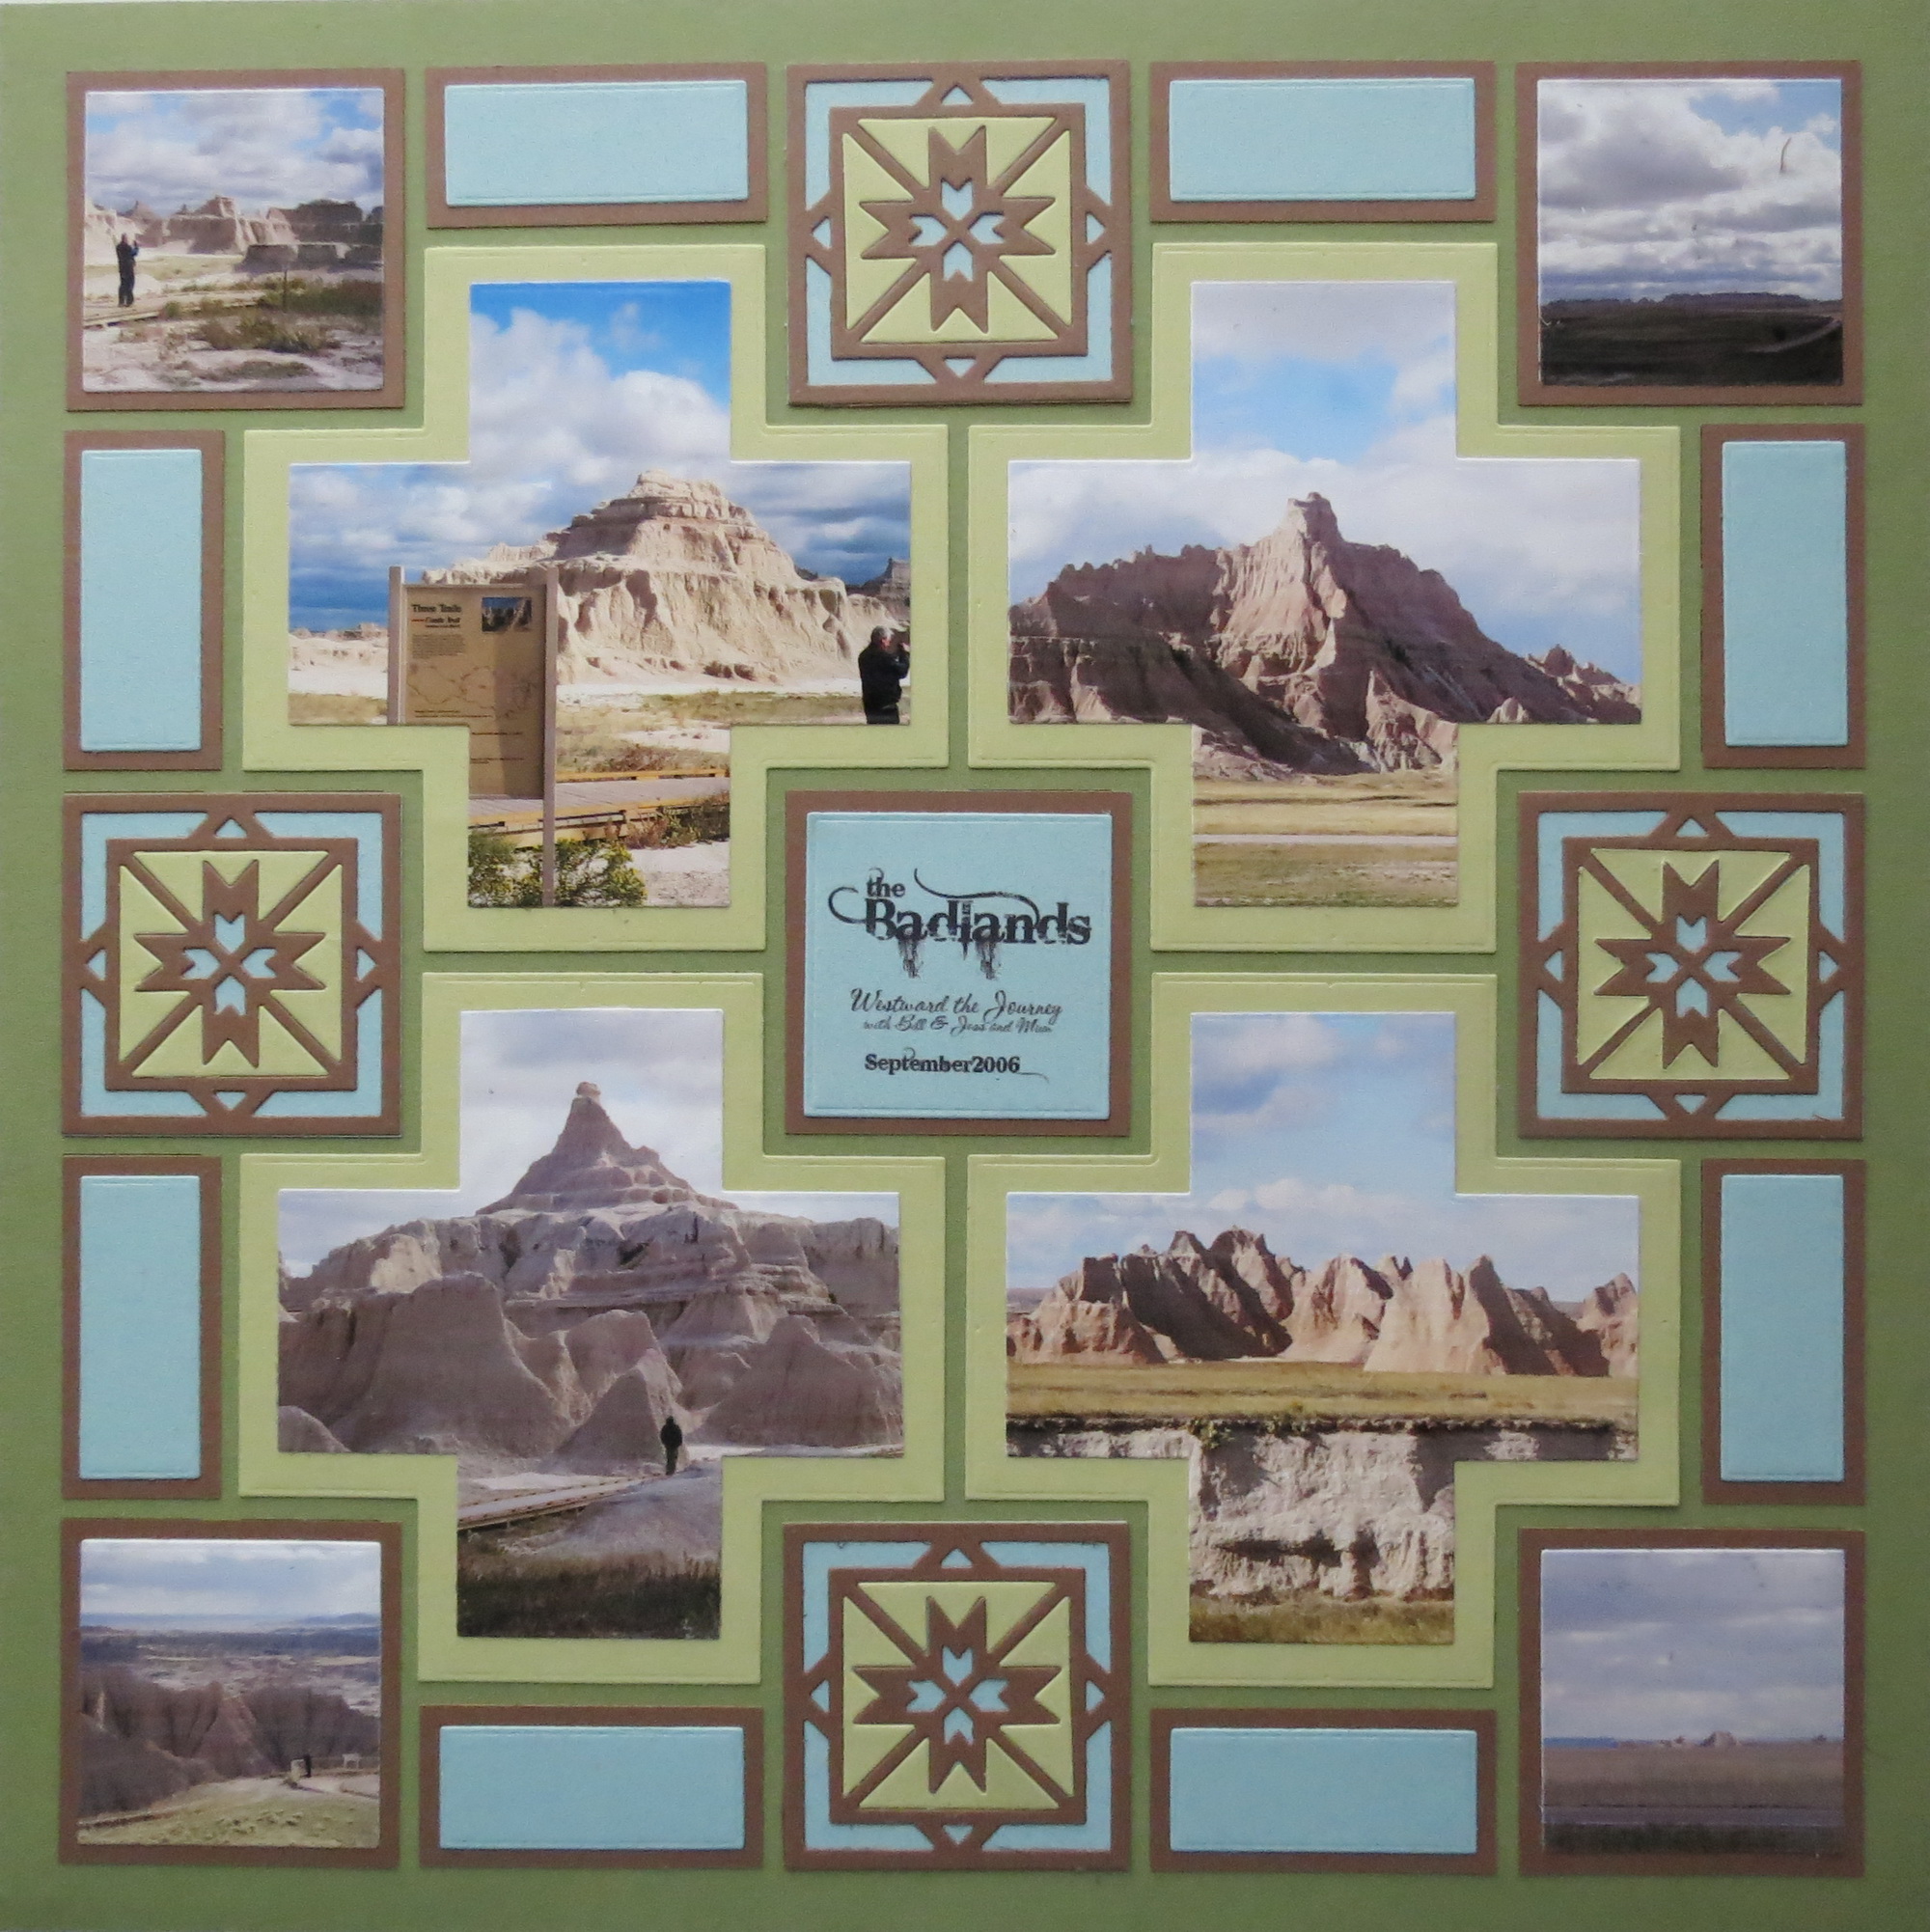
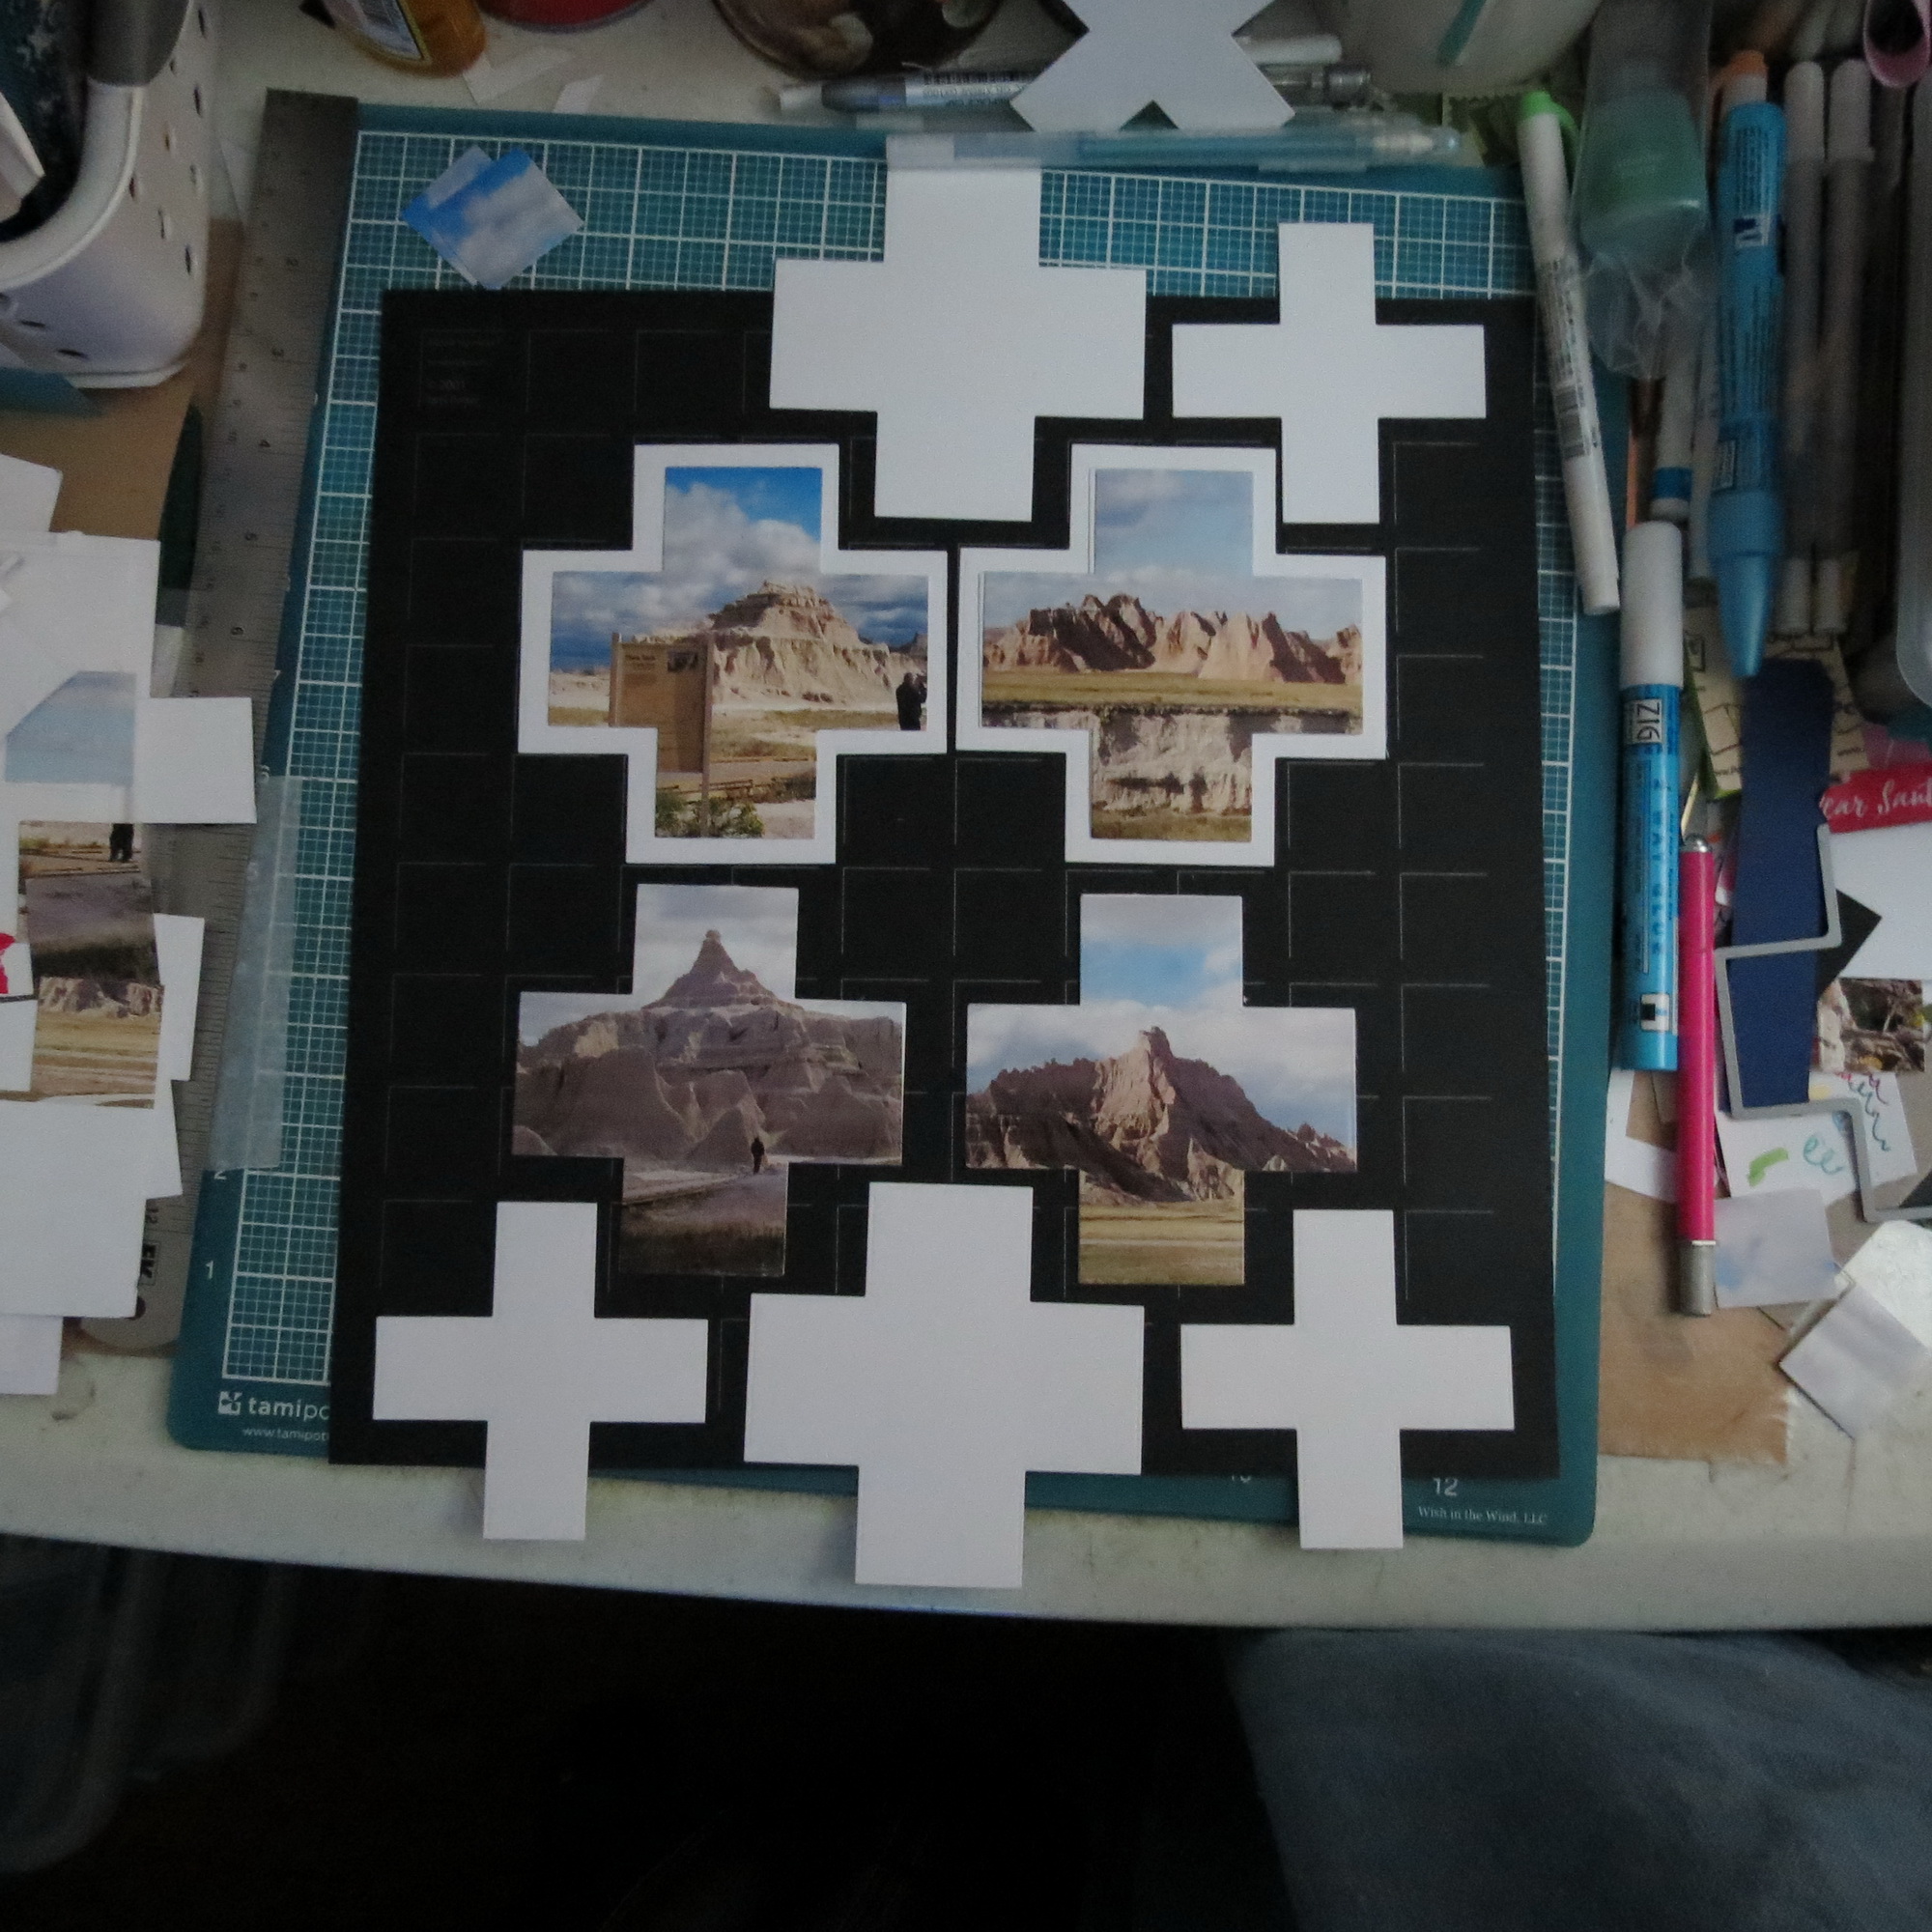
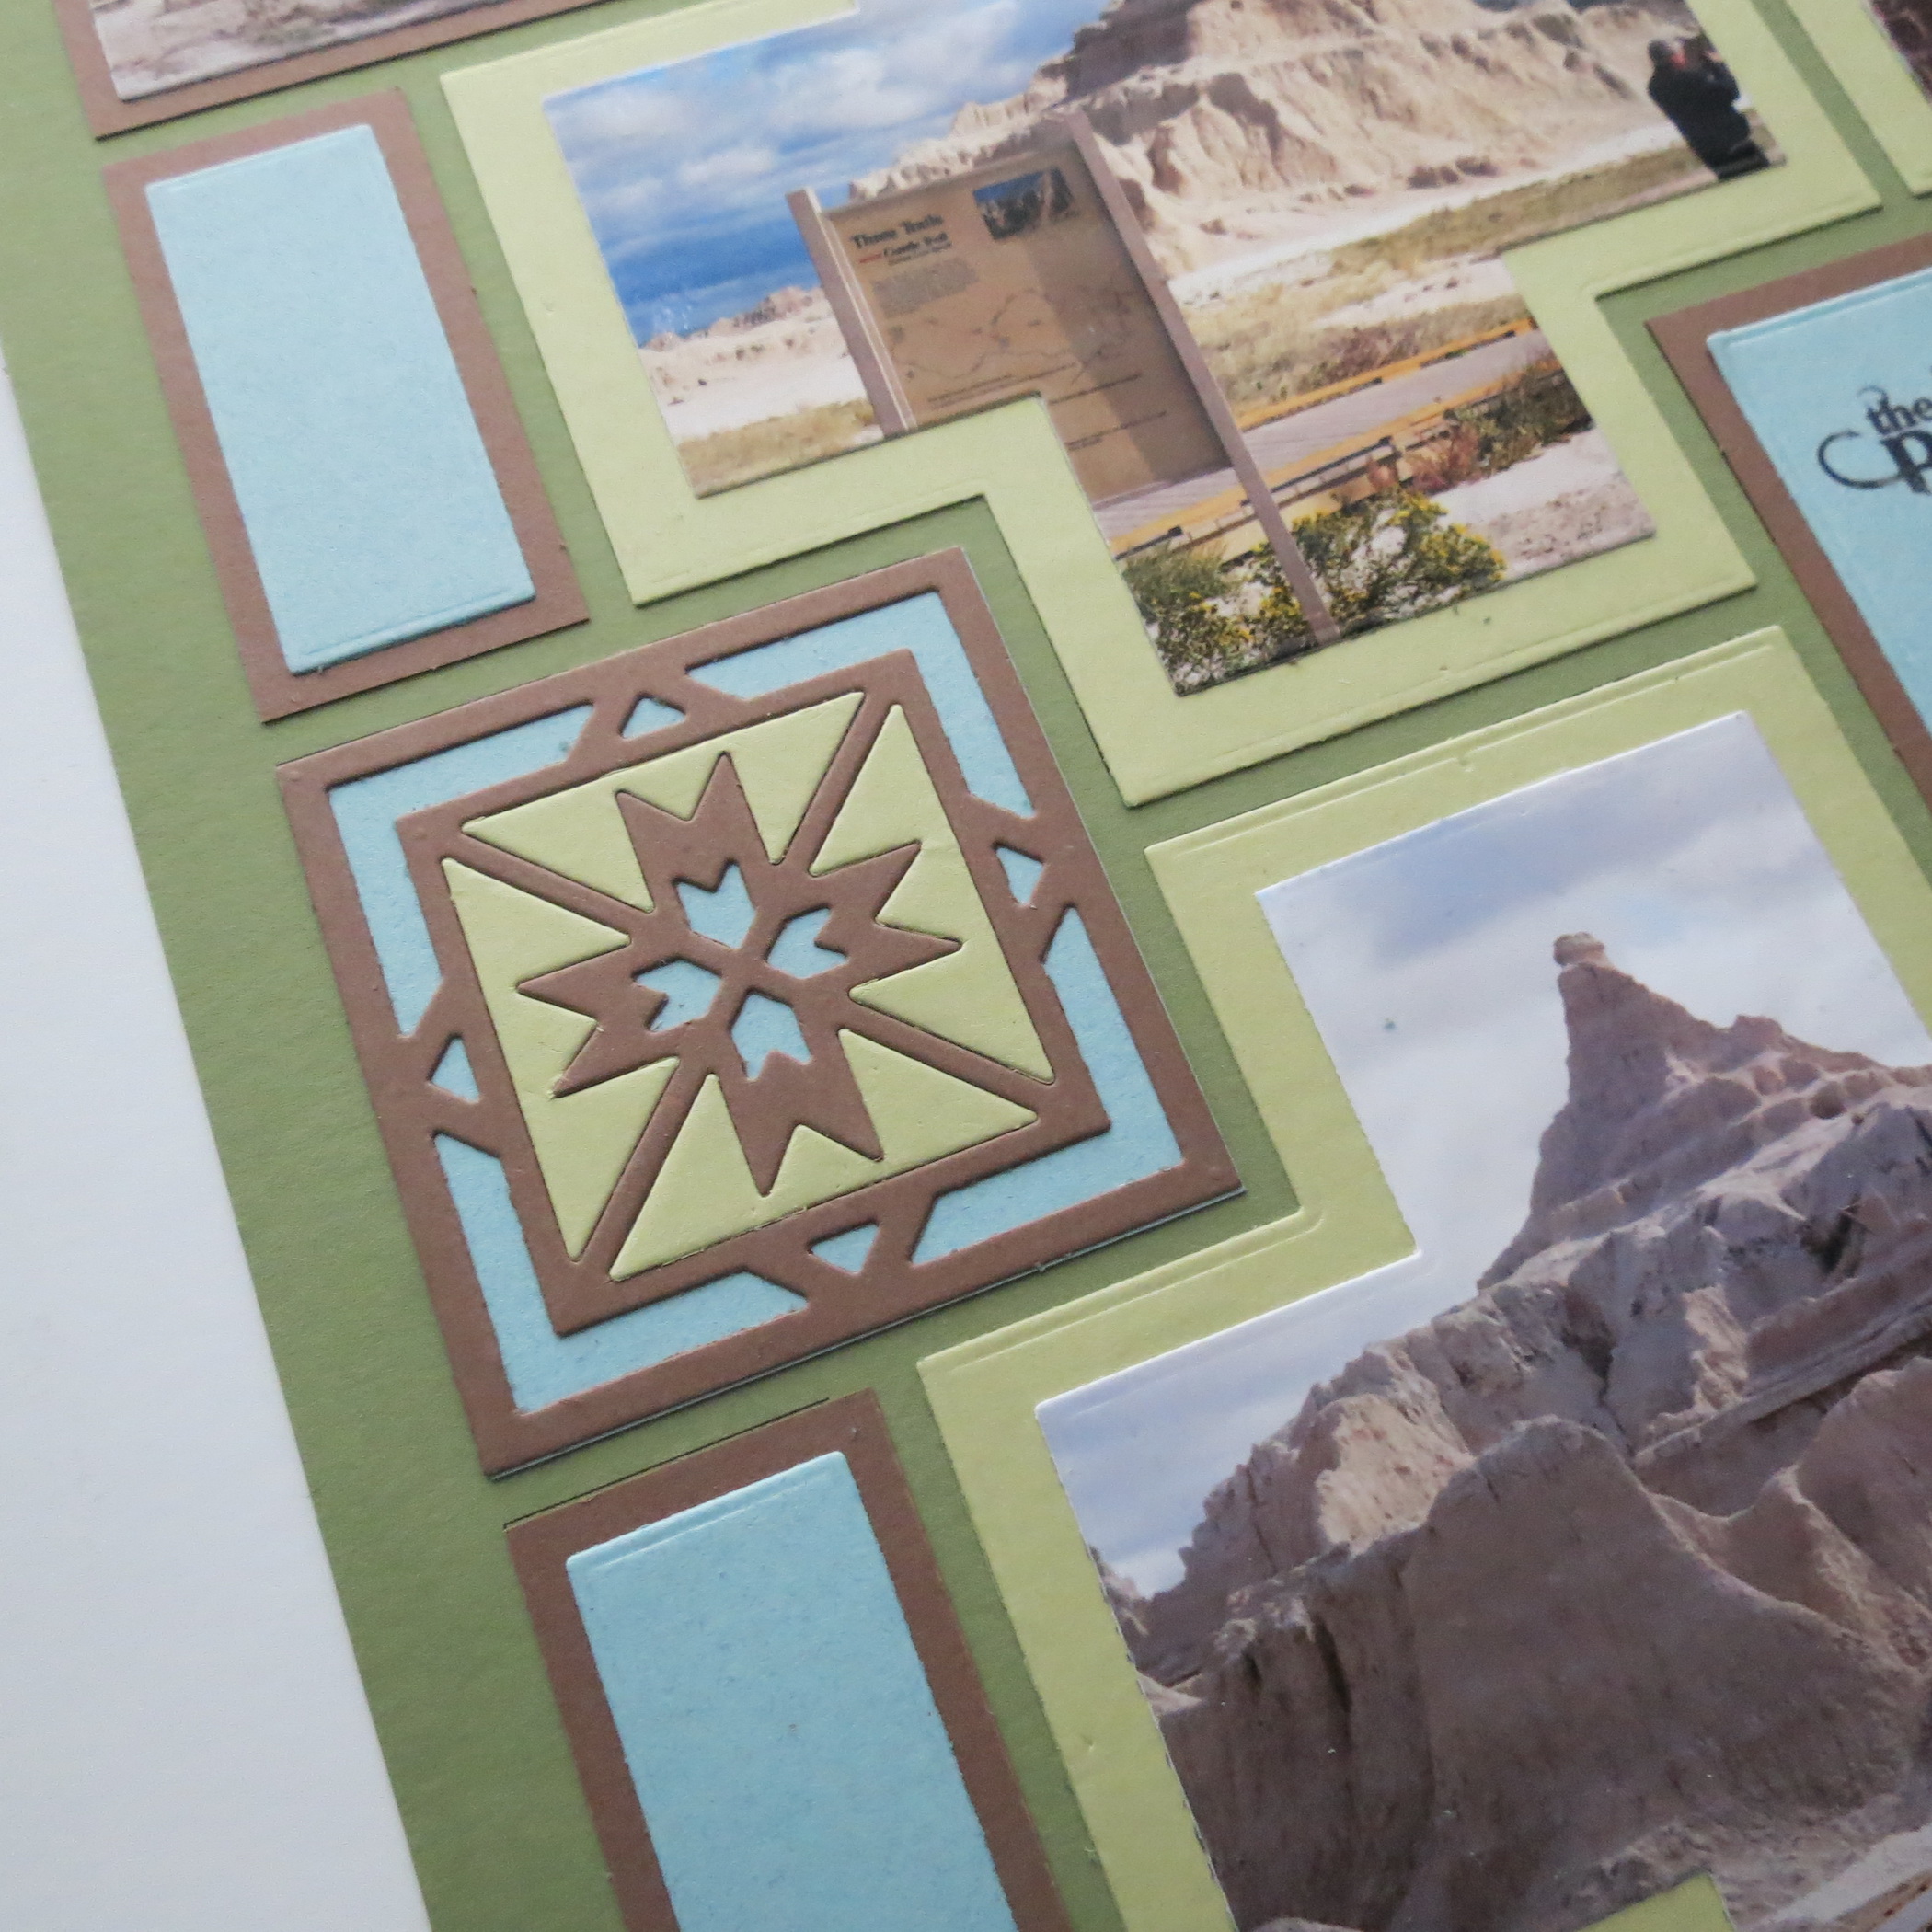
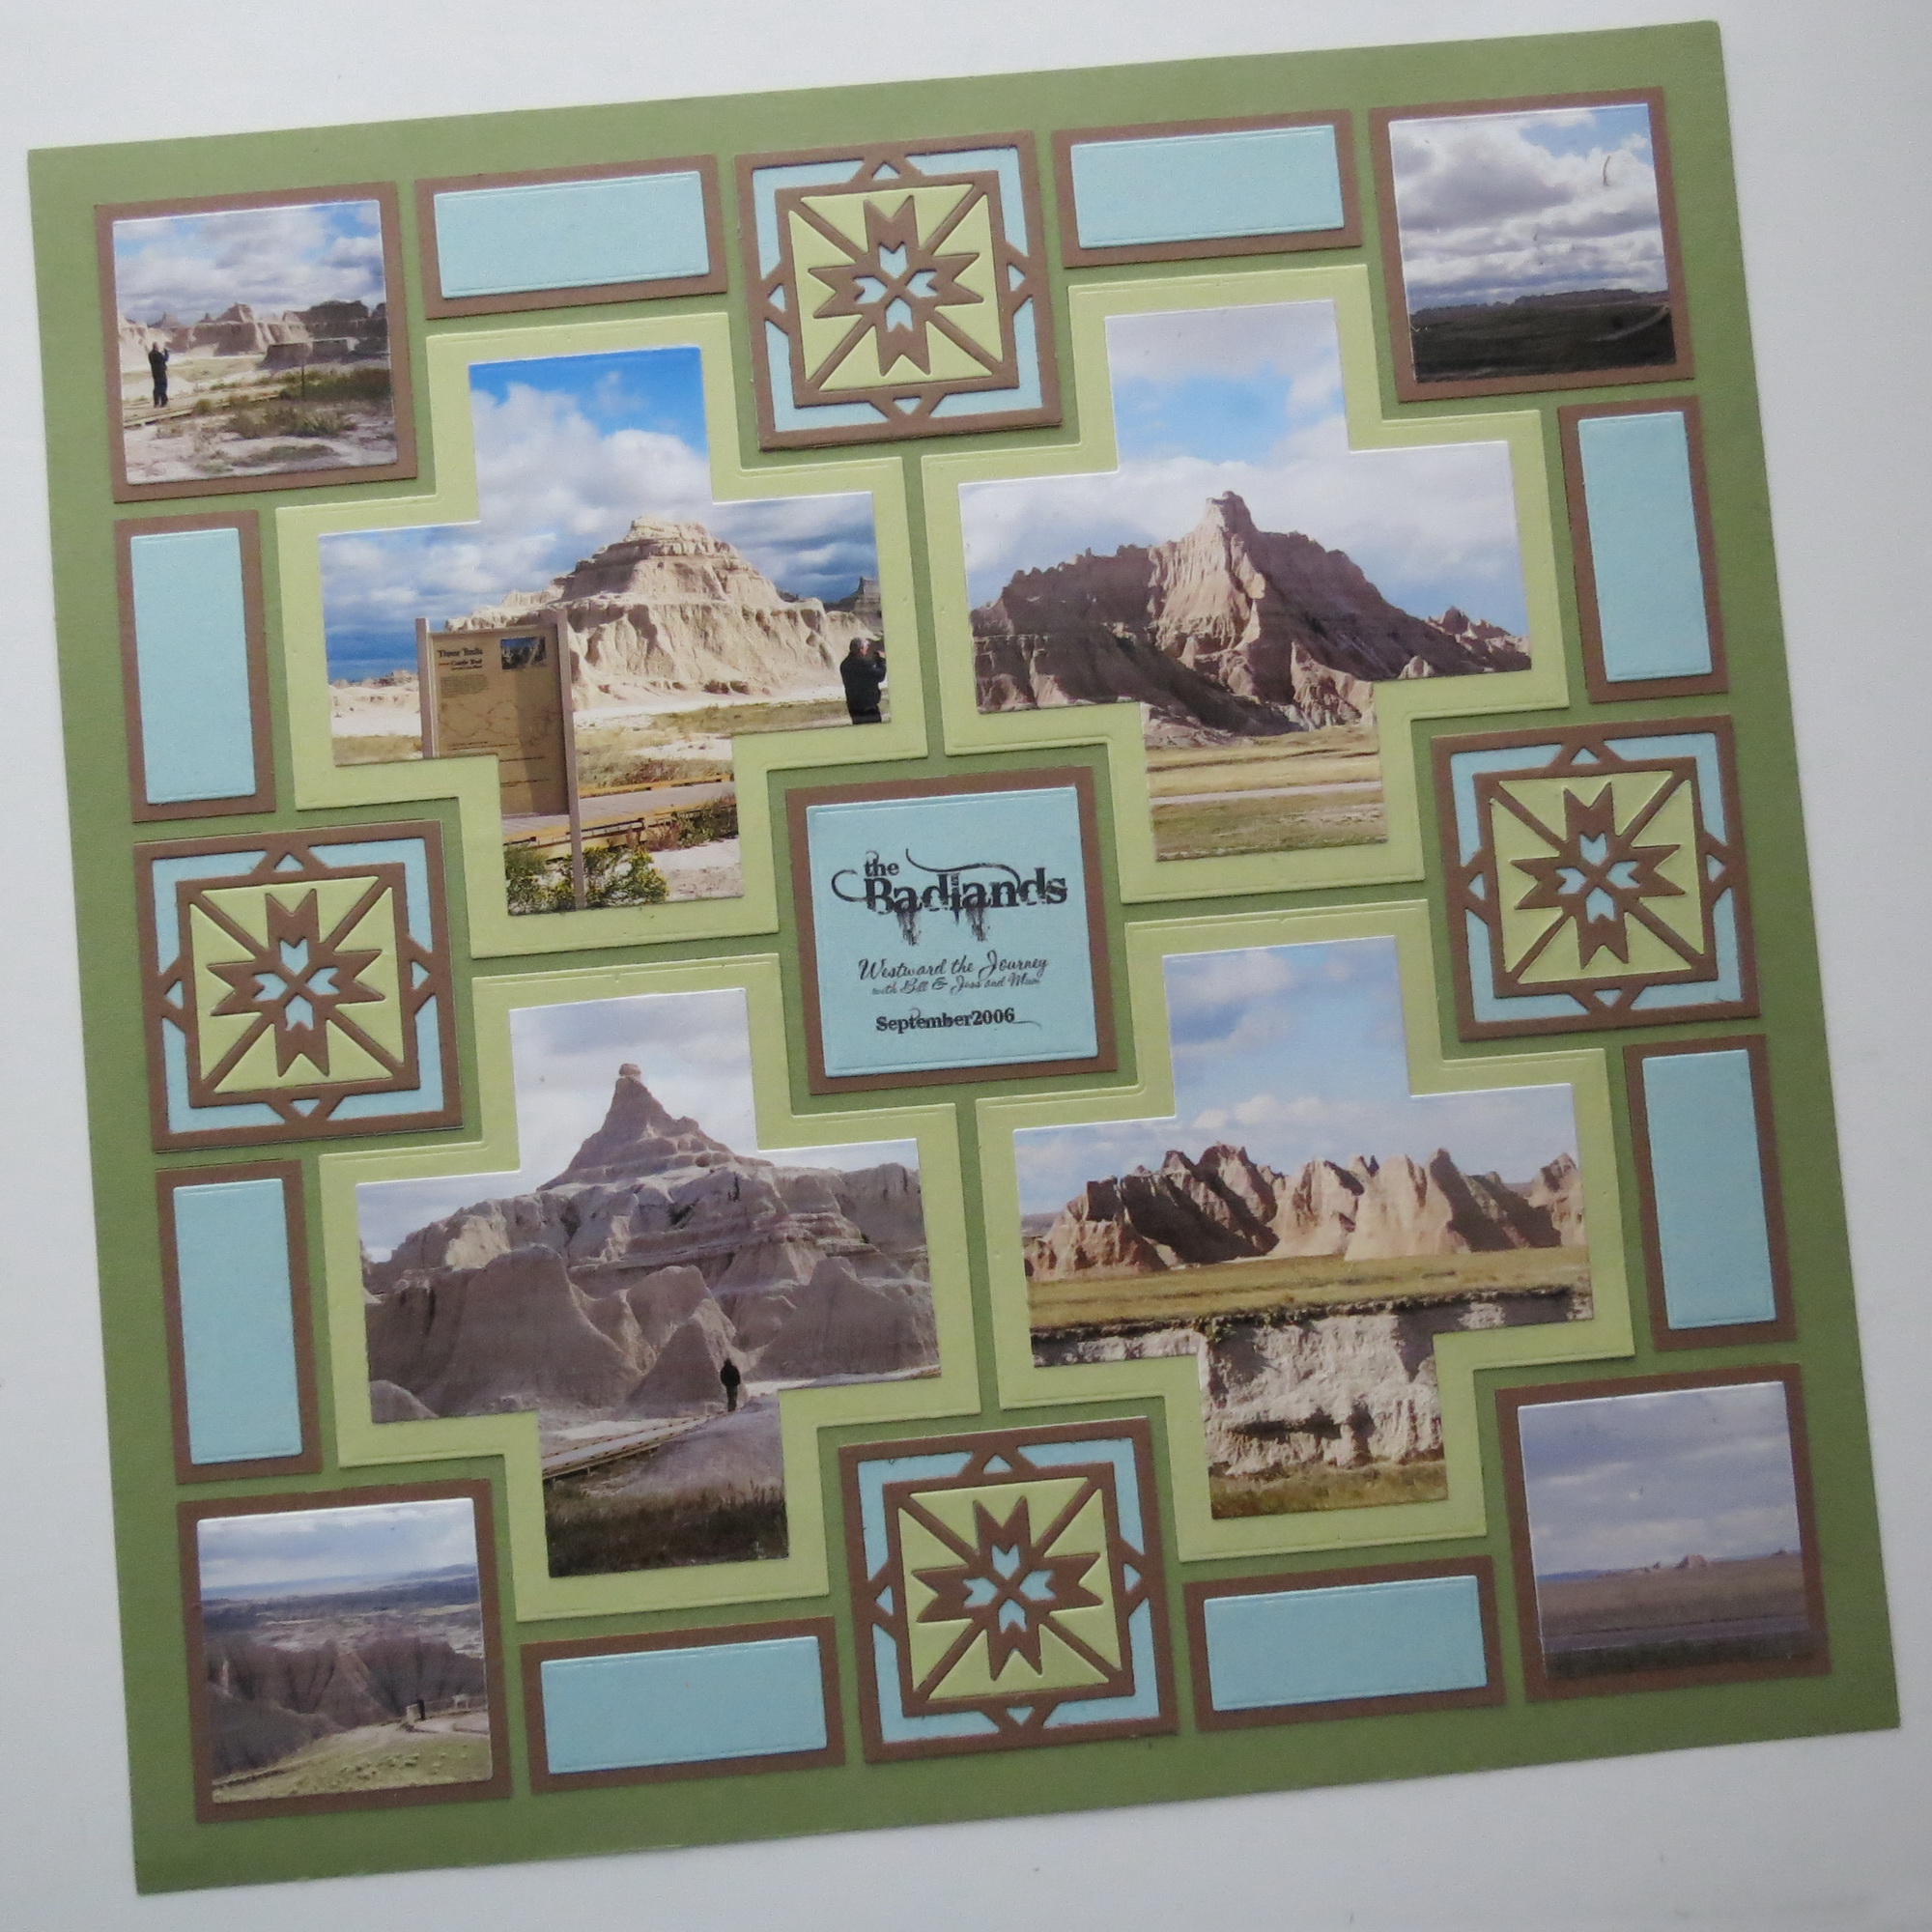
I chose to put 4 photos cut with the Four Corner Cut Out Die in the center of the page, leaving a 2×2 center spot. There now are 9 – 2×2 spots that can be used for photos if you wish, or to add in a 2×2 die cut, which in this case is the Southwest cornerstone die.
I’ve placed the cornerstone in the center of each side, reserved the center for a title block and filled the corners with photos.
I used the new layering dies to cut the 2×2 photos for the corners.
Mosaic Moments Advanced Techniques Tips for the Four Corner Cut Out Die

Mosaic Moments Advanced Techniques Tips for the Four Corner Cut Out Die
Mosaic Moments Advanced Techniques Tips for the Four Corner Cut Out Die
Mosaic Moments Advanced Techniques Tips for the Four Corner Cut Out Die
My remaining spots are 1×2’s.
AT Tip #2 Choose Colors from Your Photos
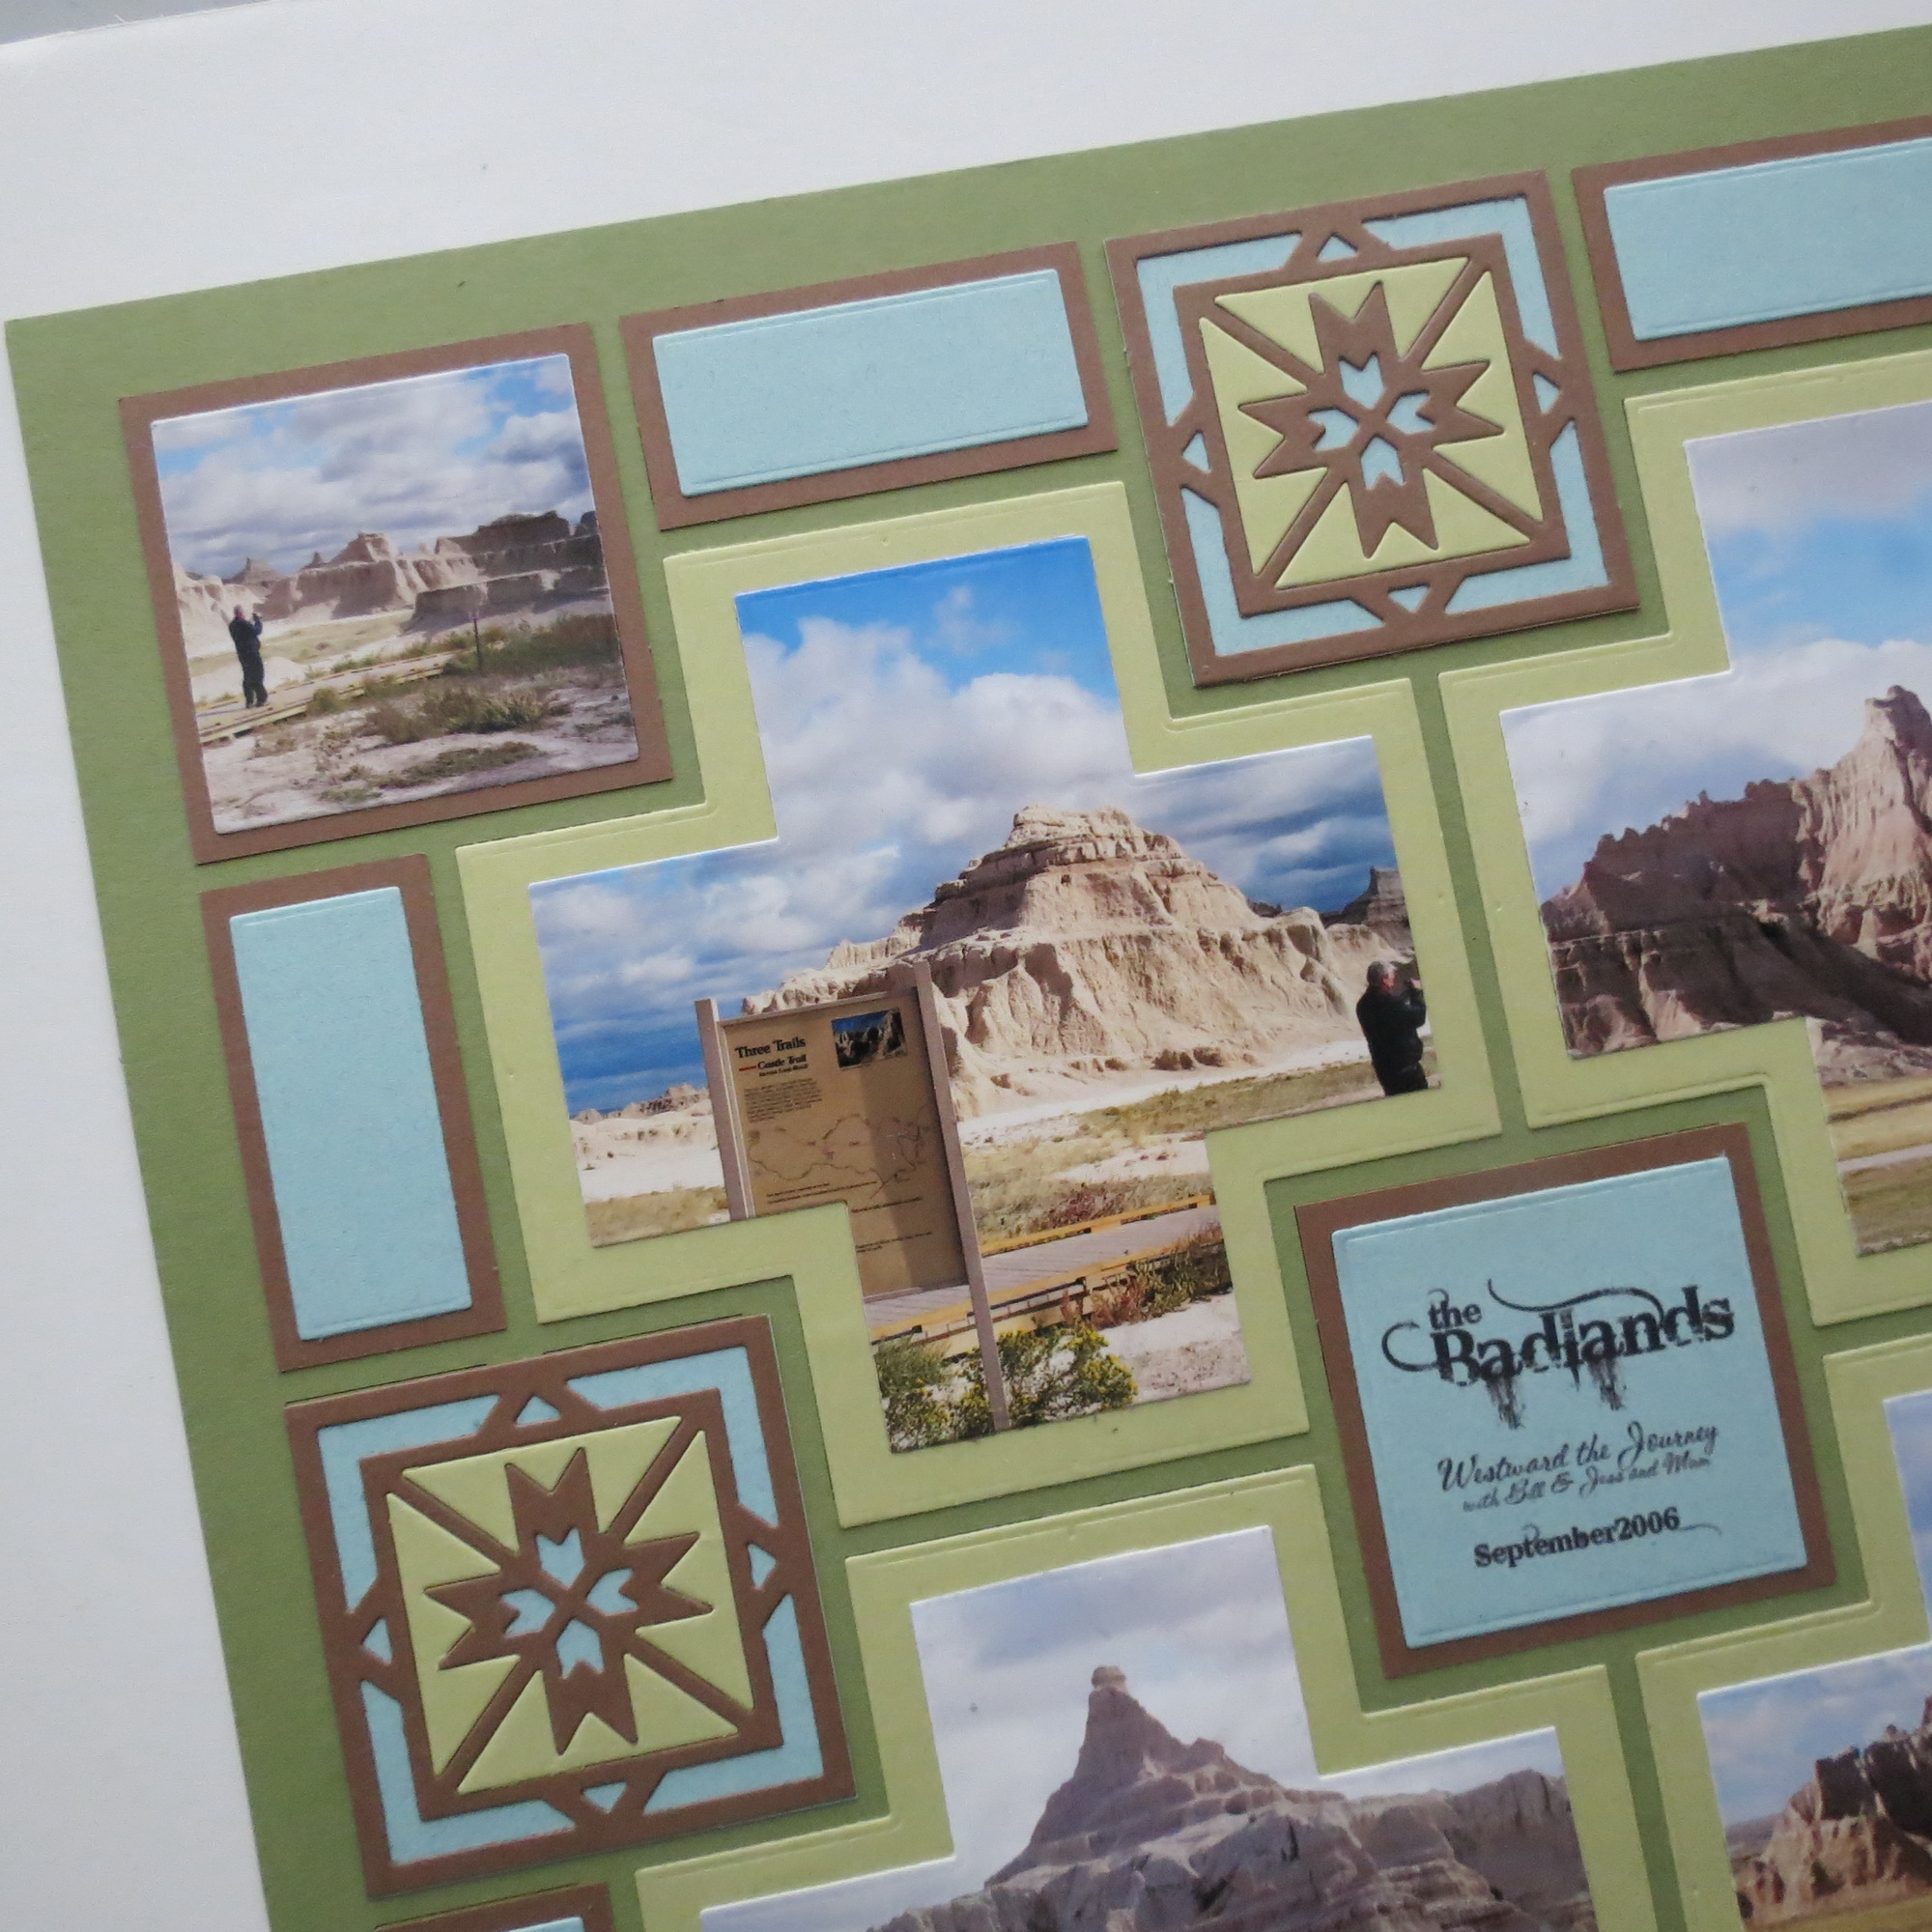
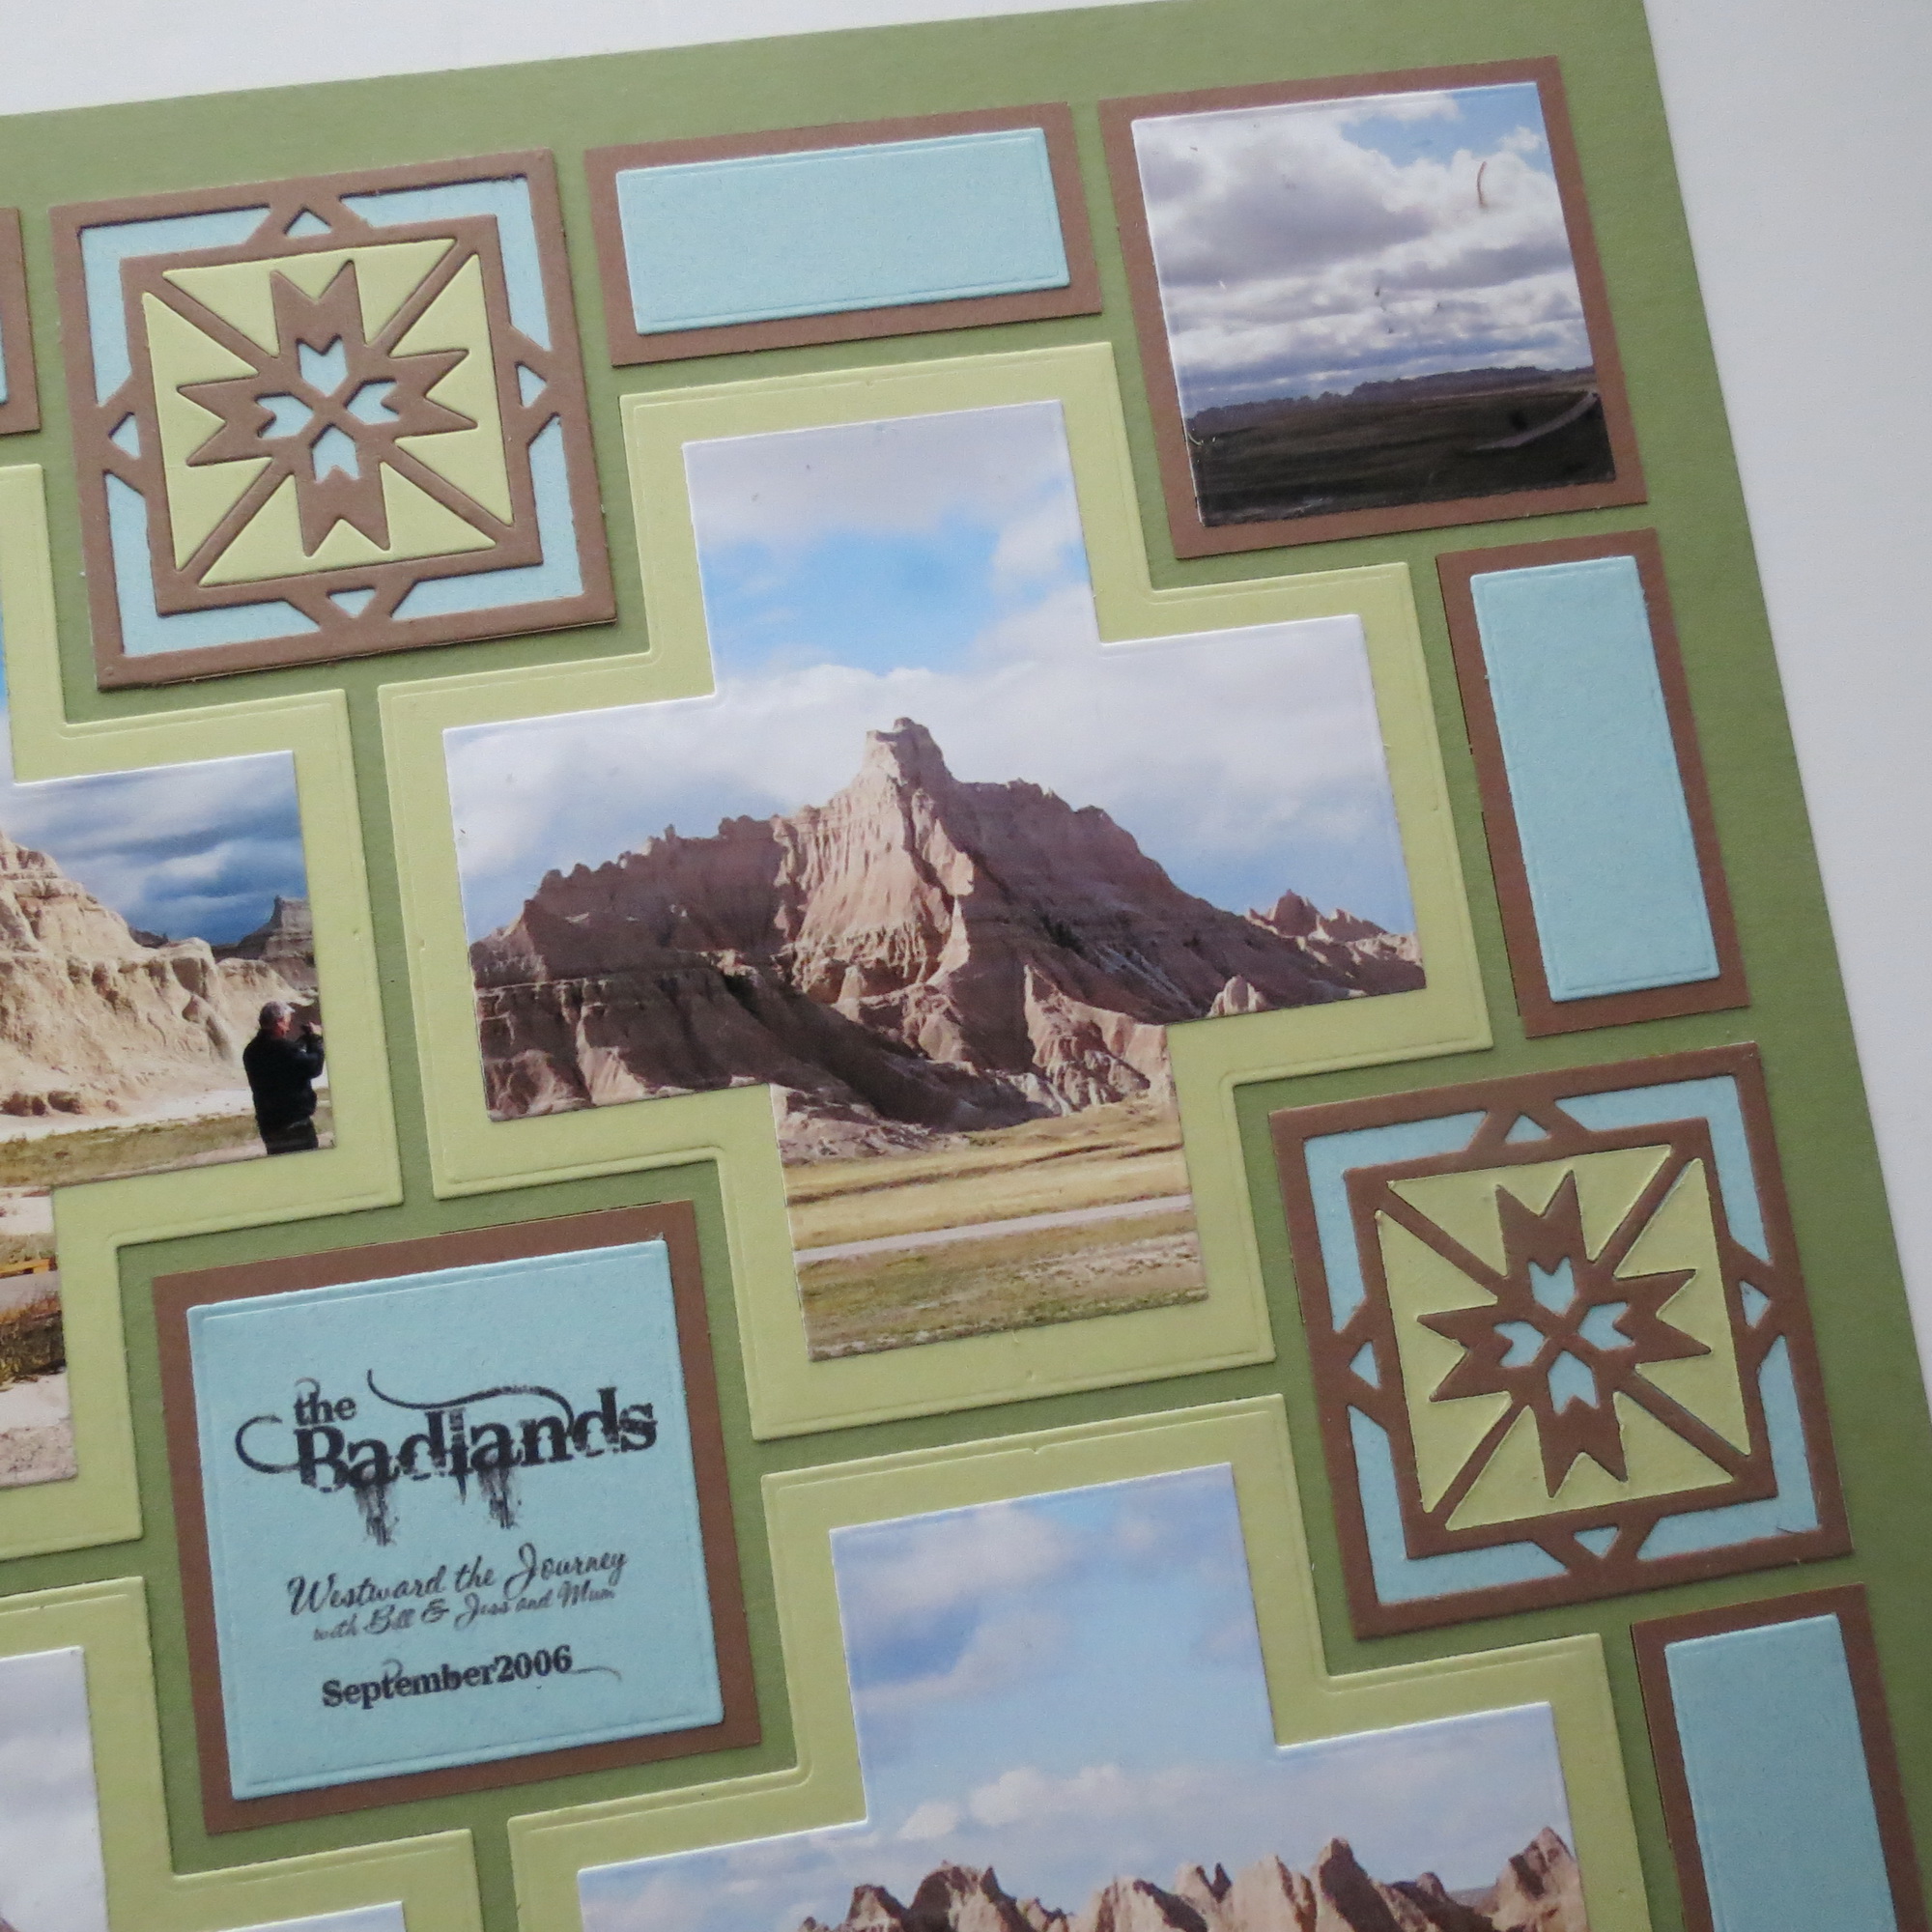
Dark Spring Green Mosaic Moments 12×12 Grid Paper is my base color. Colors for the mats and the pieces of the Southwest die were drawn from my photos.
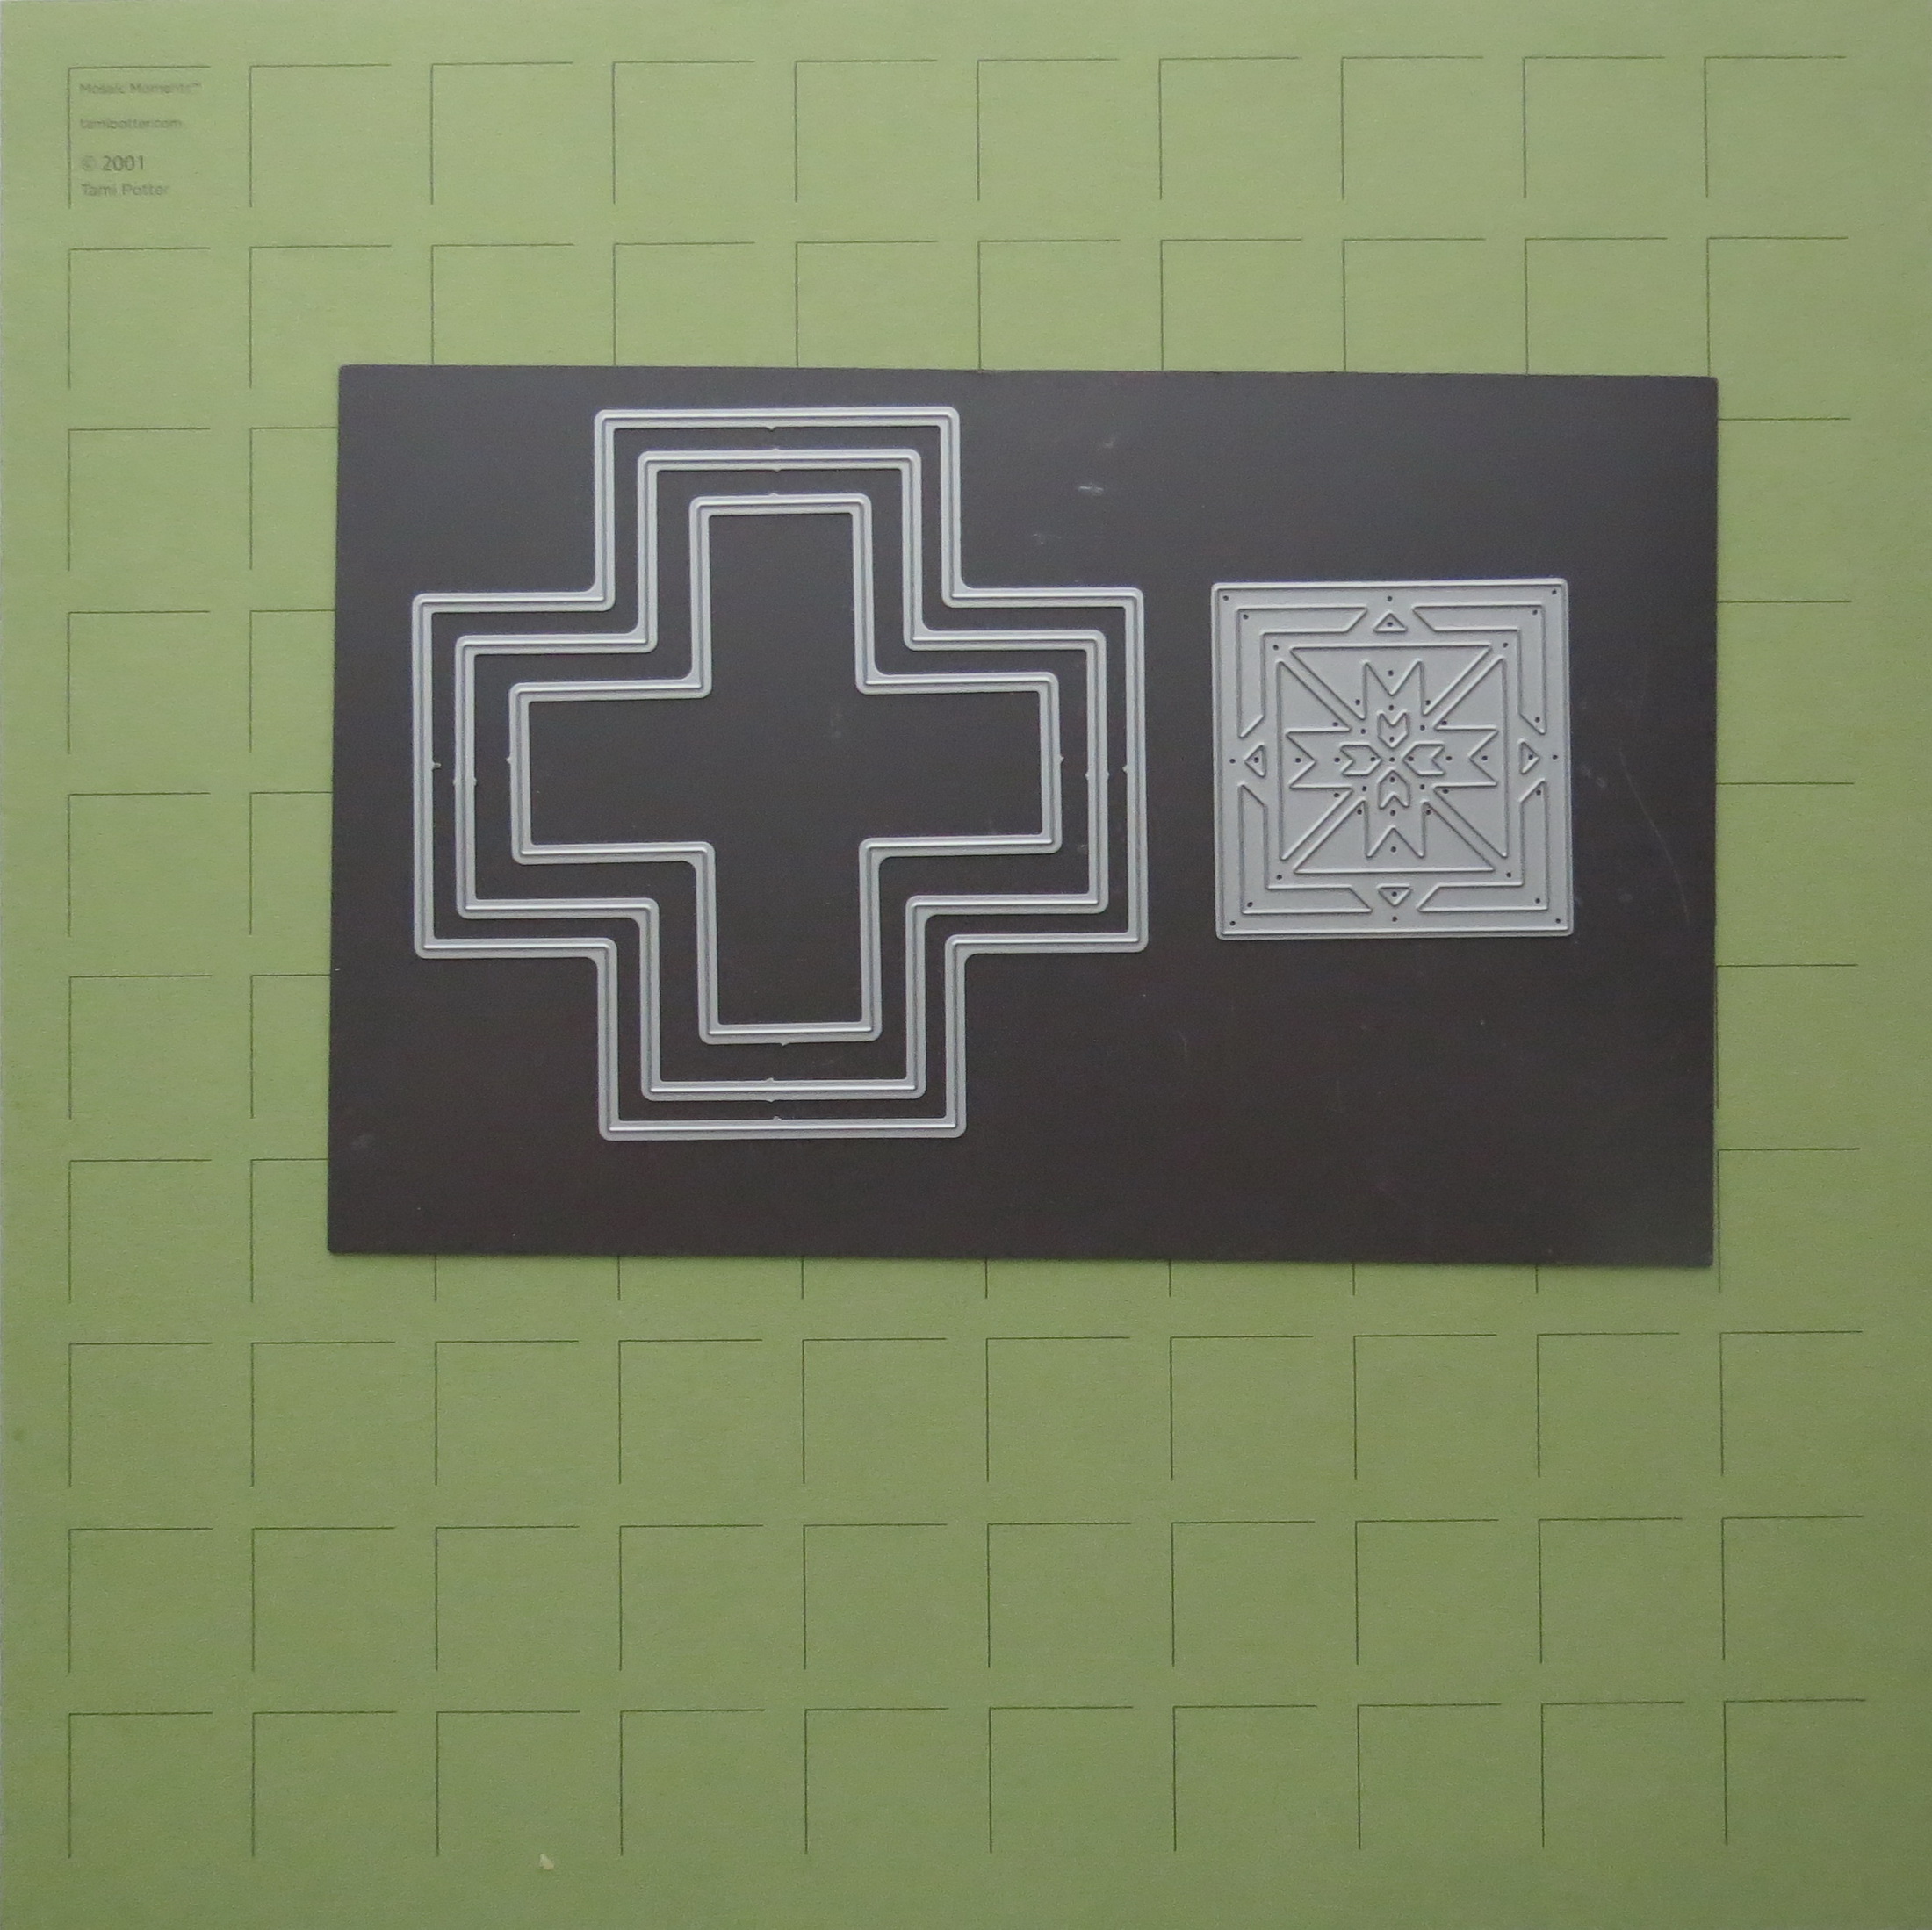
Mosaic Moments Advanced Techniques Dark Spring Green Grid, Southwest die, and the Four Corner Cut Out Die
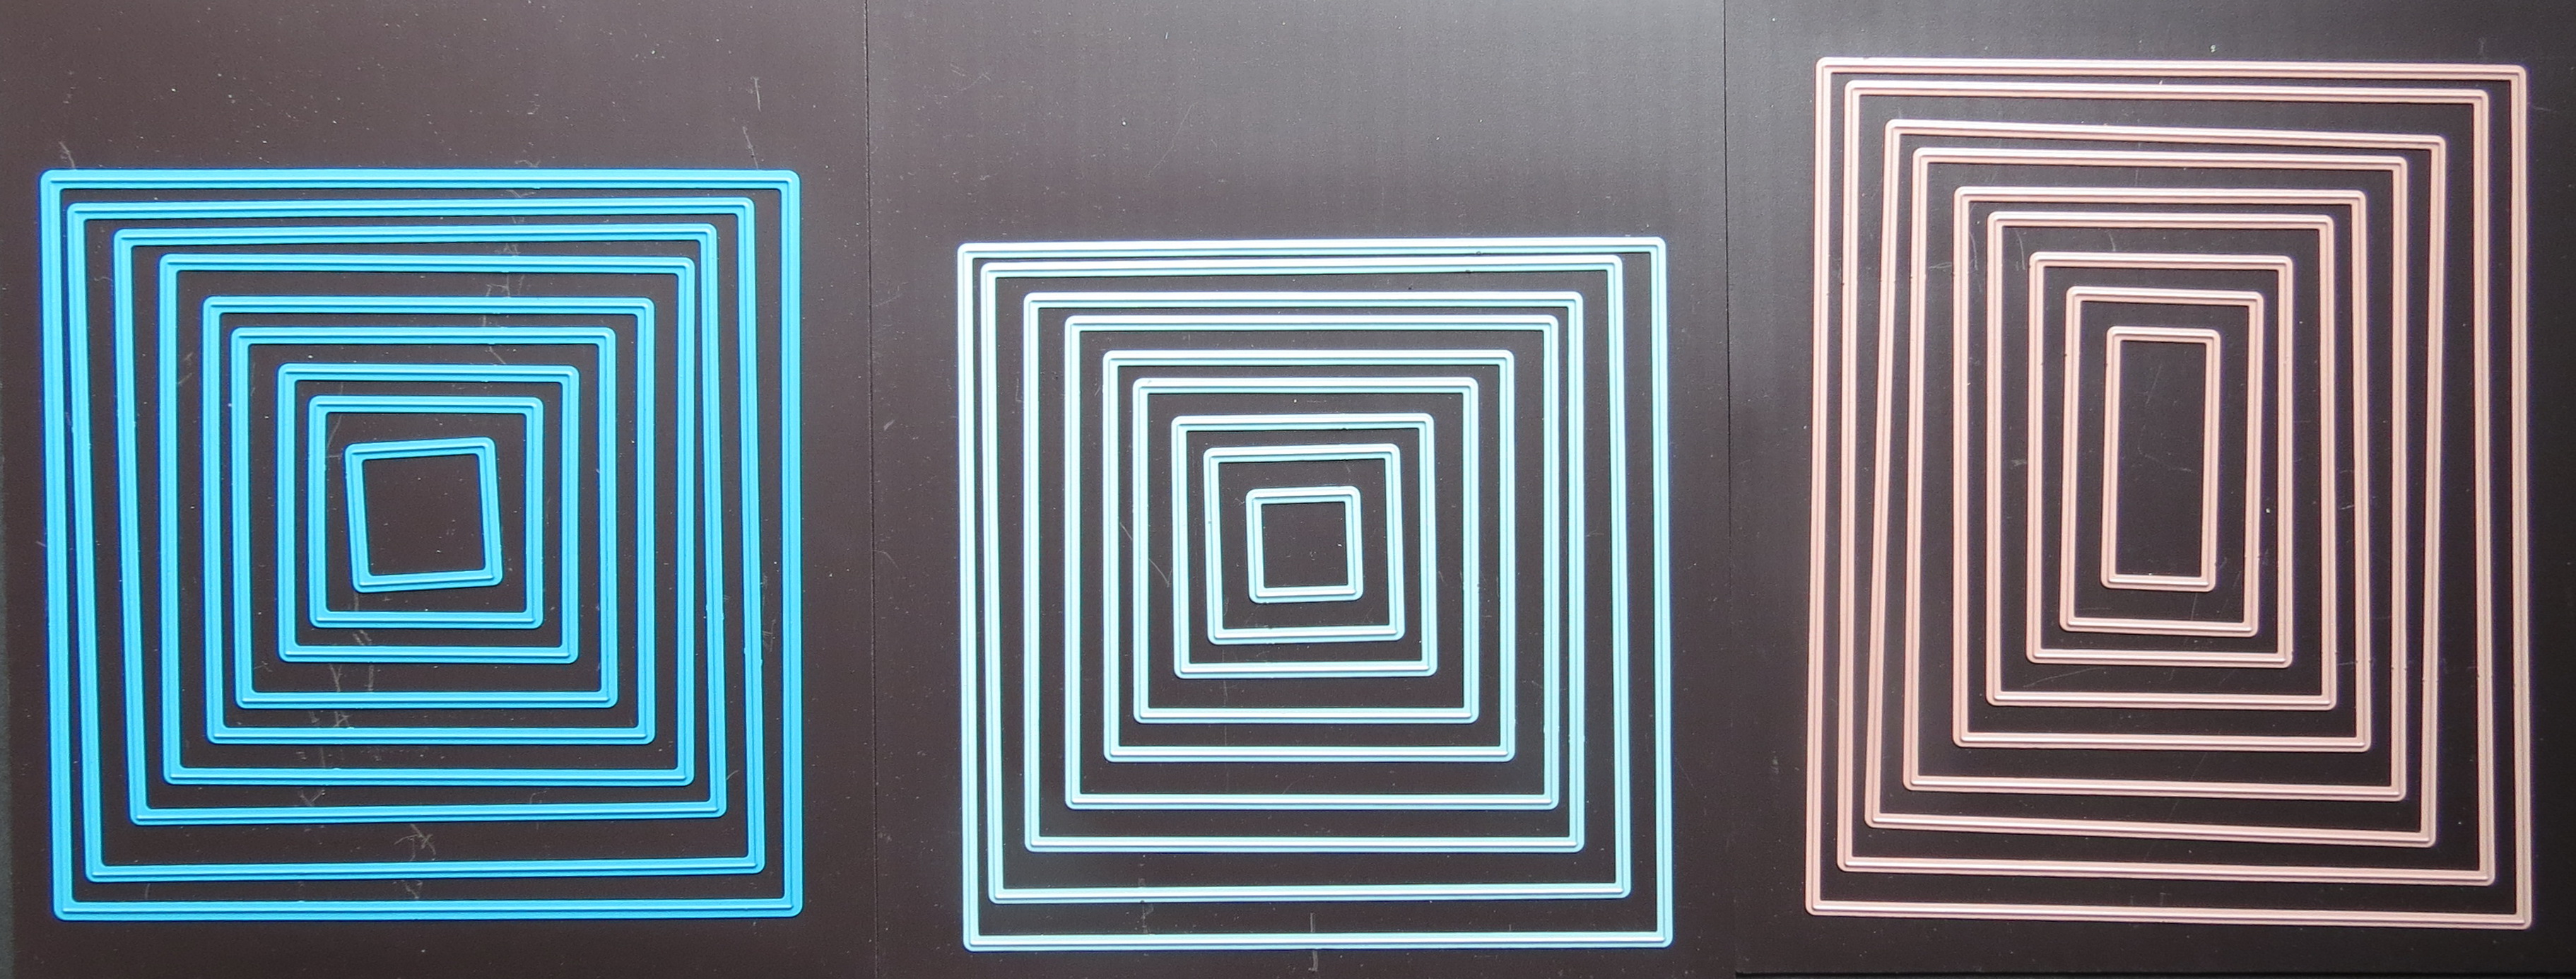
Mosaic Moments Die Set A, Layering Die Sets AL and CL
I chose the subdued shades of blue, green and brown because they work well with these photos, without competing with them. Brown mats for each of the 2×2 photos helps to anchor the pattern visually and the layering dies for the photos achieves a perfect 1/8”border. It is a darker color but is still a soft shade different from the sharp shadows in the photos.
AT Tip #3 Mimic a Design
As I played around with the die cuts I remembered a 2×2 die we have that’s called “Southwest”, and decided I’d incorporate it with some photos for the nine spots I had open.
Mosaic Moments Advanced Techniques Tips for the Four Corner Cut Out Die Featuring the Southwest Cornerstone die
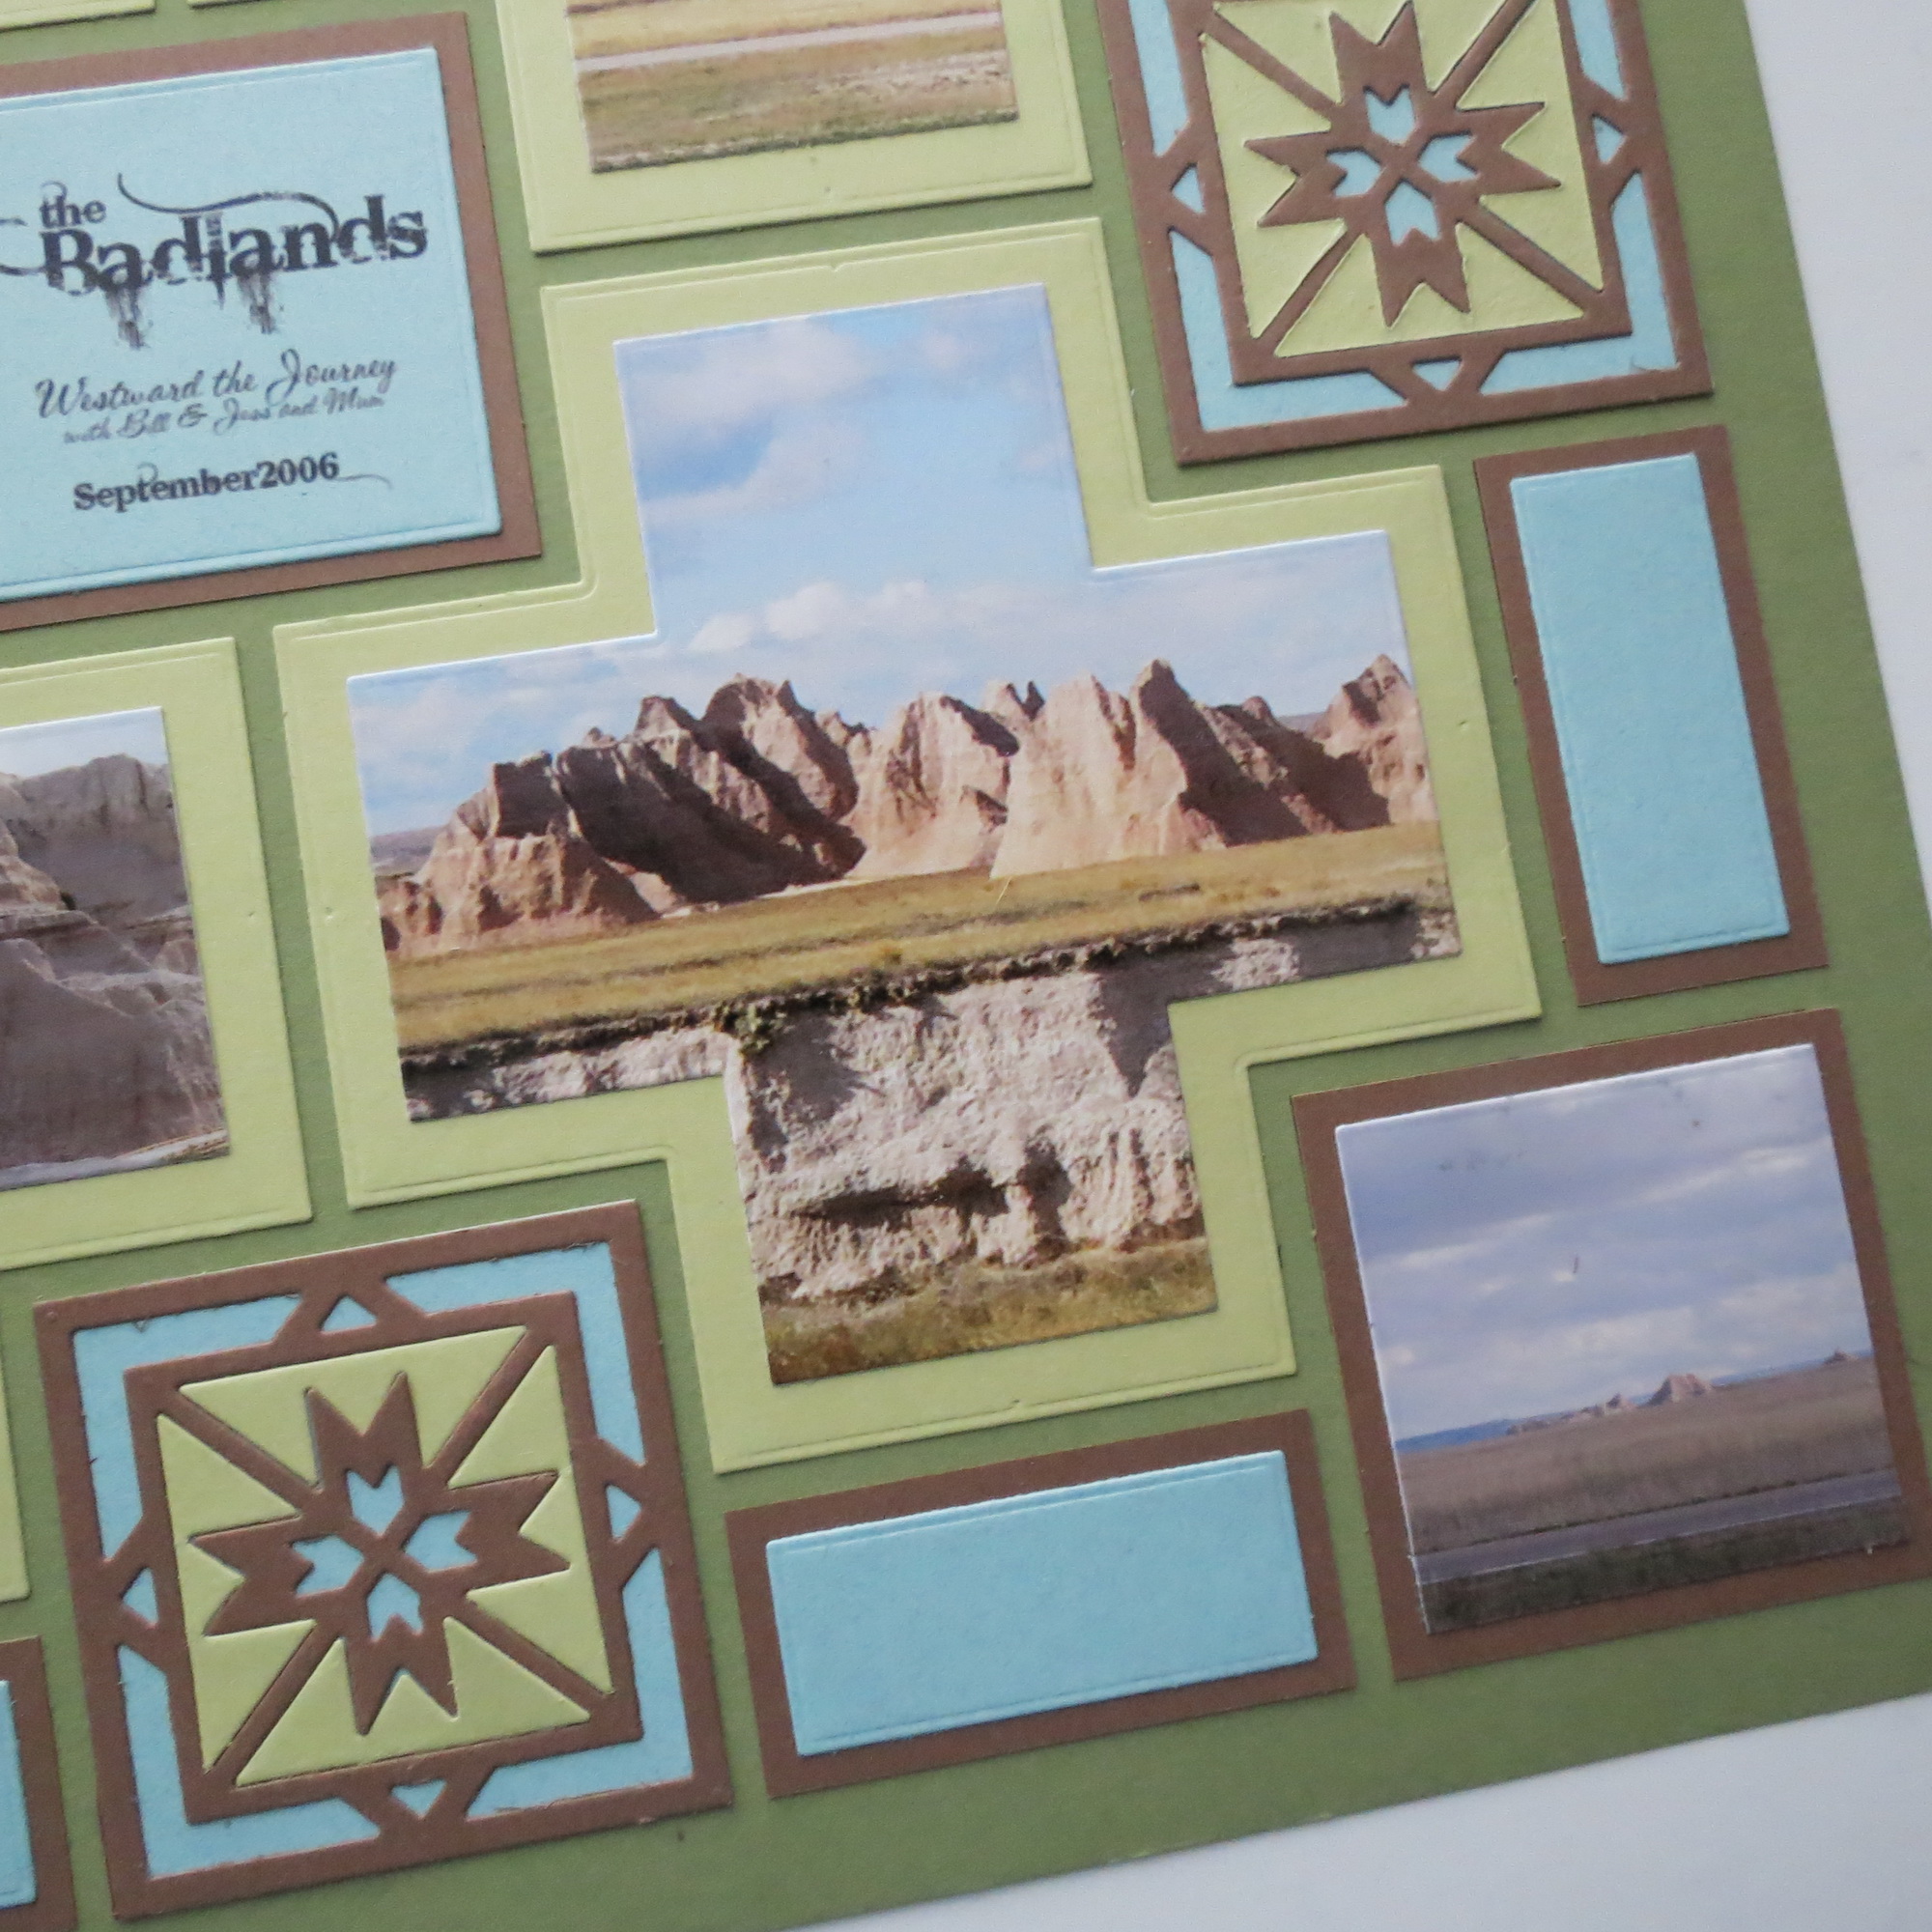
The remaining border section forms a series of 1×2 spots between the 2×2 squares. The Southwest die has a cut-out border section and I’ve tried to mimic that effect in the page border by using the CL set layering die to cut the blue and mount on the brown.
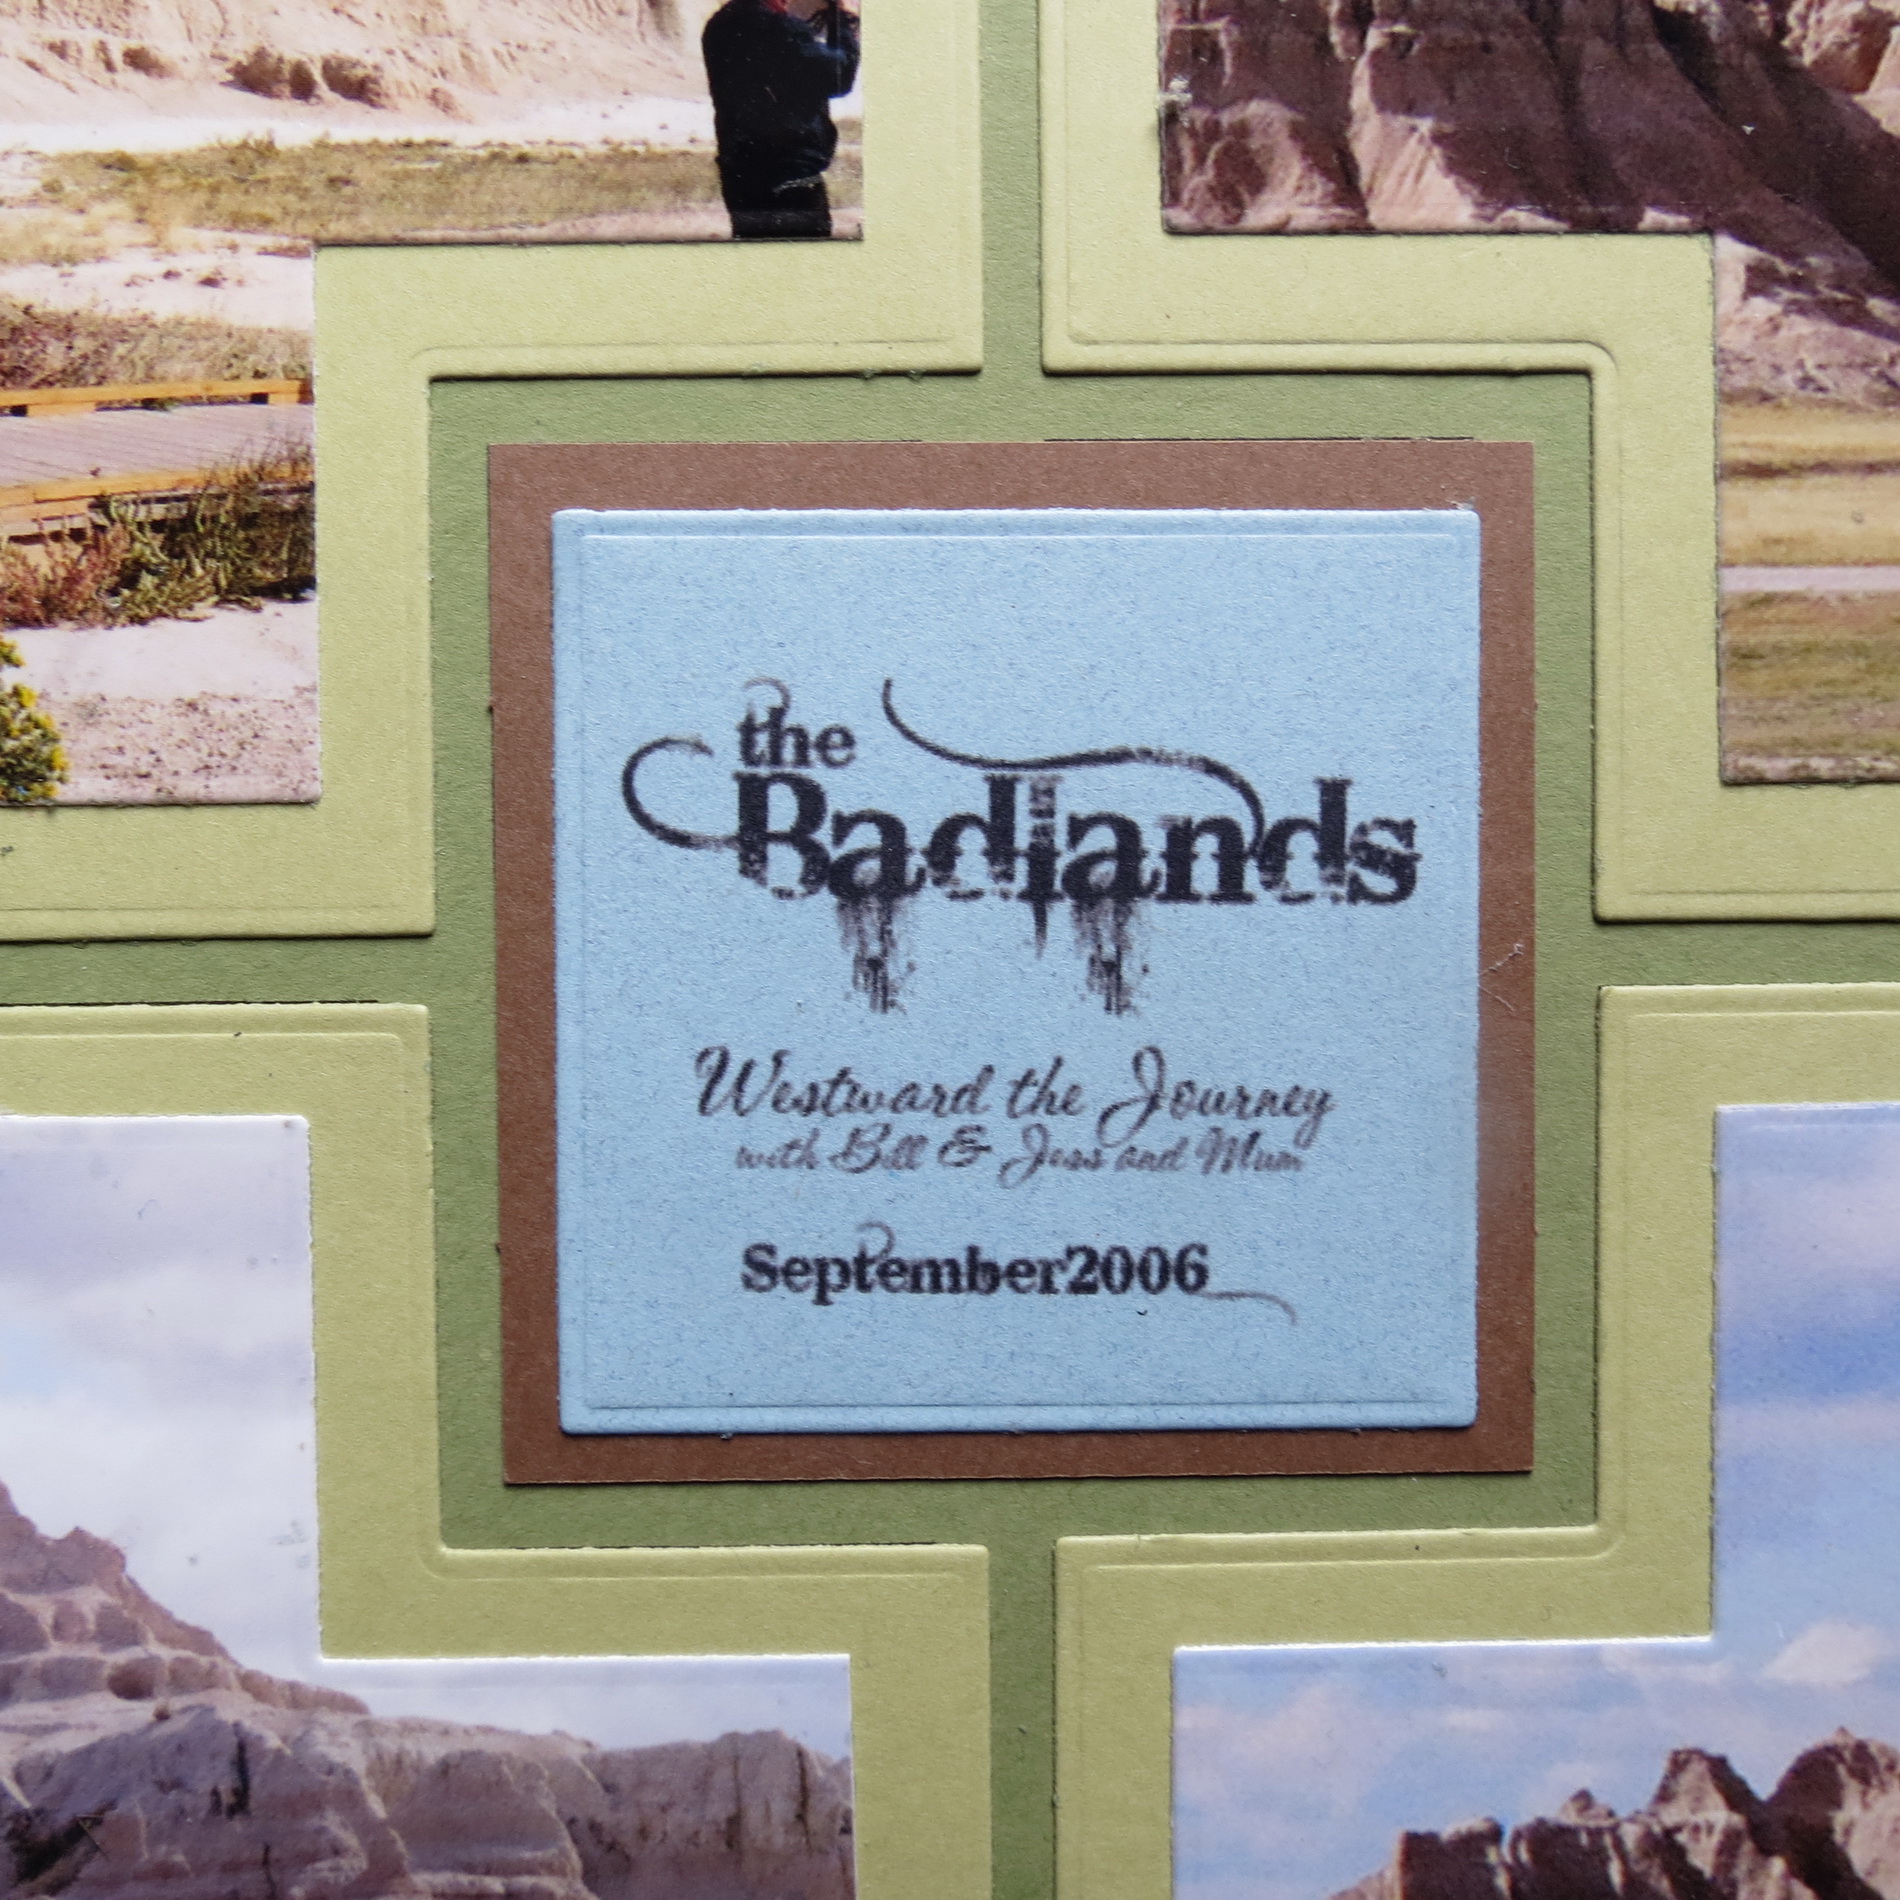
Like the Southwest die I placed my die cuts in the center of each side. The page is divided into 4 main sections too, although the die is four triangle parts. Additionally, the die has a center design image and I’ve reserved that for the title.
AT Tip #4 Font Choice
My center 2×2 allows just enough space to add a title, and date to the page. It really only requires the place the photos are taken, so choosing a font in keeping with that I went with Bleeding Cowboy. This really shows off better in a larger format, but I like it with all of its swooshes and drips. I do have a secondary font with the sub-title “Westward the Journey” called CAC Shishoni Brush. The sub-title and date help me distinguish which of my four trips to the Badlands this is and who I was with at the time.
Mosaic Moments Advanced Techniques Tips for the Four Corner Cut Out Die
So, now that you are armed with four tips in Advanced Techniques that relate to working specifically with the new Four Corners Cut Out Die, I know you’ll see how they can apply to any layout you put together. They are simple steps to elevate your pages just a notch or two with just a little more time or planning. I love doing pages that come together quickly, and believe it or not, this one does! So try not to worry about how many pages you can get done at a time, but enjoy the creative and relaxing therapeutic process of reliving your trips and events and memories.
Andrea Fisher